Let’s be real for a second. We’ve all been there. You wake up at 4:00 AM, crawl out of a perfectly warm bed, hike three miles in the dark, and wait for that "perfect" sunrise. The sky turns a magnificent shade of fire, you click the shutter, and you think, "This is it. This is the one that gets me on the cover of National Geographic."
Then you get home, pull the files up on your monitor, and… it’s a dud. It’s blurry, the colors look like a unicorn threw up on a mountain, and the horizon is so crooked it looks like the ocean is leaking out of the frame.
Landscape photography is deceptive. It looks easy because the mountains aren't moving, but capturing a truly epic shot requires more than just showing up with a camera. If you feel like your shots are missing that "wow" factor, you’re probably making one of these seven common mistakes. Don't sweat it, I've made them all too. Here’s how to fix them and start bagging those epic travel shots you’ve been dreaming of.
1. The "I’ll Just Handhold It" Lazy Trap
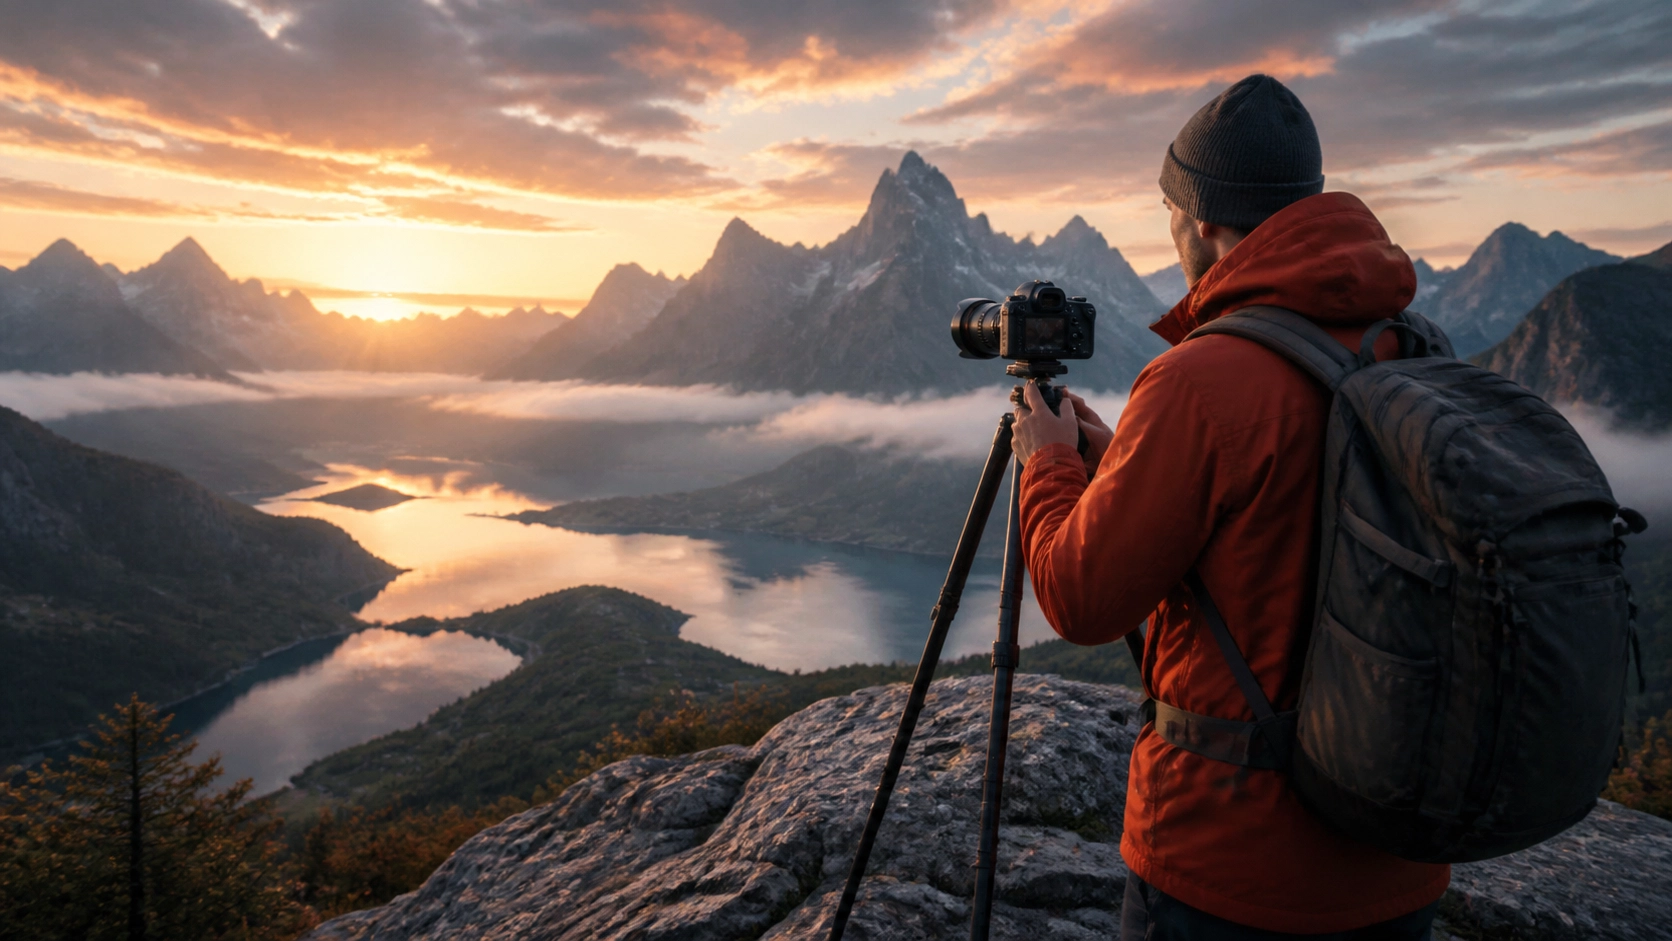
I get it. Tripods are heavy, they’re awkward to carry, and setting them up feels like a chore when the light is changing fast. But if you want tack-sharp landscape photos, you need a stable base.
The biggest mistake beginners make is relying on "good enough" shutter speeds or image stabilization. When you’re shooting landscapes, you usually want a deep depth of field (think f/8 to f/11). In the low light of golden hour, that means your shutter speed is going to drop. Even if you think you’re as steady as a surgeon, micro-jitters will rob your image of that crisp detail.
The Fix: Use a tripod. Every. Single. Time. If you’re serious about your craft, invest in a decent carbon fiber set that won't break your back. And don't forget to turn off your lens’s Image Stabilization (IS) or Vibration Reduction (VR) when you’re on the sticks, sometimes the system tries to "fix" movement that isn't there, actually creating blur.
If you're just starting out, check out our Photography 101 guide to get your gear fundamentals down.

2. The Leaning Tower of Horizon
There is nothing that ruins a professional-looking landscape faster than a crooked horizon line. It’s subconsciously jarring to the viewer. Humans are wired to see the horizon as level, and when it’s tilted by even one degree, the whole photo feels "off."
You might think, "I'll just crop and rotate it in Lightroom." Sure, you can. But every time you rotate and crop, you’re throwing away pixels and potentially ruining your carefully planned composition.
The Fix: Use the built-in level in your camera. Most modern mirrorless cameras have a digital level (an electronic gait) that you can toggle on in the viewfinder. If you’re shooting on something like the Sony a7R V, that high-resolution sensor deserves a perfectly level frame. If your camera doesn’t have a digital level, use the grid lines or buy a cheap hot-shoe bubble level.
3. Getting Stuck in the "Wide-Angle Only" Zone
New landscape photographers often buy a 14mm or 16mm lens and never take it off. They think "big scene = wide lens." The problem is that wide-angle lenses push everything away from the camera. That massive, intimidating mountain range suddenly looks like a tiny molehill in the distance.
Shooting too wide often results in a "dead" middle ground, a whole lot of nothing between you and the subject.
The Fix: Don’t be afraid to zoom in. Some of the best landscape shots are taken with a telephoto lens (70-200mm or even 400mm). Telephoto lenses compress the layers of a landscape, making distant peaks look massive and bringing the background right up to the foreground.
If you find your subjects looking small and insignificant, try a tighter focal length. For more technical setups, see how to dial in your Nikon Zf settings for different scenarios; while that guide is for real estate, the principles of focal length and distortion apply everywhere.
4. Forgetting the "Hero" of Your Story
A landscape photo isn't just a picture of "outside." It needs a subject. A common mistake is capturing a vast, beautiful scene that has nowhere for the eye to land. If the viewer’s eye is wandering around the frame saying, "Okay, what am I supposed to look at?" you’ve lost them.
The Fix: Find your "Hero." This could be a lonely tree, a jagged rock formation, a red cabin, or even a person standing on a ledge. Use this subject to anchor your composition.
Once you find your hero, use compositional tools like the Rule of Thirds or Leading Lines to point the viewer directly to it. If you’re struggling with ideas, look at PhotoGuides.org for some classic composition inspiration. You want to tell a story, and every story needs a protagonist.

5. Ignoring the Foreground
This is the cousin of the "Wide-Angle Trap." If you’re shooting a wide scene, you absolutely must have something interesting in the foreground. Without a foreground element, your photo lacks depth and feels two-dimensional.
I see so many shots where the bottom 30% of the frame is just blurry grass or empty dirt. It’s a wasted opportunity to lead the viewer into the scene.
The Fix: Get low and get close. Find a rock with cool texture, some wildflowers, or a stream, and place your camera just a foot or two away from it. This creates a sense of scale and pulls the viewer into the photograph. It’s called the "Near-Far" technique, and it’s a game-changer.
Mastering this requires getting comfortable with your camera's manual settings. If you’re still a bit shaky on that, check out this easy guide to mastering manual mode.
6. Over-Processing and "Neon Nature"
We’ve all seen those photos on Instagram where the grass is neon green and the sky is a shade of blue that doesn't exist in our solar system. Over-editing is a massive mistake that screams "amateur."
When you crank the saturation and contrast to 100, you lose the subtle tonal gradations that make a landscape look real. You also risk creating "halos" around the edges of mountains and trees, which is a dead giveaway of poor post-processing.
The Fix: Be subtle. If you’re using Luminar, utilize the AI tools sparingly. The goal of editing should be to recreate what your eyes saw, not what a psychedelic trip looks like. Focus on enhancing the dynamic range rather than just boosting colors.
Speaking of AI, it’s a powerful tool, but you have to know how to use it. We have a great piece on integrating AI into your workflow without making it look like a robot did the work. Also, watch out for these common AI photo editing mistakes to keep your work looking professional.

7. Shooting at the Wrong Time of Day
Midday sun is the enemy of the landscape photographer. It’s harsh, it creates deep, ugly shadows, and it washes out all the colors. If you’re out shooting at 1:00 PM on a cloudless day, you’re fighting an uphill battle that you probably won't win.
A lot of photographers think they can "fix it in post," but you can't post-process your way into good light.
The Fix: Become a creature of the edges. The "Golden Hour" (just after sunrise and just before sunset) and the "Blue Hour" (the period of twilight before sunrise or after sunset) are when the magic happens. The light is soft, directional, and colorful.
If you must shoot during the day, look for overcast skies. Clouds act as a giant softbox, evening out the light and making colors pop. For more on handling light, our guide to mastering natural light (though aimed at portraits) covers the same essential lighting physics you'll need in the field.
Bonus: Exposure Blending vs. Blown Highlights
In landscapes, you're often dealing with a huge dynamic range: a bright sky and a dark foreground. If you expose for the ground, the sky turns white (blown highlights). If you expose for the sky, the ground turns pitch black.
The Fix: Learn to bracket your exposures. Take one photo for the sky, one for the mid-tones, and one for the shadows. You can then blend them later to create a balanced image. This is a much better approach than trying to fix a single, poorly exposed RAW file. If you want to dive deeper into the technical side of things, check out the resources at learn.shutyouraperture.com.
Putting it All Together
Landscape photography is a patient man's game. It’s about more than just the gear: though having the right mirrorless camera for your 2026 kit certainly helps. It’s about observation, composition, and avoiding the easy path.
Next time you’re out in the wild:
- Set up that tripod.
- Level your horizon.
- Choose your focal length with intention.
- Pick a clear subject.
- Find a killer foreground.
- Watch your exposure.
- Edit with a light touch in Luminar.
If you’re looking for more inspiration, I occasionally post my own fine art landscape work over at EdinFineArt.com and share behind-the-scenes thoughts on blog.edinchavez.com.
Photography is a journey of a thousand bad photos. Each mistake you fix brings you one step closer to that portfolio-grade shot. So, pack your bags, check your settings, and go get it. The mountains aren't going anywhere, but that light sure is.

Related Reading
- 7 Mistakes You're Making with Manual Mode
- 25 Creative Street Photography Ideas
- Why Everyone is Talking About AI-Powered Mirrorless Tech
- The Biggest Photography News Today
Luminar Neo’s Sky AI, atmosphere AI and SuperSharp are designed for landscape work — replace flat skies, add depth, and recover detail in seconds. Tagged as affiliate per FTC.