Look at that little dial on top of your camera. You see that big, intimidating "M"? For most beginners, that letter might as well stand for "Mistake" or "Mystery." You’ve probably spent most of your time in the "Green Square" (Auto) or maybe ventured into Aperture Priority if you were feeling spicy.
But here’s the truth: if you stay in Auto, you’re letting a computer chip make all the creative decisions for you. And while modern cameras are incredibly smart, they don’t have a soul. They don't know if you want that waterfall to look like silky ribbons or if you want that street performer frozen in a split second of action.
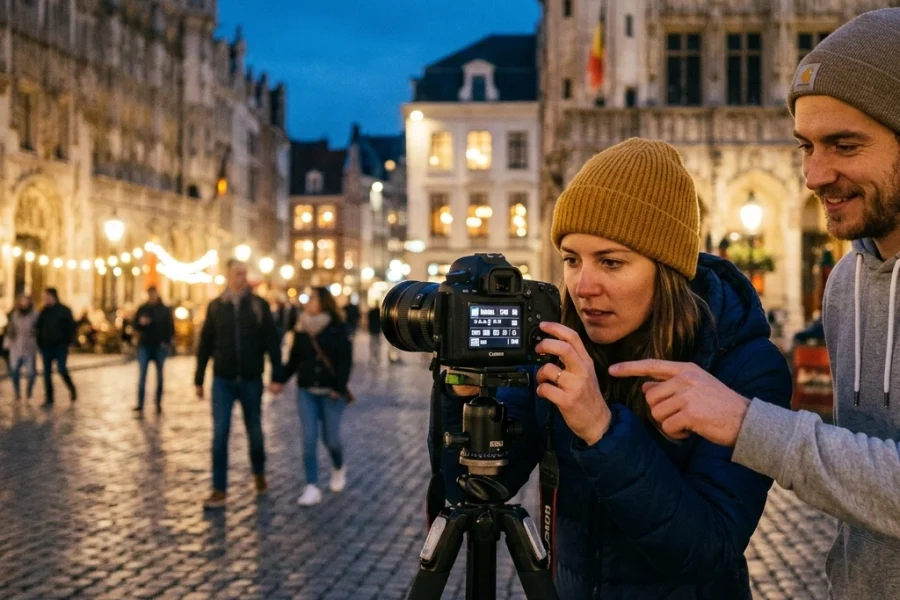
Mastering manual mode is the moment you stop "taking" photos and start "making" them. It’s the difference between a snapshot and a work of art. If you're serious about your craft, you need to check out our comprehensive photography courses to really dive deep, but for now, let’s break down the wall and get you shooting in Manual today.
The Secret Sauce: The Exposure Triangle
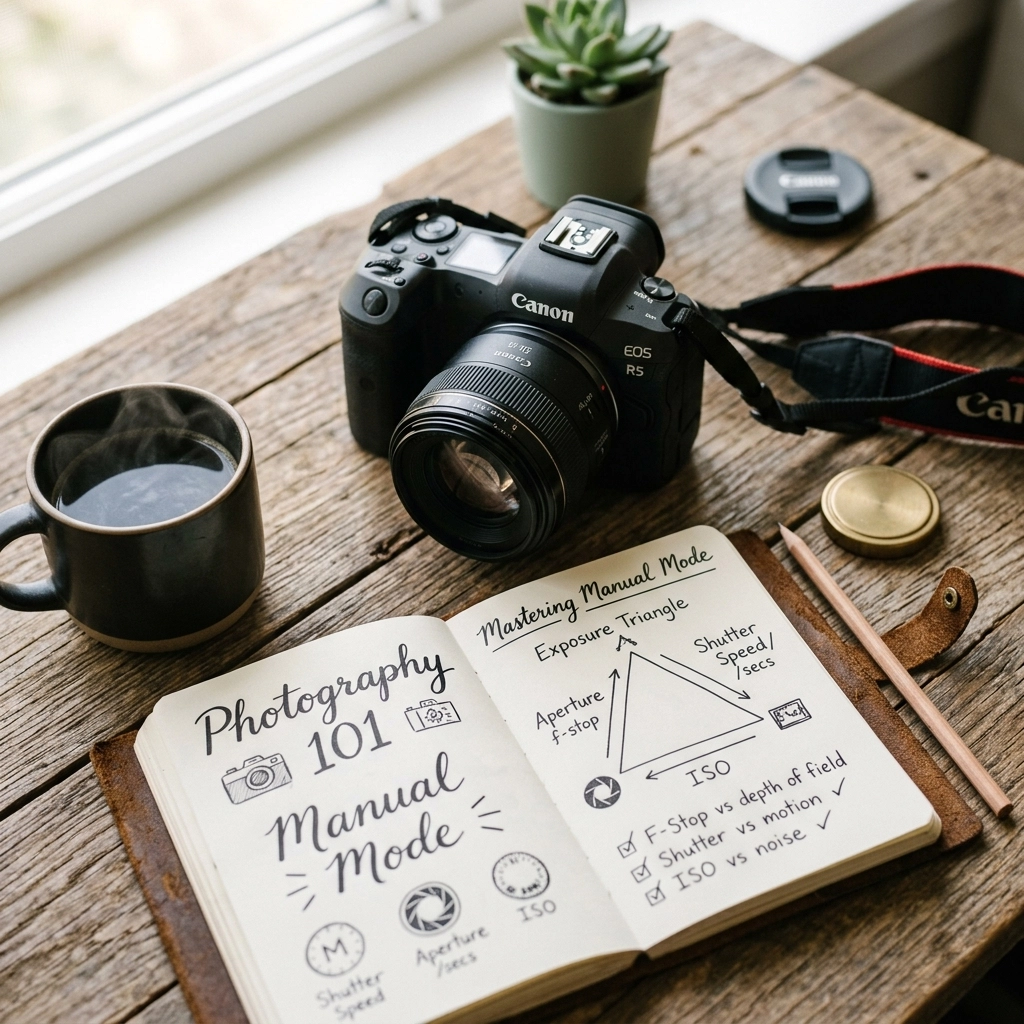
If you want to master manual mode, you have to understand the Exposure Triangle. It sounds like something out of a math textbook, but it’s actually pretty simple. It consists of three elements: Aperture, Shutter Speed, and ISO.
Think of these three as a three-legged stool. If you adjust one leg, you have to adjust the others to keep the stool level. In photography, "level" means a perfectly exposed photo: not too bright, not too dark.
1. Aperture (The "F-Stop")
Aperture is the opening in your lens. It’s like the pupil of your eye. When it’s dark, your pupil gets bigger to let in more light. When it’s bright, it shrinks.
In photography, we measure this in "f-stops" (like f/1.8, f/4, or f/16). Here is where it gets slightly confusing for beginners: The smaller the number, the bigger the opening.
- Large Aperture (f/1.8, f/2.8): Lets in tons of light. This creates a "shallow depth of field," which is that creamy, blurred background everyone loves. It’s perfect for professional corporate headshots.
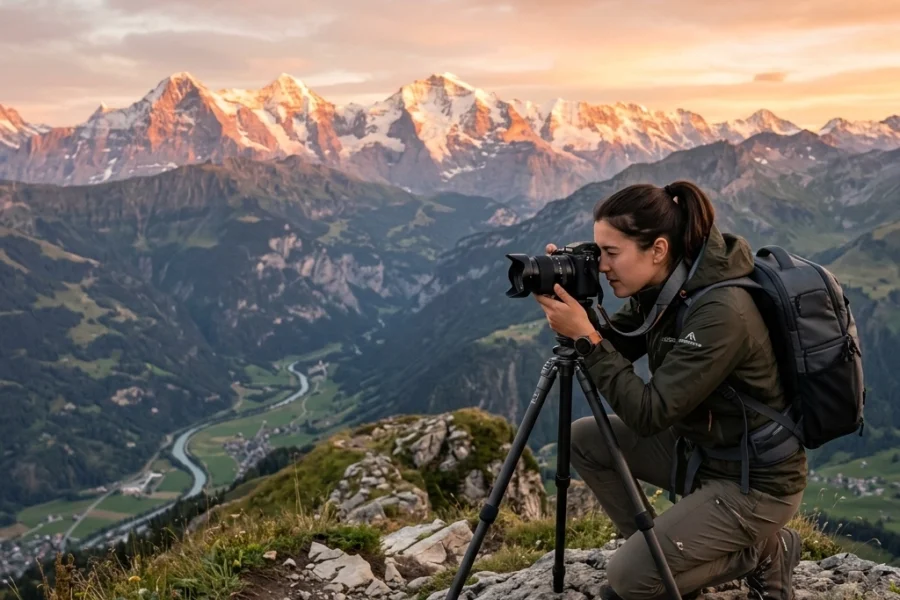
- Small Aperture (f/11, f/16): Lets in very little light. This keeps everything from the foreground to the background in sharp focus. This is the go-to for landscape photography.

2. Shutter Speed (The "Time" Factor)
Shutter speed is how long the camera's sensor is exposed to light. It’s measured in fractions of a second (1/1000, 1/250, 1/2).
- Fast Shutter Speed (1/1000 or higher): Freezes action. If you’re shooting sports or a bird in flight, you need speed.
- Slow Shutter Speed (1/30 or lower): Blurs motion. This is how you get those "milky" water shots or light trails from cars.
If you’re shooting handheld, be careful. If your shutter speed is too slow, your pulse alone will cause "camera shake," making the whole image blurry. A good rule of thumb is to never shoot slower than 1/60 without a tripod. For more specialized setups, like Nikon Zf settings for real estate, you’ll often find yourself using slower speeds on a tripod to get the perfect interior shot.
3. ISO (The "Sensitivity")
ISO is your camera sensor's sensitivity to light.
- Low ISO (100-400): Best for bright, outdoor light. It gives you the cleanest, sharpest images.
- High ISO (1600-6400+): Necessary for low-light situations, like a dark reception or a concert.
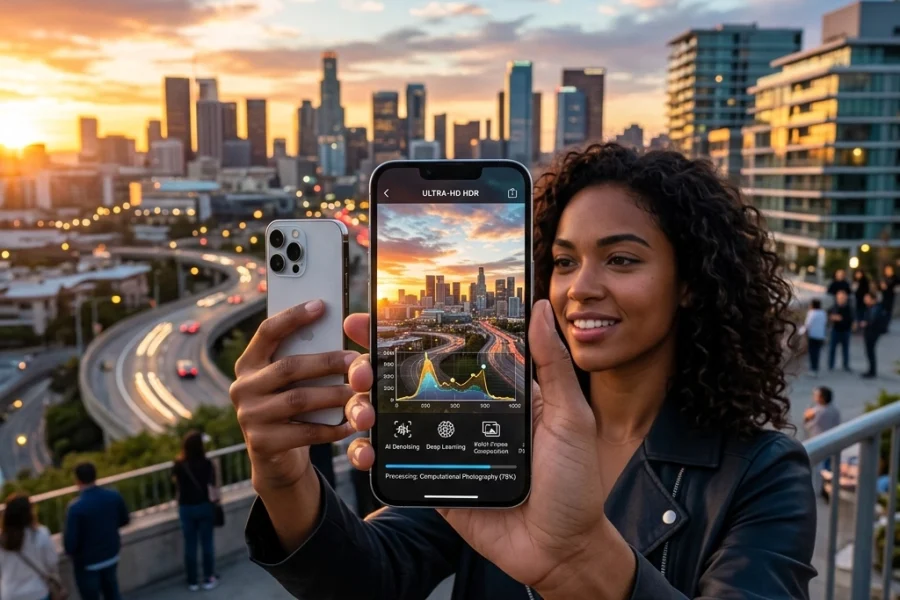
The trade-off? The higher the ISO, the more "noise" or grain you’ll see in your photo. While modern AI-powered mirrorless tech: which you can read about here: has gotten incredibly good at handling high ISO, you still want to keep it as low as possible for maximum quality.
Reading the Light: Your Camera’s Built-in Meter
How do you know if your settings are "right"? Your camera actually tells you. Inside your viewfinder (or on your screen), there’s a little scale that looks like this:
-2 . . . -1 . . . 0 . . . +1 . . . +2
This is your Exposure Meter. As you change your shutter speed, aperture, or ISO, a little "tick" mark will move along this scale.
- If the mark is at 0, the camera thinks the exposure is perfect.
- If it’s in the minus side, your photo will be too dark (underexposed).
- If it’s in the plus side, your photo will be too bright (overexposed).
Pro Tip: The camera is a robot. It tries to make everything "middle grey." If you’re shooting a bright white snow scene, the camera might try to make it darker to hit that "0" mark. In those cases, you actually want the meter to be slightly on the "+" side. Understanding these nuances is a huge part of mastering your first camera.

Why You Should Stop Fearing Manual Mode
Most people stick to Auto because they are afraid of missing the shot. They think, "What if a cool bird flies by and I’m busy fiddling with my dials?"
Here’s the thing: once you learn Manual, you actually become faster. You start to anticipate the light. If you’re walking down a street and you move from the sun into the shade, you’ll know instinctively to drop your shutter speed or open your aperture before you even lift the camera to your eye. That’s the level of control you see in street photography experts.
Using manual mode also forces you to think about style. In Auto, the camera doesn't know if you want a blurry background for a portrait or a sharp background for a mountain range. It just guesses. When you take control, you're the boss.
Putting It Into Practice: A Step-By-Step Workflow
When you first switch to "M," don't panic. Follow this simple workflow:
- Set your ISO first. If it’s sunny, go with ISO 100. If it’s cloudy, try 400. If you’re indoors, start at 1600.
- Decide on your Aperture. Do you want a blurry background? Go for a low number (like f/2.8). Do you want everything sharp? Go for f/8 or f/11.
- Adjust your Shutter Speed. Point your camera at your subject and look at that exposure meter. Dial your shutter speed wheel until the marker hits "0."
- Take the shot and check. Look at your screen. Is it too dark? Slow down your shutter speed. Too bright? Speed it up.
If you find yourself making mistakes, don't worry. We’ve all been there. Check out our guide on the 7 mistakes you’re making with manual mode to see how to fix common blunders.
The Role of Post-Processing
Even the best manual exposure can benefit from a little polish. Back in the day, photographers spent hours in a darkroom. Today, we use software. When you’re editing your shots in Luminar, you can recover highlights or shadows that you might have slightly missed in the field.
However, don't use editing as a crutch. The goal is to get it as close to perfect "in-camera" as possible. This saves you time and ensures you have the highest quality data to work with. For more technical deep dives on gear and processing, PhotoGuides.org is a fantastic resource to keep in your bookmark bar.

Creative Control: Moving Beyond "Correct" Exposure
Once you understand how to get a "0" on the meter, the real fun begins. "Correct" exposure is subjective. Sometimes, a "wrong" exposure is actually more artistic.
- High Key Photography: This is when you intentionally overexpose (going to +1 or +2 on the meter) to create a bright, airy, and ethereal look. It’s very popular in fashion and some portrait photography techniques.
- Low Key Photography: This is when you underexpose to create deep shadows and a moody, dramatic feel. Think of those cool, dark portraits where only half the face is lit.
You can't do this easily in Auto mode. The camera will constantly try to "fix" the exposure and ruin your vibe. Manual mode is your ticket to creative freedom.
Gear Matters (But Not as Much as You Think)
You don't need a $5,000 setup to master manual mode. Whether you’re using a used DSLR or the latest mirrorless cameras for 2026, the principles remain exactly the same. The buttons might be in different places, but Aperture, Shutter Speed, and ISO are universal constants in the world of photography.
If you're feeling overwhelmed by all the buttons, take a breath. Spend an afternoon just focusing on one element. Spend Saturday only changing your Aperture. Spend Sunday only playing with Shutter Speed. By the end of the weekend, the "mystery" of that "M" dial will start to fade.
White Balance: The Final Piece of the Puzzle
While the Exposure Triangle handles brightness, White Balance handles color. Have you ever taken a photo indoors and everyone looked like they had a bad spray tan? That’s because of incorrect White Balance.
In Manual mode, you can also set your White Balance manually.
- Daylight/Sunny: Adds a bit of warmth.
- Cloudy: Adds more warmth to counteract the blueish tint of a grey day.
- Tungsten: Adds blue to counteract the orange glow of indoor lightbulbs.
Getting this right in the field means less work later when you're fine-tuning in Luminar.

Summary of the "M" Mode Mindset
Mastering manual mode is a rite of passage. It marks the transition from someone who just happens to have a camera to someone who is a photographer. It requires patience, a bit of failure, and a lot of practice.
Don't be afraid to mess up. In the digital age, a "failed" photo costs you nothing but a tiny bit of space on an SD card. Experiment, push your settings to the limit, and see what happens. If you want to see how the pros handle it and stay up to date with the industry, keep an eye on the biggest photography news stories to see how new tech is making manual control even more powerful.
For more inspiration and a look at how these technical skills translate into fine art, you can always check out Edin Fine Art or read more personal insights over at Edin’s Blog.
Now, go grab your camera, turn that dial to "M," and go find some light. You’ve got this. If you want a structured way to level up, don't forget to visit Shut Your Aperture's learning portal for more guides and tutorials.