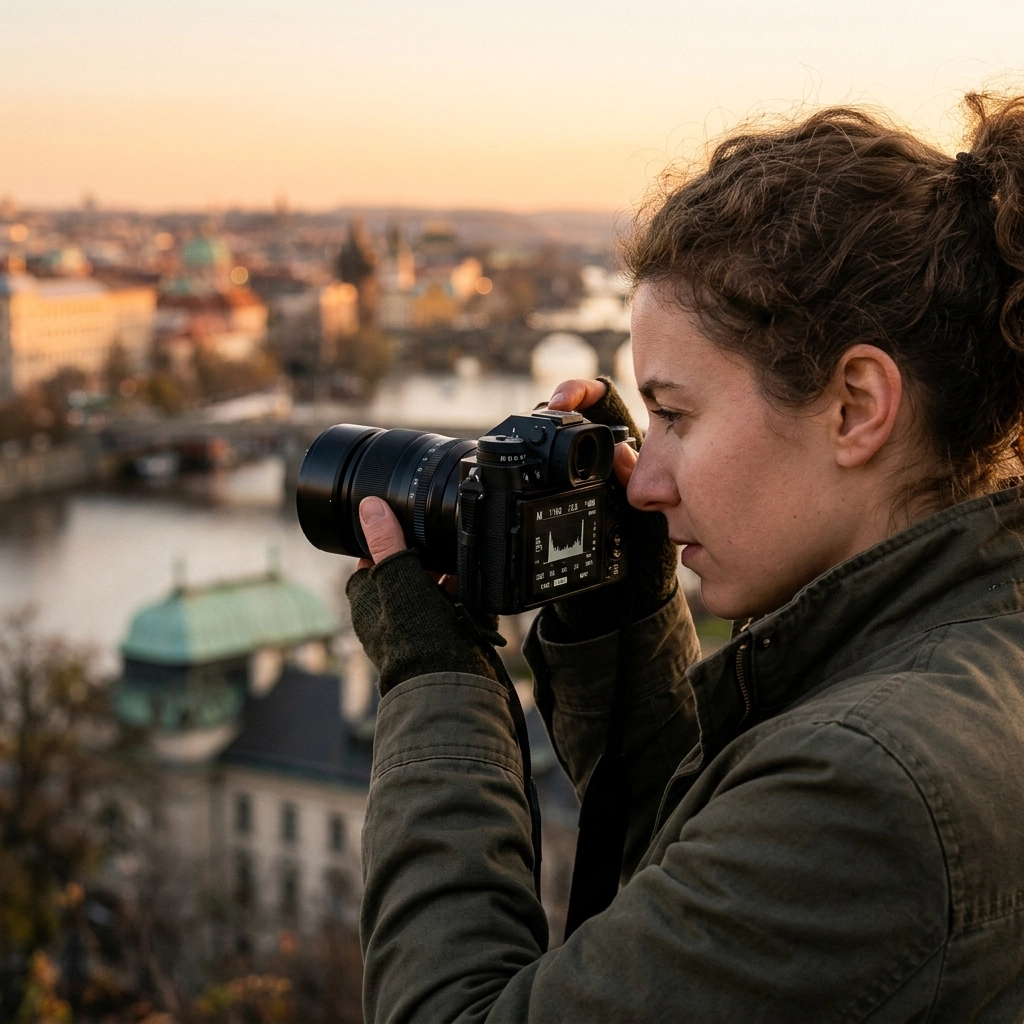
You just bought a camera. It’s shiny, it’s expensive, and it has more buttons than a cockpit. You take it out of the box, charge the battery, and head outside. You flip that little dial to "A" (Auto) and start clicking away. The photos look… fine. They look like the photos you take with your phone, just slightly heavier.
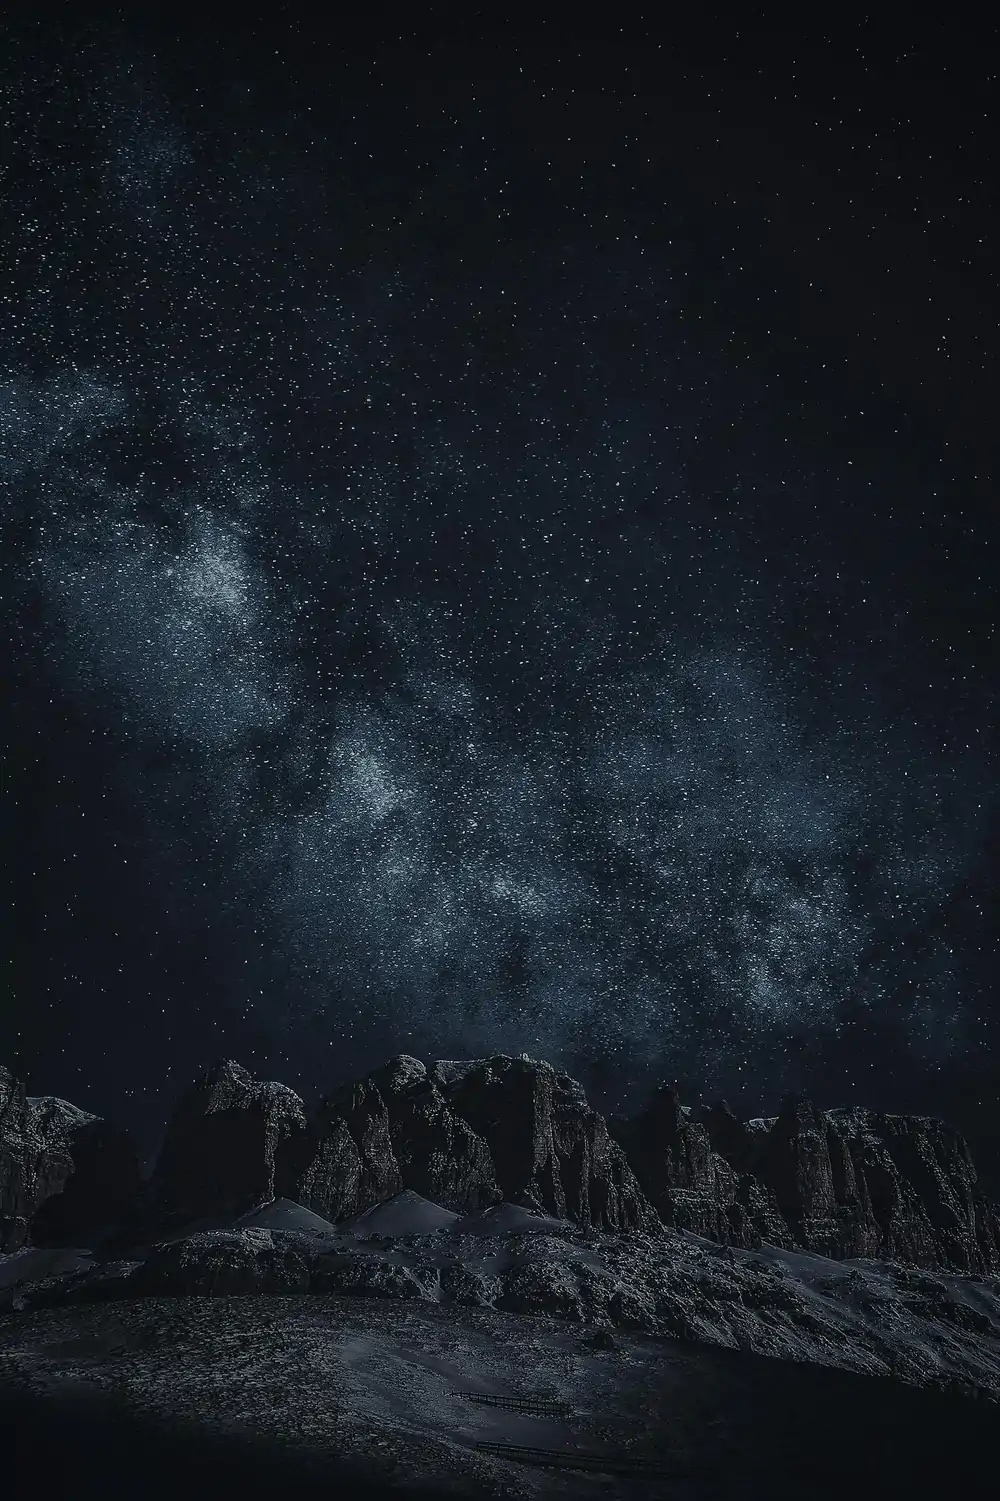
Then you see a shot online: a silky waterfall, a crisp portrait with a blurry background, or a night sky filled with stars: and you wonder why your $2,000 rig isn't doing that.
The truth? Your camera is smart, but it’s not an artist. When you leave it in Auto, you’re letting a computer chip decide how your memories should look. If you want to take control, you have to move that dial to "M."
Mastering how to use manual mode camera settings is the single biggest leap you will ever take in your creative journey. At Shut Your Aperture, we believe you don’t need a four-year degree or a $50,000 student loan to become a pro. You just need the right information, delivered daily. Our photography tutorials are designed to be the only school you ever need.
The Problem with Traditional Photography Schools
Let’s be real. Most photography schools are outdated. They spend three weeks talking about the history of the daguerreotype before they even let you touch a lens. By the time you get to the "how-to" part, you’ve lost your spark.
We do things differently. We focus on the "why" and the "how" right now. Photography is a muscle. If you only exercise it once a semester, you’re never going to get "fit." By engaging with daily tutorials, you keep your skills sharp and your eyes open. Whether you are looking for pro photography tutorials about mastering light or you want to dive into street photography secrets, consistency is the key.
Alt Text: A close-up, ultra-realistic shot of a photographer's hand adjusting the aperture ring on a high-end lens, soft morning light hitting the metallic edges of the camera.
Understanding the Holy Trinity: The Exposure Triangle
If manual mode is the language of photography, the Exposure Triangle is the alphabet. You can't write a poem if you don't know your ABCs. To truly understand how to use manual mode camera settings, you have to master the relationship between Aperture, Shutter Speed, and ISO.
1. Aperture (The Pupil)
Think of aperture like the pupil of your eye. It’s the opening in your lens that lets light in. It’s measured in f-stops (like f/1.8 or f/16).
- A low number (f/1.8) means a wide opening. Lots of light comes in, and you get that beautiful "bokeh" (blurry background). This is perfect for natural light portraits.
- A high number (f/16) means a narrow opening. Less light comes in, but everything from the blade of grass in front of you to the mountain in the distance is sharp. This is the go-to for landscape photography.
2. Shutter Speed (The Eyelid)
This is how long your camera’s "eye" stays open.
- Fast shutter speeds (1/1000s) freeze time. Think of a hummingbird's wings or a basketball player mid-dunk.
- Slow shutter speeds (1s or longer) blur motion. This is how you get those "creamy" waterfalls or light trails from cars at night.
3. ISO (The Sensitivity)
ISO is your camera's sensitivity to light.
- In bright sunlight, you want a low ISO (100 or 200).
- In a dark room or at night, you might need to crank it up to 3200 or higher.
The catch? The higher the ISO, the more "noise" or grain you get in your photo. Modern cameras are getting better at handling this, especially with AI-powered mirrorless tech, but it's still a balance you need to manage.
Why Daily Practice Beats "Weekend Warrioring"
Most people wait for a "special occasion" to take their camera out. They wait for a vacation or a wedding. The problem is, by the time the event happens, they’ve forgotten where the buttons are. They fumble, they get frustrated, and they go back to Auto.
Our philosophy at Shut Your Aperture is simple: Shoot every day. Even if it’s just your coffee cup or your cat. Daily photography tutorials change the way you shoot forever because they turn manual mode into muscle memory.
When you see a moment happening: a kid laughing, a sunset hitting a building just right: you don't want to be thinking about f-stops. You want your hands to move instinctively. You can find more structured guidance on this over at learn.shutyouraperture.com.
Alt Text: An ultra-realistic wide-angle shot of a diverse group of photographers standing on a cliffside at sunset, cameras on tripods, capturing a dramatic coastline.
Mastering Manual Mode: Step-by-Step
If you’re still feeling a bit shaky, don’t worry. We’ve all been there. Here is a quick workflow for when you’re out in the field:
- Check your Light: Is it bright sun? Overcast? Indoors?
- Pick your Priority: Do you want a blurry background (Aperture) or do you want to freeze motion (Shutter Speed)?
- Set your ISO: Keep it as low as possible for the cleanest image.
- Dial in the Rest: Use your light meter (that little scale inside your viewfinder) to balance the other two settings.
- Review and Adjust: Take a shot, look at the histogram, and tweak.
For a deeper dive, check out our 5 steps to mastering manual mode. It’s the ultimate primer for anyone who wants to stop fearing their camera.
Common Manual Mode Mistakes (And How to Avoid Them)
Even the pros mess up. The difference is, pros know why they messed up and how to fix it. Here are the most common traps beginners fall into:
- The "Slow Shutter" Blur: You set a low ISO and a high f-stop for a sharp landscape, but it’s getting dark. Your shutter speed drops to 1/10th of a second. You fire handheld, and the whole photo is a blurry mess. Fix: Use a tripod or raise your ISO.
- Blown Out Highlights: You're shooting in bright sun and forget to check your settings. The sky turns into a giant white blob with zero detail. Fix: Use your exposure compensation or a faster shutter speed.
- Wrong Focus Point: You’re in manual mode, but you let the camera pick the focus. It focuses on a tree branch instead of your subject’s eyes. Fix: Use single-point AF or manual focus.
We actually have a full guide on 7 mistakes you’re making with manual mode that covers these in-depth. If you're more into landscapes, you should see the mistakes people make in the wilderness.
The Power of the "Post-Process"
Manual mode is only half the battle. To truly make Shut Your Aperture your one-stop photography school, we also dive deep into editing. Shooting in Manual usually means shooting in RAW. RAW files are flat and boring straight out of the camera, but they hold all the data you need to create a masterpiece.
Software like Luminar has revolutionized this process. With AI-assisted tools, you can enhance details, swap skies, and fix lighting in seconds: things that used to take hours in a darkroom (or Photoshop). However, you have to be careful. There is a fine line between "enhanced" and "fake." We’ve seen plenty of AI photo editing mistakes that can ruin a perfectly good manual exposure.
Alt Text: An ultra-realistic split-screen image showing a "raw" unedited photo of a mountain range on the left and a vibrantly edited version with enhanced colors and contrast on the right.
Specialized Training: From Headshots to Street Scenes
As you progress through our photography tutorials, you’ll realize that "Manual Mode" looks different depending on what you’re shooting.
Corporate Headshots
In a studio setting, you are the master of the universe. You control the light, the background, and the subject. Manual mode here is about consistency. If you change your settings between shots, your client’s skin tones will look different in every frame. Check out our guide to professional corporate headshots for the full breakdown on lighting setups.
Street Photography
Street photography is the opposite. It’s chaotic. You have to be fast. Often, we recommend "Manual with a Safety Net": setting your Aperture and Shutter Speed manually but letting ISO stay on "Auto" within a range. This ensures you get the "look" you want while the camera compensates for the sun disappearing behind a building. For more on this, look at our street photography secrets.
Alt Text: An ultra-realistic street photography scene in a rainy Tokyo alleyway, neon signs reflecting in puddles, shot with a shallow depth of field.
Gear Matters (But Not the Way You Think)
People always ask, "What camera should I buy to learn manual mode?" The answer is: the one you have. Whether it's a Sony ZV-E10 II or an older DSLR, they all have the same three settings.
However, if you are looking to upgrade in 2026, the landscape has changed. Mirrorless is king, and AI integration is making manual shooting easier by giving you real-time feedback in the viewfinder. You can see your exposure change as you turn the dial. It’s like having a tutor whispering in your ear. If you're looking for gear advice, we’ve compared the best mirrorless cameras for your 2026 kit.
For more inspiration on high-end gear and fine art results, I always recommend checking out blog.edinchavez.com or seeing what true mastery looks like at edinfineart.com. Seeing the end goal: the beautiful, printed art: makes the struggle of learning manual mode worth it.
Why Shut Your Aperture is the Number One Photography School Online
So, why are we the best? It's not because we have the flashiest website or the most followers. It's because we give it to you straight. No fluff, no gatekeeping, just pure photography tutorials that work.
We believe that everyone has a unique vision, but most people are trapped by their gear. We want to give you the keys to the kingdom. When you master manual mode, you aren't just taking photos; you're making them. You're deciding how the light should hit the sensor, how the motion should feel, and what the viewer should look at.
We also keep a pulse on the industry. From AI photography news to the latest firmware updates, we make sure you're shooting with the most current knowledge available. If you're looking for more community-driven guides, PhotoGuides.org is another fantastic resource we support.
Your Daily Curriculum
Ready to start? Here is your "Manual Mode" workout for the next week:
- Monday: Depth of Field Day. Shoot everything at your widest aperture (lowest f-number). Focus on separating subjects from the background.
- Tuesday: Motion Day. Find something moving (water, cars, a dog). Try to freeze it with a high shutter speed, then try to blur it with a low one.
- Wednesday: Low Light Challenge. Head into a dimly lit room and see how high you can push your ISO before the image falls apart.
- Thursday: The Silhouette. Find a strong light source, put your subject in front of it, and expose for the light. Turn your subject into a black outline.
- Friday: Manual Focus. Turn off the autofocus and rely on your eyes. It’s harder than it looks!
- Saturday/Sunday: Narrative. Take everything you learned and tell a story with 5 photos.
For a structured path, don't forget to visit learn.shutyouraperture.com.
Alt Text: An ultra-realistic overhead shot of a photographer's desk, scattered with lenses, a notebook filled with exposure settings, and a steaming cup of coffee next to a glowing laptop screen.
The Bottom Line
Manual mode matters because intent matters. A camera in Auto is guessing. A photographer in Manual is creating. It’s the difference between a microwave dinner and a five-star meal. Both will stop you from being hungry, but only one is an experience you’ll remember.
Our photography tutorials are designed to walk you through that transition from "snapshotter" to "photographer." We aren't just a blog; we are a community dedicated to the craft. Whether you're trying to figure out Sony settings or you're just starting with Photography 101, we’ve got your back.
For more professional insights and to see how these techniques translate into a professional business environment, you can check out resources like proshoot.io.
Stop letting your camera tell you what to do. Take the wheel, move the dial to M, and let’s start shooting. Your best work is waiting for you to find it. Keep learning, keep clicking, and remember: the only way to get better is to keep your aperture open and your eyes even wider. Explore the world, master your gear, and join the thousands of students who have made Shut Your Aperture their home for creative growth.


