Let’s be real for a second. You’ve probably spent more time watching YouTube tutorials about photography than you have actually holding your camera. We’ve all been there. It’s 2:00 AM, you’re in a deep rabbit hole of "How to get the cinematic look," and you feel like a pro. But then you go out the next day, try to recreate that magic, and your photos look… well, flat.
The problem isn't the tutorials. We live in an era where some of the world's best photographers are giving away their secrets for free (or close to it). The problem is how we consume that information. In 2026, with the 2026 camera shift changing how we view digital art, the way we learn has to evolve too.
If you want to stop spinning your wheels and actually start seeing an improvement in your portfolio, you need to identify the traps you're falling into. Here are the seven most common mistakes people make with online photography tutorials and, more importantly, how to fix them right now.
1. The "Netflix Binge" Syndrome
The biggest mistake is treating a photography tutorial like a sitcom. You sit back, eat some popcorn, and watch ten videos in a row. You feel like you're learning, but you're actually just experiencing the "illusion of competence." Your brain recognizes the information, but your hands don't know how to execute it.
When you binge-watch, the details of the first video are overwritten by the third, and by the time you're on the tenth, you've forgotten the specific settings or techniques that actually mattered.
The Fix: The 1:1 Ratio
For every hour you spend watching a tutorial, you must spend at least one hour with your camera in your hand. If you watch a video on mastering manual mode, don't move on to the next video until you've actually adjusted your shutter speed and aperture to see the effect in person.
Active learning beats passive consumption every single time. If you really want to level up, check out the structured courses at https://learn.shutyouraperture.com/ instead of just clicking "next" on a random playlist.

2. Copying Settings Instead of Concepts
I see this in every comment section. "What was your ISO for this shot?" or "Can you share your Lightroom preset?"
Copying a photographer’s settings is like wearing someone else’s glasses. It worked for their eyes (their lighting, their subject, their lens), but it’s going to make everything blurry for you. A tutorial might tell you to shoot at f/2.8, but if you’re shooting a landscape at noon instead of a portrait at sunset, that setting is useless.
Many beginners fall into this trap and then wonder why their shots don't look like the ones on Edin Fine Art.
The Fix: Ask "Why," Not "What"
Instead of looking at the numbers on the screen, listen to why the photographer chose them. Did they use a fast shutter speed to freeze motion or a slow one to create a blur? Did they use a wide aperture to separate the subject from the background? Once you understand the concept of exposure and depth of field, you can adapt to any lighting situation. This is the core of photography for beginners. Learn the "why," and the "how" becomes easy.
3. The Gear Gap Obsession
You watch a tutorial titled "How to take professional portraits," and the creator is using a $6,000 Sony A1 with a $2,500 G-Master lens. You look at your entry-level DSLR or your three-year-old mirrorless and think, "Well, I guess I can't do that."
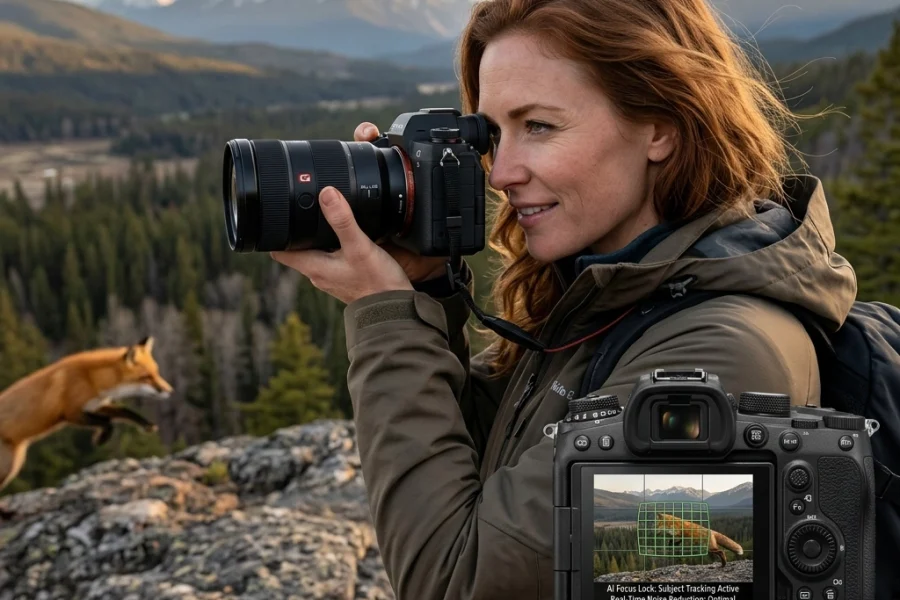
This is a massive psychological barrier. Tutorials often showcase the best gear because that’s what pros use, but the principles of light, composition, and storytelling are universal. Whether you're using a phone or a top-of-the-line AI-powered mirrorless camera, the basics don't change.
The Fix: Focus on Limitations
Instead of wishing you had their gear, try to achieve 80% of their result with what you have. If they are using a 85mm f/1.4 lens for a blurry background, and you only have a 50mm f/1.8, move your subject further from the background to compensate. Learning to work around your gear's limitations will actually make you a better photographer than someone who just buys their way out of a problem. If you are looking to upgrade, make sure you're choosing the best mirrorless cameras for your specific needs.

4. Skipping the "Boring" Foundations
Everyone wants to learn how to do "Epic Milky Way Photography" or "High-Fashion Retouching," but they haven't mastered the exposure triangle yet. It’s like trying to build a mansion on a foundation of sand.
Online tutorials are usually focused on specific "wins" because that's what gets views. They don't always tell you that you need to understand how light works before you can manipulate it. If you skip the basics, you'll constantly find yourself making common mistakes with manual mode and getting frustrated.
The Fix: Build a Personal Curriculum
Don't just click on whatever the algorithm feeds you. Be intentional. If you're a beginner, start with a solid Photography 101 guide. Master one thing at a time. Master exposure, then move to composition, then lighting, and finally post-processing. A great place to find foundational advice is PhotoGuides.org, where they break down complex topics into digestible pieces.
5. Software Blindness (The "Only One Way" Myth)
If a tutorial is recorded in Adobe Lightroom, many people assume the techniques don't apply to them because they use different software. Or worse, they feel forced to pay for a subscription they don't want.
The truth is, editing is about color theory, contrast, and balance. Whether you use Lightroom, Photoshop, or Luminar, the goals are the same. In fact, modern tools like Luminar have made many of the complex "pro" techniques from five years ago obsolete because AI can now handle things like sky replacement or skin retouching in seconds.
The Fix: Translate the Techniques
When you see a photographer pull down the "Highlights" slider in one program, realize they are just trying to recover detail in the bright areas. You can do that in almost any editing suite. Don't get hung up on the interface. Focus on the visual change. If you're into landscape work, you'll see that avoiding landscape photography mistakes is more about your eye than the specific software buttons you press. That said, using Luminar can seriously speed up your workflow if you're tired of the old-school manual slog.

6. Ignoring the Importance of Light
Many tutorials focus heavily on camera settings and post-processing but gloss over the quality of light. You can follow a portrait photography tutorial to the letter, but if you're shooting in harsh, midday sun while the instructor was shooting in soft "Golden Hour" light, your photo will never look the same.
Beginners often think they can "fix it in post," especially with the rise of AI photo editing. While AI is powerful, it can't fix a fundamentally bad understanding of light.
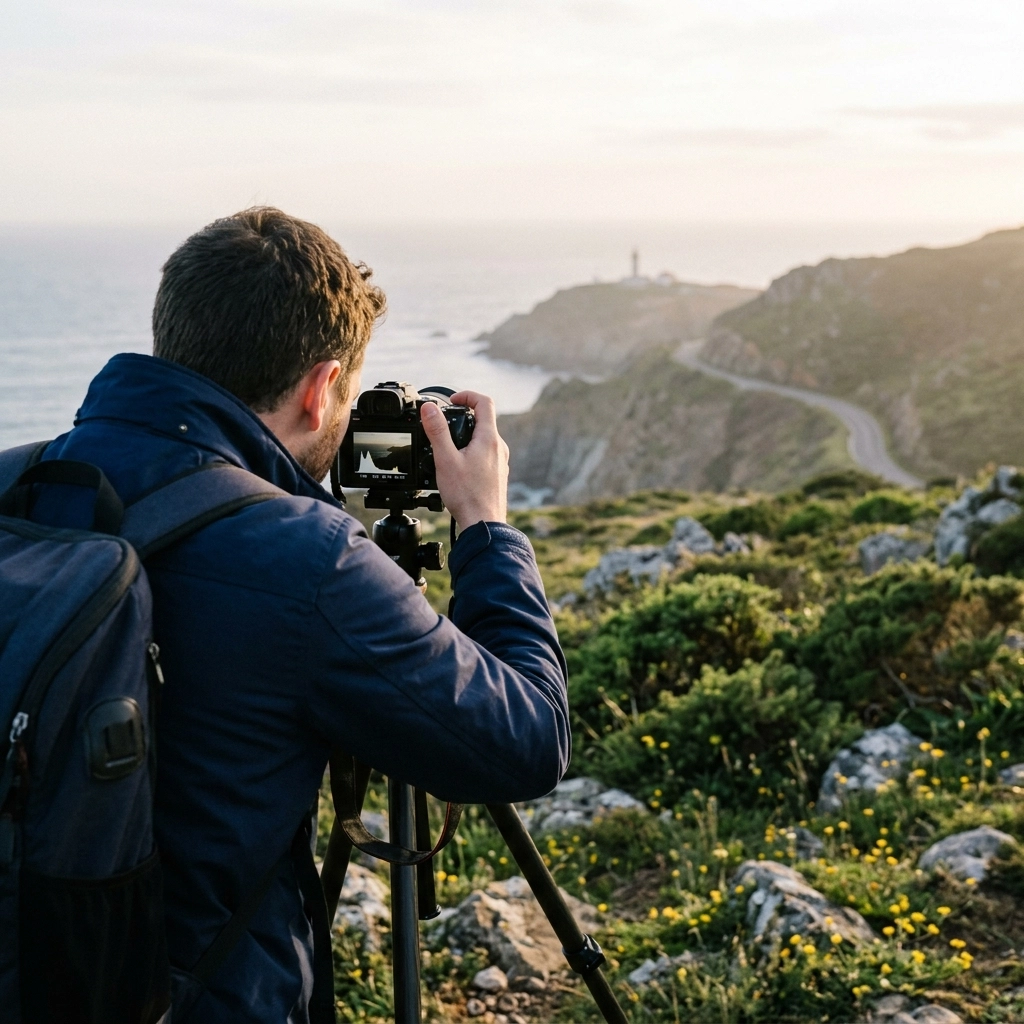
The Fix: Become an Observer of Light
Before you even pull your camera out, look at how the light is hitting your subject. Is it soft? Is it hard? Where are the shadows falling? A great exercise is to watch a tutorial and specifically look for where the light source is located. If you want to see how light transforms a professional shot, check out the work on blog.edinchavez.com. You'll notice that the camera choice is secondary to how the light is captured.
7. Working in a Vacuum (No Feedback)
You watch a tutorial, you take a photo, you think it looks okay, and you move on. The problem? You have no one to tell you what you’re doing wrong. We are all biased toward our own work. You might be making the same corporate headshot mistakes over and over again because no one has pointed out that your lighting is too flat or your crop is awkward.
Online tutorials are a one-way street. They talk at you, but they don't listen to you.
The Fix: Join a Community and Get Critiqued
Don't just post your photos on Instagram for "likes." Post them in forums or groups where people give honest, constructive feedback. Ask specifically: "I followed a tutorial on X technique, how did I do?"
If you're doing professional work, like corporate headshots, getting feedback is even more critical. You need an outside eye to catch the things you’ve become blind to.

Bonus: How to Actually Learn from Tutorials in 2026
The landscape of photography is changing fast. With AI integration becoming the norm, tutorials are shifting from "how to click a button" to "how to have a vision." Here is a quick checklist to make sure your next tutorial session is actually productive:
- Set a Goal: Don't just "watch photography videos." Decide you want to learn "how to use a polarizing filter" or "how to edit for a moody vibe."
- Take Notes: Physical notes. Write down the key takeaways. It forces your brain to process the info.
- The "One-Week" Rule: Try to use the technique you learned within seven days. If you don't use it, you'll lose it.
- Experiment: Once you've copied the tutorial successfully, change one thing. What happens if you use a different color grade? What if you change the focal length? This is where your personal style is born.
Photography is a journey of a thousand shutter clicks, not a thousand YouTube views. Tutorials are the map, but you still have to walk the path. Stop making these mistakes, get out there, and start shooting. For more in-depth training that goes beyond the surface-level stuff, make sure to visit The Ultimate Guide to Photography Tutorials.
The technology might be changing with all the latest AI photography news, but the heart of a good image is still about the person behind the lens. That's you. Now go make something awesome.