We’ve all seen the videos. A high-energy YouTuber clicks a single button, and suddenly, a cluttered alleyway becomes a pristine Parisian street. A slider moves two inches to the right, and a flat, grey landscape transforms into a National Geographic cover. They make it look like magic, and they make it look instant.
But here’s the cold, hard truth: most of those "one-click" tutorials are lying to you.
As we roll through 2026, photo editing software has reached a level of sophistication we couldn't have dreamed of five years ago. We’re talking about Photoshop 27.6, Firefly 5, and AI-driven engines that can literally rotate a flat object in 3D space. But the "secrets" the experts keep to themselves aren't about which button to click: it’s about what they do after the click.
At Shut Your Aperture, we’re all about cutting through the fluff. If you’re tired of your edits looking "almost there" but still a bit fake, pull up a chair. We’re pulling back the curtain on what the pros are actually doing with the latest software updates.
1. The AI "First Draft" Fallacy
The biggest secret in the industry right now is that AI is a fantastic intern but a terrible boss.
When you see a pro use the "Distraction Removal" or "Generative Fill" tool, they aren't done once the progress bar disappears. Experts view AI as a "rough pass." It gets them 80% of the way there in five seconds, which is a massive time-saver, but that final 20% is where the actual skill lives.
If you’ve been struggling with AI results, you’re likely making some of the 7 mistakes you’re making with AI photo editing.
The Expert Workflow:
- The Nuke: Use AI to remove the obvious stuff: the tourists, the trash cans, the stray power lines.
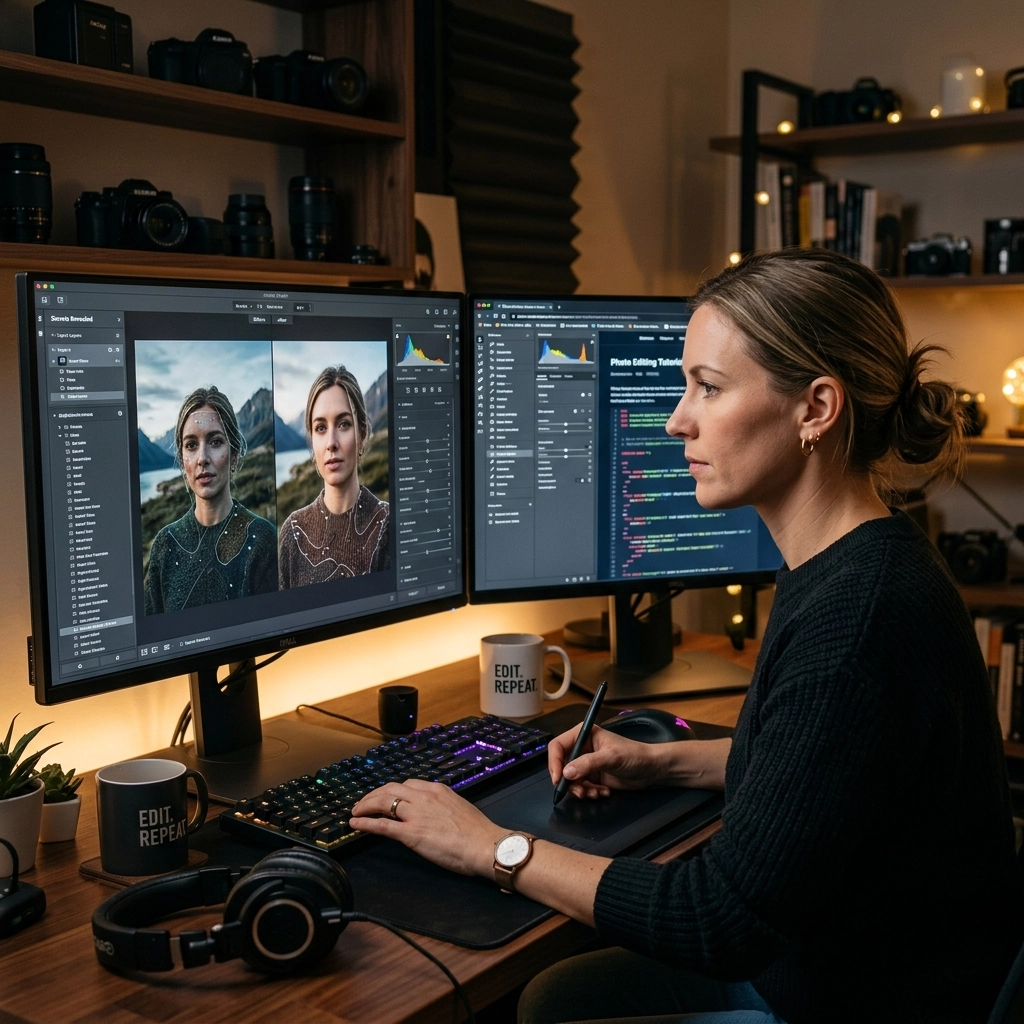
- The Zoom: They zoom in to 200%. AI loves to leave "melty" textures or repeating patterns that scream "I was edited by a robot."
- The Manual Finish: They go back in with the Clone Stamp or Healing Brush on a new layer to fix the edges and restore natural grain.
AI doesn't understand the "soul" of a texture; it just understands math. You have to be the one to bring the human touch back into the pixels.

2. The Non-Destructive Religion
If you open an expert's Photoshop file and see only one layer named "Background," that person isn't an expert: they’re a gambler.
The latest updates to software like Photoshop and Luminar have made non-destructive editing easier than ever, yet beginners still ignore it. Pros live by the rule: If you can’t undo it three days from now, don't do it.
Recent updates have introduced "Clarity" and "Dehaze" as adjustment layers rather than just sliders in a menu. This is huge. It means you can mask those effects into specific parts of the image without "burning" the pixels.
Pro Tip: Always convert your base layer into a Smart Object. This allows you to run filters: like the Camera Raw Filter or Smart Sharpen: and go back to tweak the settings at any time. It’s the difference between painting a wall and using wallpaper. If you hate the wallpaper, you just peel it off. If you painted it, you’re stuck scrubbing.
If you're still getting the hang of how to manage your camera settings before you even get to the editing stage, check out our guide on how to master manual mode.
3. The 2.5D Illusion: Rotating the Un-rotatable
One of the flashiest features in recent updates is the "Rotate Object" tool. It looks like black magic: taking a flat photo of a car and slightly turning it to see more of the side profile.
Tutorials make it look like the software is creating a 3D model. It’s not. It’s a very smart warp.
The secret experts won't tell you? This tool looks like hot garbage if you don't handle the physics of light manually. When you "rotate" an object in a photo, the shadows and reflections don't automatically move with it in a way that looks realistic.
The Expert Fix:
- They cut the object out perfectly using the Pen Tool first.
- After the rotation, they manually paint in "contact shadows" where the object meets the ground.
- They use separate layers for reflections, often lowering the opacity and adding a slight Gaussian blur to make the object feel "seated" in the environment.
Without these manual steps, your "Rotate Object" edit will look like a cardboard cutout.
4. The Raw Truth: Why the "Edit" Starts in Camera
Many tutorials start with a JPG or a file already opened in Photoshop. Real pros spend 70% of their time in the Raw processor (Lightroom, Adobe Camera Raw, or the Luminar Neo engine).
With the 2026 updates, Raw processors have become incredibly powerful. Features like AI Denoise and Lens Correction are now so good that if you aren't using them, you're starting a race with a flat tire.
Experts use the Raw stage to set the "bones" of the image:
- White Balance: Get it perfect here, or you'll be fighting color shifts for hours in Photoshop.
- Profiles: They don't just stay on "Adobe Color." They use custom camera profiles that match the mood.
- Global Tone: They push the highlights and shadows to the limit of what the sensor can handle before they ever touch a retouching tool.
If you want to dive deeper into why these updates are shifting the landscape, read about why the latest AI photography news will change the way you edit forever.

5. Generative Upscale: The "End of the Line" Tool
"Generative Upscale" is the shiny new toy of 2026. It allows you to take a low-resolution crop and blow it up to billboard size using AI to "invent" missing detail.
But here’s the secret: Pros only use it at the very end.
If you upscale an image at the beginning of your workflow, you’re now editing a massive file with "invented" textures. This can lead to weird artifacts when you try to apply skin softening or color grading.
The Pro Strategy:
- Edit at the native resolution.
- Do all your color work and retouching.
- Upscale only if needed for print.
- Always check the "eyes" and "teeth": AI tends to get weird with these when upscaling, and you’ll often need to mask back in the original (even if it’s soft) to keep it looking human.
For more on the hardware side of things, see how to choose the best mirrorless camera in 2026.
6. Firefly 5 and Partner Models: Being Selective
In 2026, we have access to "Partner Models" (like Topaz integration within Photoshop). The tutorials tell you to use them for everything. The experts tell you to use them for specific problems.
For example, Topaz is still the king of sharpening and extreme noise recovery, while Firefly 5 is the king of "Generative Match": where you can upload a reference image to tell the AI what style of background you want.
Pros don't just "run the AI." They select the specific model for the specific task. They treat their software like a toolbox, not a "make art" button.
To really master these concepts, you should check out the advanced modules at learn.shutyouraperture.com.
7. Automation is for Discipline, Not Creativity
Modernized "Actions" and "Macros" are often sold as a way to "get the look" of a pro. But experts don't use actions to be creative; they use them to be boring.
A pro action doesn't "make the photo look vintage." A pro action:
- Creates a Frequency Separation stack.
- Sets up a 50% Gray layer for Dodge & Burn.
- Names all the layers correctly.
- Sets the color space to sRGB for web export.
They automate the setup so they can spend their brainpower on the art. If you're spending 20 minutes just setting up your layer stack, you're losing the creative flow.

8. Don't Let the AI Dictate Your Style
This is perhaps the most guarded secret of all. With all these "Auto" features, photos are starting to look… the same. The "AI Look" is characterized by hyper-smooth skin, perfectly blue skies, and shadows that are a bit too clean.
Experts actively fight the software to maintain their unique "voice."
How to Stay Unique:
- Lower the Opacity: Never use an AI effect at 100%. Usually, 30-50% is the "sweet spot" where it fixes the problem without looking like a render.
- Add Grain: AI-generated content is often too "clean." Adding a subtle layer of film grain at the end can tie the whole image together and make it feel like it was shot on a real camera.
- Manual Color Grading: Don't rely on the AI to "Match Color." Use Curves and Selective Color to create a palette that is yours and yours alone.
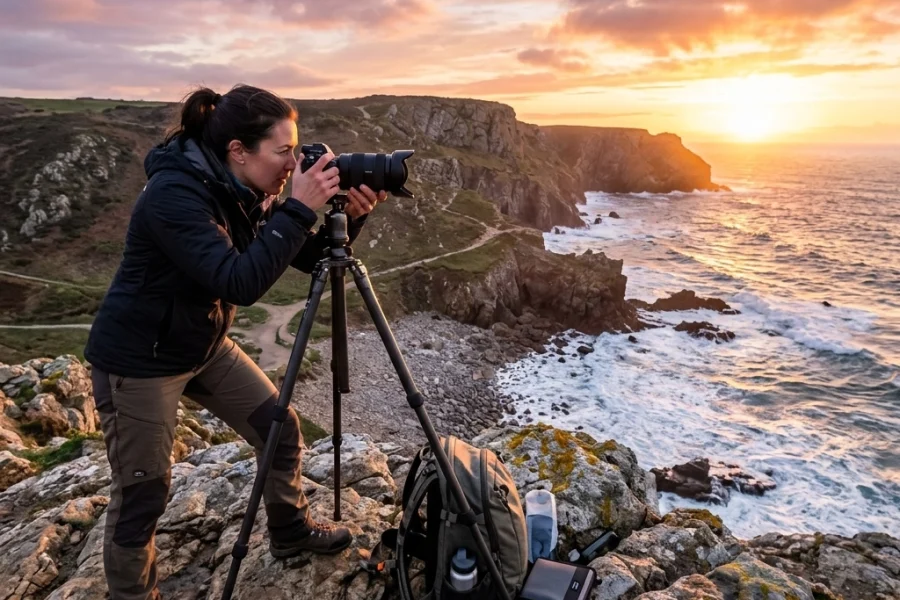
If you're into landscape work, you'll know that maintaining a natural feel is everything. Check out our ultimate guide to landscape photography for more on that.
9. The Fundamentals Are Still King
You could have the latest 2026 neural-processor-equipped workstation and the most expensive software, but if you don't understand light, you're just polishing a turd.
Experts know that a well-exposed, well-composed image needs very little "magic" from software updates. The software is there to enhance the vision, not create it.
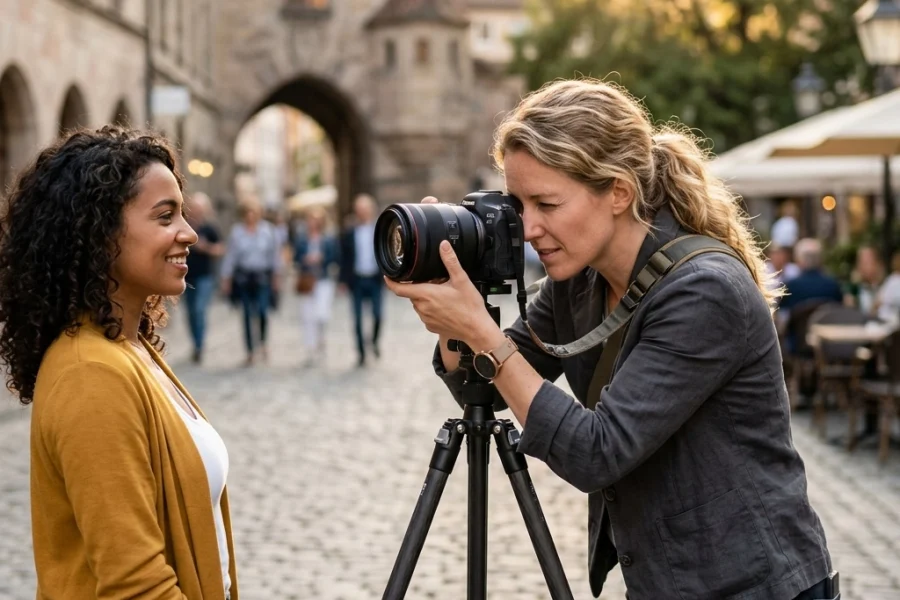
We see this a lot in corporate work. People try to "edit in" a professional look, but the secret is in the lighting. Check out these corporate headshot tips to see what we mean.

The "Secret" Expert Workflow (2026 Edition)
If you want to edit like the people behind the tutorials (but with the results they actually get for clients), follow this sequence:
- Cull and Prep: Use your Raw processor (like Lightroom or Luminar) to fix the basics. Use the "AI Distraction Removal" here for the big stuff.
- Smart Object Transfer: Open the file in Photoshop as a Smart Object.
- The Clean-up: Use the Remove Tool or Generative Fill on a separate layer. Zoom in. Fix the "AI weirdness" with the Clone Stamp.
- Structural Edits: Use Rotate Object or Perspective Warp if the composition needs a tweak. Manually paint your shadows.
- The Art: Apply your color grade using Adjustment Layers. This is where your style comes in.
- Refine: Dodge and Burn to guide the viewer's eye.
- Final Polish: Run a final sharpening pass and add a touch of grain to unify the textures.
Why This Matters Now
We are in a transitional era. Photography is no longer just about capturing light; it’s about managing data. The software updates we’re seeing in 2026 are powerful, but they are tools, not replacements for your eye.
If you rely solely on the "secrets" the big companies sell you in their marketing demos, your work will always look like a demo. But if you use these tools with the "expert mindset": non-destructive, manual refinement, and a focus on fundamentals: you’ll be untouchable.
For more deep dives into the technical side of things, take a look at PhotoGuides.org or see some of the fine art applications of these techniques at EdinFineArt.com.
The best part? You don't need to be a computer scientist to master this. You just need to stop believing in the "one-click" lie and start looking at your pixels with a critical eye.
If you're just starting your journey, don't get overwhelmed by the AI talk. Start with our beginner's guide to mastering your first camera and build from there. The software will always be there, but your vision is what people actually want to see.
Related Reading:
- 7 Mistakes You're Making with Manual Mode
- Photography News Matters: 5 Major Camera Releases to Know
- Portrait Photography Techniques 101
Editing is where the story is finished. Don't let the software tell the story for you. Take control of those updates, use the "rough drafts" AI gives you, and then put in the work to make it art. That’s the only real secret there is.
For even more tips and tricks, head over to blog.edinchavez.com and stay ahead of the curve. Now, go open that project you’ve been struggling with and try the "200% zoom" rule. You'll be amazed at what you find: and how much better your final image will look once you fix it.