

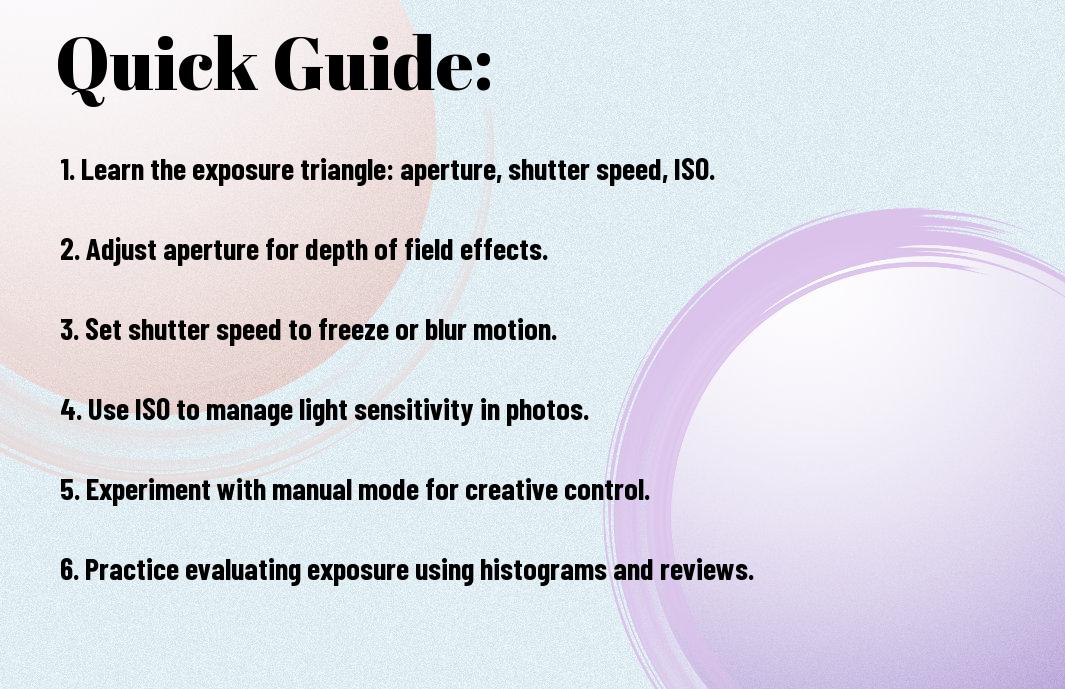
There’s a world of possibilities waiting for you in photography, and understanding exposure is the key to unlocking your creative potential. In this comprehensive guide, you will learn about the fundamental camera settings that affect exposure—aperture, shutter speed, and ISO. By mastering these elements, you can gain complete control over how your images are captured, ultimately leading to stunning results. Dive in and discover how you can elevate your photography skills and bring your vision to life.
Fundamentals of Camera Exposure
Before you can capture the perfect image, it’s important to grasp the fundamentals of camera exposure. Exposure determines how light or dark your photo appears, striking a balance between brightness and detail. Understanding how to control each element that contributes to exposure will empower you to take creative control over your photography, ensuring you produce images that reflect your artistic vision.
The Exposure Triangle: Aperture, Shutter Speed, and ISO
Now that you have a basic grasp of exposure, let’s probe deeper into the exposure triangle: aperture, shutter speed, and ISO. Each component plays a vital role in determining the overall exposure of your image, and mastering their relationships will enhance your photographic skills. Adjusting one setting affects the others, requiring you to find a balance based on the lighting conditions and your artistic intention.
Understanding Light Metering and Exposure Modes
To effectively control exposure, you must understand light metering and the various exposure modes your camera offers. Light metering helps you assess the brightness of a scene, enabling you to make informed decisions about your shutter speed, aperture, and ISO settings.
Camera metering modes, such as matrix, center-weighted, and spot metering, enable you to evaluate lighting effectively. Each mode assesses light across different areas of the frame, affecting your exposure calculations. Additionally, exposure modes like manual, aperture priority, and shutter priority allow you to prioritize specific settings based on your creative preferences. By familiarizing yourself with these features, you empower yourself to make informed choices that will enhance the quality of your images under varying lighting conditions.

Essential Camera Settings for Proper Exposure
It is crucial to understand that proper exposure relies on a balance between your camera settings, including aperture, shutter speed, and ISO. These three elements work together to create well-lit images, ensuring you capture the desired mood and depth in your photographs. Learning how to manipulate these settings will empower you to take full creative control over your images and make informed decisions for various lighting conditions.
Manual Mode vs. Auto Mode Settings
Exposure in manual mode allows you to have complete control over your camera’s settings, allowing for more creativity and precision. In contrast, auto mode will automatically adjust these settings based on the light conditions but may not always produce the desired outcome. Understanding the differences between these modes will help you decide when to rely on automation or take charge of your exposure settings.
Reading and Interpreting the Histogram
Manual interpretation of the histogram provides valuable insights into your exposure, guiding you in making necessary adjustments. This graphical representation displays tonal values, enabling you to see whether your image is underexposed or overexposed. By analyzing the histogram, you can make informed decisions on shutter speed, aperture, and ISO adjustments, ensuring your images are perfectly exposed.
Understanding the histogram is like having a built-in exposure meter that gives you detailed feedback on your image. The left side of the histogram represents shadows, the middle indicates mid-tones, and the right side signifies highlights. When your data is pushed too far in either direction, it can result in a loss of detail. By ensuring your histogram data falls within the optimal range, you can capture images with rich detail and avoid those pesky clips in the shadows or highlights.
Step-by-Step Guide to Setting Exposure
Not every exposure setting is the same, so it’s vital to understand how to adjust your camera for optimal results. This step-by-step guide will help you navigate through the key components of exposure—aperture, shutter speed, and ISO— to take better photographs.
| Component | Action |
| Aperture | Adjust the f-stop number for depth of field. |
| Shutter Speed | Change the speed to control motion blur. |
| ISO | Increase for brighter images in low light. |
Initial Camera Setup and Preparation
Any successful exposure begins with proper camera setup. Start by ensuring your camera is in manual mode, which gives you control over the aperture, shutter speed, and ISO. Check that your lens is clean and your battery has sufficient charge. Familiarize yourself with your camera’s settings so you can navigate easily during shooting.
Adjusting Settings Based on Lighting Conditions
Conditions can vary widely, influencing how you set your camera. Bright daylight will require different settings compared to a dimly lit room. Observe your surroundings closely; shadows and highlights will guide you in determining the best exposure for your shot.
Setting your camera to adapt to these factors will enhance the quality of your images. In bright conditions, you may want to use a smaller aperture and faster shutter speed to prevent overexposure. Conversely, in low light, a larger aperture and higher ISO can help capture more detail. Continually adjust these settings, taking test shots until you achieve the desired exposure that suits the scene.

Common Exposure Techniques
After grasping the basics of exposure, it’s time to explore common techniques that can elevate your photography. Techniques such as bracketing, high dynamic range (HDR) photography, and exposure compensation can help you achieve the perfect shot under varying lighting conditions. By mastering these methods, you can capture images that reflect your creative vision while minimizing the challenges posed by unpredictable light.
Bracketing and HDR Photography
Now that you understand exposure fundamentals, bracketing and HDR photography can be valuable tools in your arsenal. Bracketing involves taking multiple shots at different exposure levels, allowing you to select the best one later or combine them for a more balanced exposure. This technique is particularly useful in high-contrast environments.
Exposure Compensation Methods
An effective way to fine-tune your exposure settings is through exposure compensation. This feature allows you to manually adjust the exposure level your camera suggests, making your images lighter or darker based on your artistic preference.
A common scenario where you might use exposure compensation is when shooting scenes with bright highlights or deep shadows. For instance, if you’re photographing a snow-covered landscape, the camera may cause the snow to appear gray. By adjusting the exposure compensation towards the positive side, you can ensure the snow retains its brightness. Conversely, in scenes with a lot of dark elements, decreasing the exposure can help prevent them from appearing muddy or indistinct. This customization helps you capture more dynamic and visually appealing photographs.

Factors Affecting Exposure
Your exposure settings can be influenced by several factors, which determine how light interacts with your camera. Understanding these factors will help you achieve the desired effect in your photos. Key considerations include:
- ISO sensitivity
- Aperture size
- Shutter speed
- Environmental conditions
- Subject distance
- Movement of the subject
Knowing these elements will empower you to take control of your photography and enhance your images.
Environmental Conditions and Natural Light
Now, consider how environmental conditions and natural light affect your exposure settings. These factors can vary dramatically depending on the time of day, the weather, and the location of your shoot. For instance, bright sunlight will require different settings than cloudy or overcast conditions. Understanding how to adjust your camera accordingly can significantly improve your photographic results.
Subject Movement and Distance
Exposure plays a critical role in capturing a moving subject or one that’s at varying distances. When you photograph a moving subject, both the speed of the subject and the distance from the camera influence the light and thus the exposure settings needed. Faster subjects may require a quicker shutter speed to avoid motion blur, while subjects that are further away might need adjustments in aperture and ISO.
Conditions such as the speed of movement, the proximity to the camera, and the lighting can all impact the quality of your shot. When photographing a fast-moving subject, you should consider using a higher shutter speed to freeze the action. If the subject is farther away, you may need to increase the ISO or open the aperture to ensure adequate light reaches the sensor. By adapting your exposure settings based on these variables, you will achieve sharper images with appropriate lighting.
Tips for Perfect Exposure
For achieving perfect exposure, you can follow these helpful tips:
- Use a gray card for accurate metering.
- Adjust ISO based on lighting conditions.
- Utilize exposure compensation when needed.
- Check your histogram for better insight.
- Experiment with different settings to see the results.
Knowing these tips can enhance your photography experience significantly.
Avoiding Common Exposure Mistakes
For avoiding common exposure mistakes, it’s important to understand how each setting interacts with the others. Many beginners often get caught up in using automatic modes, which may not always deliver the best results. Pay attention to your light source and angle, as these can dramatically affect your exposure. Checking your shutter speed, aperture, and ISO will help you make the necessary adjustments for a well-balanced image.
Best Practices for Different Scenarios
To ensure the best practices for different photography scenarios, consider the setting, the time of day, and subject matter. Each situation will require unique adjustments to your camera settings for optimal results.
A sunny day calls for a lower ISO to avoid overexposure, while low-light situations may require a higher ISO and wider aperture to let in more light. When shooting landscapes, a smaller aperture will help keep everything in focus, whereas portraits often benefit from a wider aperture to create a pleasing background blur. Adjusting your exposure settings according to the specific scenario allows you to capture clearer, more dynamic photographs each time.
To wrap up
Hence, understanding exposure is crucial for mastering your camera settings, which will ultimately enhance your photography skills. By grasping the relationship between aperture, shutter speed, and ISO, you empower yourself to take control of your images, allowing your creative vision to shine through. By practicing these concepts, you can confidently experiment and adapt to various lighting conditions, ensuring that your photographs effectively convey your artistic intent. Embrace the journey of learning and watch as your photography evolves through informed choices.


