Let’s be real: that little "M" on your camera dial is terrifying. For most beginners, it’s the button you avoid like a bad ex. You see it, you think about it for a second, and then you quickly scroll back to "Auto" because you just want a photo that isn’t a blurry, black mess.
But here’s the secret: Auto mode is holding you back. It’s like owning a Ferrari but only driving it in a school zone. If you want to create those "wow" shots you see on Instagram or in galleries, you need to learn how to use manual mode camera settings.
At Shut Your Aperture, we believe photography shouldn’t be a math equation. It should be fun. In this guide, we’re going to break down the science of manual shooting into five simple steps. By the end of this, you’ll stop guessing and start creating. Whether you’re looking for photography tutorials or just want to know why your photos look "meh," you’re in the right place.
Why Even Bother with Manual Mode?
Your camera is smart, but it’s not a mind reader. When you’re in Auto, the camera tries to make everything "average." It looks at the scene and says, "Okay, I’ll make this medium bright."
But what if you want a silhouette? What if you want to capture the motion blur of a waterfall or the creamy bokeh of a portrait? The camera doesn’t know that. Manual mode gives you the keys to the kingdom. It allows you to control the Exposure Triangle: the relationship between Aperture, Shutter Speed, and ISO.
Mastering these three pillars is the foundation of all professional photography tutorials. Let’s dive into the five steps to becoming a manual mode pro.
 Save
Save
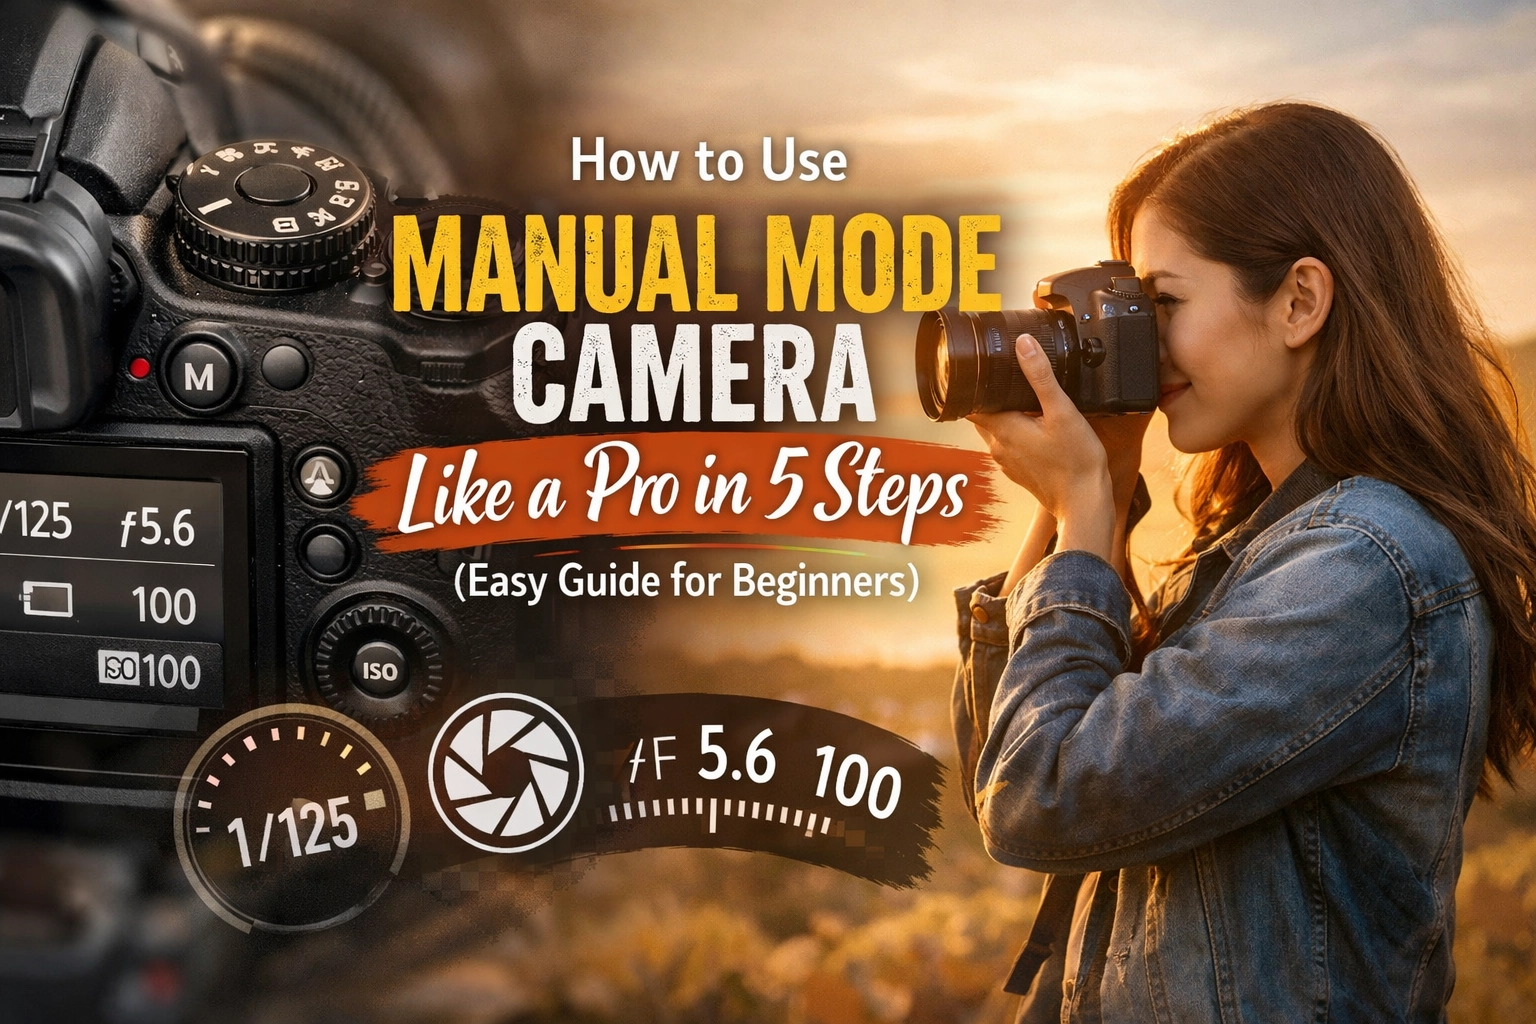
SEO Alt Text: A close-up of a professional camera dial set to Manual Mode with a blurred sunset background.
Step 1: Switch the Dial and Understand the Exposure Triangle
First things first: turn that dial to "M." Take a deep breath. Your camera won't explode.
Before we start pushing buttons, you need to understand the Exposure Triangle. Think of exposure as the total amount of light reaching your camera sensor. To get a perfect "exposure" (not too bright, not too dark), you have to balance three things:
- Aperture: How wide the lens opens (controls light and depth of field).
- Shutter Speed: How long the lens stays open (controls light and motion).
- ISO: How sensitive the sensor is to light (controls light and digital "noise").
If you change one, you usually have to change another to keep the light balanced. It’s a literal balancing act. If you find full manual too daunting right now, you can peek at Shut Your Aperture for some quick cheat sheets, but stay here if you want the deep dive.
Step 2: Choose Your Aperture (The Creative Choice)
I always recommend setting your aperture first. Why? Because it’s the setting that most drastically changes the look and feel of your photo.
Aperture is measured in "f-stops" (like f/2.8, f/8, or f/11).
- Low f-number (e.g., f/1.8, f/2.8): This means the lens is wide open. A lot of light comes in, and you get a "shallow depth of field." This is how you get those beautiful, blurry backgrounds (bokeh). It’s perfect for portraits or discovering ethereal landscapes for captivating shots where you want one specific flower to pop.
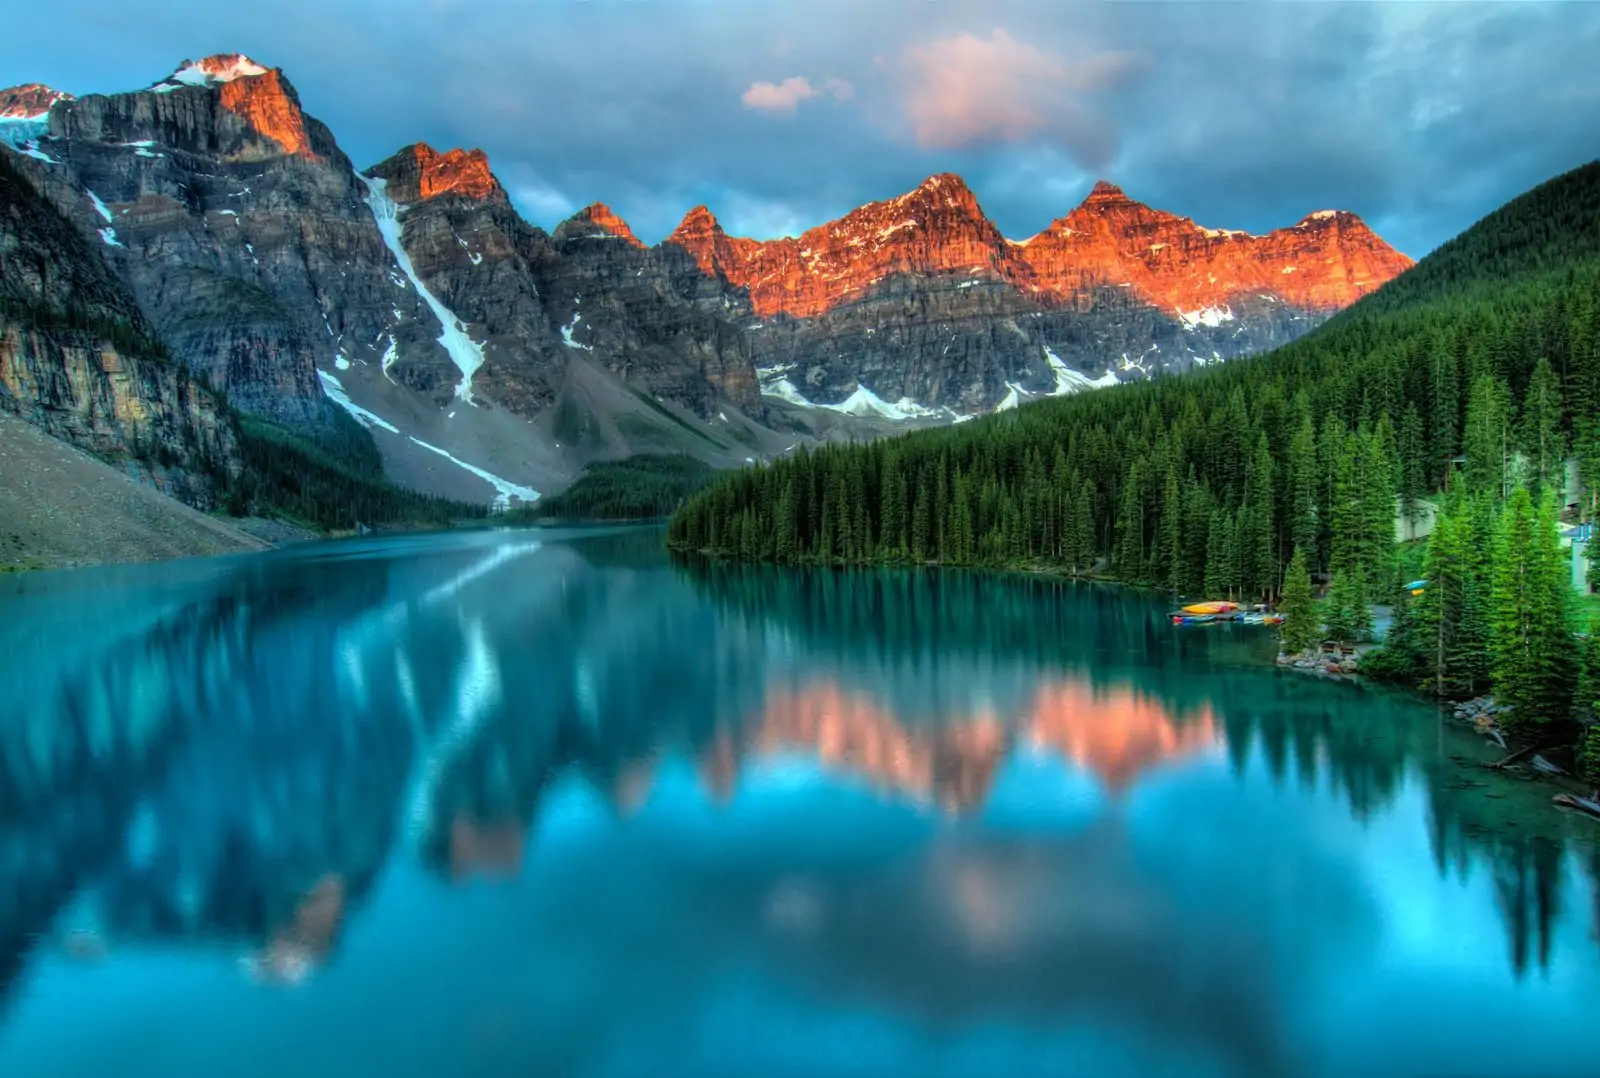
- High f-number (e.g., f/11, f/16): The lens opening is tiny. Less light comes in, but everything from the front to the back of the photo is sharp. This is what you want for landscape photography.
Pro Tip: If you’re shooting a group of people, don’t use f/1.8. The person in the front might be sharp, but the person behind them will be a blur. Aim for f/4 or f/5.6 to keep everyone’s faces in focus.
Save
SEO Alt Text: A comparison of two photos showing shallow depth of field at f/1.8 versus deep focus at f/11.
Step 3: Set Your ISO (The Quality Control)
Now that you’ve picked your aperture, look at your lighting. ISO is your camera's sensitivity to light.
- ISO 100-200: Use this for bright, sunny days. This gives you the cleanest, highest-quality image.
- ISO 400-800: Great for cloudy days or indoor rooms with good window light.
- ISO 1600+: Use this for low-light situations, like concerts or dimly lit restaurants.
The catch? The higher the ISO, the more "grain" or "noise" you’ll see in your photo. You want to keep your ISO as low as possible for as long as possible. If you’re struggling with grainy images even after following these photography tutorials, you might need to check your lighting setup or consider a tripod.
If you find your images are still a bit messy after the shoot, you can always clean them up using Luminar. It has some of the best AI-powered noise reduction tools on the market.
Step 4: Configure Your White Balance
This step is often skipped by beginners, but it’s why your photos sometimes look way too blue or way too orange. Every light source has a "color temperature."
- Daylight is relatively blue.
- Incandescent light bulbs are very orange.
Your camera has a "Auto White Balance" (AWB) setting, and honestly, it’s pretty good. But if you want to be a pro, set it manually. If you’re outside, set it to the "Sun" or "Cloud" icon. If you’re indoors, use the "Tungsten" icon.
Setting this correctly in-camera saves you a massive amount of time in post-production. While you can fix this in Luminar later: especially if you shoot in RAW: it’s always better to get it right the first time.
Save
SEO Alt Text: A side-by-side view of a landscape photo with incorrect blue white balance versus corrected warm white balance.
Step 5: Dial in Shutter Speed Using the Internal Meter
This is where the magic happens. You’ve set your Aperture and your ISO. Now, you need to find the right Shutter Speed to finish the exposure.
How do you know what speed to pick? Look through your viewfinder. You’ll see a little horizontal line with a "0" in the middle, some negative numbers on the left, and positive numbers on the right. This is your Exposure Meter.
- Point your camera at your subject.
- Adjust your shutter speed dial until the little marker is right in the middle at "0."
- If the marker is on the minus side, your photo will be too dark (underexposed). You need a slower shutter speed (e.g., change 1/500 to 1/250).
- If the marker is on the plus side, your photo will be too bright (overexposed). You need a faster shutter speed (e.g., change 1/500 to 1/1000).
Important Note on Motion:
If your shutter speed gets too slow (usually slower than 1/60th of a second), the natural shake of your hands will make the photo blurry. If you need a slow shutter speed for something like hidden gem locations for travel photography at dusk, use a tripod or increase your ISO.
Bringing It All Together: A Real-World Example
Let’s say you’re at a park and want to take a portrait of a friend. Here is how you would use manual mode camera settings step-by-step:
- Switch to M.
- Aperture: You want that blurry background, so you set it to f/2.8.
- ISO: It’s a bright afternoon, so you set it to ISO 100.
- White Balance: You select the Daylight preset.
- Shutter Speed: You look at the meter. It’s pointing way over to the +2 side because f/2.8 is letting in a lot of light. You scroll your shutter speed dial until the meter hits 0. It lands on 1/2000.
Click. You’ve just taken a perfectly exposed professional portrait.
Save
SEO Alt Text: An ultra-realistic portrait of a person in a park with a softly blurred background, demonstrating perfect manual exposure.
Common Mistakes to Avoid
Even after reading the best photography tutorials, everyone makes mistakes. Here are the big ones to watch out for:
1. Forgetting to Reset Your Settings
You were shooting at a dark bar last night at ISO 3200. This morning, you go outside to shoot the sunrise. If you don't check your settings, your first photo will be a pure white rectangle. Always "zero out" your camera before a shoot.
2. Trusting the Screen Too Much
The LCD screen on the back of your camera lies. It often looks brighter than the actual photo. Always check your meter or, if you’re feeling fancy, learn to read a Histogram.
3. Not Shooting in RAW
If you’re in manual mode, you should be shooting in RAW format, not JPEG. RAW files save all the data from the sensor, giving you way more room to fix shadows and highlights later. It's like having the original ingredients of a meal instead of just a picture of the plate.
Next Steps: Practice Makes Perfect
Learning how to use manual mode camera settings is like learning to ride a bike. You’re going to wobble. You might even "fall" (take some terrible photos). But once it clicks, you’ll never go back to Auto.
If you want to take your skills further, check out our other guides on using rare textures for tangible aesthetic photography or browse our full sitemap for more specific tutorials.
Shut Your Aperture is here to be your number one photography school online. We don't just want you to take pictures; we want you to capture stories.
Save
SEO Alt Text: A photographer standing on a mountain peak during golden hour, holding a camera and looking at the view.
Final Gear Tip
If you’re looking to upgrade your gear to better handle manual shooting, take a look at the fine art collections at Edin Fine Art for inspiration on what professional-grade results look like. Having a camera with dedicated dials for shutter speed and aperture can make this whole process much more intuitive.
Now, grab your camera, head outside, and start twisting those dials. The "M" mode isn't the enemy: it's your new best friend. For more advanced tips and personal insights into the industry, don't forget to visit blog.edinchavez.com. Happy shooting!


