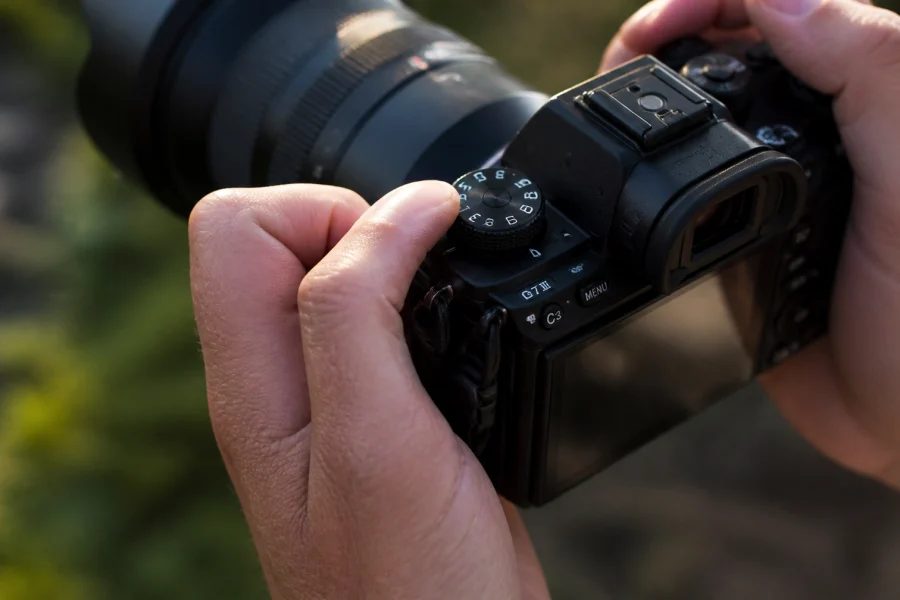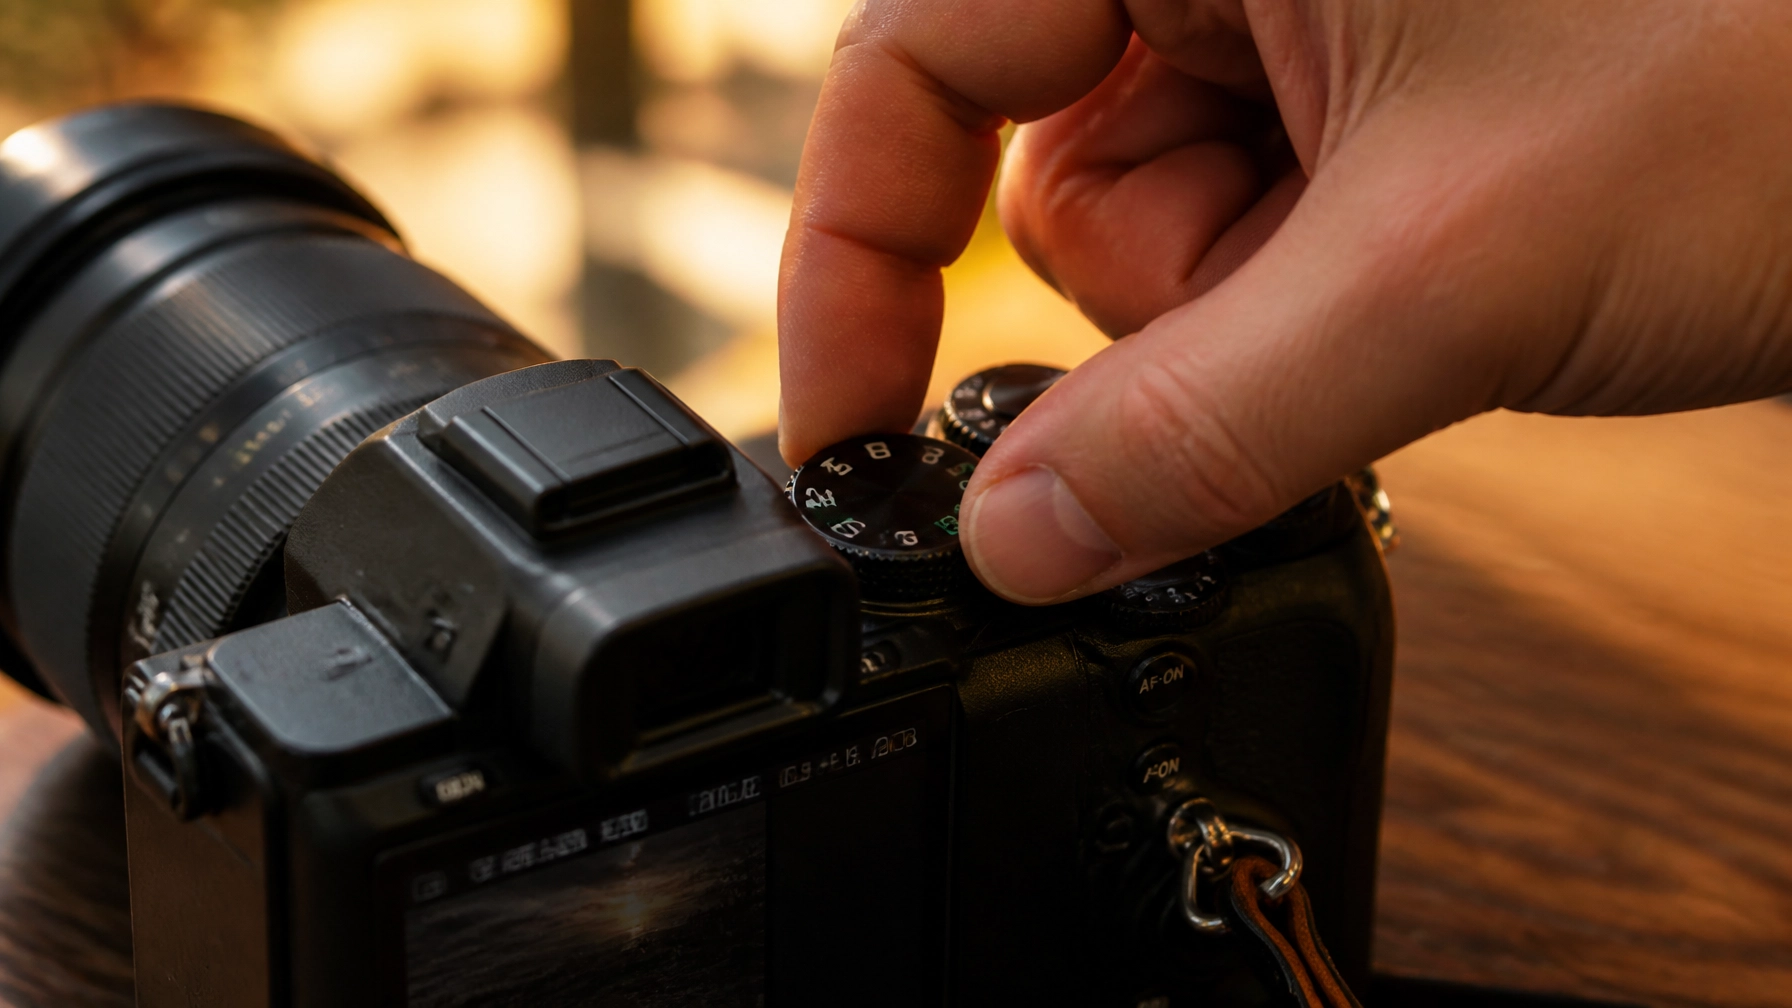
Let’s be honest: that little "M" on your camera dial is terrifying. It’s sitting there, staring at you, judging you while you stick to the safety of "Auto" or "Program" mode. You bought a fancy camera because you wanted to take better pictures, but every time you switch to Manual, the screen goes black, or white, or everything looks like a blurry mess, and you quickly retreat to the green icon of safety.
I get it. I’ve been there. We’ve all been there. But here’s the secret: your camera is actually pretty dumb. In Auto mode, it’s just making a "best guess" based on an average of the light it sees. It doesn't know you’re trying to capture a moody silhouette or the silky flow of a waterfall. To get the images you actually see in your head, you have to take the steering wheel.
This is the ultimate photography for beginners roadmap to mastering Manual mode without the headache. We aren't going to get bogged down in heavy math. Instead, we’re going to talk about light, creativity, and how to finally make your camera do what you want it to do. If you've been looking for comprehensive photography tutorials that actually make sense, you’re in the right place.
Why Even Bother With Manual Mode?
You might be wondering, "My phone takes great photos in auto, why should I struggle with three different settings on my mirrorless camera?"
The answer is control. When you shoot in Manual mode, you decide exactly how much light enters the camera and, more importantly, how that light is interpreted. Do you want a blurry background? Do you want to freeze a bird in flight? Do you want to capture the star-like streaks of car lights at night? Auto mode will try to balance everything, often resulting in a boring, middle-of-the-road exposure that lacks soul.
Mastering manual mode is the gateway to portrait photography techniques and professional-grade landscapes. It’s about moving from taking "snapshots" to creating "art."
The Exposure Triangle: Your New Best Friends
If you want to know how to use manual mode camera effectively, you have to understand the Exposure Triangle. Think of exposure as a three-legged stool. If one leg is too short, the stool tips over. The three legs are Aperture, Shutter Speed, and ISO.
Every time you change one, you usually have to change another to keep the balance. Let’s break them down one by one in plain English.
1. Aperture (The "Eye" of the Lens)
Aperture is the hole inside your lens that lets light in. It’s measured in "f-stops" (like f/2.8, f/8, or f/16).
- Low f-numbers (f/1.8, f/2.8): This means the hole is wide open. It lets in a ton of light and creates a "shallow depth of field." This is how you get those creamy, blurry backgrounds in portraits.
- High f-numbers (f/11, f/16): This means the hole is very small. It lets in much less light but keeps almost everything in the frame sharp, from the rocks at your feet to the mountains in the distance.
If you’re out looking for landscape photography tips, you’ll find that f/8 to f/11 is often the "sweet spot" for sharpness.

2. Shutter Speed (The "Timer")
Shutter speed is how long your camera's sensor is "looking" at the world. It’s measured in fractions of a second.
- Fast Shutter Speed (1/1000, 1/4000): This "freezes" time. It’s essential for sports, hyperactive toddlers, or street photography ideas where you want to catch a person mid-stride.
- Slow Shutter Speed (1/10, 2 seconds, 30 seconds): This lets in light for a long time. Anything that moves while the shutter is open will become a blur. This is how photographers get those "milky" waterfalls or light trails from cars.
Pro tip: If you are holding the camera in your hands, try not to go slower than 1/60th of a second, or your own heartbeat and shaky hands will make the whole photo blurry.

3. ISO (The "Sensitivity")
ISO is your camera sensor’s sensitivity to light. Back in the day, this was determined by the film you bought. Now, it’s a digital setting.
- Low ISO (100, 200): Best for bright daylight. It produces the cleanest, crispest images with no "noise" (that grainy look).
- High ISO (3200, 6400+): Necessary for low-light situations like indoor parties or night photography. The trade-off is that the image will look "noisy" or grainy.
Modern technology has come a long way. If you check out recent camera gear reviews, you’ll see that the best mirrorless cameras can now shoot at incredibly high ISOs with very little grain.

Understanding the Light Meter
When you switch to Manual mode, you’ll see a little scale in your viewfinder or on your screen that looks like this:
-3 . . 2 . . 1 . . 0 . . 1 . . 2 . . +3
This is your Light Meter. It’s the camera’s way of saying, "Hey, I think this is too dark" (if the marker is on the minus side) or "This is way too bright" (if it’s on the plus side). Your goal is usually to get that marker right in the middle at "0."
However, because you are now a creative genius in Manual mode, you might want it to be a little dark for a moody look, or a little bright for a high-key look. The meter is a guide, not a ruler.
The "Manual Mode" Workflow: Step-by-Step
Don't try to change everything at once. Use this 4-step process to get your exposure right every single time. If you want more hands-on training, you should definitely check out the deep-dive courses at Learn Shut Your Aperture.
Step 1: Set Your ISO Based on the Weather
Before you even look at your subject, look at the sky.
- Is it sunny? Set ISO to 100.
- Is it cloudy or are you in the shade? Set ISO to 400.
- Are you indoors or is it getting dark? Set ISO to 1600 or higher.
Once you set this, try to forget about it. It’s your foundation.
Step 2: Choose Your Aperture for the "Look"
What are you shooting?
- Portraits: Go as low as your lens allows (f/1.8 or f/2.8) to blur that background.
- Landscapes: Go for f/8 or f/11 to keep everything sharp.
- General Travel: f/4 or f/5.6 is a great middle ground.
Step 3: Adjust Shutter Speed to Balance the Meter
Now, look through the viewfinder and point at your subject. Turn the shutter speed dial until the little light meter bar hits the center (0).
Step 4: Evaluate and Tweak
Take the photo. Look at the screen.
- Is it too dark? Slow down the shutter speed.
- Is it too bright? Speed up the shutter speed.
- Is the subject blurry because they’re moving? Speed up the shutter, and then you’ll have to either open your aperture more or raise your ISO to keep the light balanced.
This balancing act is the core of how to use manual mode camera. It becomes second nature after a few days of practice.
Putting it Into Practice: Real-World Scenarios
Let’s look at how you’d set up your camera for common situations. If you need more inspiration, I always recommend browsing Edin Fine Art to see how professional exposures look in the real world.
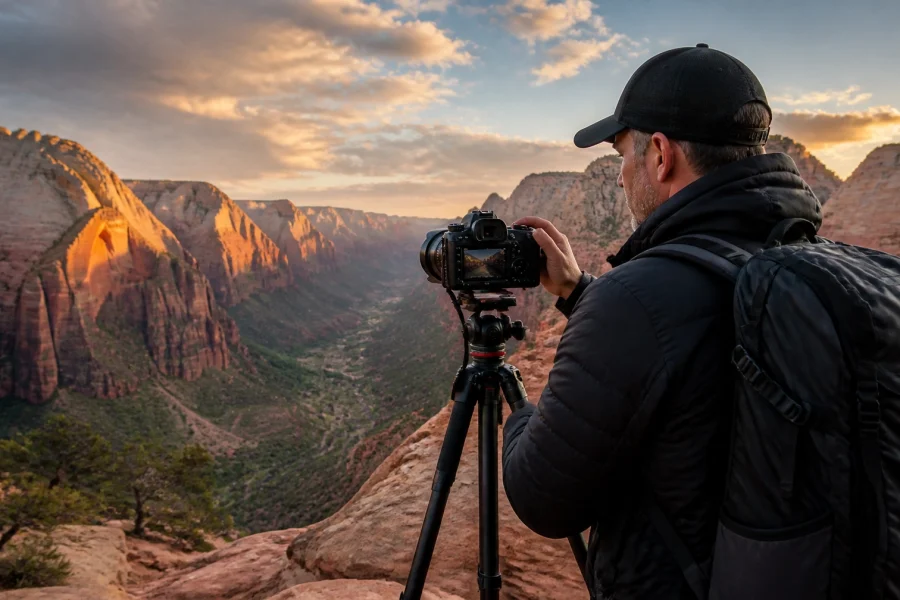
The Landscape Master
You’re standing in front of a stunning mountain range at sunrise. You want every detail sharp.
- ISO: 100 (for maximum quality).
- Aperture: f/11 (for deep depth of field).
- Shutter Speed: Adjust until the meter hits 0. Since it's sunrise, this might be a slow speed, so use a tripod!
For more on this, check out these landscape photography tips.

The Street Ninja
You’re walking through a busy market and want to capture candid moments without them being blurry.
- ISO: 400 or 800 (to give you "room" for a fast shutter).
- Shutter Speed: 1/500th (to freeze people walking).
- Aperture: f/4 or f/5.6 (so you have a bit of leeway with your focus).
Adjust as you move from sun to shade. Street photography is fast, so many pros actually use "Auto ISO" while in Manual mode: but that’s a lesson for another day. Dive into more street photography ideas to keep your skills sharp.
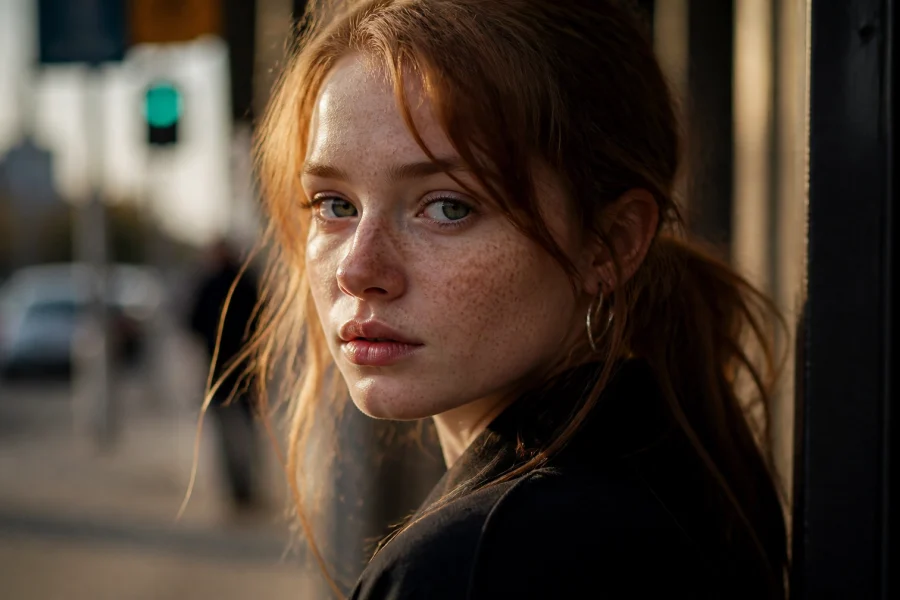
The Portrait Pro
You're taking a photo of a friend in a park.
- ISO: 100.
- Aperture: f/1.8 (to make them "pop" from the background).
- Shutter Speed: Adjust until the meter hits 0. If it’s really sunny, you might need a very fast shutter speed like 1/2000th.
Don't Forget the "Fourth Pillar": Post-Processing
Getting it right in-camera is 90% of the battle, but even the best manual mode shooters rely on editing to bring their vision to life. Shooting in Manual often means shooting in "RAW" format, which gives you much more data to play with.
When it comes to photo editing tutorials, the most common advice is to start with a powerful but user-friendly tool. I personally love using Luminar because its AI tools can fix exposure mistakes or enhance a sky in seconds without needing a degree in Photoshop.
If you find your manual shots are a little "flat," a quick trip through Luminar can add that professional contrast and color grading. You can find more editing resources and gear guides over at PhotoGuides.org.
Common Mistakes to Avoid
Even after reading this, you’re going to mess up. I still mess up. Here are the most common manual mode mistakes to watch out for:
- Leaving ISO on High: You shot in a dark basement yesterday at ISO 6400, and today you’re in the bright sun. If you don't change it back to 100, your photos will be completely white (overexposed).
- Chasing the Meter Blindly: If you’re shooting a person in the snow, the camera will try to turn the white snow into gray. You actually want the meter to be a bit on the "+" side in that case.
- Forgetting Shutter Speed Limits: You’re shooting a wedding, the light is dim, and you keep slowing your shutter speed to keep the ISO low. Suddenly, every photo is blurry because people are moving. Sometimes, "noise" from high ISO is better than "blur" from a slow shutter.
The Future of Manual Mode
We live in an era of photography news dominated by AI. Some people think Manual mode is becoming obsolete because cameras are getting so smart. They can recognize eyes, birds, and even cars.
But here’s the thing: AI can only mimic what has been done before. It can’t feel the mood of a scene. Whether you use the best mirrorless cameras from Sony, Canon, or Nikon, the physics of light hasn't changed in 100 years. Manual mode is about your relationship with light.
For more updates on the latest tech, keep an eye on blog.edinchavez.com, where the intersection of art and technology is always being discussed.
Your Homework
Don't just read this and go back to scrolling. Grab your camera right now.
- Put it in Manual (M) mode.
- Set your ISO to 800.
- Set your Aperture to the lowest number your lens has.
- Walk around your house and try to get the meter to "0" just by changing the Shutter Speed.
Do this for 10 minutes every day for a week. I promise you, by day seven, the "fear of the dial" will be gone. You'll start to see light differently. You'll see a dark corner and think, "I need to drop my shutter speed here," rather than just hoping the camera figures it out.
Photography is a journey, and manual mode is where the real fun begins. If you get stuck, we’ve got your back. Check out more photography tutorials or join the community at Learn Shut Your Aperture.
Stop letting the camera make the decisions. It’s your vision( take control of it.)