
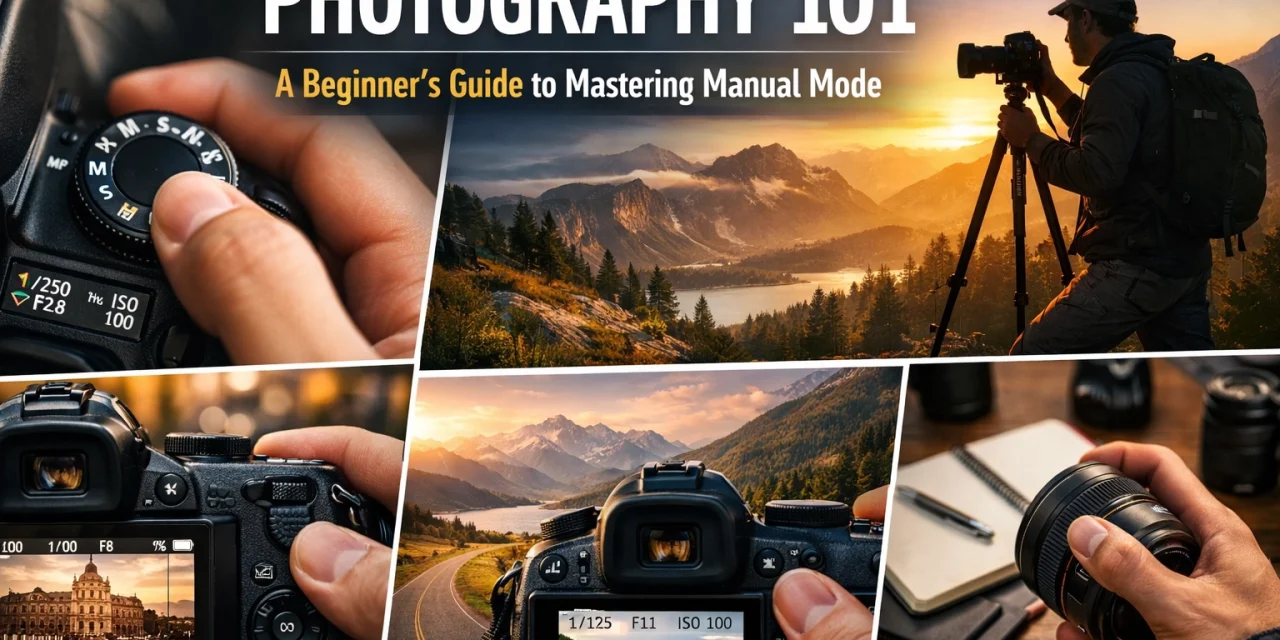
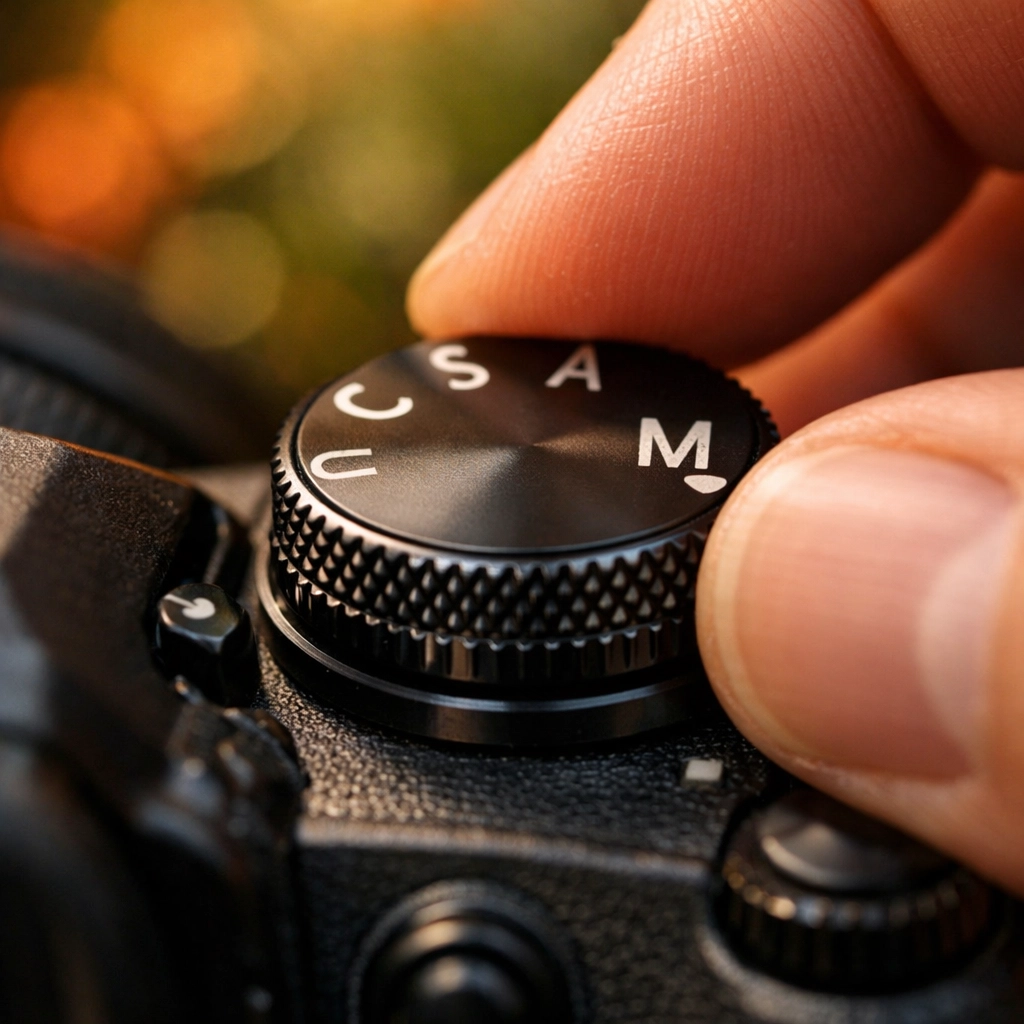
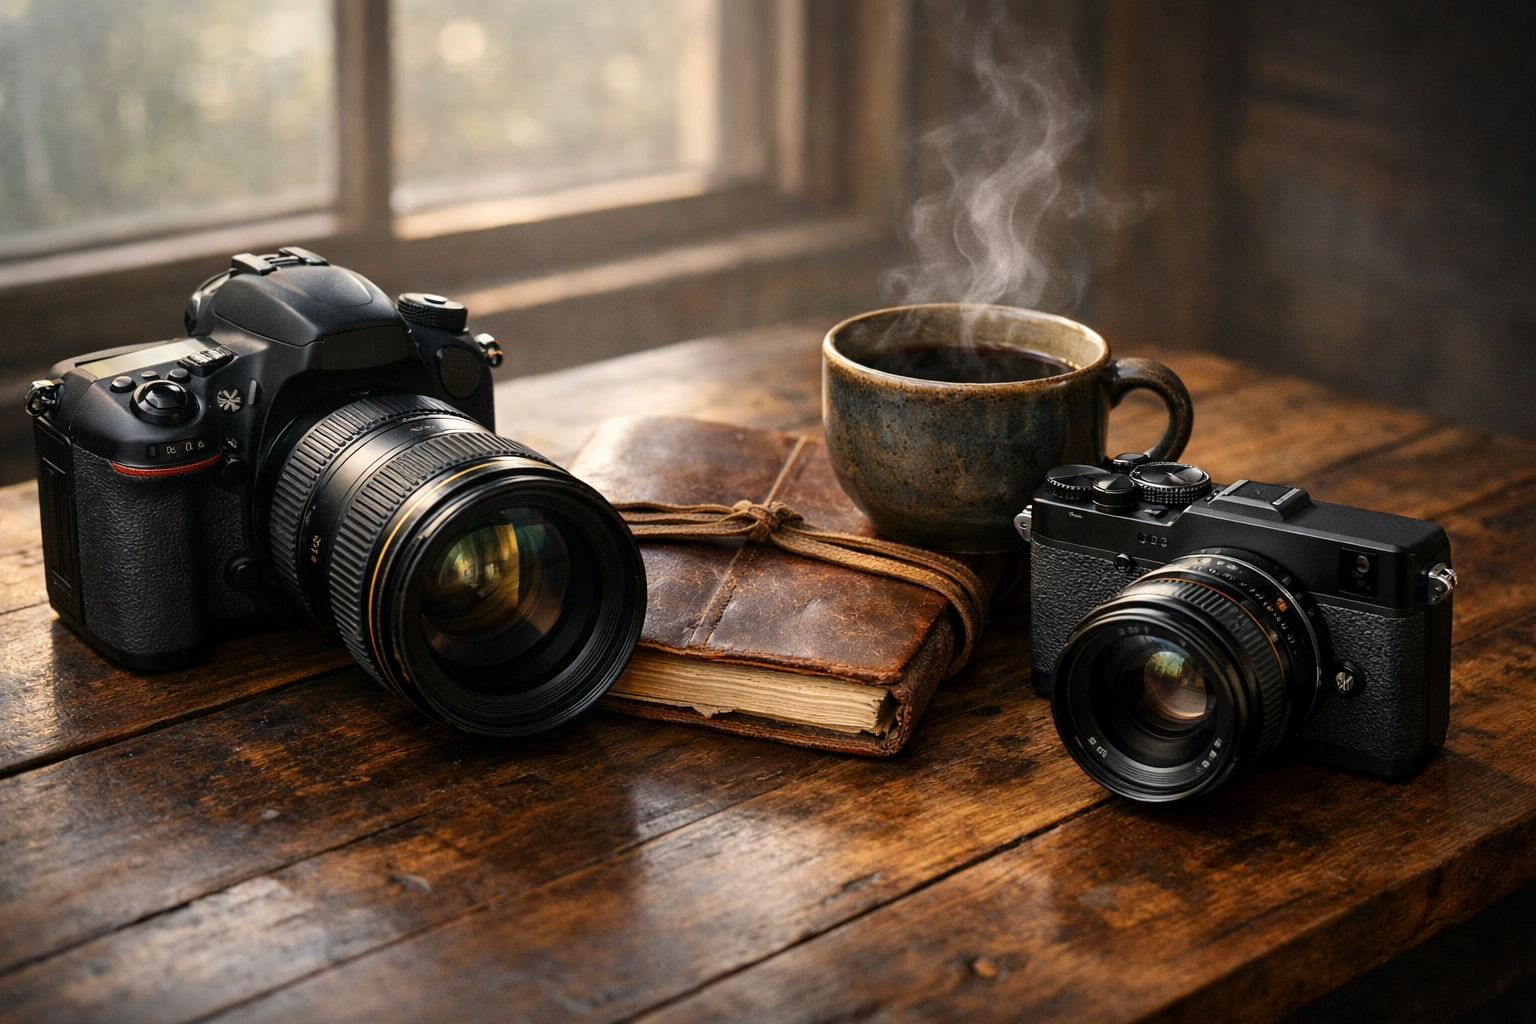
For many of us, the journey into photography begins with a single, trembling step: moving the dial away from the comforting green "Auto" icon and toward the stoic, solitary "M." It is a threshold that separates those who simply take pictures from those who truly create them. Manual mode is not merely a technical setting; it is an invitation to dance with light, to command the very physics of your environment, and to translate the ephemeral beauty of the world into a permanent digital legacy.
Dear hobbyists and fellow enthusiasts, if you have ever felt that your camera was making decisions you didn't agree with: washing out a sunset or blurring a child’s first steps: then it is time to seize control. The "M" on your dial represents the key to your creative cage. In this comprehensive guide, we are going to break down the mechanics of the exposure triangle, explore the intrinsic relationship between light and glass, and give you the brass-tacks technical advice you need to master your gear in 2026.
The Artistic Awakening: Why Manual Mode Matters
When you shoot in auto, your camera's internal computer makes an educated guess. It looks at the scene and tries to find a "middle ground" of light. But art is rarely found in the middle ground. Art exists in the deep shadows of a moody portrait or the ethereal glow of a high-key landscape. By mastering manual mode, you are no longer a passenger; you are the pilot.
Every scene you encounter is a canvas, and natural light is your paintbrush. To paint effectively, you must understand the three pillars of exposure: Aperture, Shutter Speed, and ISO. Think of these as the "Holy Trinity" of photography. When balanced, they create a perfect exposure. When manipulated with intent, they create a masterpiece.
Aperture’s Allure: The Iris of the Soul
Aperture is perhaps the most poetic of the three settings. Technically, it is the physical opening in your lens that allows light to pass through to the sensor. Practically, it is your primary tool for controlling "depth of field": that beautiful, blurry background we call bokeh.
We measure aperture in "f-stops" (like f/1.8, f/5.6, or f/16). This is where things get a bit counterintuitive for beginners: a small number (f/1.8) means a wide opening, while a large number (f/22) means a tiny opening.
- Wide Open (f/1.4 – f/2.8): This allows a flood of light into your sensor. It creates a shallow depth of field, where your subject is sharp but the background melts into a creamy, ethereal blur. This is the "game-changer" for portraiture.
- The Middle Ground (f/5.6 – f/8): Often the "sweet spot" for many lenses. It provides a balance of sharpness across the frame and is perfect for street photography or group shots.
- Narrow Aperture (f/11 – f/22): This constricts the light, forcing it through a small hole. This creates a deep depth of field, ensuring that the flower in the foreground and the mountain in the distance are both tack-sharp. Landscape photographers treat this setting with great reverence.
If you are just starting out, I have tried every method under the sun, and the best way to learn is to pick a subject: a coffee cup, a flower, a stoic pet: and take the same photo at f/1.8 and then at f/11. You will immediately see how the "mood" of the image shifts.
Shutter Speed’s Swift Symphony: Capturing the Pulse of Time
If aperture is about the space of the image, shutter speed is about the time. It is the sound of the camera’s heartbeat: the "click-clack" that determines how long the sensor is exposed to the world.
- Fast Shutter Speeds (1/1000s and above): These are used to freeze a moment in time. The flap of a bird's wing, the splash of a water droplet, or the frantic energy of a sporting event. It captures the "intrinsic" motion that the human eye often misses.
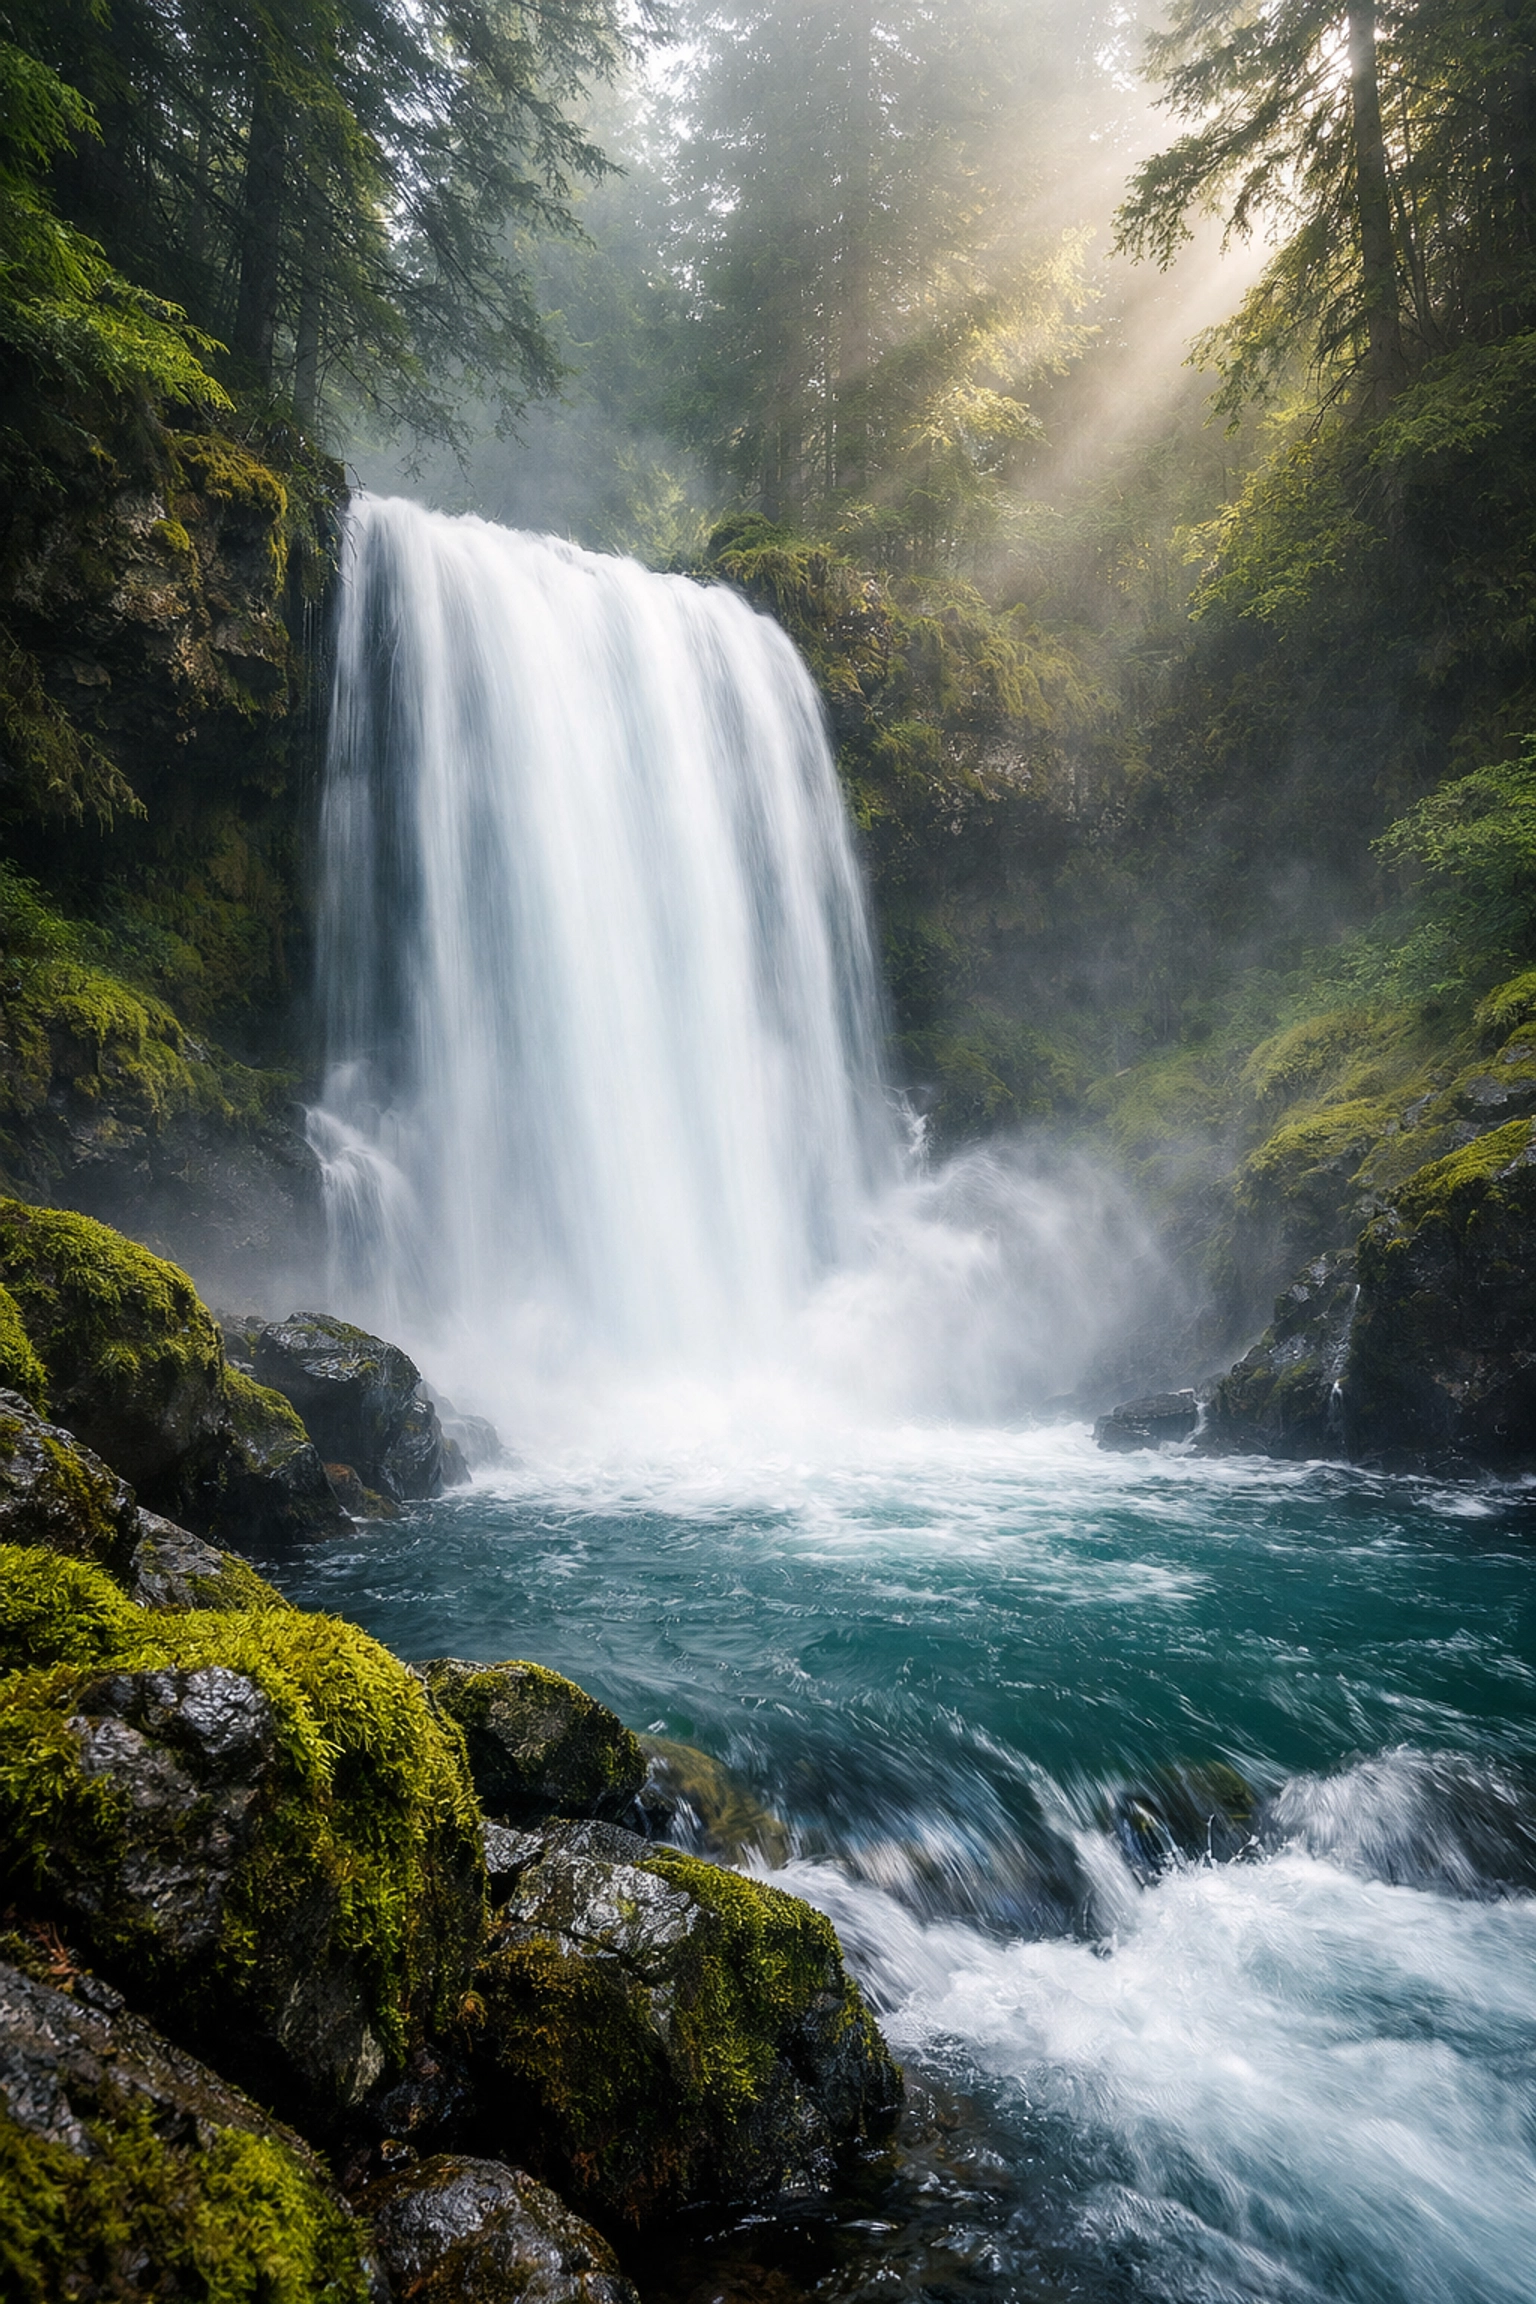
- Slow Shutter Speeds (1/30s to 30 seconds+): These allow motion to blur into a silky, dreamlike state. Think of those long-exposure shots of waterfalls where the water looks like clouds, or light trails from cars at night.
When you venture forth into slow shutter speeds, a tripod becomes your best friend. Even the slightest tremor of your hand can turn a masterpiece into a blurry mess. For more on the gear that supports these techniques, check out our guide on how to choose the best mirrorless cameras.
ISO: The Sensitivity of the Canvas
ISO is the final piece of the puzzle. It represents how sensitive your camera's sensor is to light. In the days of film, you bought a specific roll (ISO 100 or 400). Today, we can change it with the scroll of a wheel.
- Low ISO (100-400): Use this in bright, sun-drenched environments. It produces the cleanest, crispest images with no digital "noise" or grain.
- High ISO (1600-6400+): Use this in low-light situations, like a dimly lit jazz club or a late-night street scene.
While modern sensors are "unsung heroes" at handling high ISO, there is always a trade-off. As the ISO climbs, so does the grain. Your goal should always be to keep the ISO as low as possible while still maintaining the shutter speed and aperture you need for your creative vision.
The Sacred Workflow: Putting It All Together
Now that we’ve delved into the theory, it’s time to get down to the brass tacks. How do you actually take a photo in manual mode without getting overwhelmed? Follow this stoic step-by-step process:
- Survey the Scene: Look at your light. Is the sun dancing through the trees, or is the sky a flat, grey canvas?
- Choose Your Priority: Ask yourself, "What is the most important element of this photo?" If it’s a blurry background, set your Aperture first. If it’s freezing a fast-moving car, set your Shutter Speed first.
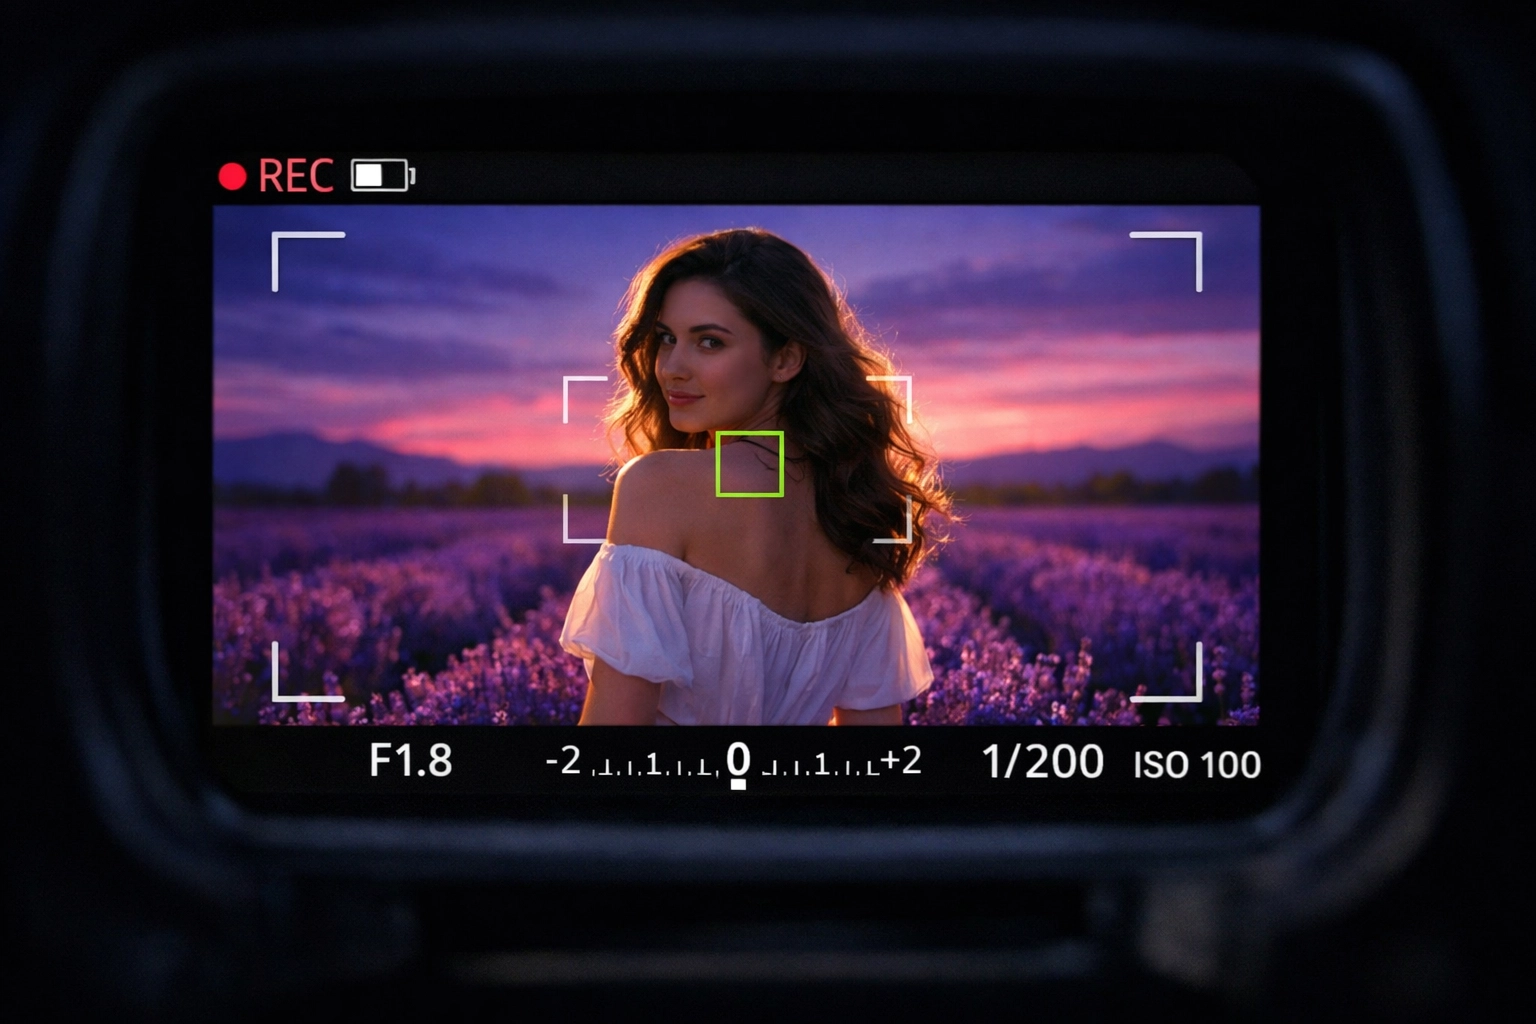
- Check the Light Meter: Look through your viewfinder. You’ll see a little scale with a "0" in the middle. This is your camera’s light meter "whispering" to you.
- Adjust the Remaining Pillars: If you set your aperture to f/1.8 and the meter says you are overexposed (the bar is to the right of the zero), you need to increase your shutter speed or lower your ISO.
- The Test Shot: Take a photo. Don't just trust the screen; look at the histogram if you can. If it’s too dark, "open up" (wider aperture, slower shutter, or higher ISO).
For a deeper dive into these specifics, our Manual Mode 101 guide for 2026 offers even more nuanced tricks for today’s high-tech sensors.
Metering and White Balance: The Unsung Heroes
While the exposure triangle is the heart of the operation, Metering and White Balance are the brain.
Metering Modes tell your camera where to look for light. "Matrix" or "Evaluative" metering looks at the whole scene: great for landscapes. "Spot" metering looks only at a tiny point: perfect for when your subject is backlit and you want to ensure their face isn't a silhouette.
White Balance ensures that white actually looks white. Light has "temperature." A candle is warm (orange), while a cloudy day is cool (blue). Setting your white balance to a specific preset (Daylight, Cloudy, Tungsten) ensures your colors remain true to the ephemeral beauty you saw with your own eyes.
Mirrorless vs. DSLR: A 2026 Perspective
In 2026, the debate between DSLR vs. Mirrorless has largely been settled, but it impacts how you learn manual mode. Mirrorless cameras offer an "Electronic Viewfinder" (EVF), which shows you the exposure in real-time. If you change your shutter speed, the image in your eye gets darker or brighter immediately. This "What You See Is What You Get" (WYSIWYG) feedback is a godsend for beginners.
If you're still rocking a Nikon D850 or another classic DSLR, you rely more on that internal light meter and your own intuition. There is a certain reverence in that traditional process: a mechanical connection that feels more "intrinsic" to the history of the craft.
The Digital Darkroom: Elevating Your Vision
Mastering manual mode is only half the battle. To truly bring your vision to life, you must embrace post-processing. Shooting in RAW format is essential. RAW files are "unbaked" digital negatives that contain all the data your sensor captured.
When you bring a RAW file into a program like Luminar, you can recover highlights that seemed lost or lift shadows to reveal hidden details. Luminar uses AI to assist in the more tedious parts of editing, allowing you to focus on the artistic "soul" of the image. Whether you are looking for an HDR tutorial or just want to refine your colors, having solid software is a game-changer. You can find more software tips in our dedicated software category.
Practice Makes the Master
Nothing compares to the feeling of finally "clicking" with your camera. It won't happen overnight. You will take thousands of bad photos: overexposed, blurry, noisy. Embrace them. Each mistake is a lesson from the universe.
Start in easy conditions. A bright afternoon is the perfect time to experiment with high f-stops and fast shutter speeds. As you gain confidence, seek out the challenges: the "blue hour" brilliance of twilight or the harsh shadows of high noon. Check out proshoot.io for more technical gear breakdowns or browse the fine art at edinfineart.com to see what is possible when manual mode is mastered.
A Final Philosophical Note
Photography is more than just settings and gear; it is a way of seeing. It is a commitment to being present, to noticing how the sun dances on the pavement or how a stoic tree stands against a storm. By learning manual mode, you are giving yourself the vocabulary to tell these stories. You are no longer just a witness to the world’s beauty; you are its chronicler.
Venture forth with your camera. Don't be afraid of the mistakes. Every "failed" exposure is just a stepping stone on your journey toward mastery. The world is waiting to be captured through your unique lens.
Drop me a line below if you have any questions about f-stops, shutter speeds, or which ISO to use for your specific setup. We are all on this journey together! For more inspiration and tutorials, don't forget to check out our Tutorials section.
Categories: News, PHOTO SERIES, TUTORIALS, TRAVEL
Tags: News, PHOTO SERIES, TUTORIALS, TRAVEL


