Night street photography is the art of capturing the raw, electric energy of the city after the sun goes down. To succeed, you need to master three things: finding pools of high-contrast light, pushing your ISO higher than you’re probably comfortable with (think 3200 to 6400), and using a "fast" prime lens with an aperture of f/1.8 or wider. While the dark can be intimidating, it offers a cinematic drama that daylight simply can't match.
There is something almost supernatural about a city at 2:00 AM. The harsh mid-day sun is replaced by the localized glows of neon signs, the rhythmic pulse of traffic lights, and the mysterious shadows of alleyways. If you’ve ever felt like your photography has hit a plateau, shooting at night is the ultimate cure. It forces you to see light differently, not as a blanket covering the world, but as a precious resource you have to hunt.
In this guide, we’re going to break down everything from the gear you actually need to the "secret" settings that will keep your shots sharp while everyone else is getting blurry messes. Put on your comfortable shoes and grab an extra battery; we’re going into the dark.
Why Night Street Photography is a Game Changer
Most photographers pack up their bags when the "golden hour" ends. That is a massive mistake. When the lights come on, the city transforms into a high-contrast playground.
The primary reason to shoot at night is the mood. You can turn a mundane street corner into a scene from a noir film just by positioning your subject near a single street lamp. The shadows become just as important as the light, allowing you to hide clutter and focus purely on the silhouette or the expression of a passerby.
Furthermore, night photography teaches you technical discipline. You can't rely on your camera's "Auto" mode to save you here. You have to understand the exposure triangle intimately. If you're still shaky on the basics, check out our guide on how to use manual mode to get up to speed before you head out.
The Essential Gear for the Night Owl
You don't need a $10,000 setup to take incredible night photos, but you do need the right kind of gear.
1. The "Fast" Prime Lens
This is non-negotiable. Most kit lenses (the ones that come with the camera) have a maximum aperture of f/3.5 or f/5.6. At night, that’s like trying to drink a milkshake through a cocktail straw. You need a wide opening to let in as much light as possible.
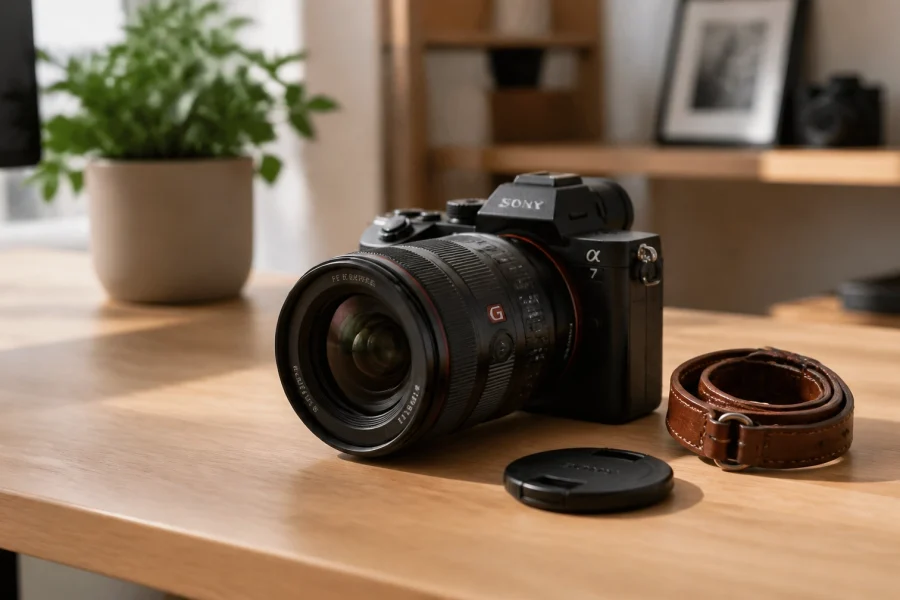
A 35mm or 50mm prime lens with an aperture of f/1.8 or f/1.4 is the gold standard. These lenses are usually small, lightweight, and relatively affordable. They allow you to keep your shutter speed fast enough to freeze motion without making your images look like a grain-fest.
2. High ISO Performance
Modern mirrorless cameras are incredible at handling "noise." While older cameras might have struggled at ISO 1600, today’s sensors can easily push to 6400 or even 12800. If you are looking to upgrade, look for cameras that prioritize low-light performance over high megapixel counts. You can see some of the latest tech trends in our photography news update to see what’s currently hitting the market.
3. Extra Batteries
Cold nights and long exposures drain batteries faster than a teenager drains a data plan. Always carry at least one spare.

Master Your Camera Settings
If you want to succeed after dark, you have to stop being afraid of the "M" on your dial. Night street photography is a balancing act. Here is the blueprint for your starting settings.
Aperture: Wide Open
Set your aperture to the lowest number your lens allows (f/1.4, f/1.8, or f/2.8). This does two things: it lets in the maximum amount of light and it creates that beautiful, blurry background (bokeh) that makes street portraits pop.
Shutter Speed: The 1/125 Rule
If you are photographing people, you generally don't want to go slower than 1/125th of a second. Anything slower and you’ll start to see "motion blur" as people move through the frame. If you have incredibly steady hands or your camera has great in-body image stabilization (IBIS), you might be able to drop to 1/60th, but 1/125th is the safe zone for sharp shots.
ISO: Let It Fly
This is where most beginners fail. They are so afraid of "noise" that they keep their ISO at 800 and end up with a dark, blurry photo. Grain is better than blur. A grainy photo can be fixed in post-processing; a blurry photo belongs in the trash. Don't hesitate to set your ISO to 3200 or 6400.
For a deeper dive into mastering these settings in record time, read our tutorial on how to master your camera’s manual mode in 5 minutes.
Finding the Light in the Dark
In night street photography, you aren't just looking for subjects; you’re looking for light sources. The subject just happens to walk into them.
Shop Windows
These are your best friends. Shop windows act like giant softboxes. They provide a broad, even light that is perfect for illuminating faces. Stand on the sidewalk, frame up the window, and wait for someone to walk past. The contrast between the bright window and the dark street creates an instant cinematic look.
Neon Signs and ATMs
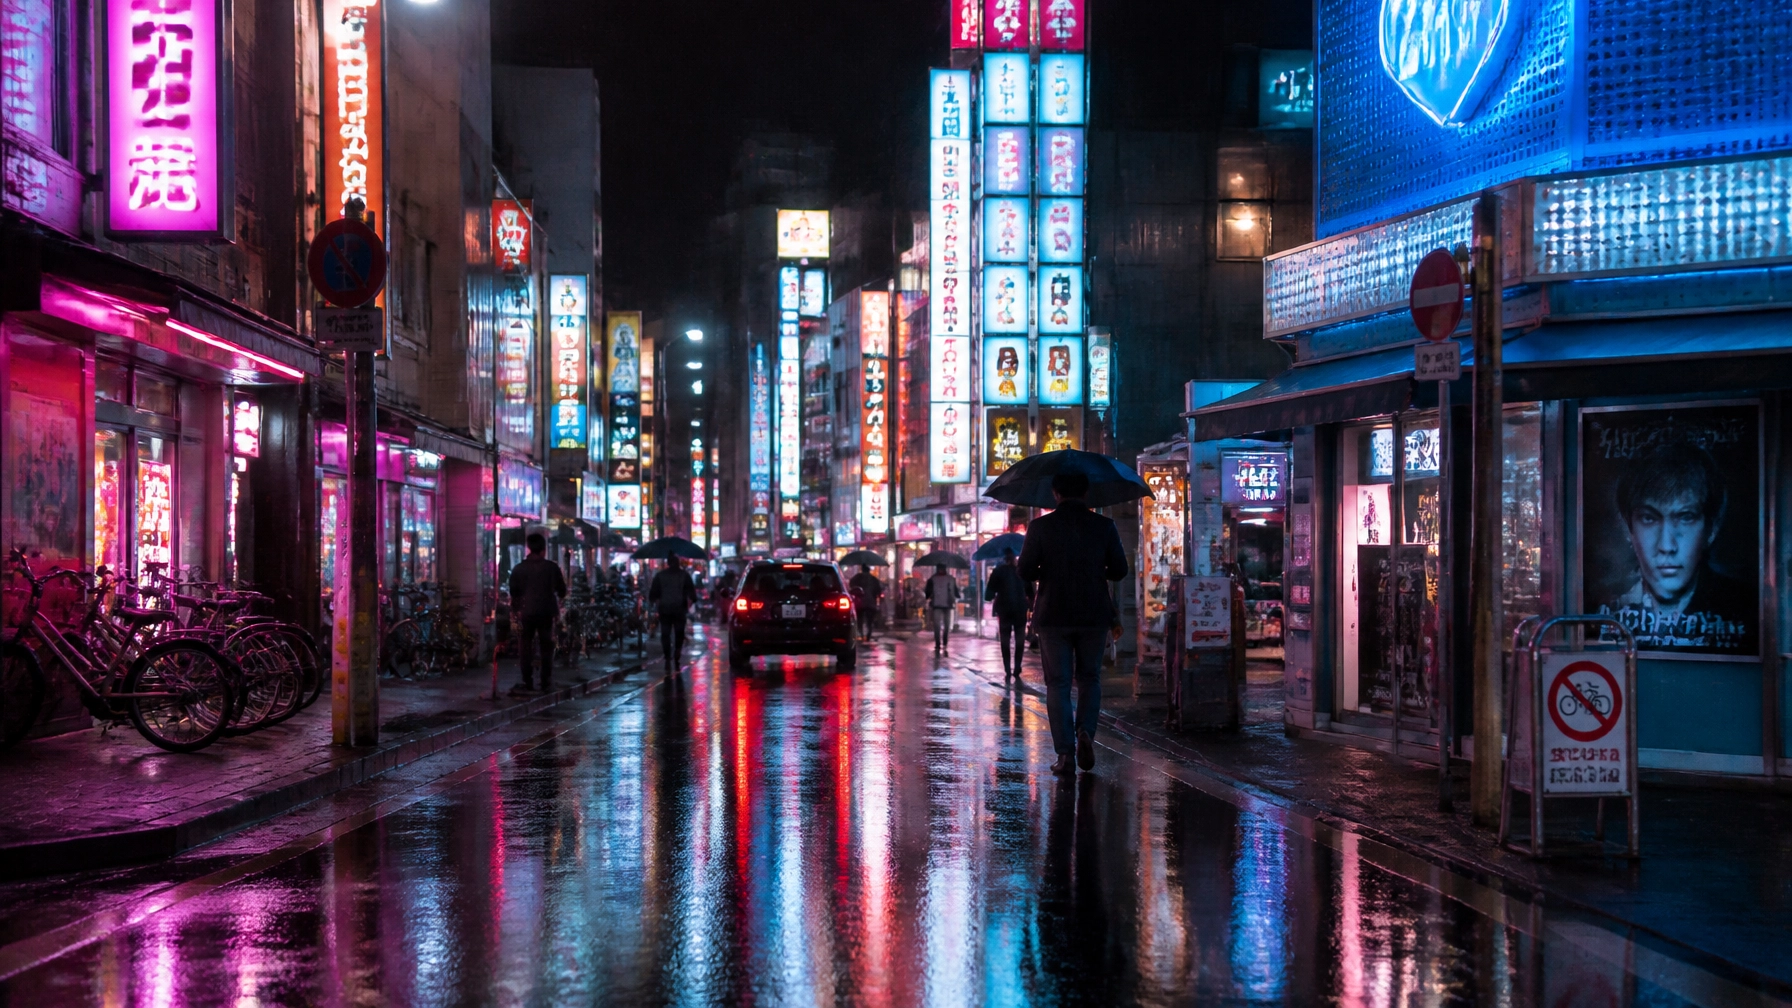
Neon provides incredible color. Blue and red neon can give your photos a "Cyberpunk" or "Blade Runner" vibe. ATMs are also great because they provide a very bright, localized white light that creates harsh shadows, perfect for dramatic, moody portraits.
Puddles and Reflections
Rain is a gift. Wet pavement turns the ground into a mirror. By getting low to the ground, you can capture the reflections of the city lights, effectively doubling the amount of light in your scene. This is a classic technique used by pros like those featured at Edin Fine Art.

Composition Strategies for the Night
Composition at night is different because the shadows do most of the work for you. You can use the darkness to "crop" out distracting elements like trash cans or ugly signs.
Silhouettes
Find a bright light source (like a backlit bus stop) and wait for a person to walk between you and the light. Expose for the light source, and your subject will turn into a perfect black silhouette. This adds a sense of mystery and anonymity to your work.
Leading Lines
Use the streaks of light from moving cars to lead the viewer’s eye through the frame. This usually requires a tripod and a longer shutter speed (around 1-2 seconds). It creates a sense of motion and energy that static photos lack. You can find more creative street photography ideas to keep your portfolio fresh.
The "Stage" Method
Instead of walking around aimlessly, find a spot with great light and a clean background. This is your "stage." Stay there for 15-20 minutes. Eventually, the right character will walk into your frame. This is much more effective than "hunting" because you’ve already solved the lighting and composition puzzles, you’re just waiting for the final piece.
Post-Processing: Bringing the Night to Life
The "RAW" file of a night photo often looks a bit flat and gray. This is where post-processing comes in. You need to bring back the blacks, enhance the highlights, and manage the noise.
One of the best tools for this is Luminar. Its AI-driven tools are particularly good at identifying light sources and enhancing them without making the photo look "fake." The "Relight AI" feature can actually help you adjust the lighting of your subject even after the shot is taken, which is a lifesaver when you're working with unpredictable street lights.
When editing:
- Don't over-brighten: It’s a night photo. It’s supposed to be dark. Keep those blacks deep.
- Color Balance: Street lights often have a nasty yellow or green tint. Use the White Balance tool to cool the image down for a more modern, "cinematic" look.
- Denoise: Use tools like those found in Luminar to smooth out the grain in the shadows while keeping the details sharp.
For more advanced editing techniques, you can explore the resources at PhotoGuides.org.

Safety and Ethics
Shooting at night requires a bit more situational awareness than daytime shooting.
- Be Aware: Don't keep your eyes glued to the back of your camera. Take your shot, then look around.
- Bring a Friend: If you’re heading into an unfamiliar area, bring a buddy. It’s safer and more fun.
- Respect the Subject: If someone doesn't want their photo taken, don't push it. A smile and a nod go a long way.
- Check the Law: Generally, if you are in a public space, you have the right to take photos. However, privacy laws vary by country and state.
If you're looking to turn these skills into a professional workflow, check out the courses at Shut Your Aperture Learn for structured paths on mastering the craft.
Action Plan: Your First Night Out
Ready to give it a shot? Here is your homework for tonight:
- Gear up: One camera, one prime lens (35mm or 50mm).
- Settings: Set to Manual. Aperture at f/1.8, Shutter at 1/125, ISO on Auto (up to 6400).
- The Mission: Find three different light sources, a neon sign, a shop window, and a street lamp.
- The Shot: Capture one silhouette and one candid portrait at each location.
- Review: Look at your shots. Are they sharp? If not, increase your shutter speed and let the ISO climb.
Night street photography is addictive. Once you start seeing the world in pools of light and shadow, you’ll never want to shoot in the midday sun again. For more daily inspiration, you can always check out Edin Chavez’s personal blog.

Frequently Asked Questions
Do I need a tripod for night street photography?
For "handheld" street photography involving people, no. A tripod will actually slow you down and make you more conspicuous. However, if you want to do long exposures of light trails or empty streets, a tripod is essential.
How do I focus in the dark?
Autofocus can struggle in low light. The trick is to focus on "high contrast" areas: like the edge of a person's jacket where the light hits it, or the glowing text of a sign. If your camera keeps "hunting," try using back-button focus or switch to manual focus if your subject is staying at a consistent distance.
Is high ISO grain bad?
In the world of street photography, grain is often seen as "soul." It gives the photo a gritty, film-like quality. Don't obsess over clinical perfection; focus on the story and the mood.
What is the best color temperature for night shots?
Most street lights are very warm (orange). Setting your white balance to "Tungsten" or around 3200K will turn those oranges into a more neutral tone and make the sky look a deep, rich blue.
Night photography isn't about having the best gear; it's about having the best eyes. The city is a different beast after dark: go out and capture it.