
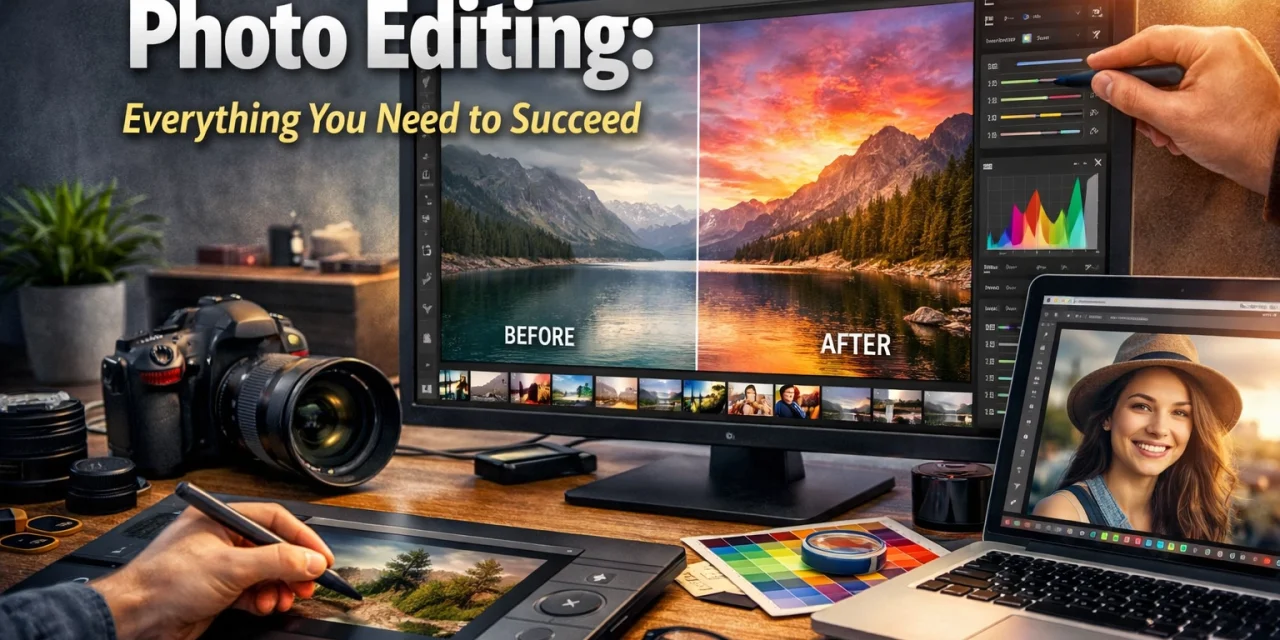
Let’s be real for a second: taking the photo is only half the battle. If you think great photographers just "click" and walk away, I’ve got a bridge to sell you. Whether you’re shooting landscapes in the Pacific Northwest or street photography in San Francisco, the magic happens in the digital darkroom.
Photo editing isn't about "fixing" a bad photo (though it can help); it’s about bringing your vision to life. It’s about making the viewer feel what you felt when you pressed the shutter. In this guide, we’re going to break down everything you need to know to master the art of the edit, from the basic workflow to the high-tech AI tools changing the game in 2026.
Why Editing Is Non-Negotiable
Every camera, no matter how expensive, interprets data in its own way. If you’re shooting in JPEG, the camera is making the editing decisions for you: applying contrast, saturation, and sharpening before you even see the file. When you take control of the editing process, you’re reclaiming that creative power.
Think of your unedited file as a block of marble. It’s got all the potential in the world, but you need to chip away the noise and polish the surface to find the statue inside. If you're still struggling with the basics of capturing the image, check out our Manual Mode 101 guide to make sure your "marble" is high quality before you start carving.
The Foundation: RAW vs. JPEG
Before we even open a software program, we have to talk about file formats. If you want to succeed in photo editing, you need to shoot in RAW.
A RAW file contains all the data captured by your camera’s sensor. It’s uncompressed and, frankly, looks a bit flat and ugly right out of the camera. That’s a good thing. It gives you the maximum dynamic range to recover shadows and highlights that would be lost forever in a JPEG.
Editing a JPEG is like trying to bake a cake that’s already come out of the oven. You can put some frosting on it, but you can’t change the ingredients. Editing a RAW file is like having the flour, eggs, and sugar ready to go. You decide the outcome.
The Essential Photo Editing Workflow
Consistency is the secret sauce of professional photographers. You don't want to just move sliders randomly until something looks "cool." You need a repeatable process. Here is the workflow we recommend at Shut Your Aperture.
1. Culling and Organization
Before you touch a slider, you need to pick the winners. Don’t waste time editing a photo that is out of focus or has a bad composition. Use a program like Adobe Lightroom or Luminar to rate your photos. Pick the best, "hide" the rest.
2. The Great Crop and Clean Up
Start with the "bones" of the image.
- Straighten the Horizon: Nothing screams "amateur" like a tilted ocean.
- The Crop: Use the Rule of Thirds or leading lines to emphasize your subject.
- Spot Removal: Use the healing brush to get rid of sensor dust or that annoying trash can in the background.
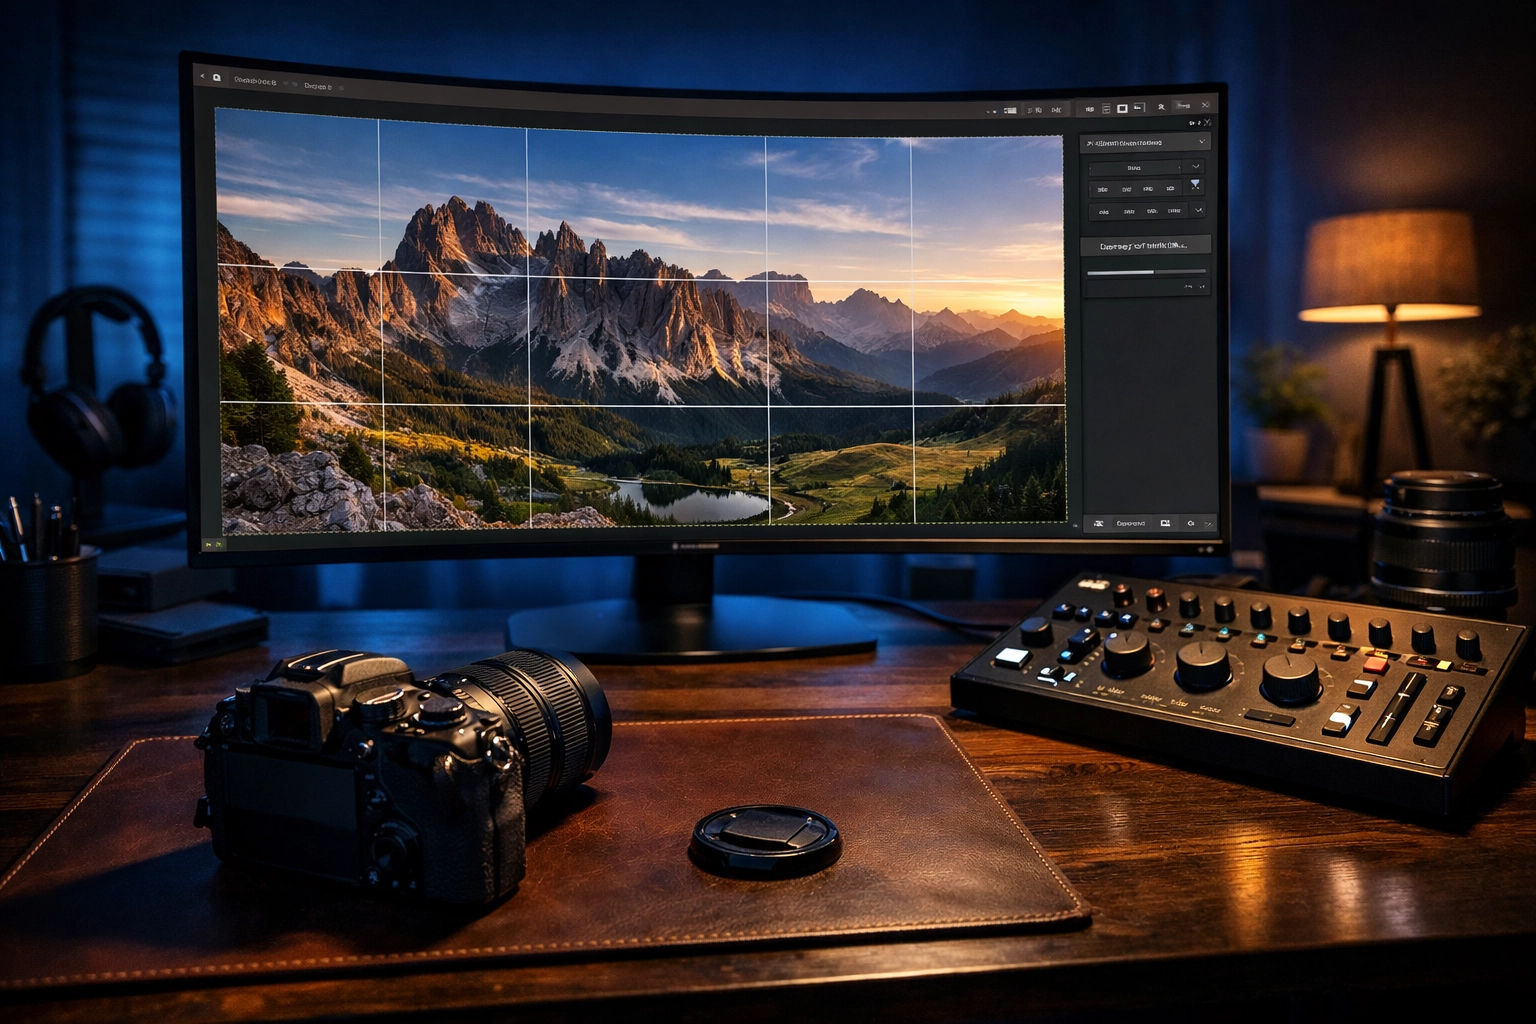
3. Mastering Exposure and the Histogram
Don't just trust your eyes: your monitor brightness can lie to you. Look at the histogram. If the "mountain" is pushed all the way to the right, you're losing detail in the highlights. If it's all the way to the left, your shadows are "crushed."
Adjust the exposure, highlights, and shadows until you have a balanced distribution of tones. If you're working on landscapes, this is where you make the sky pop without turning the ground into a black pit. For more on this, our guide on getting better at landscape photography has some killer tips.
4. White Balance and Color Correction
Ever take a photo indoors and everyone looks like an Oompa Loompa? That’s a white balance issue. Use the dropper tool to click on something neutral (white or grey) to set the temperature. From there, you can use the Vibrance and Saturation sliders.
- Pro Tip: Use Vibrance instead of Saturation. It’s smarter: it boosts the duller colors without making the already-bright ones look radioactive.
5. Contrast and Presence
Texture, Clarity, and Dehaze are your best friends: and your worst enemies. A little goes a long way.
- Texture: Great for bringing out detail in hair or rocks.
- Clarity: Adds "punch" to the mid-tones. Use it sparingly on portraits unless you want your subject to look like a topographical map.
- Dehaze: Perfect for cutting through atmospheric fog or sun flare.
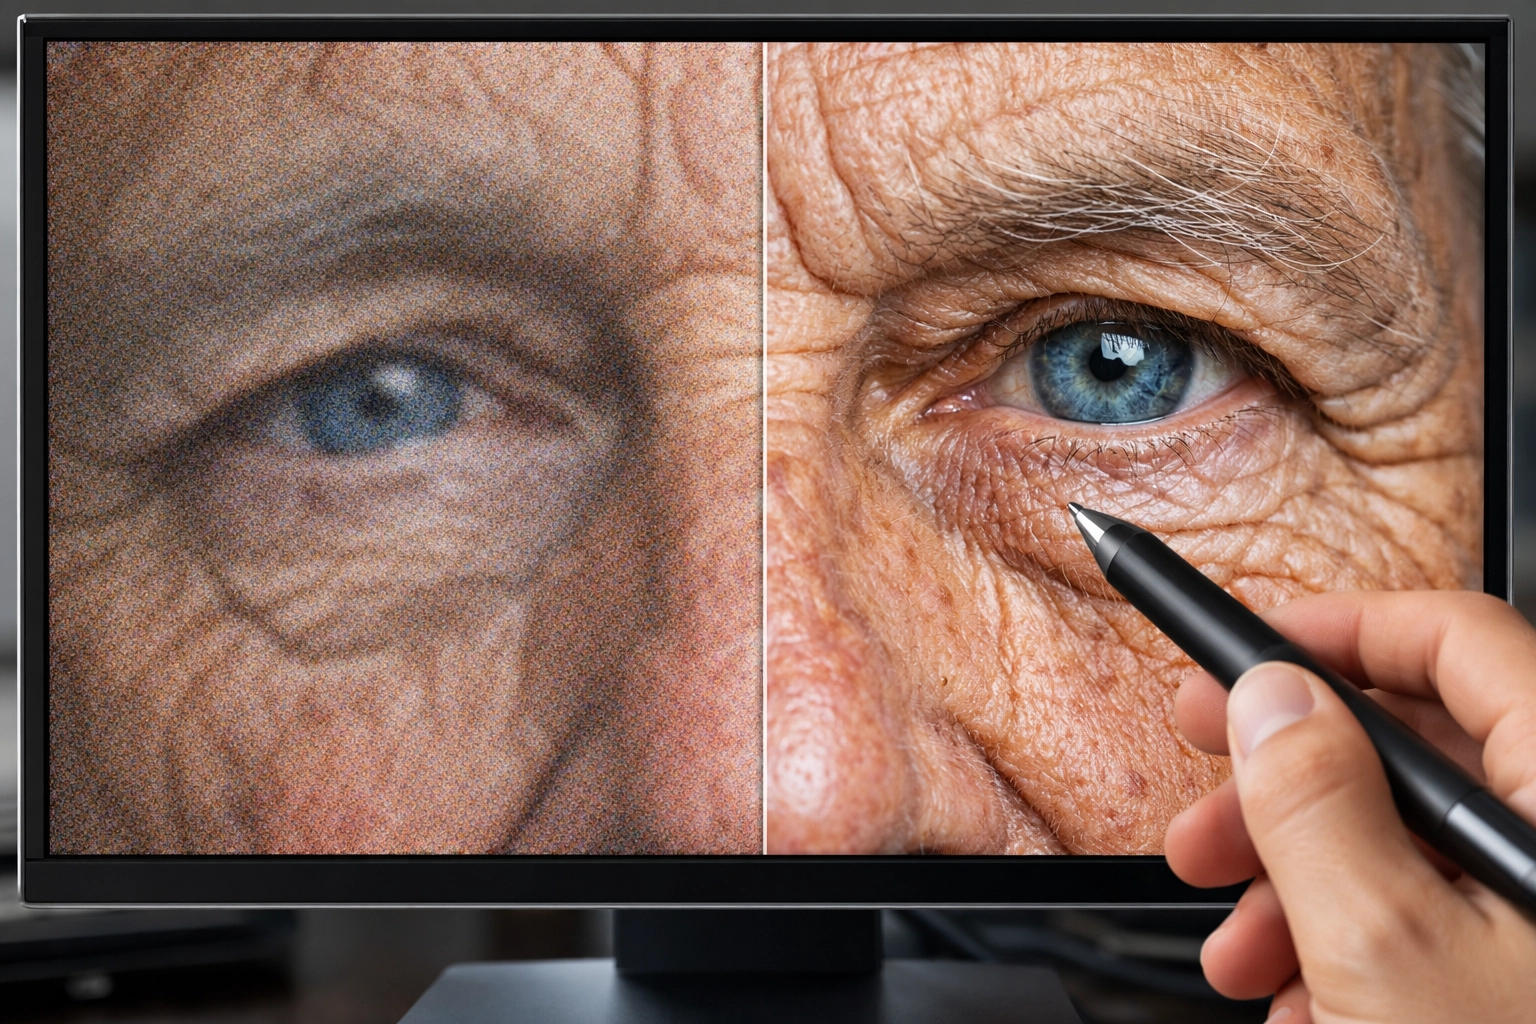
6. Sharpening and Noise Reduction
This should always be your last step. If you shot at a high ISO, you’ll have "noise" (that grainy look). Use noise reduction to smooth it out, but don't go too far or your subject will look like they’re made of plastic. When sharpening, zoom in to 100% to make sure you aren't creating weird "halos" around the edges.
Software: Choosing Your Weapon
The market is flooded with editing tools, but a few stand above the rest.
- Adobe Lightroom: The industry standard. It’s a powerhouse for organization and batch editing.
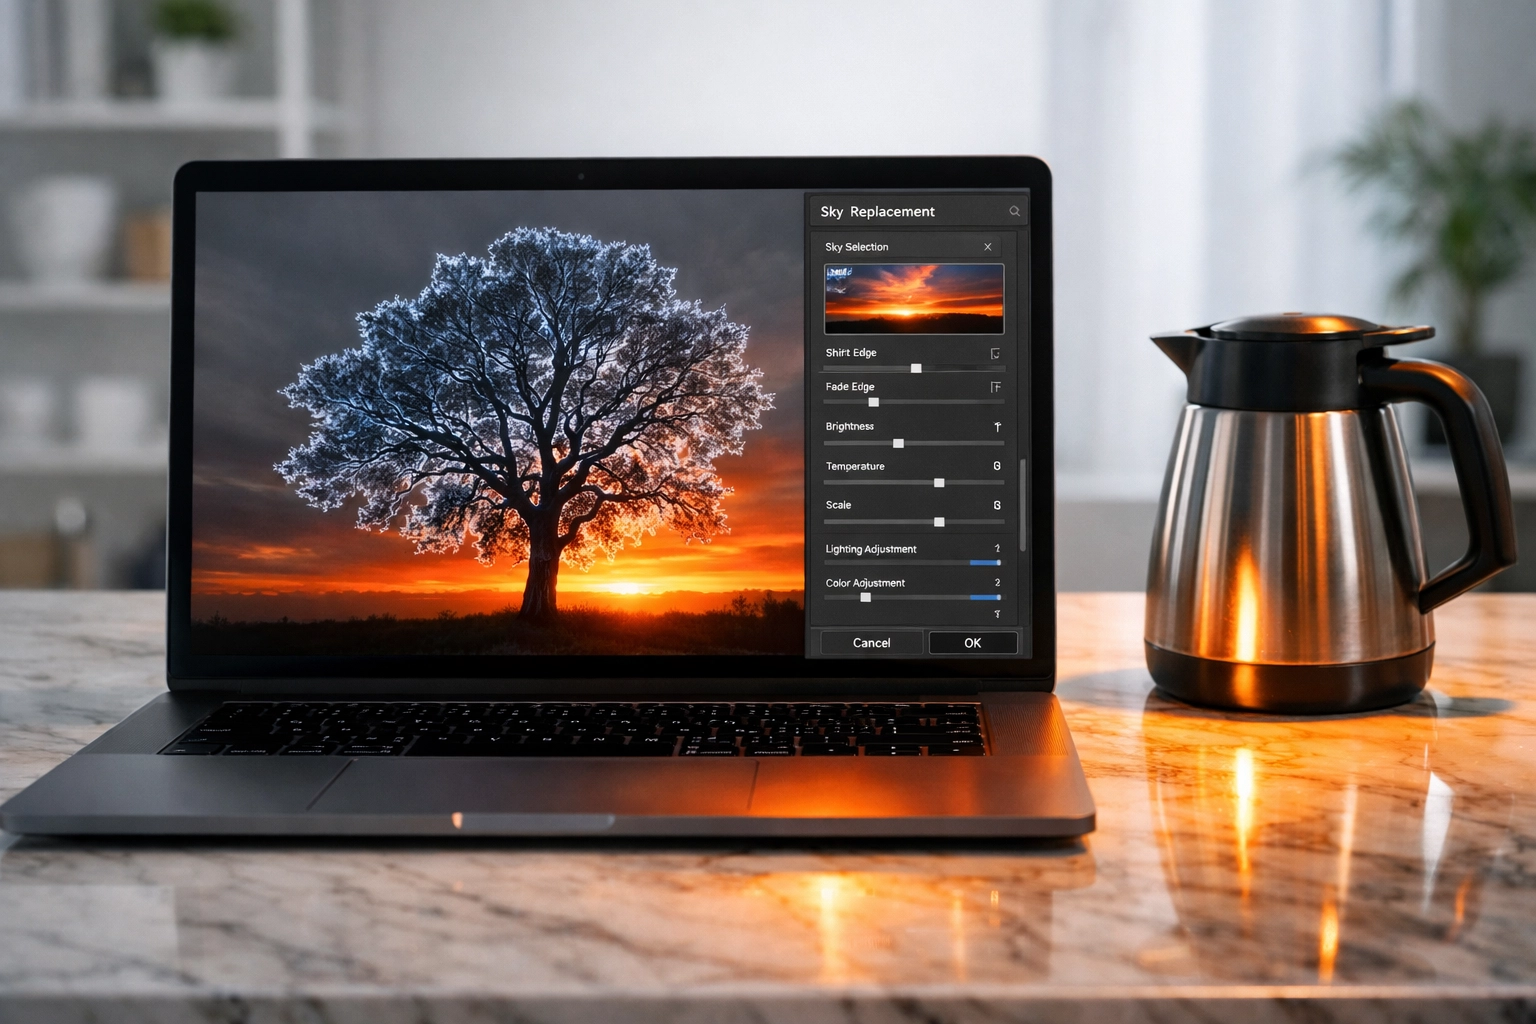
- Luminar: This is where AI really shines. It’s perfect for those who want professional results without spending hours masking and layering manually. It's particularly good for sky replacements and skin retouching.
- Adobe Photoshop: If Lightroom is a scalpel, Photoshop is a chainsaw. Use it for heavy manipulation, compositing, or removing complex objects.
- Mobile Apps: For editing on the fly, apps like Snapseed and VSCO are great, but even Adobe Photoshop Express offers professional-level control on a smartphone.
If you’re looking for the absolute latest in gear and software trends, stay updated with our 2026 photography news.
The Rise of AI in Photo Editing
It’s 2026, and AI isn't just a buzzword anymore: it's built into our cameras and our software. We’ve moved past simple filters. Today, AI can recognize a human face and automatically soften skin while keeping eyes sharp. It can identify a dull sky and replace it with a stunning sunset that matches the lighting of the foreground perfectly.
Some purists hate it, but at Shut Your Aperture, we embrace tools that make our lives easier. Why spend forty minutes masking a tree line when Luminar can do it in four seconds? This technology allows us to focus on the art rather than the admin. For more on how hardware is keeping up, read about AI-integrated mirrorless cameras.
Finding Your Personal Style
The goal of photo editing isn't to make your photo look like everyone else’s. It’s to develop a "look." Do you like moody, desaturated tones? Or are you all about high-contrast, vibrant colors?
The best way to find your style is to experiment. Look at the work of others for inspiration. Browse Edin Fine Art to see how professional color grading can elevate a simple scene into a piece of gallery-worthy art.
Using Presets: Presets are a great starting point. They allow you to apply a series of adjustments with one click. But don't let them be the end point. Apply a preset, then tweak the exposure and white balance to fit your specific image. This is how the pros maintain a consistent "vibe" on social media.
Common Editing Mistakes to Avoid
Even the best photographers fall into these traps. Avoid them, and you'll be ahead of 90% of the people on Instagram.
- Over-Saturation: If the grass looks neon green, back it off. Nature isn't that bright.
- Too Much HDR Look: Extreme "shadow recovery" can make a photo look flat and "dirty." Shadows are necessary for depth.
- Over-Sharpening: This creates "noise" and makes the image look "crunchy."
- Neglecting the Background: You might have the perfect portrait, but if there's a distracting bright spot in the background, the viewer's eye will go there instead of the subject.
- Not Calibrating Your Monitor: If your screen is too blue, you'll edit your photos to be too yellow. For serious work, check out resources on PhotoGuides.org regarding color management.
Advanced Techniques: Local Adjustments
Global adjustments affect the whole image. Local adjustments affect only a specific part. This is what separates the pros from the amateurs.
- Graduated Filters: Perfect for darkening a sky without affecting the foreground.
- Radial Filters: Great for adding a subtle "spotlight" to your subject.
- Adjustment Brushes: Use these to dodge (brighten) and burn (darken) specific areas. Want the eyes to pop in a portrait? Use a brush to slightly increase the exposure and clarity on the irises.
For more advanced workflows, you can always dive into our ultimate guide to photography tutorials.

Putting It Into Practice
The only way to get better at editing is to do it. Take a look at some of our "Photo of the Day" features, like Reflections by Khalil Morcos or Olympic National Park by Mark Rogers. Notice how the light and color work together.
Start with an old photo you thought was "just okay" and try applying a new workflow to it. You might be surprised at the life you can breathe back into an old file.
Editing is a journey, not a destination. Your style will evolve as your skills grow. Don't be afraid to push the sliders to the extremes just to see what they do: then pull them back to where the image feels "right."
Photography is about capturing a moment, but editing is about telling the story of that moment. Whether you're using Lightroom, Photoshop, or Luminar, the tools are there to serve your creativity. Now, go shut your aperture, take some shots, and get to work in the digital darkroom.
If you need more inspiration for your next shoot, check out the latest photography trends or see what’s happening over at Edin Studios. Happy editing!


