So, you’ve got a camera. Maybe it’s a shiny new mirrorless you bought after reading a dozen camera gear reviews, or maybe it’s an old DSLR you found in the attic. Perhaps it’s just the phone in your pocket. Whatever it is, you’re here because you want to stop taking "snapshots" and start taking "photographs."
Photography is one of those hobbies that looks easy from the outside, you just point and click, right?, but the moment you try to get that blurry background or capture a sharp photo of your dog running, things get complicated.
This guide is designed to cut through the noise. We’re going to talk about the gear you actually need, how to use manual mode camera settings without losing your mind, and the secret sauce of composition. If you’re looking for a deep dive, you should also check out the photography tutorials we have available for a more structured learning path.
1. The Mindset: It’s Not About the Gear
Before we talk about sensors and megapixels, let’s get one thing straight: a better camera won’t make you a better photographer. It just makes it easier to take certain types of photos.
I’ve seen incredible shots taken on iPhones and absolute garbage taken on $10,000 rigs. Success in photography comes from how you see the world. It’s about noticing how light hits a building at 5 PM or how a person’s expression changes when they laugh.
Start by shooting what you love. If you love the outdoors, focus on landscape photography tips. If you’re a people person, dive into portrait photography techniques. The technical stuff will follow the passion.
2. Choosing Your Gear (Without Going Broke)
If you are just starting, the market is flooded with options. You’ve likely heard debates about the best mirrorless cameras for 2026.
The Camera Types
- Smartphones: Honestly, they are incredible for learning composition and light. Don't knock them.
- Mirrorless: This is where the industry is. They are smaller, faster, and have better autofocus than the old DSLRs. If you're looking for high-end, the Canon EOS R5 vs Sony A7R V is the current heavyweight bout.
- DSLR: You can get these cheap used. They still take amazing photos, but the tech is fading out.
Lenses are More Important than Cameras
If you have $2,000 to spend, spend $800 on a camera and $1,200 on a lens.
- Prime Lenses: These don’t zoom. Because they do one thing, they do it well. A 50mm f/1.8 (the "Nifty Fifty") is the first lens every beginner should buy. It’s cheap and creates that beautiful blurry background (bokeh).
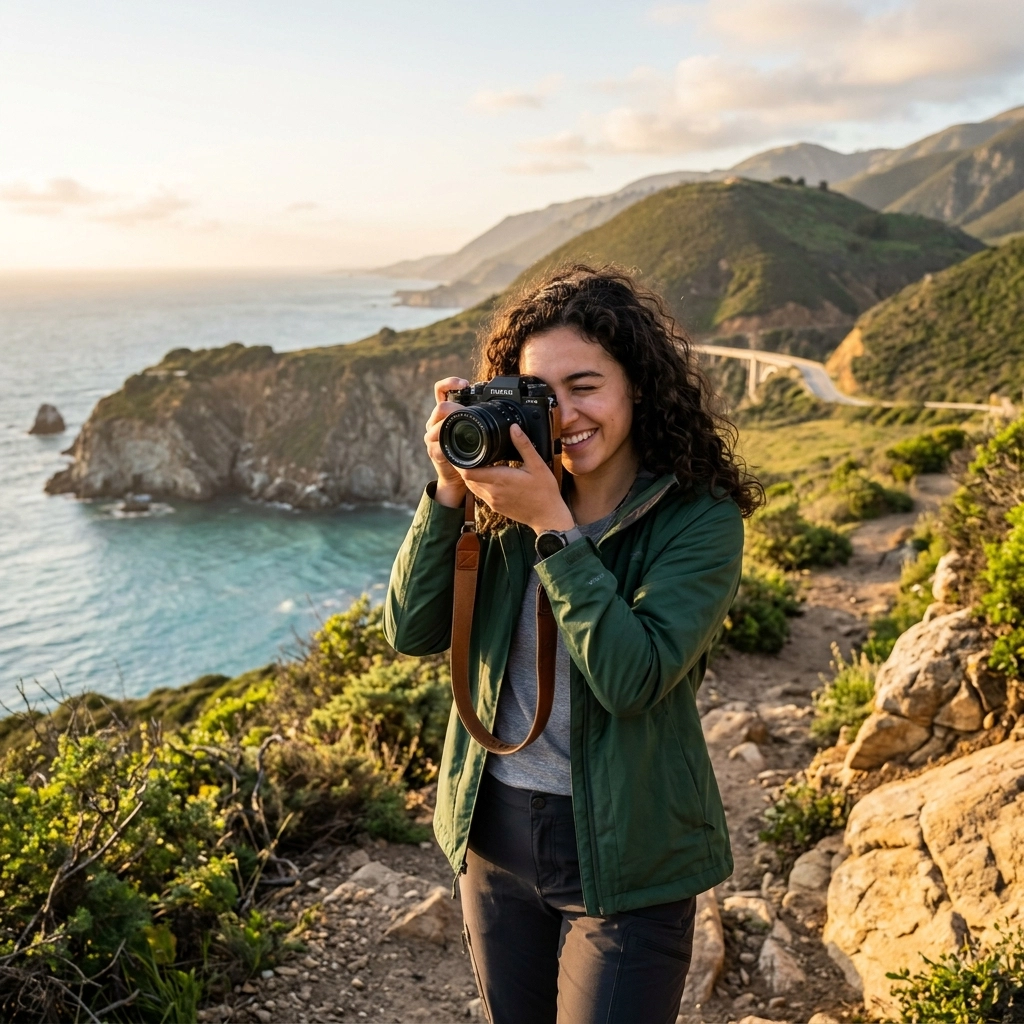
- Zoom Lenses: These give you range. An 18-55mm is a standard "kit" lens that comes with most cameras. It’s a great way to figure out what focal length you actually like shooting at.

SEO Alt Text: A beginner photographer holding a modern mirrorless camera with a prime lens, standing in a park during golden hour.
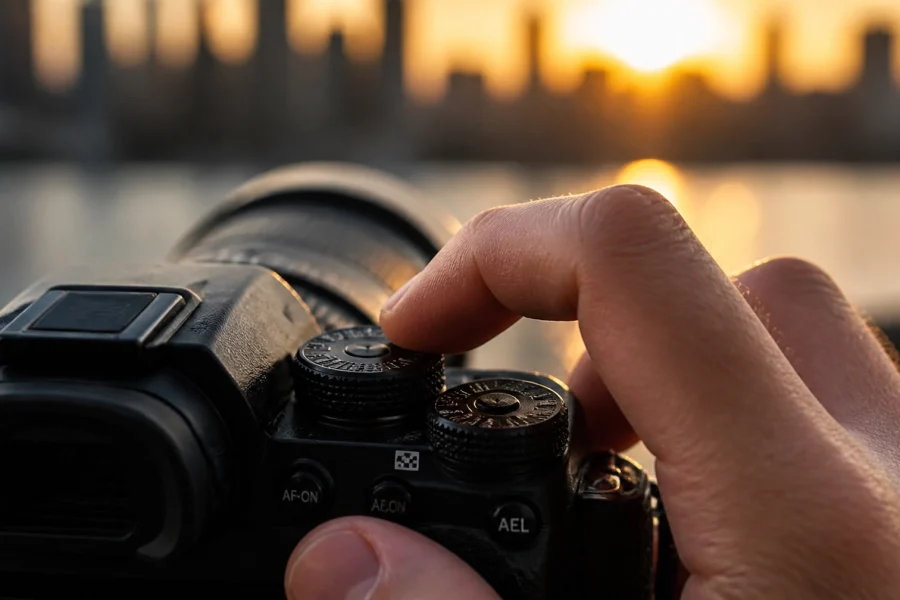
3. How to Use Manual Mode Camera: The Exposure Triangle
This is the part that scares people, but it’s actually just basic math. There are three things that control how much light hits your camera sensor: Aperture, Shutter Speed, and ISO.
Aperture (The "F-Number")
Think of this as the pupil of an eye.
- Small f-number (f/1.8, f/2.8): Wide opening. Lots of light. Very blurry background. Perfect for portraits.
- Large f-number (f/11, f/16): Tiny opening. Less light. Everything is in focus from the foreground to the background. Perfect for landscapes.
Shutter Speed
This is how long your camera's "curtain" stays open.
- Fast Shutter (1/1000 sec): Freezes action. Use this for sports or a bird in flight.
- Slow Shutter (1/30 sec or slower): Blurs motion. Use this for those silky waterfall shots (but you’ll need a tripod).
ISO
This is your camera's sensitivity to light.
- Low ISO (100): Clean, crisp images. Use this when it's sunny.
- High ISO (3200+): Allows you to shoot in the dark, but it adds "noise" or grain to your photo.
The goal of learning photography for beginners is to balance these three. If you turn one up, you usually have to turn another one down to keep the exposure the same. If you're feeling stuck, you can find more help on PhotoGuides.org.
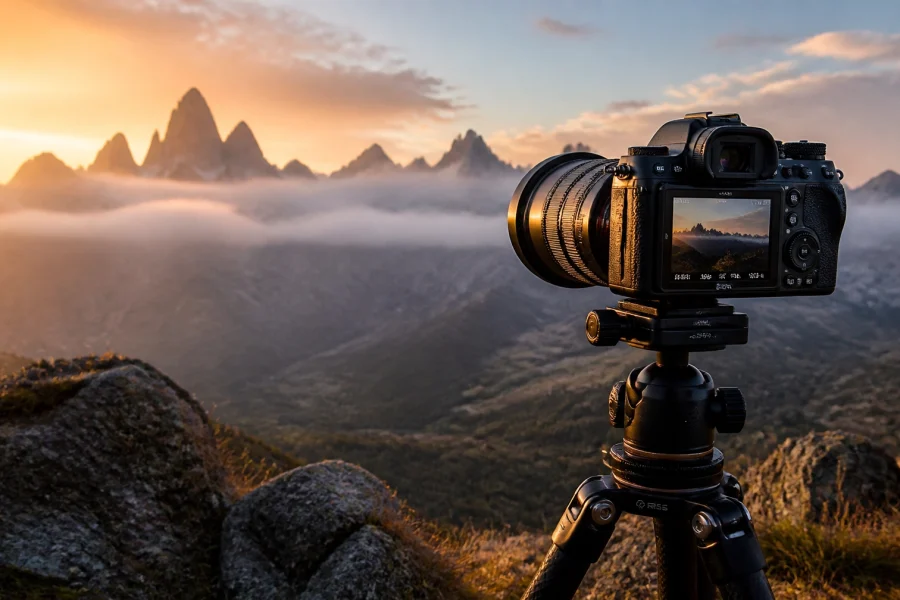
4. Focus and Sharpness
Nothing ruins a photo like a blurry subject. Modern cameras have amazing autofocus, but you still need to know how to use it.
- Single AF (AF-S): The camera locks focus once. Great for buildings or people standing still.
- Continuous AF (AF-C): The camera keeps refocusing as long as you hold the button. Essential for kids, pets, or street photography ideas.
- Eye AF: If your camera has this, turn it on. It will automatically find the person's eye and lock onto it. It's a game-changer for portrait photography techniques.

SEO Alt Text: Close up of a camera screen showing the autofocus points locking onto a subject's eye during a portrait session.
5. Composition: The Secret to "Wow" Photos
You can have the perfect exposure, but if your composition is boring, the photo is boring. Here are the big ones to remember:
The Rule of Thirds
Imagine a tic-tac-toe grid over your image. Most cameras have a setting to show this in the viewfinder. Instead of putting your subject dead center, put them on one of the lines or where the lines intersect. It instantly makes the photo feel more professional and balanced.
Leading Lines
Use roads, fences, or even shadows to point toward your subject. It pulls the viewer's eye through the frame. This is one of the most effective landscape photography tips you can master early on.
Simplify
Beginners often try to put too much in one photo. If you’re taking a photo of a flower, don’t include the trash can in the background. Move your feet, zoom in, or change your angle. Less is almost always more.
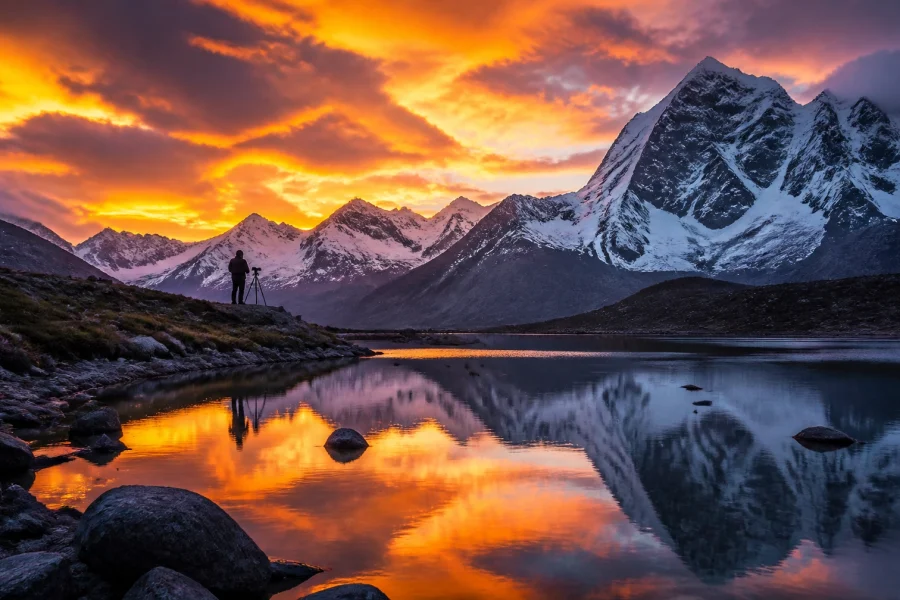
6. Lighting: The Photographer’s Language
Light is everything. You could be at the most beautiful location in the world, but if the light is flat and gray, the photo will be "meh."
- The Golden Hour: This is the hour after sunrise and the hour before sunset. The light is soft, warm, and makes everyone look like a supermodel.
- The Blue Hour: Just after sunset. The sky turns a deep indigo, and city lights start to pop.
- Mid-Day Sun: Usually the worst time to shoot. It creates harsh shadows under people's eyes. If you have to shoot then, find some shade.
If you're interested in how light affects different styles, I’ve written more about it on blog.edinchavez.com.

SEO Alt Text: A stunning landscape photo taken during the golden hour, showing soft orange light hitting mountain peaks.
7. Finding Your Niche
Once you understand the basics, it's time to experiment. Don't feel like you have to pick one thing right away, but try different photography tutorials to see what sticks.
Street Photography
This is all about the "decisive moment." It’s candid, raw, and often told in black and white. If you need some street photography ideas, try going to a local market or a busy train station and just watch people.
Landscape Photography
It’s you vs. nature. It requires patience and usually a lot of hiking. Check out some of the fine art prints at Edin Fine Art to see what’s possible when you master the light.
Portraiture
Working with people is a different skill set. It’s 50% technical and 50% psychology. You have to make your subject feel comfortable so their real personality comes through.
8. Photo Editing Tutorials: The Digital Darkroom
A lot of beginners think editing is "cheating." It’s not. Back in the day, photographers spent hours in a darkroom with chemicals to get the look they wanted. Now, we use software.
RAW vs. JPEG
If your camera allows it, shoot in RAW. A JPEG is a finished file where the camera has made all the decisions for you. A RAW file contains all the data the sensor captured, meaning you can "save" a photo that was too dark or too bright much more easily.
Software Options
- Adobe Lightroom: The industry standard. It’s great for organizing thousands of photos. We have a dedicated section for Lightroom tutorials if you're ready to dive in.
- Luminar: This is fantastic for beginners because it uses AI to handle a lot of the heavy lifting. You can swap skies or enhance portraits with just a few clicks. Check out Luminar if you want to speed up your workflow.
- Snapseed: A great (and free) mobile app if you’re editing on your phone.
The Basic Workflow
- Crop and Straighten: Fix those crooked horizons!
- White Balance: Make sure the whites look white, not blue or orange.
- Exposure: Adjust the brightness.
- Contrast: Make the blacks blacker and the whites whiter.
- Saturation/Vibrance: Be careful here; don't make people look like Oompa Loompas.

SEO Alt Text: A side-by-side comparison of a raw photo before and after editing in Lightroom, showing improved colors and contrast.
9. Staying Inspired and Updated
The world of photography moves fast. New cameras come out every few months, and styles change. To keep up, I recommend checking out our photography news section regularly. It’s a great way to stay informed without spending hours scrolling through forums.
You can also find a lot of inspiration by looking at what others are doing. Go to galleries, buy photo books, and don't just look at photos on Instagram. The algorithm tends to show you the same stuff over and over; break out of that bubble.
10. A 4-Week Plan for Beginners
If you’re feeling overwhelmed, here is a simple plan to get you moving.
Week 1: Master the Aperture
Set your camera to Aperture Priority (A or Av mode). This lets you pick the aperture while the camera handles the rest. Spend the week taking photos at f/1.8 (or your lowest number) and f/11. See how the background changes.
Week 2: Master the Shutter
Set your camera to Shutter Priority (S or Tv mode). Go find something moving: a car, a dog, a waterfall. Try to freeze it at 1/1000 and try to blur it at 1/15. See what happens.
Week 3: Composition Only
Put your camera back on Auto or Program mode. Don't worry about the settings. Spend the whole week focusing on the Rule of Thirds and Leading Lines. Walk around your neighborhood and look for shapes.
Week 4: The Full Manual
It’s time. Switch that dial to M. Use what you learned in weeks 1 and 2 to balance your exposure. Use what you learned in week 3 to frame the shot. This is where you truly become a photographer.

SEO Alt Text: A photographer sitting at a desk with a laptop and a camera, reviewing their work and planning their next shoot.
Common Pitfalls to Avoid
- Chasing Gear: You don't need the newest Sony or Canon to take a great photo. Use what you have until you hit a wall where the gear is actually stopping you from progressing.
- Ignoring the Background: You might have a beautiful subject, but if there's a telephone pole "growing" out of their head, the photo is ruined. Always scan the edges of your frame before you click.
- Not Backing Up Your Work: Hard drives fail. It’s not a matter of if, but when. Use cloud storage or an external drive to keep your memories safe.
- Over-Editing: It’s tempting to push every slider to 100 in Luminar or Lightroom. Try to make the photo look "real" first. You can get artistic later.
Photography is a journey, not a destination. You’re going to take a lot of bad photos before you take a good one, and that’s perfectly okay. Even the pros have a "reject" pile that’s way bigger than their "portfolio" pile.
The most important thing you can do is keep your camera with you. You can’t take the shot if the camera is sitting on your shelf at home. So get out there, make some mistakes, and start capturing the world as you see it.
If you want to keep learning, check out more of our photography tutorials and join a community of people who are just as obsessed with light and glass as you are. Happy shooting!