Let’s be honest: taking a photo of a person should be easy, right? You point the camera, they smile (or don’t), and you click. But then you look at the back of the screen and realize they look like a deer in headlights, the background is a mess of trash cans, and the lighting makes them look like they haven’t slept since the 90s.
Portrait photography is an art form that blends technical skill with the chaotic beauty of human emotion. Whether you are just starting out with photography for beginners or you’re a seasoned pro looking to sharpen your skills, mastering portrait photography techniques is the key to creating images that actually say something.
In this guide, we are going to break down everything from gear and camera settings to the "secret sauce" of posing and lighting. Grab a coffee, and let’s get into it.
Getting the Right Gear
You don’t need a $10,000 setup to take a great portrait, but the right tools certainly make the job easier. If you are currently hunting for the best mirrorless cameras, look for something with great Eye-Autofocus. It’s a game-changer.
Lenses are King
In the world of portraits, your lens matters more than your camera body.
- The 85mm Prime: Often called the "King of Portraits," it provides a beautiful compression that makes faces look flattering and creates that creamy background blur (bokeh) we all crave.
- The 50mm "Nifty Fifty": Great for beginners. It’s affordable, fast, and mimics the human eye’s field of view.
- The 35mm: Excellent for environmental portraits where you want to show the subject’s surroundings, similar to street photography ideas.
 )
)
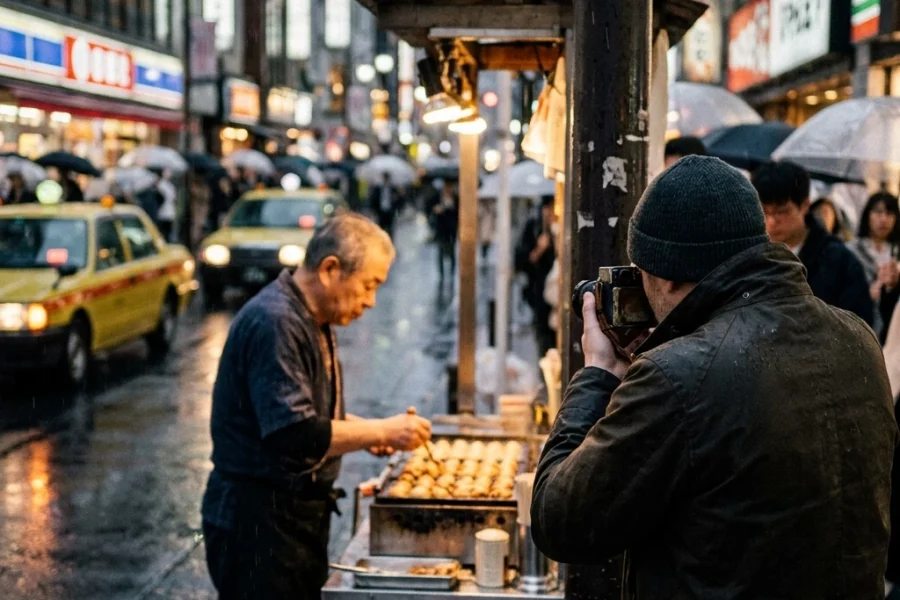
Alt: Best mirrorless cameras and lenses for portrait photography techniques.
Mastering Your Settings: How to Use Manual Mode Camera
If you want to move past being a "framer" to being a "photographer," you have to ditch the "Auto" mode. Learning how to use manual mode camera is the first step toward creative freedom.
Aperture (The Bokeh Factor)
For portraits, you generally want a wide aperture (a low f-number like f/1.8 or f/2.8). This creates a shallow depth of field, which pops your subject off the background. It’s the difference between a professional shot and a phone snap.
Shutter Speed
People move. Even when they are "still," they twitch, blink, and breathe. Keep your shutter speed at least 1/200th of a second to avoid motion blur. If you’re shooting kids or pets, bump that up to 1/500th.
ISO
Keep this as low as possible (ISO 100 or 200) to avoid "noise" or grain. However, modern mirrorless cameras handle high ISO incredibly well, so don't be afraid to push it if the light is fading. You can read more about the latest tech in our photography news section.
Lighting: The Soul of the Portrait
You can have the best model in the world, but bad lighting will ruin the shot every single time. Unlike landscape photography tips where you’re at the mercy of the weather, in portraits, you can often manipulate the light.
Natural Light
The "Golden Hour" (the hour after sunrise and before sunset) is your best friend. The light is soft, warm, and directional. If you have to shoot in the middle of the day, find some "open shade": like under a tree or in the shadow of a building. This prevents harsh shadows under the eyes (the dreaded raccoon eyes).
Studio Lighting Patterns
If you’re moving indoors, you should learn a few classic patterns:
- Rembrandt Lighting: Characterized by a small triangle of light on the cheek of the shadowed side of the face. It’s moody and classic.
- Butterfly Lighting: Named for the butterfly-shaped shadow under the nose. It’s very flattering for glamour and corporate headshots.
- Loop Lighting: A simple, reliable setup where the shadow of the nose creates a small loop on the cheek.
 )
)
Alt: Classic Rembrandt lighting pattern for professional portrait photography techniques.
Composition and Framing
Composition is how you tell the viewer where to look. In a portrait, the eyes are almost always the focal point. If the eyes aren't sharp, the photo is usually a "delete."
The Rule of Thirds
Don't always stick your subject right in the middle. Imagine a tic-tac-toe grid over your frame. Place the subject’s eyes on one of the upper intersections. This creates a more dynamic and balanced image.
Use Leading Lines
Whether it's a fence, a road, or a hallway, use lines in the environment to lead the viewer’s eye toward your subject. This is a common overlap with street photography ideas, where the environment plays a huge role in the story.
Watch the Background
A common mistake is forgetting what’s behind the person. A tree branch growing out of someone’s head is a classic "oops" moment. Simplify your background so it doesn't compete with your subject. If you find yourself struggling with busy backgrounds, check out our photography tutorials for more composition deep-dives.
Posing: Making People Feel Human
Most people hate having their picture taken. Your job as a photographer is 50% technical and 50% psychologist. If your subject is stiff, the photo will look stiff.
Build a Rapport
Talk to them. Ask about their day. Tell a bad joke. The best portraits happen in the split second after a laugh when the person relaxes. For more on this, look at our tips on how to fix mistakes with corporate headshots.
Direction, Not Posing
Instead of saying "put your hand here," give them an action. "Lean against the wall and look toward the light" feels more natural.
- The "Nose to the Shoulder" trick: Have the subject turn their body away and then look back over their shoulder. It slims the profile and adds a sense of mystery.
- Mind the Hands: Hands can look like giant claws if they are flat to the camera. Have them turn their hands to the side or give them something to hold.
 )
)
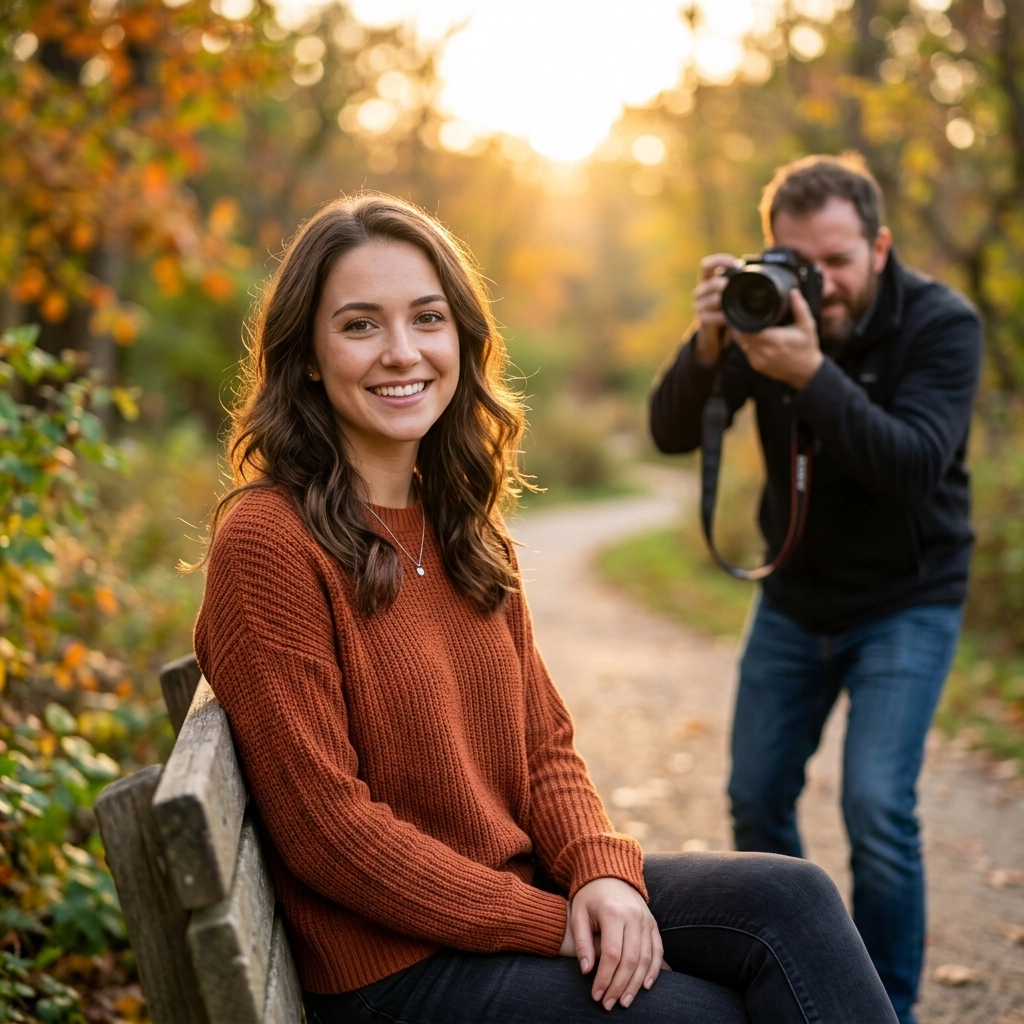
Alt: Candid posing techniques for natural portrait photography.
Post-Processing: The Finishing Touch
Raw photos out of the camera are like unfinished paintings. They need a little love to really shine. This is where photo editing tutorials come in handy.
When it comes to portraits, you want to be careful not to over-edit. You want the person to look like themselves on their best day, not like a plastic mannequin.
I highly recommend using Luminar for portrait editing. Their AI tools for skin retouching and eye enhancement are incredibly subtle and save you hours of manual masking. You can quickly smooth out skin textures while keeping the natural pores intact, which is essential for a high-quality look.
Key Steps in Editing:
- Exposure and Contrast: Fix the lighting first.
- Color Balance: Ensure the skin tones look natural (not too orange or too blue).
- Local Adjustments: Brighten the eyes slightly and dodge/burn to add dimension to the face.
- Sharpening: Apply sharpening specifically to the eyes and hair, leaving the skin soft.
Common Pitfalls to Avoid
Even the pros mess up. Here are a few things to keep an eye on:
- Missing the Focus: In a portrait, the eye closest to the camera must be in focus. If you're shooting at f/1.4, your focus area is tiny. Double-check your shots.
- Distorted Features: Shooting a close-up with a wide-angle lens (like 24mm) will make the person’s nose look huge and their ears look small. Stick to longer focal lengths for tight shots.
- Over-Smoothing Skin: We’ve all seen those "uncanny valley" portraits where the skin looks like a CGI character. Use tools like Luminar to keep it realistic.
Taking it Further
Portrait photography is a journey. You start by worrying about the buttons on your camera, and you end by worrying about the light in someone's eyes. If you want to expand your horizons, don't forget to look at other genres. Many landscape photography tips regarding light and color apply directly to portraits.
If you're looking for more inspiration or want to see some world-class examples of how light and subject come together, check out the fine art collections over at Edin Fine Art. Seeing how professional work is composed can give you a lot of street photography ideas that you can bring back into your portrait sessions.
 )
)
Alt: Photo editing tutorials comparison for portrait photography.
Final Thoughts
The "ultimate technique" in portrait photography isn't a setting on your camera or an expensive lens. It’s your ability to connect with the person in front of your lens. When you combine that connection with a solid understanding of how to use manual mode camera and the right lighting, you become unstoppable.
Practice on your friends, your family, or even your dog. Every person you photograph will teach you something new about light, angles, and human nature. Keep shooting, keep learning, and don't be afraid to shut your aperture once in a while to see what happens when the whole scene is in focus!
For more in-depth camera gear reviews and the latest in photography news, keep checking back with us. Now get out there and capture some faces!
Skylum’s Aperty is purpose-built for portrait retouching with AI skin, eye and detail enhancement. Luminar Neo’s Portrait AI complements it for full-body and editorial work. Tagged as affiliate per FTC.