

We’ve all been there. You’re standing on the edge of a cliff, the sun is dipping below the horizon, and the sky is exploding in shades of pink and orange. You think, “This is it. This is the shot that’s going to make me famous.” You click the shutter, feeling like a total pro. Then you get home, pull the files up on your computer, and… meh.
The colors look flat, the mountain looks like a tiny ant in the distance, and there’s a stray candy wrapper in the corner of the frame that you didn’t notice. It’s a bummer, right?
Landscape photography is one of the most rewarding genres, but it’s also one of the most frustrating. It’s not just about pointing a camera at something pretty. It’s about light, composition, and avoiding the common traps that turn a potentially epic photo into a snapshot.
At Shut Your Aperture, we want you to stop taking "okay" photos and start creating art. Whether you are using the latest mirrorless camera or an old-school setup, these mistakes are universal. Let’s break down the 7 landscape photography mistakes that are killing your shots and, more importantly, how you can fix them right now.
1. The "Wide-Angle Everything" Trap
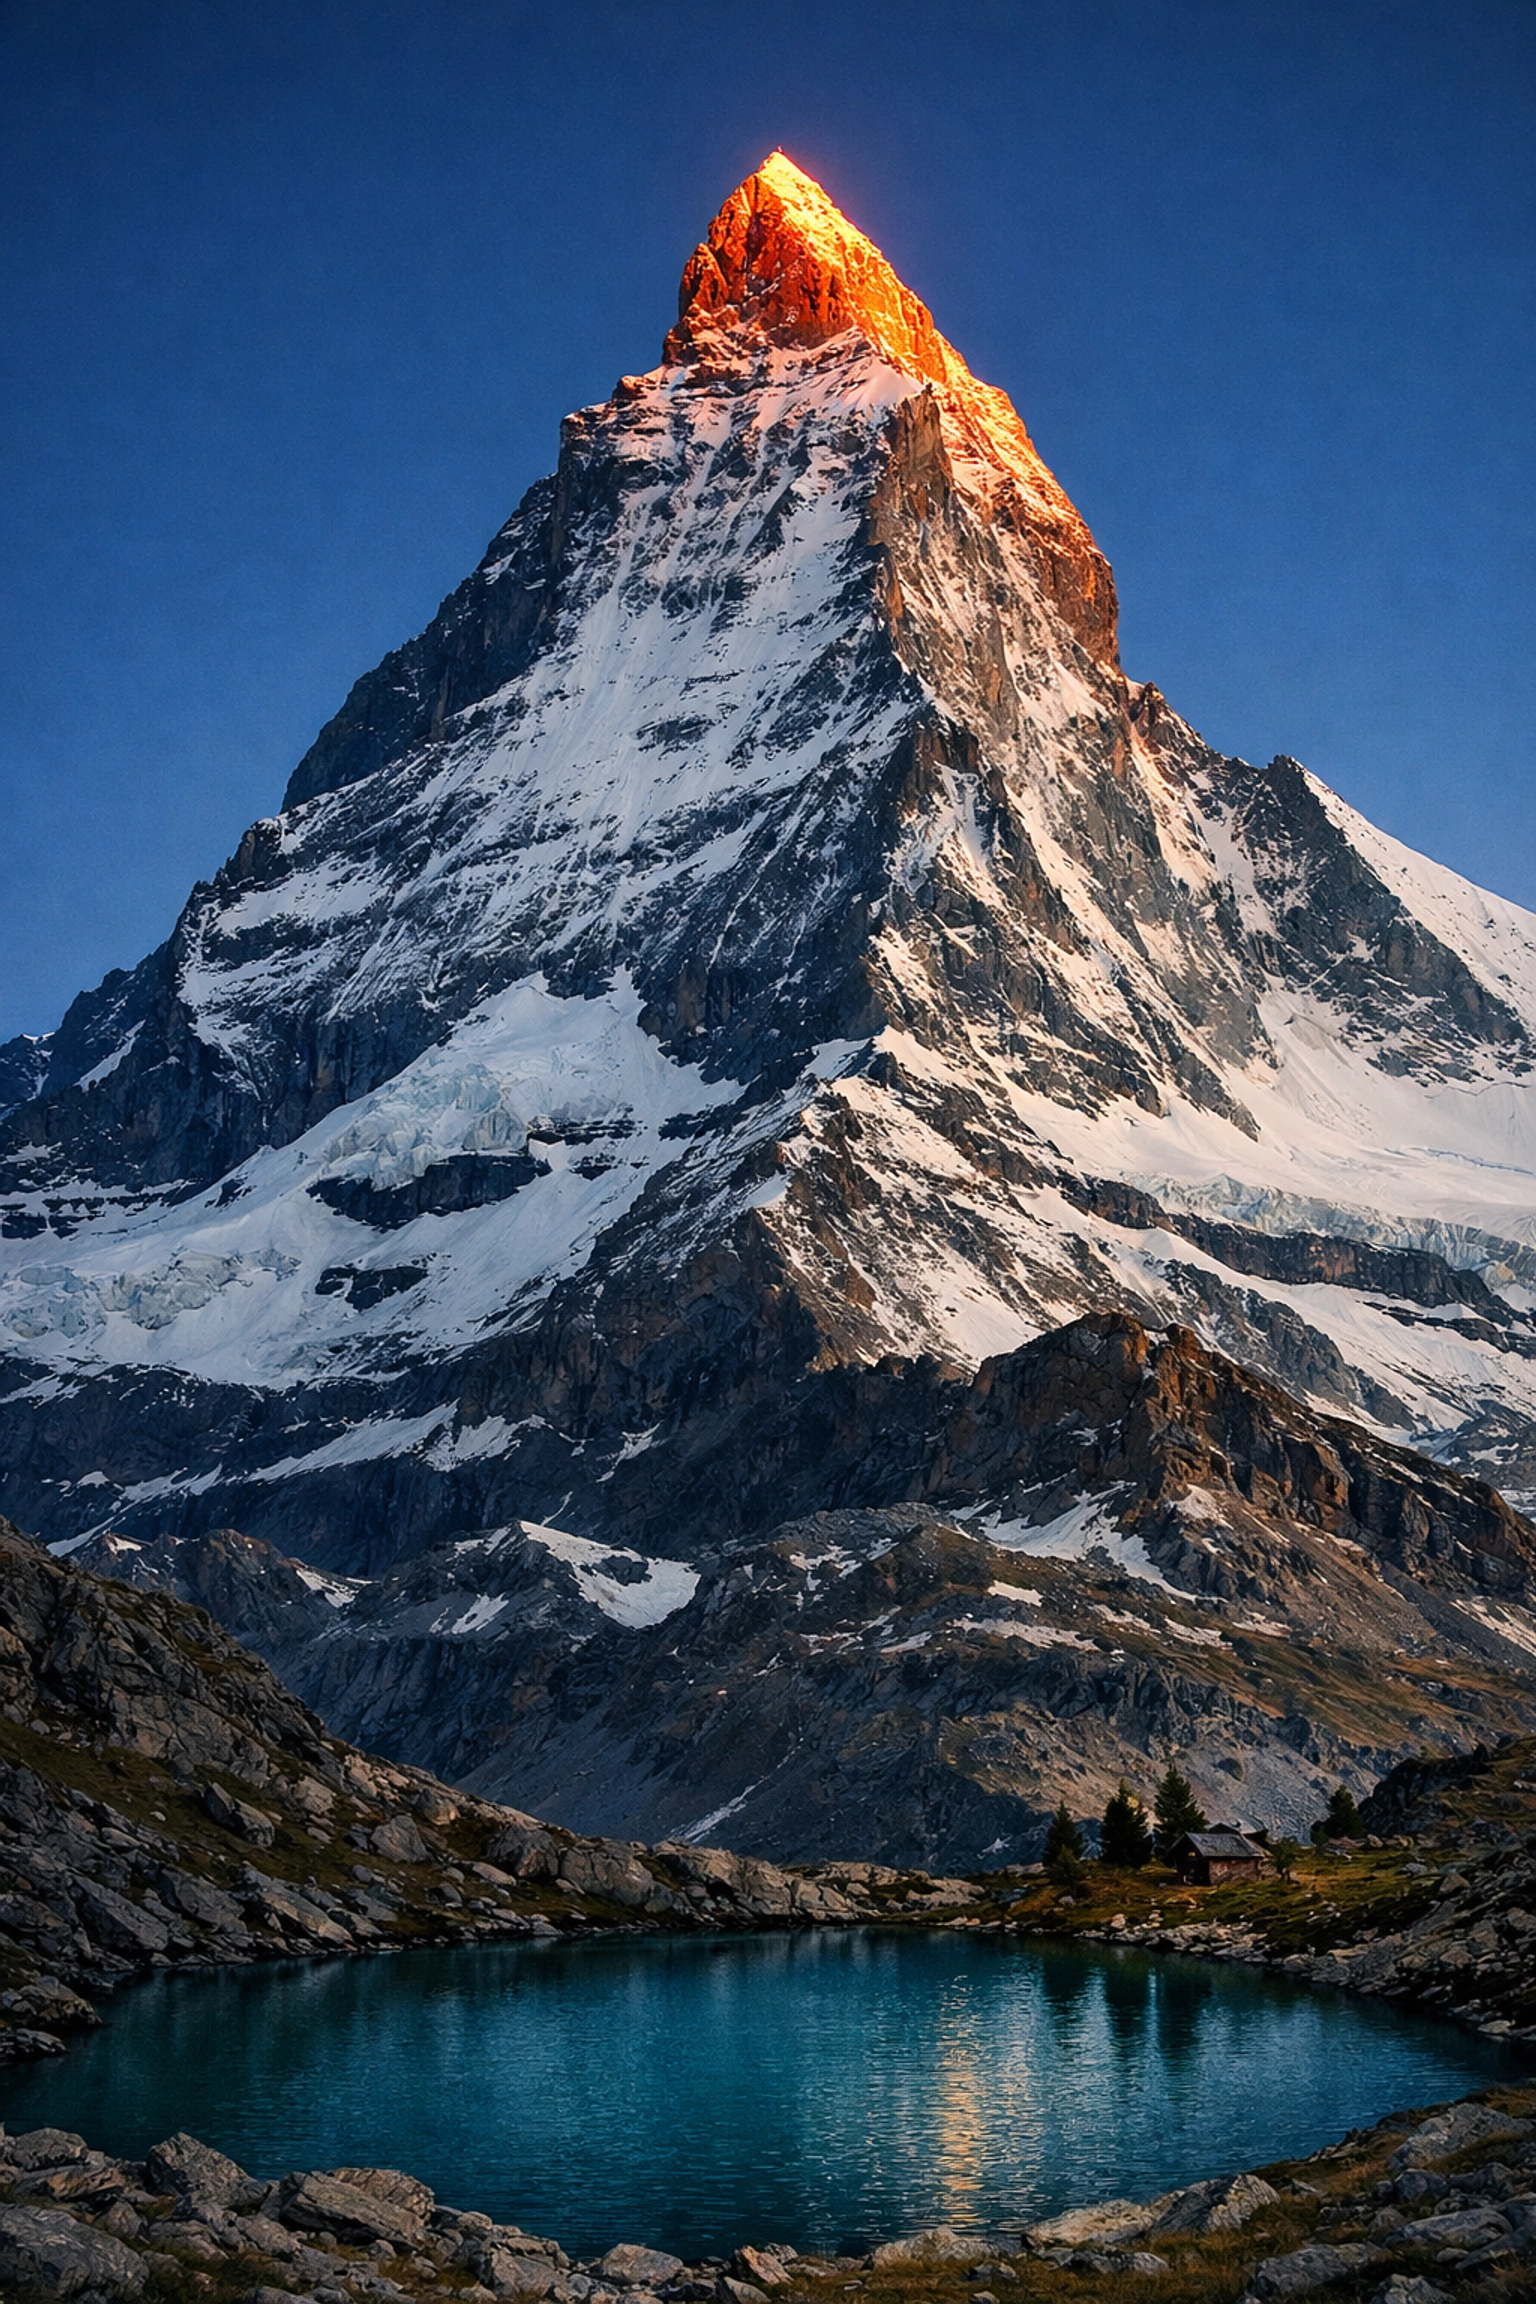
The most common instinct when you see a massive mountain range is to reach for your widest lens. You want to capture the scale, the sky, the valley, and everything in between. But here’s the problem: ultra-wide lenses actually make things look smaller and further away.
When you shoot at 14mm or 16mm, that massive peak in the distance suddenly looks like a little hill. You lose the impact. Wide lenses also tend to include a lot of "dead space", large areas of empty ground or boring sky that don't add anything to the story.
The Fix: Back up and zoom in.
Sometimes, a telephoto lens is a landscape photographer’s best friend. By using a longer focal length (like 70mm or even 200mm), you compress the scene. This makes the mountains look huge and brings distant elements closer together. If you must use a wide lens, find a strong foreground element, a rock, a flower, or a patch of ice, and get really close to it. This creates a sense of depth and leads the viewer’s eye into the frame.
2. Trying to Fit the Whole World into One Frame
In photography, less is almost always more. When you try to capture "everything," you usually end up with "nothing." A cluttered photo has no focal point. The viewer’s eye wanders around the frame, gets tired, and moves on.
This is especially common when people are looking at a beautiful vista. They want to show how big it was, so they include the parking lot, the road, three different mountain peaks, and a lake. It’s too much.
The Fix: Be selective and simplify.
Before you press the shutter, ask yourself: What is the subject of this photo? If it’s the reflection in the lake, then make the lake the star. If it’s the way the light hits a specific tree, focus on that. Don’t be afraid to leave things out. You can even use the crop tool later to refine your vision, but it’s better to get it right in the field. Check out our manual mode 101 guide to help you focus on the technical settings that allow you to isolate your subjects better.
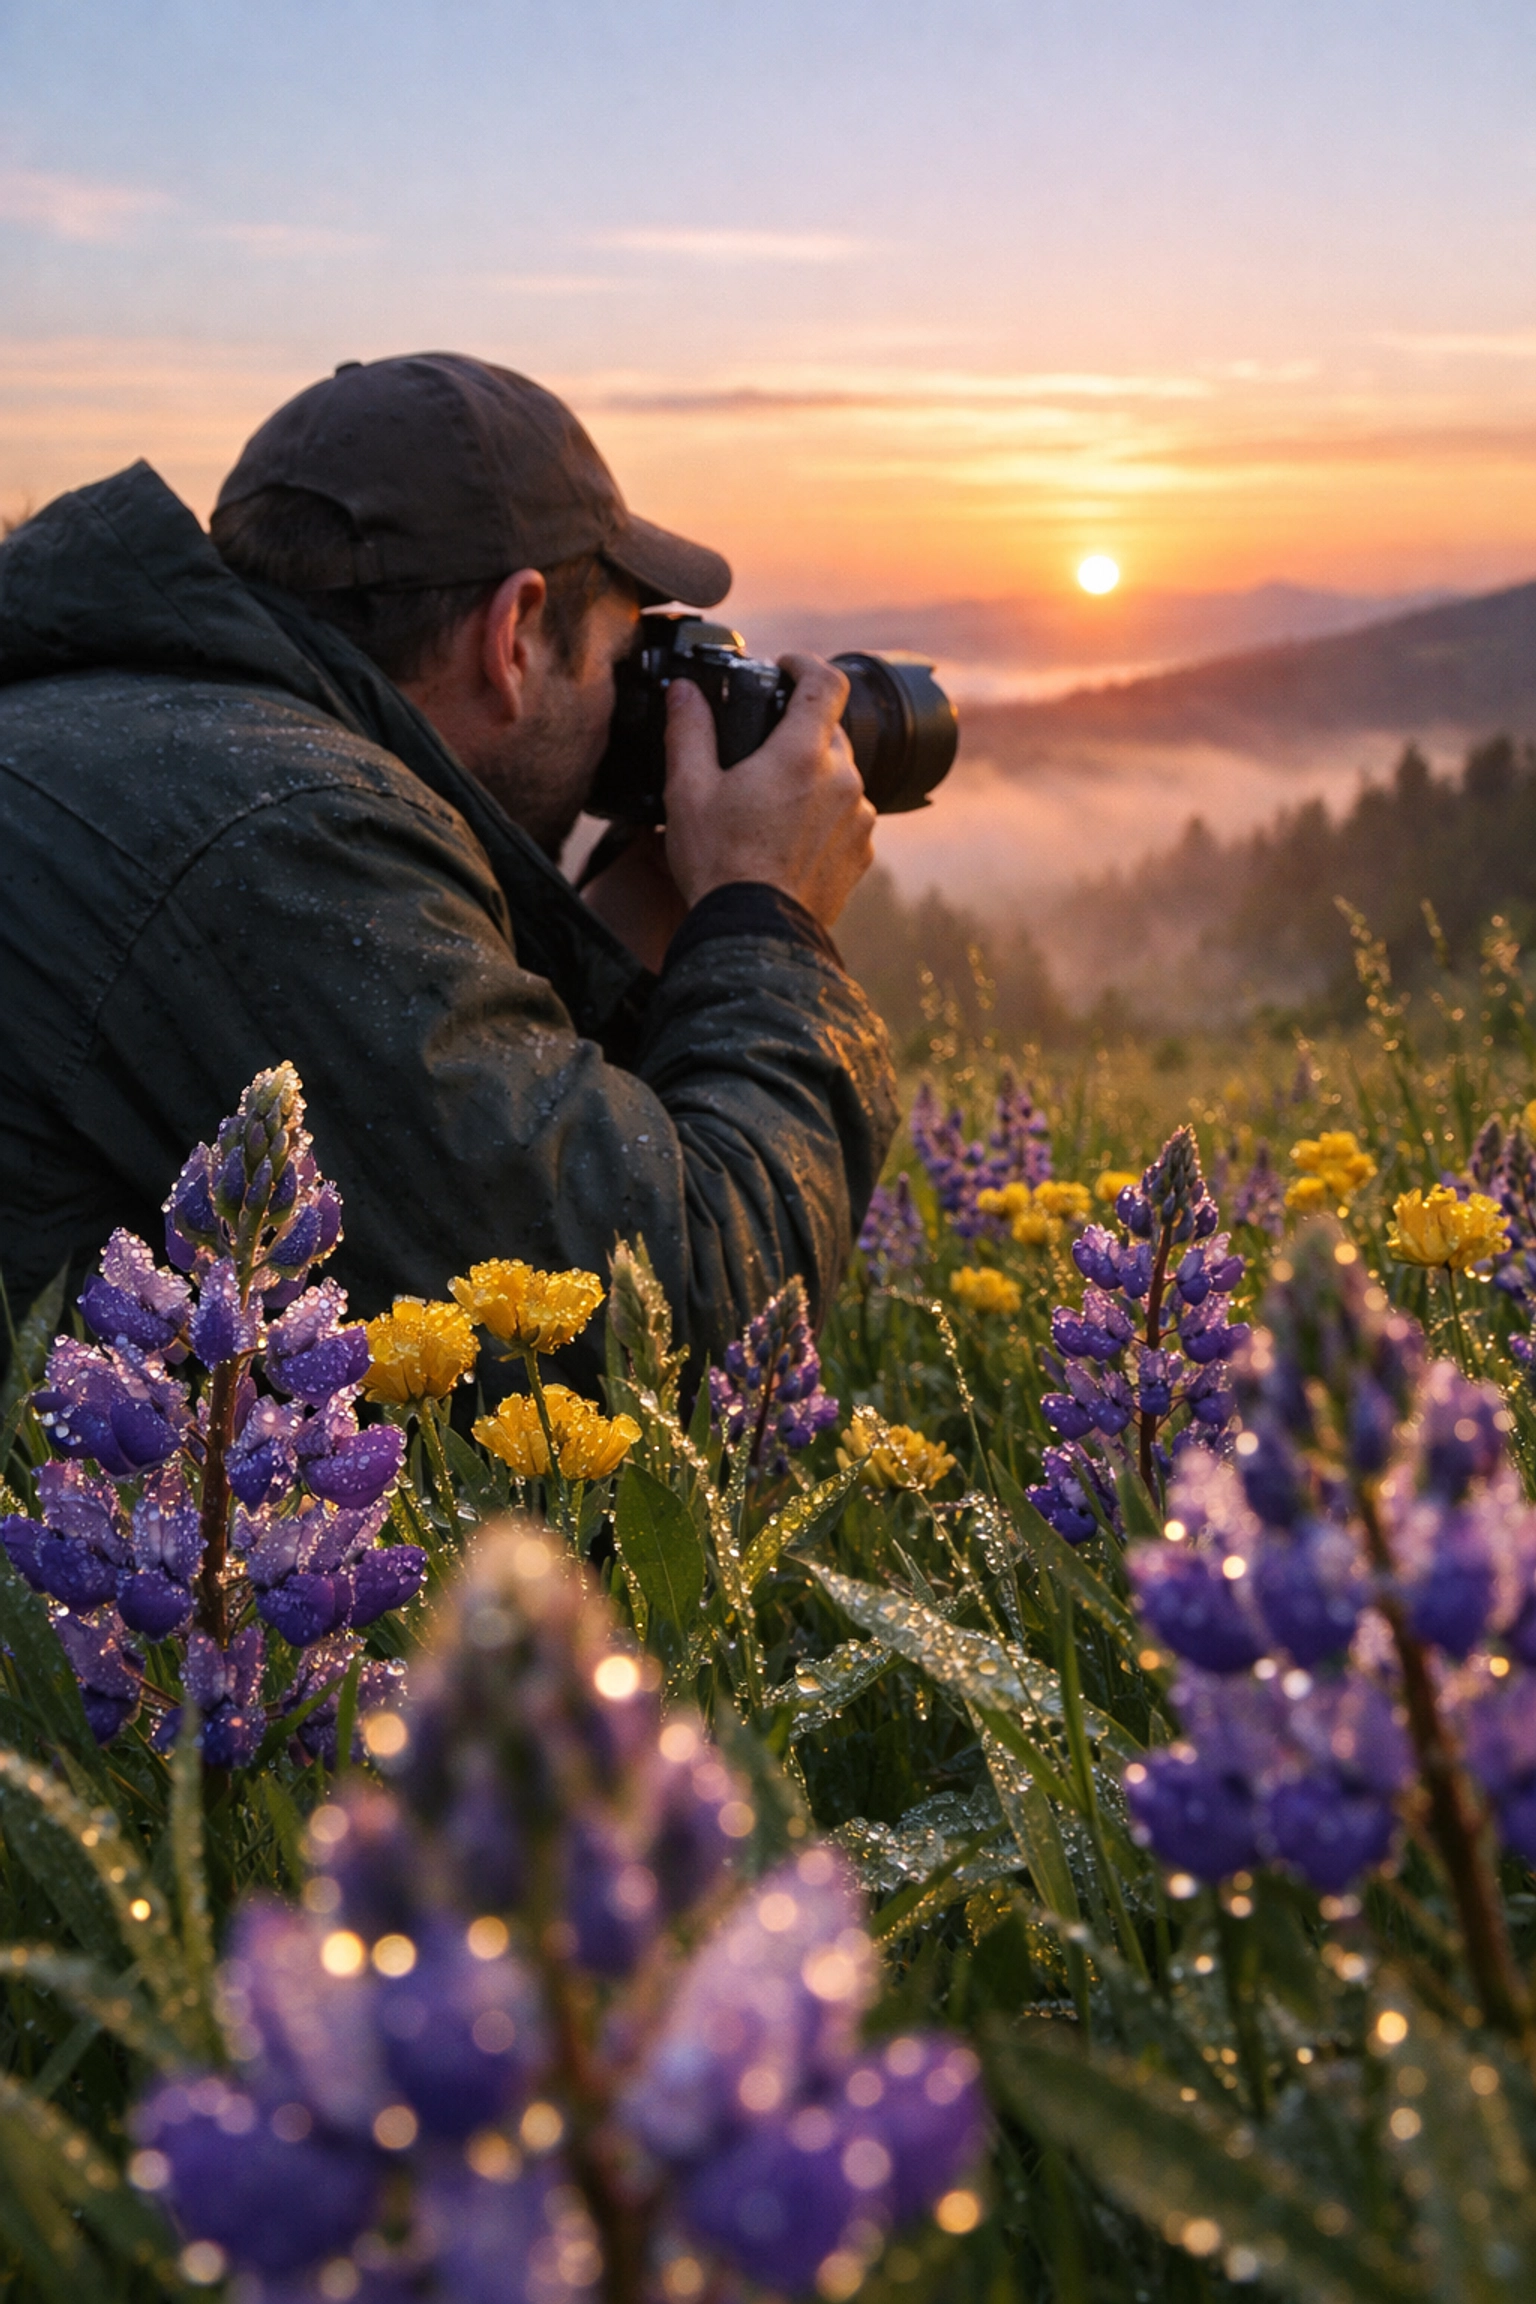
3. The "Tripod or Bust" Mentality
Wait, isn’t landscape photography supposed to be done on a tripod? Yes and no. While tripods are essential for long exposures, low light, and getting tack-sharp images, they can also be a creative anchor.
When you set up a tripod, you tend to stay in that one spot. You stop moving your feet. You stop looking for different angles. You get "tripod lock." This leads to shots taken from eye level, which is the most boring way to view the world.
The Fix: Shoot handheld first.
When you arrive at a location, leave the tripod in the bag for ten minutes. Walk around. Get low. Hold the camera high. Explore the scene until you find the perfect composition. Once you’ve found "the one," then bring out the tripod to lock it in. Modern mirrorless cameras have incredible in-body image stabilization (IBIS), meaning you can often get away without a tripod in many daylight situations. If you're still deciding on gear, read up on dslr vs mirrorless to see which fits your style.
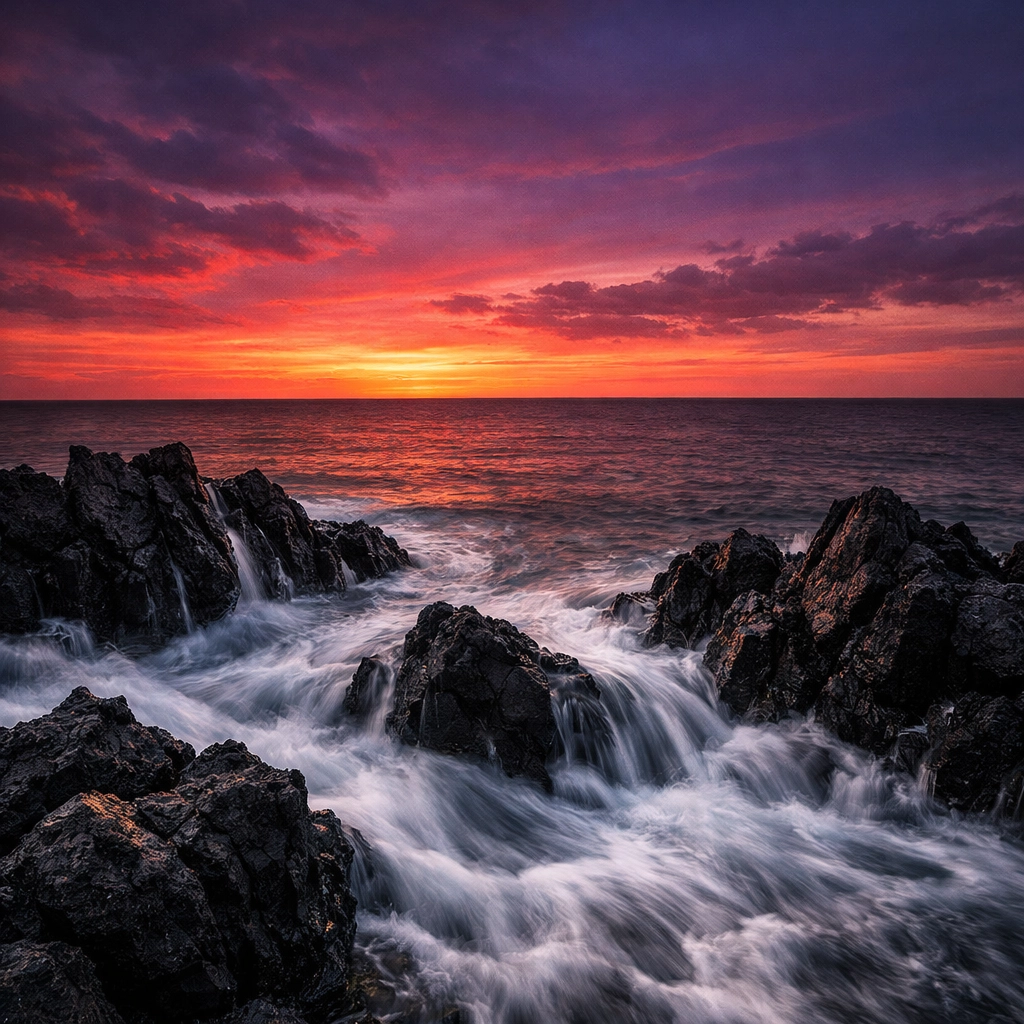
4. Poor Exposure Management (The Blown Highlight Disaster)
Digital sensors are great, but they hate two things: pure black shadows and pure white highlights. If you overexpose your sky until it’s a giant white blob, there is no "fixing it in post." That data is gone forever. Conversely, if your shadows are so dark they’re "crushed," bringing them back will result in a grainy, noisy mess.
The Fix: Use your histogram.
Don’t trust the screen on the back of your camera; it lies to you, especially in bright sunlight. Instead, look at the histogram. If the graph is touching the far right side, your highlights are blown. If it’s touching the far left, your shadows are lost.
Aim for a balanced exposure. If the dynamic range is too high (like a bright sunset and a dark foreground), try bracketing your shots. Take one exposure for the sky and one for the land, then blend them later. For a deep dive into this, check out our HDR tutorial.
5. Crooked Horizons and Lazy Cropping
There is nothing that ruins a professional-looking landscape faster than a crooked horizon. It’s physically uncomfortable to look at. If the ocean looks like it’s draining out of the left side of the frame, you’ve got a problem.
Similarly, many photographers are lazy with their edges. They leave half a branch poking into the frame or cut off the bottom of a beautiful rock.
The Fix: Level up (literally).
Most modern cameras have a built-in electronic level. Use it! If you still mess it up, fix it immediately in your editing software. When it comes to cropping, be intentional. Scan the edges of your frame before you click. Does that stray twig add to the story? If not, move the camera or zoom in slightly. Every pixel should have a reason for being there. If you're looking for inspiration on clean compositions, see some of the work by Joao Freire for a masterclass in structure.
6. The "Deep-Fried" Photo: Over-Processing
Post-processing is a huge part of modern photography. It’s how you take a raw file and turn it into a masterpiece. However, it’s very easy to go overboard. We’ve all seen those photos where the grass looks neon green, the sky is an impossible shade of blue, and there’s a weird glow around the mountains.
Over-using the "Clarity" and "Saturation" sliders is the quickest way to make your photo look like a cheap postcard.
The Fix: Be subtle.
The goal of editing should be to enhance what was already there, not to create a fake reality. Instead of using the global Saturation slider, try using HSL (Hue, Saturation, Luminance) to adjust specific colors. Use the "Vibrance" slider instead of saturation to avoid skin tones or already-bright colors from becoming nuked.
When it comes to software, I’m a huge fan of Luminar. It has some incredible AI tools that can help with things like sky replacement or enhancing details without making the photo look "deep-fried." Just remember: once you think you’re done editing, walk away for ten minutes. Come back and look at it with fresh eyes, you’ll probably want to dial everything back by about 20%. For more software tips, head over to our software category.
7. Ignoring the "Small" Distractions
You found the perfect spot. The light is incredible. You nailed the exposure. But you didn’t notice the bright orange Cheetos bag sitting in the tall grass or the power lines cutting through the corner of the mountain. These "micro-distractions" pull the viewer's eye away from the beauty of the landscape and scream "amateur."
The Fix: The "Border Patrol" Scan.
Before you hit that shutter button, do a mental "border patrol." Run your eyes along the very edges of the viewfinder. Look for anything that shouldn't be there. If there's a distracting rock or stick in the foreground, move it (if you're not in a protected area). If it’s a power line, try shifting your position by a few inches to hide it behind a tree.
If you realize later that you missed something, use the healing brush or clone stamp tool to get rid of it. Clean photos feel more intentional and professional. If you want to see how the pros do it, check out the PHOTO SERIES on our site for some ultra-clean examples.
Bonus Tip: Keeping Up with the Times
Landscape photography is changing. The gear we use in 2026 is light-years ahead of what we had even five years ago. Staying informed about the latest tech can actually help you avoid these mistakes. For instance, new AI-driven autofocus and computational photography features can handle tricky lighting situations that used to require hours of manual work.
Keeping an eye on today's camera gear news ensures you aren't fighting your equipment. Sometimes, the "mistake" is simply using the wrong tool for the job. Whether you're shooting a tiny Sydney project or a massive mountain range in the Alps, knowing your gear inside and out is half the battle.
Putting It All Together
Photography is a journey. No one starts out taking National Geographic-level shots. We all make these mistakes, I know I did! I used to crank that saturation slider until my eyes hurt and I thought every shot needed to be at 16mm.
The key is to be mindful. Slow down. Don't just "take" a photo; "make" a photo. Think about the composition, watch your exposure, and keep your horizons straight.
If you're looking for more ways to improve, we have a ton of TUTORIALS on our site that dive deeper into specific techniques. From portrait photography techniques to the latest videography news, we’ve got you covered.
And hey, if you've captured something you're really proud of: mistake-free: why not share it? We love seeing what our community is creating. You can head over to our submissions page to show us your best work.
For even more deep dives into the world of fine art and professional shooting, don't forget to check out blog.edinchavez.com, www.proshoot.io, or see some high-end inspiration at www.edinfineart.com.
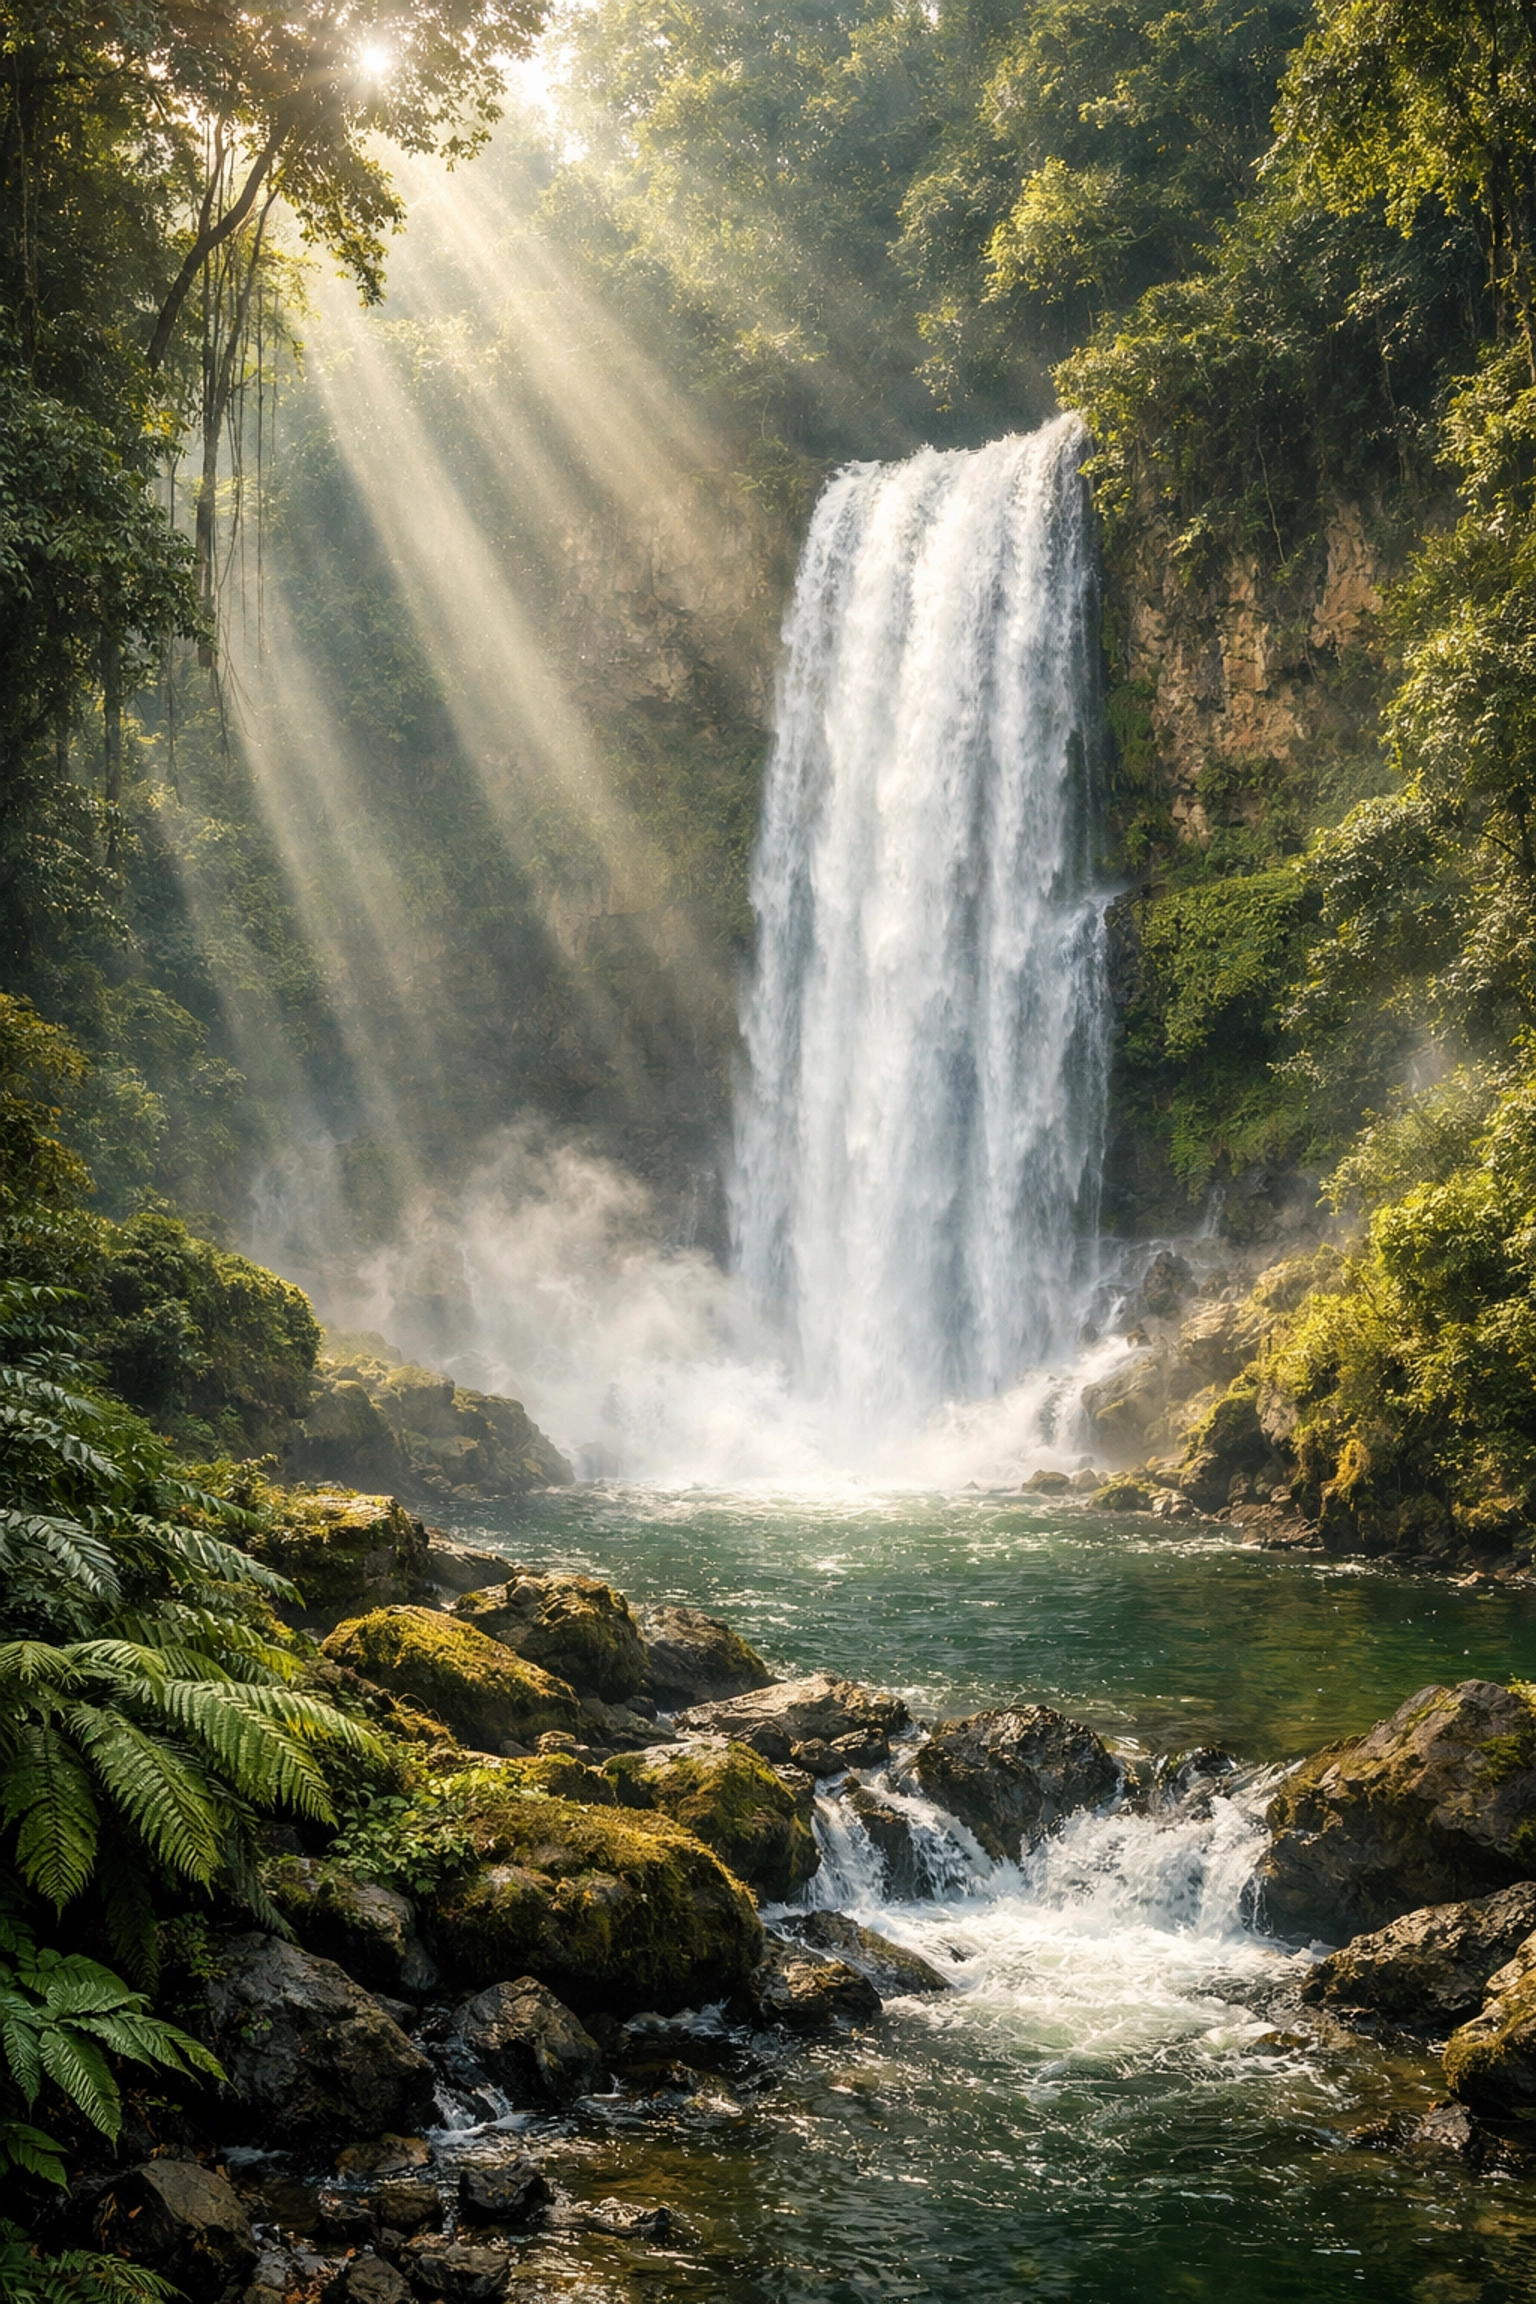
Landscape photography is about the experience as much as the result. So get out there, enjoy the fresh air, and stop letting these 7 mistakes kill your shots. The world is too beautiful to be captured poorly. Happy shooting!
Categories: News, PHOTO SERIES, TUTORIALS, TRAVEL
Tags: News, PHOTO SERIES, TUTORIALS, TRAVEL


