
Updated October 2026
If you searched for steel wool photography, here is the straight answer first. Steel wool burns. Lit and spun, it throws hot sparks that can start fires. This guide does not teach that. It teaches the same long-exposure idea with light that does not burn: LED tubes, flashlights and light wands. You get glowing trails, loops and shapes in the dark, without burning steel wool or throwing hot sparks.
Everything below is about light painting photography: how to set the camera, what light to use, how to move it, and how to fix the usual problems. Every setting is a starting point. Change it based on your scene and your camera.
 Save
What is light painting photography?
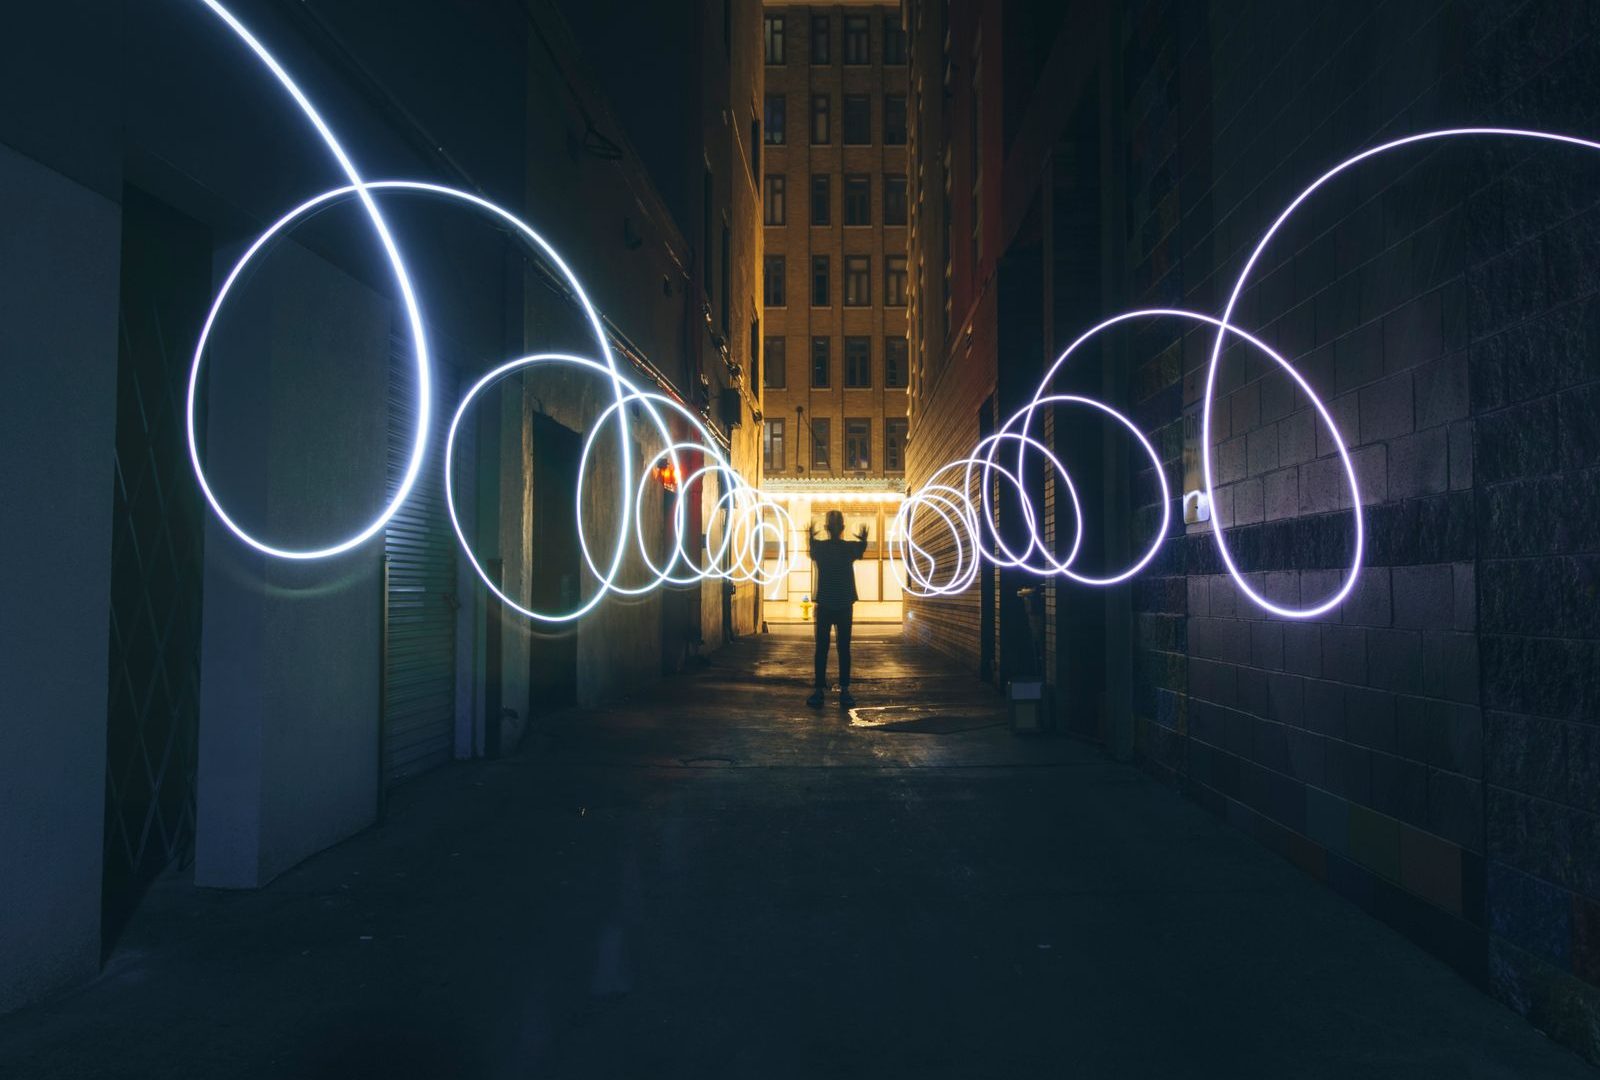
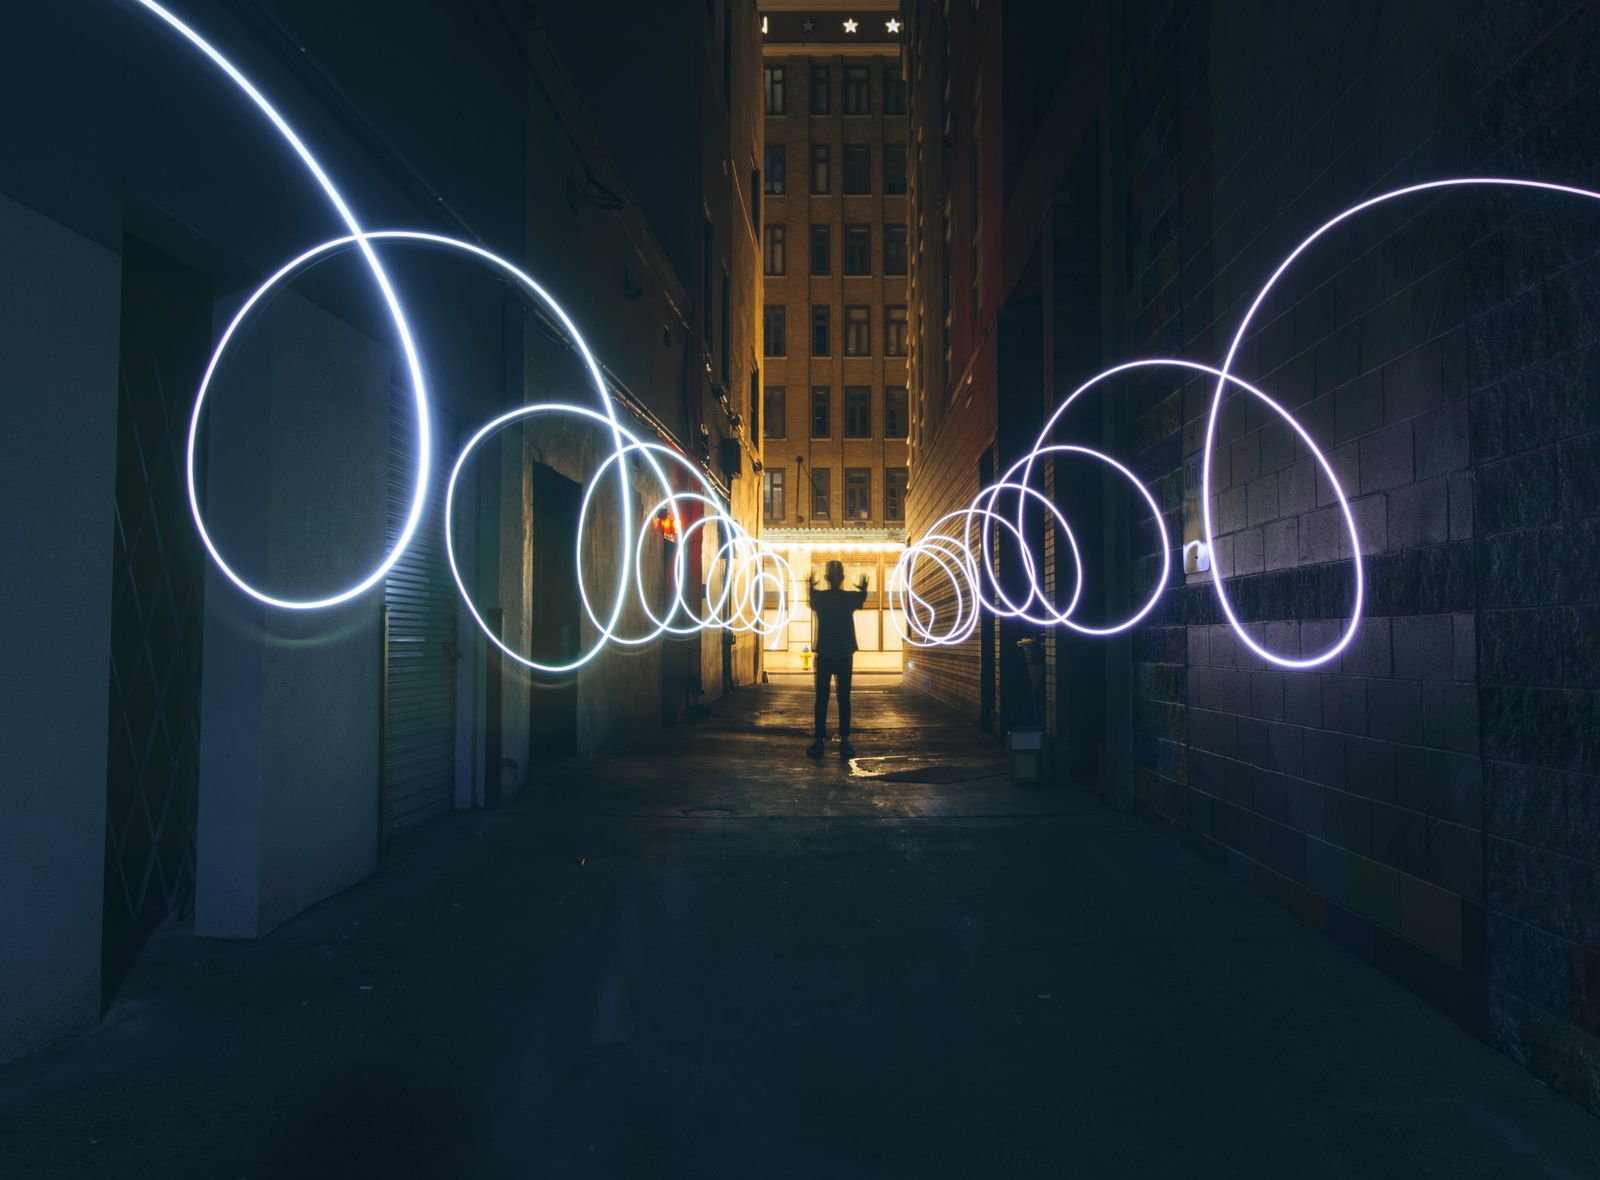
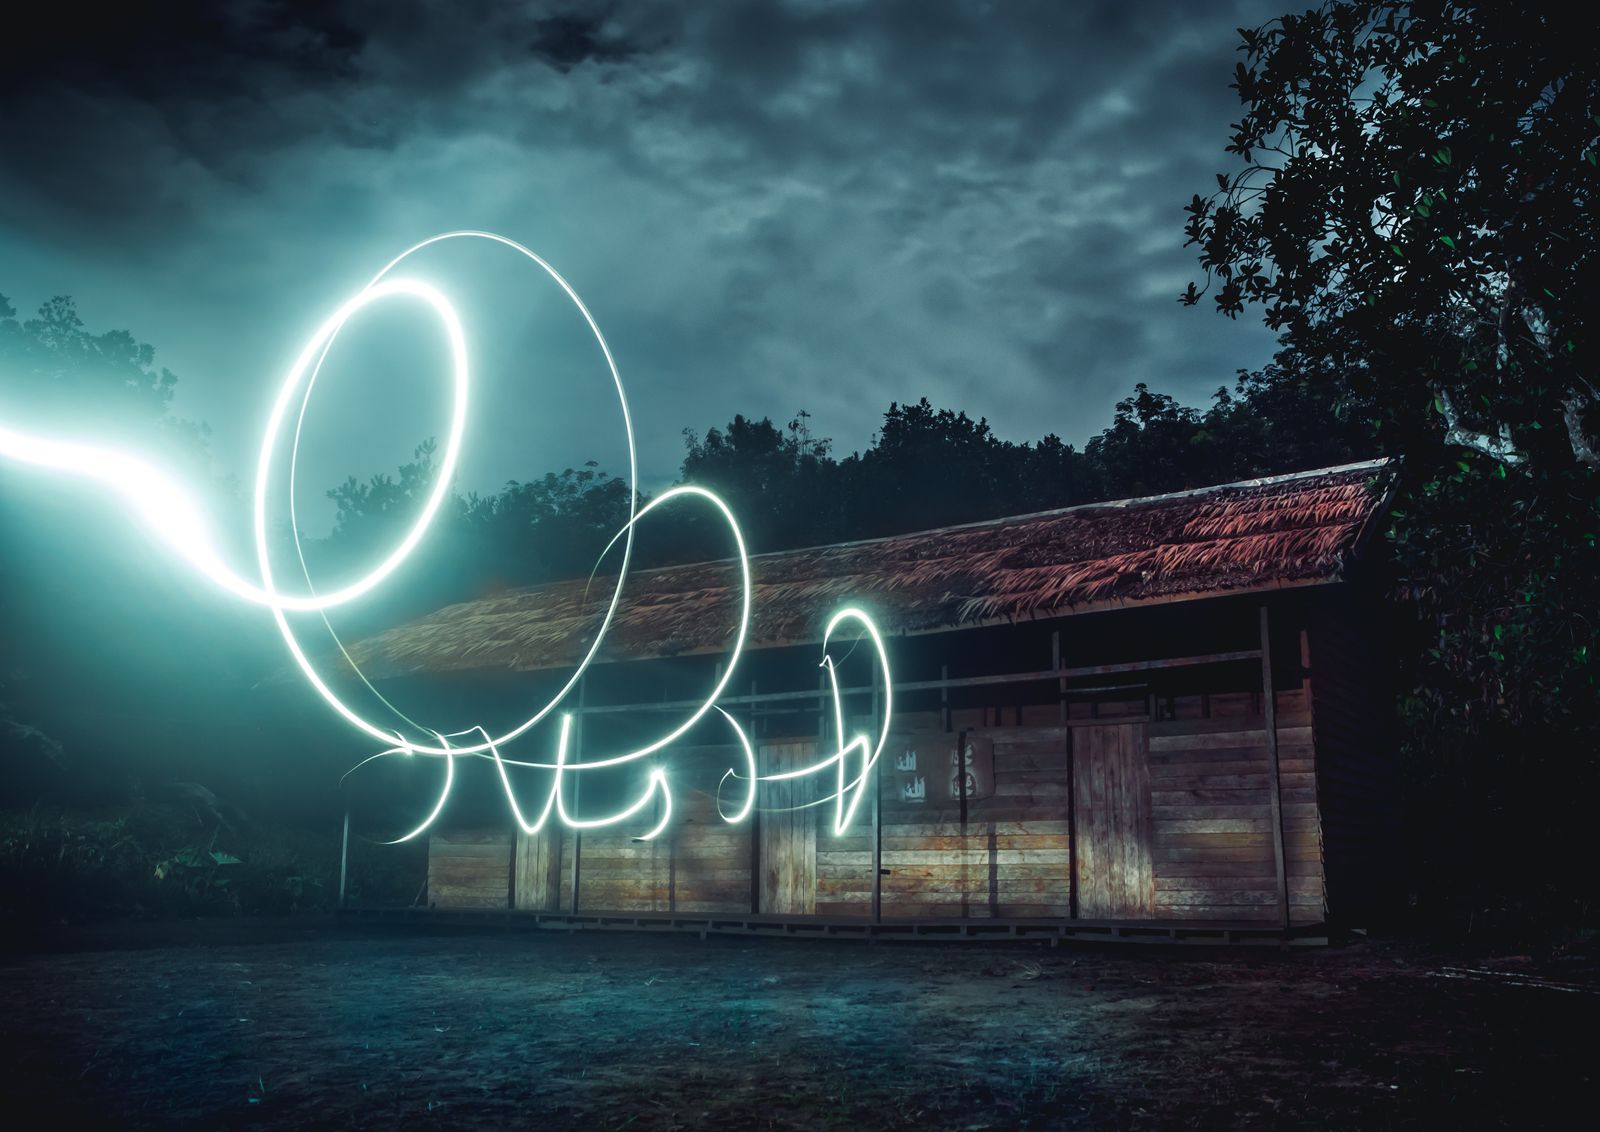
Light painting is a long exposure where the shutter stays open while a light source moves in front of the camera. The camera records the path of the light, not the light itself. A flashlight swung in an arc becomes a glowing line. A small LED wand waved in a pattern becomes a shape. If you also light the foreground for a second or two, the same frame shows both the trail and the place.
The whole trick is time. With a 10 to 30 second exposure, you have enough room to draw. The camera sits on a tripod and does not move, so only the light moves.
Steel wool sparks versus LED light: what is actually different?
Steel wool sparks are hot, bright, warm orange and random. They fall in thin lines and scatter in every direction. You do not control where each spark goes. LED light is steady and does exactly what your hand does. A tube, wand or flashlight leaves a clean, even line, and you pick the color.
- Control: LEDs follow your path. Sparks follow gravity and wind.
- Color: LEDs can be red, blue, green, white or any color an RGB tube can make. Sparks are mostly orange-gold.
- Repeatability: You can redo an LED shape ten times in the same spot. Sparks never repeat.
- Setup: LED painting needs no fire gear and no fire watch. You still need a clear, hazard-free area to walk and move in the dark, so check the ground in daylight or with a headlamp first.
The trade-off is the look. A spinning spark wheel throws a big burst of fine lines that LEDs do not copy exactly. What LEDs give you is more shapes, more colors and more tries per night.
What gear do you need for light painting photography?
You need less than most people think. A camera you can run in manual mode, a stable tripod, a light you can move, and a dark place.
- Camera: Any camera with manual exposure and a shutter that goes to at least 15 seconds. Bulb mode helps for longer shots.
- Lens: A wide lens from about 14mm to 35mm works well. It makes room for the light to move and keeps the scene in frame.
- Tripod: Any solid tripod. If the camera moves during the exposure, every trail turns soft.
- Remote or timer: A wired or wireless remote, or the camera’s 2 second timer. You do not want to touch the camera mid-shot.
- Light source: A bright flashlight, an RGB LED tube, or a small light wand. Start with one. You can add more later.
- Dark clothes: Black or dark clothing keeps you out of the frame while you move.
 Save
What camera settings should you start with?
Start in full manual mode and fix everything. Do not use auto ISO or auto white balance for this.
- Mode: Manual (M), or Bulb for exposures longer than 30 seconds.
- ISO: 100 to 400. Lower ISO keeps the dark parts clean. Raise it only if the light trail looks too faint.
- Aperture: f/5.6 to f/8 is a good place to begin. It gives a sharp scene and does not blow out a bright LED line. If your trail is too bright, close the aperture instead of moving the light faster.
- Shutter speed: 10 to 30 seconds. Short for a simple line, longer for a bigger shape.
- White balance: Set it by hand, around 3500K to 5000K, so the color does not change between shots.
- File type: RAW. It gives you room to fix color and brightness later.
- Noise reduction: Long exposure noise reduction can double the time each shot takes. Turn it off while you test, and decide later.
Take a test shot with no light in the frame first. If the background looks too dark, lengthen the shutter. If the sky or street lamps blow out, shorten it.
How do you focus in the dark?
Autofocus hunts in low light, so switch to manual focus. Turn on live view, zoom in on a distant light or a bright star, and turn the focus ring until the point looks small and sharp. Then leave the ring alone. If you are painting close to the camera, focus on the spot where you will stand, not on infinity.
A small piece of tape on the focus ring stops it from moving when you carry the camera. You can also put your light at the spot where you will paint, focus on it, then put it down and start.
 Save
How should you set up the tripod and frame the shot?
Pick the scene before the light. A good light painting photo has a place in it: a dock, a field, a stone wall, a doorway, a quiet road with no cars. The trail then has something to sit against.
- Keep the tripod low and spread the legs wide. A low, steady camera makes a stronger frame.
- Leave empty space around where you plan to paint. A trail that touches the edge of the frame feels cramped.
- Use the rule of thirds. Place the main light shape on one side, not dead center.
- Look for leading lines like a path or fence that point into the scene.
- Stay out of the frame by wearing dark clothes and moving fast, or let a friend paint while you work the camera.
What are the best light painting techniques to try first?
Start with simple moves. Each one teaches you something about how the camera sees light.
- Writing in the air. Face the camera and write a word with a flashlight or LED wand. Remember that text comes out reversed if you stand behind the light, so write it backwards or paint from the other side.
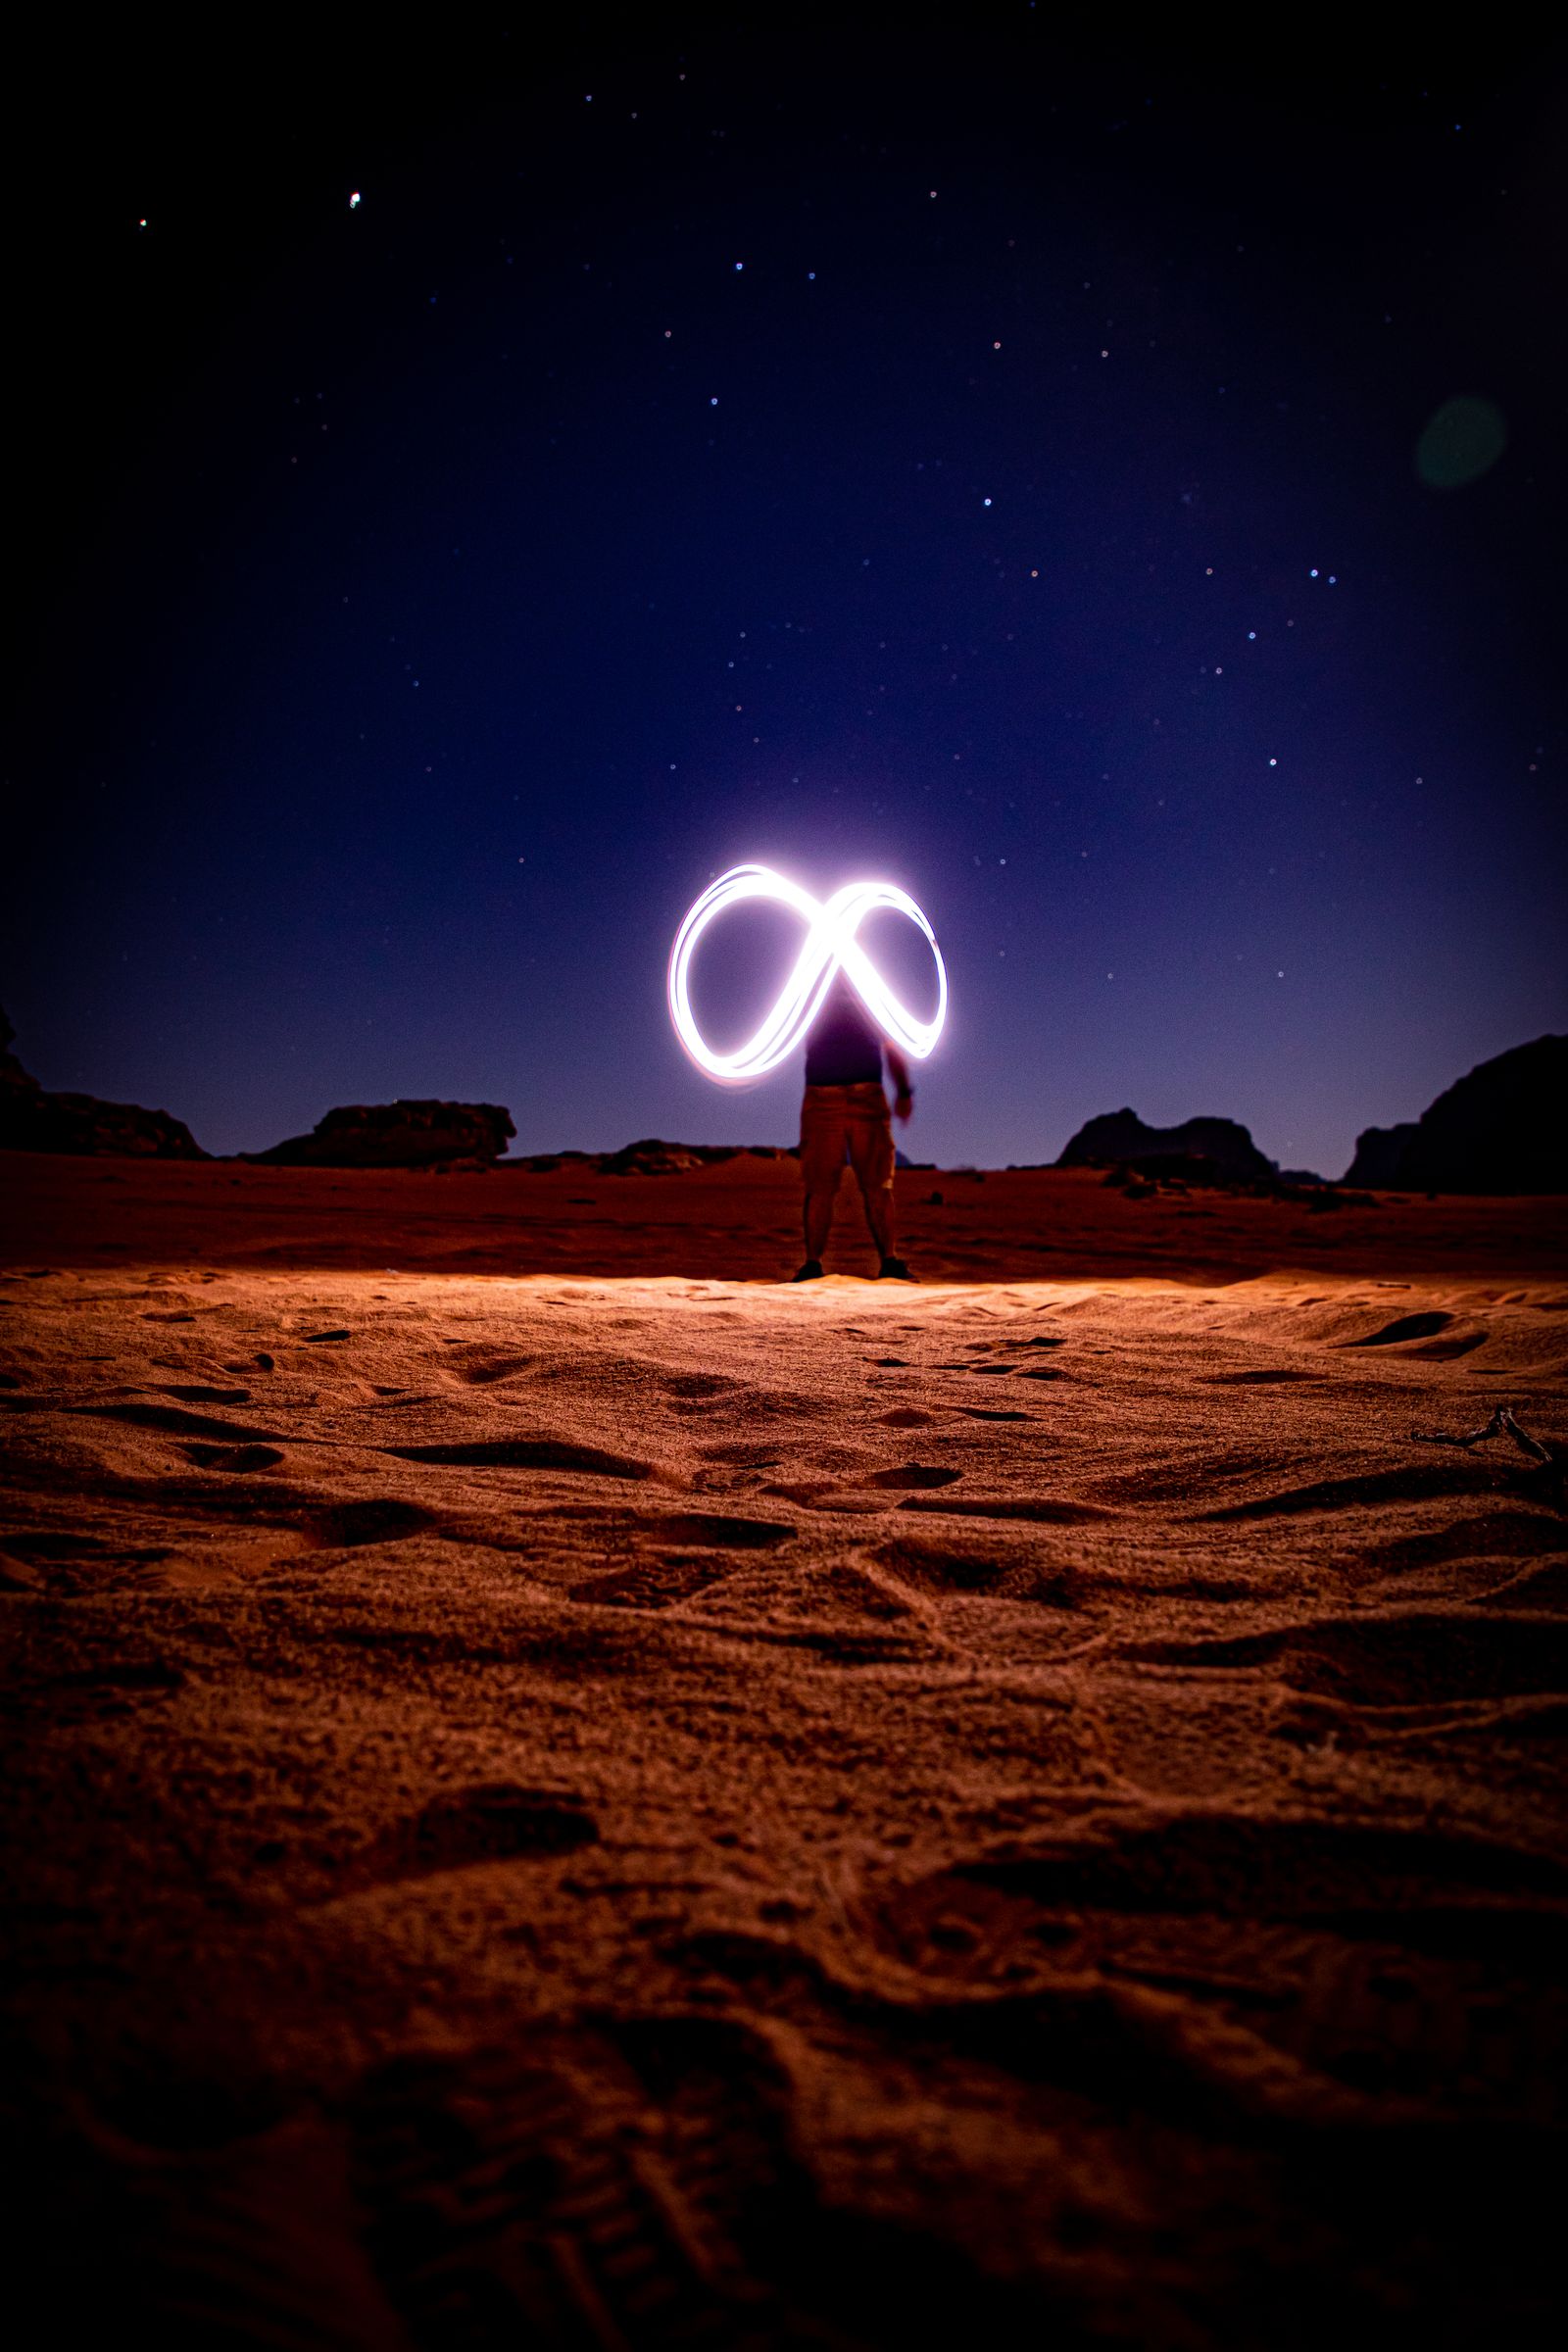
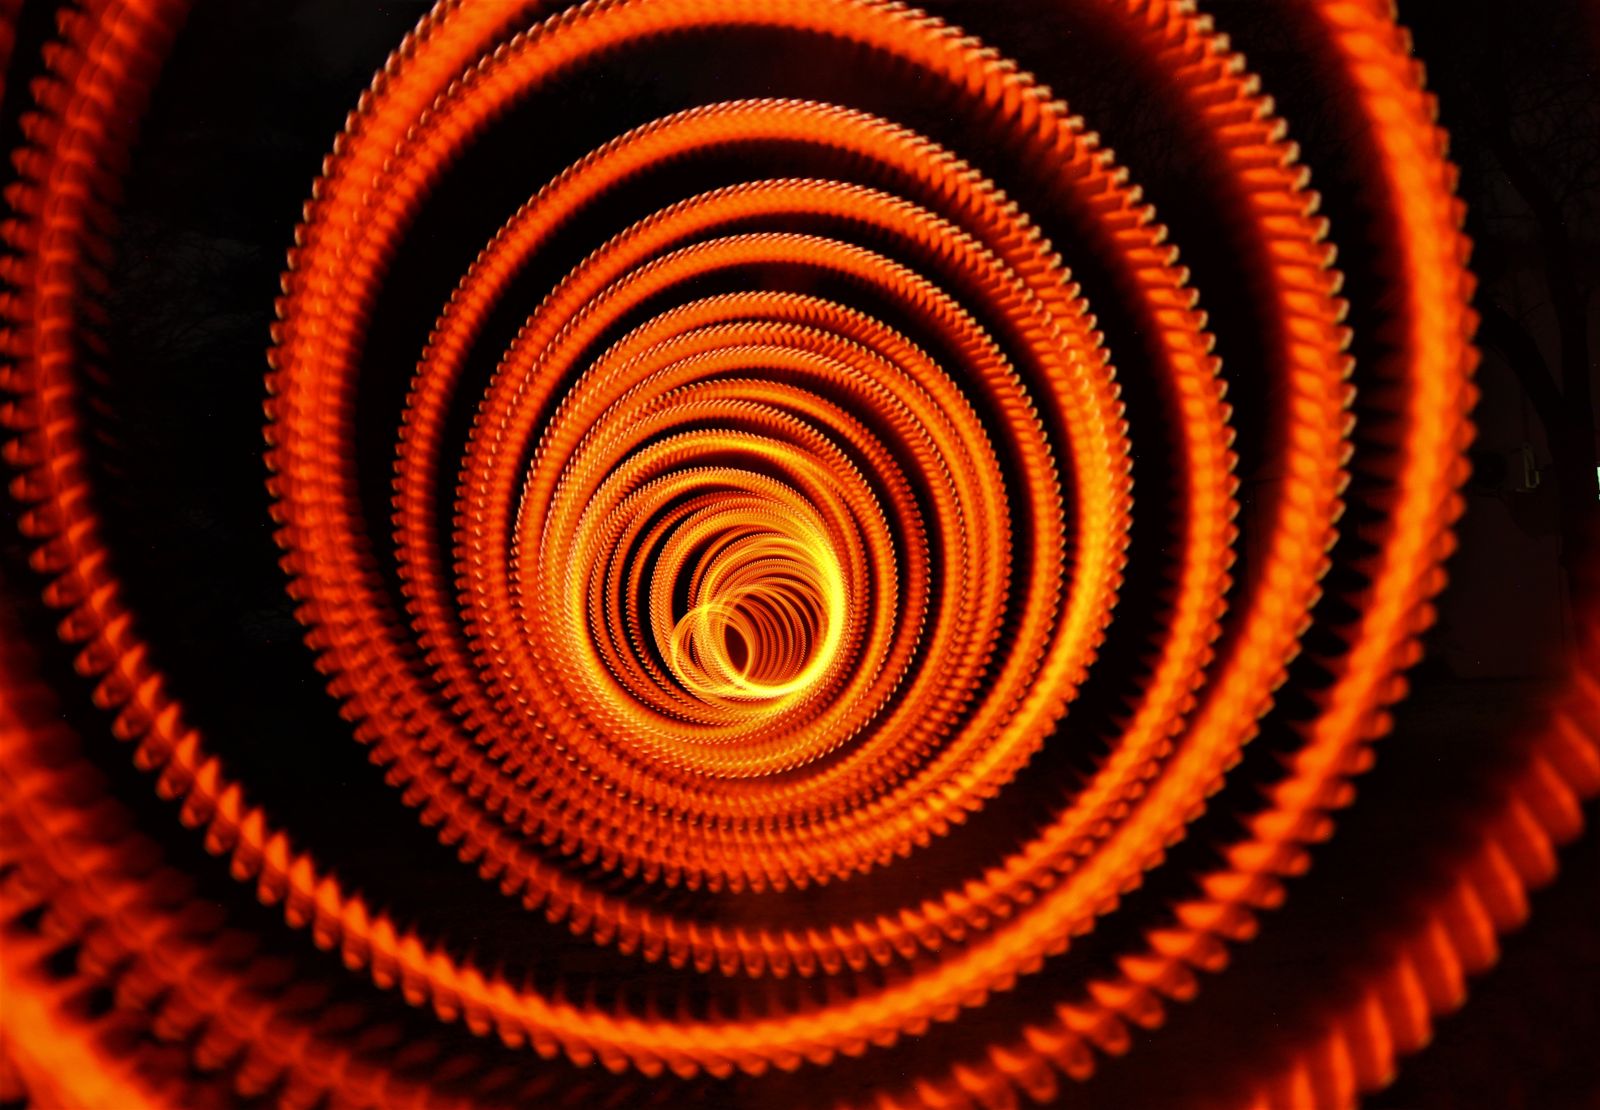
- Arcs and loops. Swing a light in a smooth circle. A slow, even motion gives a clean line. Speed up or slow down and the line gets thinner or brighter.
- Straight lines and frames. Walk a tube along a straight path to make a bar of light, or trace a rectangle to build a glowing door.
- Foreground painting. Sweep a flashlight across a rock, tree or wall for one or two seconds to light it softly. Keep the light moving so it does not make a hot spot.
- Multiple colors. Change the color on an RGB tube between passes. Each pass adds a new color without moving the camera.
Move the light, not the beam. Point the front of the tube or flashlight away from the lens when you do not want the light itself to show up as a bright blob. When you want a trail, aim it at the camera.
 Save
Which light works best: tube, wand or flashlight?
It depends on the look you want.
- Flashlight: Cheap and bright. It makes thin, sharp lines and works well for foreground painting. Color is usually one white tone, but you can put colored gel or tape over the lens.
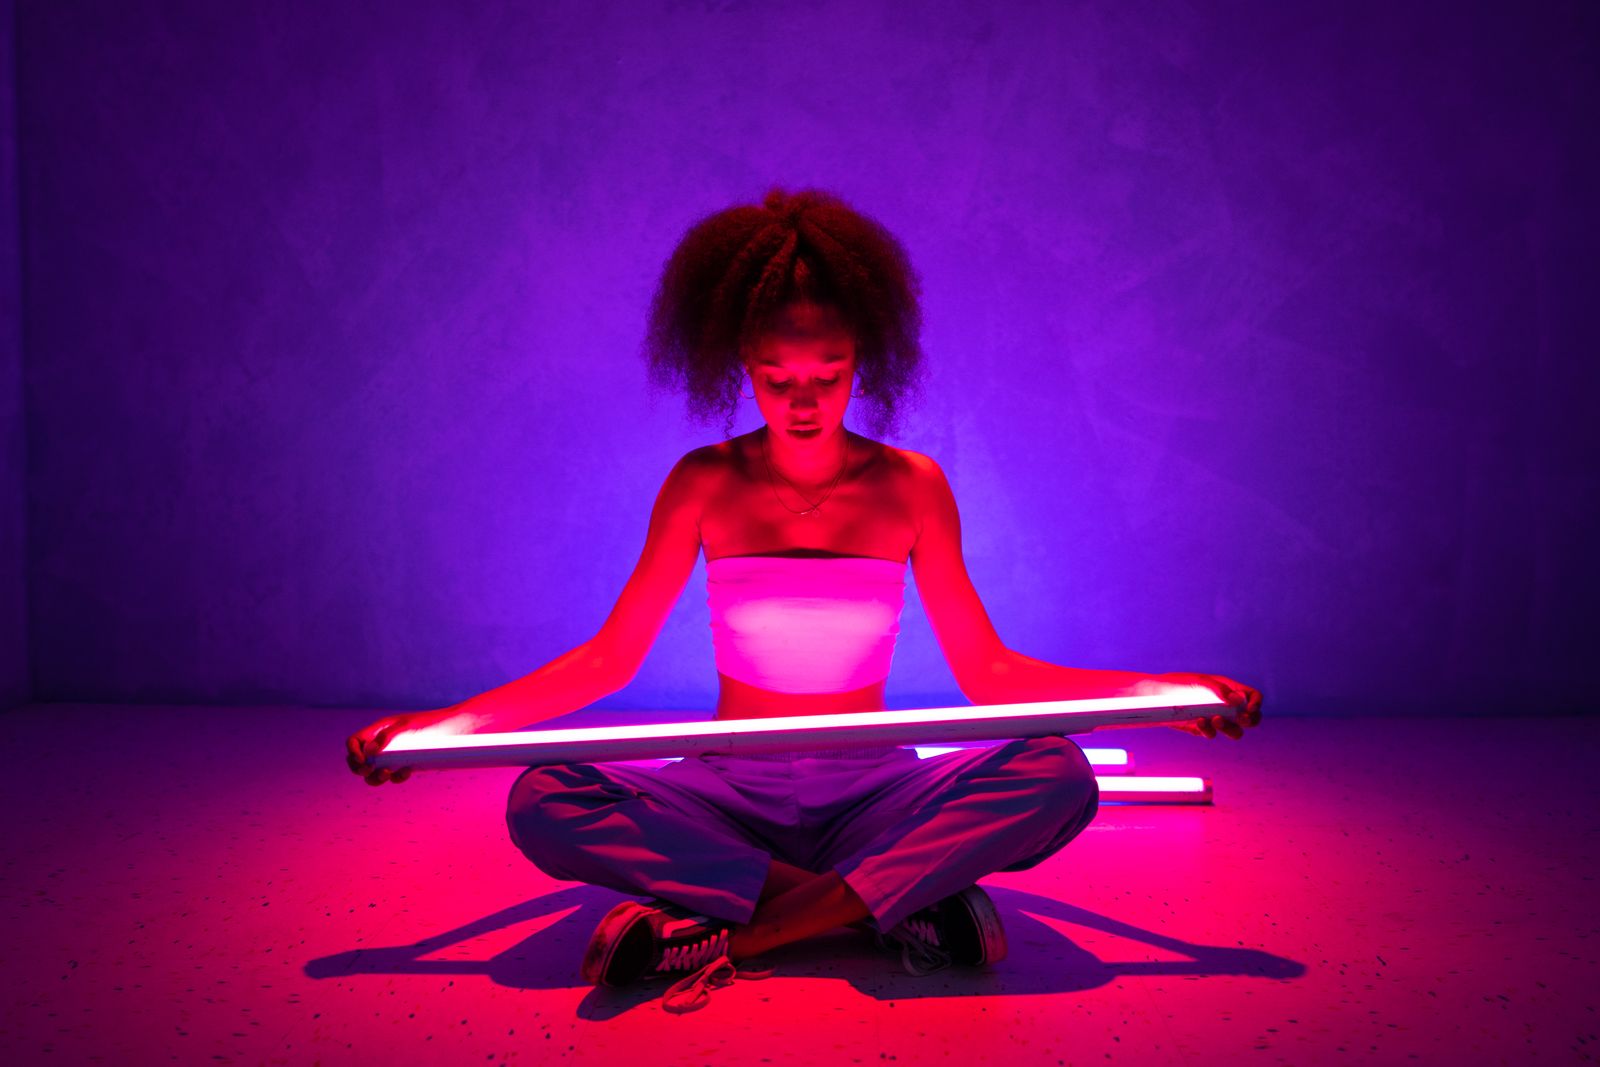
- RGB LED tube: Gives you wide, soft bars of light and any color you choose. It is the easiest way to get clean colored shapes. Dim it down if your lines blow out.
- Small LED wand or light stick: Light and easy to wave around. Good for writing, loops and quick drawings.
Whatever you choose, test the brightness. LEDs are usually brighter than they look. If your trail turns white, lower the light output, close the aperture, or make the exposure shorter.
Where is a good place to shoot light painting?
Dark, quiet and safe. A field, a beach, a parking lot with no traffic, a backyard, a quarry floor with permission. Avoid anywhere cars may pass while you are standing in the dark, and avoid places where other people cannot see you. Check the rules for the land before you set up, and bring a friend if you can.
- Use a place away from street lamps so the sky and ground stay dark.
- Check the moon. A full moon lights the whole scene and a new moon gives you the darkest background.
- Watch the ground for uneven spots before you walk around in the dark with a light in your hand.
- Carry a small headlamp so you can see where you step between shots.
What are the most common light painting mistakes?
- The whole frame is too bright. Close the aperture, lower ISO or shorten the shutter. Light painting works in the dark, so keep the background dark.
- The trail is blown out and white. Dim the light, move it faster, or use a smaller aperture.
- Soft, blurry scene. The tripod moved or focus slipped. Tighten the legs, use a remote and check focus again.
- You appear in the photo as a ghost. Wear dark clothes and keep moving. Standing still in the light for more than a second leaves a faint shape.
- Light blob at the start and end. That is the light facing the camera before and after the move. Turn the light away from the lens as the shutter opens and closes, or start and end behind something.
- Color shifts between shots. You left white balance on auto. Set it by hand.
How do you edit a light painting photo?
Edit the RAW file in Lightroom or any similar editor. Lower the highlights if the trail is too hot. Pull the shadows down a little to keep the sky dark. Add contrast and a touch of clarity to the scene, and raise vibrance so the colors stand out. If you shot two frames, one for the light trail and one for the lit foreground, you can blend them in layers.
Keep the edit gentle. A light trail already carries the photo. Strong sharpening or heavy saturation makes it look fake.
Want to go further?
The ShutYourAperture Academy’s Night Photography course is built to help you learn to make darkness your canvas, from blue hour to city lights.
Frequently asked questions
Is steel wool photography safe?
No, not in the way most guides make it sound. Burning steel wool throws hot sparks that can start fires and burn skin and eyes. This guide does not teach it. The light painting methods here use LEDs and flashlights, which do not throw sparks.
Can you get a steel wool look without fire?
Not exactly. Sparks make thousands of fine random lines that LEDs cannot copy. But you can get glowing loops, arcs and shapes that look just as striking, with more color and more control.
What is the best shutter speed for light painting?
Start between 10 and 30 seconds. Use the shorter end for a simple line and the longer end for bigger shapes. Check the result on the back of the camera and adjust.
What ISO should I use for light painting?
ISO 100 to 400 is a safe start. A lower ISO keeps the background clean. Only raise it if the trail looks too faint, and try opening the aperture first.
Do I need an expensive camera?
No. You need manual mode, a shutter that stays open for several seconds and a tripod. Many entry-level cameras and some phones with a night or long exposure mode can do it.
Why does my text come out backwards?
The camera sees the trail from the front. If you stand behind the light and write normally, the word reads reversed. Write the word backwards, or walk to the other side of the light.
How do I keep myself out of the photo?
Wear dark clothes and keep moving while the shutter is open. If you stop in one place and the light hits you, a faint shape can show. A friend can also paint while you stay behind the camera.
 Save
Gear box: light painting photography
Three things make the biggest difference: a solid tripod, an adjustable light and a bright flashlight for foreground work.
Affiliate disclosure and image sourcing: We may earn a commission from qualifying purchases through the Amazon and B&H links, at no extra cost to you. Settings are starting points, not test results. Photos from Pexels.

