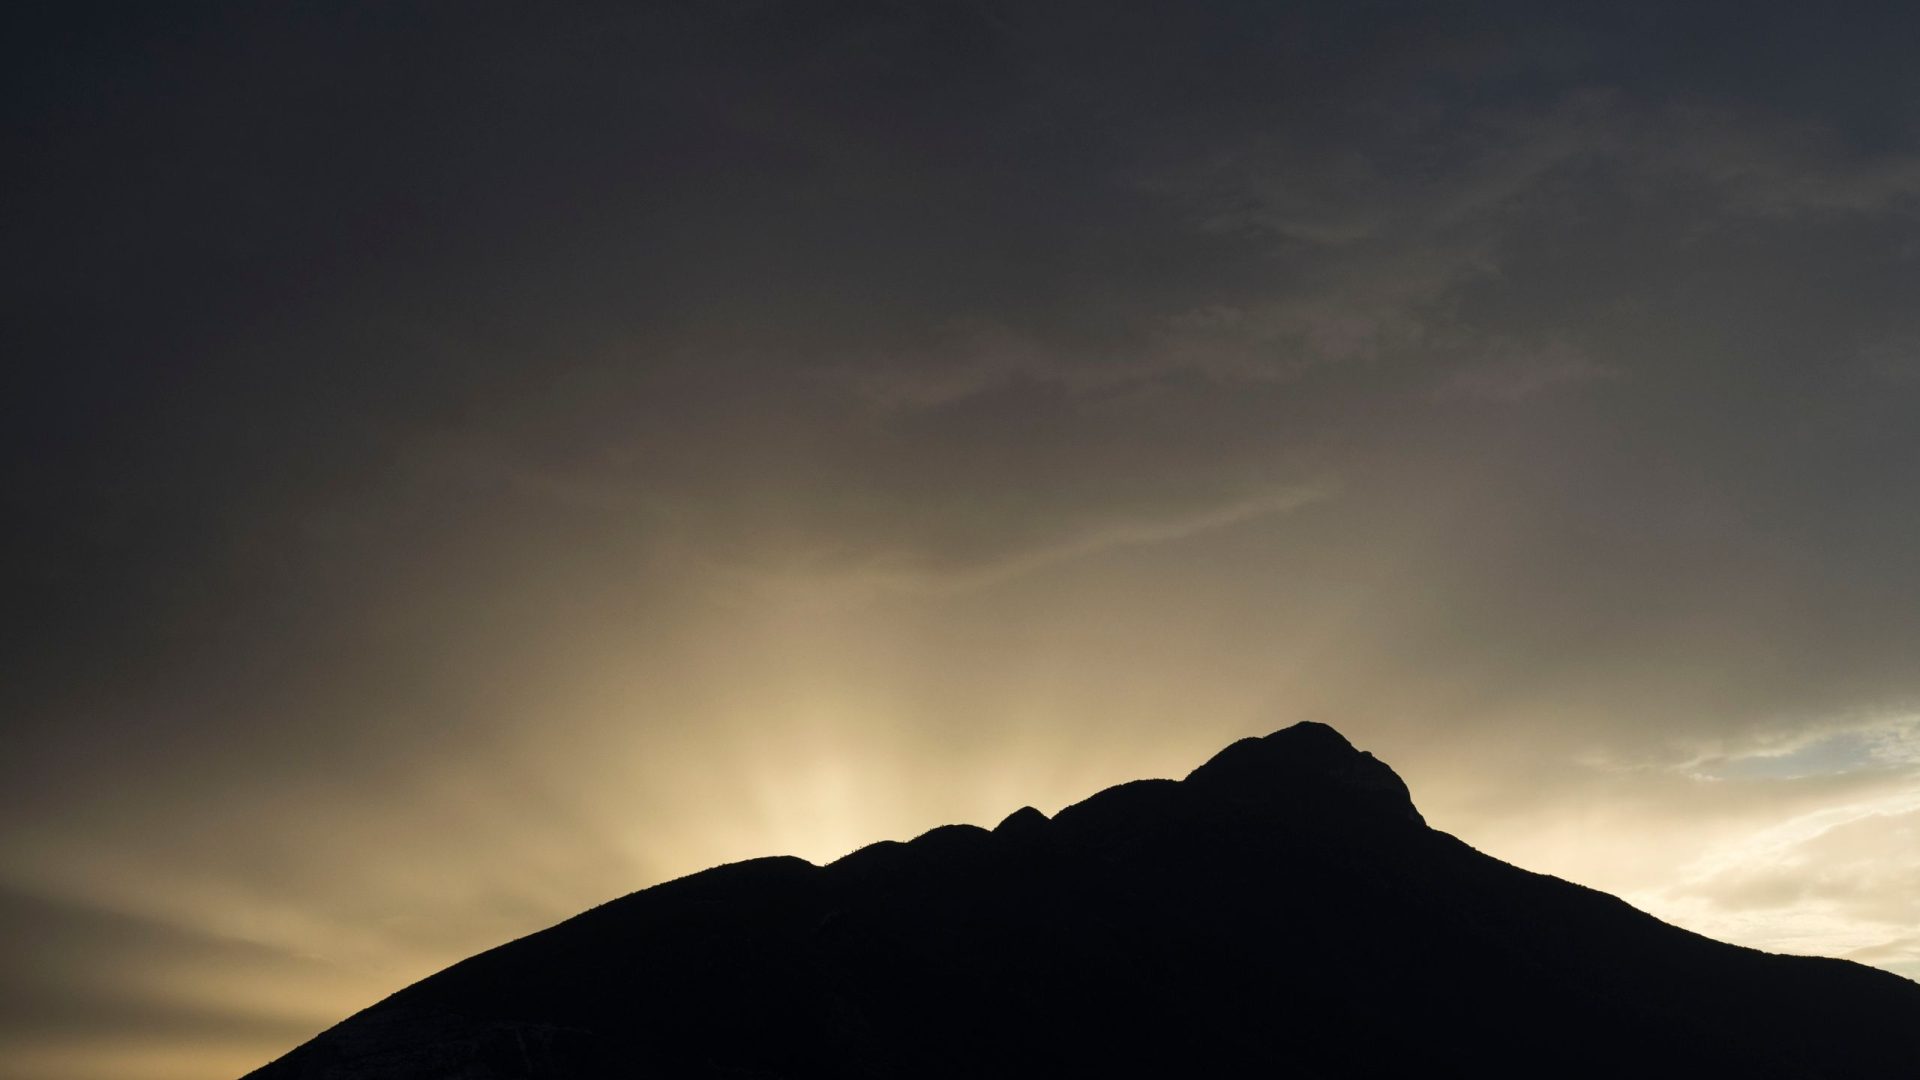
Featured photograph: Photo by Andrea Hinojosa via Pexels (source; Pexels license). (Stock photo, illustrative.)
Original date August 11, 2017. Updated October 2026.
Neither underexposure nor overexposure is a default answer. Decide which tones your picture needs, inspect the actual file and use the capture method that preserves useful detail. This guide separates creative brightness choices from accidental loss, with a repeatable way to compare the trade-offs.
Neither mistake is a universal strategy
 Save
Is it better to underexpose or overexpose a photograph? Start by asking what the photograph needs to show. A sunset silhouette can work with very little foreground detail. A portrait may need detail in a shaded face even if a small background reflection goes white. Neither choice proves that a darker or brighter file is always better. The useful exposure is the one that preserves the information your intended picture needs.
The words underexposure and overexposure need a reference. A frame can be darker than the camera meter suggests without being wrong for your intention. A bright snow scene can look bright on purpose. Separate an expressive choice from an accidental loss of detail. Judge what is visible in the important parts of the file rather than treating the meter reading as a verdict.
This comparison is about choosing and checking capture settings, not rescuing every file afterward. Editing may improve a dark or bright image, but it cannot promise to restore texture that was not recorded. Keep a useful original whenever possible. If you have time, review the result on location and make another exposure while the subject is still available.
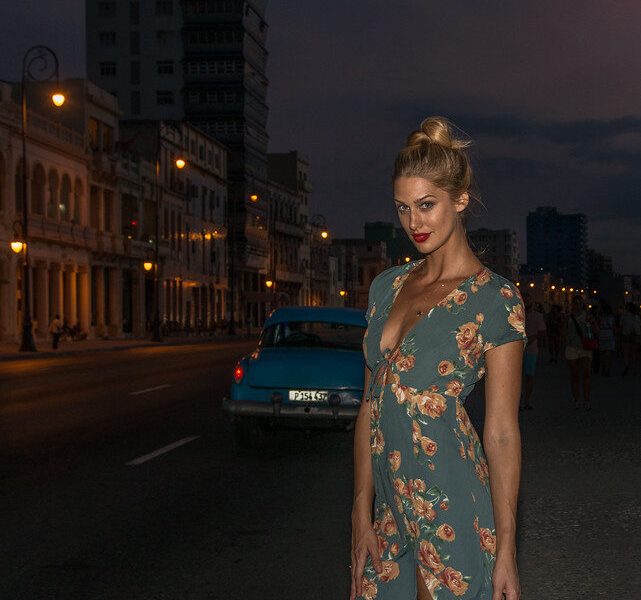
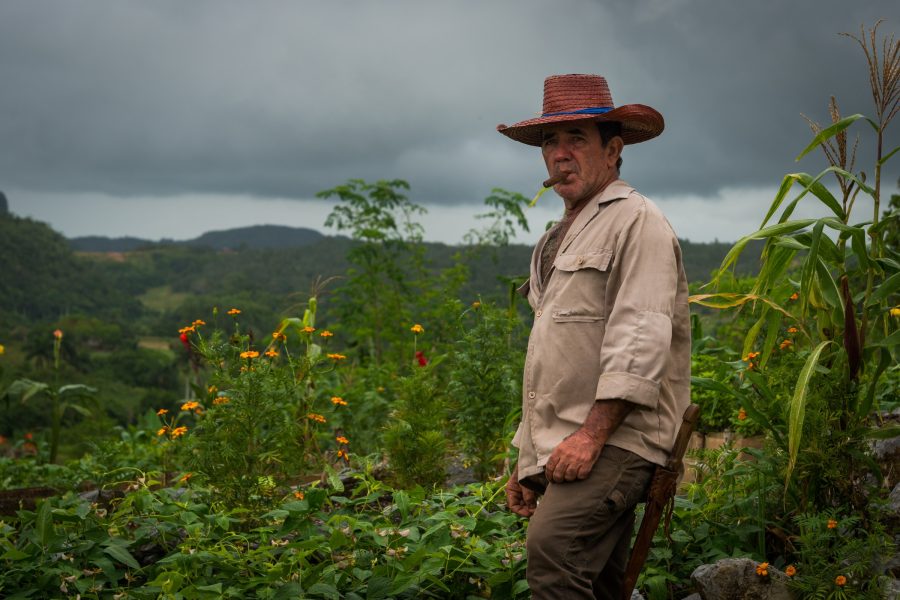
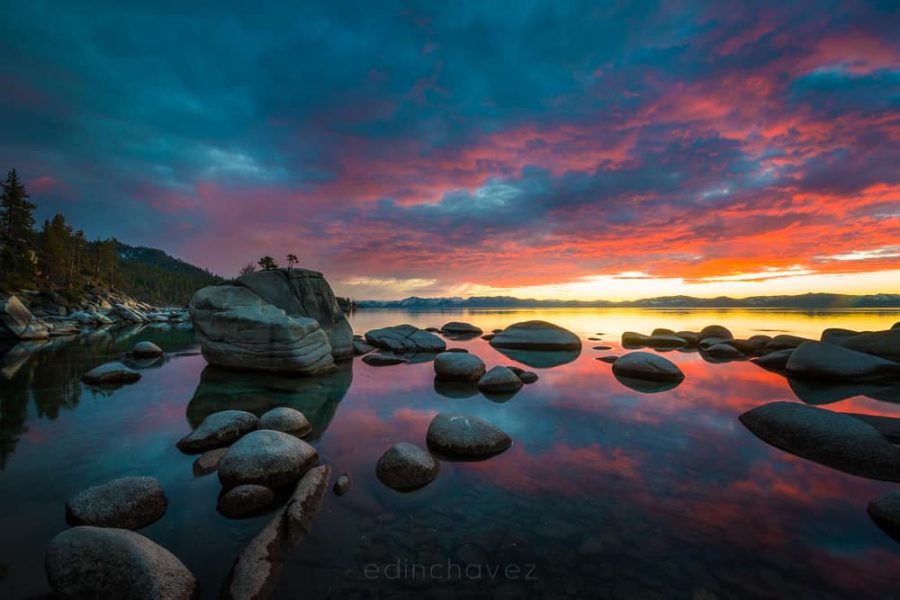
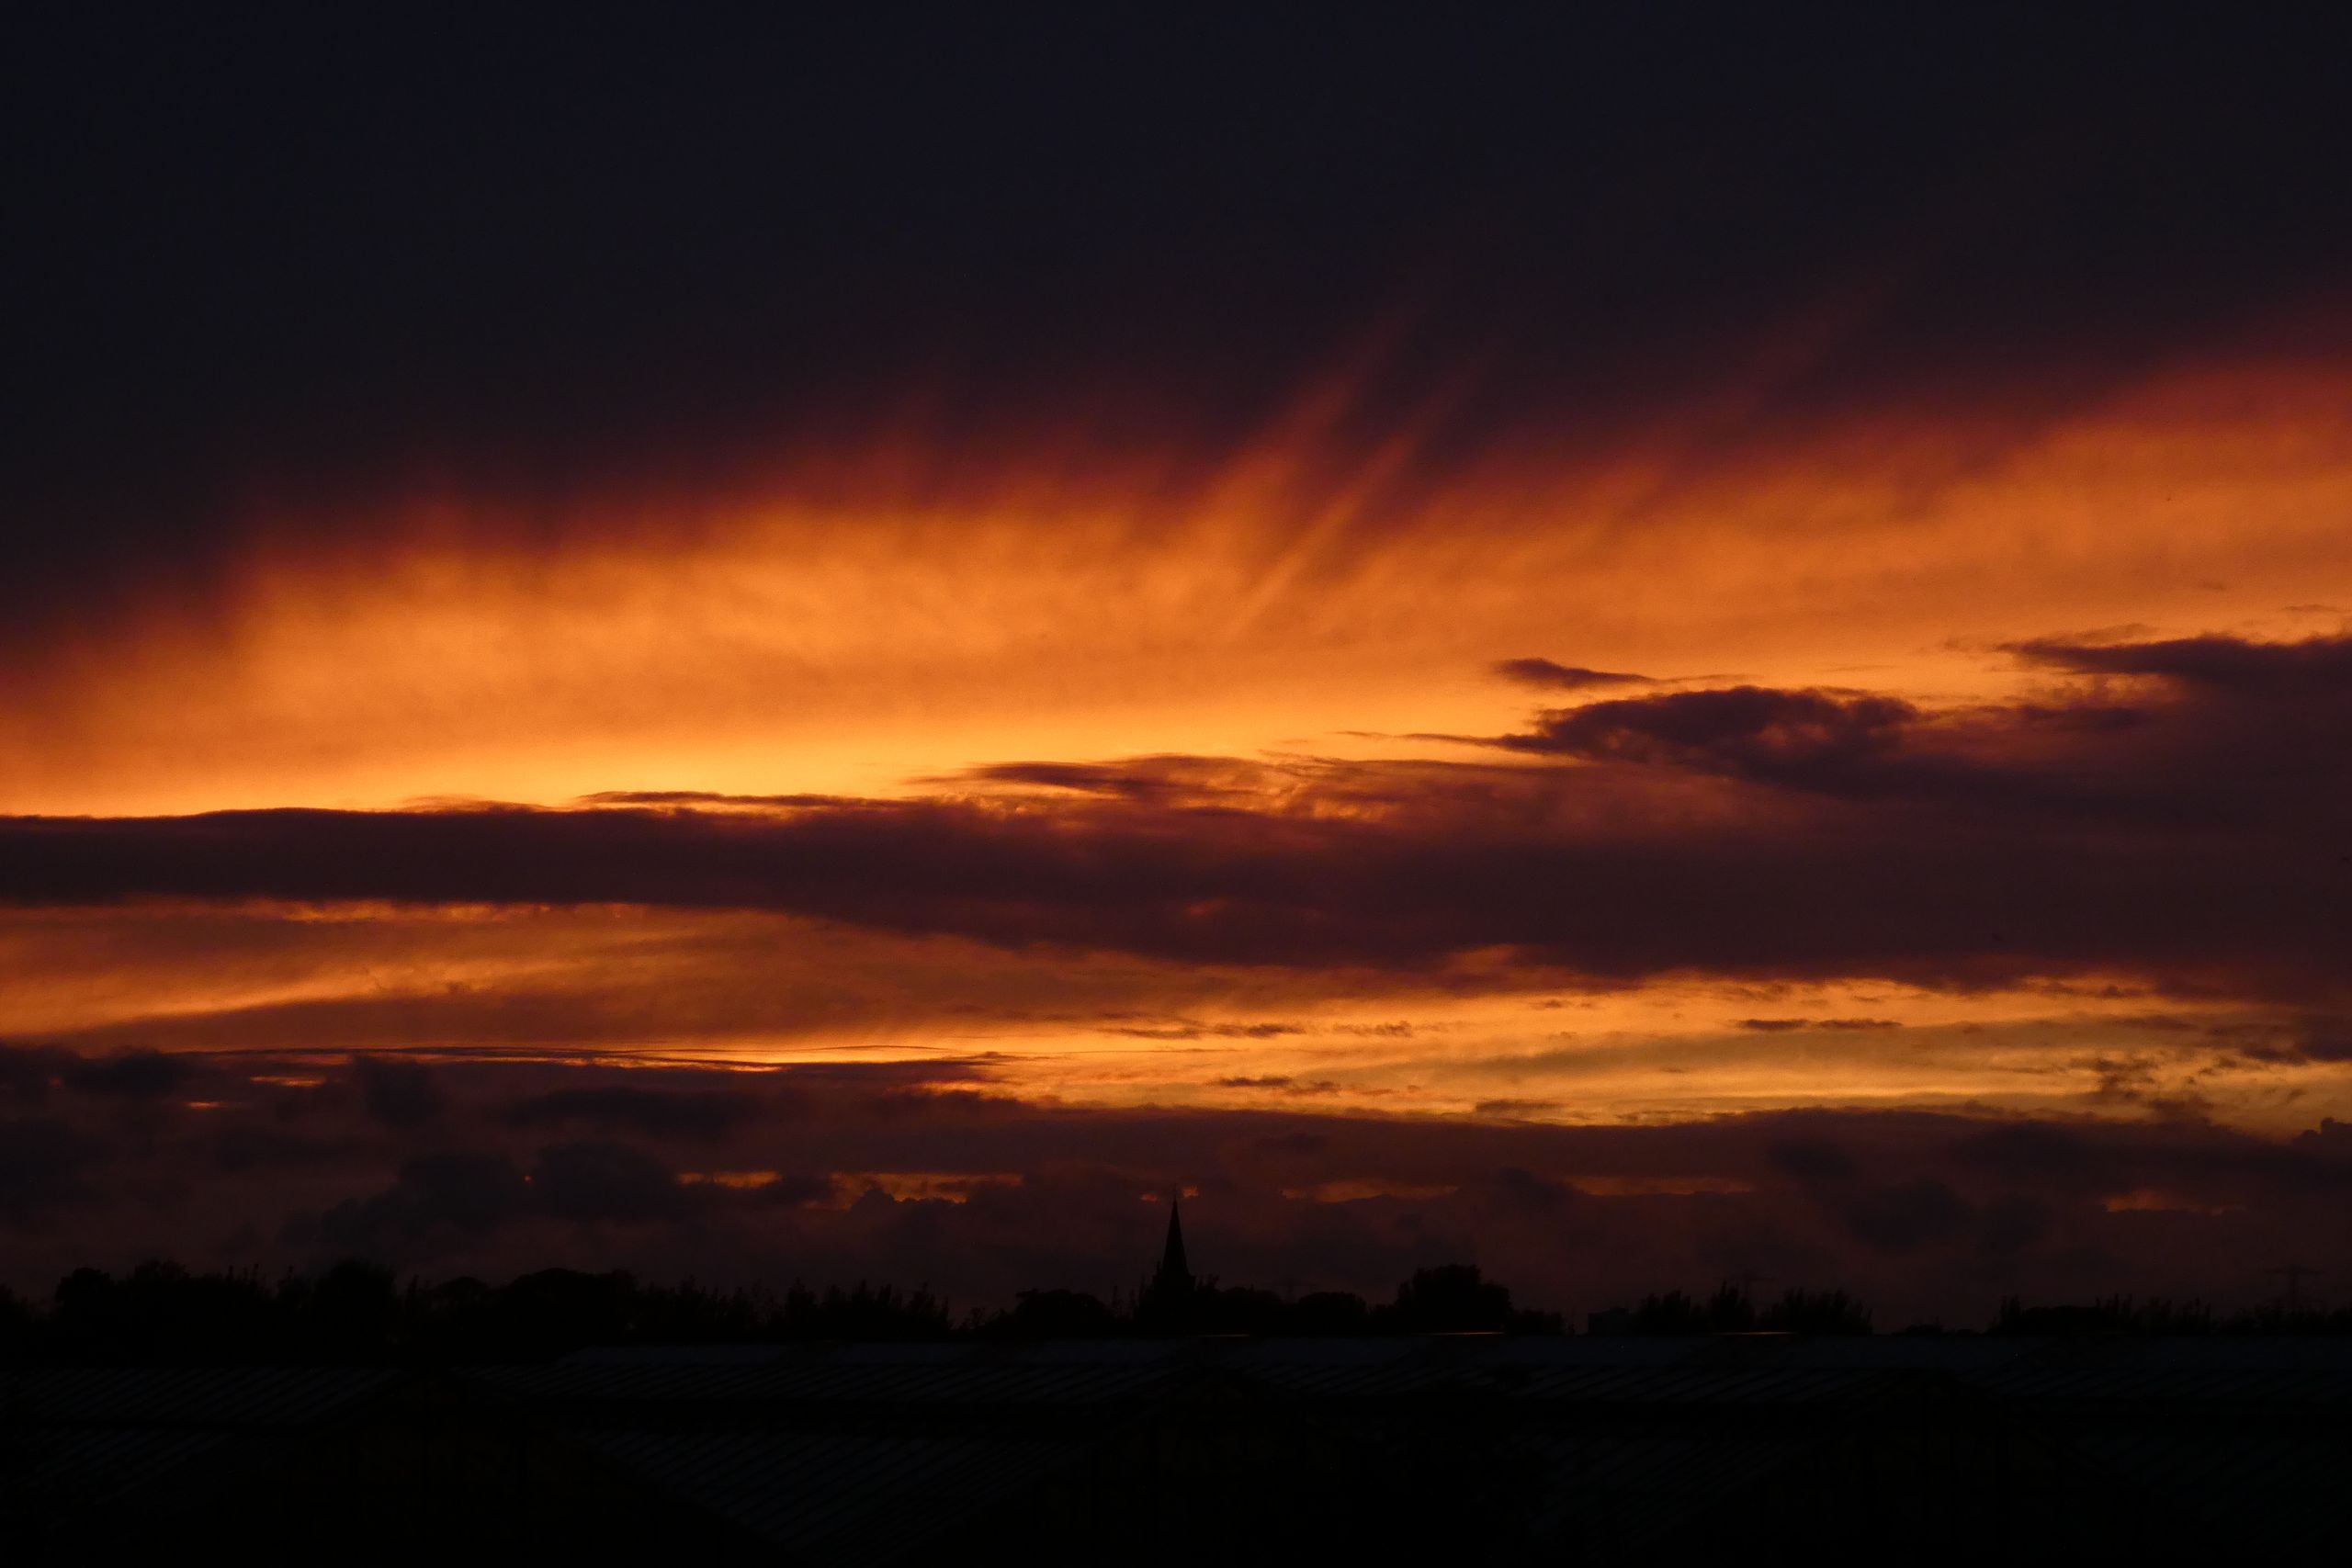
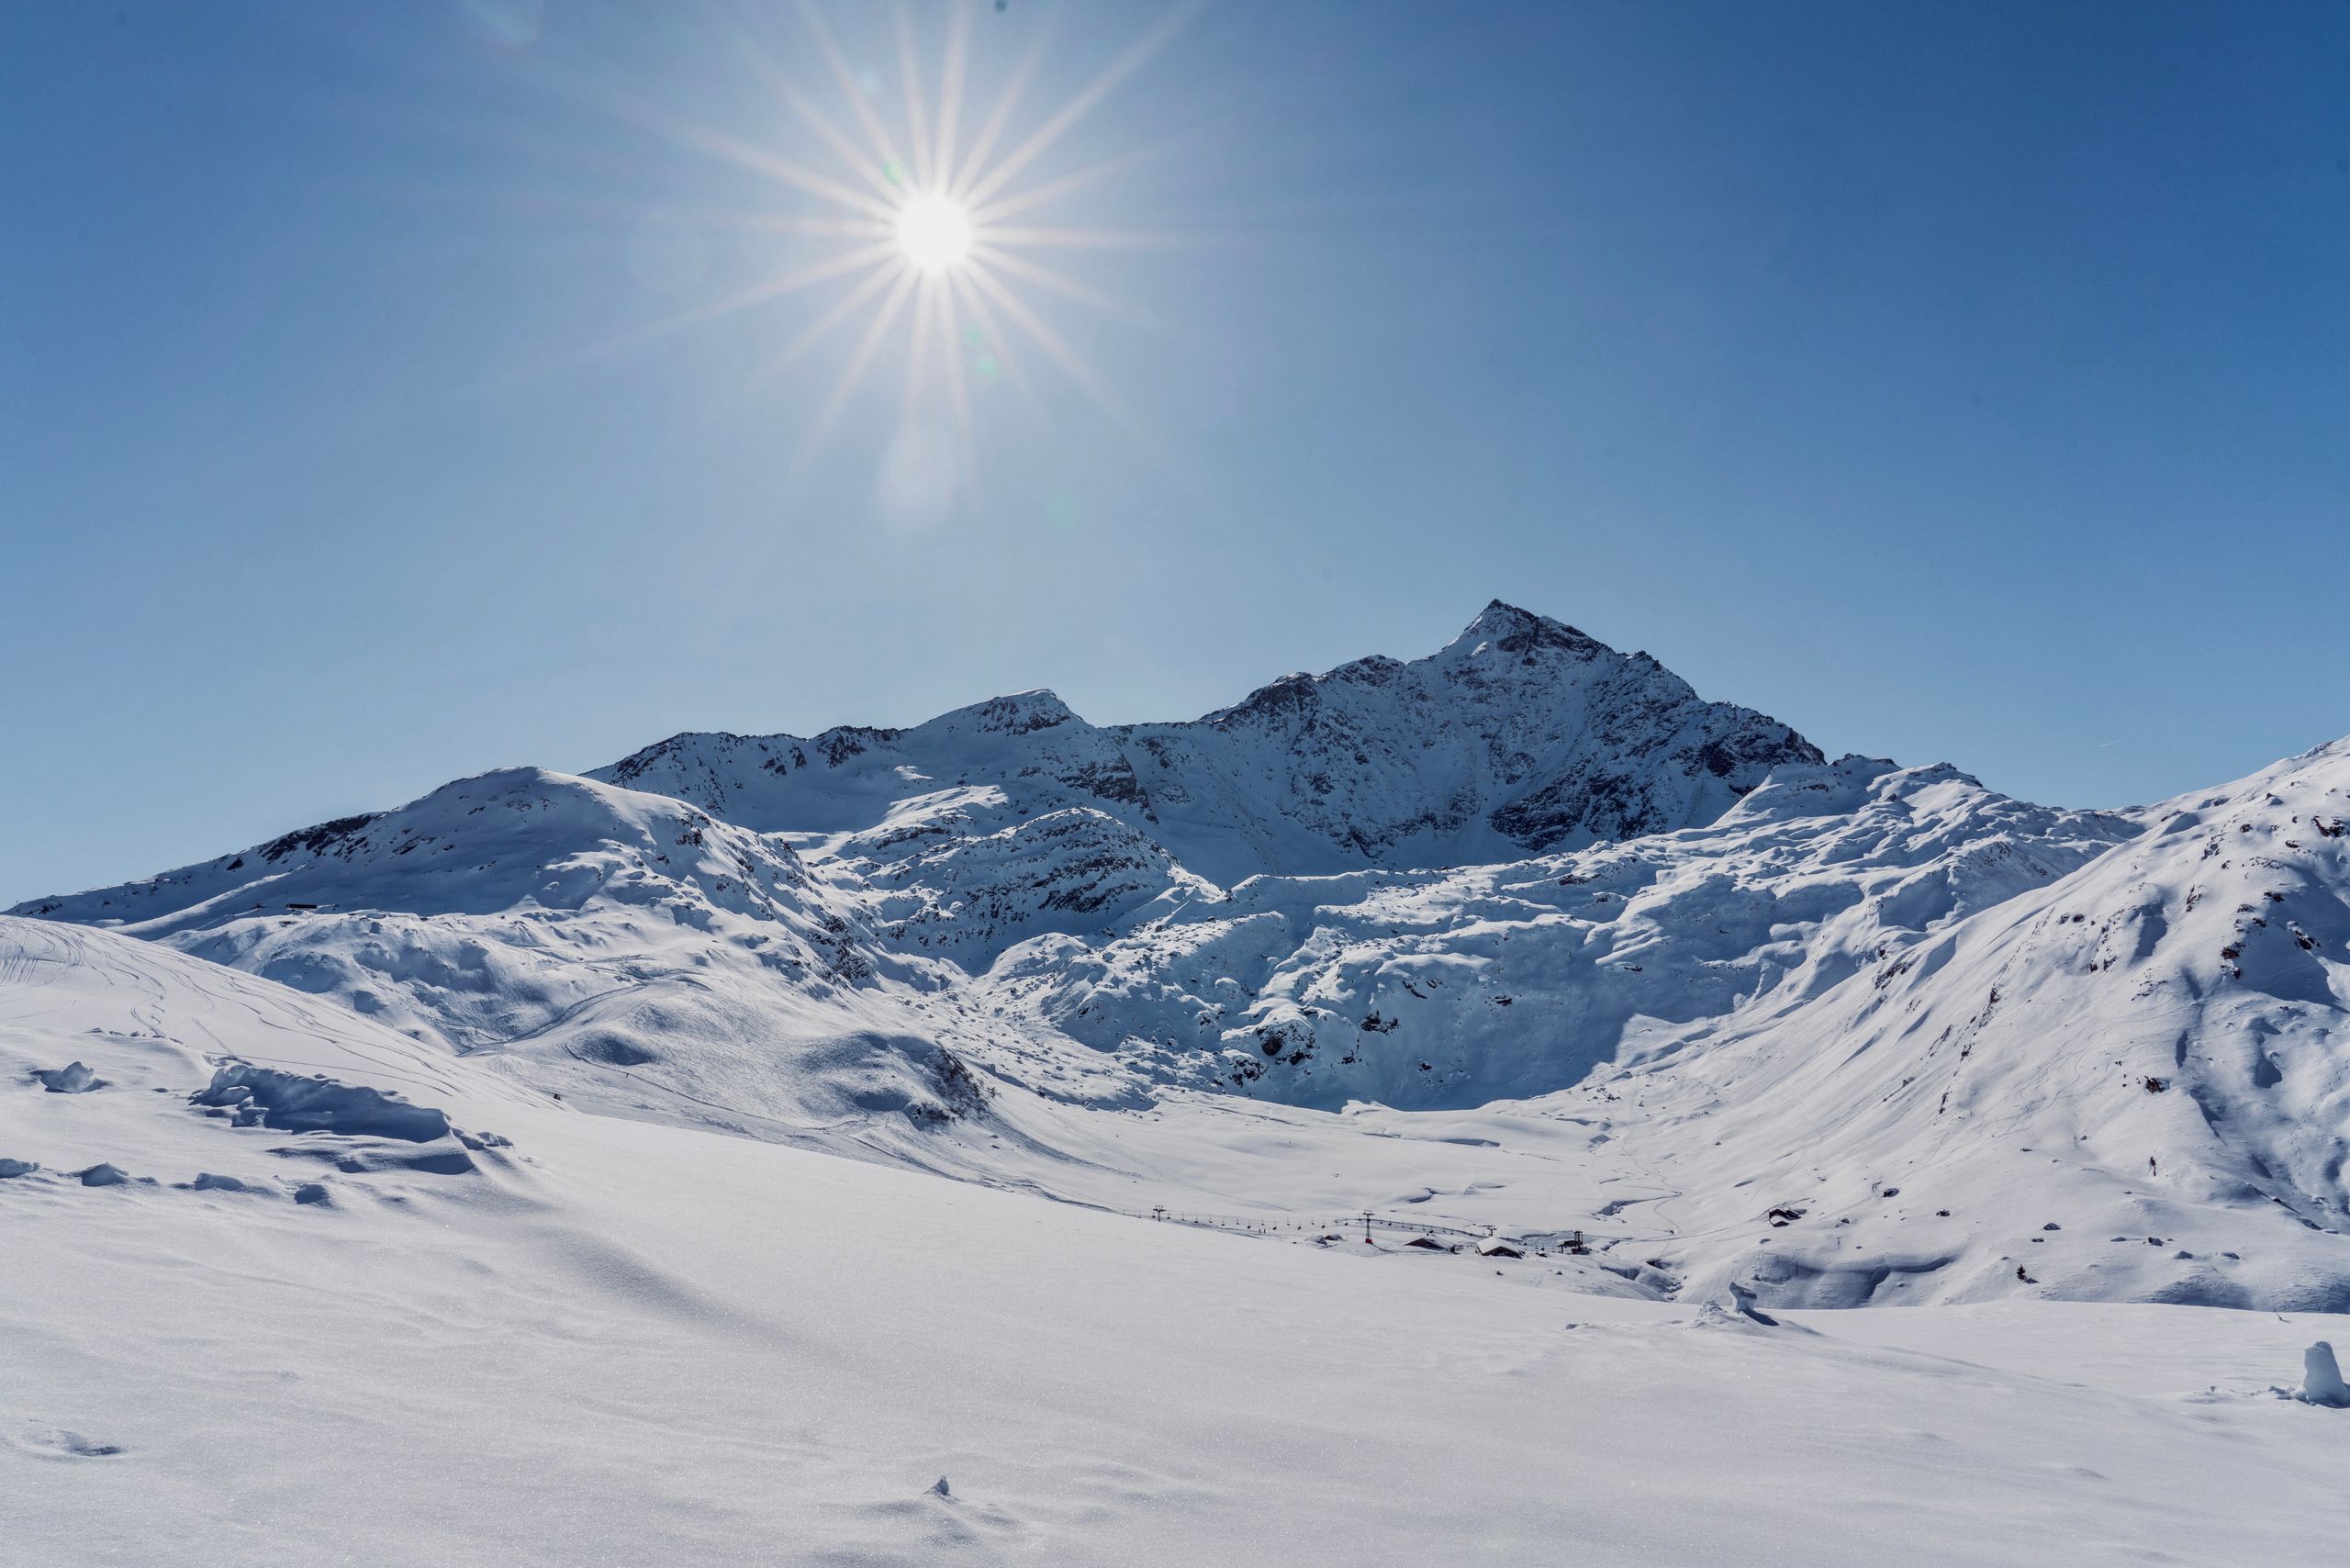
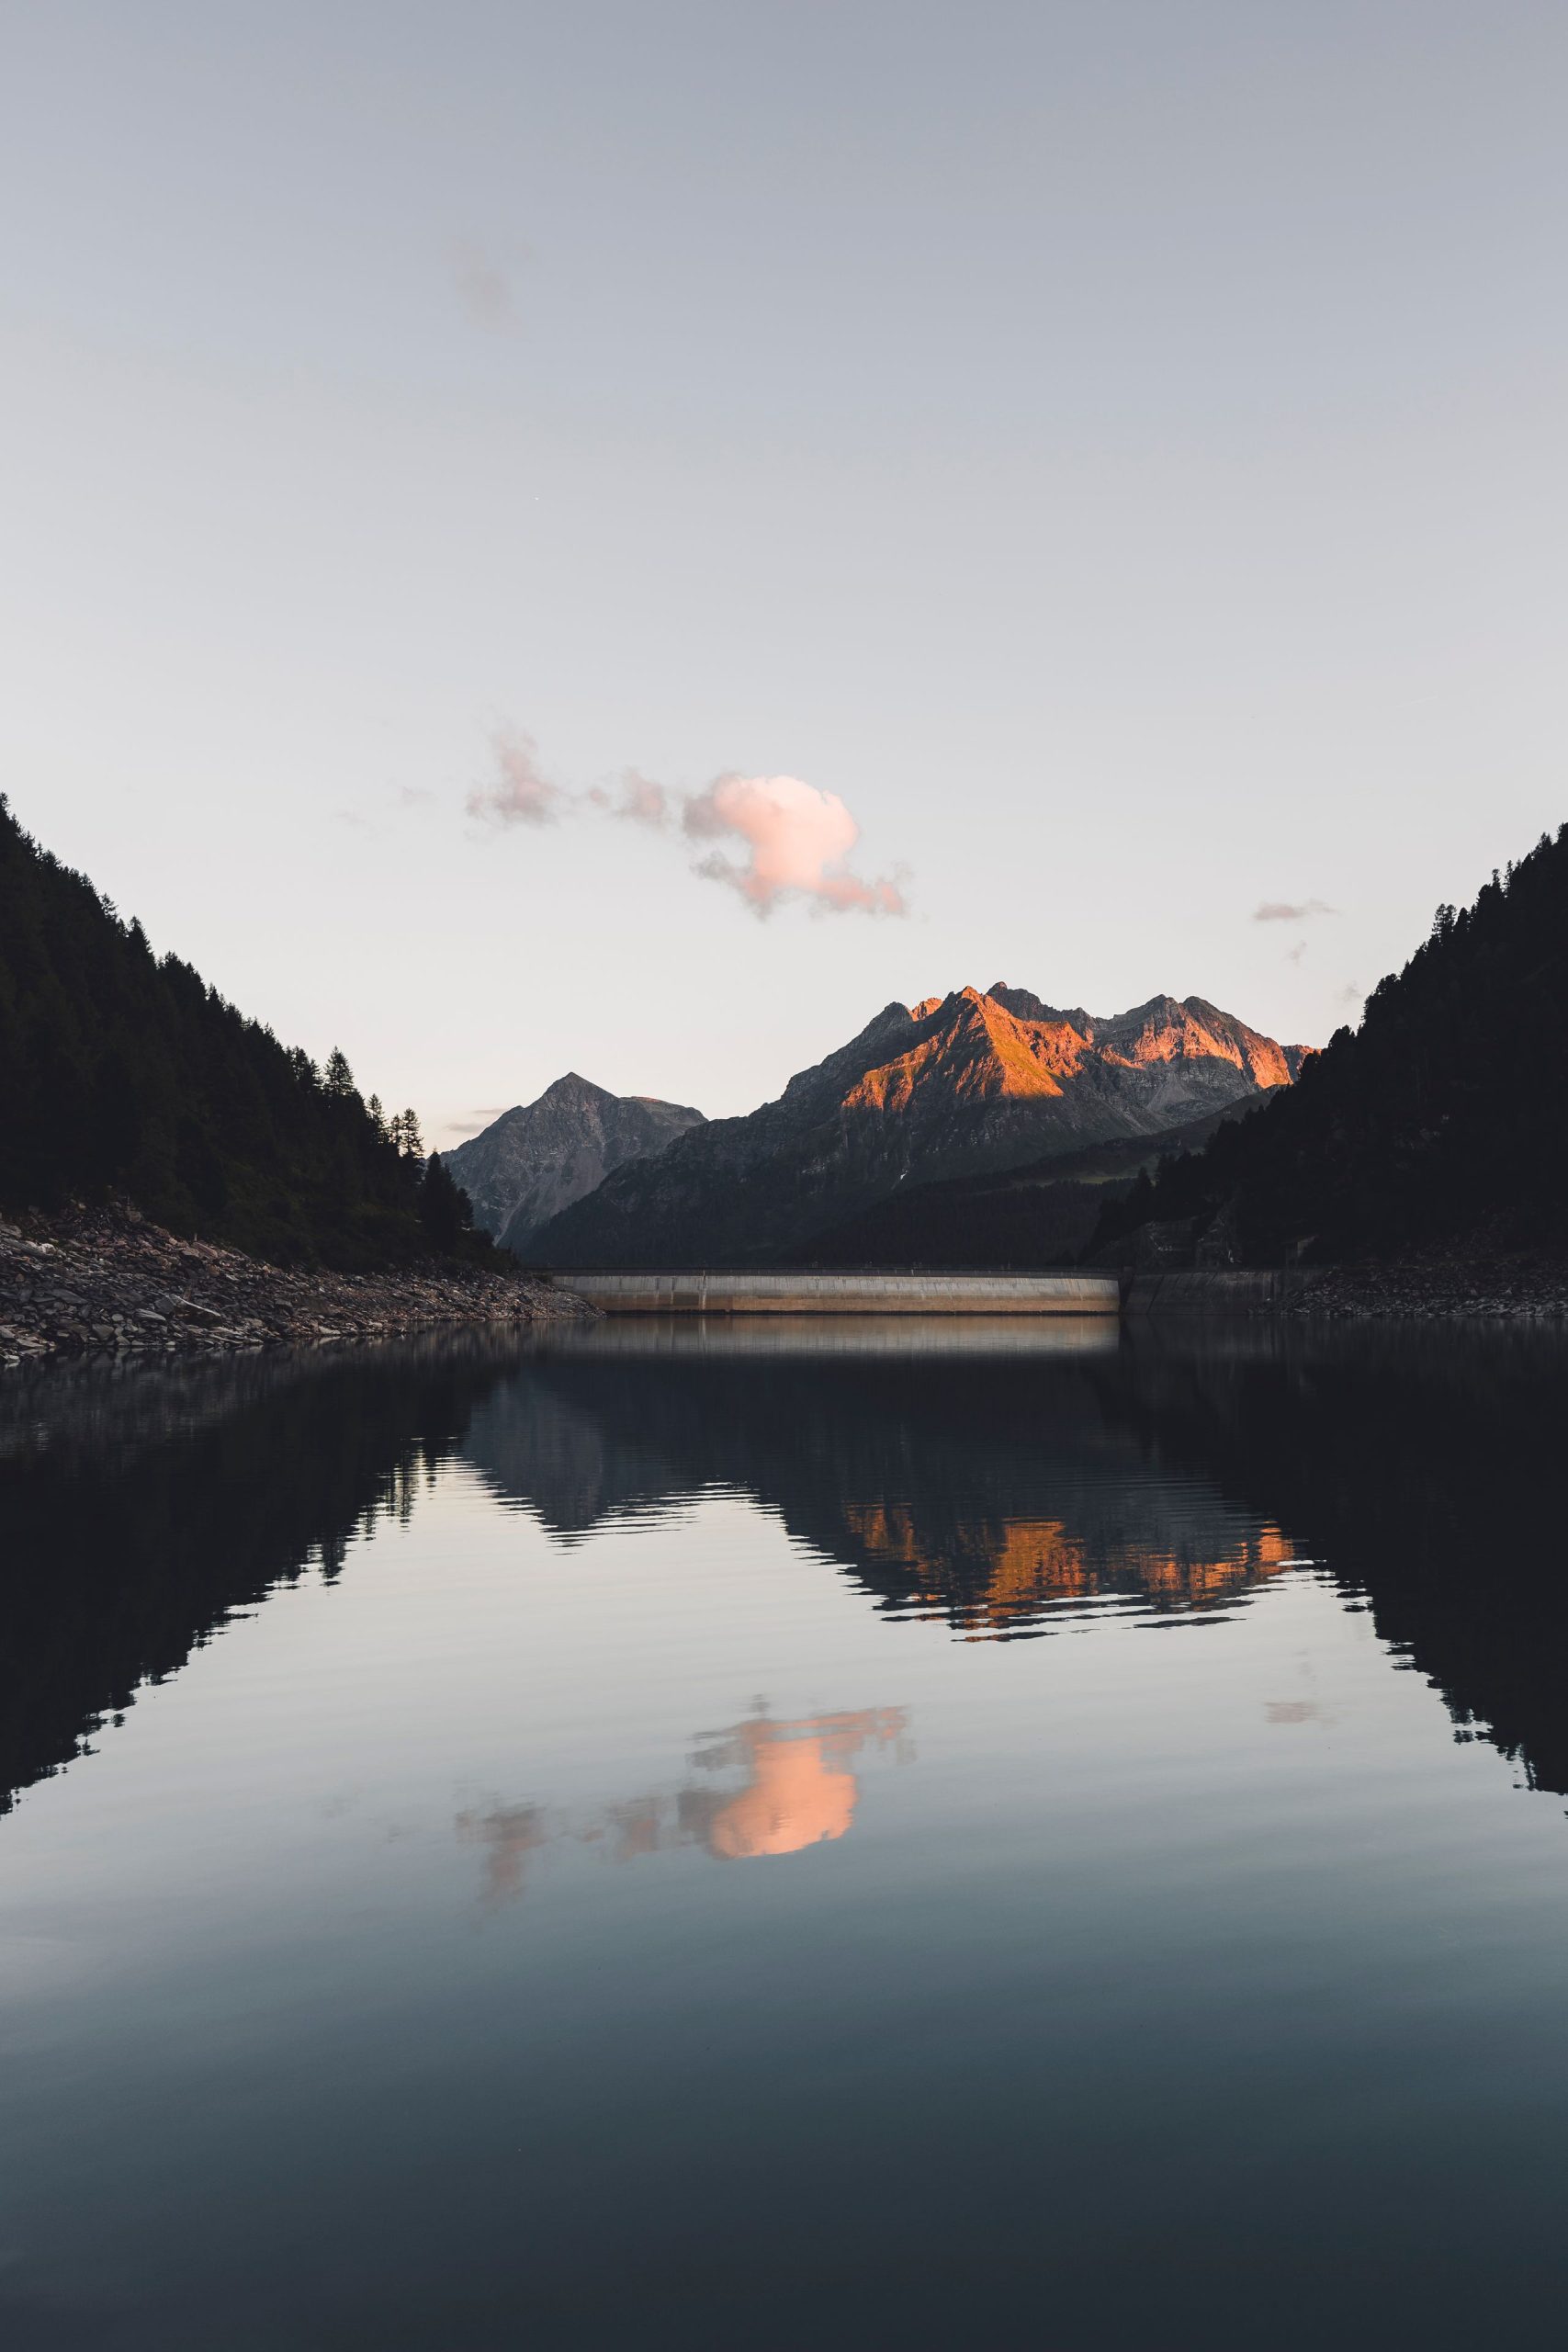
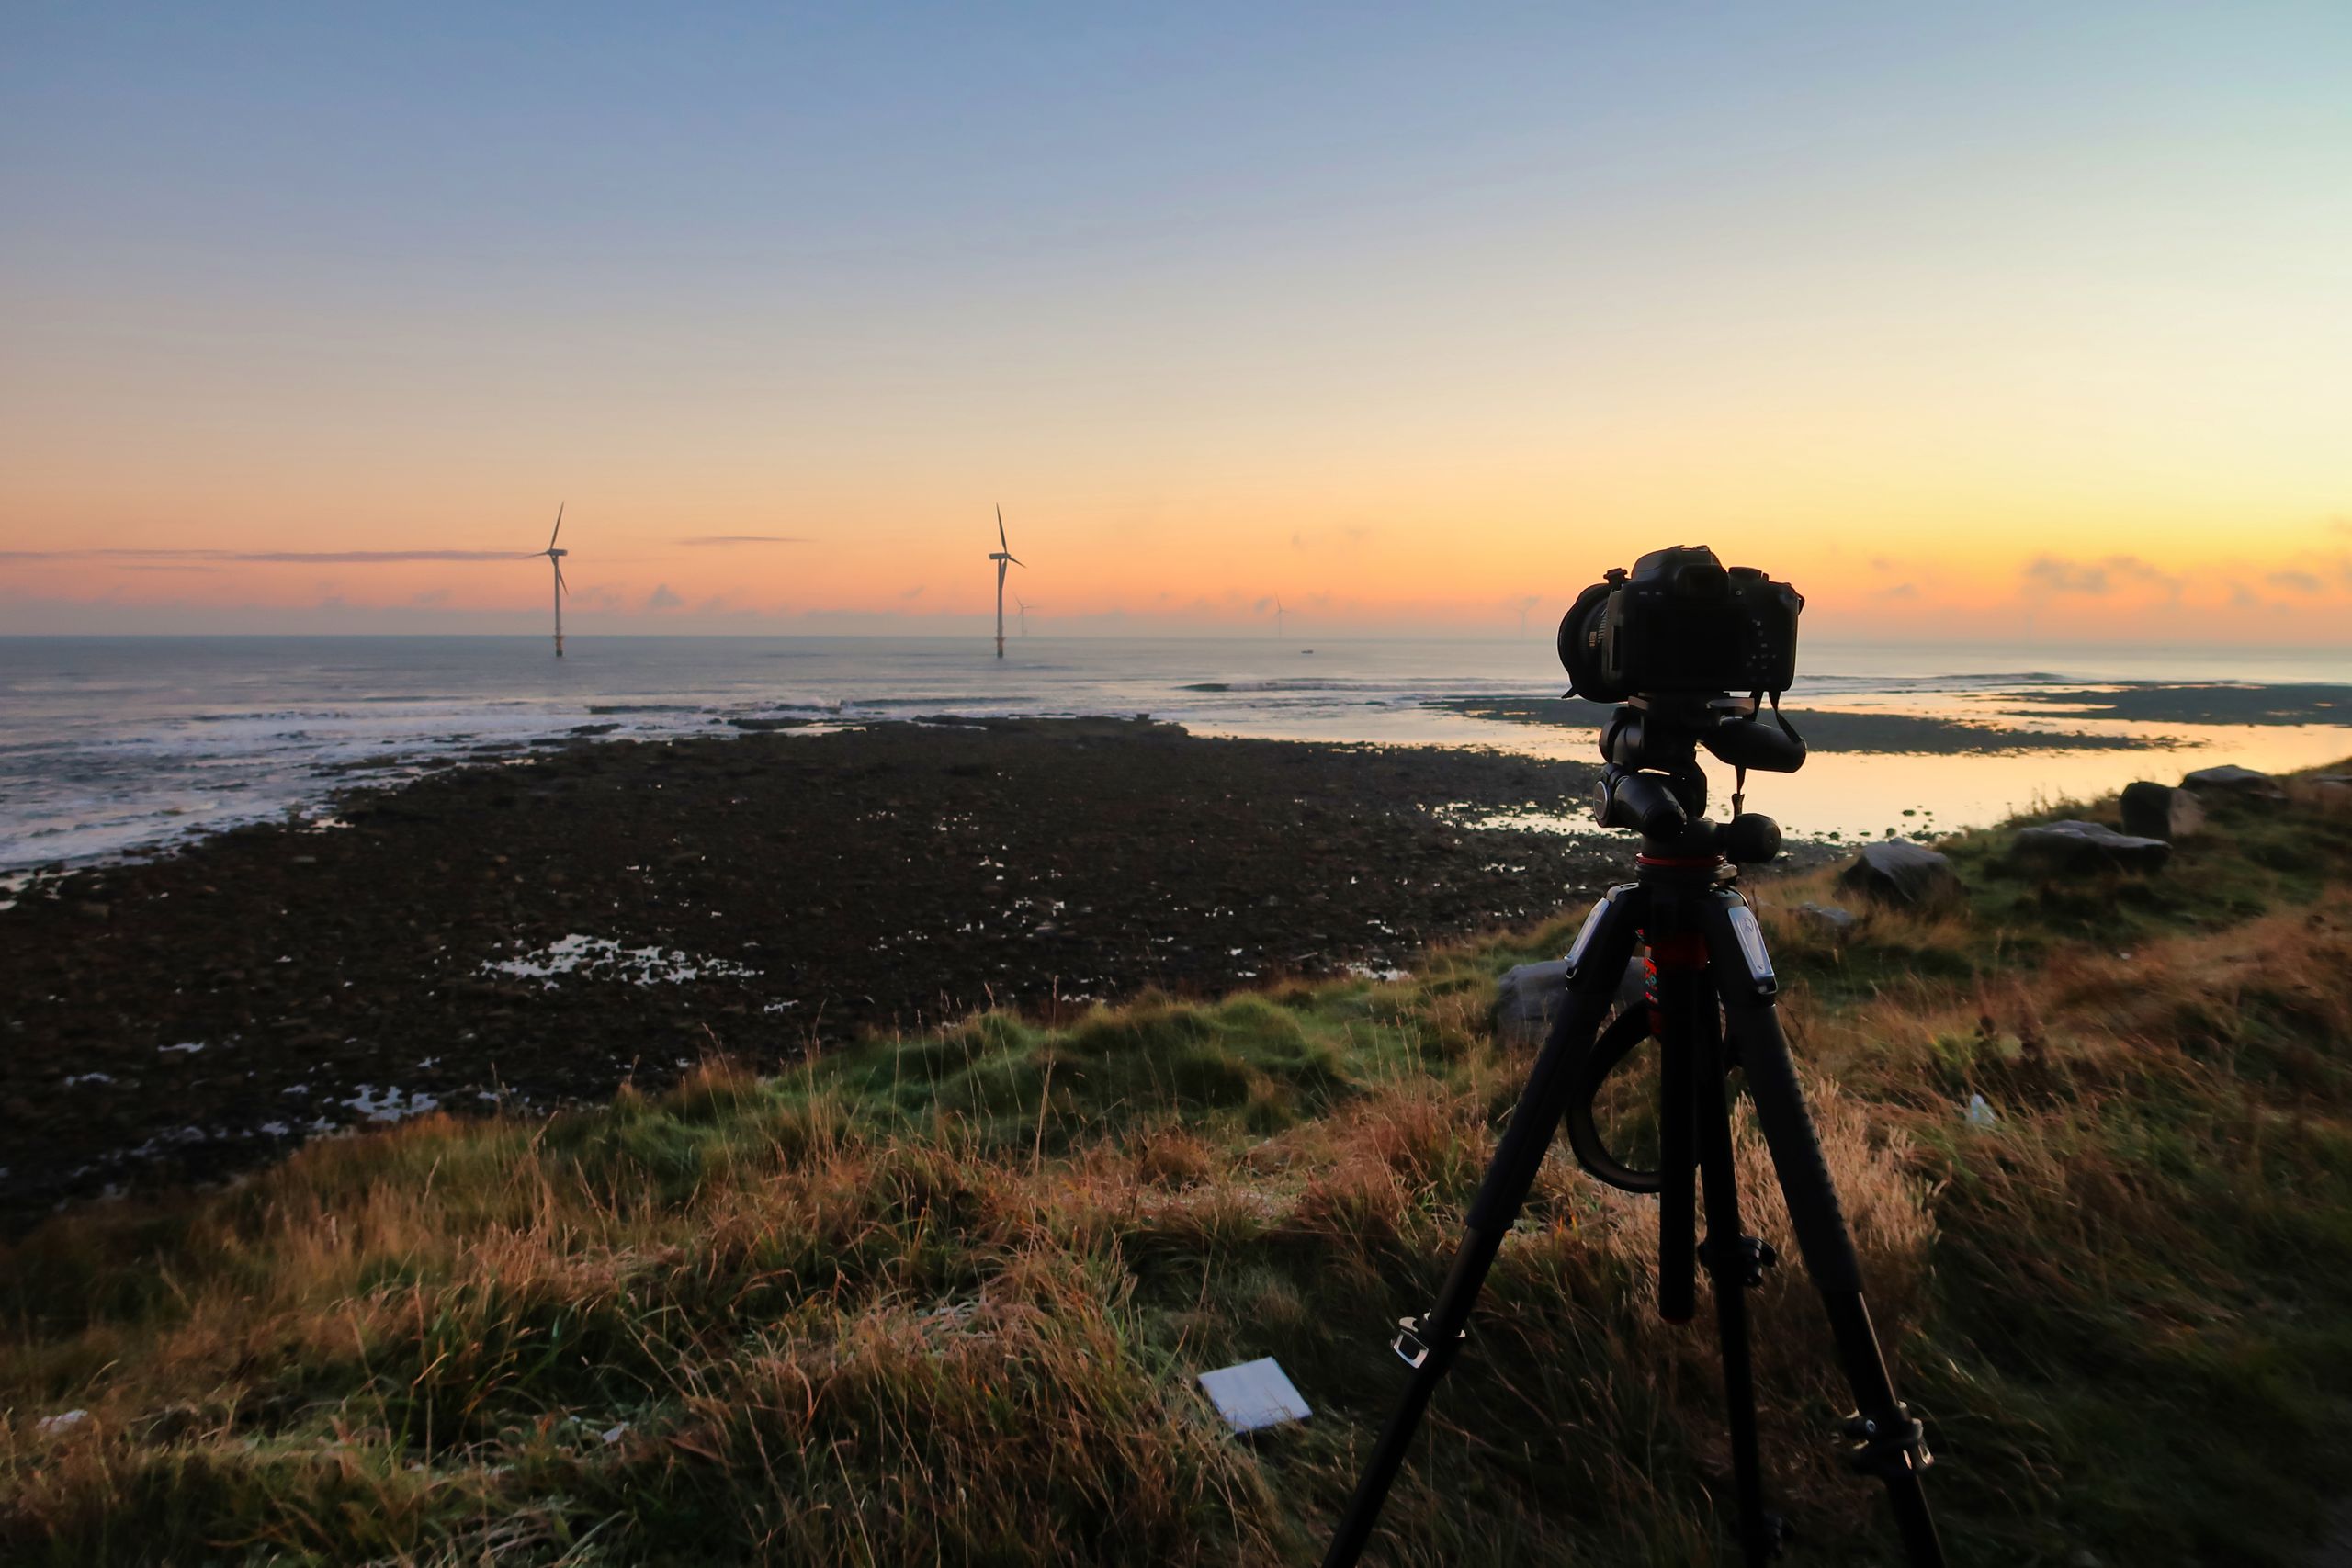
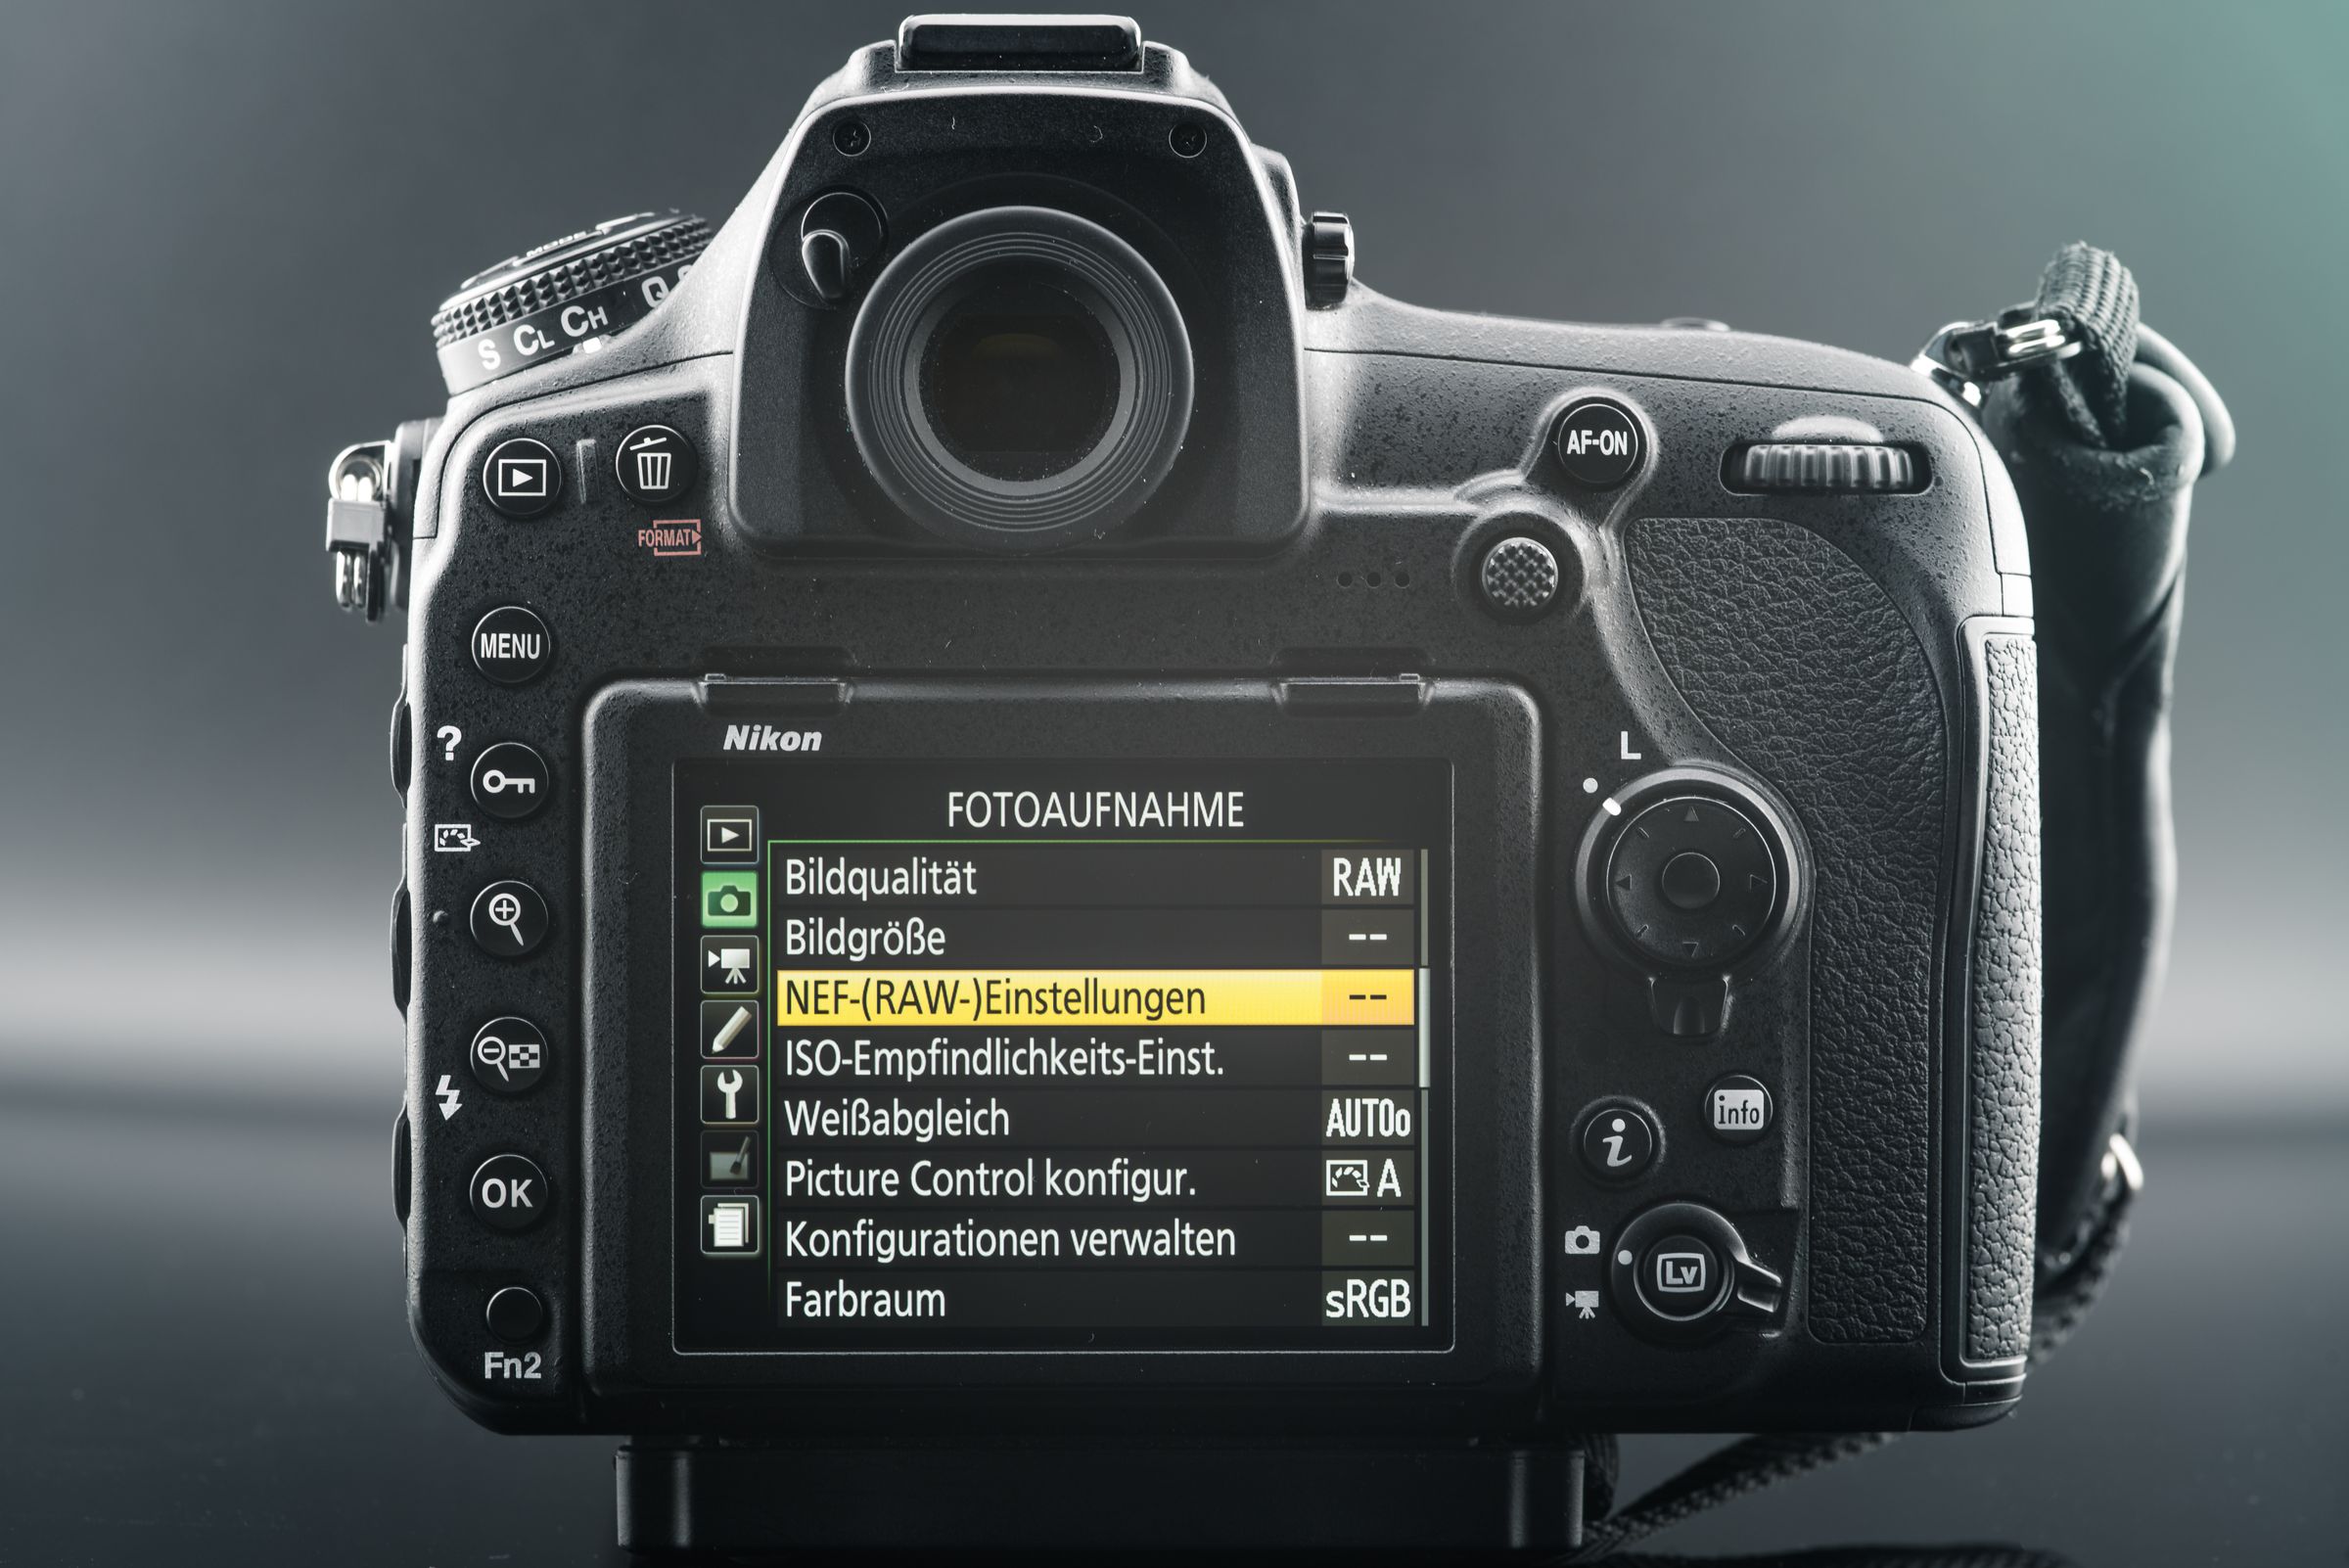
The photographs here are separate stock illustrations of bright scenes, dark scenes and camera work. They are not a controlled test, an exposure bracket or before-and-after versions of the same file. Their appearance does not establish which meter reading, shutter speed or editing adjustment their photographers used. Use them to consider tonal relationships, not as evidence of a technical comparison.
Choose the tones that matter
 Save
Before changing a setting, name the part of the image you cannot afford to lose. It might be cloud texture, a face, lettering on a pale wall or color in a bright garment. Check that part at a useful magnification after making a test frame. A small preview can conceal missing detail or motion blur that becomes obvious in the intended output.
Then consider what you can allow to become darker or brighter. A silhouette may be the subject rather than a failure to recover shadows. A small light source may not need texture. Those are decisions to make deliberately, not excuses to apply to any damaged image. If the photograph is for a client, settle what must remain readable and what kind of interpretation is acceptable.
Compare at least two plausible settings when the choice is uncertain. Keep the framing stable so you can see what the exposure change does. Do not change color, contrast and exposure at the same time and then attribute all the differences to one setting. For a personal test, use a stationary subject in steady light and record what you changed.
Ask whether you need to change the scene instead. Moving a portrait subject into different light, changing the camera position or excluding a very bright background can reduce the conflict. These choices are not always available, particularly in documentary work. When they are available and appropriate, they may give a more useful result than making a large correction to a difficult file.
Read the histogram in context
 Save
A histogram describes the distribution of tones in the image it represents. Dark tones appear toward the left and light tones toward the right. Nikon explains this display in its camera histogram guide. Check your own camera manual for the available displays and how to enable them. Some cameras also show separate color-channel histograms or warnings for bright areas.
The graph is a review aid, not a picture of the subject. A large dark background naturally puts many tones on the left. A pale scene may put many tones on the right. You do not need to force either into a centered shape. Look at which parts of the photograph correspond to the tones, then decide whether their treatment suits the picture.
If data reaches an edge, investigate the associated area. That alone does not tell you whether the lost or extreme tone is important. A bright reflection and a white wedding dress may need different decisions. Use the image, warnings and any available channel displays together. Do not assume a luminance graph proves that every color channel retains the detail you need.
A histogram and preview are also affected by the representation being displayed. Check how your camera creates them and compare the actual files in your editor during a controlled test. Do not assume that a warning means a fixed amount of recoverable RAW headroom. A setting that seemed safe on another camera or with another rendering may not establish the limit for yours.
What a dark file can cost
 Save
A file that is too dark for its purpose may need a substantial lift to make the subject readable. Inspect the lifted result for noise, uneven color and loss of useful texture. Recovery depends on the original capture and the treatment you apply. There is no fixed number of stops that this article can promise for every camera, ISO setting and scene.
Protecting a bright sky is a useful choice when the sky carries the picture. It is not a guarantee that the foreground will remain recoverable. Make a test and inspect both parts. If the subject needs to be brighter than the file allows, consider a different view, light or capture method rather than assuming a shadow slider will produce a clean result.
Motion can constrain the choice. If a longer shutter time would blur the main subject, a darker frame is not automatically the only alternative. Review the aperture and ISO options your situation allows, and consider how each affects the intended photograph. Test the resulting file. A usable compromise depends on your subject, camera and output, not a universal instruction to keep ISO low.
When reviewing an existing dark file, make a separate edited version. Increase brightness only as far as the picture needs, then check the important areas at a realistic display or print size. A heavy adjustment that looks acceptable as a small thumbnail may not suit a large delivery. Keep notes from the test so the next exposure decision is based on your files rather than a claim about all modern sensors.
What a bright file can cost
 Save
A file that is too bright may lose texture or color in important highlights. Lowering the overall brightness in an editor does not guarantee that those details return. Inspect the actual area rather than accepting a gray patch as recovered information. If the original contains no useful variation there, a darker rendering alone has not restored the missing texture.
Bright scenes do not always require reducing exposure. Snow, pale walls and backlit mist may appropriately look luminous. Begin with a test that serves the subject, then check highlight detail where it matters. Compare versions instead of deciding from the screen brightness alone. The goal is a useful tonal relationship, not making every scene equally dark.
You may hear the phrase expose to the right, or ETTR. Treat it as a capture strategy that needs testing and limits, not a command to push every histogram against the edge. A brighter capture is only useful if it preserves the important highlights and does not force an unsuitable shutter time or aperture. Do not confuse increasing displayed brightness with recording a better file.
For a test, choose a stable scene with texture in both bright and dark areas. Make several carefully recorded exposures, then adjust them to similar output brightness and compare. Check color as well as luminance, and include the rendering you actually use. A test like this can guide your working margin without claiming that a particular number of stops is safe everywhere.
Bracket when it solves the actual problem
When one exposure cannot hold the required bright and dark detail, a bracket can give you alternatives. Nikon describes this approach in its high dynamic range photography guide. Choose the range by checking the brightest and darkest useful frames. A standard three-frame sequence is not proof that the scene has been covered.
Keep the viewpoint stable and review what moves between frames. Water, branches, flags, clouds and people can cause problems in a blend. Inspect the merged result for ghosts, halos and unnatural transitions. You can also keep just the most useful single frame. Making a bracket does not create an obligation to combine every exposure or to give the result an exaggerated appearance.
Use a tripod when it helps and is allowed, but remember that it controls camera movement rather than subject movement. Pick a safe position that does not obstruct others. If the scene changes too quickly for a blend, decide which tones deserve priority in a single capture. A photograph that honestly leaves some areas dark may be better than a visibly broken merge.
Label meaningful combinations or content changes when presenting the photograph. Keep the source frames so you can revisit the decision. For a technical comparison, record the spacing and settings rather than presenting unrelated pictures as evidence. A bracket is a tool for a particular contrast problem, not insurance that every missed tone will be recoverable.
Make the next exposure easier to judge
Learn how exposure compensation works in the camera mode you use. The setting changes the automatic exposure target, but which parameter changes depends on the mode and camera configuration. Check the manual and watch the displayed settings during a test. With fixed manual settings and no automatic parameter, changing a compensation indicator may not change the capture the way you expect.
Metering modes are also starting tools. A reading from a small bright area can differ from a reading based on the wider scene. Test the mode on a known subject and review the resulting file. Do not assume that every snow scene needs the same positive adjustment or that every dark scene needs the same negative adjustment. The subject and the chosen rendering still decide the result.
Choose RAW or JPEG with an understanding of your workflow. RAW can offer editing flexibility, but it is not a promise that deep shadows or clipped highlights can be repaired. A JPEG still deserves a careful exposure and can be a valid delivery format. If you use both, compare your actual files and their processing rather than describing one format as a substitute for a good capture.
Finish with a small repeatable review: inspect the important tones, check movement and focus, and look at the boundaries of the frame. If the file does not hold what you need, make a purposeful change and check again. Record the outcome of your camera tests. That is a more reliable basis for underexposure-versus-overexposure decisions than a rule that always favors the dark mistake.
Is it better to underexpose or overexpose?
Neither is universally better. Preserve the tones that the picture needs, check the actual file and consider a different capture method when one exposure cannot hold the required range.
Does a dark histogram prove the exposure is wrong?
No. A naturally dark subject may belong on the left. Check what the graph represents and whether important detail is lost rather than forcing every scene into the same shape.
Can RAW always recover the shadows?
No. Inspect your own files for noise, color and texture after a lift. Recovery depends on the capture, processing and output; there is no universal safe number of stops.
Should I expose to the right?
Only as a tested strategy that preserves important highlights and suits the required shutter time and aperture. Do not push a histogram to the edge without checking the image and your camera behavior.
When should I bracket exposures?
When it provides useful frames for the required tonal range and the scene allows it. Check the outer frames and inspect any blend for movement artifacts. Keeping one frame remains an option.
Equipment options to compare for general photography and exposure practice, not gear used for these illustrative photographs. No prices listed here – check current pricing and availability at the retailer links.
Affiliate disclosure: this article contains B&H affiliate links. If you buy through them we may earn a commission at no extra cost to you.