
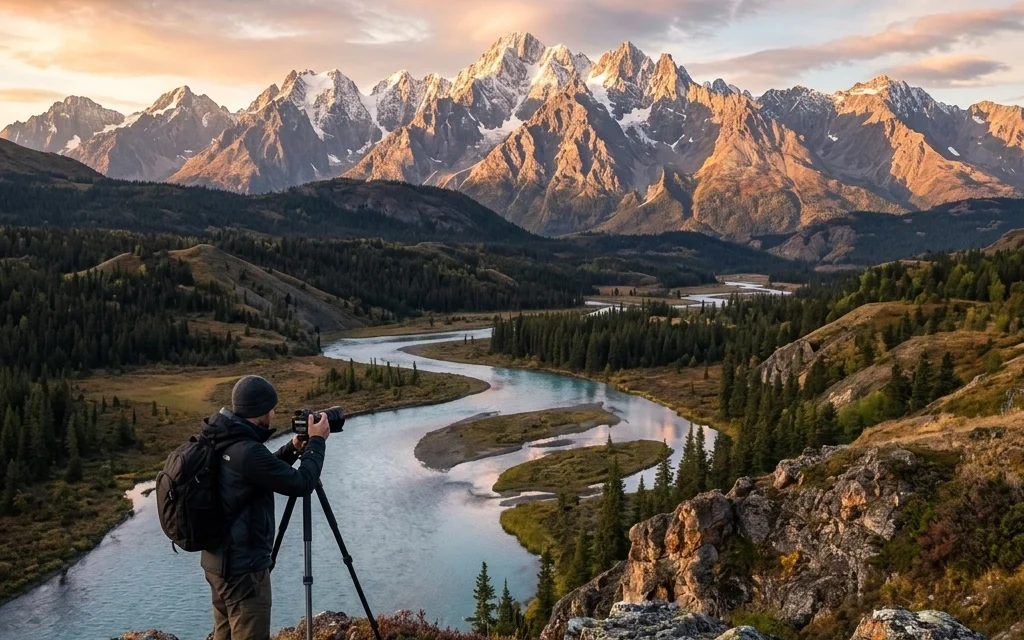
Landscape photography seems easy on paper. You find a pretty mountain, wait for the sun to do something cool, and press a button. But if you’ve ever come home from a trip, uploaded your files, and felt a wave of "meh," you aren't alone. Taking a photo of a landscape is easy; capturing the feeling of being there is incredibly difficult.
Most of us make the same handful of mistakes that turn an epic vista into a boring, flat snapshot. At Shut Your Aperture, we want to help you stop taking "okay" photos and start creating wall-worthy art.
Whether you are just learning how to use manual mode camera settings or you’ve been shooting for years, these seven mistakes are likely holding you back. Here is how to fix them and level up your game.
1. The "Drunken" Horizon
Nothing ruins a beautiful mountain range faster than a tilted horizon. It’s one of the most common mistakes in the book, and honestly, it’s one of the most distracting. If your ocean looks like it’s leaking out of the left side of the frame, the viewer's brain is going to focus on that error rather than the beauty of the scene.
Even if you think you have a steady hand, shooting handheld often leads to a slight 1 or 2-degree tilt.
The Fix:
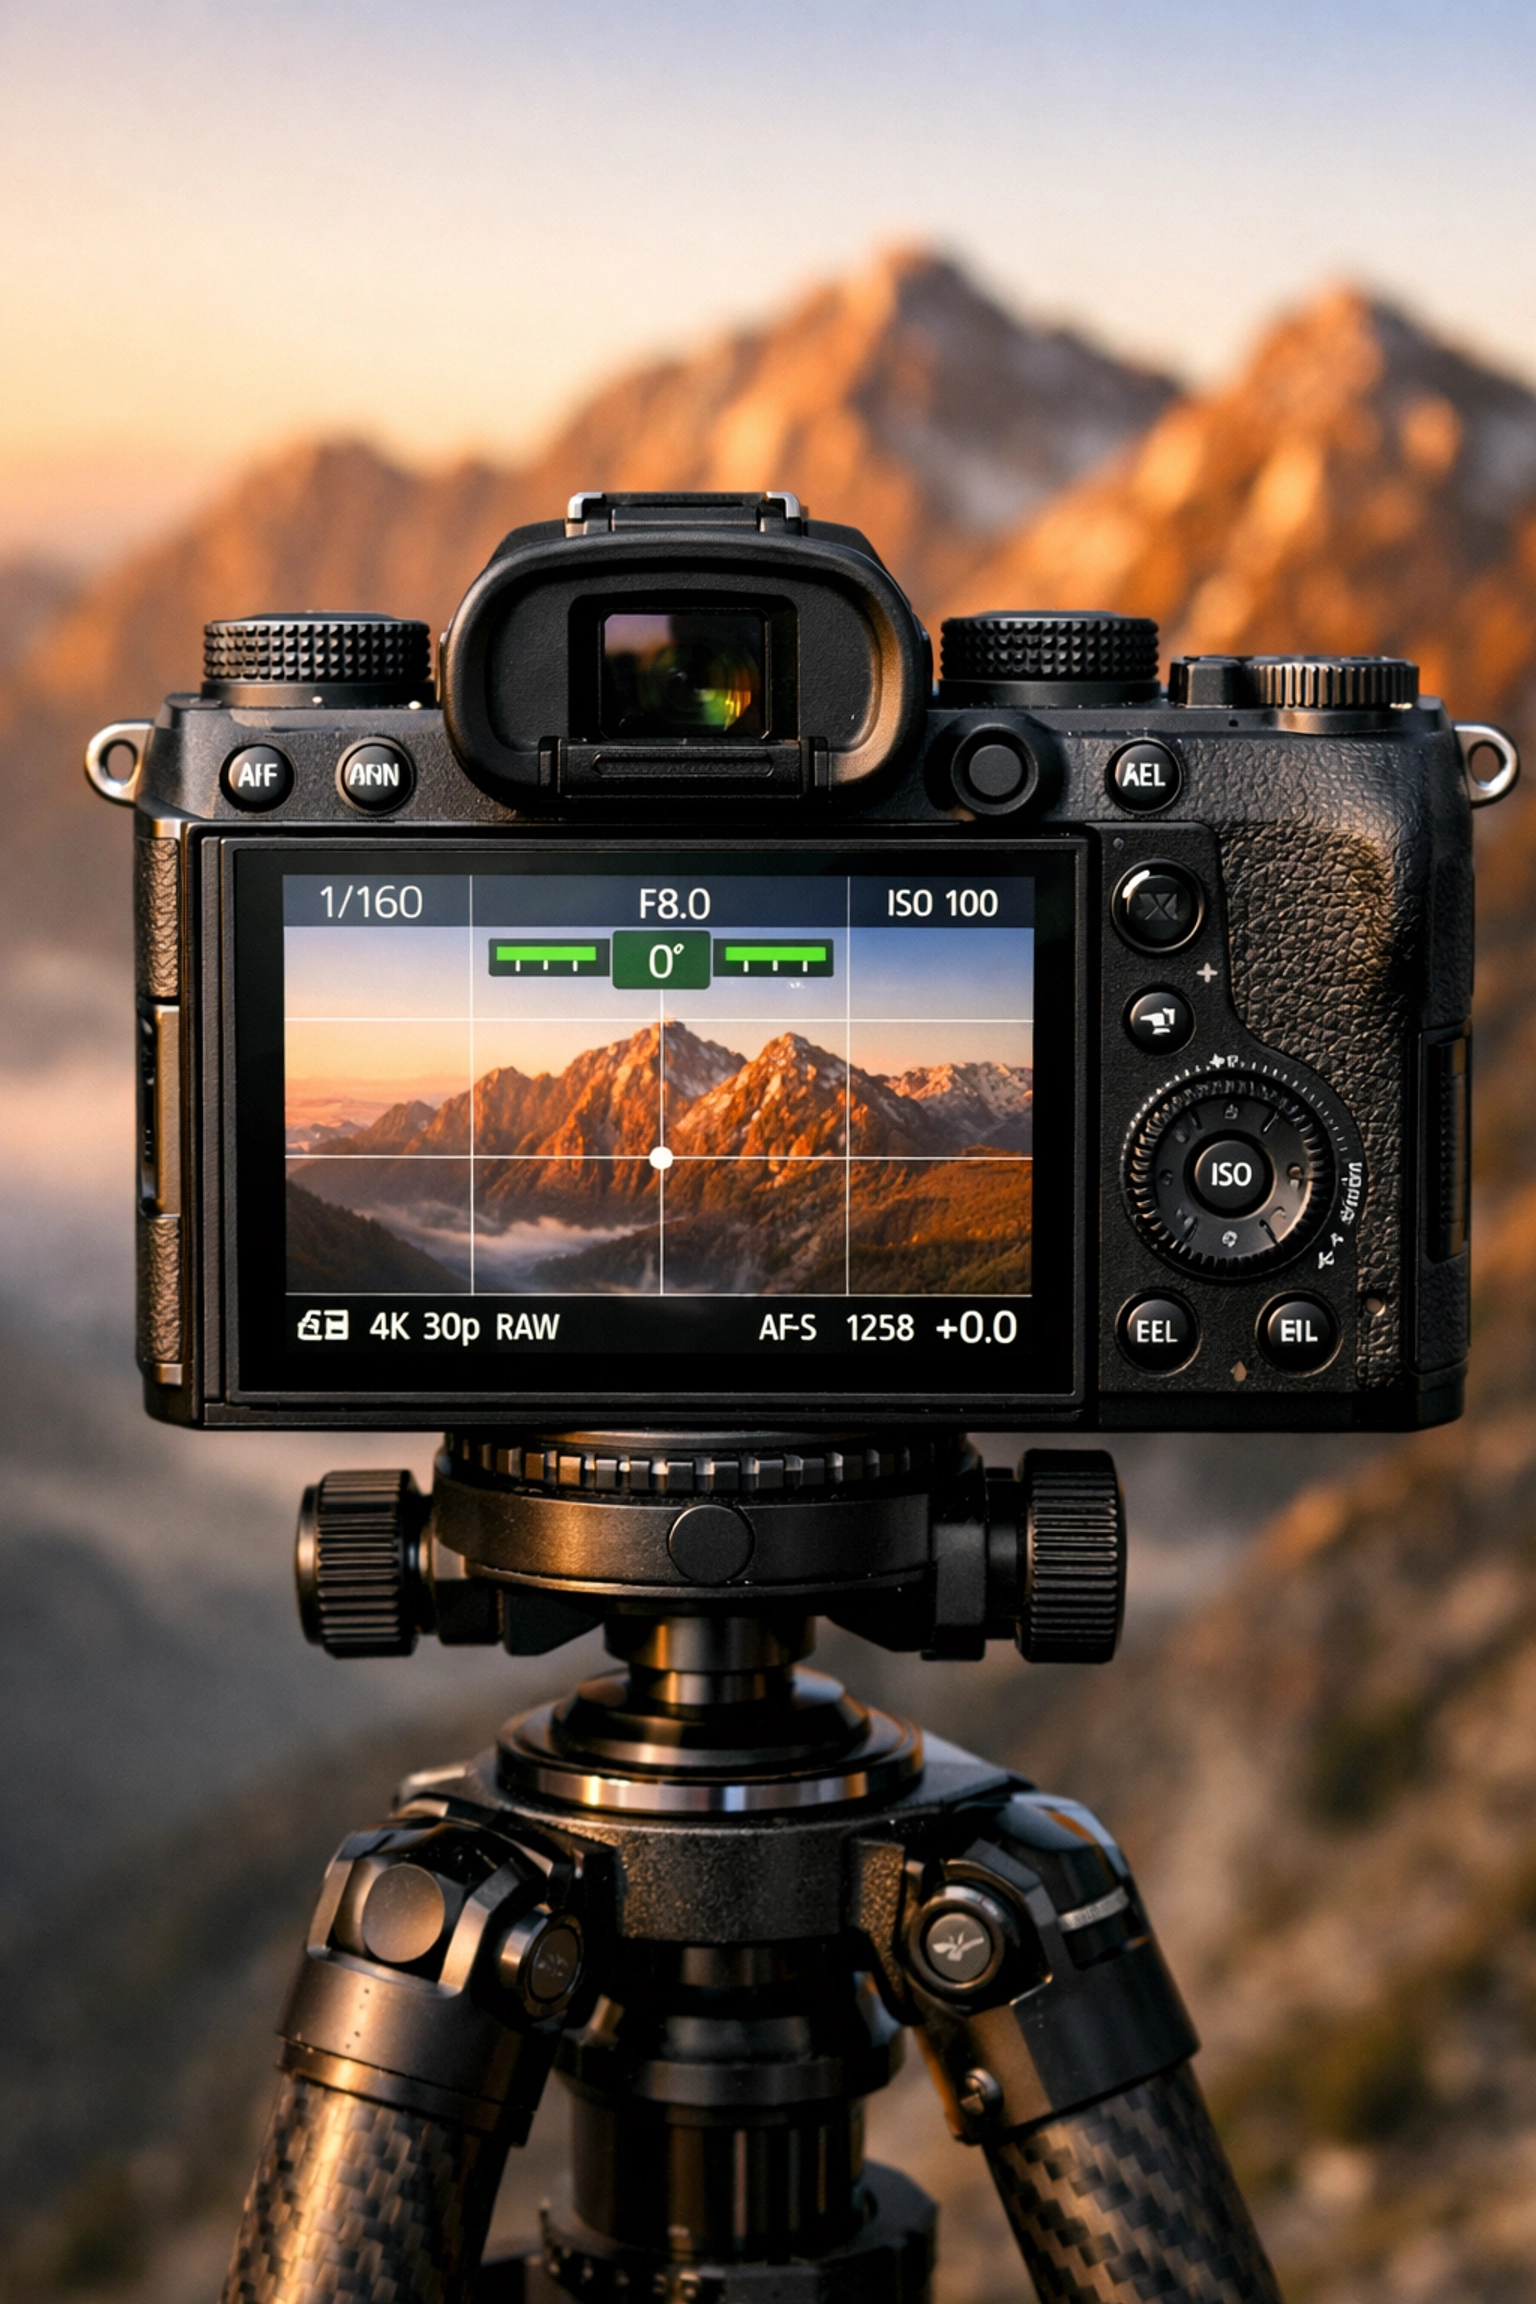
Use the grid lines in your viewfinder or on your LCD screen. Most modern cameras, especially if you’ve decided to choose the best mirrorless camera in 2026, have a built-in electronic level. Turn it on. It’s a literal lifesaver.
If you do mess up, you can fix it in post-production, but there’s a catch: when you rotate an image to straighten it, you have to crop in. This means you lose the edges of your frame. It’s always better to get it right in-camera.
2. The Wide-Angle Trap
When people start with landscape photography, they usually grab the widest lens they can find. The logic makes sense, it’s a big scene, so you need a big lens, right?
Not necessarily.
When you go too wide (like 14mm or 16mm), distant objects like massive peaks or majestic sunset photography subjects can end up looking like tiny ants. Wide-angle lenses push the background away, which can make a powerful mountain look insignificant and boring.
The Fix:
Don’t be afraid to use a telephoto lens for landscapes. Using something like a 70-200mm allows you to "compress" the scene. It brings the background closer to the foreground, making everything look grand and epic. If you’re struggling to make a subject pop, zoom in.
Check out some of the photography news matters to see what new glass is hitting the market; often, a standard prime or a short telephoto is exactly what you need to give your landscapes a professional edge.
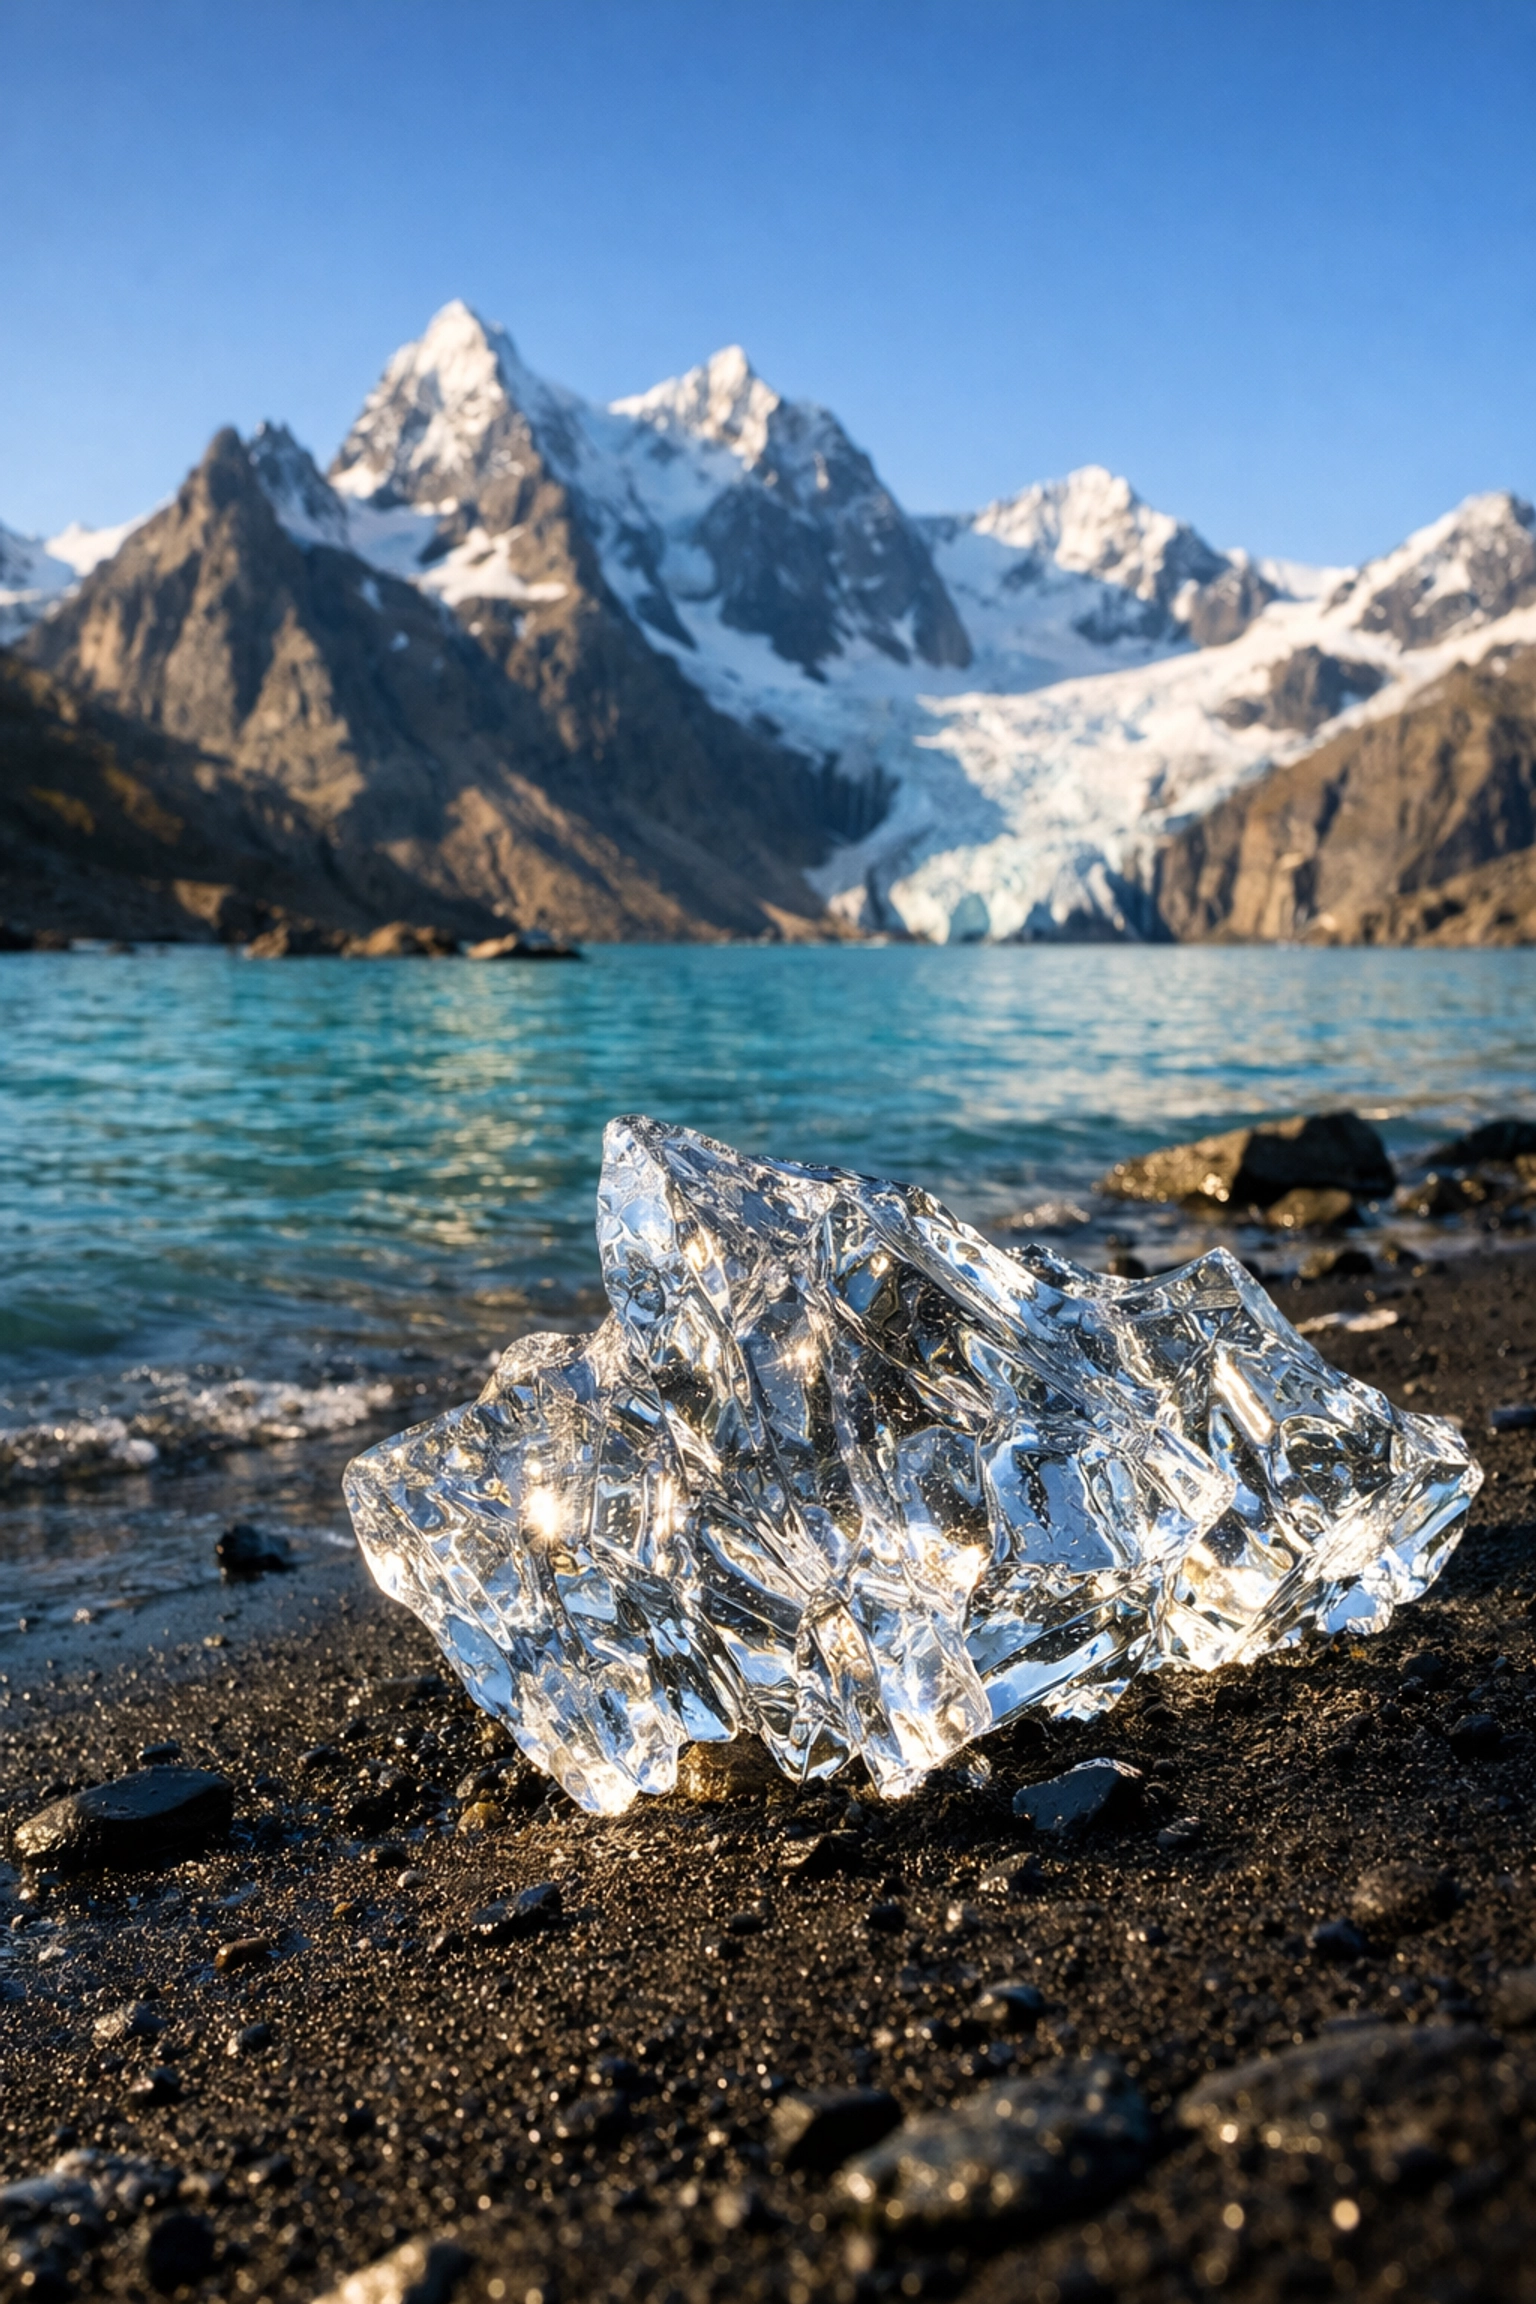
3. Forgetting the Foreground
A common mistake is focusing solely on the "big thing" in the distance, the mountain, the waterfall, or the sunset. Without a foreground element, your photo lacks a sense of depth. It feels two-dimensional. The viewer’s eye doesn't have a "path" to follow into the image.
The Fix:
Find a "hero" for your foreground. This could be a unique rock, a patch of wildflowers, or some rare textures for tangible aesthetic photography.
By placing something interesting close to the lens, you create a three-dimensional feel. Use leading lines, like a path, a river, or even a fallen log, to guide the viewer's eye from the bottom of the frame all the way to the main subject in the distance. This is the secret sauce for capturing beauty in motion when shooting streams or coastlines.
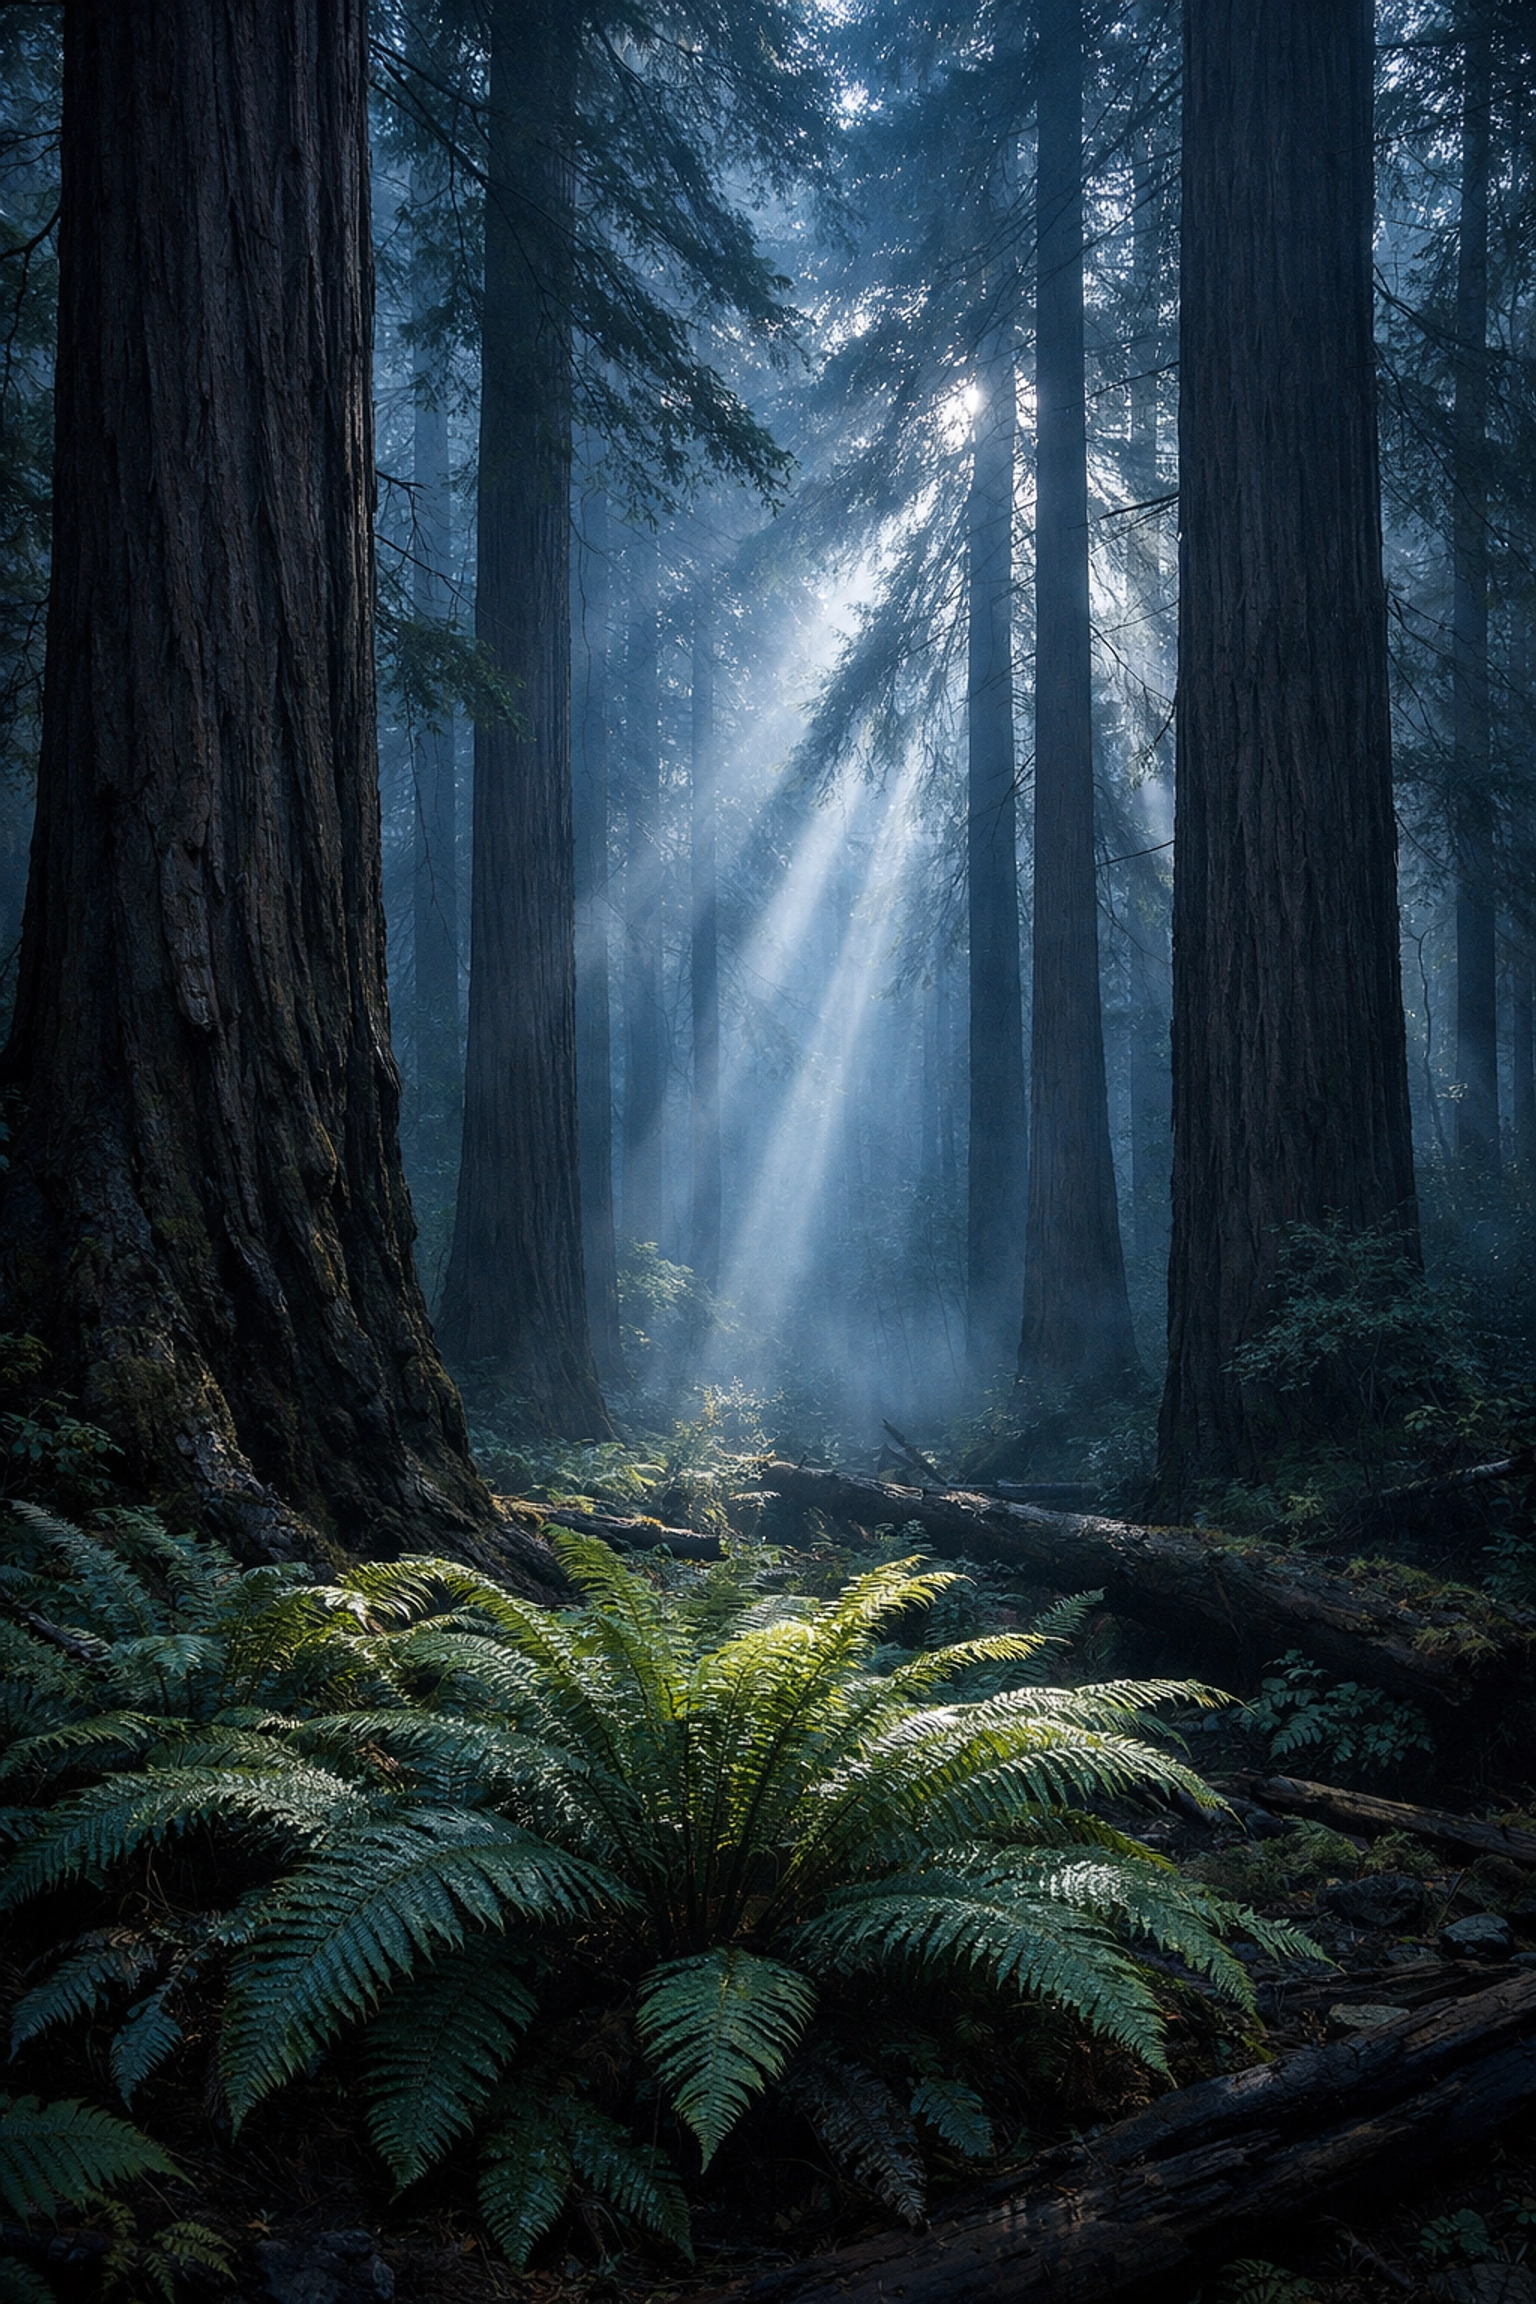
4. Shooting at the Wrong Time of Day
If you’re out taking photos at noon on a sunny day, your photos are going to look harsh. High-noon sun creates deep, black shadows and "blown-out" white highlights. The colors will look washed out, and the landscape will lose its texture.
Many beginners make the mistake of thinking a "clear blue sky" is the best weather for photography. It’s actually often the worst because it’s predictable and flat.
The Fix:
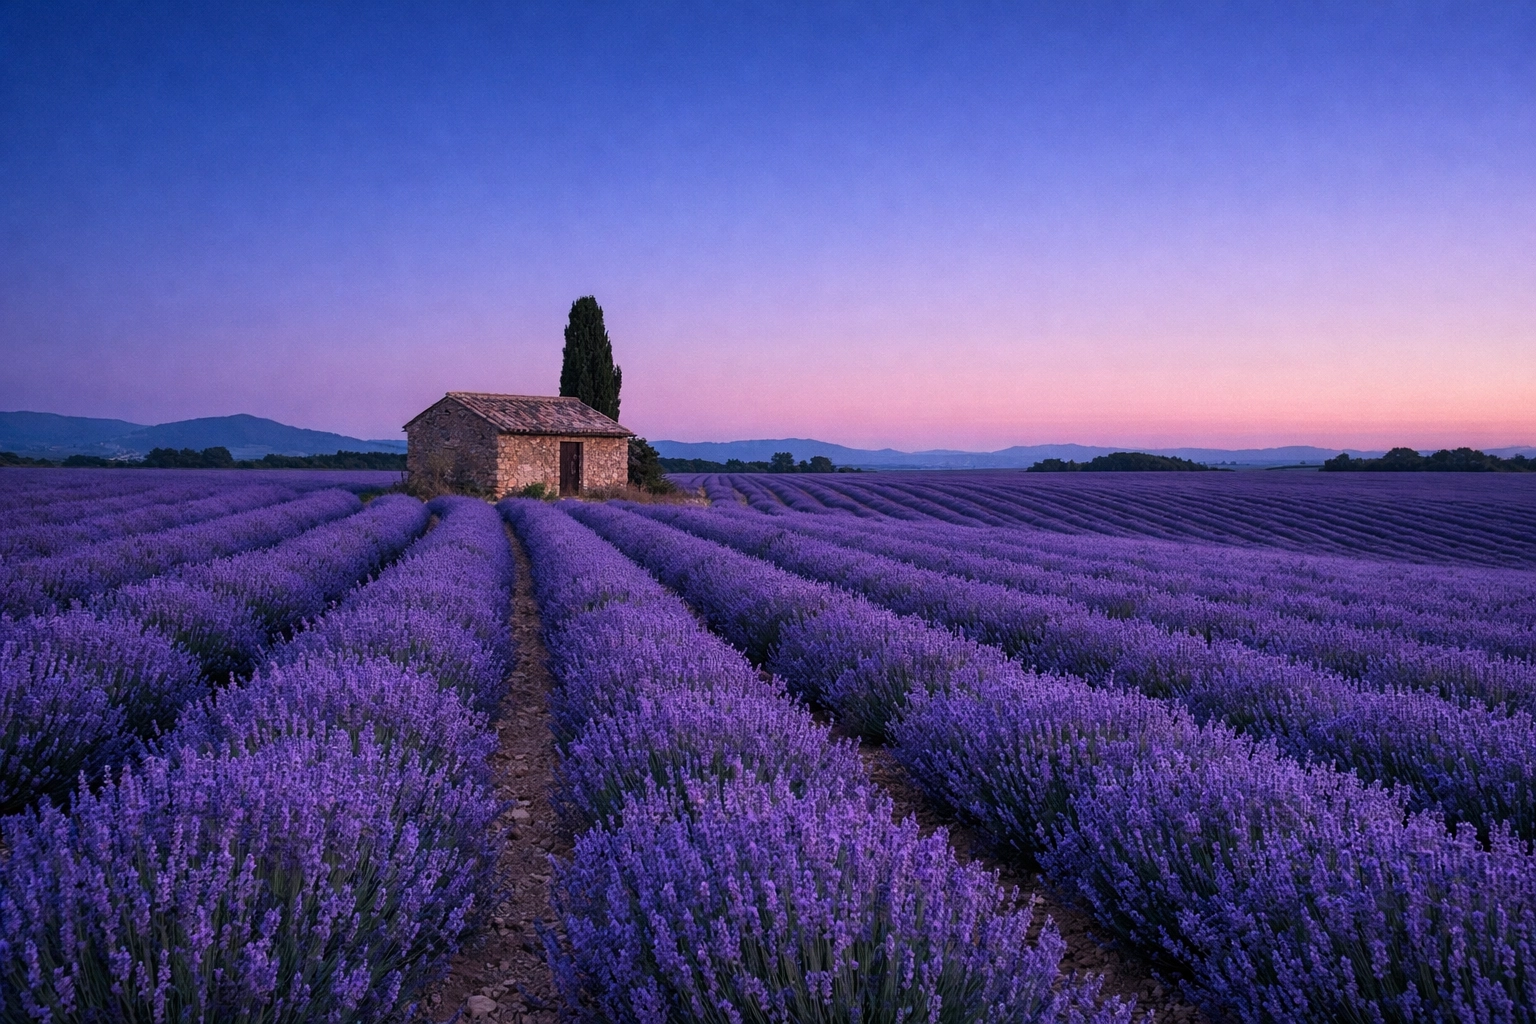
Embrace the "Golden Hour" (the hour after sunrise and the hour before sunset) and the "Blue Hour" (just before sunrise and just after sunset). The light is softer, the shadows are longer, and the colors are much more vibrant.
If you want to find ethereal landscapes for captivating shots, try shooting during "bad" weather. Storm clouds, mist, and fog add drama that a clear day simply can't provide. For more tips on finding the perfect lighting for your shots, you can visit PhotoGuides.org.
5. Trusting the Camera’s Auto White Balance
Your camera is smart, but it’s easily fooled. When you’re shooting a landscape with a lot of blue (like a snowy mountain) or a lot of green (like a deep forest), the Auto White Balance (AWB) might try to "correct" those colors. This can result in a sunset that looks cold and grey or a forest that looks unnaturally orange.
The Fix:
Take control. If you’re shooting a sunset, manually set your white balance to "Shade" or "Cloudy" to bring out the warm oranges and reds. If you’re shooting in RAW (which you should be!), you can always adjust this later.
Mastering your color temperature is a key part of any beginner's guide to mastering your workflow. When you get the white balance right, the mood of the photo changes instantly.
6. Ignoring the Histogram (Blown Highlights)
You look at the back of your camera, and the photo looks great. You get home, open it on your monitor, and realize the sky is a solid block of pure white with zero detail. This is called "clipping" your highlights. Once those pixels go pure white, there is no way to recover that data. You can't just "fix it" in post.
The Fix:
Learn to read the histogram. It’s that little graph on your screen that looks like a mountain range. If the graph is touching the far right side, you are losing highlight detail.
To fix this, use a graduated ND filter or use "Exposure Bracketing." Bracketing is when you take three photos: one at a normal exposure, one underexposed (dark), and one overexposed (bright). You can then blend them together later to get a perfect exposure across the whole scene. This is vital when visiting picturesque coastal escapes where the sun reflecting off the water can be incredibly bright.
7. Over-Processing Your Photos
We’ve all seen them: the photos on Instagram where the grass is neon green and the sky looks like a nuclear explosion. Over-processing: especially over-saturating: is the hallmark of a beginner. While it’s tempting to slide that saturation bar all the way to 100, it usually makes the photo look cheap and fake.
The Fix:
Be subtle. Use tools that allow for selective editing. Instead of pumping up the saturation of the whole image, use a program like Luminar to intelligently enhance the sky or the foliage without making the whole thing look like a cartoon.
Focus on contrast, clarity, and subtle color shifts. If you find yourself adding more than 10-15 points of saturation, you’re probably overdoing it. Check out proshoot.io for professional examples of how to keep your edits looking natural yet impactful.
Bonus Tip: Stability is Everything
You can have the best camera in the world, but if it shakes while the shutter is open, your photo will be blurry. Even the tiny vibration from you pressing the shutter button can cause "camera shake."
The Fix:
Use a sturdy tripod. Don’t buy the $20 plastic one from a big-box store: it’ll wobble in the wind. Invest in something solid. Also, use a remote shutter release or your camera’s built-in 2-second timer. This ensures that the camera is completely still when the photo is taken, resulting in tack-sharp images of those lesser-known vistas.
Slow Down and Enjoy the View
Landscape photography is as much about the experience as it is about the final image. One of the biggest mistakes isn't technical: it's rushing. We often run to a spot, snap a few photos, and leave.
Next time you’re out, put the camera down for five minutes. Look around. Notice where the light is hitting. Look for hidden gem locations that aren't the obvious "postcard" shot.
When you slow down, you start to notice the small details that make a photo special. You’ll see the secluded paradises that others walk right past. For more inspiration on where to go next, look through Edin Chavez's personal work at blog.edinchavez.com or explore fine art prints at www.edinfineart.com.

Landscape photography is a journey of constant learning. You're going to make mistakes: we still do. But by keeping an eye on your horizons, choosing the right lens for the job, and being careful with your editing in Luminar, you’ll be well on your way to capturing the world exactly how you see it.
Go out, get your boots muddy, and shut your aperture. The perfect shot is waiting for you. For more gear insights and studio tips, you can always check out www.edinstudios.com.


