
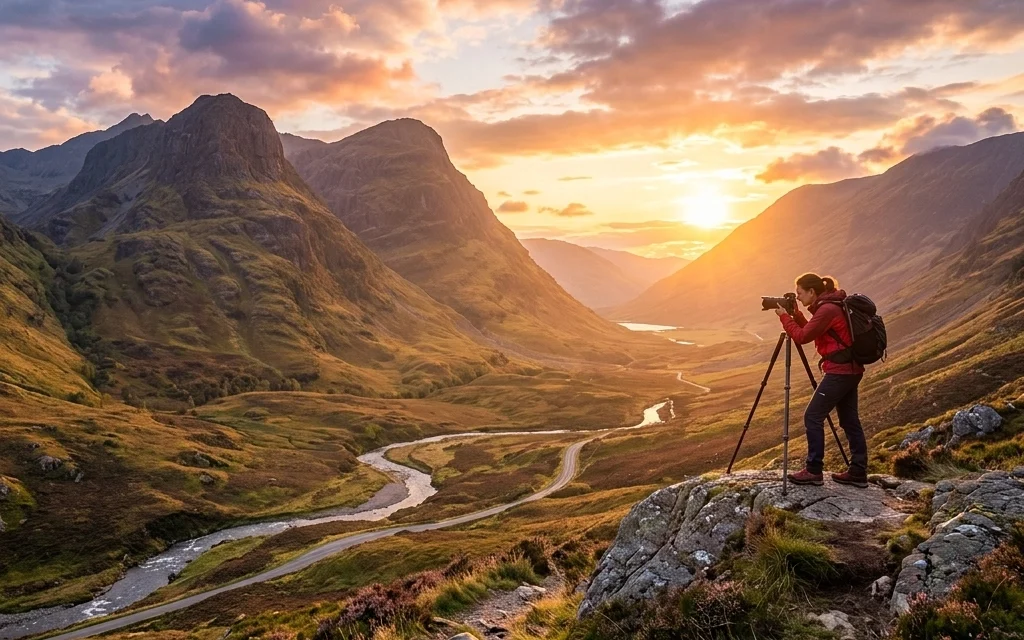
Landscape photography is a lot like dating. You spend a lot of time preparing, you hope the weather is nice, and sometimes you end up standing in the rain alone with nothing but a wet sandwich. But when that magic moment happens, when the sun hits the horizon and the world turns gold, it’s all worth it.
If you’ve ever looked at a breathtaking mountain range, snapped a photo, and then felt disappointed because the result looked like a flat, grey pile of dirt, you aren’t alone. Capturing the grandeur of the great outdoors is harder than it looks. It requires more than just a fancy camera; it requires a mix of technical skill, artistic vision, and a whole lot of patience.
In this ultimate guide, we’re going to break down everything you need to know to level up your landscape game. From the gear you actually need to the advanced techniques that pros like Peter Lik use to create world-class art. We’ve even coordinated with Sonny, our Social Media Manager, to ensure these tips align with the latest trends he’s seeing on the feeds, so you can post shots that actually get noticed.
1. The Gear: Do You Really Need a New Camera?
Let’s be real: we all love new gear. But before you drop five figures on a medium-format setup, let's talk about what actually matters.
Mirrorless vs. DSLR
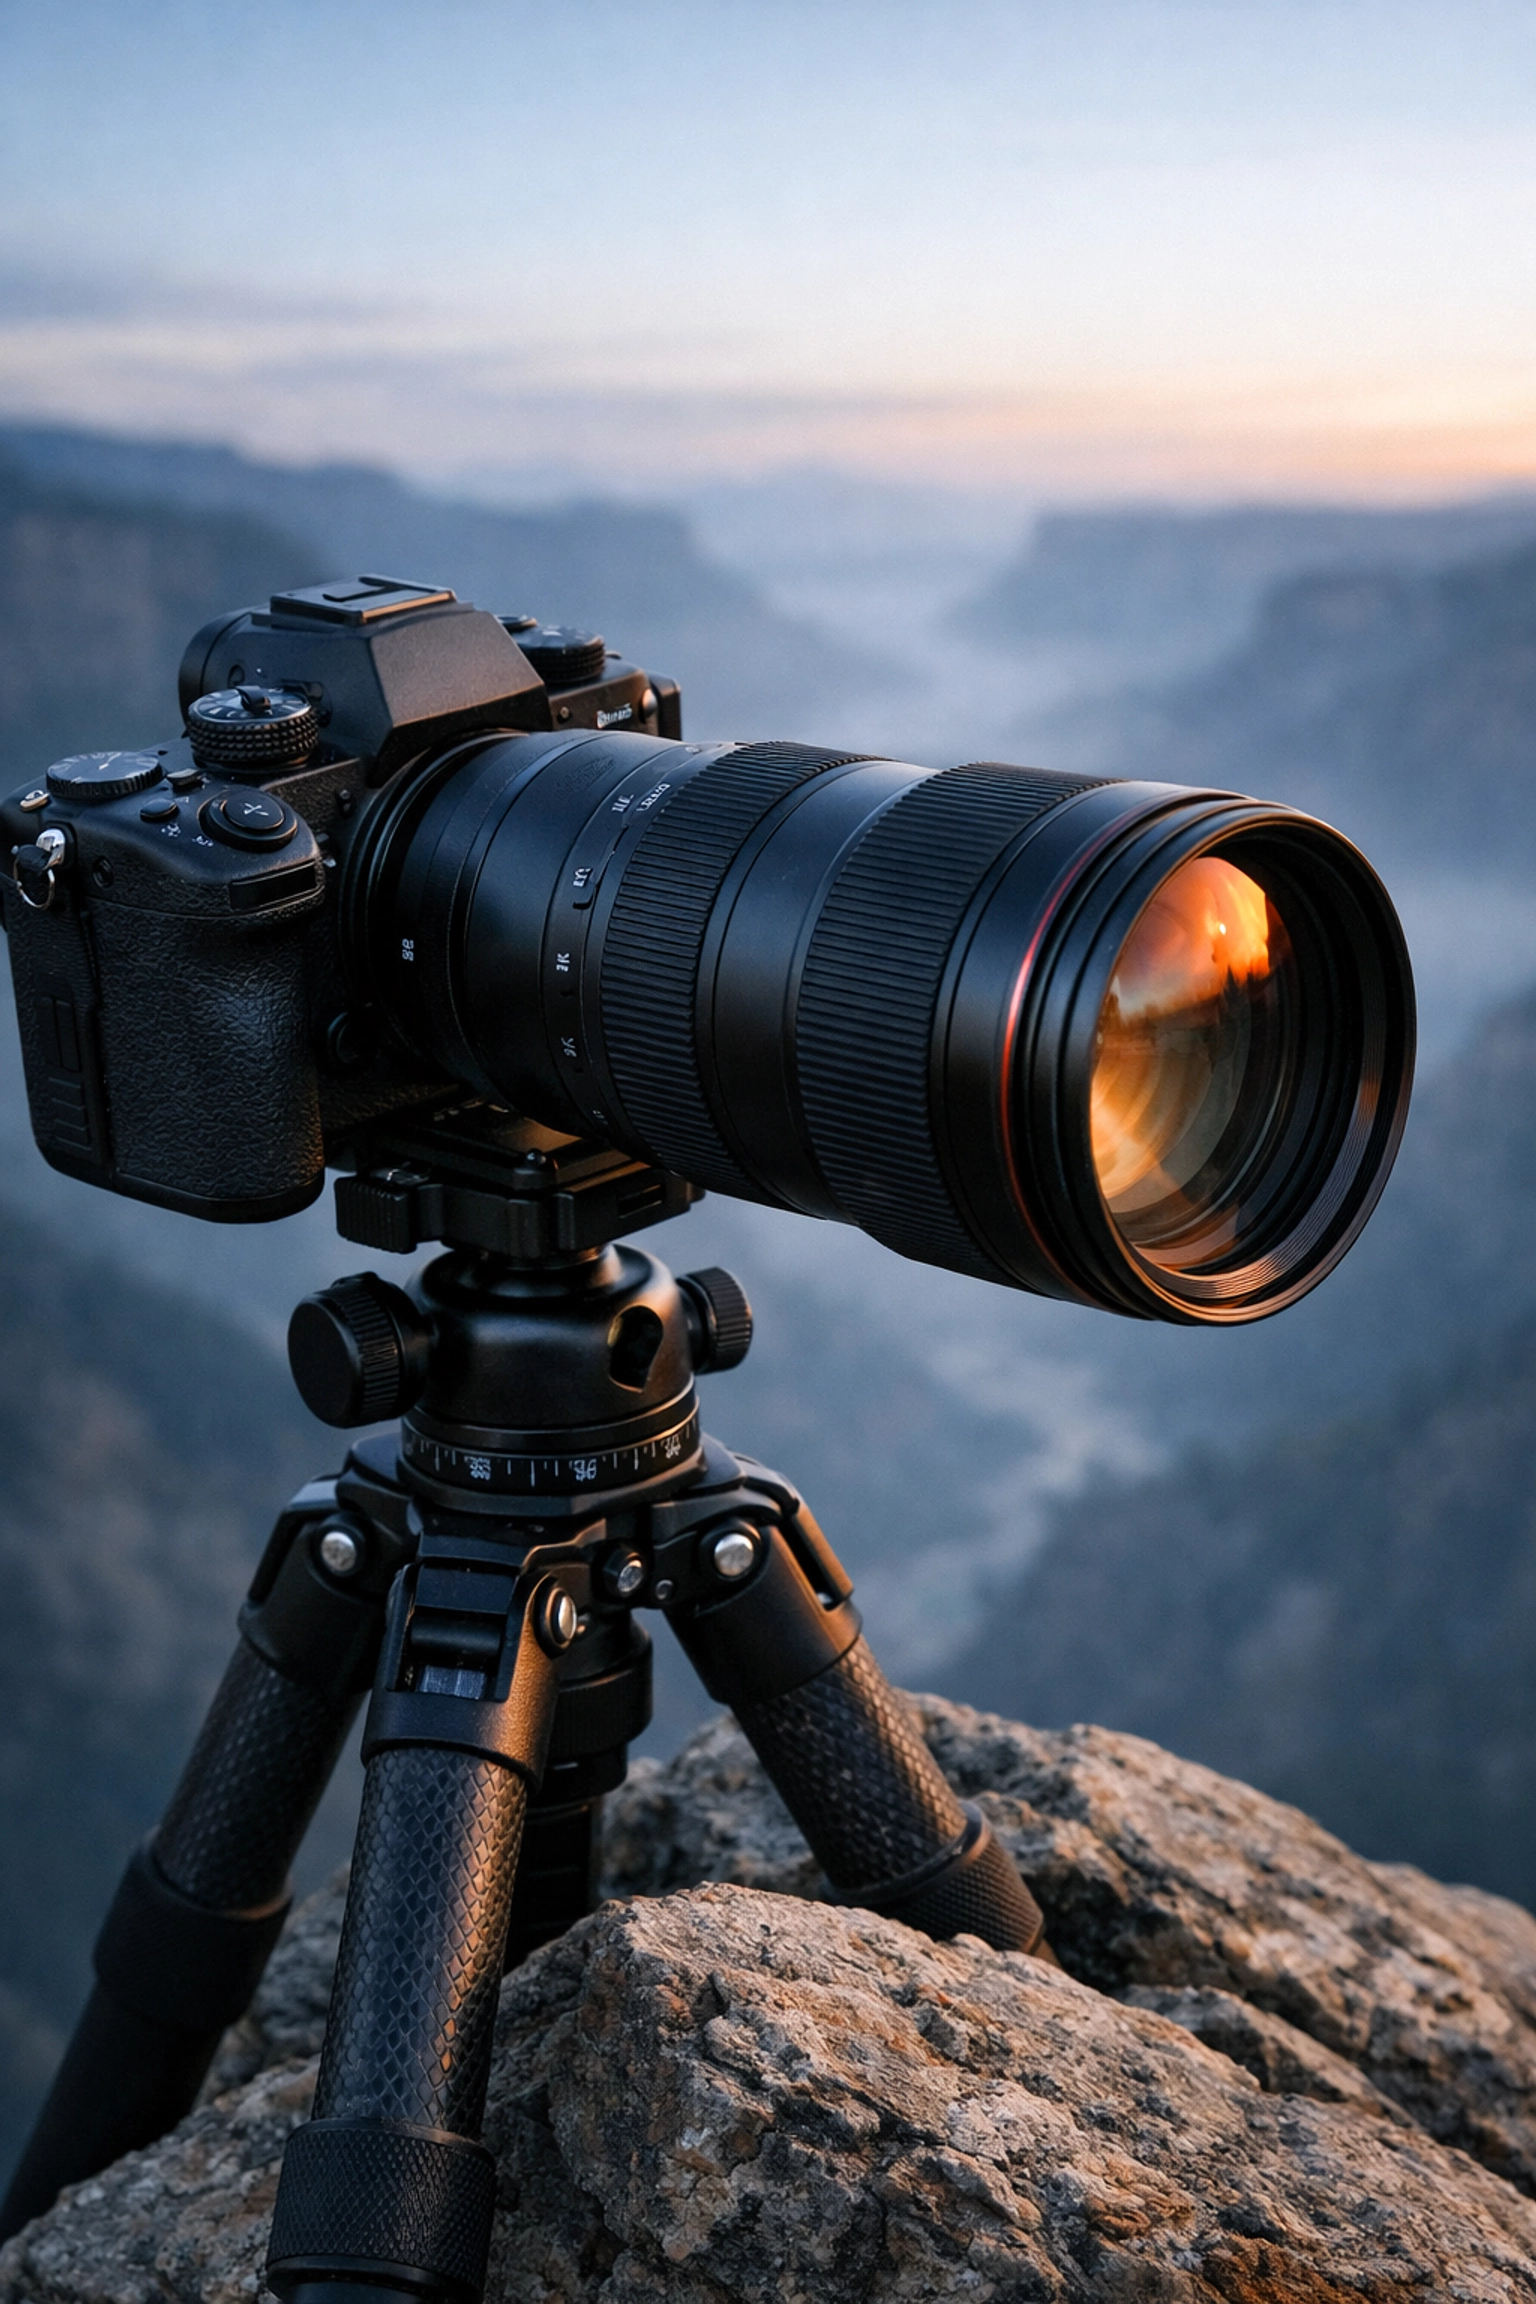
In 2026, the debate is pretty much over. While DSLRs are still capable, mirrorless cameras have taken over for a reason. They are lighter, have better autofocus, and the electronic viewfinders allow you to see exactly what your exposure looks like before you click the shutter. If you're wondering why everyone is talking about mirrorless cameras in 2026, it’s because they’ve made the technical side of photography so much more intuitive.
The Sturdy Tripod
If there is one piece of gear you shouldn't cheap out on, it’s your tripod. You can have a $10,000 camera, but if it’s sitting on a $20 plastic tripod that shakes every time a squirrel sneezes, your photos will be blurry. Landscape photography often involves long exposures, and stability is non-negotiable. Look for carbon fiber if you plan on hiking long distances, or aluminum if you want to save a few bucks but don't mind the extra weight.
Lenses: Wide vs. Telephoto
Most beginners think landscape photography is only about wide-angle lenses. While a 16mm lens is great for capturing a massive vista, don't sleep on your telephoto lens. Compressing a mountain range with a 200mm lens can create a sense of scale and drama that a wide-angle lens simply can’t match. For more on picking the right glass, check out how to choose the best mirrorless camera and lenses in 2026.
2. Technical Fundamentals: Mastering the Settings
You can’t capture a masterpiece on "Auto" mode. Well, you can, but it’s like winning the lottery: it happens, but don't count on it. To truly succeed, you need to understand the exposure triangle.
Shoot in RAW (Always)
If you are still shooting in JPEG, we need to have an intervention. RAW files contain all the data captured by your sensor. This gives you the flexibility to recover highlights and shadows in post-processing. If you want to learn more about the technical side of things, our guide on photography for beginners and manual mode is a great place to start.
The ISO Secret
Keep it low. In landscape photography, you almost always want to be at ISO 100. This ensures the cleanest possible image with the least amount of noise. Since you're (hopefully) using a tripod, you don't need to worry about a slow shutter speed.
Finding the Sweet Spot (Aperture)
Most lenses have a "sweet spot" where they are sharpest, usually between f/8 and f/11. Shooting at f/22 might seem like a good idea to get everything in focus, but it actually causes "diffraction," which makes the whole image slightly softer. If you need everything from a flower three inches away to a mountain three miles away in focus, you’ll want to look into Focus Stacking (which we’ll get to in a bit).
3. Composition: How to Tell a Story
Composition is what separates a snapshot from a photograph. It’s about leading the viewer's eye through the frame.
The Rule of Thirds
It’s a classic for a reason. Imagine your frame is divided into a 3×3 grid. Placing your horizon line on one of the horizontal lines, or your main subject on one of the vertical intersections, immediately makes the photo more balanced and engaging.
Leading Lines
Use the natural lines of the environment: rivers, paths, fallen trees, or even the shadows of clouds: to point toward your main subject. This creates a sense of depth and movement. If you’re interested in how professionals manipulate these elements, take a look at these vistas and perspectives in photography.
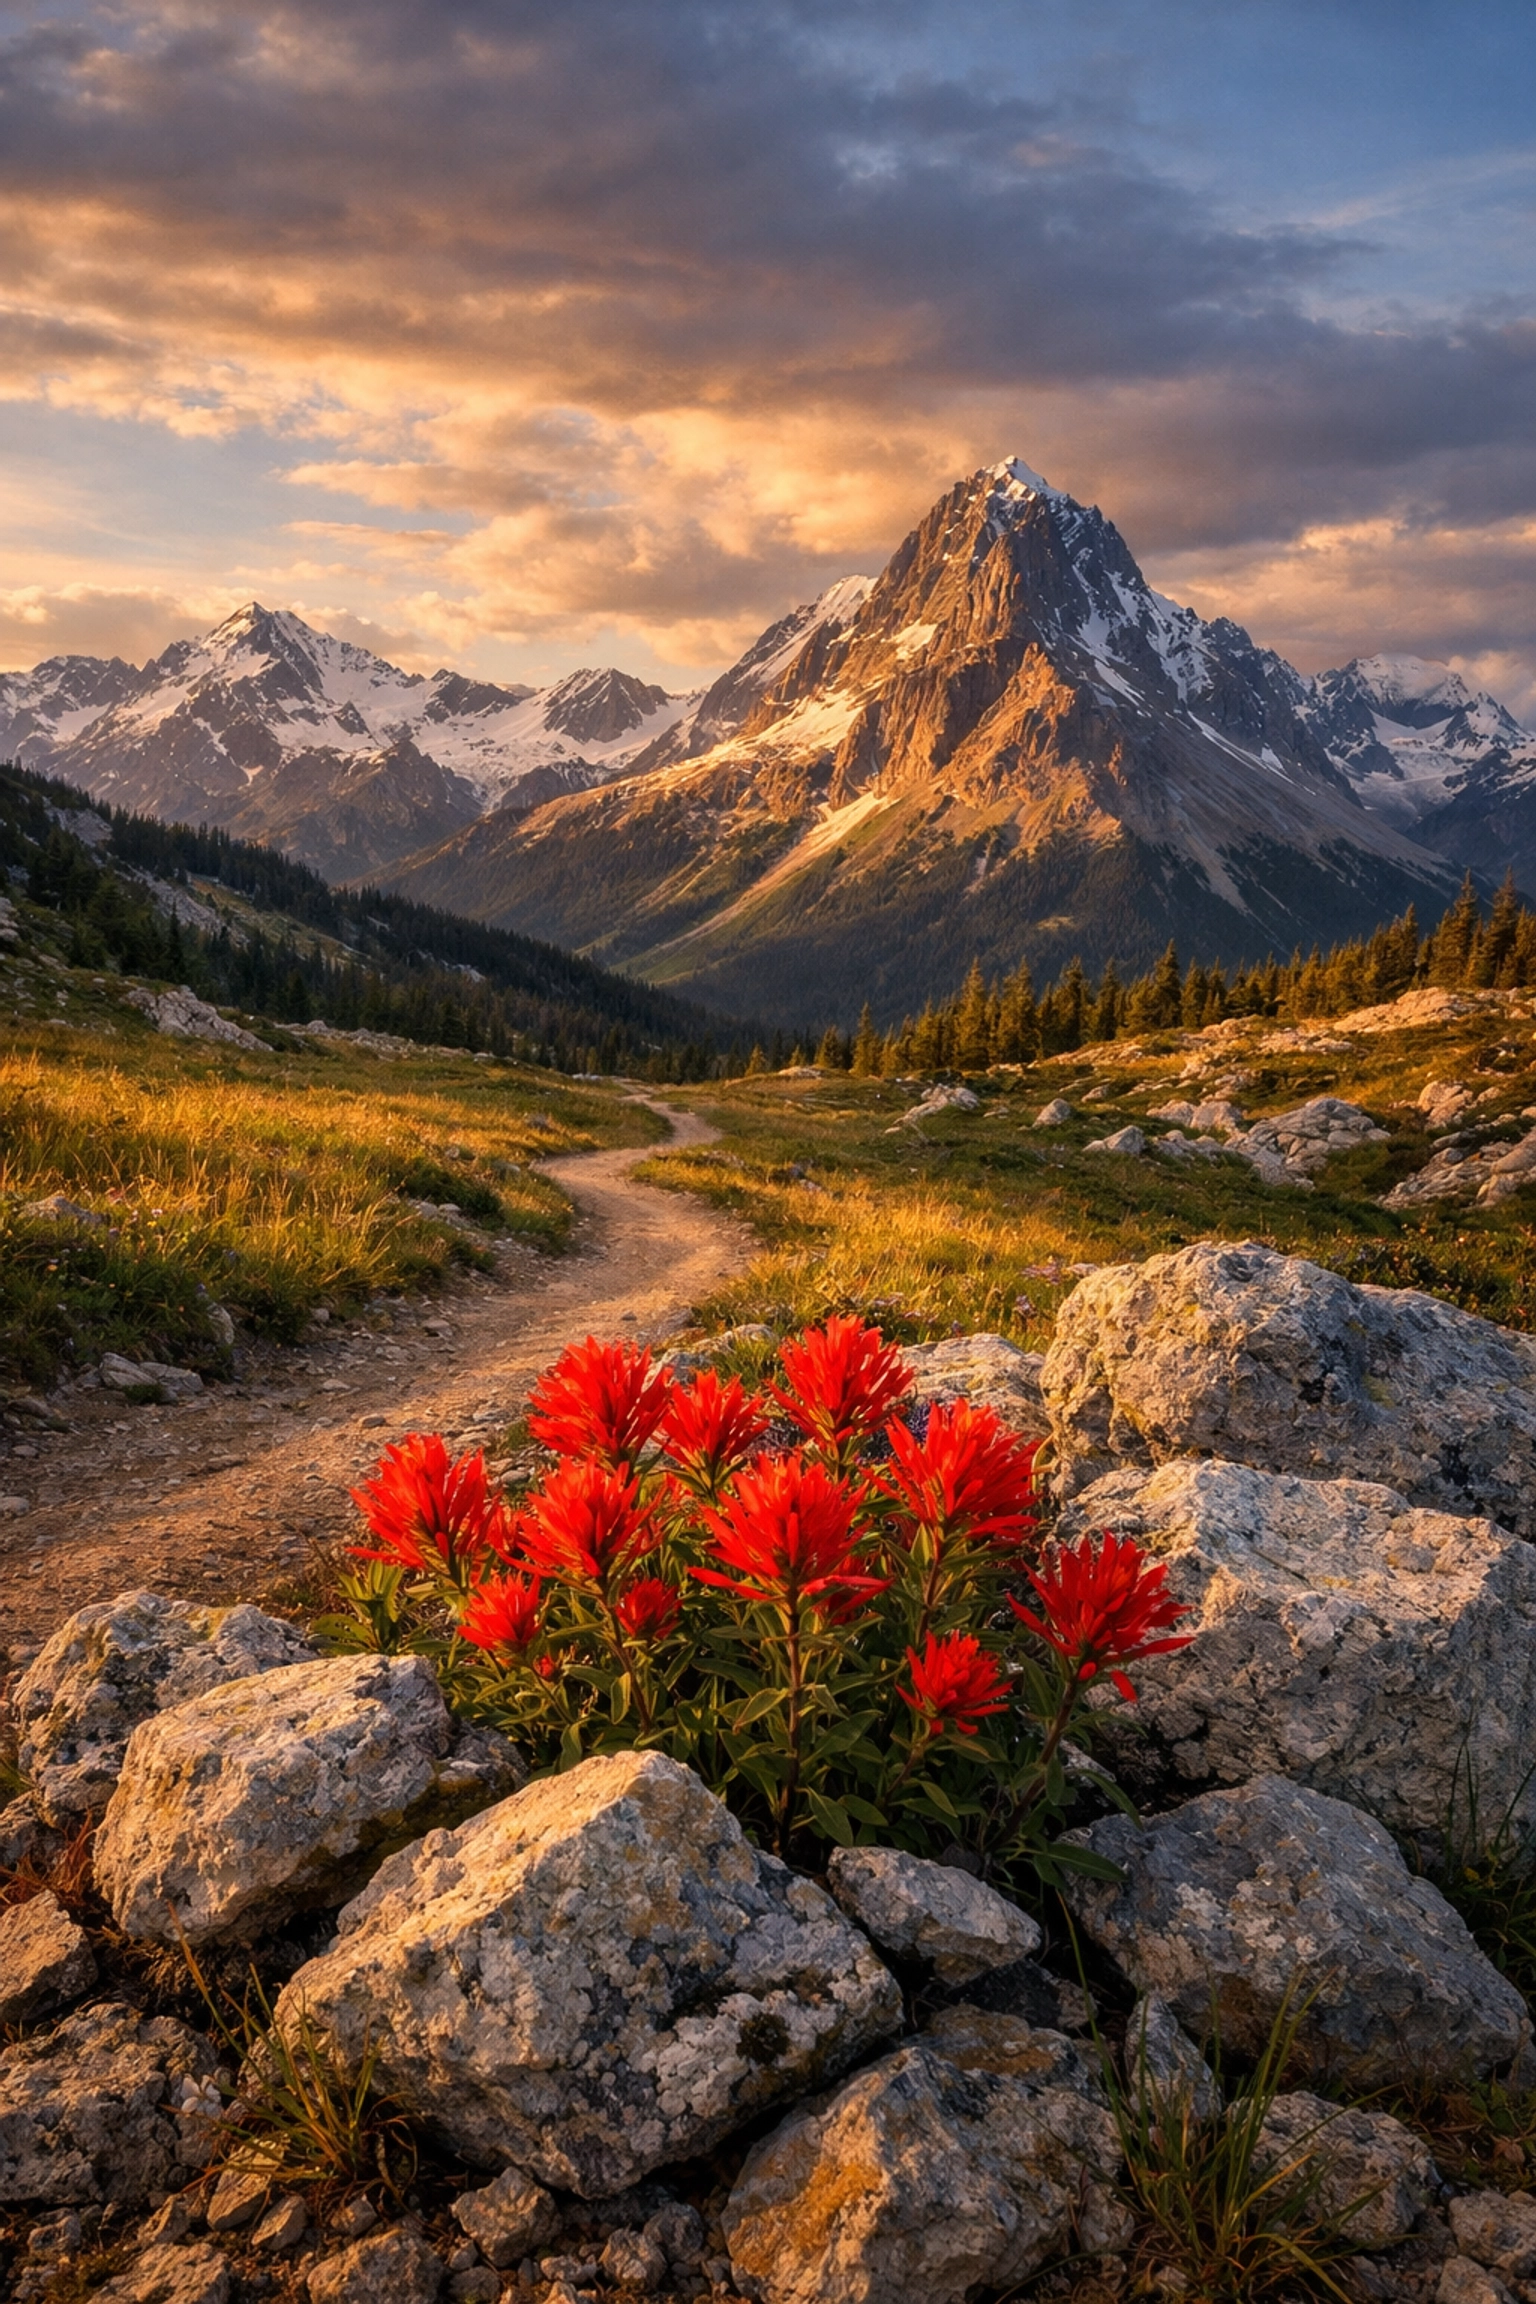
Foreground Interest
This is the most common mistake beginners make: they find a beautiful view and just shoot the horizon. Without something in the foreground: a rock, a patch of flowers, or some interesting ice: the viewer has no "entry point" into the image. A strong foreground adds a 3D feel to a 2D medium.
4. The Magic of Light
You can have the best composition in the world, but if the light is bad, the photo is garbage.
The Golden Hour
This is the hour after sunrise and the hour before sunset. The light is soft, warm, and creates long, beautiful shadows that emphasize the texture of the land. This is the bread and butter of landscape photography.
The Blue Hour
Don't pack up as soon as the sun goes down! The "Blue Hour" occurs just before sunrise and just after sunset. The sky turns a deep, moody blue, and the city lights (if there are any) begin to twinkle. It’s an ethereal time that offers a completely different vibe.
Chasing "Bad" Weather
Some of the best landscape photos ever taken were shot in "terrible" weather. Storm clouds, fog, and mist add drama and atmosphere that a clear blue sky just can't provide. As the pros say, "If the weather is boring, the photo is boring." For inspiration on how atmosphere changes an image, check out our piece on ethereal imagery.
5. Advanced Techniques for the Pros
Once you’ve mastered the basics, it’s time to try the stuff that makes people go "How did they do that?"
Exposure Bracketing (HDR Done Right)
Sometimes the sky is too bright and the foreground is too dark for your camera to handle in one shot. Bracketing involves taking three or more shots at different exposures and blending them later. This ensures you have detail in the brightest clouds and the darkest shadows.
Focus Stacking
To get tack-sharp focus from front to back, take multiple shots while moving your focus point from the foreground to the background. You can then merge these in software to create a "super-sharp" image. This is one of the techniques behind Peter Lik’s landscape photography that makes his prints look so immersive.
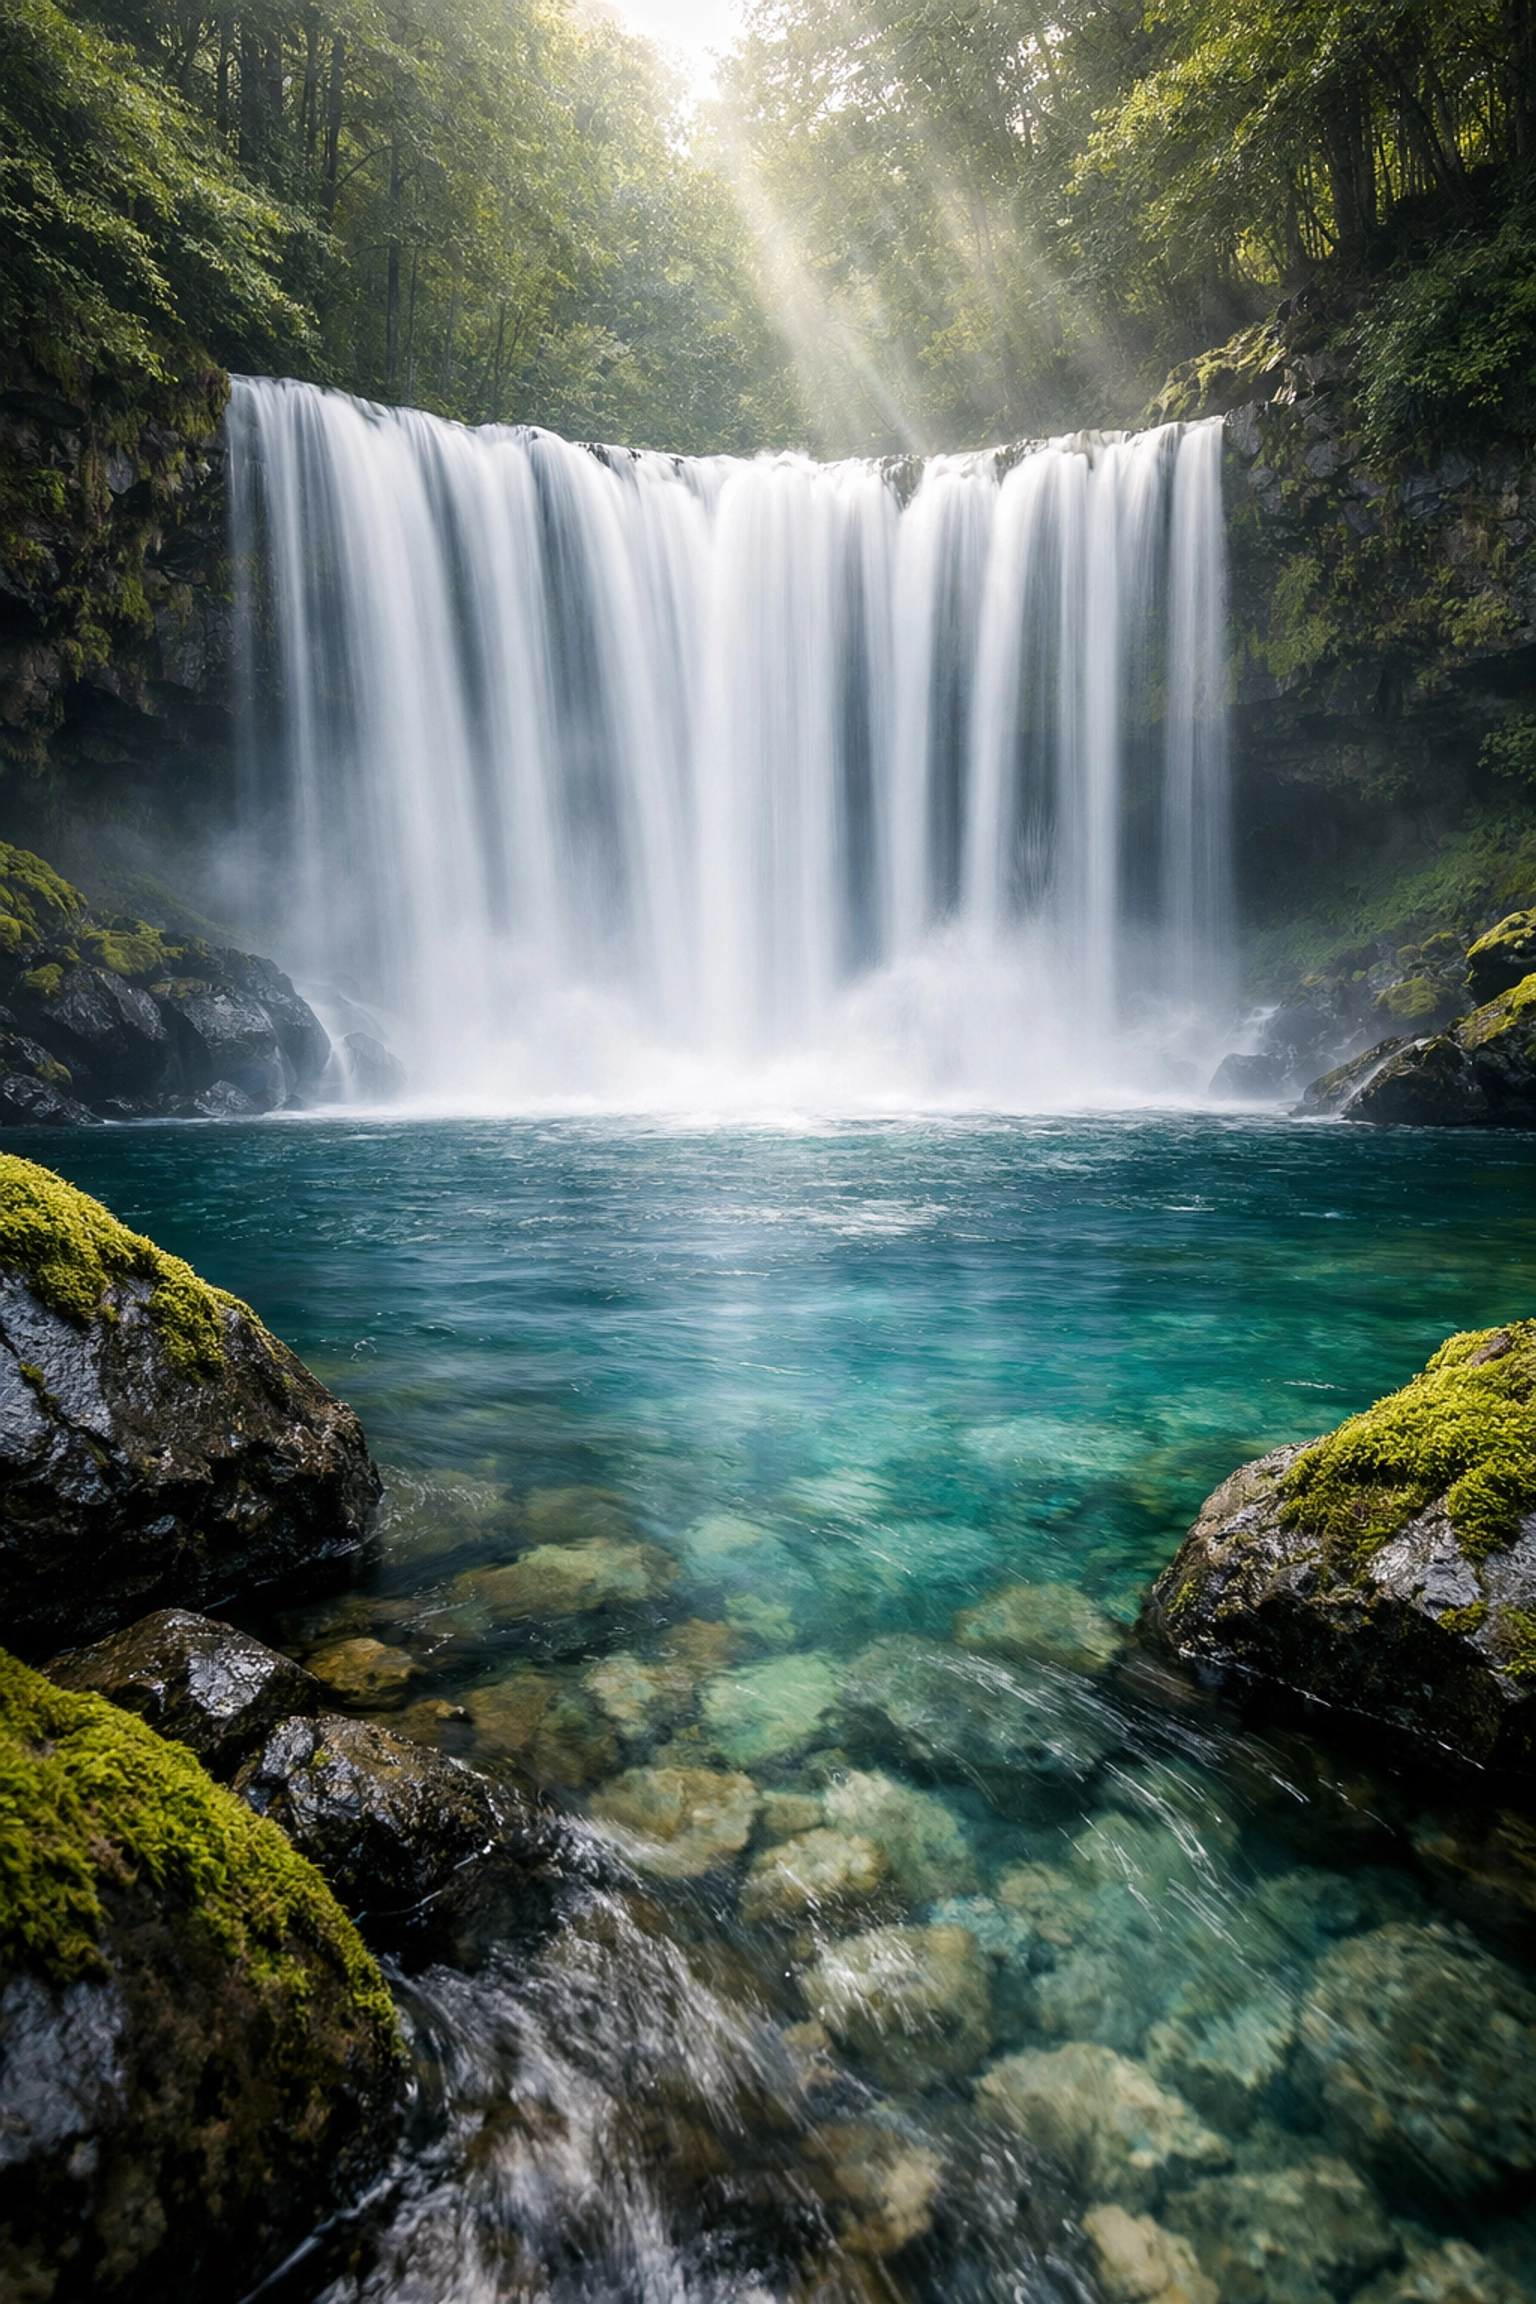
Long Exposures
By using an ND (Neutral Density) filter, basically sunglasses for your lens: you can use shutter speeds of several seconds or even minutes during the day. This turns crashing waves into a silky mist and moving clouds into soft streaks of color.
6. Post-Processing: The Digital Darkroom
Taking the photo is only half the battle. Post-processing is where you add your personal style and bring the RAW file to life.
Don't Overdo It
The biggest mistake in editing is cranking the saturation to 100. It looks fake and hurts the eyes. Instead, focus on "luminosity": the play of light and shadow. We actually have a great deep dive into the role of luminosity that applies perfectly to landscapes.
Software Choices
While Adobe Lightroom is the industry standard, many pros are moving toward AI-driven tools to speed up their workflow. We highly recommend checking out Luminar for its incredible sky replacement and AI-enhanced detail tools. It’s a game-changer for landscape photographers who want to spend more time shooting and less time masking clouds by hand.
For a full breakdown of how to handle your files, read our Photo Editing Tutorials 101.
7. The Mindset of a Landscape Photographer
Landscape photography is a slow sport. You have to be okay with waking up at 3:00 AM, hiking in the dark, and potentially getting nothing because the clouds didn't cooperate.
Be Flexible
You might go out intending to shoot a wide mountain vista, but find that the light is hitting a small patch of forest in a way that looks magical. Don't be so focused on your original plan that you miss the shot right in front of you.
Research and Scouting
Use apps like Google Earth or PhotoPills to plan your shots. Knowing exactly where the sun will rise or where the Milky Way will be can save you hours of wandering around aimlessly. You can also find great location tips over at PhotoGuides.org.
Look for Inspiration
Don't just look at other landscape photos. Look at paintings, movies, and even architecture. Notice how light interacts with shapes. If you want to see how landscape photography has evolved into a high-end art form, check out Peter Lik's impact on photography trends.

Summary Checklist for Your Next Shoot
Before you head out into the wild, run through this quick checklist to make sure you're prepared:
- Batteries charged? (Cold weather drains them faster!)
- Memory cards cleared?
- Tripod plate attached to the camera? (The worst feeling is getting to the spot and realizing it’s still on your desk).
- Lenses cleaned? A small smudge on a wide-angle lens can ruin a whole set of photos.
- Checked the weather? Remember, "bad" weather is often good weather for photos.
- Shoot in RAW? Verify your settings before the first click.
Landscape photography is a journey. It’s about connecting with nature and capturing a moment in time that will never happen exactly the same way again. Whether you’re shooting the local park or the fjords of Norway, the goal is the same: tell a story.
If you’re looking for more tips on gear, industry trends, or even how to branch out into other niches, stay tuned to our photography news for the latest updates. You can also see some of Edin’s fine art work at edinfineart.com or check out commercial tips at proshoot.io.
Now, quit reading and go outside. The light is getting good.


