
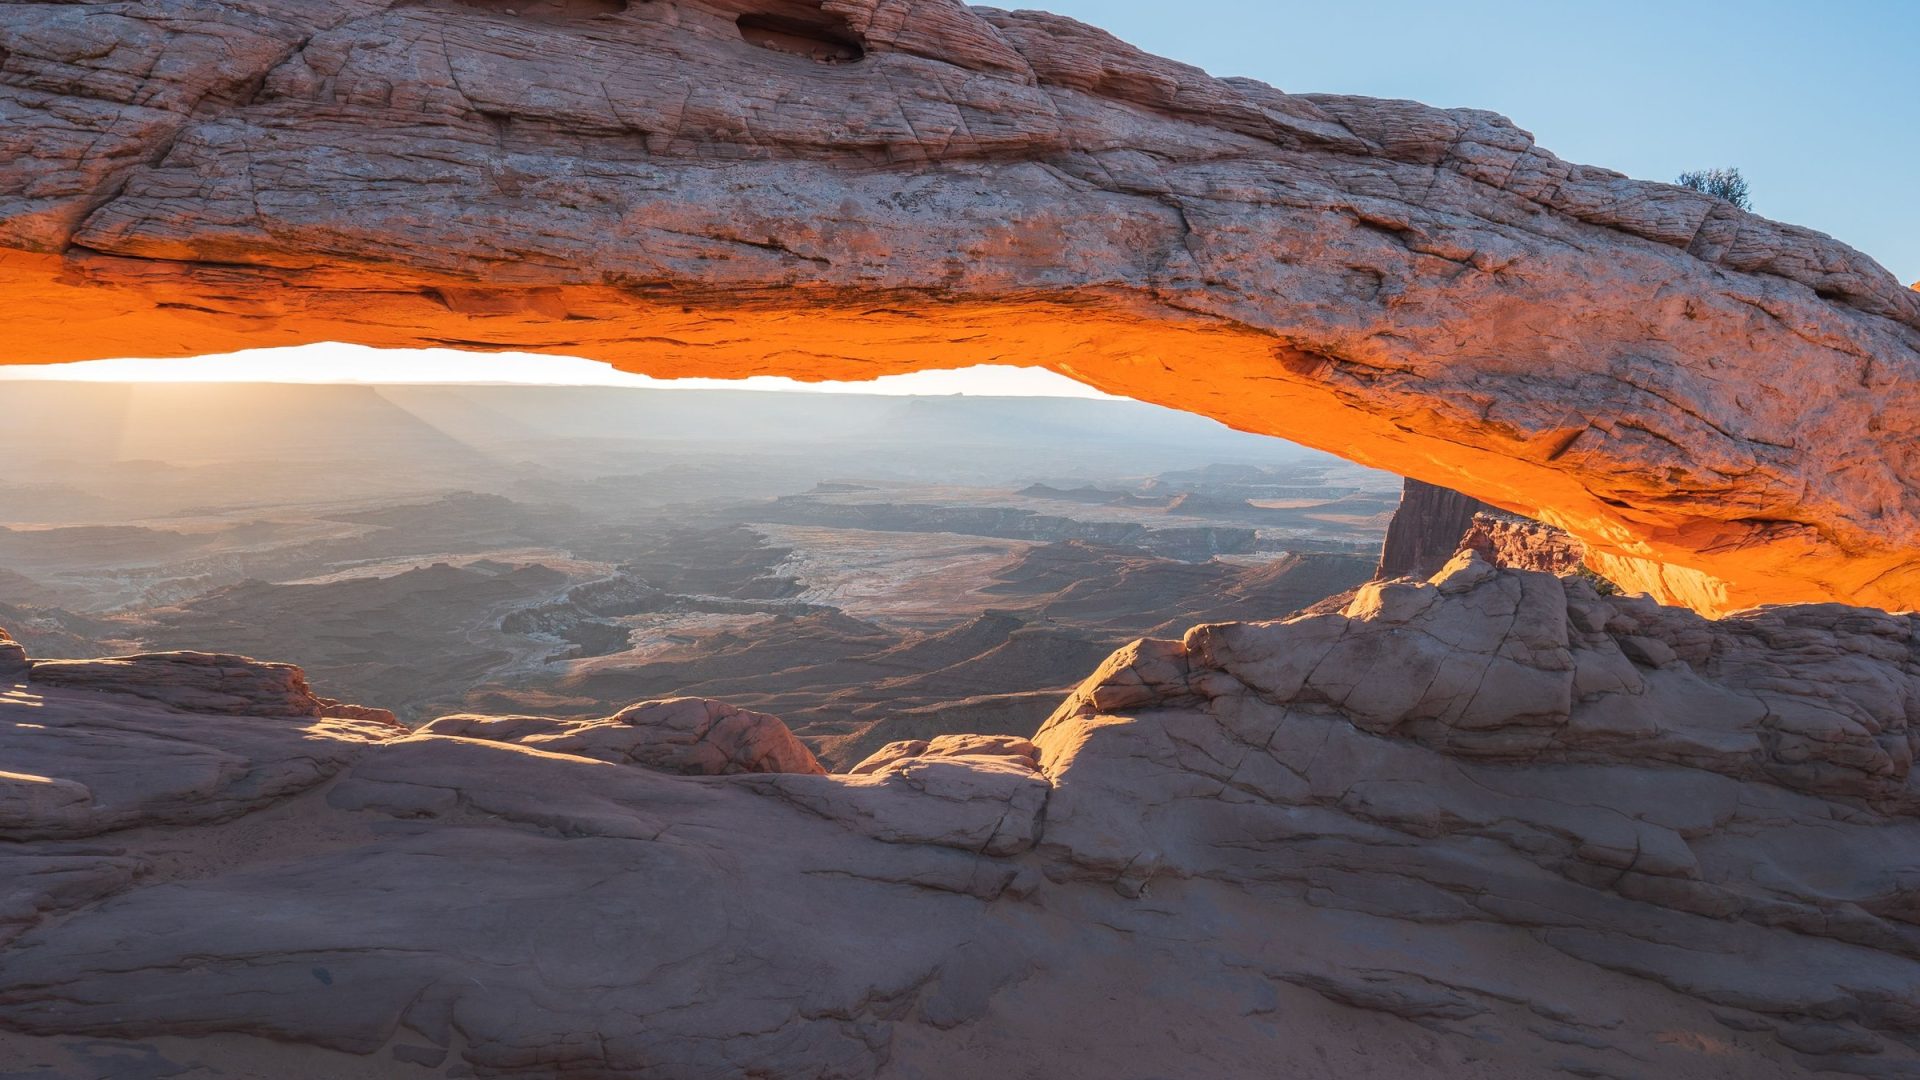
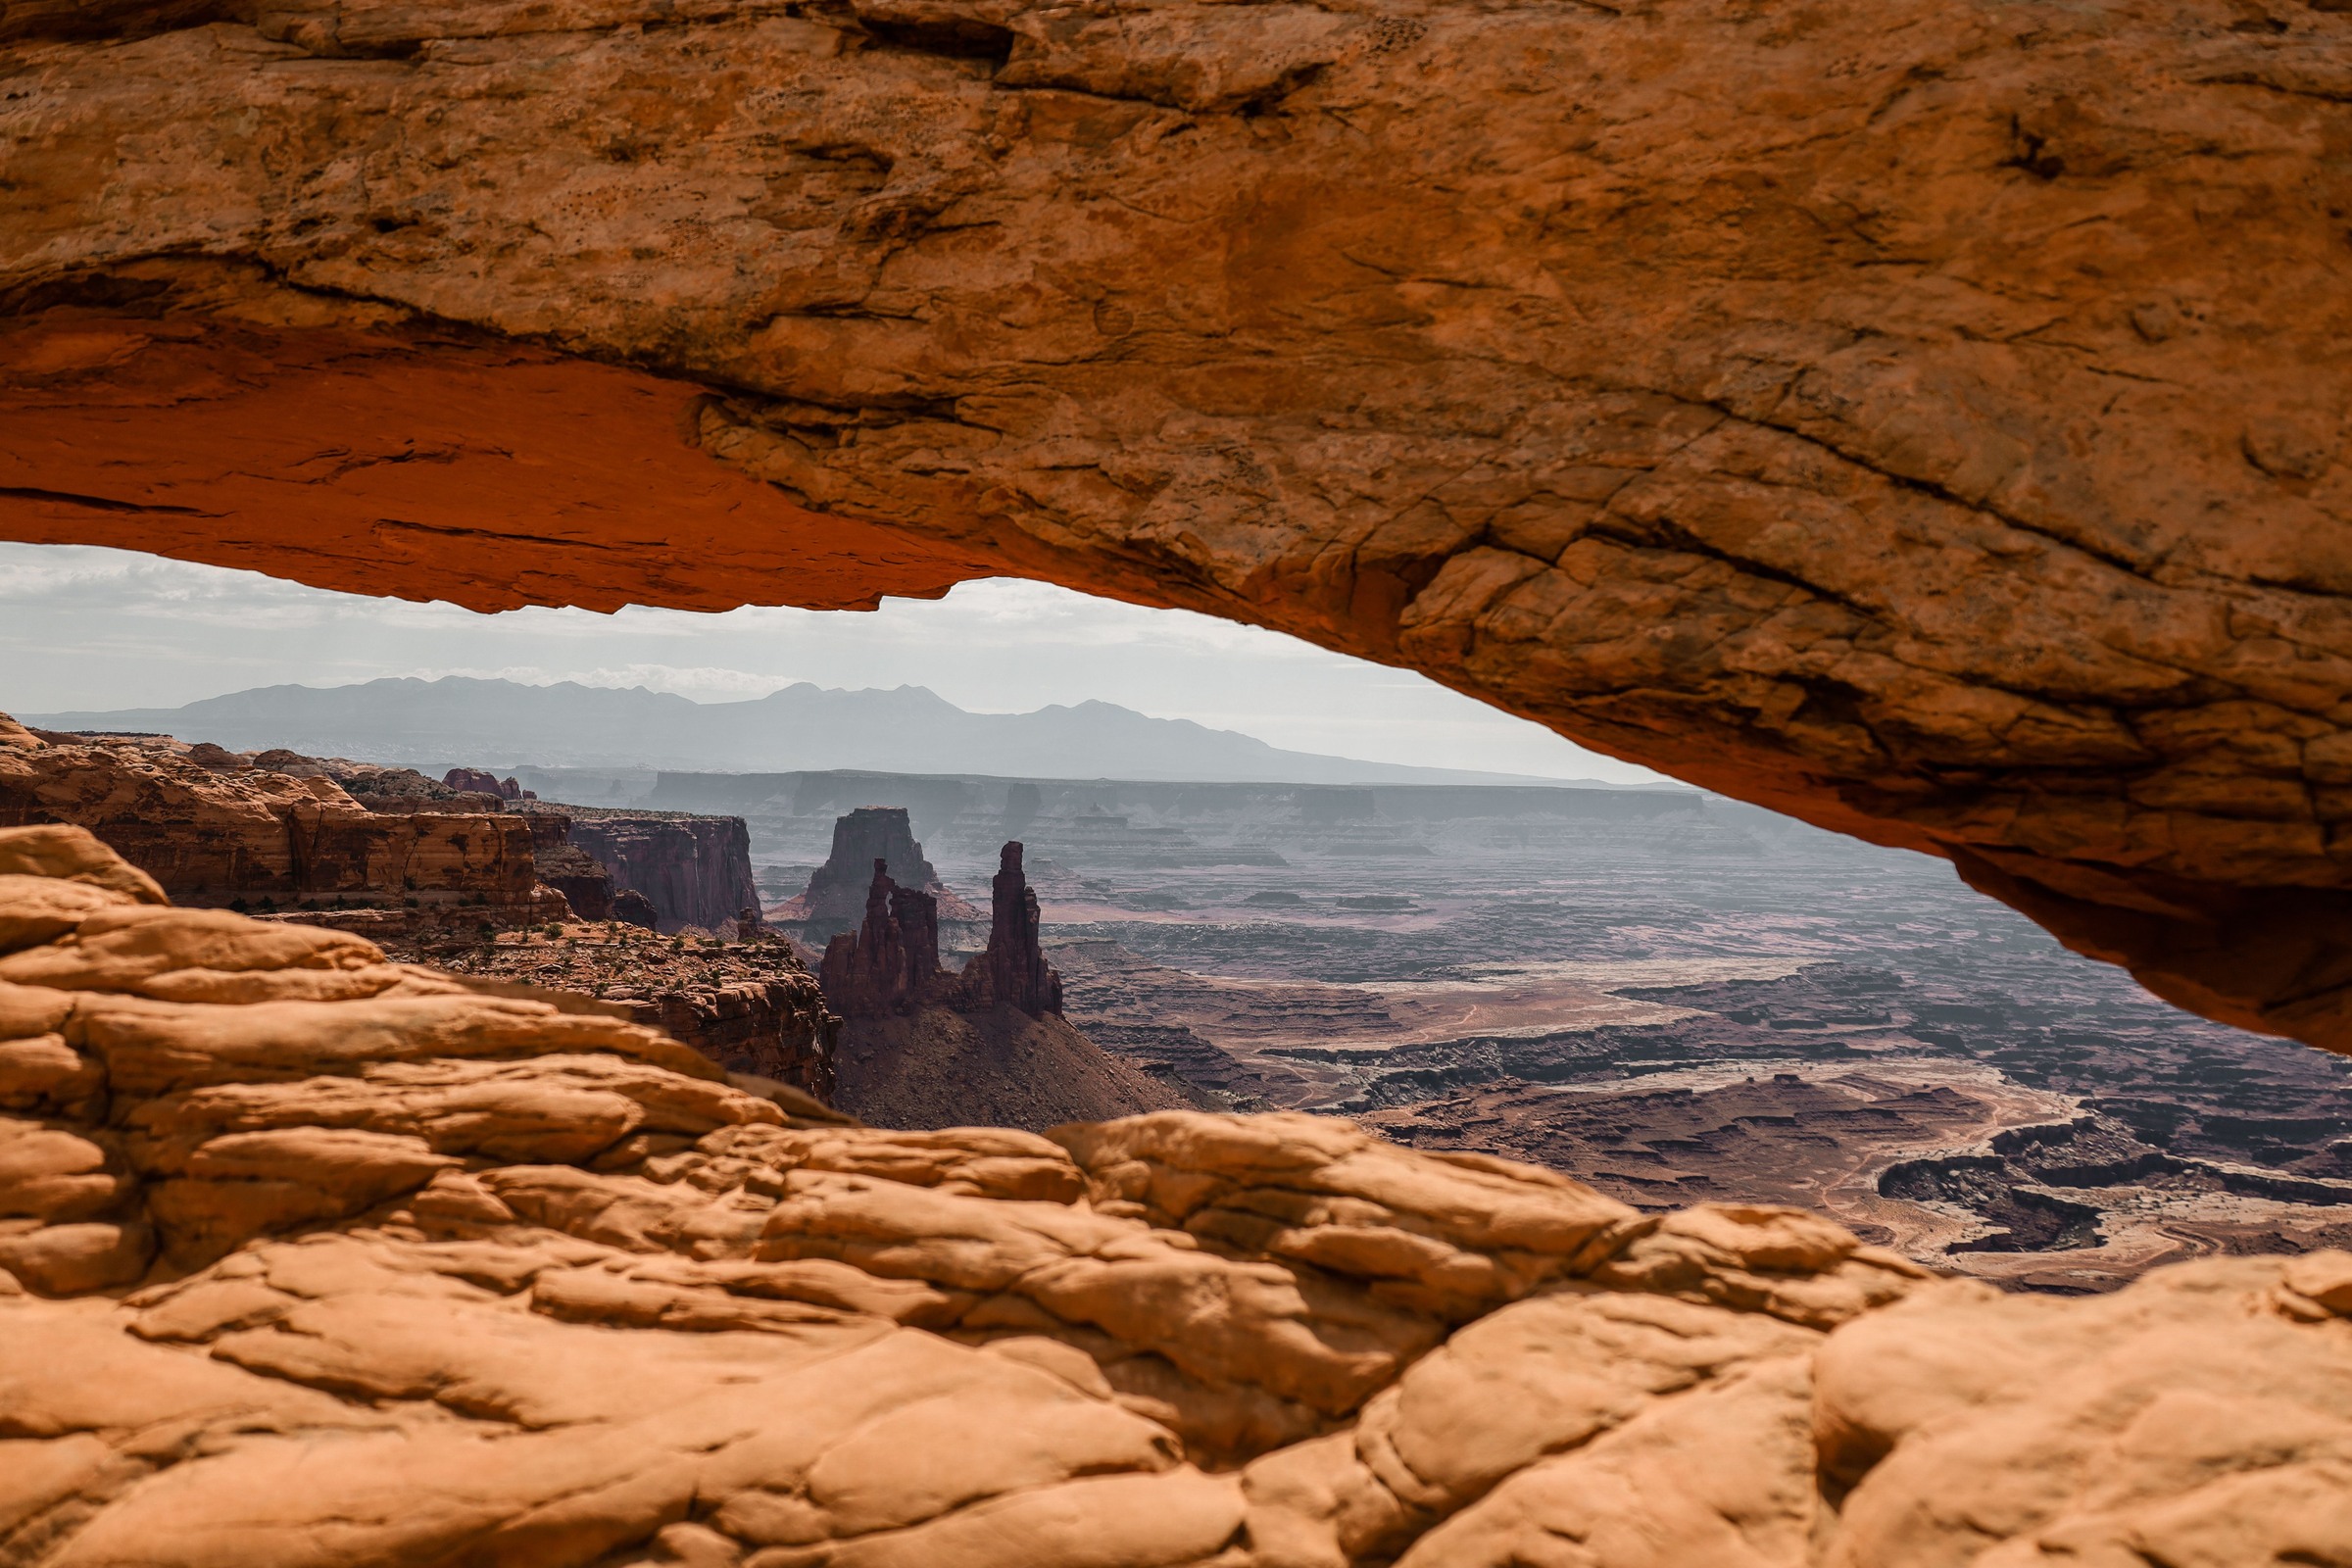
Stock photo, illustrative. Hero: warm light along the underside of Mesa Arch. This photograph illustrates a lighting possibility, not a guaranteed sunrise effect or a verified safe camera position. Photo: Raychel Sanner. Source · Pexels License. Resized; no generative edits.
Mesa Arch is a photograph within a photograph. A low sandstone opening frames distant towers, canyon walls and sky, while the nearer rock gives the scene its shape. At sunrise, warm light can illuminate the underside of the arch. That is a reason to plan carefully, not a promise that every morning produces the same orange glow or that you have only a fixed number of minutes to make a photograph.
This guide is about photographing one location in the Island in the Sky district of Canyonlands National Park. Start with legal access, safe footing and room for other visitors. Then decide whether your photograph needs the whole opening, a quieter detail or the relationship between near stone and distant landscape. The contributing photographers are credited beside their images; their photographs are illustrations, not a claim that Edin Chavez made every frame.
Plan the visit before planning the sunrise frame
The NPS Mesa Arch trail page lists a 0.6-mile (1 km) round trip with 56 feet (17 m) of elevation change. Its nominal hiking time is 30 minutes, but that is not a personal walking-time guarantee or a complete allowance for a photography visit. Darkness, unfamiliar footing, winter conditions and your group’s pace can change the time you need. Give yourself enough time to walk without racing for the first light.
NPS describes rough, uneven terrain, a rocky hill and stone steps. The trail is not wheelchair accessible. The park says walking clockwise to the arch and retracing your steps reduces the stairs; this does not turn the route into a step-free or accessible path. Check the description against your own mobility needs rather than treating the short distance as proof that the walk is easy for everyone. Dogs are not allowed on the trail; service animals follow the park’s separate rules.
Canyonlands currently says timed-entry reservations are not required and the park is open 24 hours a day, seven days a week, except during severe weather. That is not a guarantee that every road, trail or parking area will be open when you arrive. Read current conditions and alerts before leaving and again near your visit. Use the official trail location and park maps for navigation, not an old drive-time estimate copied from a photography itinerary.
The current park fee page lists $30 for a private, non-commercial vehicle, with separate motorcycle, individual and pass options. Island in the Sky’s entrance station lists credit/debit payment. Check the current category and pass terms for your party rather than assuming a quoted vehicle fee covers every kind of visit. A park entrance pass is not a reservation for a parking space or a camera position.
Park only where parking is permitted. If a legal space is unavailable, change your plan rather than using a roadside shoulder as an automatic overflow lot. Leave vehicle access, walking routes and space for emergency response clear. A sunrise photograph is optional; safe and lawful access is not.
Work from a safe position and share the view
Mesa Arch is a cliff-edge viewpoint. Decide where you can stand safely before opening your camera bag. Keep your attention on the ground while moving, then stop before looking through the viewfinder. Do not step backward while concentrating on the frame. A wide-angle lens can make foreground rock look farther away than it is; the screen is not a reliable guide to the distance between your feet and a drop.
The Canyonlands compendium prohibits climbing, scrambling or walking on arches with an opening greater than three feet, apart from its named Washer Woman exception. Mesa Arch is not that exception. Do not climb onto the span for a viewpoint or pose, and do not read a photograph found online as permission to repeat its camera position. Stay on permitted routes and respect closures, signs and ranger instructions.
NPS calls Mesa Arch especially popular at sunrise. Expect to share the view without assuming a precise crowd count or a reserved place at the front. Keep a tripod’s footprint compact, avoid stretching bags and legs across walking space, and communicate before moving into someone else’s composition. You do not need to occupy every possible angle. If the only available position is unsafe or obstructive, wait, simplify the frame or return at another time.
The park’s safety guidance stresses weather, hydration, navigation and secure footing. Carry water, sun protection, suitable footwear, layers and a light if you may walk in darkness. Download maps before losing service and keep a backup navigation plan. Snow or ice can change an apparently simple walk, and summer heat can make a short outing demanding. Turn around if the conditions exceed your footing, equipment or comfort.
Sunrise light: prepare for possibilities, not a four-minute formula
 Save
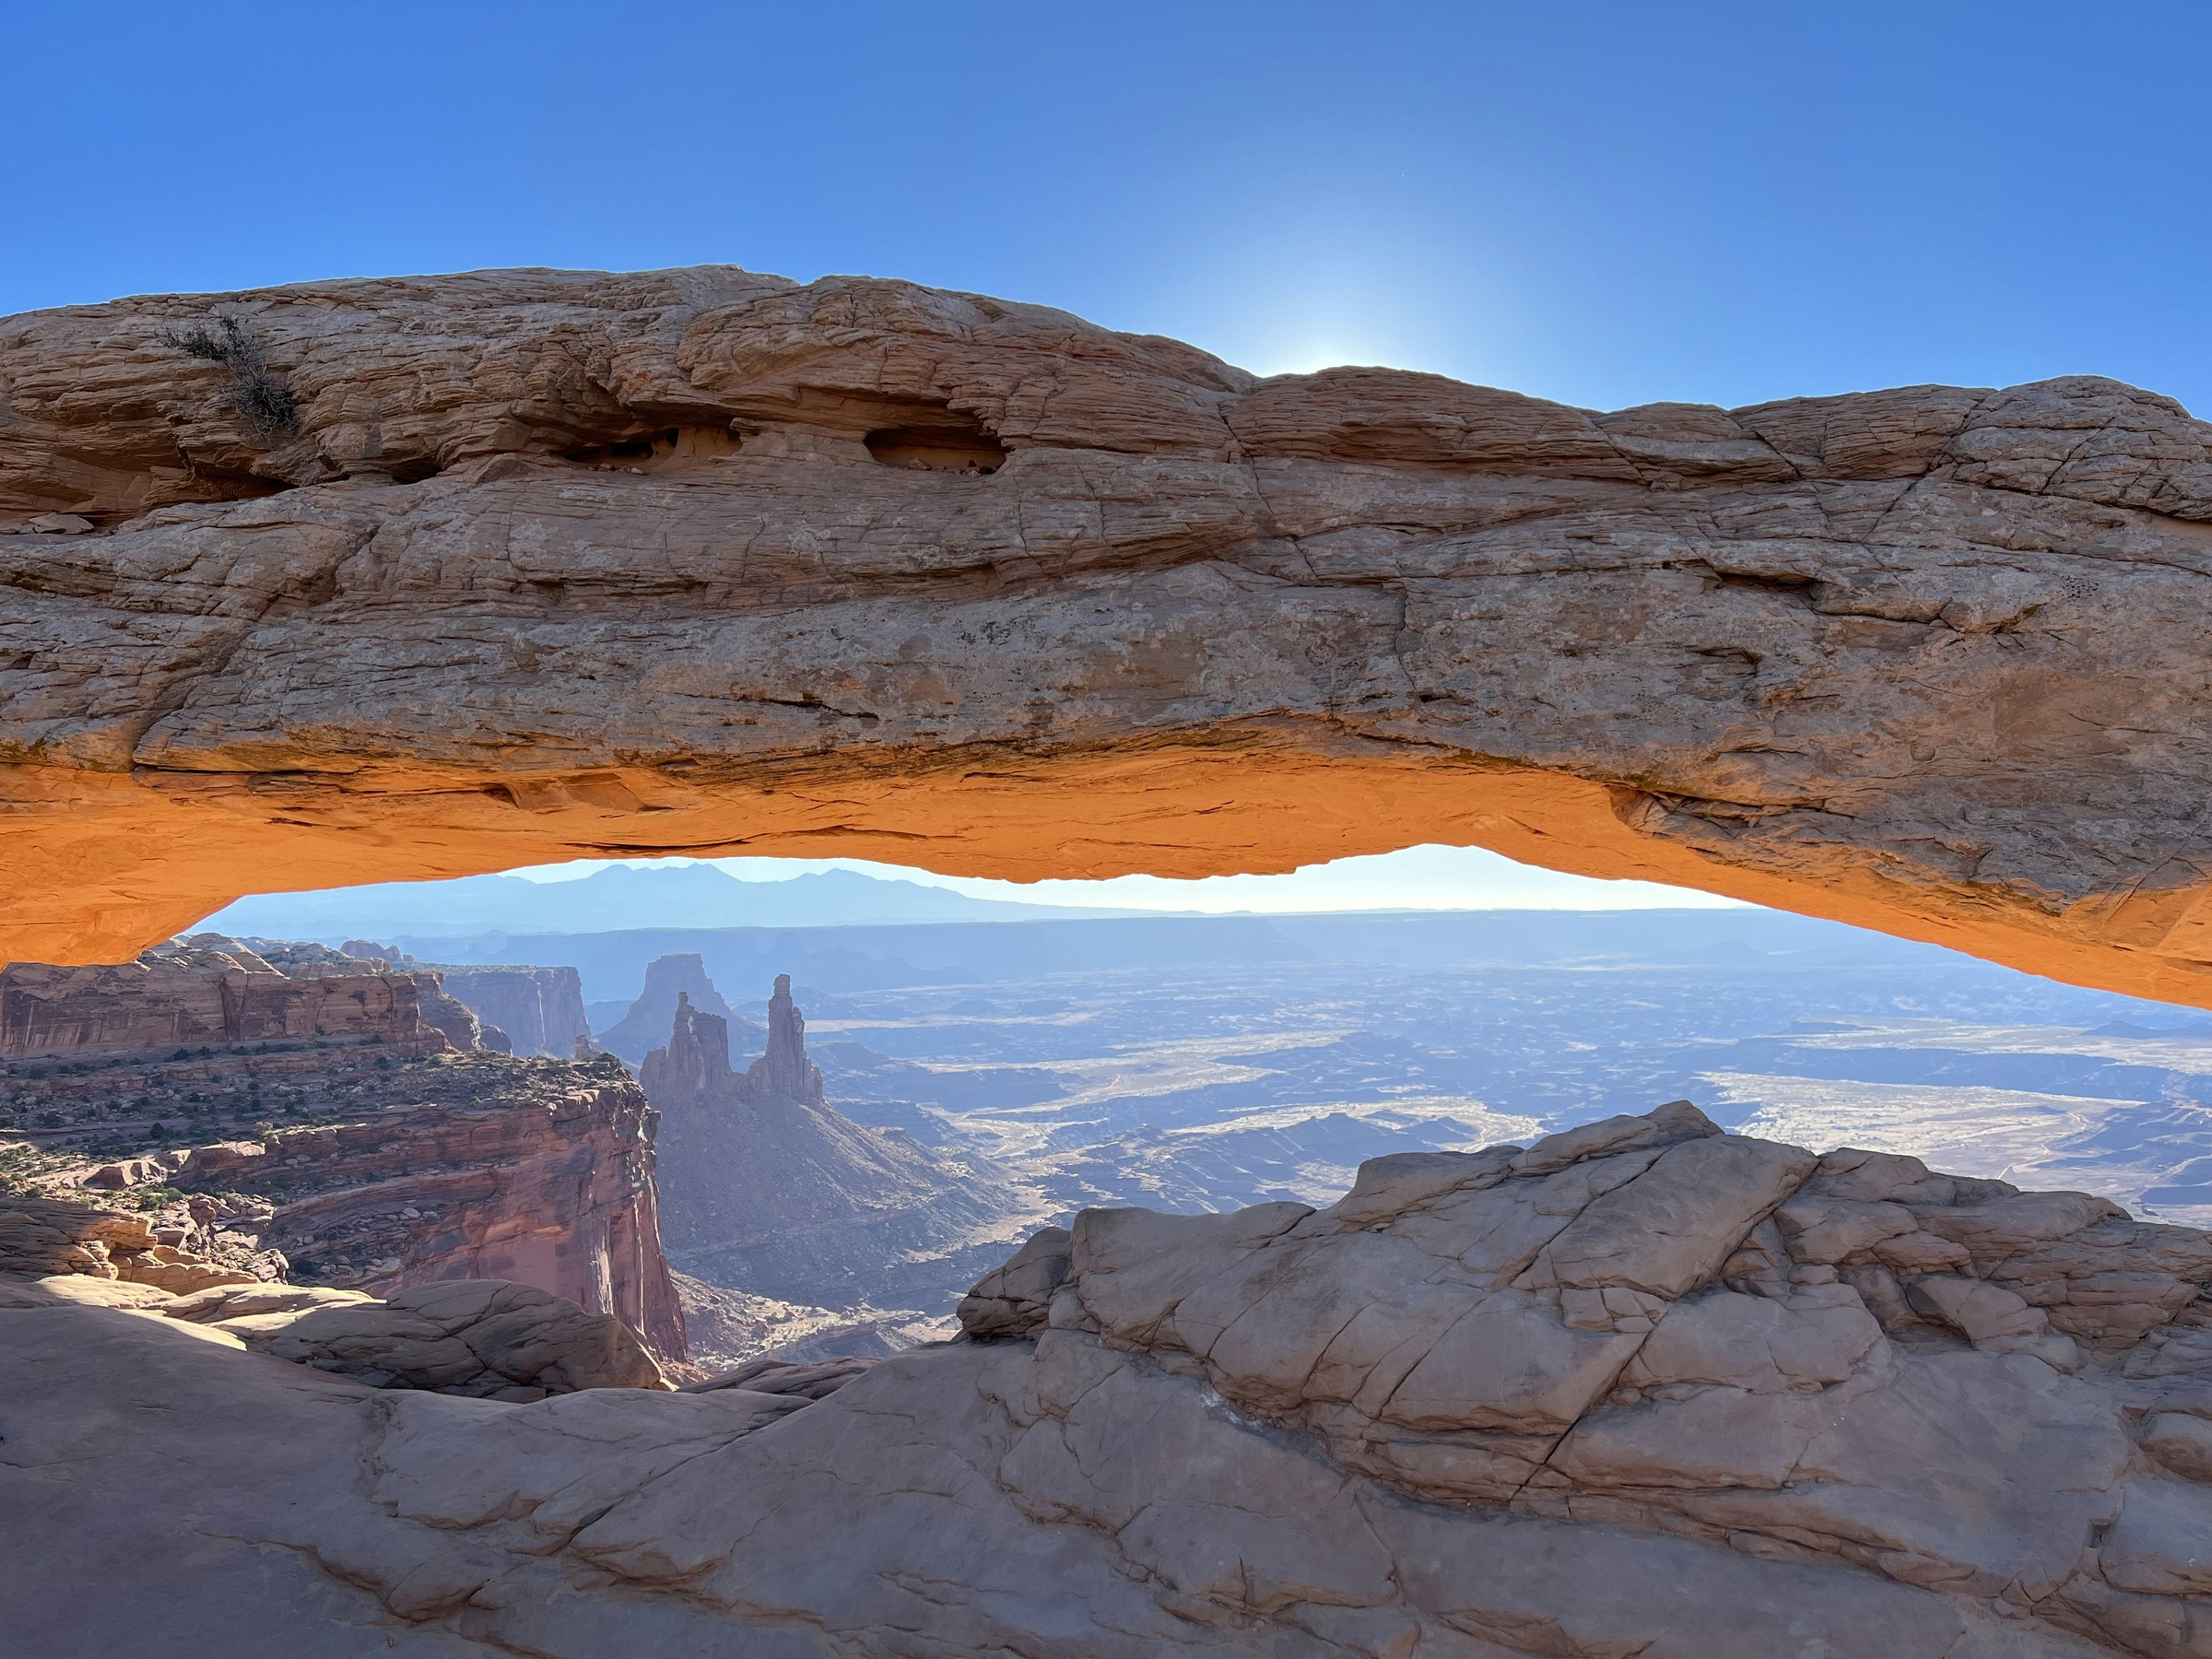
Sunrise is the familiar starting point because the arch’s underside can take on warm light while the canyon beyond remains layered in shadow and haze. The actual result depends on the sun, clouds, atmosphere and the view you can legally and safely use. Do not build the visit around a claim that the effect always lasts four minutes, or that one season automatically makes every other season unworthy.
Arrive with the camera ready enough that you can watch the scene instead of rebuilding your setup under pressure. Clean the lens, check the battery, choose a useful focal range and know how to change exposure compensation or shutter speed without searching menus. Before the sun appears, make a few frames to test the composition and check the edges. These early frames can also work as softer, less contrast-heavy photographs.
When the light changes, make decisions in order: secure footing, composition, highlight detail, then refinements. A small shift in framing can change how much bright sky enters the opening. If changing position would crowd another visitor or bring you near an exposed edge, use the position you already have. The stronger photograph is the one you can make deliberately, not a copy obtained by forcing your way into a remembered viewpoint.
Continue looking after the most dramatic glow changes. You may prefer the clearer separation of distant formations, a calmer color balance or a simple texture study. A morning that differs from a famous photograph is still worth evaluating on its own terms.
Use the arch as a frame without losing the canyon
 Save
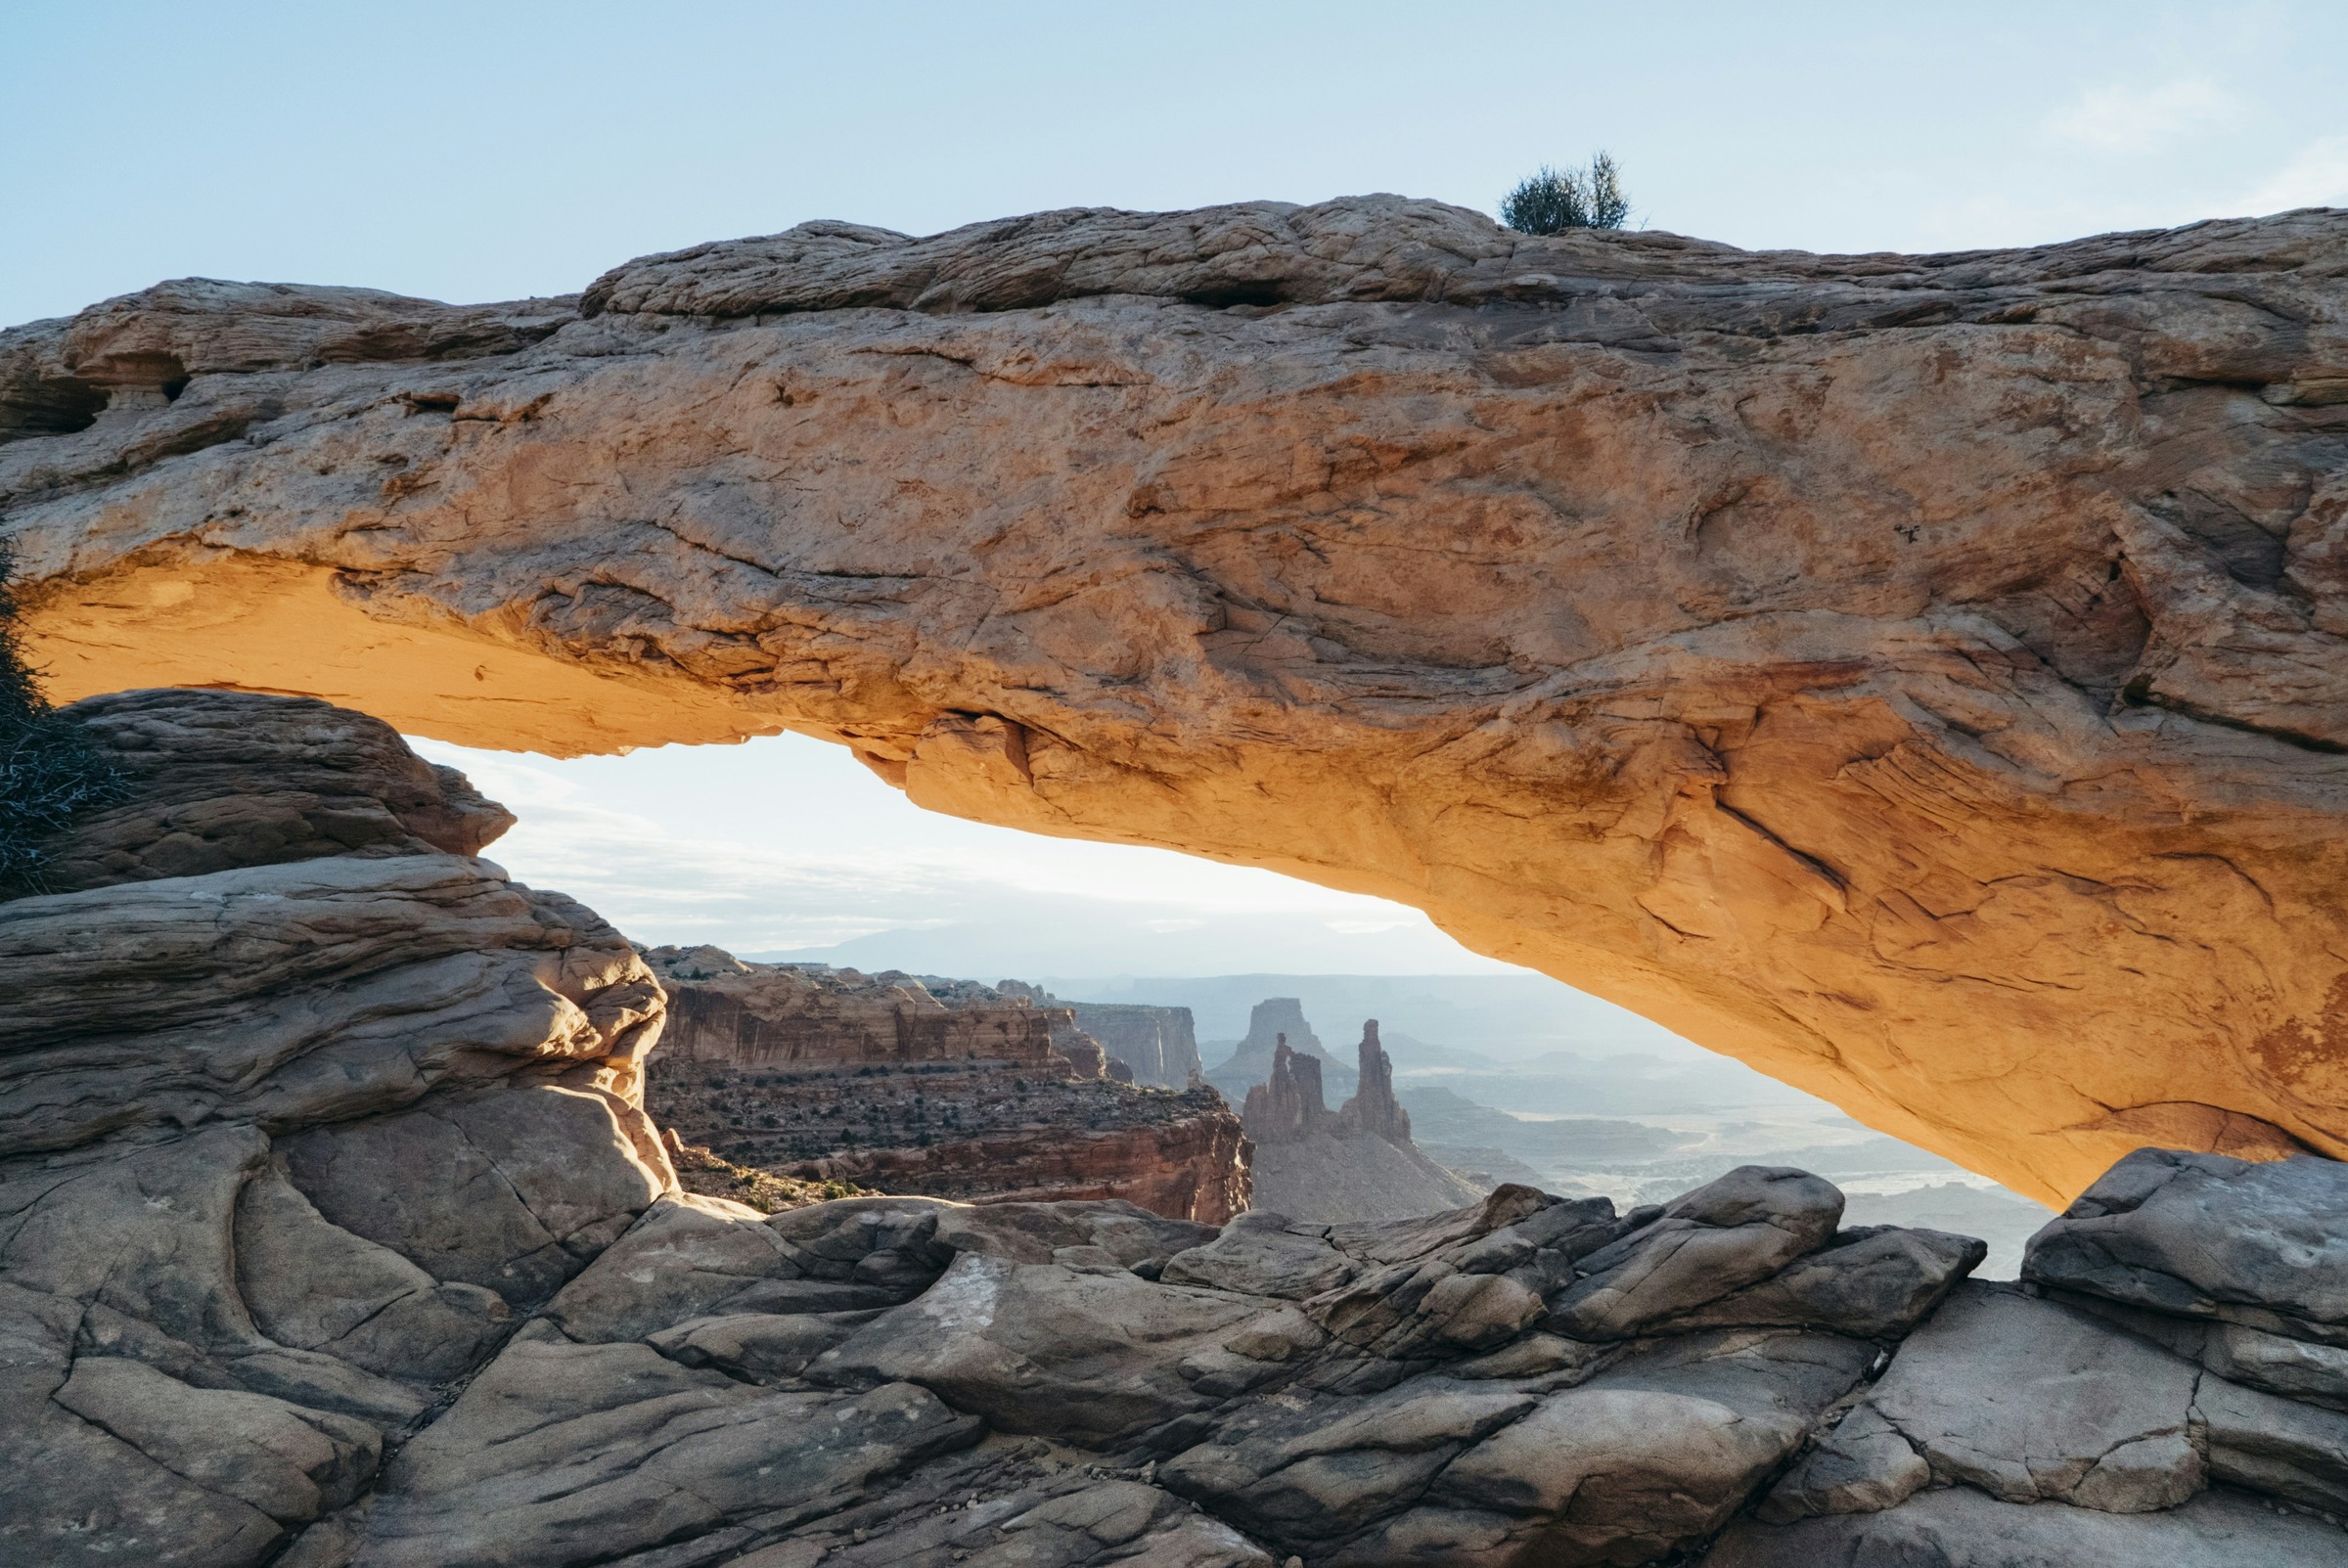
A wide-angle lens is useful when you want both the rock opening and the landscape beyond it. There is no mandatory focal length. The result depends on your sensor, available position and the amount of foreground you include. Start with the lens you have and make one complete, balanced view before deciding whether a wider option would actually improve the picture.
Look at the corners and the lower edge. A large foreground slab can give the frame weight, but it can also hide the distant towers that make this viewpoint distinctive. Move the framing before moving your feet. If the canyon is disappearing behind foreground rock, try a different focal length or a tighter section of the opening from your existing safe position.
The arch does not have to sit symmetrically above the canyon. Compare a broad opening with a composition that emphasizes one curve, a darker side wall or the contrast between nearby texture and distant haze. Keep the visual purpose clear. If every rock edge competes for attention, simplify rather than adding more of the scene just because the lens can include it.
A longer focal length can isolate the landscape seen through the opening or concentrate on light across the sandstone. It is a different photograph, not a substitute for approaching an edge. You can make a useful sequence from one permitted position: a wide establishing frame, a more selective frame and a close view of light or texture.
Expose for the scene you actually have
 Save
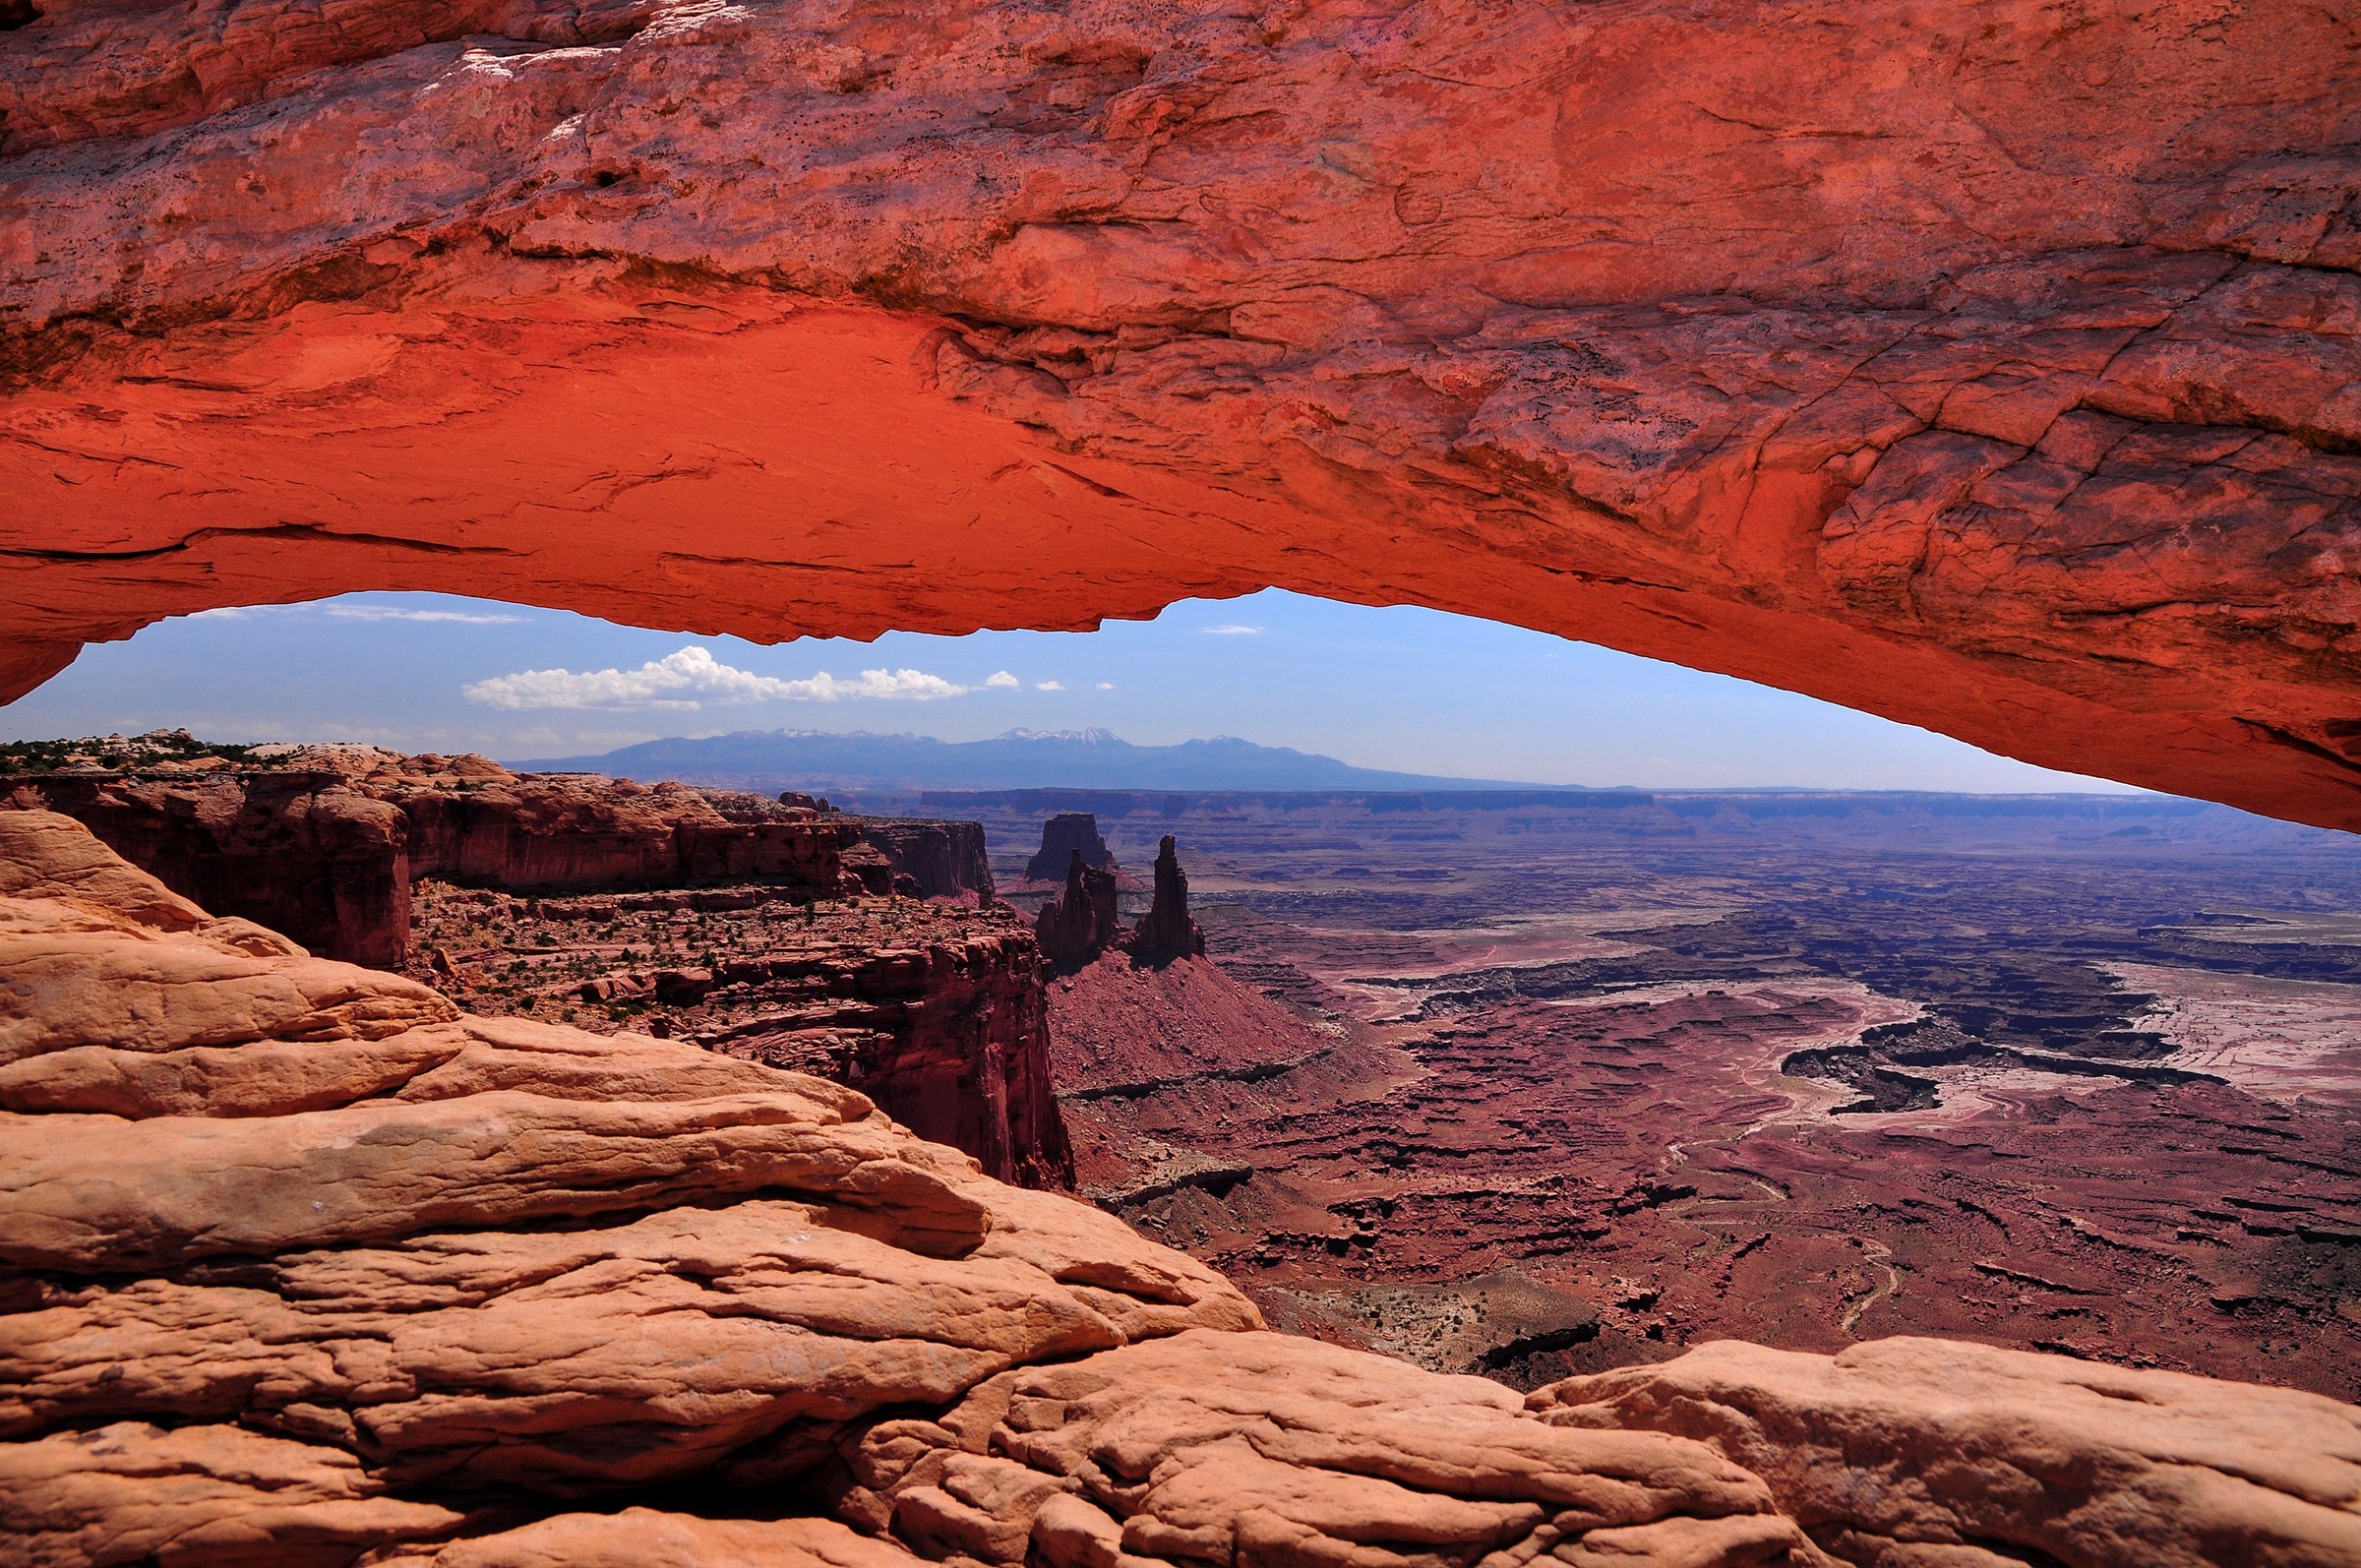
Bright sky, warm stone and a shaded foreground can exceed what a single exposure records comfortably. Use the histogram and highlight warning as aids, then inspect the important parts of the image. A bright camera screen in a dark setting can be misleading. Protect the highlights you want to keep without assuming that every deep shadow must be lifted until it looks like daylight.
With a stable camera and a still subject, a low ISO is a sensible starting point. Choose aperture for the depth of field you need, check focus through the image and allow the shutter speed to suit the light. A middle aperture can be a useful test; no single f-number guarantees sharpness from the closest stone to the horizon. If handholding, raise ISO or open the aperture when necessary to prevent camera movement.
Exposure bracketing is an option when the contrast is too high for your intended result. Keep the camera steady, keep the framing consistent and make sure the sequence does not interrupt other visitors. Blending is not mandatory. You may prefer a single exposure with darker foreground, or a composition that excludes the brightest part of the sky. Choose the method because it serves the picture, not because sunrise requires a particular three-frame recipe.
A graduated filter may darken part of the arch as well as the sky because the opening has an irregular shape. A polarizer changes reflections and sky tones depending on the light and viewing direction; do not assume it always helps or always removes the glow. Compare the actual result, watch for uneven wide-angle skies and remove any filter that is making the image less convincing.
Keep focus, flare and color under control
 Save
Focus on a meaningful part of the scene and examine both foreground and distance at playback magnification. If one focus setting does not cover the depth you want, consider a less dominant foreground, a different aperture or carefully planned focus stacking. None of those choices requires reaching the camera out over an edge or occupying a prohibited place.
When the sun enters or approaches the opening, flare can reduce contrast or leave colored shapes across the frame. Clean glass helps, but it does not eliminate every reflection. Try a slight change in framing from where you are already standing. Review the frame before committing to a long sequence, and use the camera manufacturer’s guidance for photographing toward the sun. Never look directly at the sun through an optical viewfinder.
Warm stone can tempt you to push saturation until its texture disappears. Start with a color balance that keeps the rock believable, then decide how much warmth belongs in the final image. Haze in the distant canyon can be part of the sense of scale. Strong dehazing and shadow recovery may flatten that depth or produce distracting halos along the arch.
Editing can refine an exposure without pretending the weather was different. Check the transition between the arch and sky, keep sharpening controlled and inspect the final image at its intended viewing size. If you blend exposures, keep the geometry and light consistent. Do not use a stock example as evidence that a particular sky or color will be present on your visit.
Make a useful photograph outside the classic sunrise moment
 Save
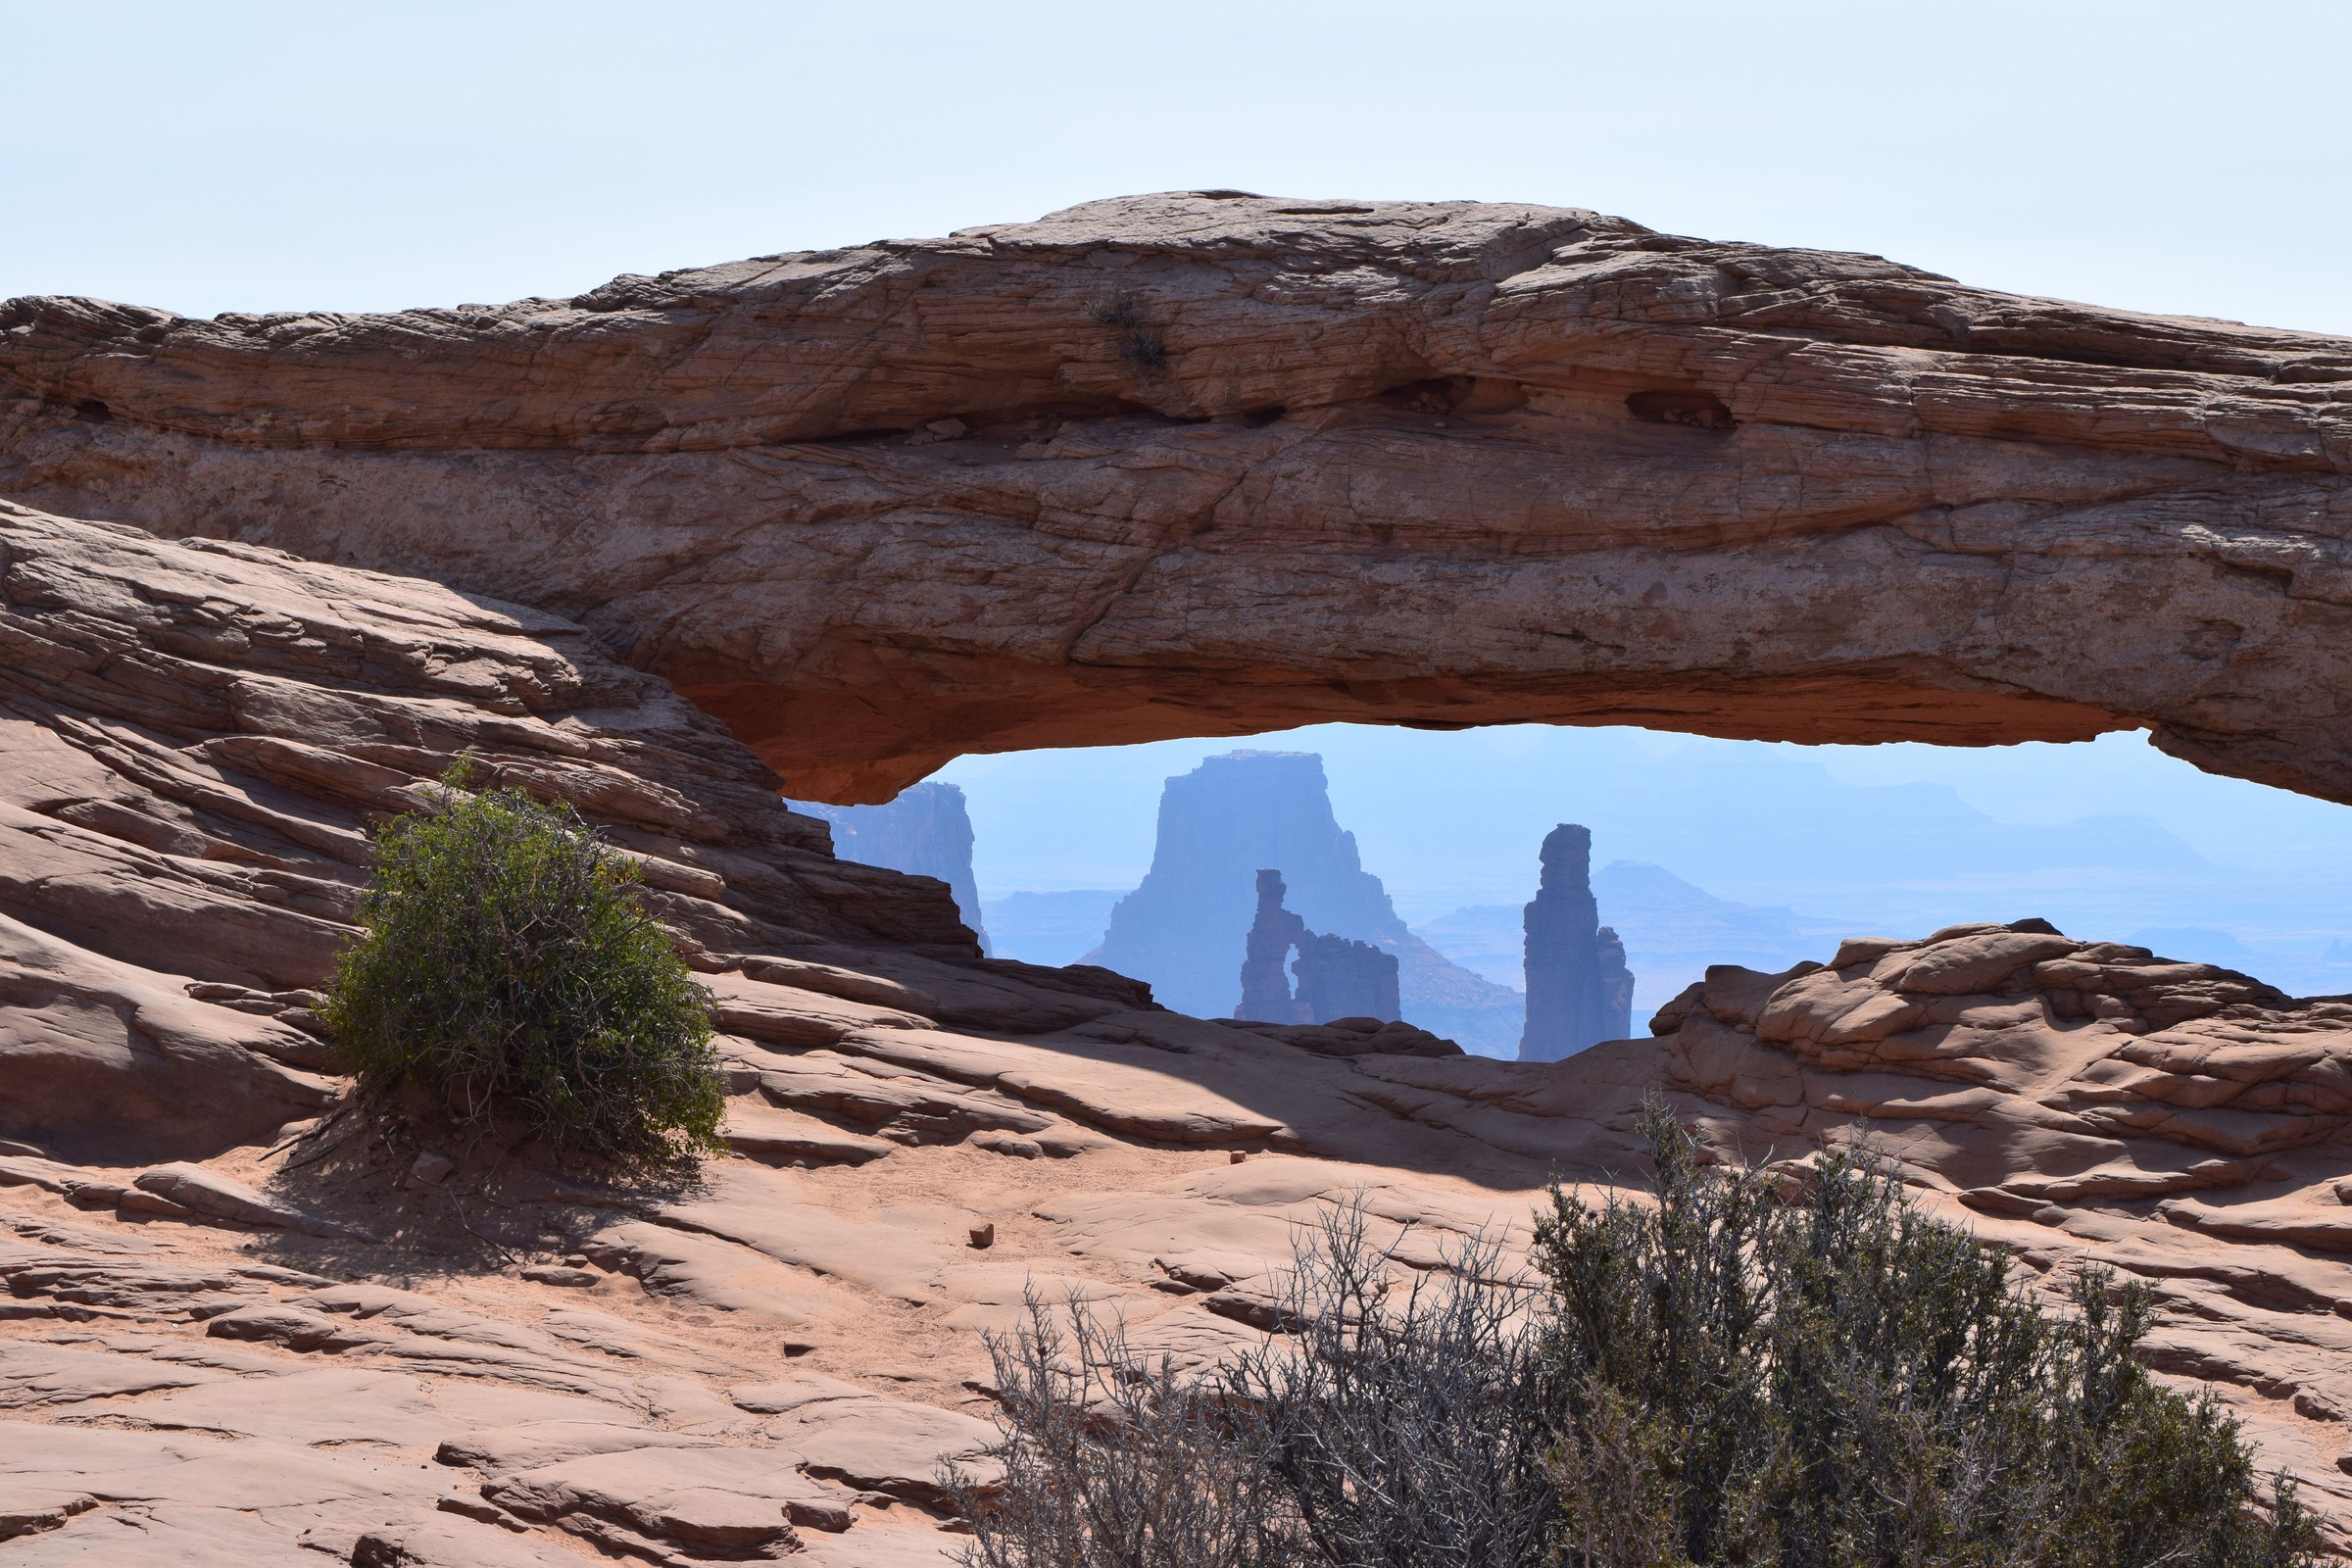
The official trail page describes views toward the La Sal Mountains at any time of day. That does not mean the light is identical throughout the day. It means the arch is worth considering as a subject beyond one famous effect. Look for shape, texture, the balance between shade and brightness, and the relationship between the opening and distant landforms.
On a cloudier visit, the rock may photograph with less contrast and more restrained color. In stronger light, concentrate on the graphic edge of the opening or a tighter view instead of forcing a soft-light composition. If the sky is uninteresting, include less of it. If the canyon is hazy, use that separation deliberately rather than trying to recover detail that was not visible.
Leave room in your plan to walk back safely and review the sequence later. You do not need another accessory or a risky viewpoint to rescue a photograph that simply needs a clearer idea. A small camera or phone can make a considered picture here when the light, framing and exposure work together.
Photography rules, workshops and drones
The NPS guidance under the EXPLORE Act says filming, still photography and audio recording involving eight or fewer people generally do not need a permit or fee only when all listed conditions are met: the activity is in an area open to the public, uses only hand-carried equipment, does not require exclusive use, does not adversely affect park resources, values or other visitors, and is not likely to create additional NPS administrative costs. Group size alone is not the test. Entrance and other applicable recreation fees still apply.
Ask Canyonlands about a production or activity that does not meet those conditions. A business offering photography instruction may need a separate Commercial Use Authorization. Read the park’s still-photography and art-instruction conditions rather than assuming a general photography exemption authorizes a workshop. This guide does not sell a reserved camera position or establish an operator’s permission.
The compendium prohibits launching, landing or operating remotely piloted aircraft from or on park lands and waters unless approved in writing by the superintendent. Do not plan an ordinary visitor drone flight at Mesa Arch. Aerial photographs online do not establish permission. Check current park rules near the date of your visit and follow any narrower on-site restrictions.
Frequently asked questions
How long is the Mesa Arch hike?
NPS lists a 0.6-mile (1 km) round trip with 56 feet (17 m) of elevation change. Its nominal 30-minute hiking time is not a guarantee for your pace or a full photography visit. The route has uneven rock and steps and is not wheelchair accessible.
Do I need a timed-entry reservation for Mesa Arch?
Canyonlands currently says timed-entry reservations are not required and the park is open 24 hours a day except during severe weather. Check current road, trail and park alerts before visiting. Entrance fees still apply, and access does not guarantee parking or a camera position.
Is sunrise the only time to photograph Mesa Arch?
No. Sunrise is popular because warm light can illuminate the underside of the arch, but the effect and its duration are not guaranteed. The arch also frames canyon and mountain views at other times. Choose a composition for the light and safe position available.
Can I walk or climb on Mesa Arch?
No. The Canyonlands compendium prohibits climbing, scrambling or walking on arches with openings greater than three feet, apart from its named Washer Woman exception. Mesa Arch is not that exception. Use permitted routes and follow current signs and ranger instructions.
Do I need a photography permit or workshop authorization?
Under current NPS guidance, groups of eight or fewer generally avoid filming and photography permit requirements only if all listed conditions are met: public access, hand-carried equipment, no exclusive use, no adverse effects on resources, values or visitors, and no likely additional NPS administrative costs. Business instruction may need a separate Commercial Use Authorization. Ask the park about your activity.
Can I fly a drone at Mesa Arch?
Not as an ordinary visitor photography activity. Canyonlands prohibits launching, landing or operating remotely piloted aircraft from or on park lands and waters unless approved in writing by the superintendent. An aerial image found online does not establish permission.
Use the official trail, fee, conditions and permit sources linked above when planning your visit. They govern access; photographs illustrate composition and light. Let safe footing and the conditions you find determine the final plan.
Guide location: Mesa Arch photography guide, Canyonlands National Park.
What to Pack
A landscape kit built around wide views, steady support, and changing light is a useful starting point. Compare the gear and choose what fits your camera, budget, and conditions. These links lead to B&H Photo Video and Amazon.
| What & Why | B&H | Amazon |
|---|---|---|
Sony 16-35mm f/2.8 GM Check the camera mount before buying. Choose a focal length that fits the photos you plan to make. | Shop B&H → | Shop Amazon → |
Peak Design Travel Tripod Check the load rating, packed size and local tripod rules before buying. | Shop B&H → | Shop Amazon → |
Breakthrough X4 CPL Check the filter type and lens thread size before buying. Use a filter only when the effect fits your photo. | Shop B&H → | Shop Amazon → |
Breakthrough X4 10-stop ND Check the filter type and lens thread size before buying. Use a filter only when the effect fits your photo. | Shop B&H → | Shop Amazon → |
Sony NP-FZ100 battery Use the battery type specified for your camera. Bring a spare if your shooting plan calls for one. | Shop B&H → | Shop Amazon → |
SanDisk Extreme Pro 128GB Check the card format and speed requirements specified for your camera. | Shop B&H → | Shop Amazon → |
Koh microfiber cloths Compare this option with your current kit. Check compatibility and the product details before buying. | Shop B&H → | Shop Amazon → |
B&H and Amazon links are affiliate links. We earn a small commission on purchases at no extra cost to you.