Panama City gives you two very different subjects in one frame: a modern skyline across the bay and the older streets and roof lines of Casco Antiguo. Add the waterfront curves of the Cinta Costera and the colored roof planes of Biomuseo along Amador, and there is enough variety for a strong city series without turning the trip into a race between viewpoints.
The useful question is not simply where to stand. It is what you want the photograph to say. Do you want a quiet reflection, a skyline with boats for scale, an architectural study, or the contrast between the old city and new towers? Each answer changes your lens, shutter speed and timing. A spot that looks ordinary in harsh light can become your best frame when the sky and city lights balance.
These are researched photography spots, illustrated with Edin Chavez’s own Panama photographs. Suggested settings are starting points, not recorded settings from every image. Historic aerial and elevated frames show subjects; they do not grant drone permission, rooftop access or a specific hotel-room view.
This article covers three of the guide’s five city spots: Cinta Costera, Casco Antiguo and Amador. The PDF also covers Miraflores and the private-access Paitilla skyline option, with the restrictions kept beside the advice rather than hidden at the end.
1. Cinta Costera: give the skyline a foreground
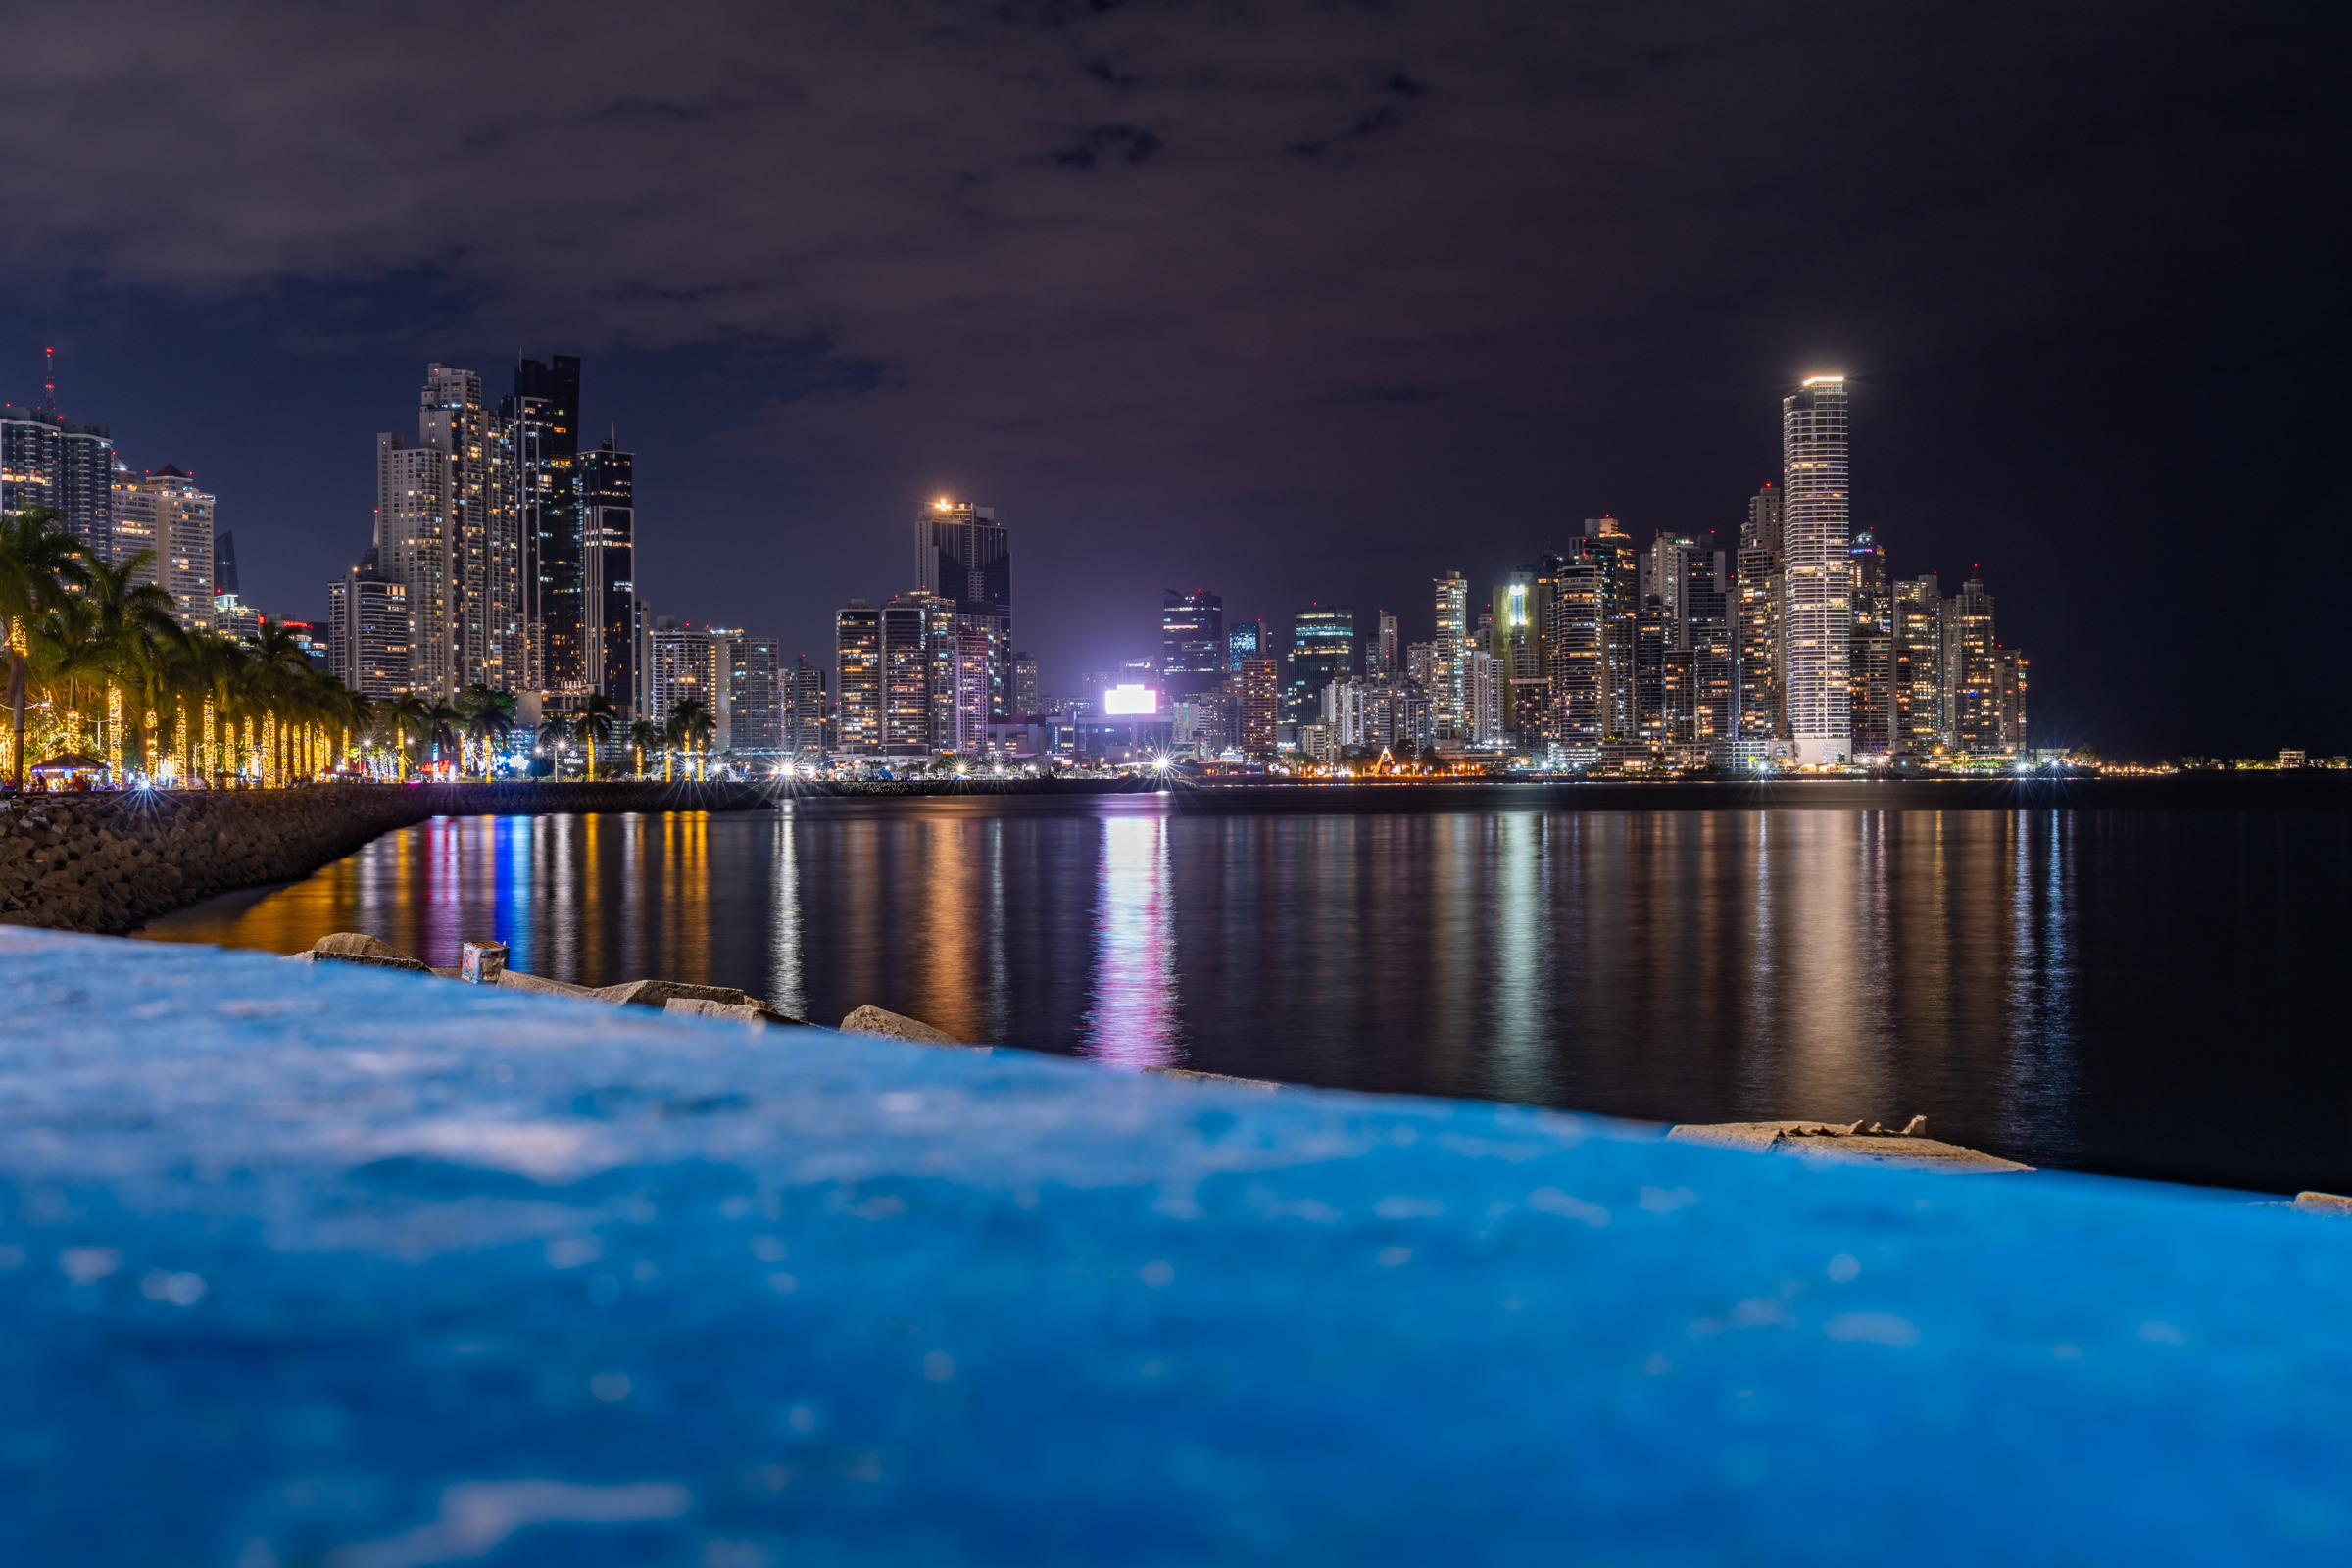
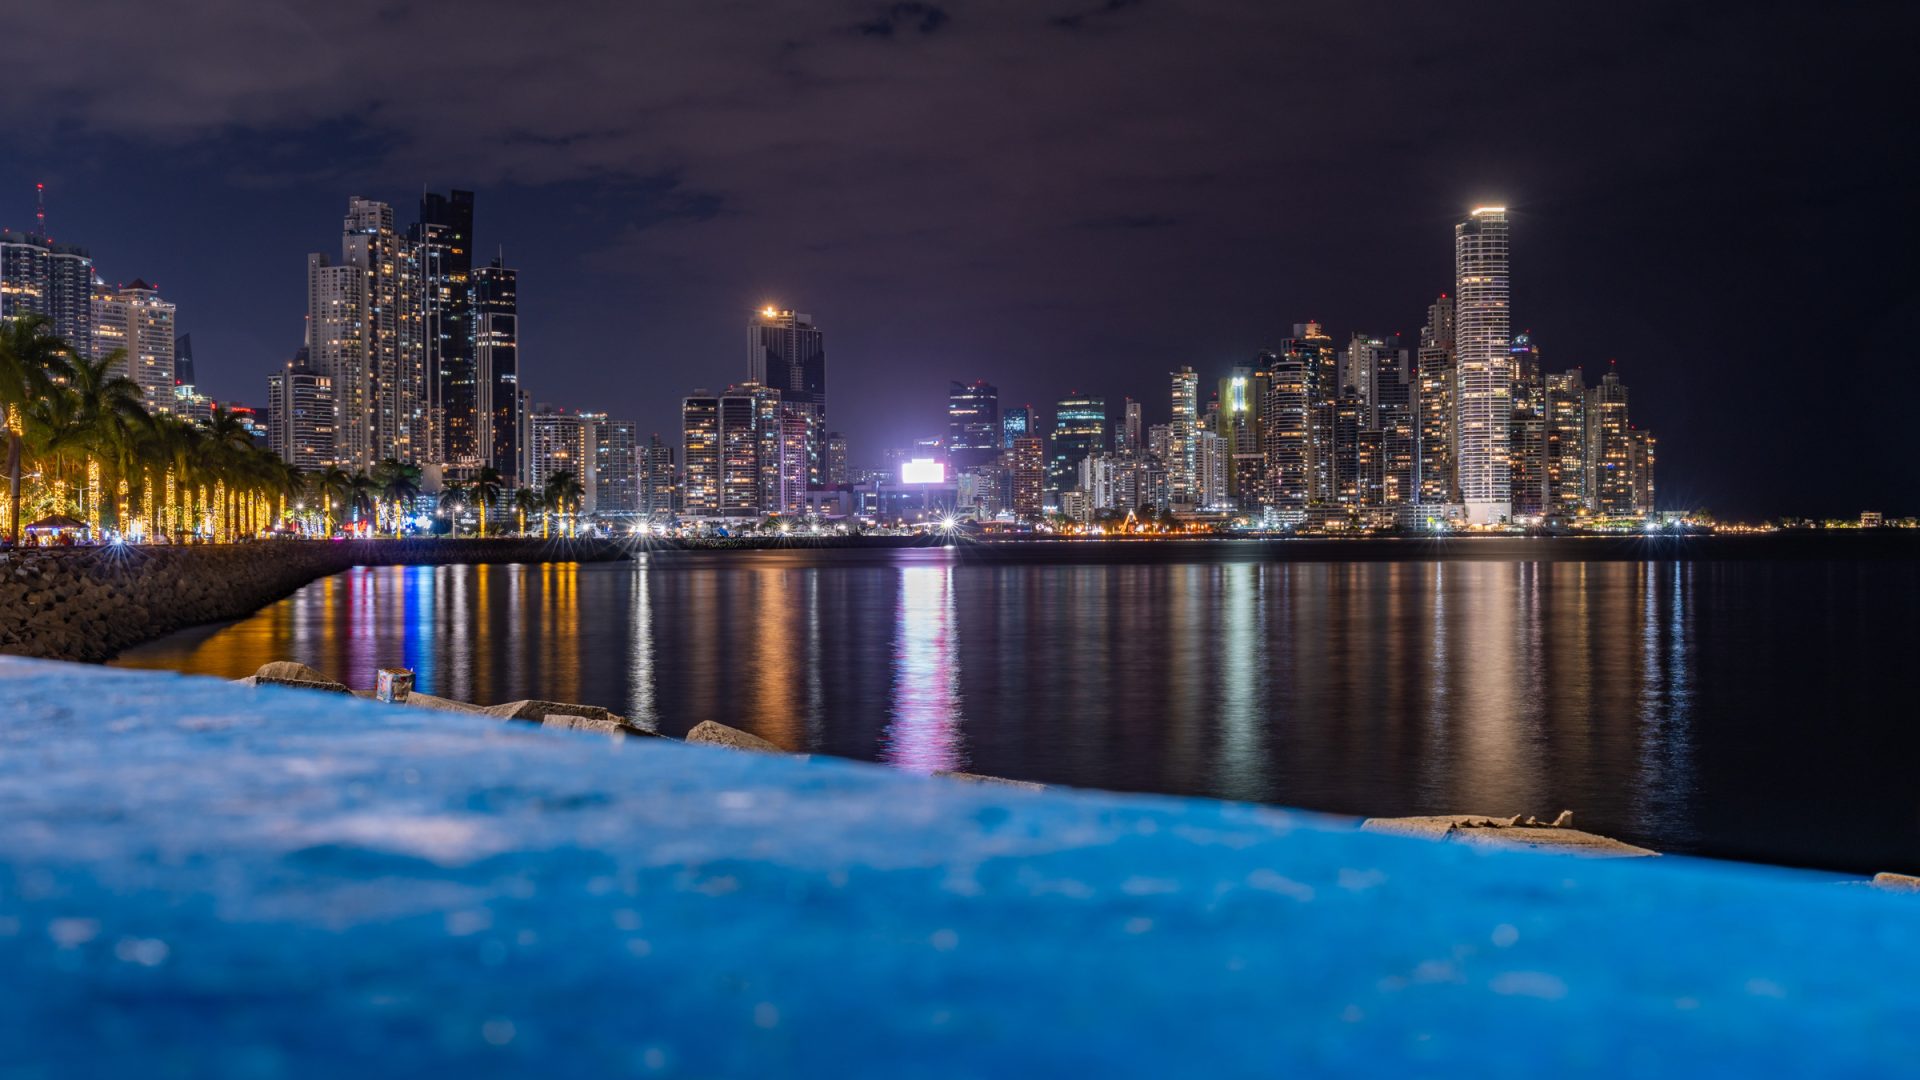
The Cinta Costera is a public waterfront recreation area with gardens, bike lanes and lookouts. Panama’s tourism authority identifies Mirador del Pacífico, near the seafood market, as a photo stop. It is a useful place to orient yourself, but it is not a tested tripod mark for every image in this article.
Start by looking at the separation between towers. An open gap in the skyline can make a better composition than a crowded wall of buildings. Then choose a foreground that does something: a shoreline curve, a small patch of water, or boats that show the scale of the city. Do not put a large object at the bottom of the frame merely because you have a wide lens and feel you should fill the space.
A 24-70mm lens is a flexible starting point. At the wider end, check that the outer buildings are not leaning dramatically. At the longer end, simplify the skyline into a smaller group. A 70-200mm lens can work well when the foreground is cluttered and you want a clean pattern of towers and light.
Blue hour is a balance, not an appointment
Scout while it is light. Find the pedestrian space, watch where cyclists pass and choose a position that will not become an obstruction once your tripod is up. Look at your return route before the streets darken. A good photograph should not depend on figuring out transport while standing beside your open camera bag at night.
Try shooting while the sky still has color and the tower lights are beginning to register. If you wait until the sky is completely black, you may lose the separation between building edges and background. If you shoot too early, the sky can dominate while the city looks dull. The transition is worth watching, but its appearance changes with cloud, weather and the season.
For a static skyline on a stable tripod, start at ISO 100 and f/8. Try a shutter in the 1-10 second range, then adjust to your histogram. Those numbers are a scenario, not a rule. A bright sign may clip long before the rest of the city looks correctly exposed. Make a darker frame when needed, but keep the final result believable rather than lifting every shadow until night looks like noon.
Boats need their own exposure
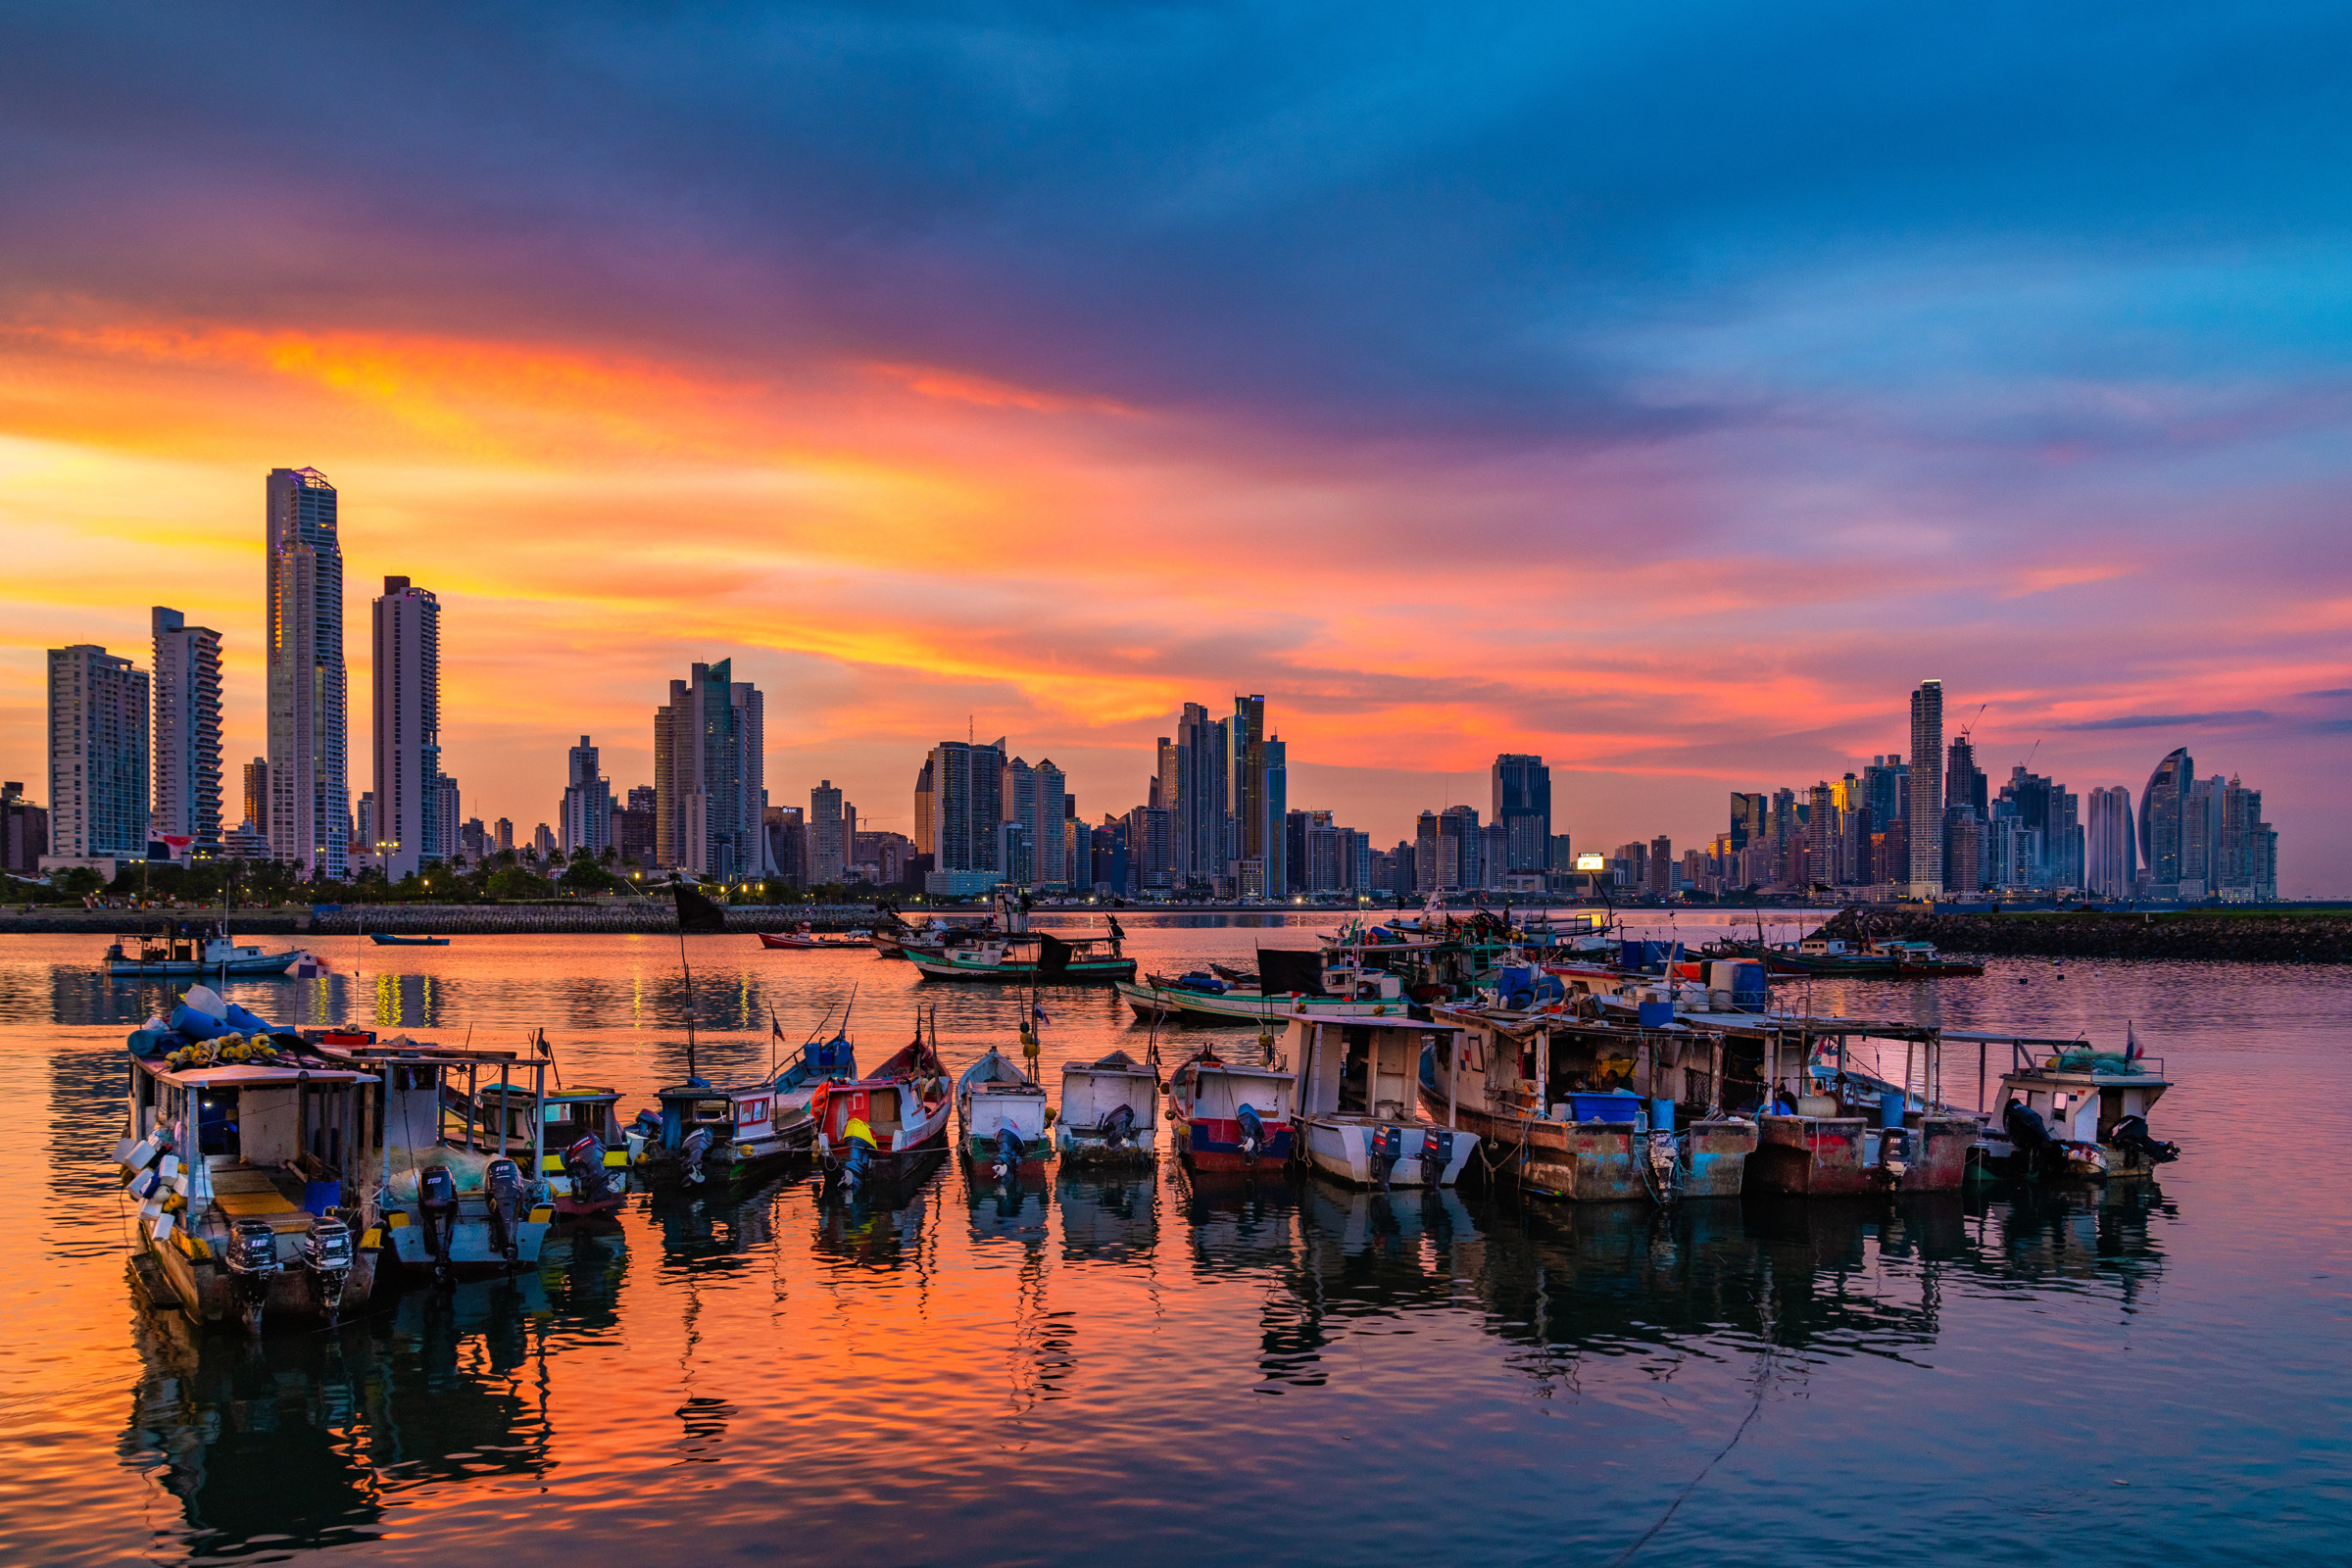
A slow exposure can stretch reflections and smooth the water. It also blurs boats. Decide whether a boat is a clear subject or just movement in the scene before choosing the shutter speed. For moving craft, try around 1/250 second as a starting point, raise ISO as the light falls and inspect several frames. Your lens, the boat’s speed and distance can all change what is sharp enough.
Do not climb over a seawall or down onto slippery rocks to get a lower perspective. Work from the pedestrian area. The safest accessible angle is the one to build around, even if a historic image appears to have been made from somewhere closer to the water.
For a deeper explanation of exposure choices, use the site’s landscape photography guide. The technique matters more than chasing the settings from someone else’s photograph.
2. Casco Antiguo: make the old city the subject
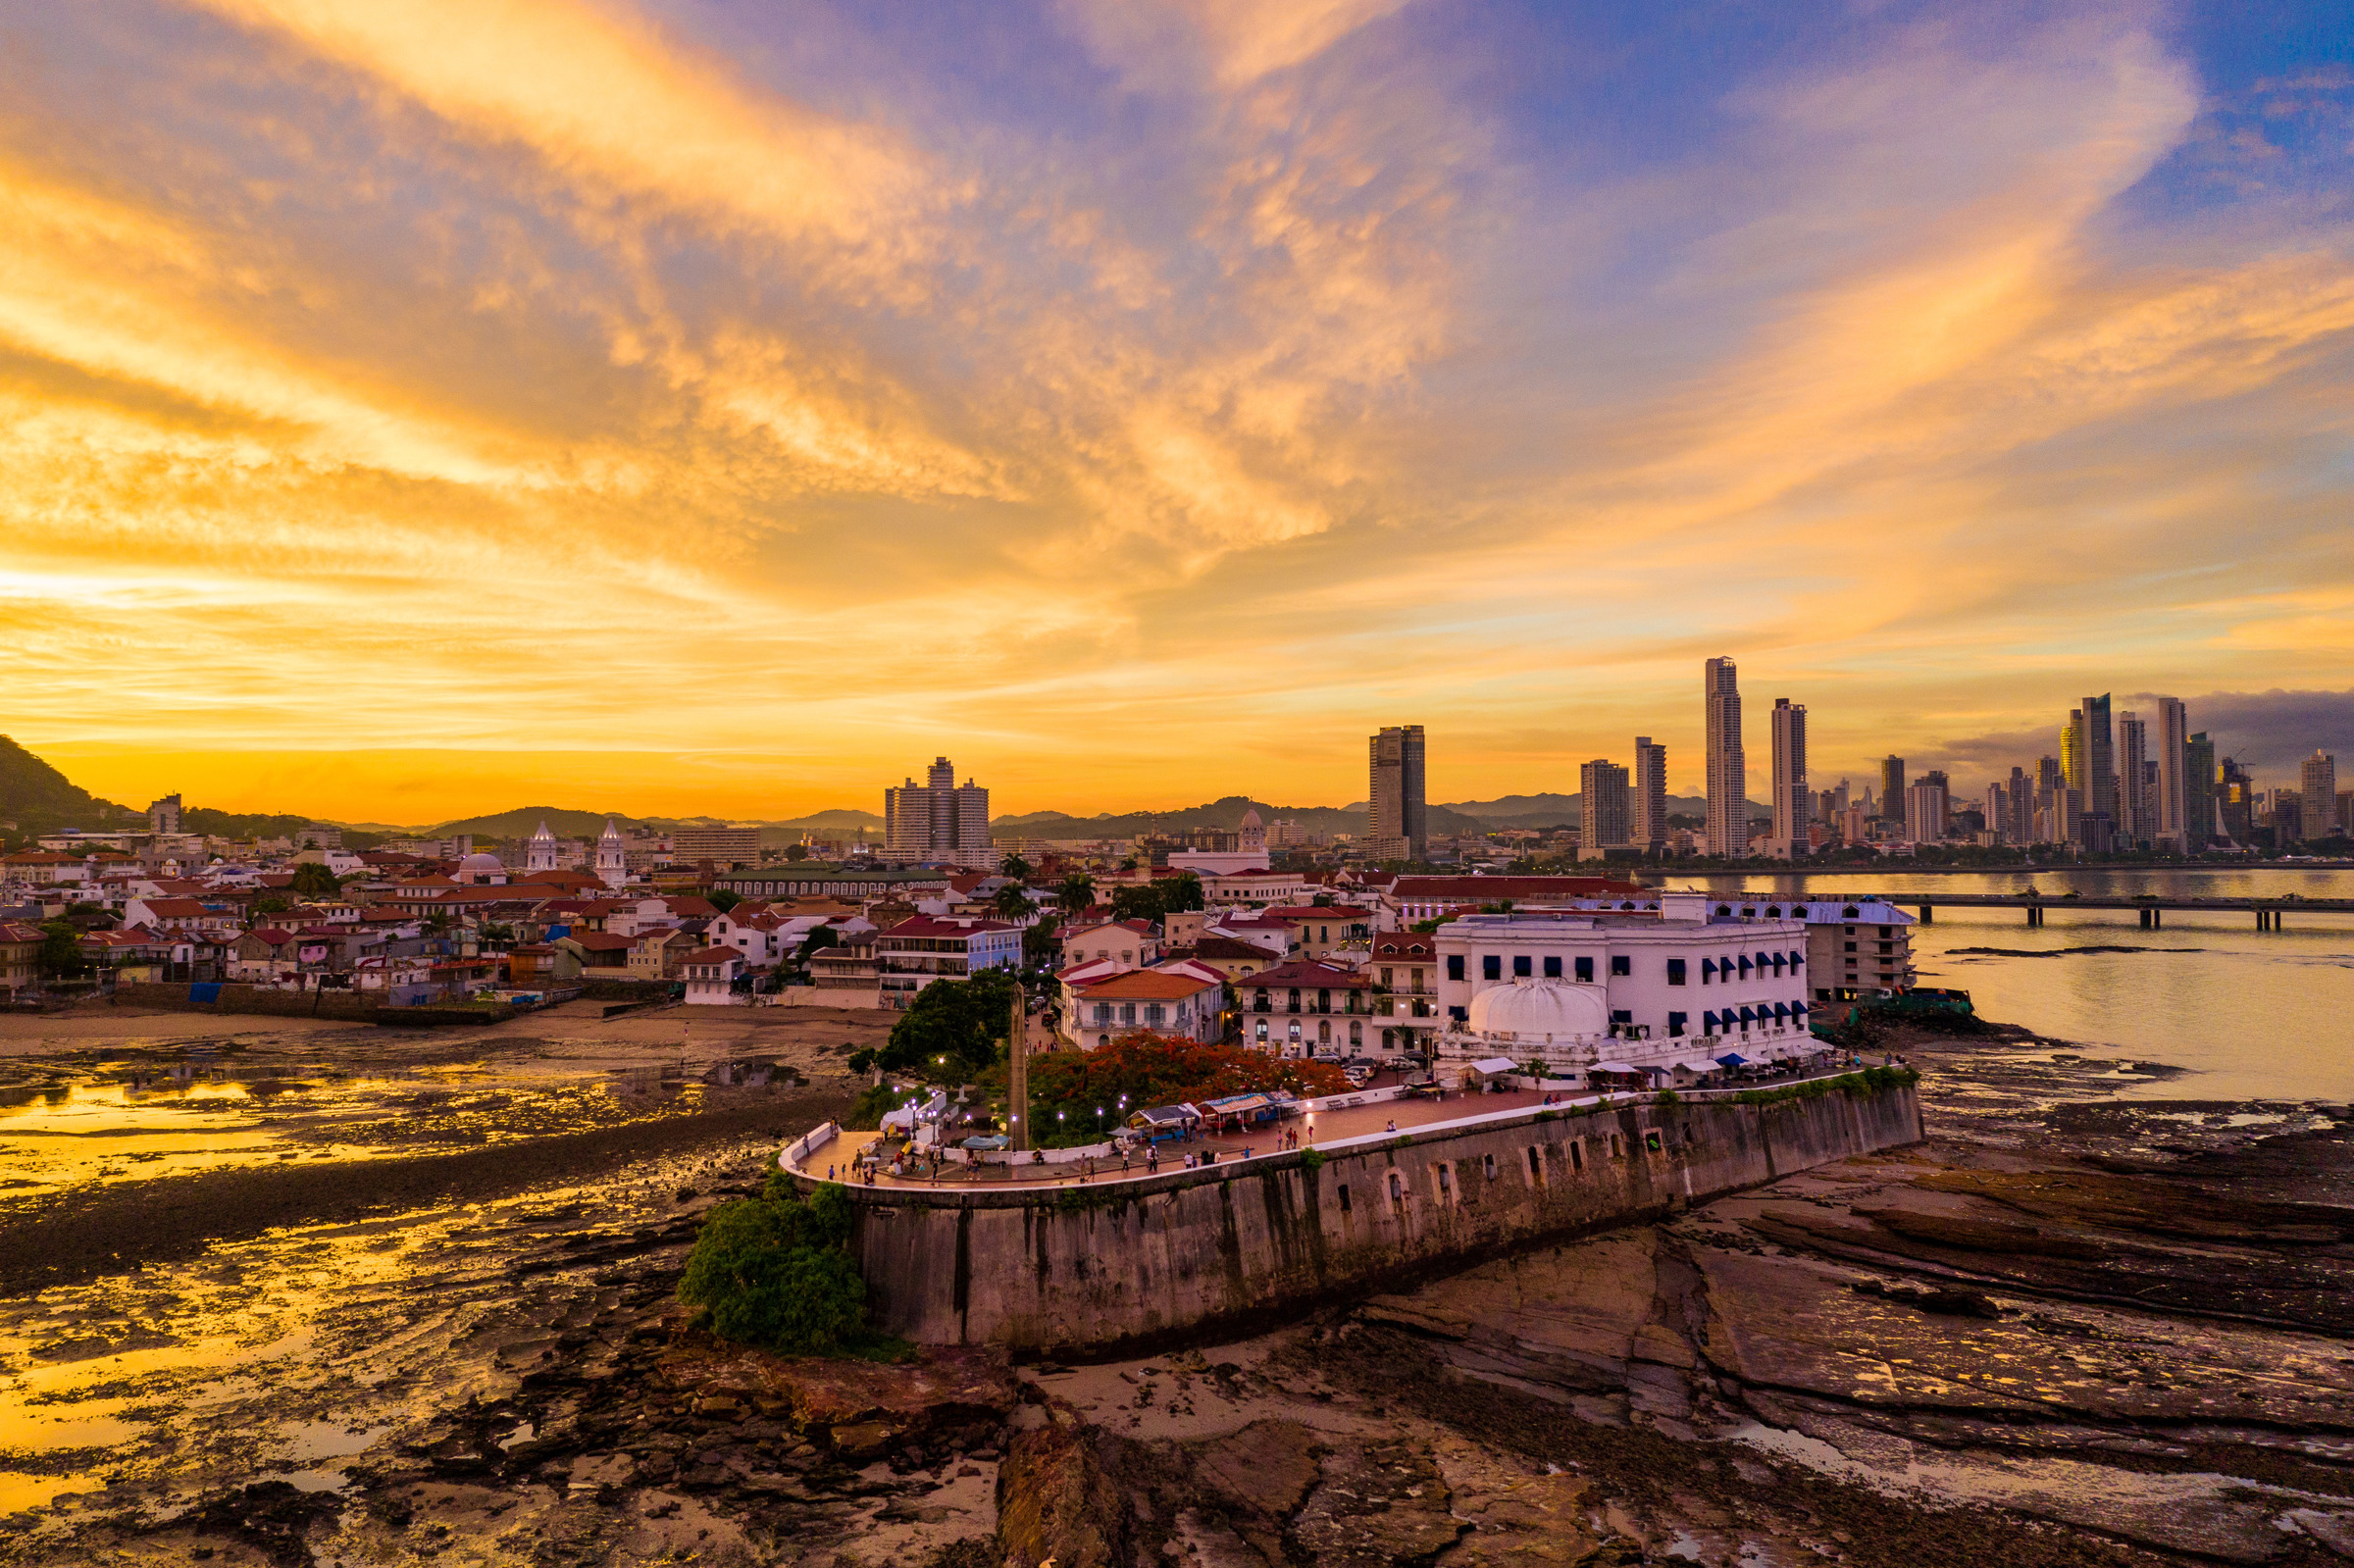
Casco Antiguo is the historic district in San Felipe. Panama’s tourism authority recommends exploring its squares on foot and identifies Plaza de Francia and the Paseo Esteban Huertas for views over the bay and skyline. Those landmarks give you a starting area. They do not mean that every elevated photograph can be copied from street level.
The easiest mistake in Casco is trying to show everything. A narrow street, balconies, signs, a bright doorway and people can compete for attention. Instead, decide what carries the frame. If it is a doorway, let the street lead toward it. If it is a balcony, choose an angle that separates its shape from the building behind. If it is the skyline beyond the old roof line, do not let the foreground become an accidental wall across the lower half of the photograph.
A 24-50mm view is a sensible starting range for street architecture. Keep the camera level where possible. Tilting sharply upward can make the buildings converge, which may be intentional but should not be an accident. Stepping back or using a longer focal length often produces a cleaner result than correcting a stretched wide-angle file later.
Old streets, modern towers
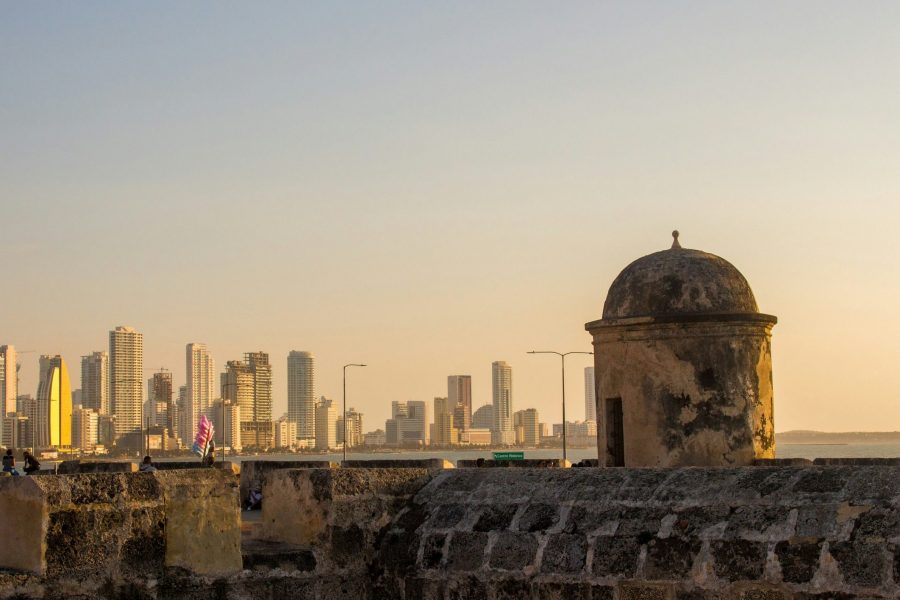
The contrast between old and new is the story, but it needs a clear arrangement. Look for an accessible pedestrian view where a roof line or historic wall sits apart from the modern buildings. A longer lens can help relate the two layers. Move a few steps and compare the overlap before settling in; small position changes may matter more than a dramatic lens change.
Elevated images are inspiration, not access instructions. Do not walk into a hotel, private balcony or rooftop because you recognize a view. Ask the venue about entry, operating hours and tripod restrictions before making it part of the session. Paying for a drink or a meal does not automatically authorize unrestricted photography.
Rain can simplify a street, once the storm is over
Wet paving can add a useful reflection and connect the foreground with a lit doorway. It can also become slippery and turn a tripod into an obstacle. Wait until the storm has passed, then work from a safe spot that leaves people room to move.
For a handheld scene, start around f/5.6 and ISO 400-1600, then choose a shutter fast enough for your lens and stability. Review the edges of signs and doorways rather than judging sharpness from a small camera preview. If you need a slower shutter, ask whether a support is permitted and make sure you are not blocking an entrance.
People live and work in Casco. Ask before close portraits. Avoid stepping into courtyards or making strangers into a prop for your travel story. A photograph can show the neighborhood without turning every person passing through it into a subject.
Parking within Casco is scarce, according to the tourism authority. Plan to explore on foot and confirm your arrival and pickup options in advance. A light kit is easier to use on a walking session than a bag packed for every possible focal length. The travel photography guide is a useful companion when deciding what to leave at the hotel.
3. Amador: skyline space and Biomuseo geometry
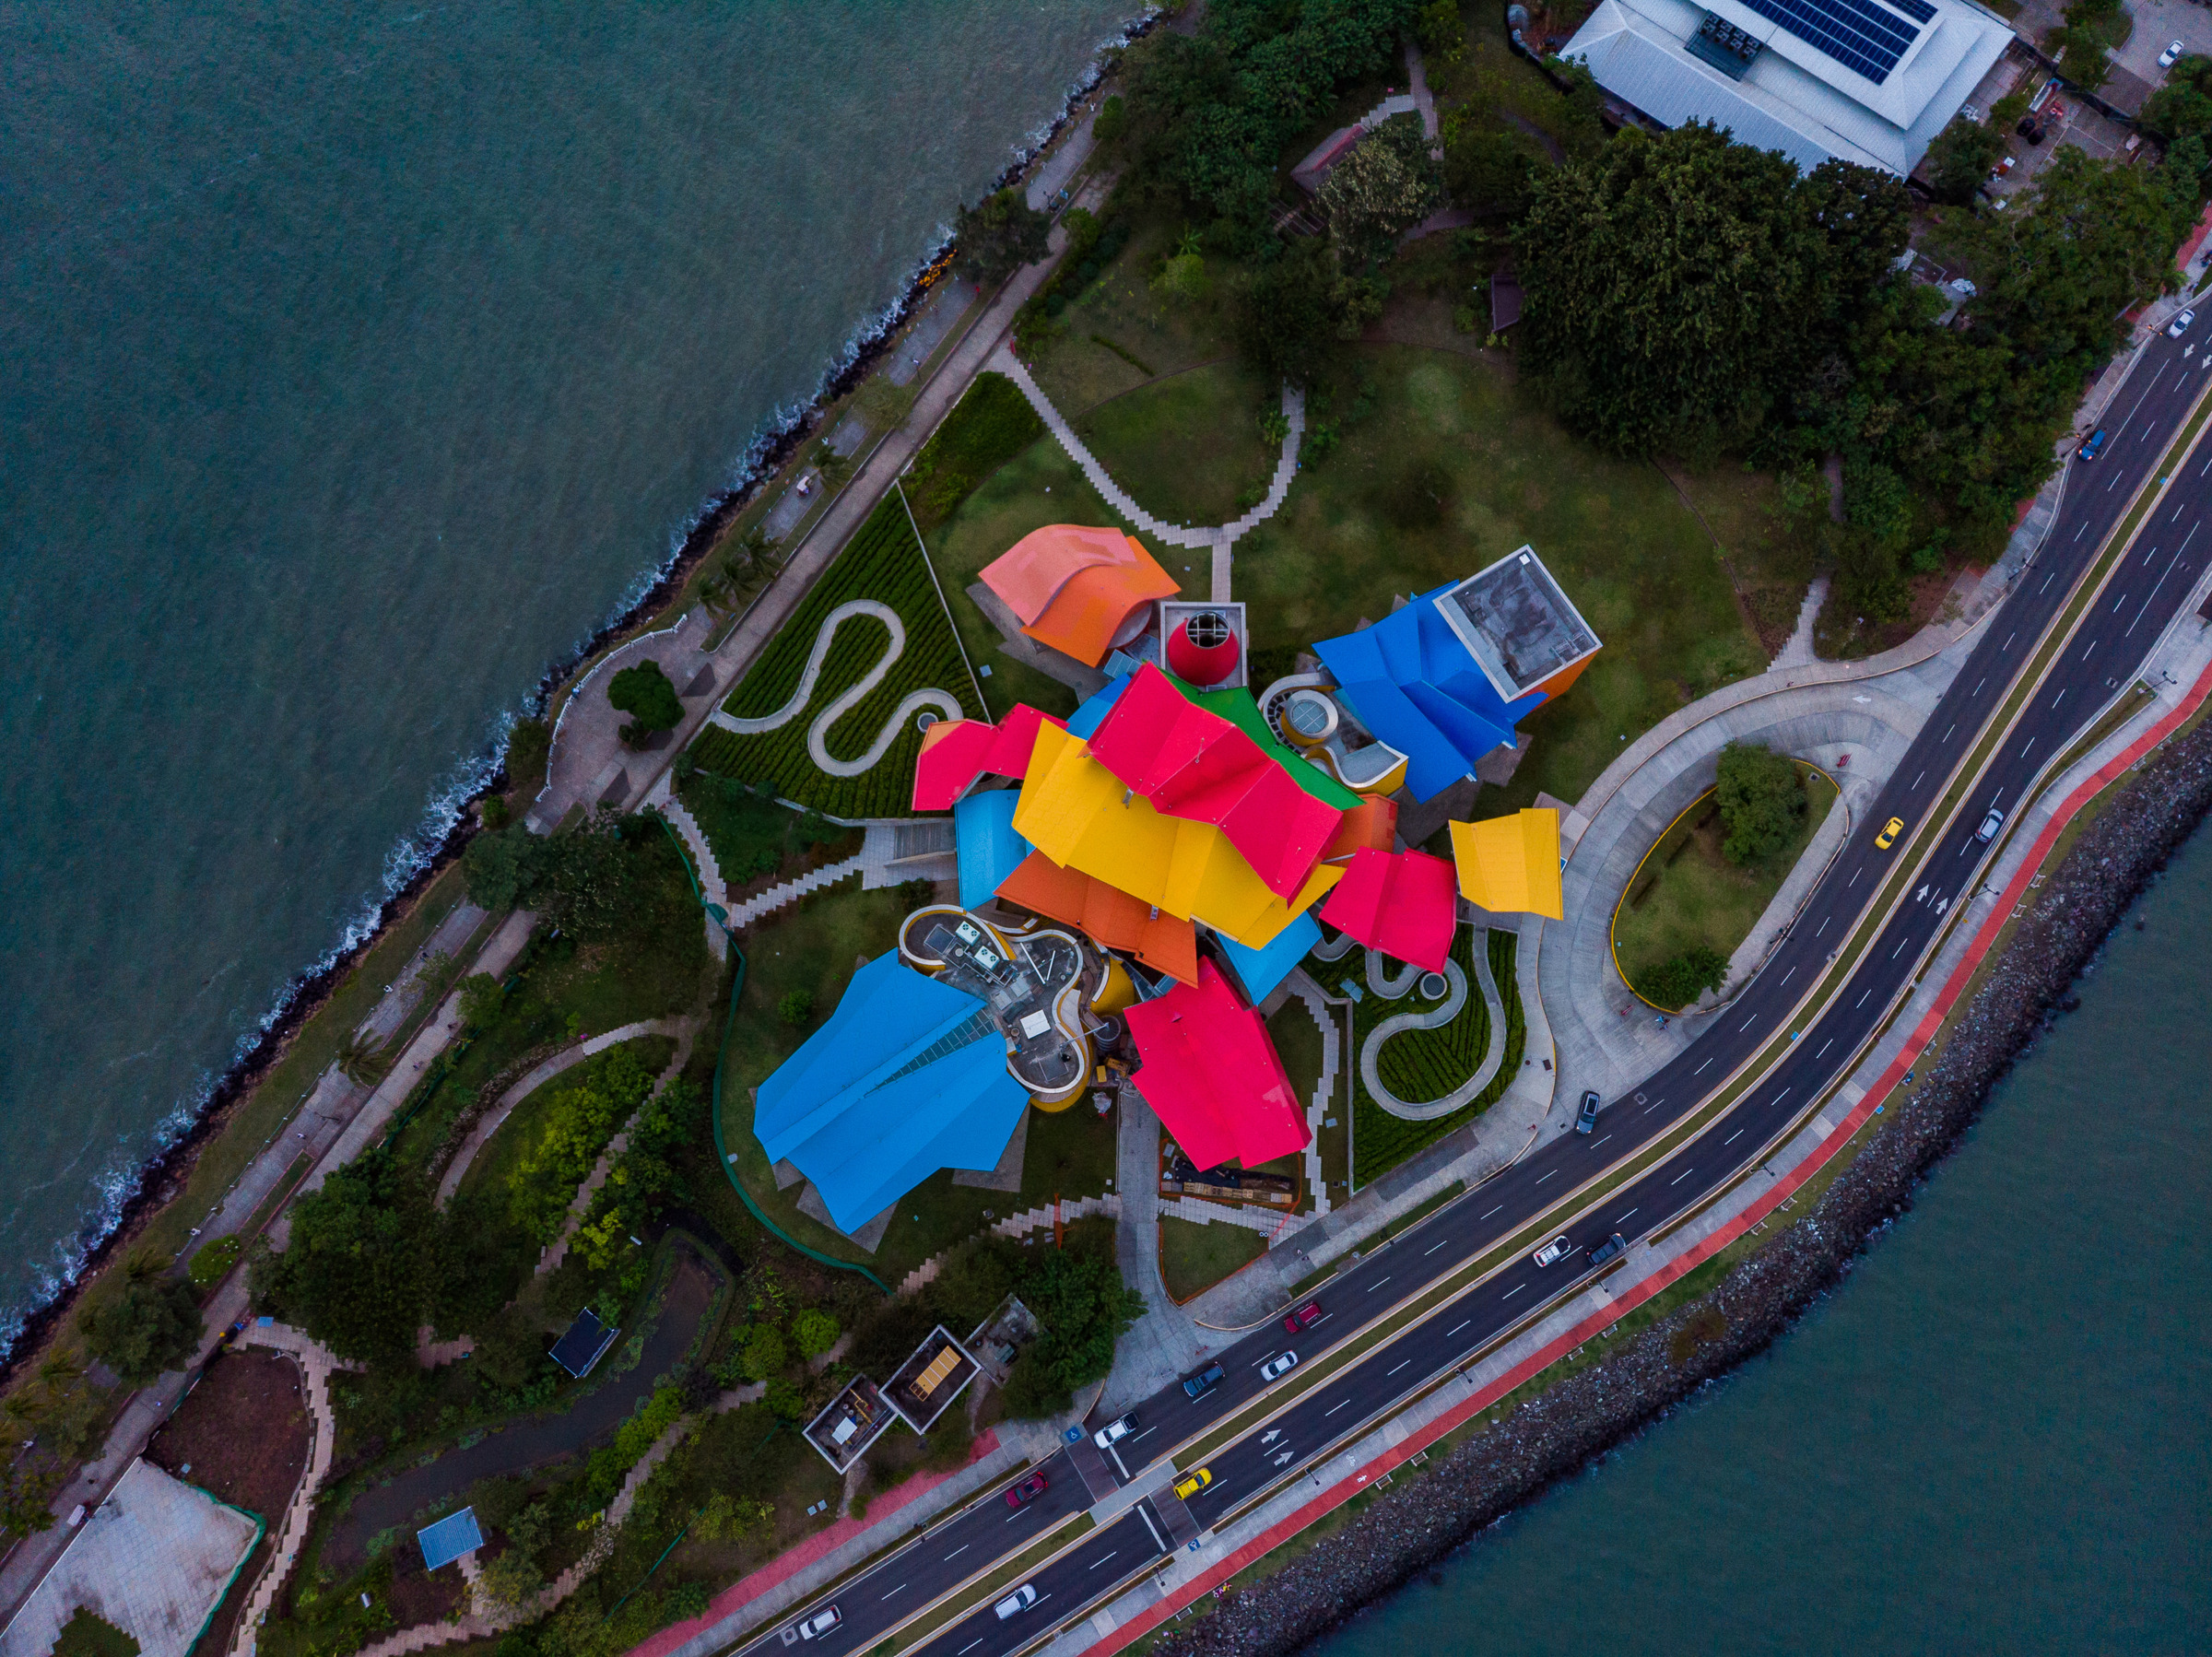
The Amador Causeway links the mainland with Naos, Perico and Flamenco islands. The official tourism page describes views toward the city skyline and the Pacific entrance to the Canal. Biomuseo adds a colorful architectural subject along the route, so you can plan a session around both distant towers and close geometric shapes without treating them as the same photograph.
For the distant skyline, try a longer lens first. A wide view can make towers very small unless you have a foreground worth including. Boats can provide scale, but remember that a sharp skyline does not prove a boat is sharp. Review the moving parts of the image, not only the static ones.
For architecture, look at how the roof planes overlap. The bright colors are already strong; the composition does not need every surrounding tree, road and building as well. Move until the shapes become clear. From authorized exterior visitor space, a 24-35mm view can give context without making the building feel tiny.
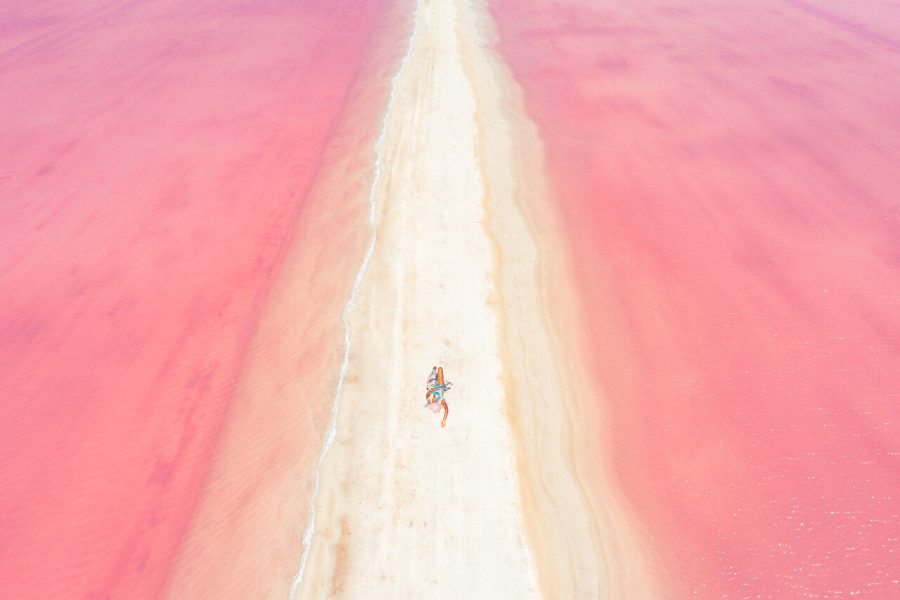
The owner photograph here is aerial. It illustrates the museum and causeway area, not a ground-level view you can reproduce. Drone use needs separate checks for aviation rules, airspace, landowner permission and site restrictions. This article does not recommend a launch point. If you have not checked those requirements, plan a ground-level session.
Do not plan museum entry around sunset
Biomuseo’s current site lists Tuesday-Friday opening from 9 a.m. to 3 p.m. and Saturday-Sunday from 10 a.m. to 3 p.m. It states that it opens Tuesday-Sunday. Those hours make an indoor visit and a late exterior shoot different activities. Check special closures, ticket conditions and photography rules before arriving.
The museum currently lists non-resident adult admission at B/.20. That is a checked visitor detail, not a permanently fixed price. An exterior photograph is not a reason to enter closed grounds or assume ticketed areas remain accessible once indoor hours end.
For static architecture, ISO 100 and f/8 are a useful start, with the shutter set by the light. With a long lens, watch for wind vibration. A tripod helps only if it is stable, permitted and placed safely. Before buying more gear, review what makes a support useful in the site’s landscape tripod guide.
A smaller kit makes a better walking day
A camera that records RAW files and a 24-70mm-style lens cover many of these scenes. Add a 70-200mm if tighter skyline groups, boats or distant architectural layers are important to you. Take a compact tripod for permitted static evening work, but do not assume every museum, terrace or restaurant allows one.
Carry a rain cover, microfiber cloths, spare battery and enough card space. Water and sun protection are part of the kit, not optional extras that matter less than another lens. Keep equipment discreet while moving and your bag closed when shooting. Arrange the return trip before a night session rather than after your battery is empty.
Weather, timing and an honest backup
On Panama’s Pacific side, December through April is generally the drier planning window. Wet-season visits need flexibility, and October and November can bring heavy rain. Those are seasonal patterns, not a forecast for your session. Check the actual weather and pause during thunder rather than trying to earn one last frame beside exposed water.
Keep one main subject per session. If clouds flatten the skyline, look for a simpler architectural study or move to an authorized interior. If a private view is unavailable, return to a public waterfront composition. A useful backup changes the photograph; it does not require changing access rules.
Frequently asked questions
Is this Panama City in Panama or Florida?
This article covers Panama City, Panama. Its three featured areas are Cinta Costera, Casco Antiguo and Amador Causeway.
Are the suggested settings exact settings from the photographs?
No. They are starting scenarios for the conditions described. Adjust exposure, focus and shutter speed to the actual light and subject movement.
Do the photographs mean I can fly a drone or enter a rooftop?
No. Historic aerial and elevated images illustrate subjects. Drone use and private property access require separate checks and permission.
When is a useful time to photograph the waterfront skyline?
Try the transition into blue hour when sky color and building lights can balance. Scout in daylight, check the weather and do not expect guaranteed sunset color or reflections.
What does the paid PDF add?
The $47 guide has five city spots rather than this article’s three, plus coordinates, ten named-landmark map links, access notes, shot lists, a pin directory and a two-day planning outline. The pins are orientation references, not guaranteed tripod positions.
Disclosure: Some links on Shut Your Aperture may be affiliate links. If you buy through an affiliate link, the site may earn a commission at no extra cost to you. The three internal learning links in this article are not merchant checkout links.
Photography spot GPS references
The three spots in this article each have their own GPS reference. These arrival references do not claim an exact historical camera position. The extra Amador, Herrera, Independence Square, seafood-market and Paseo pins are route/scouting references, not five additional photographed spots.
- Cinta Costera: Pacific Lookout: 8.961824, -79.534482. XF68+P6C, Cinta Costera, Panamá, Provincia de Panamá, Panama. Open Google Maps. Area orientation point.
- Casco Antiguo: Plaza de Francia: 8.949820, -79.532049. C. 2a Oeste 85-81, Panamá, Provincia de Panamá, Panama. Open Google Maps. Area orientation point.
- Biomuseo, Amador Causeway: 8.932221, -79.544635. WFH4+XG, Calz. de Amador 136, Panamá, Provincia de Panamá, Panama. Open Google Maps. Building location for aerial reference.
What to Pack
For city scenes, a flexible focal range and a light kit can help you move between streets and details. See the B&H Photo Video and Amazon options below, then choose what fits your setup.
| What & Why | B&H | Amazon |
|---|---|---|
Sony 24-70mm f/2.8 GM II Check the camera mount before buying. Choose a focal length that fits the photos you plan to make. | Shop B&H → | Shop Amazon → |
Sony 35mm f/1.4 GM Check the camera mount before buying. Choose a focal length that fits the photos you plan to make. | Shop B&H → | Shop Amazon → |
Peak Design Travel Tripod Check the load rating, packed size and local tripod rules before buying. | Shop B&H → | Shop Amazon → |
Tiffen 77mm Variable ND Check the filter type and lens thread size before buying. Use a filter only when the effect fits your photo. | Shop B&H → | Shop Amazon → |
Sony NP-FZ100 battery Use the battery type specified for your camera. Bring a spare if your shooting plan calls for one. | Shop B&H → | Shop Amazon → |
LensPen NLTP-1 Follow the cleaning instructions for your lens and this kit. Remove loose dust before cleaning the optical surface. | Shop B&H → | Shop Amazon → |
Peak Design Slide Lite Compare this option with your current kit. Check compatibility and the product details before buying. | Shop B&H → | Shop Amazon → |
B&H and Amazon links are affiliate links. We earn a small commission on purchases at no extra cost to you.