
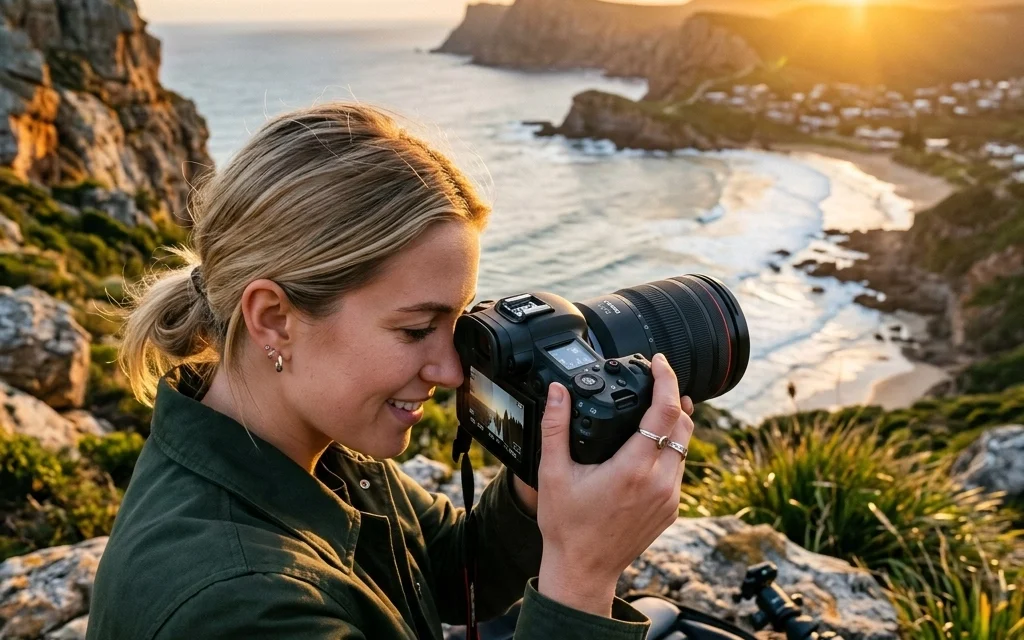
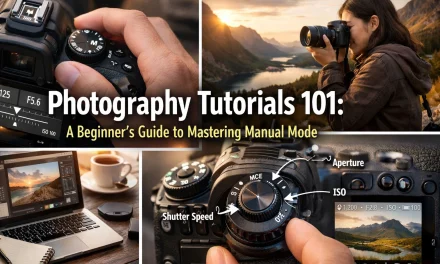
Let’s be real for a second. That little "M" on your camera dial is intimidating. It sits there, staring at you, while you comfortably stay in the "Auto" green zone or maybe venture into "Aperture Priority" on a wild Friday night. We’ve all been there. You bought a fancy camera because you wanted better photos, but the moment you switch to manual, everything turns pitch black or blindingly white.
But here is the secret: Manual mode isn't a math test. It’s a creative tool. Mastering it is the difference between taking a picture and making a photograph. At Shut Your Aperture, we believe everyone can handle the "M" mode without losing their mind.
If you’re just starting out, you might want to check out our photography for beginners 101 guide first, but if you’re ready to take the training wheels off, keep reading.
The Holy Trinity: The Exposure Triangle
If you want to master manual mode, you have to understand the Exposure Triangle. Think of it as a three-legged stool. If one leg is too short, the whole thing falls over. These three elements, Aperture, Shutter Speed, and ISO, work together to determine how much light reaches your sensor and how that light looks.
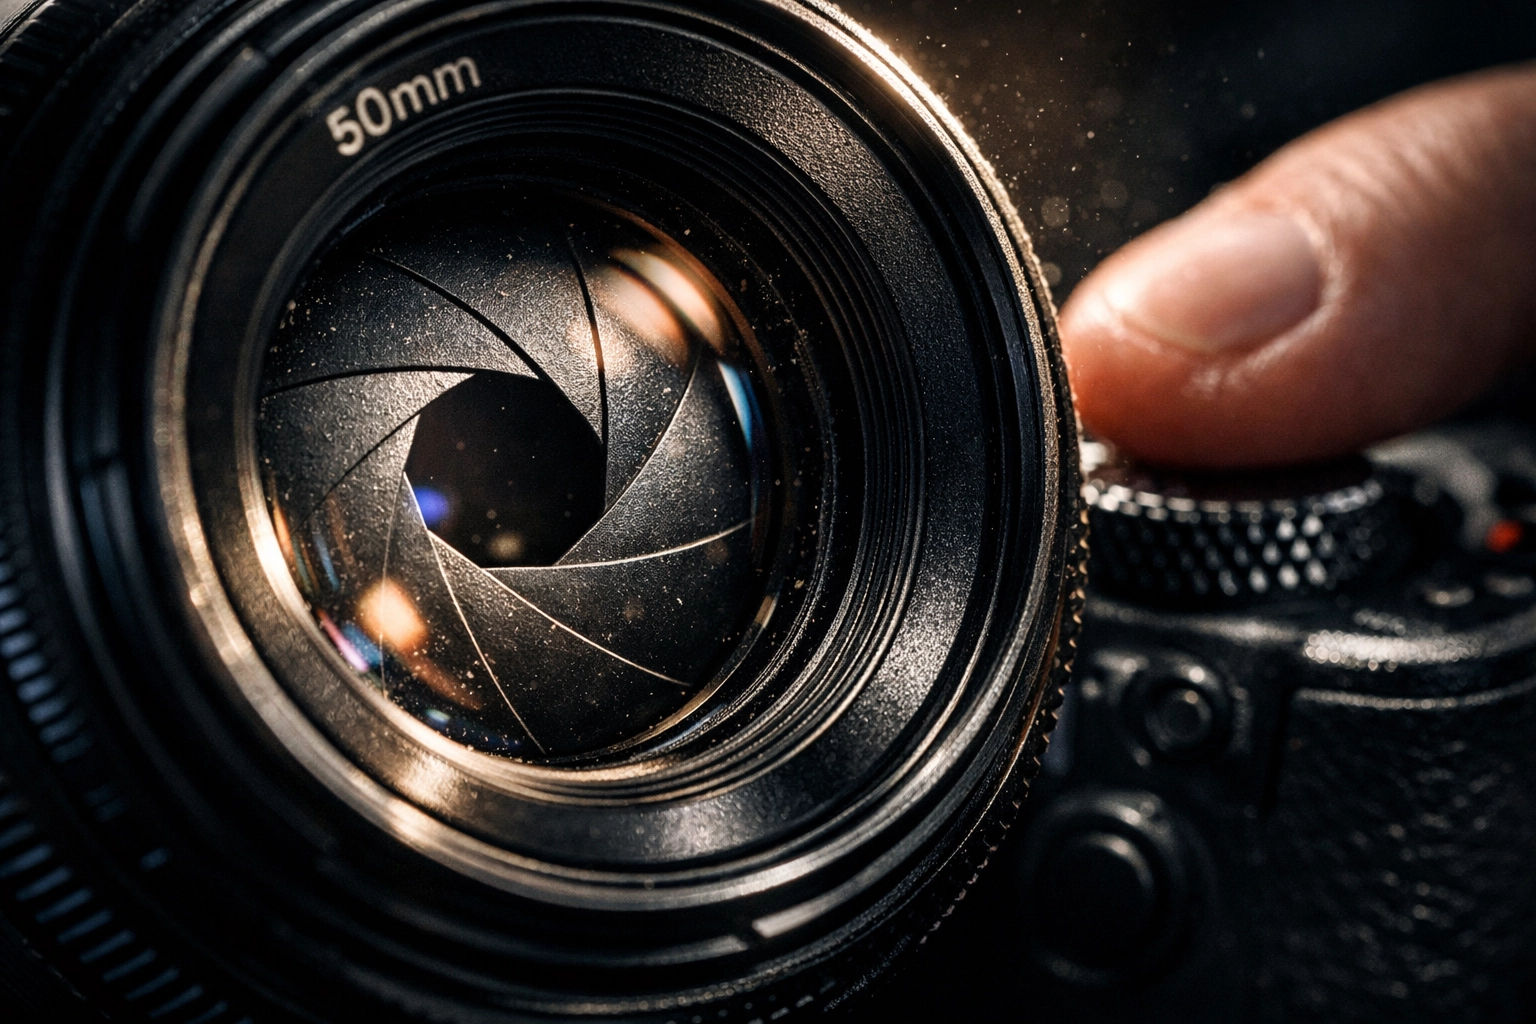
1. Aperture (The "Eye" of the Camera)
Aperture is the opening in your lens. Think of it like the pupil of your eye. When it’s dark, your pupil gets bigger to let more light in. When it’s bright, it gets smaller.
In camera terms, aperture is measured in f-stops (like f/1.8, f/4, or f/11). This is where it gets a little confusing:
- Small f-number (f/1.8): Large opening, lots of light, blurry background (shallow depth of field).
- Large f-number (f/16): Small opening, less light, everything in focus (deep depth of field).
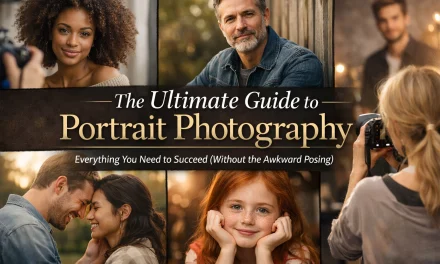
If you are trying to master portrait photography techniques, you’ll likely want a wide aperture (small f-number) to get that creamy, out-of-focus background.
2. Shutter Speed (The "Blink")
Shutter speed is how long the camera’s sensor is exposed to light. It’s measured in fractions of a second.
- Fast Shutter Speed (1/1000s): Freezes motion. Great for sports or kids running around.
- Slow Shutter Speed (1/10s or longer): Blurs motion. This is how people get those silky waterfalls in landscape photography.
3. ISO (The "Sensitivity")
ISO is your sensor's sensitivity to light.
- Low ISO (100-200): Best for bright daylight. Produces the cleanest, sharpest images.
- High ISO (3200+): Necessary for low light, but it introduces "noise" or grain to your photo.
Why You Should Stop Using Auto Mode Today
Auto mode is like letting a robot decide what’s important in your life. Sure, the robot is smart, but it doesn't have an artistic soul. When your camera is in Auto, it tries to make everything "average." It sees a beautiful sunset and thinks, "Hey, this is too dark, let me fire the flash and ruin the mood."
By switching to Manual, you regain control. You can choose to underexpose a silhouette for drama or overexpose for a high-key, airy look. If you’ve ever wondered why your shots aren't hitting the mark, take a look at these 10 reasons your manual mode shots aren’t working.
How to Set Up Your First Manual Shot: A Step-by-Step Workflow
Don't just start spinning dials randomly. Follow this simple workflow to get a solid baseline.
Step 1: Set Your ISO
Start with the lowest ISO possible for your lighting. If you’re outside in the sun, go for ISO 100. If you’re indoors, maybe start at 800. Only raise it if you absolutely have to.
Step 2: Choose Your Aperture
What’s the vibe of the photo?
- Portraits? Go wide (f/1.8 – f/2.8).
- Landscapes? Go narrow (f/8 – f/11).
- Street photography? Somewhere in the middle (f/4 – f/5.6) usually works well for catching the action. If you need some inspiration, check out these 25 creative street photography ideas.
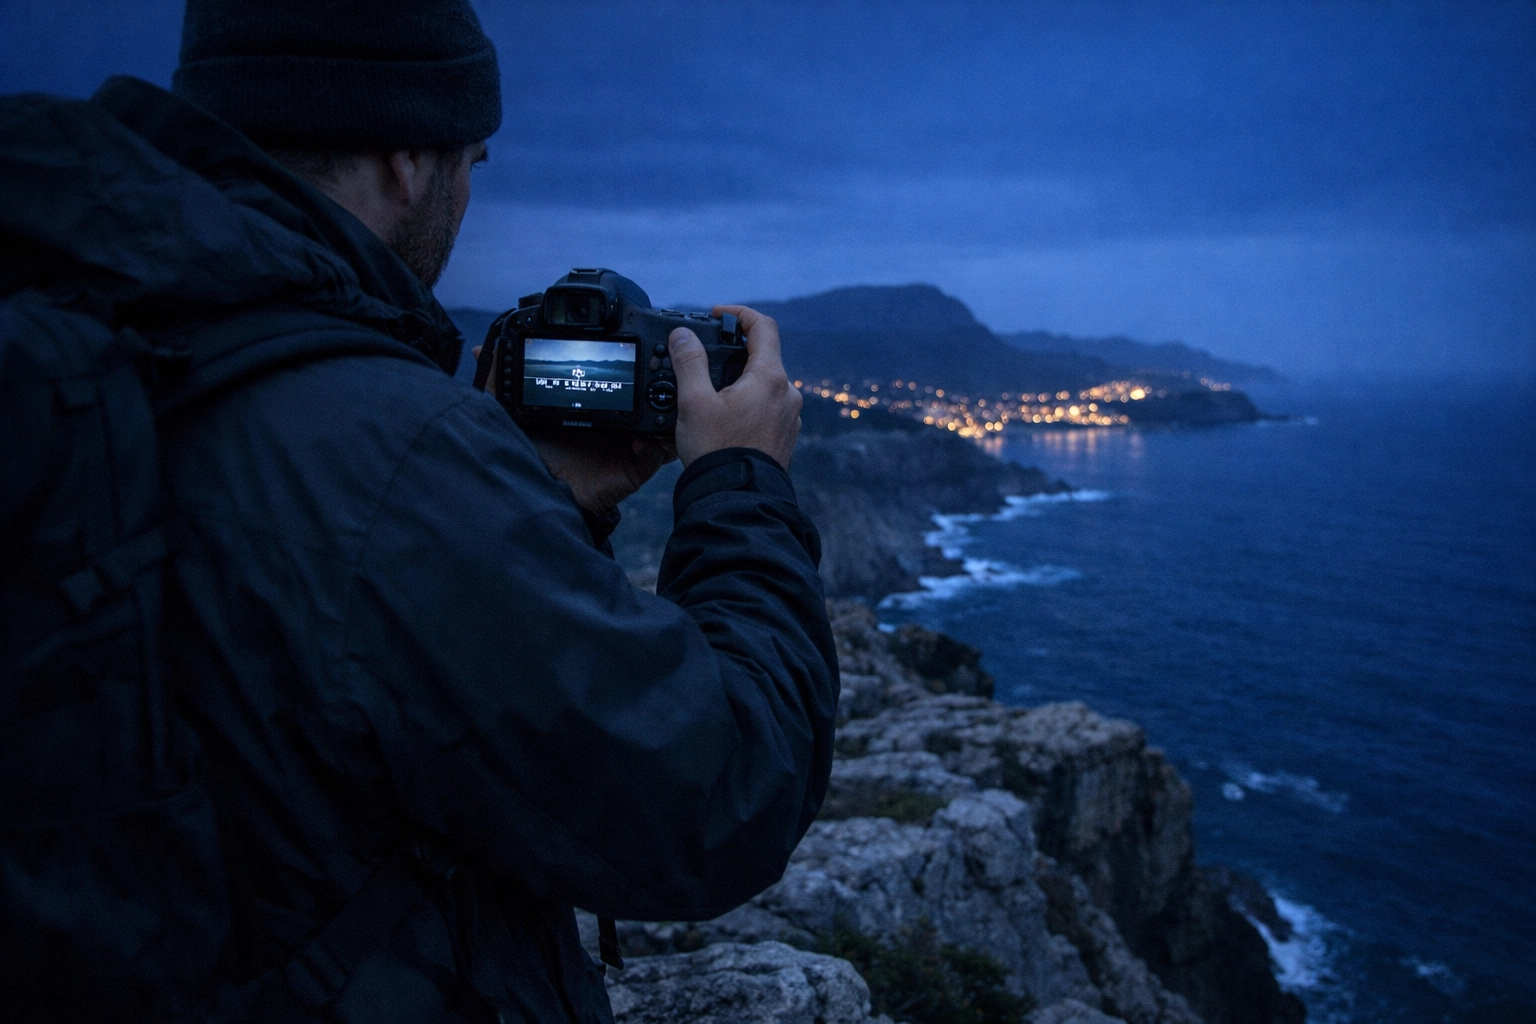
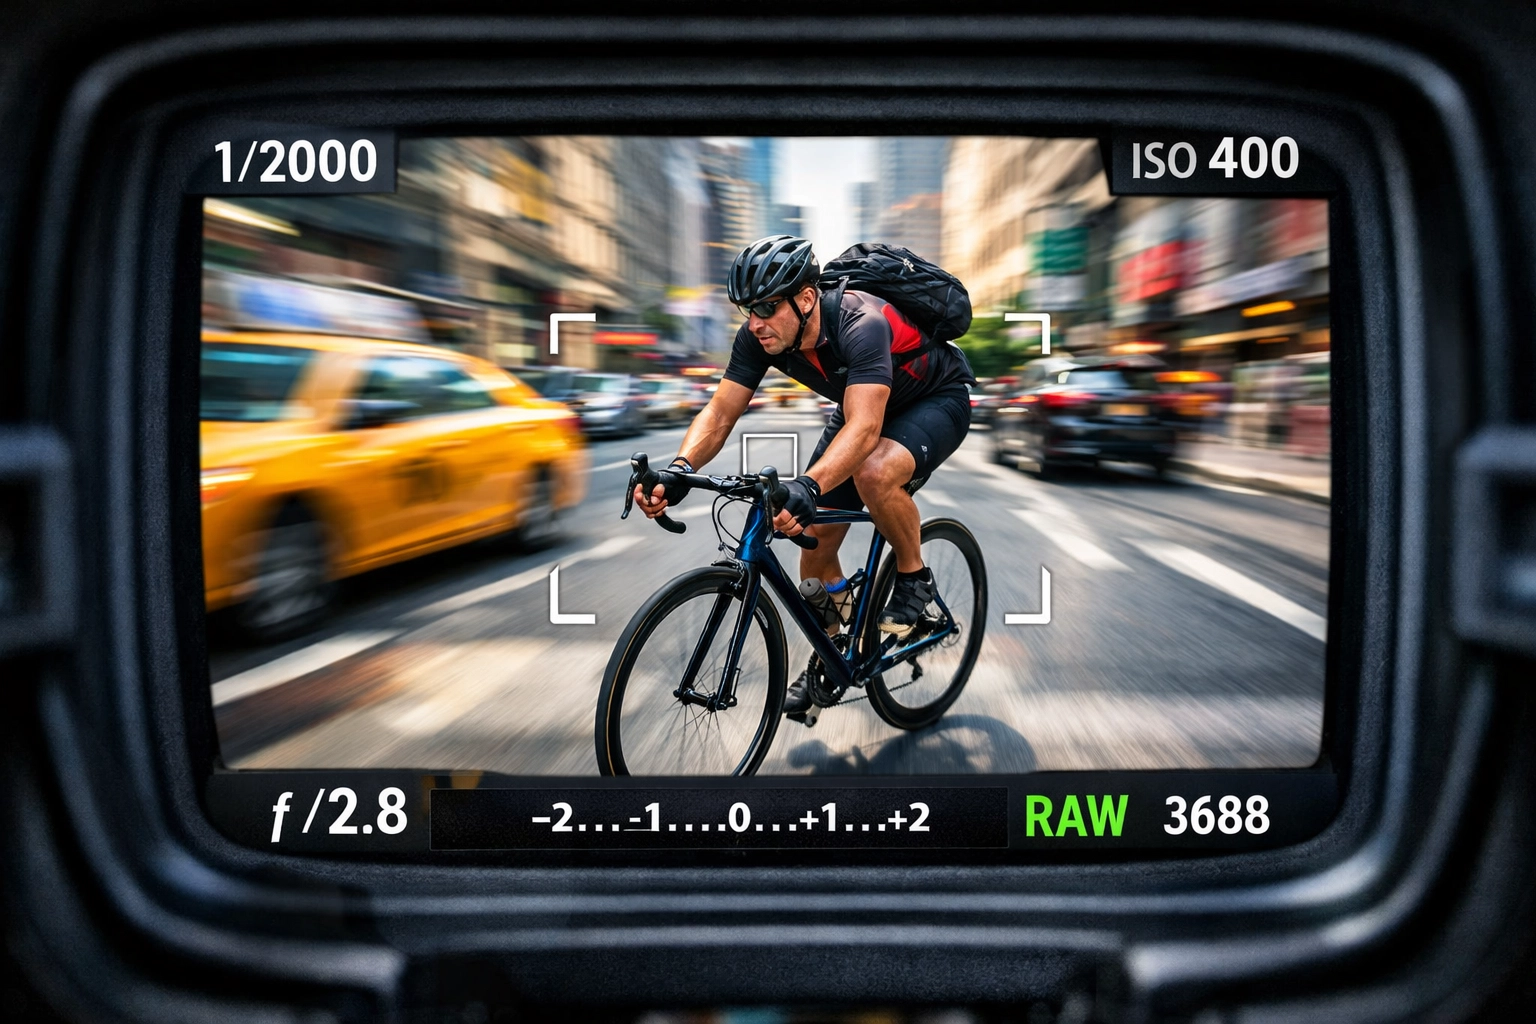
Step 3: Adjust Shutter Speed Using the Light Meter
Look through your viewfinder or at your LCD screen. You’ll see a little scale with a "0" in the middle and "-2" and "+2" on the ends. This is your light meter.
Adjust your shutter speed until the little tick mark is at or near the "0."
Step 4: Take the Shot and Review
Digital film is free. Take the photo, look at the back of the screen, and zoom in. Is it too dark? Slow down the shutter. Is it blurry because you moved? Speed up the shutter and raise the ISO.
Balancing the Scales: The Tug-of-War
Manual mode is a constant game of give and take. If you decide you want more background blur (opening the aperture), you’re letting in more light. To keep the exposure the same, you have to "pay" for that light by either speeding up your shutter or lowering your ISO.
It’s like a recipe. If you add more salt, you might need more water to balance it out. Once you understand this relationship, you’ll stop thinking about the settings and start thinking about the image.
Common Mistakes Beginners Make (And How to Fix Them)
Even the pros mess up sometimes. I've spent years shooting, and I still occasionally leave my ISO at 3200 from the night before while shooting in broad daylight. Here are some common pitfalls:
- Trusting the LCD Screen Too Much: The screen on the back of your camera is a liar. It’s brightened or dimmed based on your environment. Always check your histogram or use your light meter.
- Fear of High ISO: Modern cameras are incredible. Don't be afraid to push your ISO to 1600 or 3200 to get a sharp shot. A grainy photo is better than a blurry, unusable one.
- Changing Everything at Once: If your photo is too dark, don't change the aperture, shutter, and ISO all at once. Change one thing, see the result, and go from there.
If you are specifically into landscapes, you might be making some very specific errors. Check out our guide on 7 mistakes you’re making with landscape photography to get ahead of the curve.
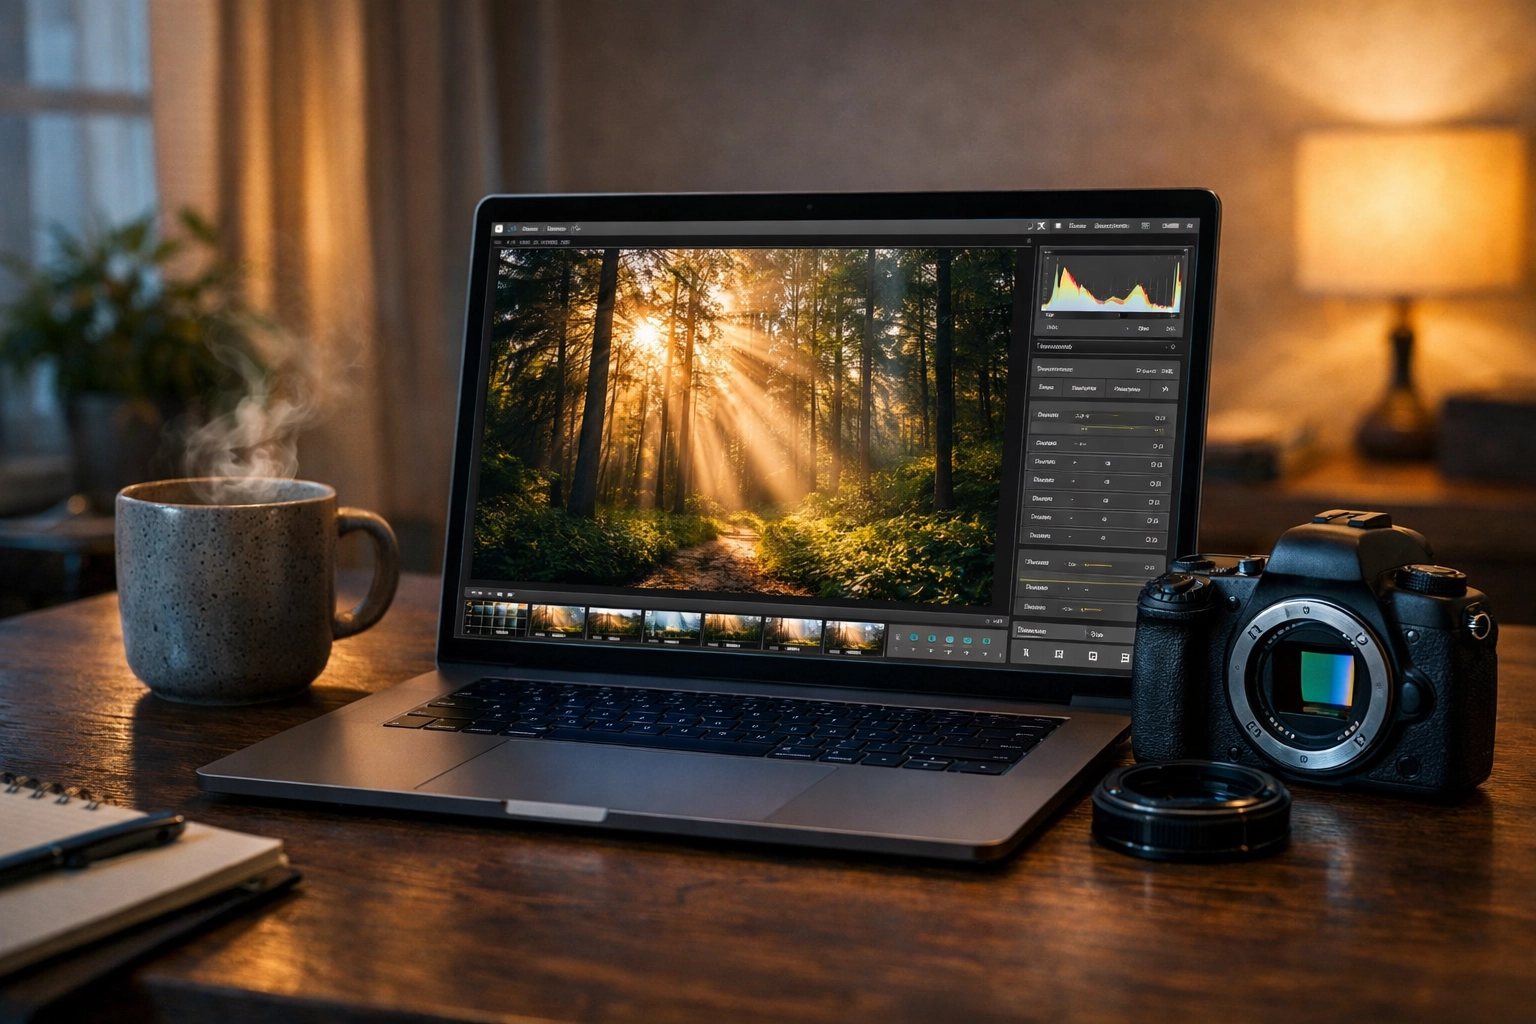
Beyond the Camera: The Role of Post-Processing
Mastering manual mode is 70% of the battle. The other 30% happens at your computer. Shooting in manual usually means you are also shooting in RAW format. RAW files contain way more data than JPEGs, but they look a bit flat straight out of the camera.
This is where editing comes in. You can recover shadows, pull back highlights, and really make those colors pop. We highly recommend using Luminar for its intuitive AI tools that make manual adjustments feel like a breeze. It’s a great way to polish the technical perfection you achieved in manual mode.
For more on this, dive into our ultimate guide to photo editing tutorials.
Practice Exercises to Build Muscle Memory
You can't learn to ride a bike by reading a manual, and you can't learn manual mode by just reading this blog. You need to get out there.
The "Same Exposure" Challenge
Find a static object, like a vase or a parked car. Take three photos of it with the exact same exposure (brightness), but change your settings for each:
- One with a wide aperture (shallow depth of field).
- One with a fast shutter speed (low ISO).
- One with a narrow aperture (high ISO).
See how the "look" of the photo changes even though the brightness stays the same.
The "Low Light" Challenge
Go into a dimly lit room and try to take a sharp photo of a moving object (like a pet) without using flash. This will force you to balance your shutter speed and ISO. It’s hard, but it’s the best way to learn the limits of your gear.
For more structured learning, you can always visit resources like PhotoGuides.org for specific gear walkthroughs.
The Mental Shift: From Taker to Maker
When you’re in Auto, you’re a "picture taker." You’re reacting to what’s in front of you and hoping the camera gets it right. When you switch to Manual, you become a "picture maker."
You start seeing the world in terms of light and shadow. You realize that the "correct" exposure isn't always the best exposure. Maybe you want to underexpose to create a moody, mysterious silhouette. Maybe you want to overexpose to create a high-fashion, "blown-out" look. Manual mode gives you the permission to be "wrong" for the sake of art.
Final Thoughts on Mastering the Dial
Mastering manual mode is a journey, not a destination. Even after years of shooting, I still find myself learning new ways to manipulate light. The key is consistency.
I’ve been chatting with Sonny, our Social Media Manager, and we’re going to be posting some quick "Cheat Sheet" reels on Instagram to help you remember these settings while you’re out in the field. Make sure you’re following along so you can have these tips in your pocket.
If you ever feel overwhelmed, remember why you started. Photography is about capturing a moment. Manual mode just ensures you capture it exactly how you saw it, not how the camera manufacturer programmed it.
For more technical deep dives, check out proshoot.io or see some of my personal manual mode work over at Edin Fine Art.
Now, grab your camera, turn that dial to "M," and go make something awesome. Don't worry about the mistakes: they’re just part of the process. If you find yourself struggling with specific gear settings, our photography tutorials 101 is always here to help.
Happy shooting!


