
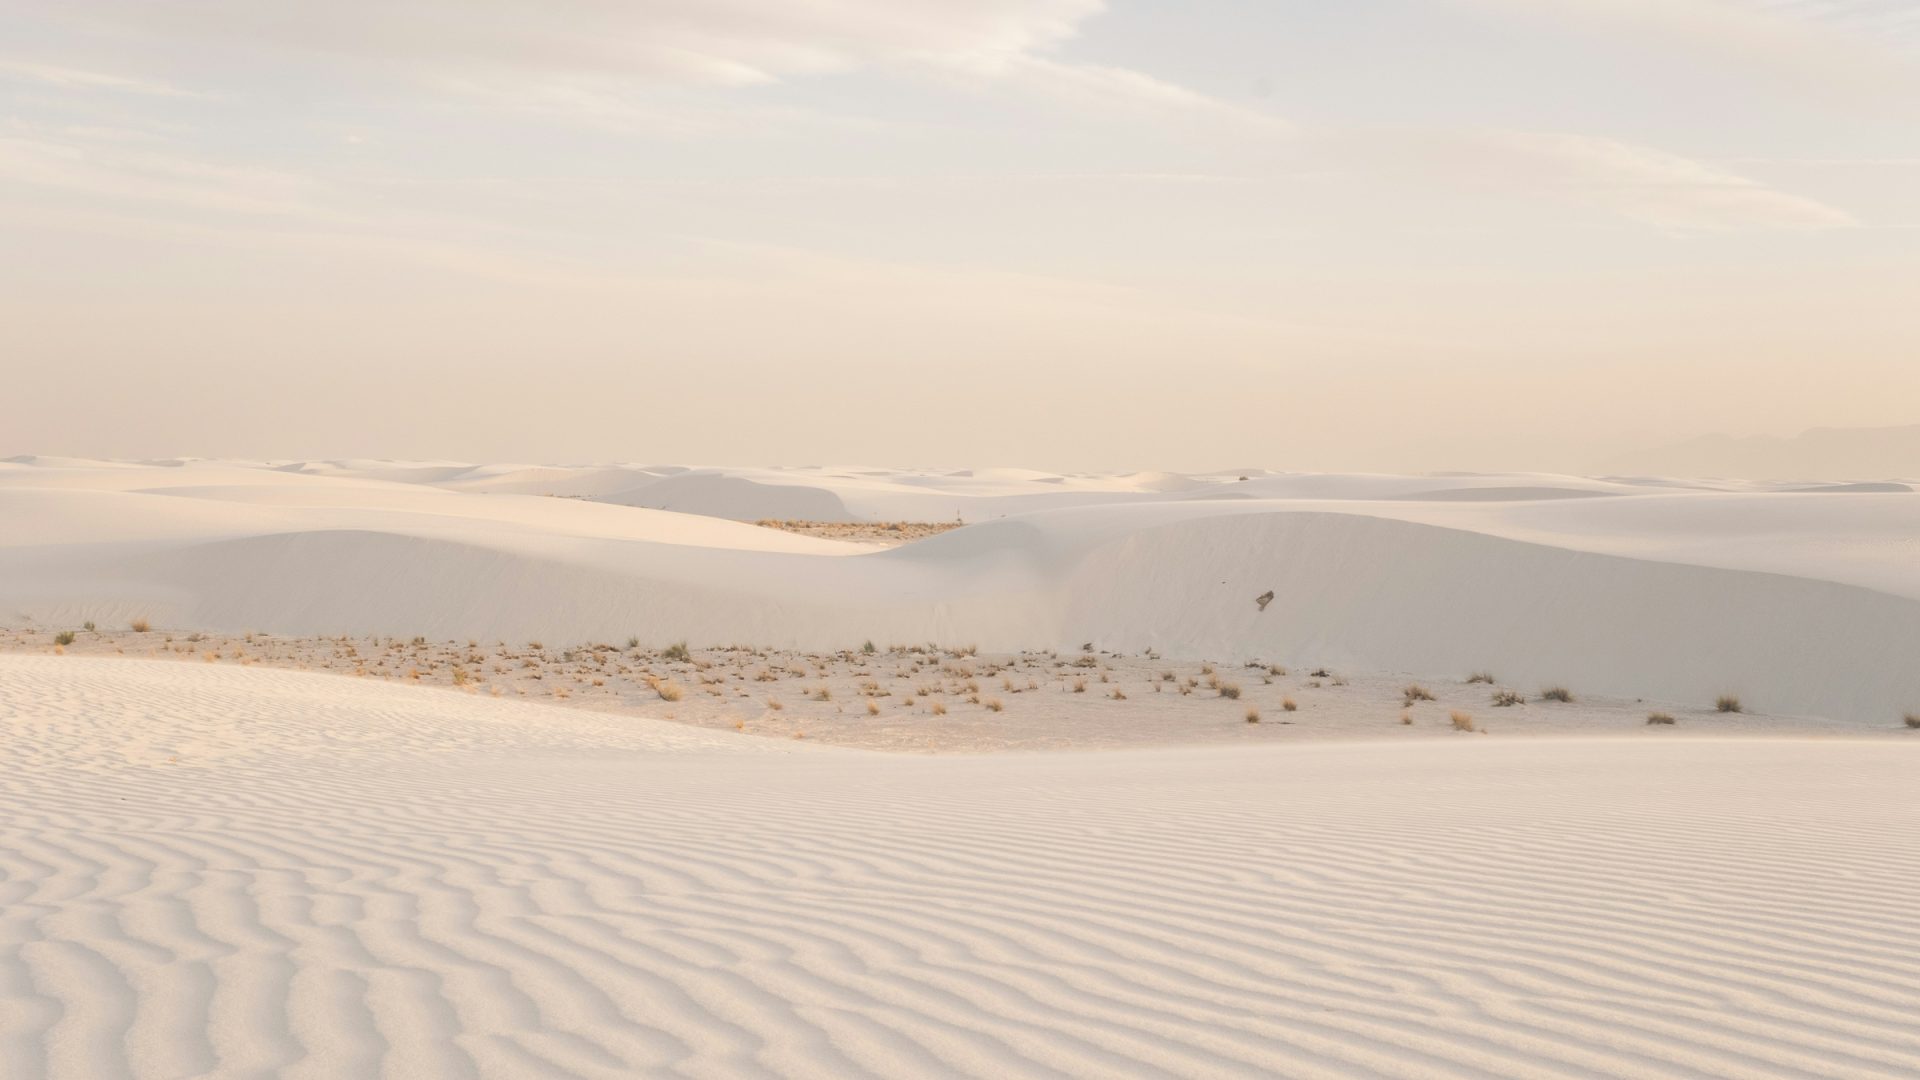
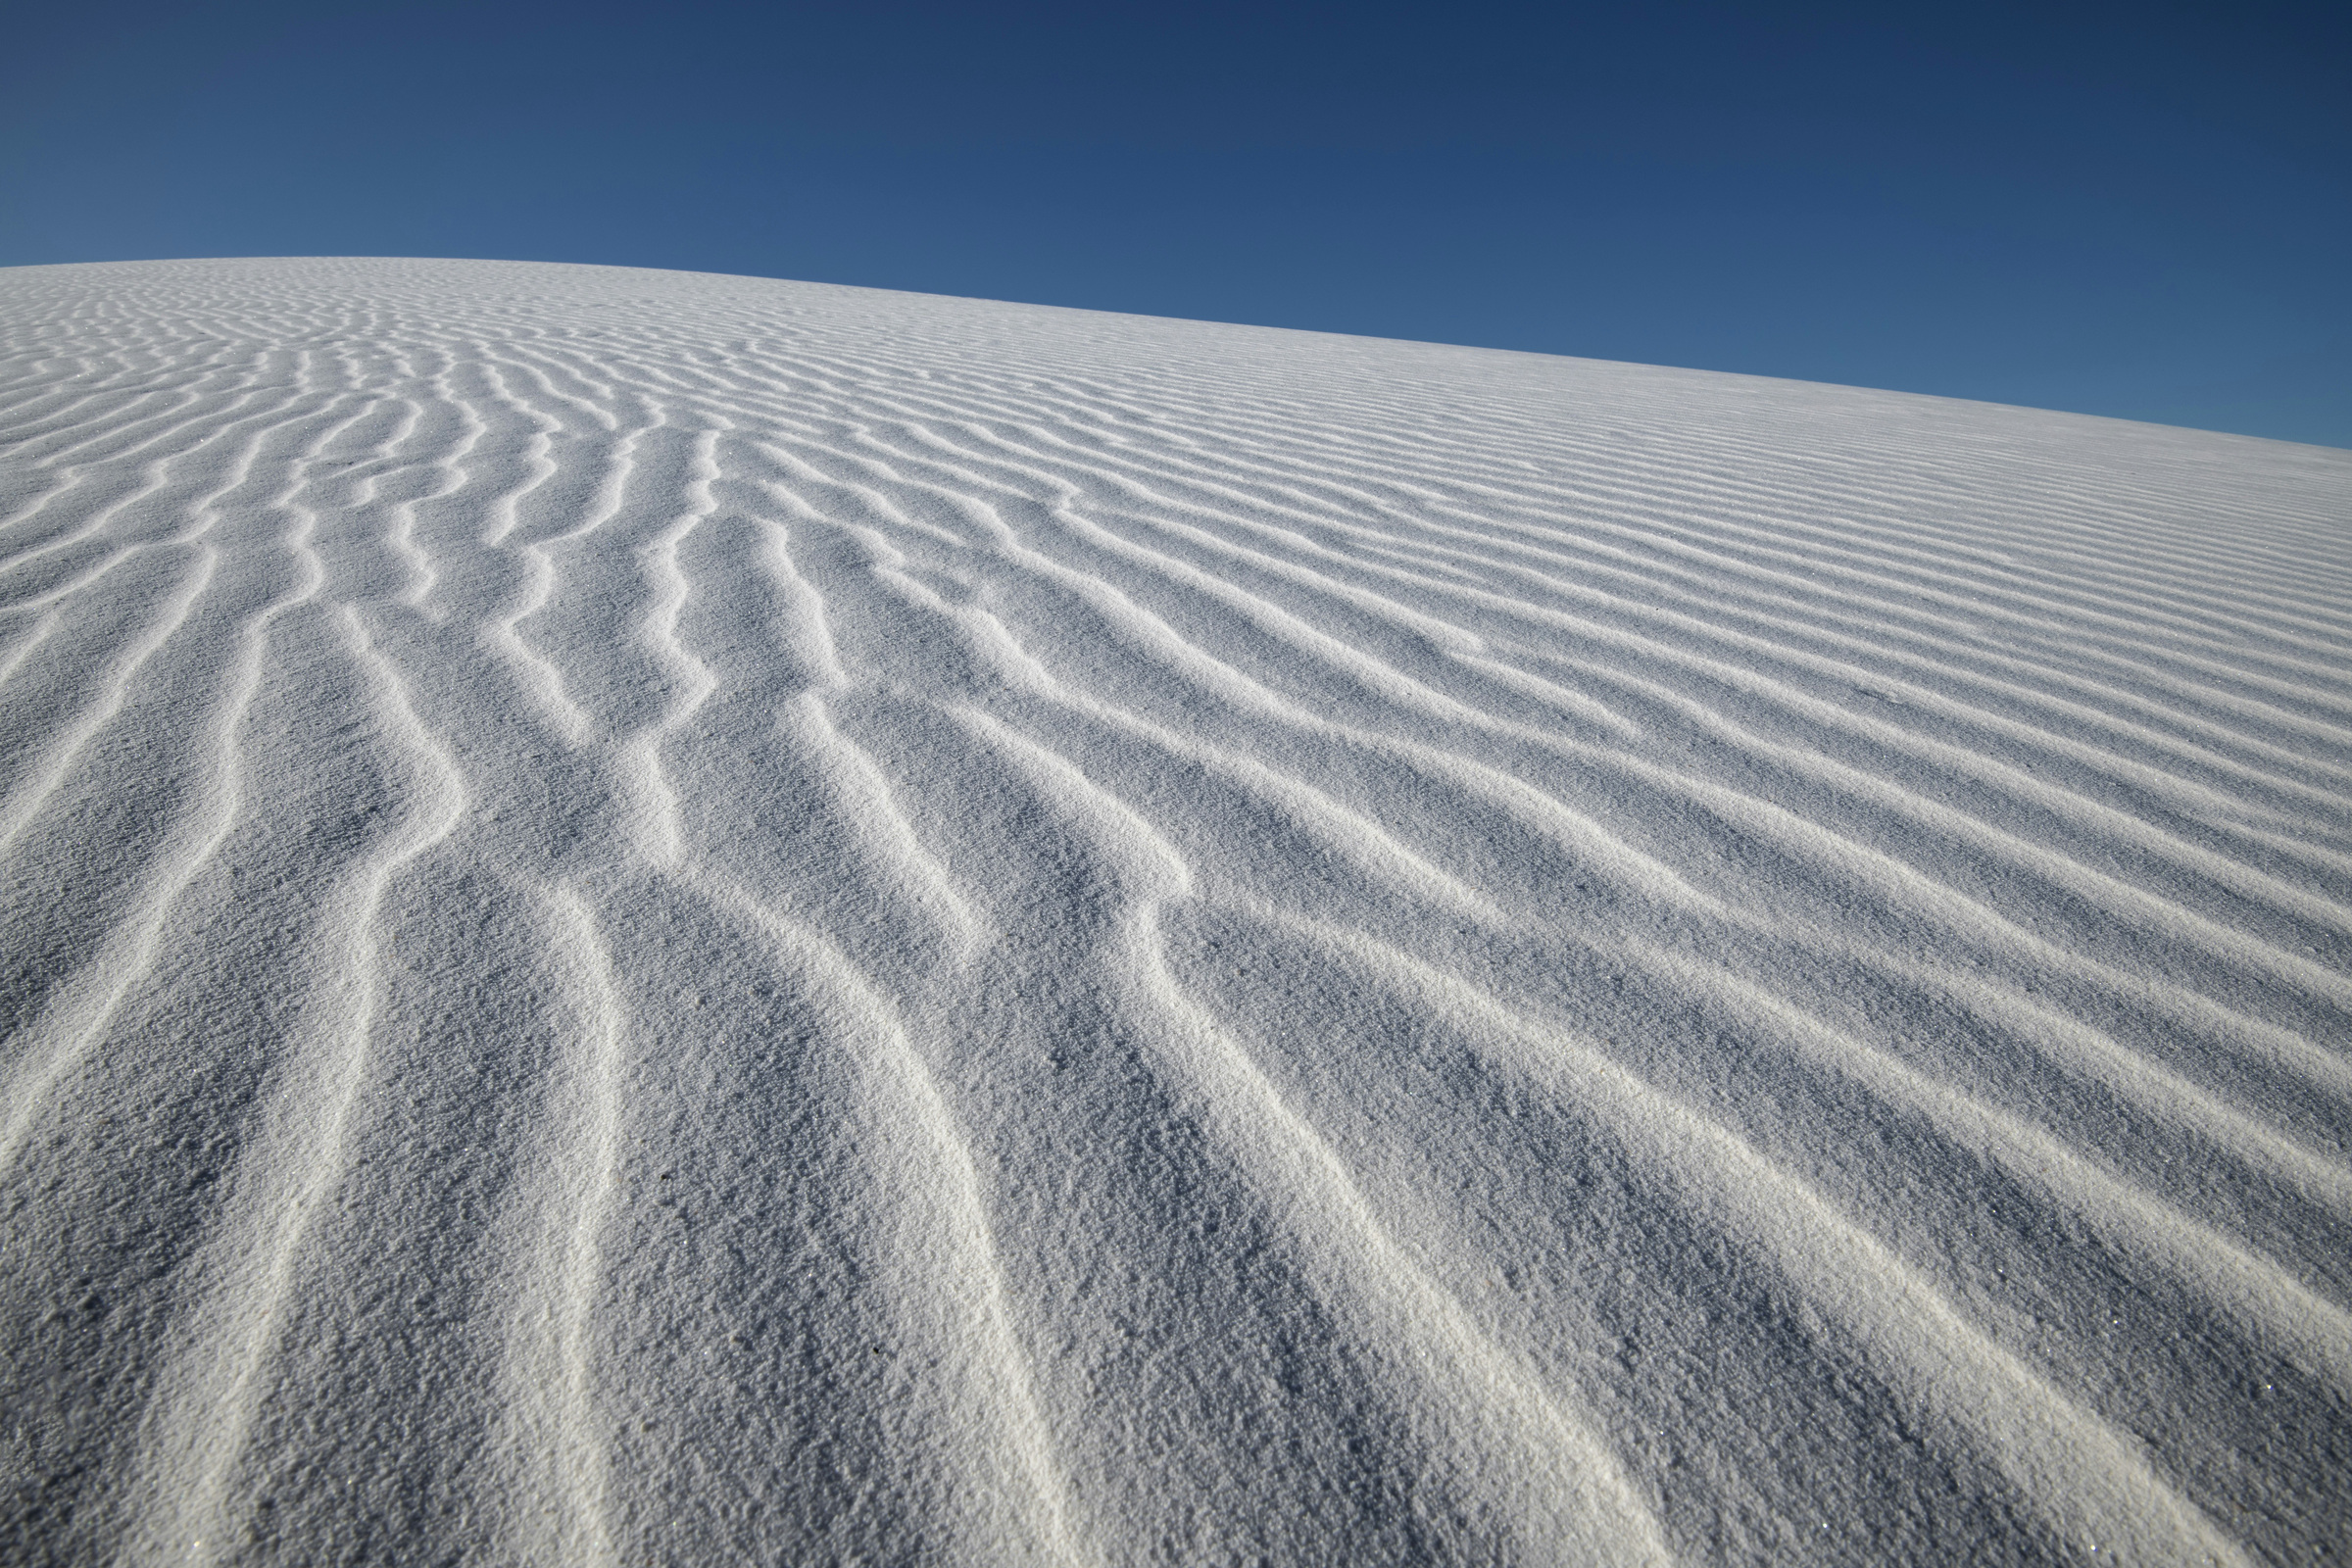
Stock photo, illustrative. Hero: layered gypsum dunes and ripples at White Sands National Park, New Mexico. This past view is not proof of current access or a permitted camera position. Photo: Simon Schwyter. Source Unsplash License. Resized; no generative edits added here.
White Sands dunes photography begins with a simple decision: what makes the white sand readable? A dune crest, a strip of shadow, a plant or a distant mountain can give the eye something to follow. Without that structure, even a beautiful expanse of gypsum can become a photograph with no clear subject. Look for relationships between shapes before reaching for a wider lens or stronger color.
This guide covers photographing the gypsum dunes from permitted areas reached through White Sands National Park in New Mexico. It is a bounded dune-photography guide, not a promise of unrestricted access across the surrounding dunefield. Check opening hours, military closures, the safety corridor and weather before planning the light. Credited photographs show possible compositions and past conditions, not proof of an open route or a claim that Edin Chavez made every image.
Plan a session around the gate, not a generic sunrise time
The park’s basic information says operating hours vary by season. Use the official hours page for your travel date and check alerts before leaving. A photograph made before dawn does not establish that ordinary entry is available before dawn. Likewise, a sunset photograph is not permission to stay until darkness or to return after closing.
Build in time to reach a permitted parking area, walk within the access allowed, make photographs and return to your vehicle before the required departure. A light forecast is only one part of that plan. If opening hours do not cover the session you imagined, choose a different session rather than relying on a tour advertisement or an old early-entry description.
The early-entry information page retrieved during this review was marked “Page In-Progress.” That is not confirmation of an available early-entry service or permit. For activity outside normal hours, ask the park about the current process and obtain whatever written permission it requires. Do not treat an unanswered inquiry, a payment receipt for general entry or another photographer’s visit as approval.
There is no need to promise a fixed sequence of pink, orange and blue light. The color depends on clouds, atmosphere, viewing direction and the time you are permitted to remain. A strong dune photograph can be made without waiting for a particular color. Let the available light guide the frame, while leaving enough margin to get back safely and comply with closing instructions.
Understand Dunes Drive and its safety corridor
NPS describes Dunes Drive as eight miles into the gypsum dunefield, making a 16-mile round trip. It is not a 16-mile loop. The road has paved and hard-packed gypsum sections, and you need extra time beyond a drive-through estimate if you intend to walk and photograph. Use designated places to stop, obey speed limits and watch for pedestrians, wildlife and maintenance equipment.
The current conditions page and safety corridor notice describe a corridor between mile 3 and mile 5.5. Driving through is allowed, but stopping, parking or exiting a vehicle is prohibited unless the stated written-consent or ranger-direction exception applies. The corridor notice includes the closure of the Interdune Boardwalk trail. Do not stop for a photograph in this corridor just because the road is open to through traffic.
Signs and ranger directions matter more than a generalized description of attractive dunes. A shoulder that looks convenient is not necessarily a legal parking place. A photograph of an empty boardwalk is not evidence that it is currently open. Choose a session that works from permitted access rather than treating closures as an obstacle to work around.
The park’s current compendium also prohibits pedestrian use of vegetated areas away from designated trails and walking systems. Keep plants and their surroundings intact. An isolated yucca may be an appealing subject, but it does not justify crossing a closed or vegetated area, removing leaves, digging around a stem or otherwise rearranging the scene.
Check military closures and the correct entrance fee
The military testing closures page says Dunes Drive may close for up to three hours during tests and that notice can arrive only 24 hours in advance. It states that all activities along Dunes Drive are prohibited during military tests requiring closure for visitor safety. Highway 70 may also be affected. A schedule checked weeks before a trip is not enough to settle access on the day.
Check both park alerts and the latest closure information, then follow the instructions you receive. Do not assume you can remain out in the dunes, continue walking or move your session to another roadside pullout during a safety closure. Older dates left on a closure page are not a guarantee that there will be no new restriction. The visitor center remaining open does not mean the dunefield is open.
Use the current NPS fees page to check the private non-commercial vehicle entrance category, its reentry terms and the passes accepted for your party. Other arrival types and commercial groups have different categories. General entry does not buy after-hours access or override a safety closure.
Reservations are not required for ordinary park entry according to the basic information page, but some programs and special activities have separate arrangements. Keep those questions distinct. A workshop may need permission for its commercial activity, while a particular outside-hours session may need its own authorization. Do not infer either from a tour’s title or a general admission pass.
Find a clear dune line before adding more scenery
 Save
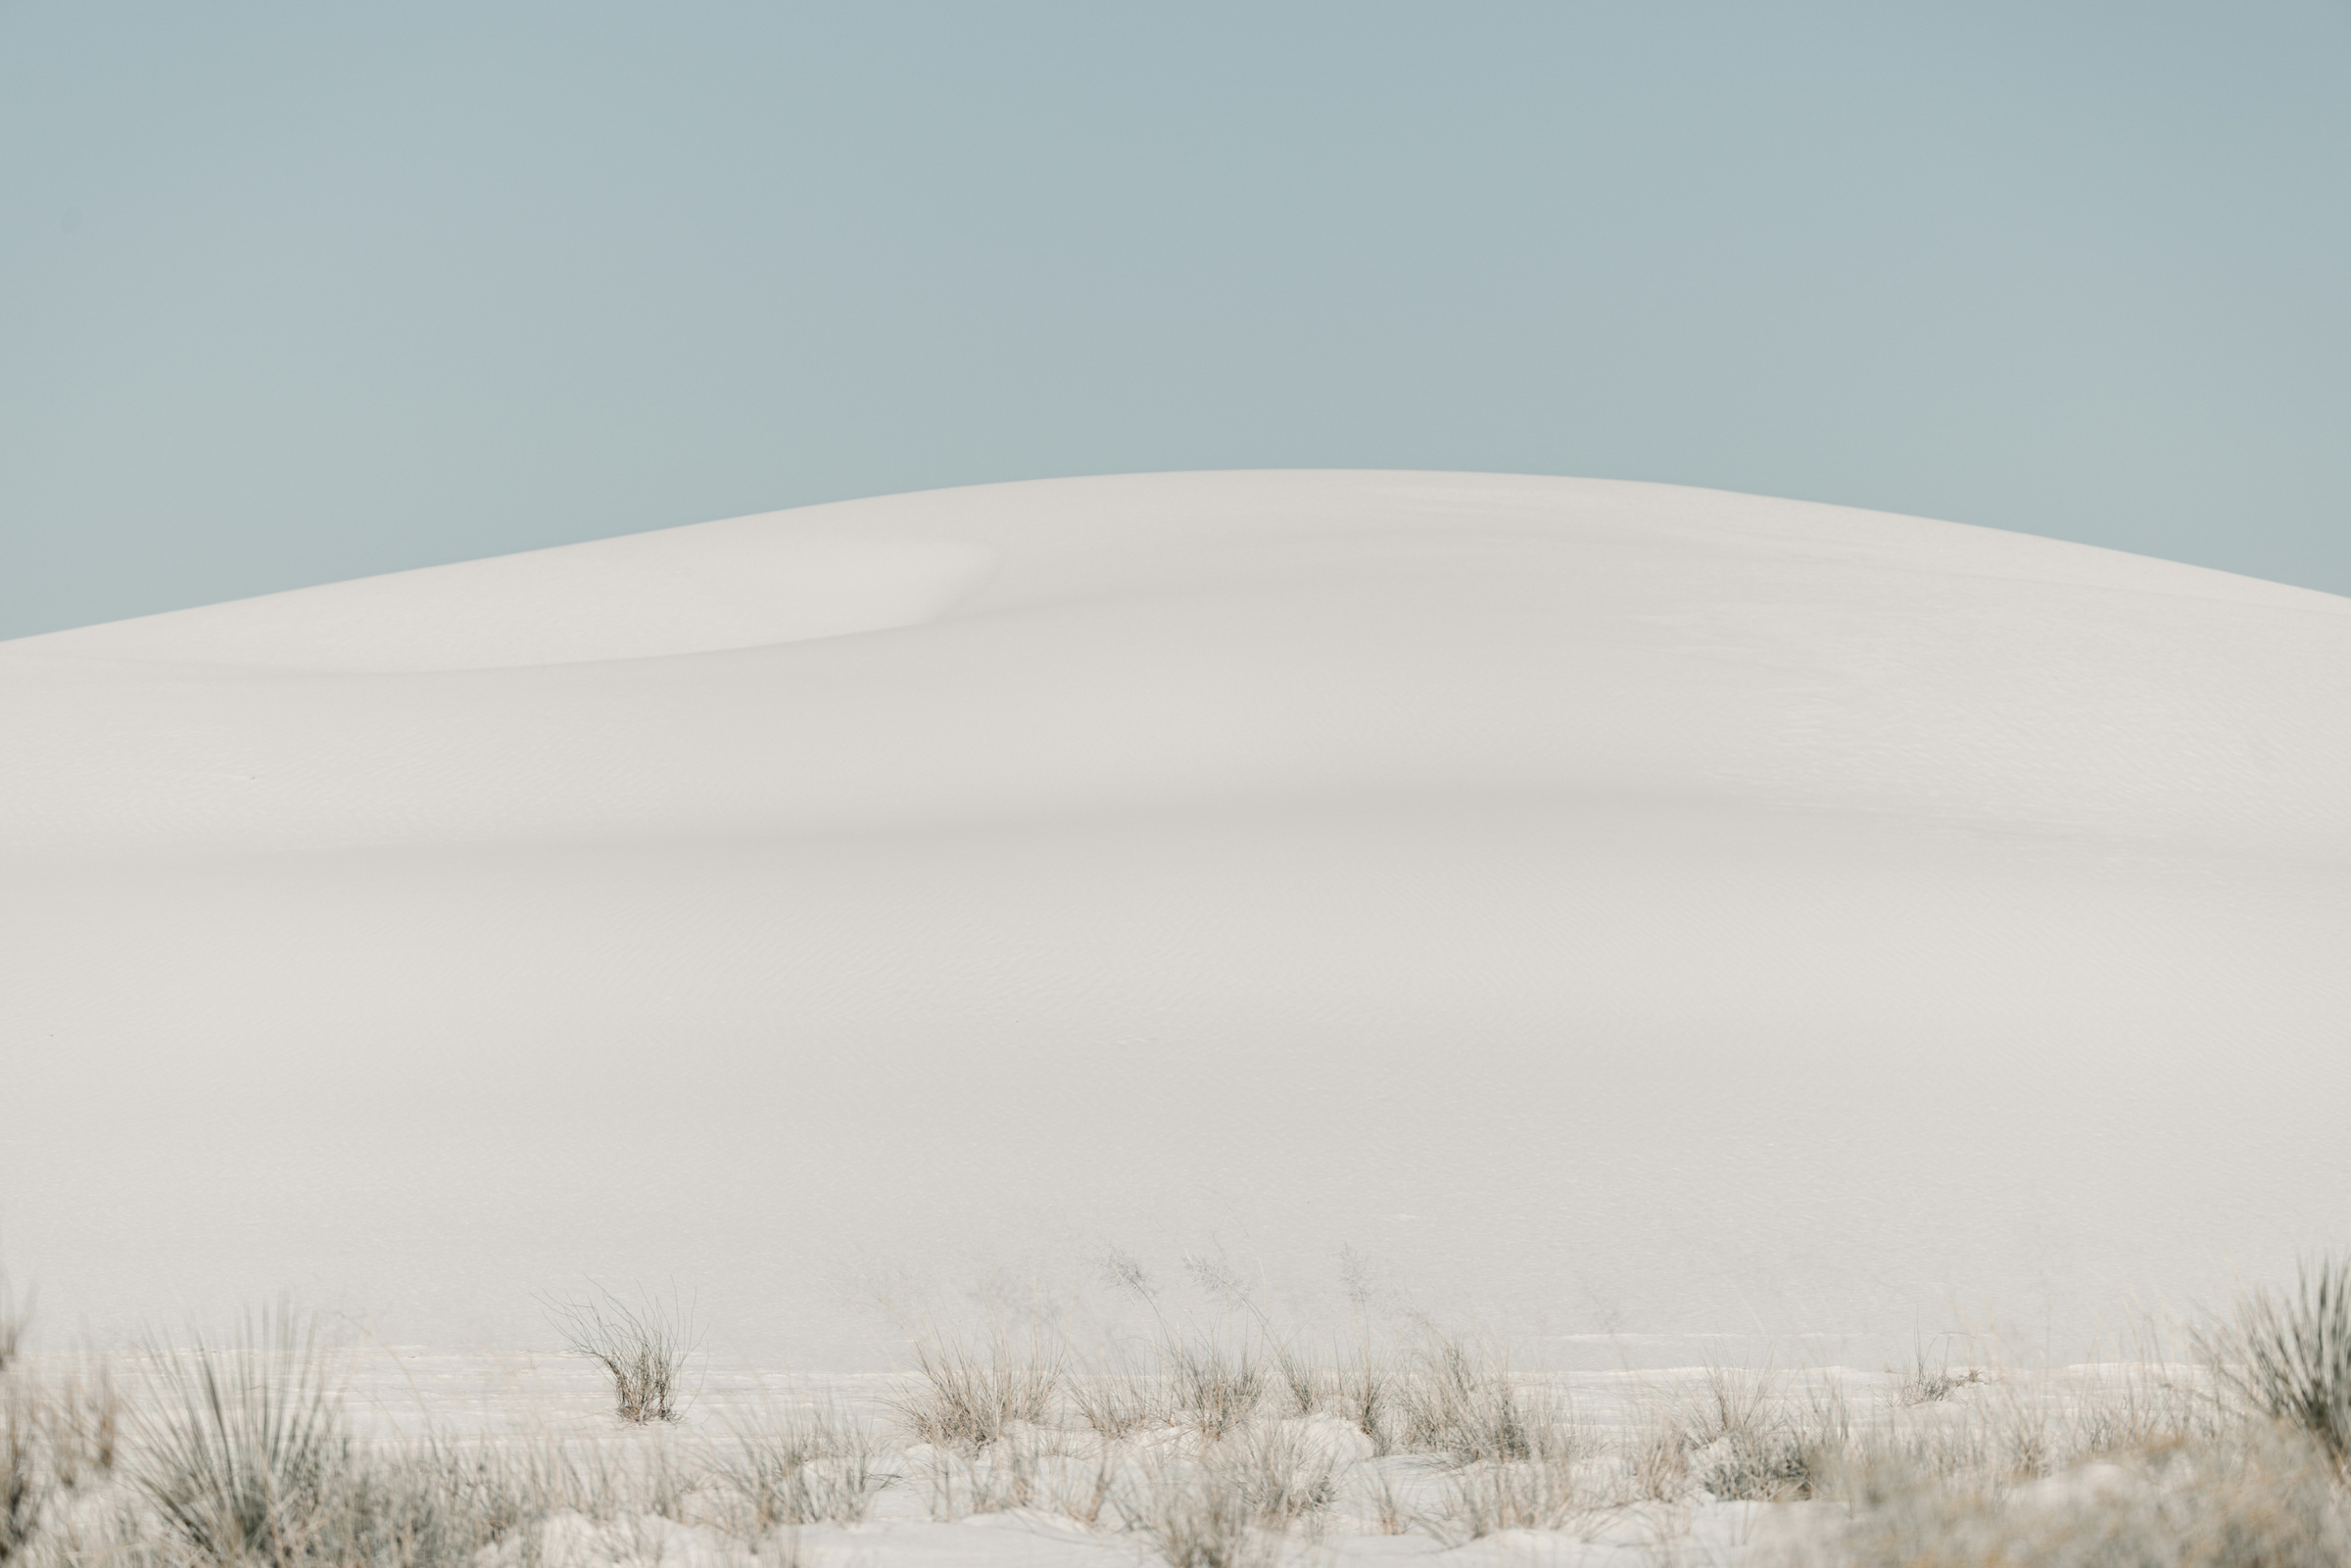
Look at the crest first. Does it make a clean curve through the frame, or does it collide with the horizon and become hard to read? A small change in framing from a permitted position may separate those lines. Try a photograph with one clear crest and a second layer behind it before including every dune you can see.
Shadow is often the element that describes the sand’s shape. It can reveal a rounded slope, a sharp ridge or a band of ripples. Decide whether the shadow is the subject or a supporting line. If a large dark wedge pulls attention away from the dune, tighten the composition or change the balance of light and dark rather than relying on an edit to make the picture coherent.
A wide lens can connect foreground texture with distant dunes. A longer lens can isolate curves and simplify the scene by excluding empty sky or busy ground. Neither is compulsory. On a phone, compare the main camera with the wider option and ask which one gives the dune a stronger shape. More coverage is useful only when it adds meaningful relationships.
Use plants and mountains without losing the dune
 Save
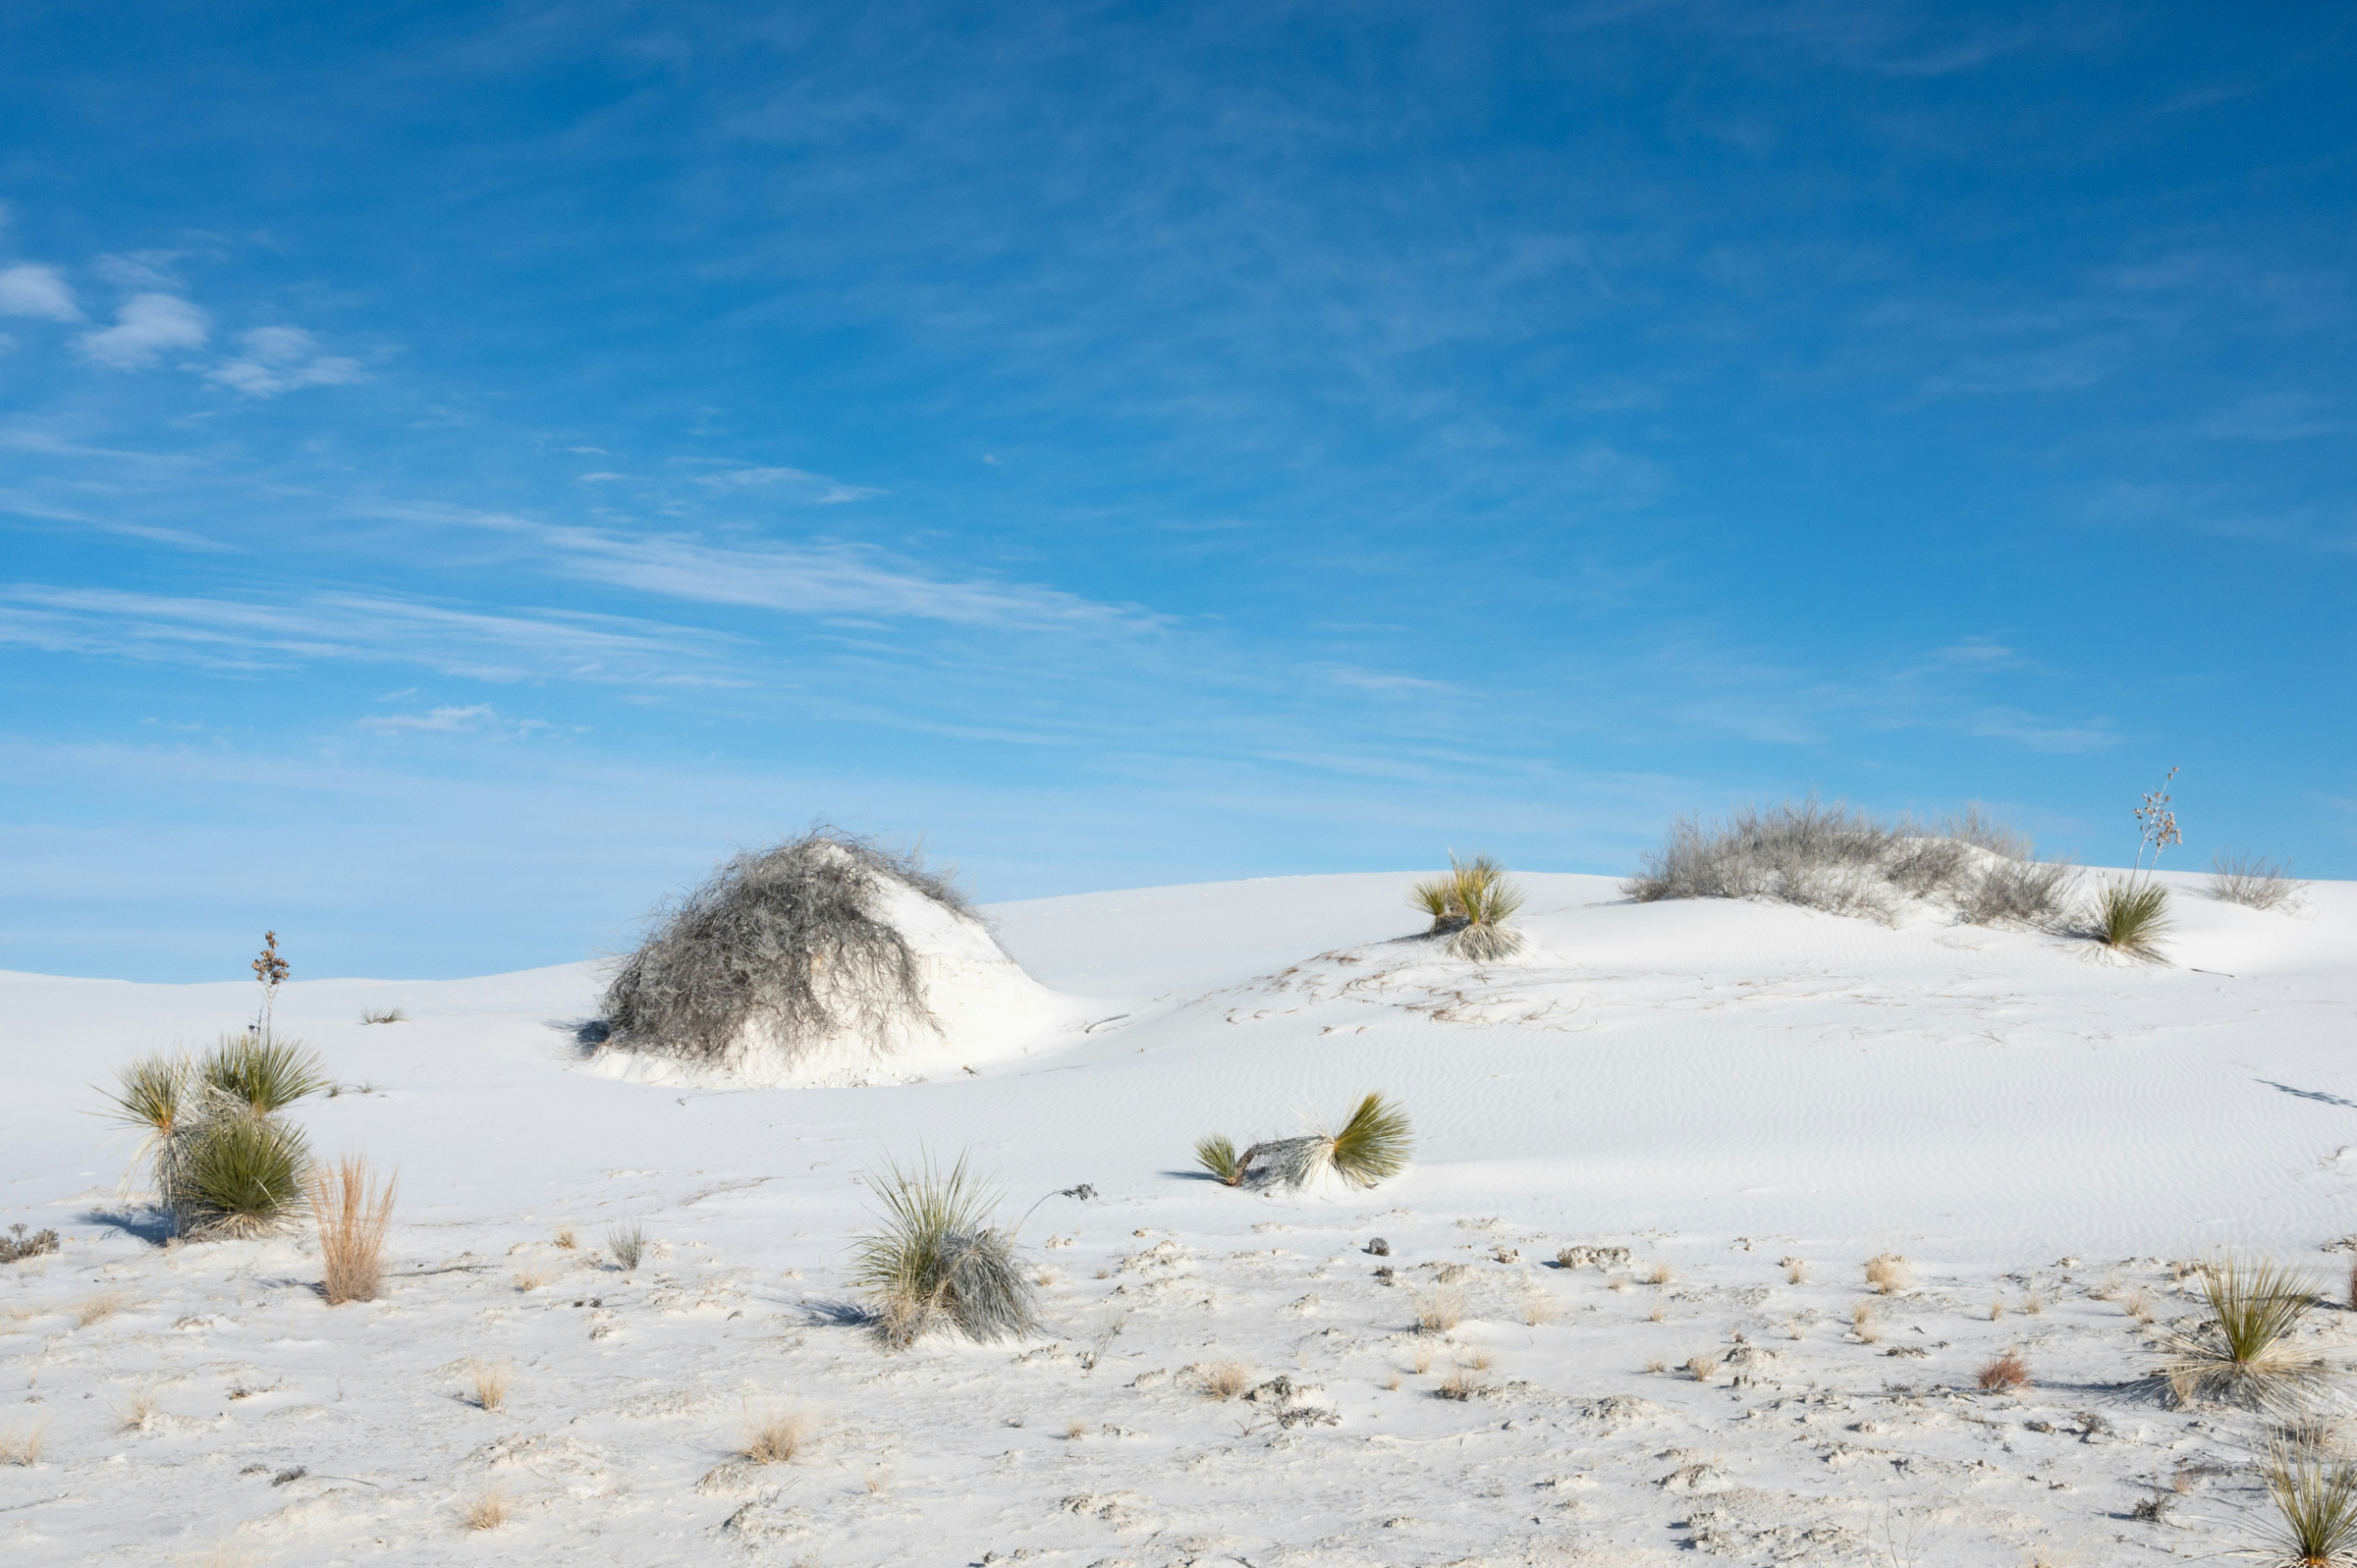
A plant can give scale and a clear point of attention, but it should not become a reason to damage the place. Frame from an allowed position, keep vegetation intact and do not walk through a protected area to make a cleaner silhouette. Try leaving space around the leaves so they remain distinct from the ridge behind them.
Watch the background carefully. A mountain edge through the middle of a plant can make both harder to read. A lower or higher viewpoint may change that relationship where the surface and rules allow it. Do not step backward while concentrating through a viewfinder, and do not assume that a slope beyond your feet is an unobstructed route.
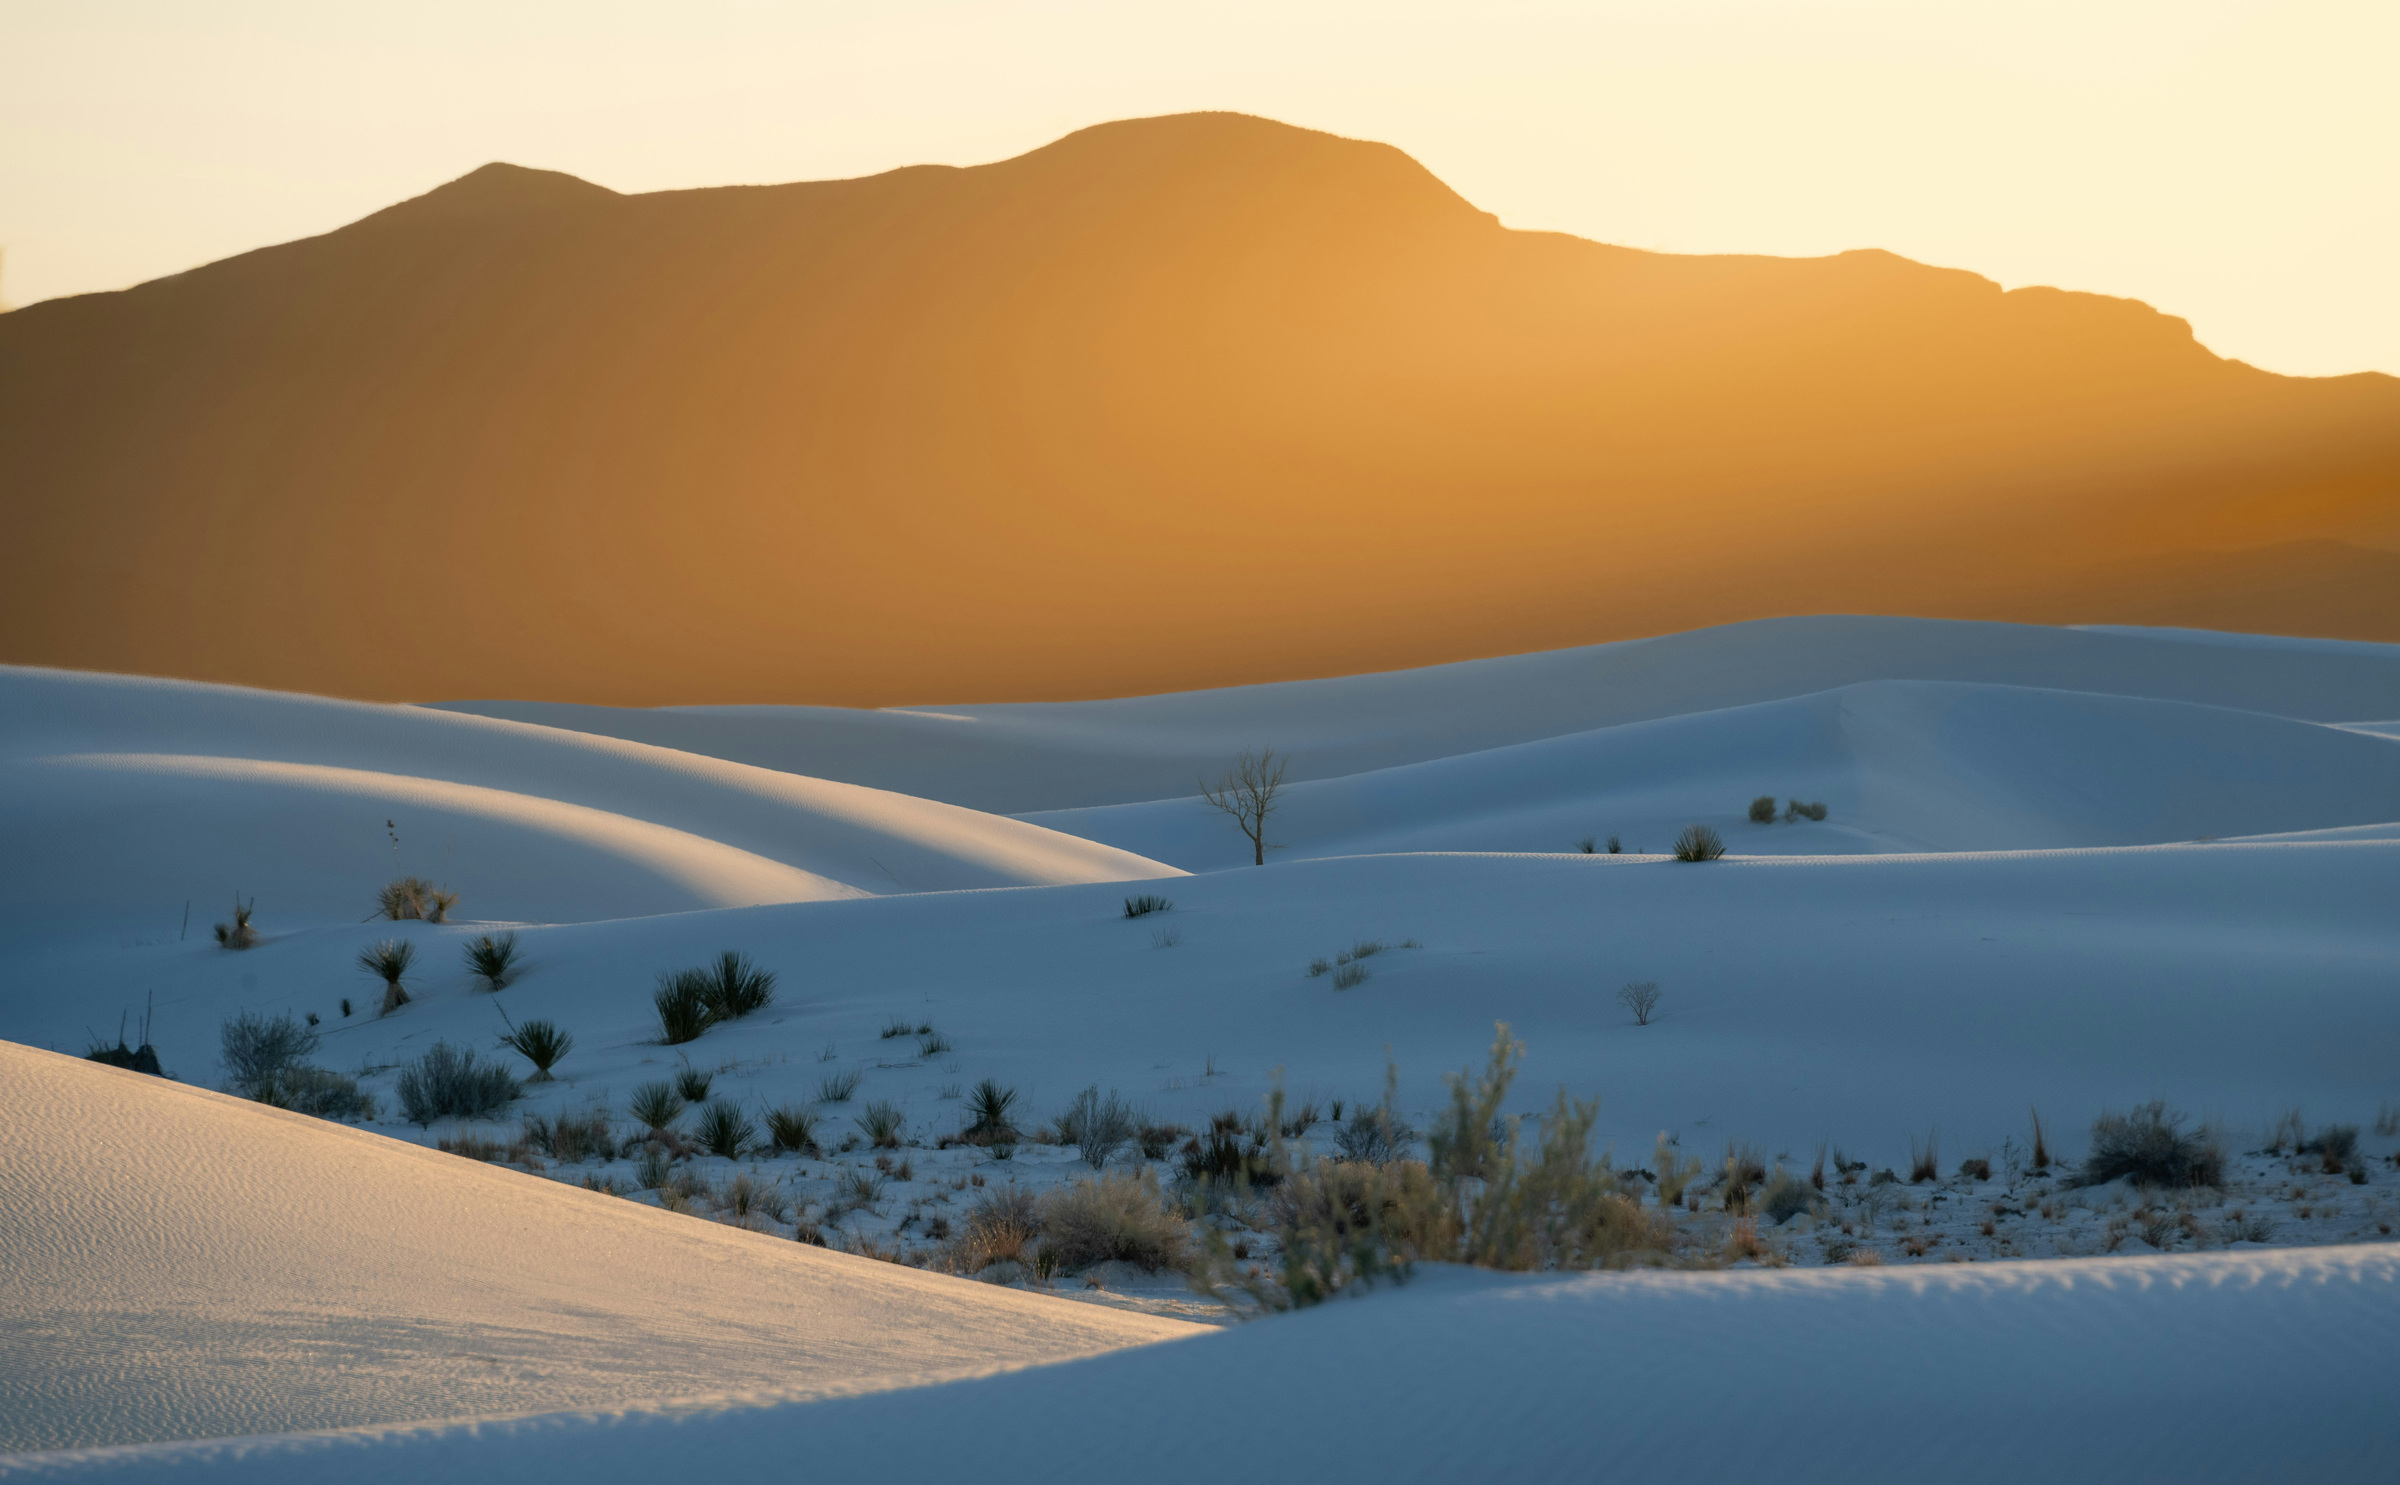
Mountains can add depth or context, especially when their tone differs from the sand. They can also take over the image. Make one frame that gives the dunes most of the attention and another that treats the mountain range as an equal subject. Comparing them helps you choose a deliberate balance instead of keeping a large strip of background by habit.
Read texture and color in the light you have
 Save
Low-angle light can make ripples and dune edges more apparent. Work out which direction reveals the texture rather than labeling every sunrise or sunset automatically better. Light from behind the camera, from the side and toward the camera changes the relationship between bright slopes and shaded faces. Observe those differences before setting up a long session around a single angle.
Midday is not automatically a featureless failure. Strong light may favor simple graphic frames, small details or sharply separated shapes. Softer light may suit subtle ridges and quieter tones. When the contrast becomes difficult, simplify the scene instead of forcing the same composition you planned for another time of day.
White sand can reflect the color of its surroundings, so warm light and cool shadows may coexist in one frame. Resist the urge to neutralize every cool area or make every slope equally white. Equally, do not push saturation until the sand looks unrelated to the scene. Keep a restrained edit for comparison and decide how much of the photograph’s interest comes from shape rather than processing.
A polarizer is optional, not a requirement for dune photography. Compare the whole frame with and without the effect, watching for uneven sky tones or changes that distract from the dune. There is no verified rule that gypsum holds blue-hour color for a set number of minutes longer than other sand. Photograph what you see within permitted hours rather than waiting for an invented window.
Expose for detail instead of following a fixed correction
 Save
Bright sand can challenge a reflective light meter, but a universal negative exposure correction is not a sound starting rule. The right exposure depends on the light, composition, metering mode and camera. Check a test frame, histogram and highlight warning. Preserve important bright detail without making the whole scene needlessly dark.
Choose the aperture for the depth you need. Close ripples leading to distant dunes call for a different focus decision from a tightly framed distant crest. Focus deliberately, enlarge important details and check the edges. Neither f/11 nor f/16 guarantees that everything will be sharp, and the smallest aperture is not always the best compromise.
Use a shutter speed that suits the support, focal length and wind. A tripod can help if it can be placed safely without obstructing others, but blowing sand and wind still affect stability. Raise ISO when necessary rather than accepting camera shake to preserve an arbitrary ISO 100 setting. Check a file before committing many frames to the same setup.
If a bright sky and shaded dune exceed one exposure’s useful range, bracketing may help from a stable position. Choose it for a real contrast problem, not because every landscape needs a blend. Moving clouds, windblown plants and changing sand can complicate alignment. A well-exposed single frame is often simpler and more convincing than a visibly awkward merge.
Keep footprints, sand and safety in the plan
 Save
The NPS photography page recommends thinking about where you walk before crossing a composition. From permitted areas, consider a frame before stepping through its foreground. Do not erase tracks by sweeping sand, disturb plants or wander toward a closed area in pursuit of an untouched-looking scene. A tighter frame or a different permitted composition can be the better choice.
Blowing sand is also a camera-care problem. NPS warns that grains can damage lenses, controls and electronics, recommends protecting equipment and being careful about lens changes, and says not to use canned air for cleaning. Keep unused equipment in a bag. If wind makes safe visibility or equipment handling difficult, stop rather than treating the conditions as a challenge you must photograph through.
The park safety page recommends one gallon, or about four liters, of water per person per day and says water is available only at the visitor center. Prepare for heat, reflected sunlight, sudden weather and falling temperatures. A camera session still needs water, suitable clothing and a return plan, even if the dunes look close to parking.
It is easy to lose direction while watching changing shapes. Tell someone your plan, use established trails and markers, carry navigation aids and keep the return route clear in your mind. Current conditions guidance says to turn around if you cannot see the next trail marker. Do not rely on your footprints remaining visible or on a phone alone. If you find an unfamiliar object in the sand, do not touch it; note the location and tell a ranger because unexploded ordnance can occur here.
For organized photography or anything beyond an ordinary small session, consult the current compendium and permits information. Current filming provisions consider group size, location, equipment, exclusive use and impacts. Keep a permit inquiry separate from an assumption of approval. A bounded session in an open permitted area is the basis of this guide, not a shortcut around the park’s rules.
Frequently asked questions
Is Dunes Drive a 16-mile loop?
No. NPS describes an eight-mile drive into the dunefield and a 16-mile round trip. Allow extra time for permitted stops and photography, and check current road restrictions.
Can I stop anywhere along Dunes Drive to take pictures?
No. Use permitted stopping areas and obey signs. Current NPS guidance describes a safety corridor from mile 3 to mile 5.5 where stopping, parking or exiting a vehicle is prohibited unless its stated written-consent or ranger-direction exception applies. The notice includes closure of the Interdune Boardwalk trail.
Does general admission allow sunrise or night photography?
Do not assume so. The park closes nightly and operating hours vary. Check hours for your date and ask the park about any activity outside them. A general entrance pass or another photographer’s image does not establish after-hours permission.
How much is private vehicle entry?
Check the current NPS fees page for the private non-commercial vehicle category, its reentry terms and the passes accepted for your party. Other arrival types and commercial groups have different categories. General entry does not override a safety closure or buy after-hours access.
Should I always use negative exposure compensation on white sand?
No. Use a test frame, histogram and highlight warning rather than a fixed correction. The needed exposure depends on light, framing, metering and camera. Protect important bright detail without making the whole scene needlessly dark.
Can photography continue during a military safety closure?
No. NPS says all activities along Dunes Drive are prohibited during military tests requiring its closure for visitor safety. Check current alerts and closure information, then follow signs and ranger directions.
Use current NPS hours, alerts, closures and safety information before your visit. Photographs illustrate possible light and compositions, not a guarantee of access, an instruction to copy a camera position or permission to remain after closing.
What to Pack
A landscape kit built around wide views, steady support, and changing light is a useful starting point. Compare the gear and choose what fits your camera, budget, and conditions. These links lead to B&H Photo Video and Amazon.
| What & Why | B&H | Amazon |
|---|---|---|
Sony 16-35mm f/2.8 GM Check the camera mount before buying. Choose a focal length that fits the photos you plan to make. | Shop B&H → | Shop Amazon → |
Peak Design Travel Tripod Check the load rating, packed size and local tripod rules before buying. | Shop B&H → | Shop Amazon → |
Breakthrough X4 CPL Check the filter type and lens thread size before buying. Use a filter only when the effect fits your photo. | Shop B&H → | Shop Amazon → |
Breakthrough X4 10-stop ND Check the filter type and lens thread size before buying. Use a filter only when the effect fits your photo. | Shop B&H → | Shop Amazon → |
Sony NP-FZ100 battery Use the battery type specified for your camera. Bring a spare if your shooting plan calls for one. | Shop B&H → | Shop Amazon → |
SanDisk Extreme Pro 128GB Check the card format and speed requirements specified for your camera. | Shop B&H → | Shop Amazon → |
Koh microfiber cloths Compare this option with your current kit. Check compatibility and the product details before buying. | Shop B&H → | Shop Amazon → |
B&H and Amazon links are affiliate links. We earn a small commission on purchases at no extra cost to you.