Sony A7 IV Settings for Wedding Photography
Updated October 2026
It’s 4 PM. You’re standing at the back of a dim stone church. Stained glass on the left is blowing out your meter, candles on the altar are the only fill light, and the ceremony starts in three minutes. What’s the first thing you touch on your Sony A7 IV?
If aperture still feels fuzzy, start with our deep-dive aperture photography guide — it covers everything from f-stop math to bokeh control.
If you have to think for more than a second, your settings aren’t dialed. This guide fixes that. Every section below is built around the moments of a wedding day. It is based on Sony’s published specifications and help guide, not on a wedding we shot with this body, so test each setting before the day. By the end you’ll have a complete menu walkthrough, a use-case cookbook for each part of the day, an AF system breakdown that makes sense under pressure, a dual-card backup workflow, and three custom modes that cover 90 percent of what a 10-hour wedding throws at you.
Good technical execution starts long before you point the camera at anyone. If you want to understand why the numbers work the way they do, our primers on aperture, ISO, and shutter speed will fill any gaps.
Why the A7 IV Is Purpose-Built for Weddings
The A7 IV pairs a 33 MP BSI-CMOS sensor with Sony’s latest subject-recognition AF engine — You get an ISO range of 100 to 51200 (Auto ISO 100 to 12800) and a 5-axis IBIS system rated at 5.5 stops of compensation. Slot 1 accepts CFexpress Type-A or UHS-II SD; Slot 2 is UHS-II SD only. That asymmetric configuration matters for your backup workflow, which we’ll cover in detail.
The silent electronic shutter is noiseless at up to 10 fps, which is invaluable during vows and ring exchanges where a mechanical click would be intrusive. The articulating rear LCD and native-ratio EVF mean you can shoot low or high without repositioning your body — useful on crowded dance floors.
Pre-Event Setup: Menu Walkthrough
Do this the night before, not in the parking lot. These are the foundational settings that underpin every use-case below.
File Format
- Shooting → Image Quality Settings → File Format: RAW (compressed is fine; lossy compressed saves space without meaningful quality loss at wedding ISOs)
- RAW File Type: Lossless Comp (L) keeps full resolution with a smaller file than Uncompressed (see Sony’s RAW File Type page)
- If you want JPEG previews for on-the-day client review, set RAW + JPEG with JPEG Quality: Fine and size: Large. JPEG goes to Slot 2, RAW to Slot 1.
Autofocus Mode and Area
- Focus Mode: AF-C (Autofocus Continuous) — leave it here for the entire day
- Focus Area: Tracking: Flexible Spot S as your default. This gives you a repositionable small box that, once locked, tracks continuously and activates face/eye detection automatically.
- AF/MF → Subject Recognition: Human → prioritize Face/Eye
- AF/MF → Face/Eye Frame Display: On (shows detection boxes)
- AF/MF → Tracking Sensitivity: 3 (balanced). In confetti tunnels or busy reception floors, drop to 1 (Lock-on) so the camera doesn’t jump to background faces.
Custom Button Assignments
The A7 IV has eight programmable buttons. Here is a working wedding assignment map:
- C1 (top): ISO — fastest way to grab exposure when light changes without entering a menu
- C2 (rear top): AF Area — lets you switch between Tracking, Wide, and Zone mid-scene
- AF-ON: Assign to Eye AF (instant subject acquisition; use alongside back-button AF)
- AEL button: AF-ON (back-button focus trigger)
- Fn button (Rear 1): Fn Menu → add White Balance, Drive Mode, Focus Area, Silent Mode toggle, and Creative Look
- Down wheel: IBIS on/off — two presses cycles it when mounting a stabilized lens
Dial Customizations
- Front dial: Shutter speed (in M) or EV compensation (in A/S priority)
- Rear dial: Aperture (in M) or ISO (hold ISO button + spin)
- Mode dial: Set M1, M2, M3 to recall full camera states — covered in the Custom Modes section below
Drive Mode and Burst
- Hi Burst: 10 fps — use for first kiss, ring exchange, first dance dips
- Mid: 6 fps — family formals, posed portraits
- Single: anything static, speeches
- Under artificial light, test Anti-flicker Shoot. to reduce flicker banding (see Sony’s help guide)
Metering
- Multi (evaluative) for 90 percent of the day
- Spot metering linked to focus point — useful for backlit bride during the walk down the aisle when the door behind her is blowing out
- Enable Highlight Alert (Zebra at 100+) so overexposed zones show striped overlay in the EVF — saves you in mixed ballroom lighting
Additional Menu Items
- Shutter Type: Electronic (Silent) as default; switch to Mechanical if you encounter banding under pulsed LED lighting at receptions
- Image Stabilization: Standard on. Use Active only for walk-and-gun video clips — Active crops the sensor and burns battery faster
- Long Exposure NR: Off (you are shooting fast shutters; this only matters for exposures over 1 sec and creates a blank processing pause)
- High ISO NR: Low (preserve RAW detail; process noise in Lightroom where you have more control)
- Airplane Mode: Network → Network Option → Airplane Mode: On. It turns off wireless functions you do not need on the day.
Use-Case Settings Cookbook
Every part of a wedding day has a distinct light profile and motion profile. Here is a scene-by-scene starting point. These are starting points — read your histogram and adjust.
Bride Prep (Window Light, Shallow DOF)
Getting-ready rooms are typically hotel rooms or suites with a single large window. The contrast ratio between window and shadow side can be 5–6 stops — well within the A7 IV’s dynamic range in RAW, but easy to blow on the highlight side if you’re not watching.
- Mode: Aperture Priority (A)
- Aperture: f/1.8–f/2.8 (wide open for separation; close to f/2.8 if sharpness is soft at maximum aperture on your lens)
- ISO: Auto, min 1/125, max 6400
- White Balance: Auto (AWB); lock it with a custom Kelvin if the window and room fill lights are fighting each other
- AF Area: Tracking: Flexible Spot S, Face/Eye priority on
- Drive: Single or Low burst (3 fps) — you’re shooting deliberate frames here
- Creative Look: ST (Standard) or NT (Neutral) — leave grading to post
Pair with a fast prime — 35mm or 85mm GM for this part of the day. The GM optical formula resolves the A7 IV’s 33 MP sensor without introducing chromatic aberration wide open, which lower-tier glass shows badly in backlit window shots.
Ceremony (Mixed Light, No-Flash Zones)
Back to that dim church. Flash is off the table. Mixed sources — tungsten candles, LED uplights, daylight spilling from side windows — mean any fixed Kelvin value will be a compromise. Here is how to handle it:
- Mode: Manual (M) — lock exposure so the bright doorway when guests enter doesn’t throw off your meter every 30 seconds
- Shutter Speed: 1/200 (minimum to freeze subtle movement at the altar; 1/250 if the couple moves their hands during vows)
- Aperture: f/2 (balance subject separation with enough DOF to keep both faces sharp when shooting from a distance)
- ISO: Manual; set based on your test shot — typically 3200–6400 in a dim church. The A7 IV produces clean files through ISO 6400; 12,800 is usable with noise reduction in post.
- White Balance: Auto — let the camera adapt rather than locking in a value that will be wrong for half the sources
- Silent Shutter: On — electronic shutter, absolutely no mechanical noise during vows
- AF Area: Zone (center zone) — Wide can grab the officiant or a guest walking the aisle instead of your subject; Zone gives you a tighter acquisition area while still tracking
- Tracking Sensitivity: 2–3 — gives the camera some grip on the couple even if a groomsman crosses between you
If you’re shooting from a balcony or long aisle, consider the Sony 70-200mm GM II — the combination of f/2.8, OSS, and the A7 IV’s IBIS gives you a compound 5+ stop advantage when you can’t use a monopod.
Group / Family Formals (f/5.6–8, Sync Speed)
Family formals are the most technically straightforward part of the day but the easiest place to lose time. Get these settings pre-loaded in Custom Mode 2 (see below).
- Mode: Manual
- Shutter Speed: 1/200 (or 1/250 if using a flash with HSS disabled — check your sync speed)
- Aperture: f/5.6–f/8 (ensure sharpness across a three-row family group)
- ISO: 200–400 outdoors; 800–1600 indoors with flash
- AF Area: Wide — let the camera find the nearest face in a group; reposition with the joystick if it locks on the wrong person
- Drive: Mid burst (6 fps) — shoot in groups of 3–4 frames per pose to cover blinks
- Flash Sync: 1st Curtain (standard); use 2nd Curtain only for first dance or sparkler where you want motion trails behind the subject
For cards to store these large group RAW files without buffer stalls, a Sony Tough CFexpress Type-A 160GB card in Slot 1 clears the buffer faster than any UHS-II SD option.
Reception Speeches (High ISO, Slow Shutter Risk)
Speeches happen in whatever light the venue leaves on after dinner — often tungsten key lights at 2700K with dark surrounds. Subjects are mostly static, but they move their hands and sway. Danger zone for slow-shutter blur.
- Mode: Manual or Shutter Priority (S)
- Shutter Speed: 1/160 minimum — below this and hand gestures blur
- Aperture: f/2–f/2.8
- ISO: Auto, max 12,800
- White Balance: 3200K or AWB — lock it so the sequence has consistent color
- Silent Shutter: On
- AF Area: Tracking: Flexible Spot S, Eye priority — the camera will hold on the speaker’s eye even when they turn to face different parts of the room
First Dance (Dragging Shutter)
The first dance is where you earn your fee with creative frames. One sharp, intimate close-up. Then a few dragged-shutter frames that show the motion of the room.
- For sharp frames: 1/160–1/250, f/2.8, ISO Auto max 12,800, continuous burst, Eye AF
- For dragged shutter: 1/15–1/30, f/5.6–f/8, ISO 800–1600 (lower ISO because slow shutter gathers more light), Rear-sync flash or constant LED off-camera light, manual focus locked on a pre-determined spot
- Flash Sync: 2nd Curtain — motion trail appears behind the couple, not in front of them
- IBIS: On — at 1/15 your IBIS is working hard; pan with the couple’s movement and let IBIS compensate for your own camera shake
An ND filter kit is useful here if you’re working under unusually bright uplights and need to maintain a slow shutter without pushing aperture to f/16.
Sparkler Exit / Sunset Portraits
Two very different scenarios often packed into the same 20-minute window.
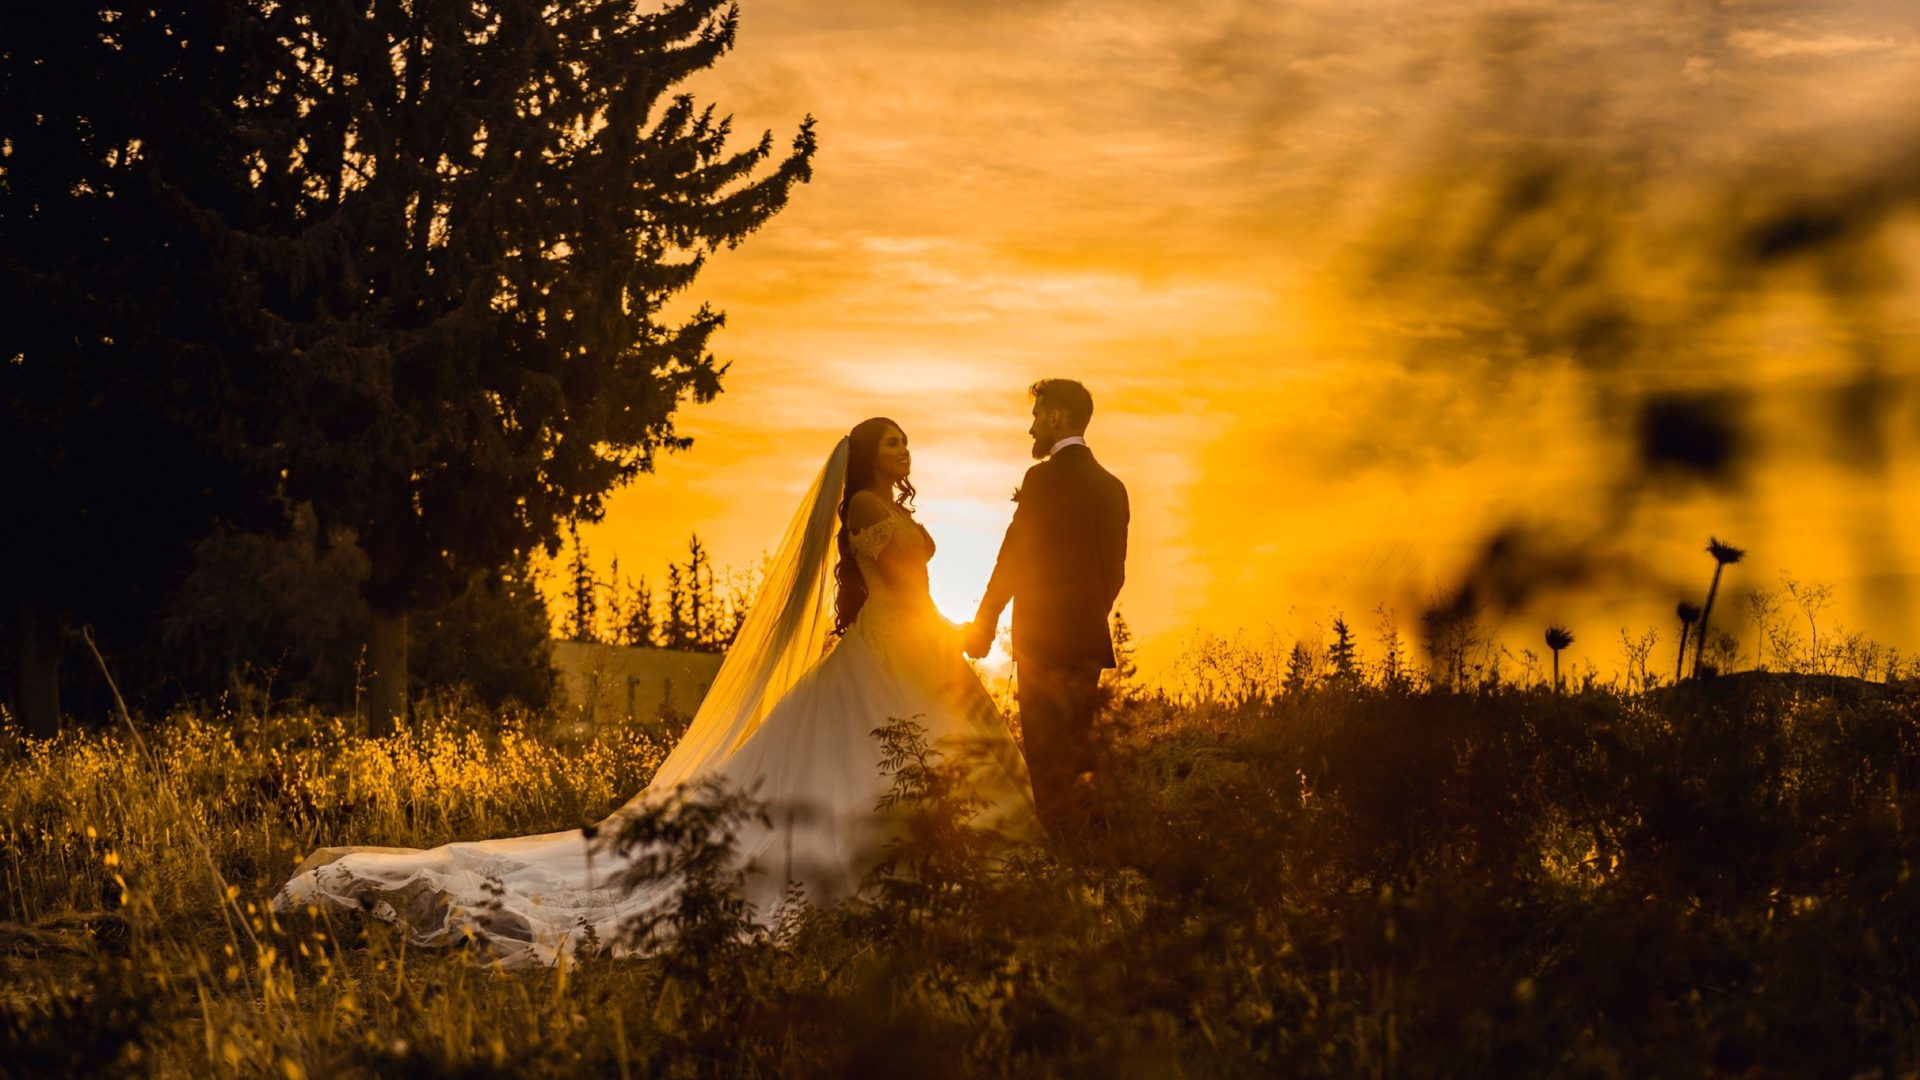
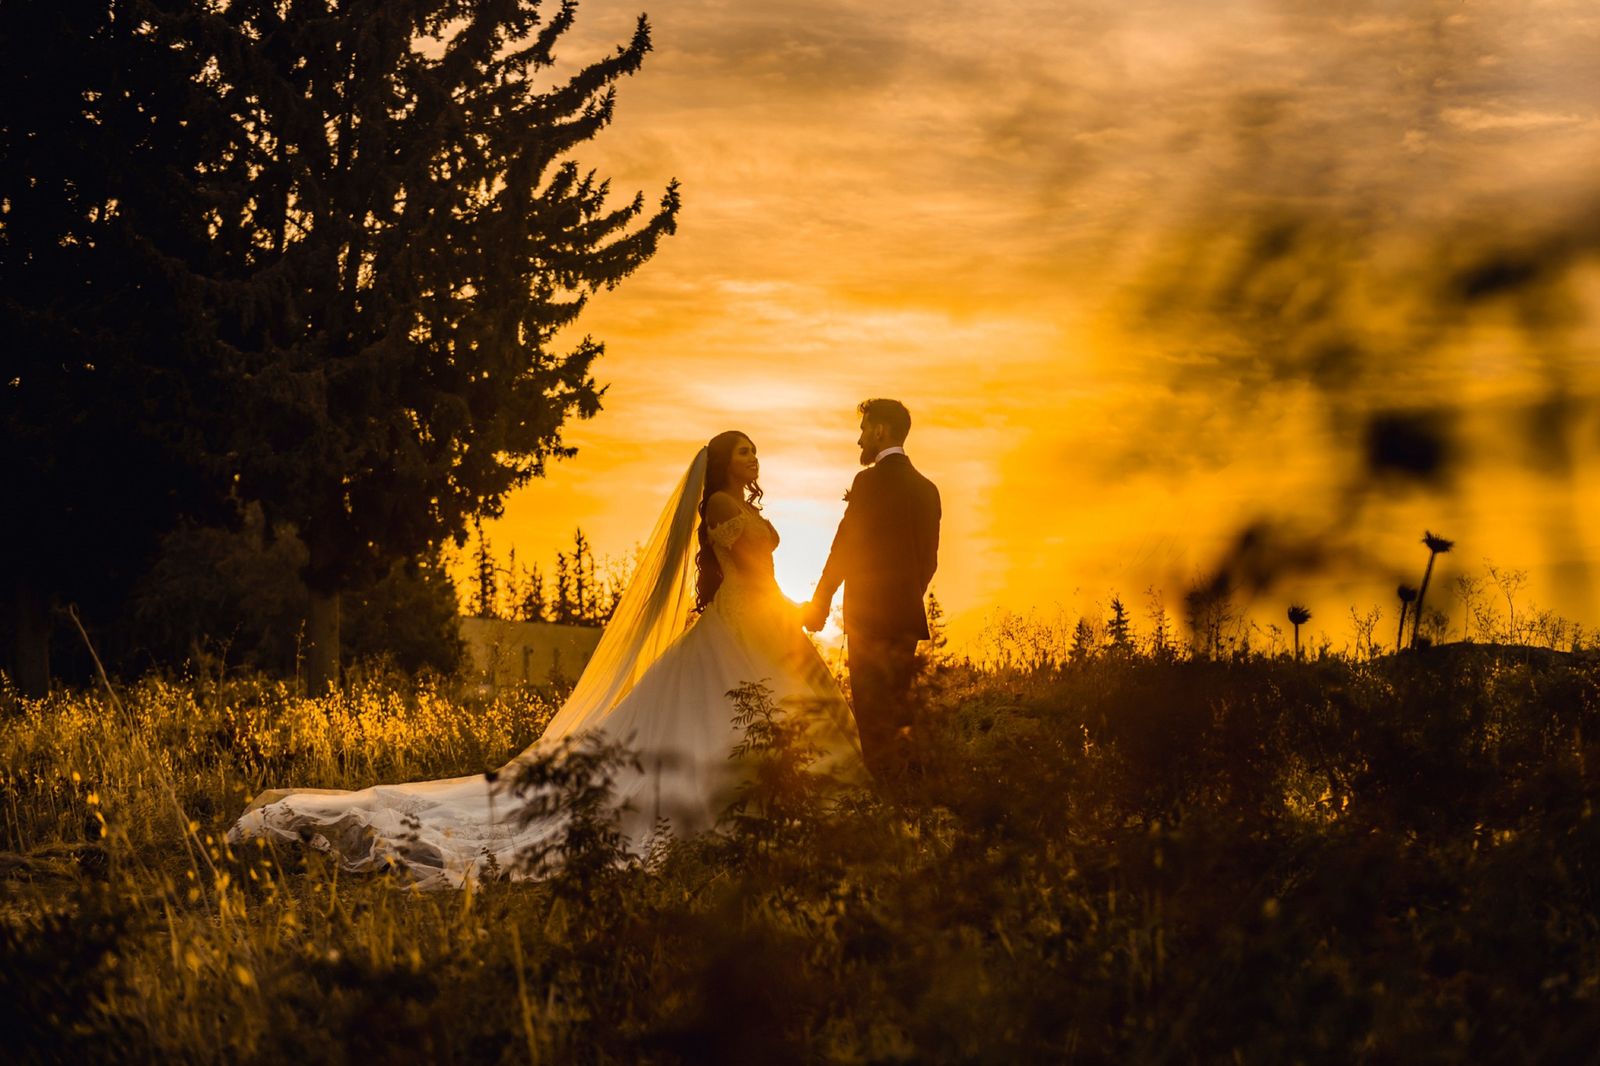
Sunset portraits (golden hour):
- Mode: Manual or A priority
- Aperture: f/2–f/2.8 for separation against the warm sky
- Shutter: 1/500–1/1000 to control the sky exposure
- ISO: 100–400
- White Balance: 5500–6000K to keep skin warm without the magenta cast AWB sometimes introduces at golden hour
- Use a 3- to 6-stop variable ND filter if adding flash fill outdoors above your sync speed
Sparkler exit:
- Mode: Manual
- Shutter: 1/8–1/4 (you want the sparkler trails to be long arcs)
- Aperture: f/5.6–f/8 (wider DOF keeps both sparklers and couple sharp)
- ISO: 800–3200 (balance ambient exposure with sparkler brightness)
- Drive: Single or low burst — sparkler shots are about timing one peak frame, not spraying
- Silent Shutter: Off — switch to mechanical shutter here. Test a few frames with the electronic shutter first, since artificial light can cause banding with it
- IBIS: On, Active if handheld — the slow shutter needs every bit of stabilization you can get
 Save
SaveAF Deep Dive: Which Mode for Which Moment
The A7 IV’s AF system has three layers: Focus Mode (AF-S vs AF-C), Focus Area (Wide / Zone / Tracking variants), and Subject Recognition (Face, Eye, Human, Animal). Here is a practical breakdown for the day.
Real-Time Tracking
Best for: aisle walk, first dance, bouquet toss, candid reception moments.
Set Focus Area to Tracking: Flexible Spot S. Lock on your subject by placing the box over their face and half-pressing or pressing AF-ON. The camera then tracks the subject across the entire frame and prioritizes their eye. Tracking Sensitivity at 3 is the right balance — it holds the initial subject when a guest walks between you, but hands off cleanly if you shift focus intentionally.
Drop sensitivity to 1 (Lock-on) during confetti tunnels, crowded dance floors, or whenever many faces are passing through frame. Raise to 4–5 only for fast sports-like action where you want the camera to re-acquire quickly after an obstruction.
Wide Area
Best for: family formals, group candids, any situation where you’re moving between subjects quickly.
Wide lets the camera choose the nearest face. With Human Subject Recognition on, it almost always finds the right person in a standard two-shot or three-shot group. For large group photos where the “right” subject is ambiguous, use the joystick to steer focus to the primary subject after Wide acquires, then shoot.
Zone
Best for: ceremony from a fixed position, speeches, any scene where you want subject acquisition limited to a specific region of the frame.
Zone gives you a defined acquisition region — center, left, right, upper, lower — while still using subject recognition within that zone. It is less likely than Wide to jump to a moving background element (an officiant, a bridesmaid walking past) while you are locked on the couple. Size the zone to cover the couple’s position at the altar, then leave it.
AF-S (Single) with Manual Override
Best for: portraits during couples session, any frame where you want to focus once and recompose without the camera hunting.
Set AF-ON to perform AF-S, shoot, and the camera releases focus until you press AF-ON again. Pair with Flexible Spot S at a small size for precise eye placement in close-up portraits with very shallow depth of field at f/1.4–f/1.8.
Dual-Card Backup Workflow
Losing a card at a wedding is a career-ending event. The A7 IV’s dual-slot system prevents it — if you use it correctly.
Slot Configuration
- Slot 1 (CFexpress Type-A or UHS-II SD): Primary RAW capture. Use a CFexpress Type-A card here — buffer clearance is dramatically faster than even the best UHS-II SD. Recommended capacity: 128–256 GB.
- Slot 2 (UHS-II SD): Simultaneous backup. Set Recording Media → Simult. (RAW/JPEG) so every RAW written to Slot 1 is mirrored to Slot 2 in real time.
Important: Match Your SD Card Speed
Sony’s product page notes card requirements for the camera’s fastest modes (SDXC V90 or higher, or CFexpress Type A VPG200 or higher). When you record to both cards at once, a slow card can hold back the pair, so use a fast UHS-II SD card in Slot 2 — the Sony Tough SD V90 series is built for exactly this pairing.
Card Rotation Protocol
- Start the day with fresh formatted cards in both slots (format in-camera the night before, not on the day)
- At cocktail hour, pull the Slot 1 CFexpress card. Keep it in your bag. Insert a second CFexpress card.
- Slot 2 SD card stays in the camera all day as the continuous mirror.
- At end of day: you have three copies — Slot 1 card A (prep through cocktail), Slot 1 card B (reception), Slot 2 SD (full day backup). Ingest all three before putting any card away.
Never hand your only card to an assistant or second shooter without retaining a backup in Slot 2.
Battery and Card Strategy for a 10-Hour Day
Batteries
Sony publishes a CIPA battery rating for the A7 IV, and real wedding use with the viewfinder on, image review and bursts will be lower. For a 10-hour day, plan on several NP-FZ100 batteries; carry six to be safe.
Battery drain accelerators to watch:
- Wi-Fi and Bluetooth always-on (enable Airplane Mode)
- Continuous EVF use vs. LCD switching (set Finder/Monitor to Auto — it only powers the display in use)
- IBIS Active mode vs. Standard (Active consumes more)
- Frequent image review (keep power-save start time at 1 min)
- 4K video recording — if you clip video at the reception, budget an extra battery for that
Swap batteries proactively: change at 30 percent remaining, not when the warning appears. Do swaps during cocktail hour, the meal, or before the reception starts — never mid-ceremony or first dance.
Cards
RAW file size depends on the RAW File Type you choose, so shoot a test batch and check how many frames fit on your card. Two smaller cards with a mid-day swap give you a natural break point.
 Save
SaveColor Profiles and Creative Looks
The A7 IV shoots in Sony’s Picture Profile system (PP) and the newer Creative Looks. For wedding photographers shooting RAW exclusively, the in-camera profile only affects JPEG previews and the EVF display. Your RAW files carry the raw sensor data regardless.
That said, the EVF preview matters — a flat S-Log3 preview will make it harder to judge exposure quickly in the field.
Recommended Profiles for Wedding Photography
- Creative Look: ST (Standard): Good saturation and contrast for the EVF preview. Familiar. Works well for JPEG proofs.
- Creative Look: NT (Neutral): Slightly flatter, slightly less contrast. Better preview when shooting in mixed church lighting where you want to see into shadows.
- Creative Look: IN (Incandescent): Not typically useful for weddings but interesting for warm candlelit ceremony frames as a JPEG style.
- Picture Profile: OFF if shooting RAW with no JPEG — saves processing overhead and keeps the preview honest.
Avoid S-Log3 for photo shooting. It is designed for video color grading workflows. Exposure in the field becomes harder because the preview is intentionally washed out, and there is no benefit in RAW since the camera encodes Log data only in the JPEG/video output, not in the RAW file.
Custom Modes 1, 2, and 3
The A7 IV’s M1/M2/M3 positions on the mode dial store a set of shooting settings you can recall from the mode dial. Sony’s Camera Set. Memory page notes that custom key settings are not registered, so set those separately. This is the most underused feature on the camera. A working wedding setup:
M1 — Ceremony / Low-Light Action
- Mode: Manual | Shutter: 1/200 | Aperture: f/2 | ISO: 3200 (manual) | Silent Shutter: On
- AF: AF-C | Focus Area: Zone (center) | Tracking Sensitivity: 2
- Drive: Hi Burst (10 fps)
- Use for: ceremony, first dance, speeches in dim rooms
M2 — Bright Outdoor / Formals
- Mode: Manual | Shutter: 1/200 | Aperture: f/5.6 | ISO: Auto 100–800 | Silent Shutter: Off (mechanical for flash sync)
- AF: AF-C | Focus Area: Wide | Tracking Sensitivity: 3
- Drive: Mid Burst (6 fps)
- Use for: group formals, outdoor couple portraits, cocktail hour
M3 — Prep / Portraits (Shallow DOF)
- Mode: Aperture Priority | Aperture: f/1.8 | ISO: Auto 100–6400 | Min Shutter: 1/125 | Silent Shutter: On
- AF: AF-C | Focus Area: Tracking Flexible Spot S | Face/Eye: On
- Drive: Single
- Use for: getting ready, couples session, detail shots
To save a memory recall position: set up everything exactly as you want it, then go to Shooting → Shooting Mode → Camera Set. Memory → Store Camera Settings, choose M1/M2/M3, and confirm. The settings are locked in until you overwrite them.
 Save
Save5 Wedding-Day Checks to Run on Your Own A7 IV
These are checks, not claims about how the camera behaves. Run each one on your own body before the day.
- Compare burst speeds in the viewfinder. Sony lists Hi+ at 10 fps and Mid at 6 fps. Shoot a few moving subjects at each and see which view is easier to follow for aisle walks and the first kiss.
- Test stabilization before you pan. If you plan to follow the couple during the first dance, take a few panning frames with IBIS on and off and keep the setting that looks better to you. Assign a custom key to it if you want to toggle without the menu.
- Check for banding under LED lights. Take test frames with the electronic shutter under the venue’s lights. If you see bands, try Anti-flicker Shoot. or switch to the mechanical shutter.
- Know your sound settings. Under Setup → Sound Option the camera has an Audio signals setting. Turn audio signals off for quiet ceremonies and keep the electronic shutter in mind for silent shooting.
- Learn the touch settings. Under Touch Func. in Shooting, a single touch can be set to Touch Tracking, and a double tap during AF can reset the focus position (see Sony’s touch operation page). Check which behavior you have set before a crowded dance floor.
Gear Checklist for a 10-Hour Wedding Day
Settings are only half the equation. Here is the physical kit that completes the setup:
- Sony Alpha A7 IV body — primary camera
- Sony 24-70mm f/2.8 GM II or 35mm f/1.4 GM — ceremony and reception workhorse
- Sony 85mm f/1.4 GM — portraits, prep, ceremony details
- Sony 70-200mm f/2.8 GM II — ceremony from distance, details, candid
- CFexpress Type-A 128GB × 2 in Slot 1, Sony Tough V90 SD 128GB × 1 in Slot 2
- 4–6 × NP-FZ100 batteries
- Dual-slot battery charger for cocktail-hour top-up
- Variable ND filter for outdoor flash fill / sparkler exits
Want to go further? The ShutYourAperture Academy’s The Wedding Day (7 modules, 28+ lessons) is built to help you capture love, story and chaos in a single day.
Putting It All Together
The Sony A7 IV is a genuine all-day wedding camera. Its strength is the overlap between sensor capability (a 33 MP sensor, a wide ISO range), AF reliability (subject recognition that holds through confetti, veils, and dim church aisles), and the dual-card workflow that protects your files from the moment you hit the shutter.
The shooters who get the most out of it treat it as a system: pre-loaded custom modes so transitions are instant, card pairing that matches speed tier across both slots, battery rotation that never puts you below 30 percent in a critical moment, and AF assignments that match zone size to the density of the scene.
Take these settings to a couple of engagement sessions before your next wedding date. Test each custom mode in variable light. Verify your dual-card simultaneous recording is actually working (format both cards, shoot 10 frames, eject and check both — do this before the venue, not at it). Then show up on wedding day knowing your gear will not be the variable.
For the full technical foundation behind these settings, read our guides on aperture, shutter speed, and portrait photography — they cover the reasoning behind every number in this guide.
Pack a blower for the wedding kit
A Giottos AA1900 Rocket Air Blower is one option for clearing loose dust from the outside of an A7 IV wedding kit. Follow the camera and lens cleaning instructions. Keep the nozzle off the glass and do not blow debris deeper into the camera. A blower does not repair scratches or guarantee a clean sensor. Inspect test frames and check the full kit before leaving for the venue. Compare the current retailer specifications; no hands-on test, price or stock promise is being made here.
Compare Giottos AA1900 Rocket Air Blower on Amazon | Check Giottos AA1900 Rocket Air Blower at B&H
Affiliate disclosure: We may earn a commission from qualifying purchases through these gear links at no extra cost to you. As an Amazon Associate, Shut Your Aperture earns from qualifying purchases.