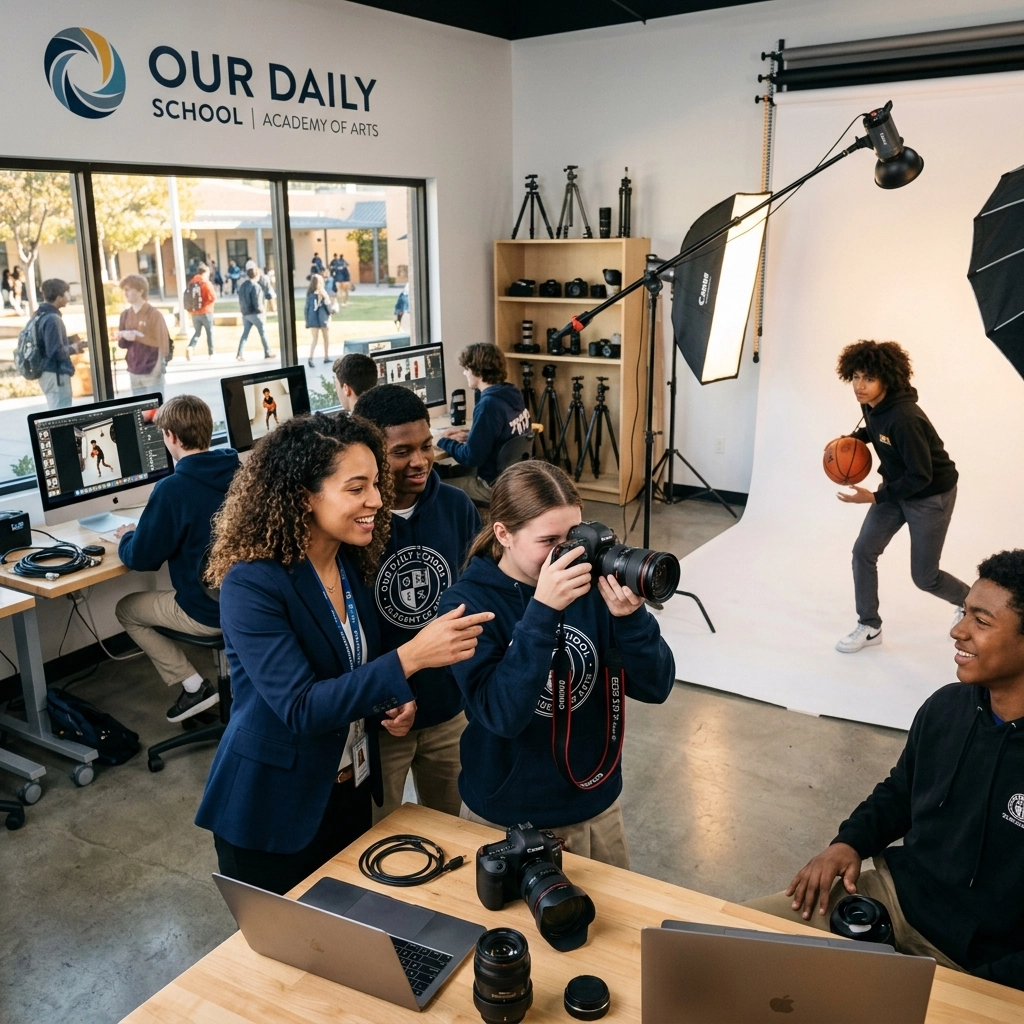
Welcome to the big leagues. If you’ve found your way here, you’re likely tired of taking "okay" photos. You’re done with the blurry shots, the weird orange skin tones, and the frustration of your camera not doing what you want it to do. You’ve officially entered our "Daily School" here at Shut Your Aperture, where we don’t just talk about gear, we talk about mastery.
Photography is a language. Most people are just babbling, but we’re going to teach you how to write poetry. Whether you’re a student trying to level up your yearbook game or a hobbyist looking to go pro, this guide is your roadmap. We’re going to dive deep into photography tutorials, break down how to use manual mode camera settings, and explore the techniques that separate the pros from the "weekend warriors."
The Mindset: Professionalism is a Choice
Before we touch a single dial, let’s get one thing straight: "Professional" isn't a title you get when you buy a $5,000 camera. It’s a mindset. In our daily school, professionalism means being consistent. It means knowing that if you press the shutter, you’re going to get the shot you intended to get.
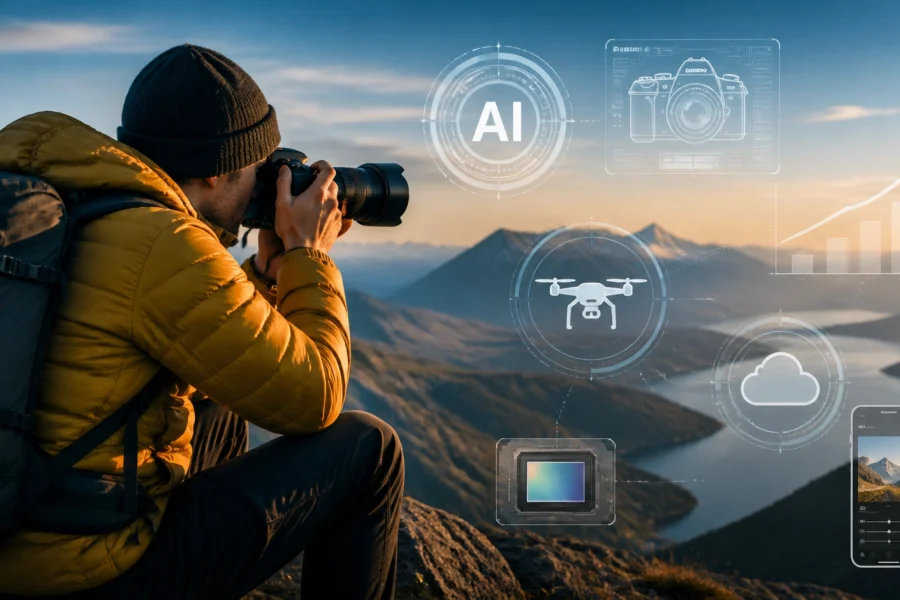
It also means being a constant student. The world of photography moves fast, especially now that we’re seeing why everyone is talking about AI-powered mirrorless tech. You have to stay curious. If you aren't learning something new every day, you're falling behind. That's why we built our online photography school to be the number one resource for creators who actually want to work.
Mastering the Technical: How to Use Manual Mode Camera
Stop. Right now. If your camera dial is on that little green "A," you’re letting a computer make all the creative decisions for you. Computers are smart, but they don’t have "vision." To succeed here, you need to learn how to use manual mode camera settings like you’re breathing.
Manual mode is built on three pillars: Aperture, Shutter Speed, and ISO. This is the "Exposure Triangle."
1. Aperture (The F-Stop)
Think of aperture as the pupil of your eye. The wider it is (a lower number like f/1.8), the more light comes in. This also creates that creamy, blurred background everyone loves in portraits. If you want everything sharp, like a wide landscape, you’ll use a higher number like f/11. If you're struggling with this, check out our 5 steps to master manual mode.
2. Shutter Speed
This controls how long your sensor is exposed to light. Fast shutter speeds (1/1000) freeze action, perfect for sports. Slow shutter speeds (1/30) create motion blur. Be careful, though; if you go too slow without a tripod, your whole image will be a blurry mess.
3. ISO
ISO is your camera’s sensitivity to light. Use a low ISO (100-400) when it’s bright outside for the cleanest images. Crank it up (1600+) when it’s dark. But remember: higher ISO means more "noise" or grain.

Alt text: A close-up of a student's hands adjusting the dials on a mirrorless camera to learn manual mode settings in a brightly lit studio.
Mastering these three is the core of all photography tutorials. If you can balance these in your sleep, you’re already ahead of 90% of people with a camera. If you find yourself making mistakes, don't sweat it; even pros do. Here are 7 mistakes you’re making with manual mode and how to fix them.
Gear: What You Actually Need
Look, we love gear as much as the next guy. But don't let the lack of an expensive body stop you. You can learn the fundamentals on a used DSLR or a modern smartphone. However, if you are looking to invest in your 2026 kit, you need to be smart. Mirrorless is the standard now. The autofocus systems are basically magic, using AI to track eyes, animals, and even cars.
If you’re on the hunt, read our guide on how to choose the best mirrorless cameras for your 2026 kit.
The Essential Kit:
- The Body: Mirrorless is preferred for the tech.
- The "Nifty Fifty": A 50mm f/1.8 lens. It’s cheap, sharp, and great for portraits.
- Extra Batteries: Because "my battery died" is a phrase no pro ever says.
- Fast SD Cards: Don’t bottle-neck your expensive camera with a slow card.
For more deep dives into gear, check out PhotoGuides.org for some excellent breakdowns.
Composition: Designing the Frame
You have the settings right. The light is okay. But the photo still feels "blah." Why? It’s probably your composition. Composition is how you arrange elements in the frame to lead the viewer's eye.
- Rule of Thirds: Imagine a tic-tac-toe grid. Place your subject on the lines or intersections. It’s simple, but it works every time.
- Leading Lines: Use roads, hallways, or fences to "point" at your subject.
- Framing: Shoot through a doorway or some leaves to add depth.
- Negative Space: Sometimes what you leave out is more important than what you put in.
If you're into landscapes, you should see these 7 mistakes you're making with landscape photography. It’ll change how you see the horizon.

Alt text: A diagram showing the exposure triangle: aperture, shutter speed, and ISO: explained with simple icons for beginner photography students.
Lighting: The Make or Break Factor
You can have a $50,000 Phase One camera, but if the light is bad, the photo is bad. Period. In our school, we prioritize natural light first. It’s free, it’s beautiful, and it’s everywhere if you know how to look for it.
For portraits, avoid the midday sun. It creates harsh shadows under the eyes (the "raccoon" look). Instead, look for "Open Shade": under a tree or the shadow of a building. This gives you soft, even light that makes everyone look like a model. If you want to master this, check out our beginners guide to mastering natural light.
When you move indoors, things get tricky. Fluorescent lights are the enemy. They’re green, they flicker, and they make people look sickly. Try to position your subject near a window. Window light is the "North Star" of professional portraiture.
Mastering Specific Scenarios
In your daily school of photography, you’ll encounter different subjects. Each requires a slightly different approach.
1. Portraits & Headshots
Whether it's for a graduation or a CEO, the goal is the same: make the subject look their best. Focus on the eyes: specifically the eye closest to the camera. If the eyes aren't sharp, the photo goes in the trash. For those aiming for the corporate world, avoid these 7 mistakes with your corporate headshot.
2. Action and Sports
This is where your shutter speed knowledge pays off. You need to be at 1/500 minimum, but 1/1000 is safer. Use "Burst Mode" (Continuous Shooting). Don't just take one photo; take ten. The "professional" moment is often the millisecond between the ones you thought you wanted.
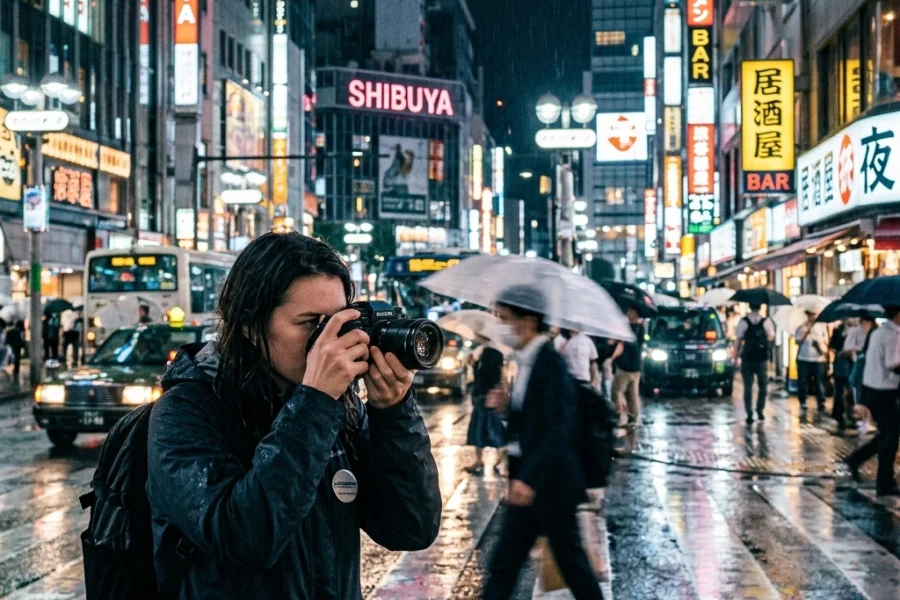
3. Daily Life & Candids
The best stories are told in the moments people don't know they're being watched. This requires being "invisible." Use a longer lens so you don't have to be in people's faces. Keep your camera at your chest, settings ready, so you can bring it up and fire instantly.

Alt text: A professional portrait shot in a school hallway using soft natural light coming from a large window on the left side.
The Digital Darkroom: Editing and Post-Processing
Taking the photo is only 50% of the job. The other 50% happens in the edit. This isn't about "fixing" bad photos; it's about enhancing good ones.
We highly recommend using Luminar for your editing workflow. It uses AI to handle the tedious stuff: like masking sky or retouching skin: so you can focus on the creative color grading. It’s a game-changer for speed, and in the pro world, time is money.
Basic Editing Workflow:
- Crop and Straighten: If your horizon is crooked, the photo looks amateur.
- White Balance: Make sure the whites are actually white, not blue or orange.
- Exposure/Contrast: Bring out the detail in the shadows without blowing out the highlights.
- Color Grading: This is where you develop your "style." Do you like moody and dark? Bright and airy?
Just be careful not to overdo it. One of the most common issues today is over-processed AI images. If you want to see what we mean, check out 7 mistakes you’re making with AI photo editing.
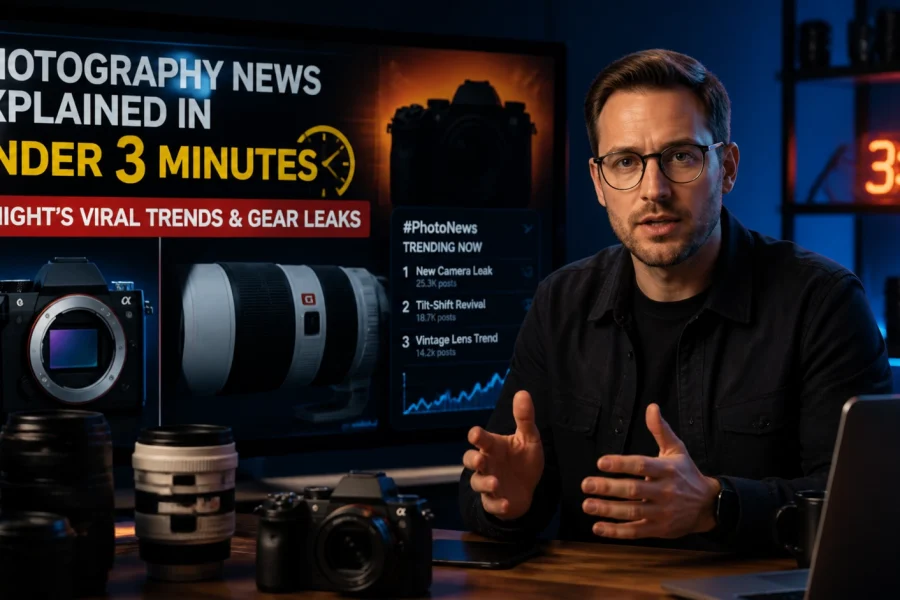
Staying Informed: The News Cycle
Photography isn't a static field. Tech changes every week. To be a professional, you need to know what’s happening in the industry. Is Sony releasing a new sensor? Is Canon updating its firmware? Keeping up with tonight's photography news is part of your daily homework.
If you’re feeling overwhelmed, don't worry. We’ve got a summary of 10 things you should know from this morning’s news to keep you in the loop without wasting your time.

Alt text: An action shot of a soccer game on a school field with a blurred background, showing a player kicking the ball in sharp focus.
The Business of School Photography
If you're looking to turn this into a career, you need to understand that photography is a business first. You need a portfolio. You need to be reliable. You need to be the person people enjoy having around.
Start by offering to shoot school events. The drama club, the football game, the faculty portraits. Treat every single one of these like a paid gig. Deliver the photos on time. Make them look amazing. This is how you build a reputation.
When you’re ready to show off your work to the world, consider looking into how fine art is displayed at www.edinfineart.com. Seeing how high-end work is presented will give you a standard to aim for.
Common Pitfalls to Avoid
As you progress through your photography tutorials, you’ll hit roadblocks. Here are a few to watch out for:
- Gear Envy: Thinking a better camera will make you a better photographer. It won’t. Your eye is the most important piece of gear you own.
- Over-shooting: Taking 2,000 photos and hoping one is good. Slow down. Think. Compose.
- Ignoring the Background: You have a beautiful subject, but there's a trash can "growing" out of their head. Always check your edges before you click.
- Fear of High ISO: Modern cameras handle high ISO incredibly well. A grainy photo is better than a blurry, unusable one.
For a deeper look at the basics, our Photography 101 guide is the perfect place to refresh your memory.

Alt text: A photographer’s desk featuring a laptop running Luminar editing software alongside a camera and various lenses.
Conclusion: Your Journey Starts Now
Becoming a professional photographer isn't a destination; it's a constant climb. The "Daily School" at Shut Your Aperture is designed to give you the tools, but you have to do the work. You have to get out there and shoot when it's cold, when it's hot, and when you'd rather be on the couch.
The difference between a pro and an amateur is that the pro has failed more times than the amateur has even tried. So, go fail. Make mistakes. Take terrible photos. Then, figure out why they’re terrible and fix them.
If you want to fast-track your progress, join us at the Shut Your Aperture Academy. We have deep-dive courses that go way beyond a single blog post. And for more inspiration and boots-on-the-ground stories, check out blog.edinchavez.com.
Now, get off your computer, grab your camera, and go find the light. The world is waiting for your perspective. Don't keep it waiting too long.