Portrait photography has a low floor and a high ceiling. Point a camera at a person and press the shutter: that is the floor. Get the light right, nail the focus on the near eye, choose a focal length that flatters rather than distorts, and time the expression: that is the ceiling. The gap between the two is where photographers spend most of their learning time, and the tips below close that gap faster than trial and error alone.
1. Learn to Read Light Direction First
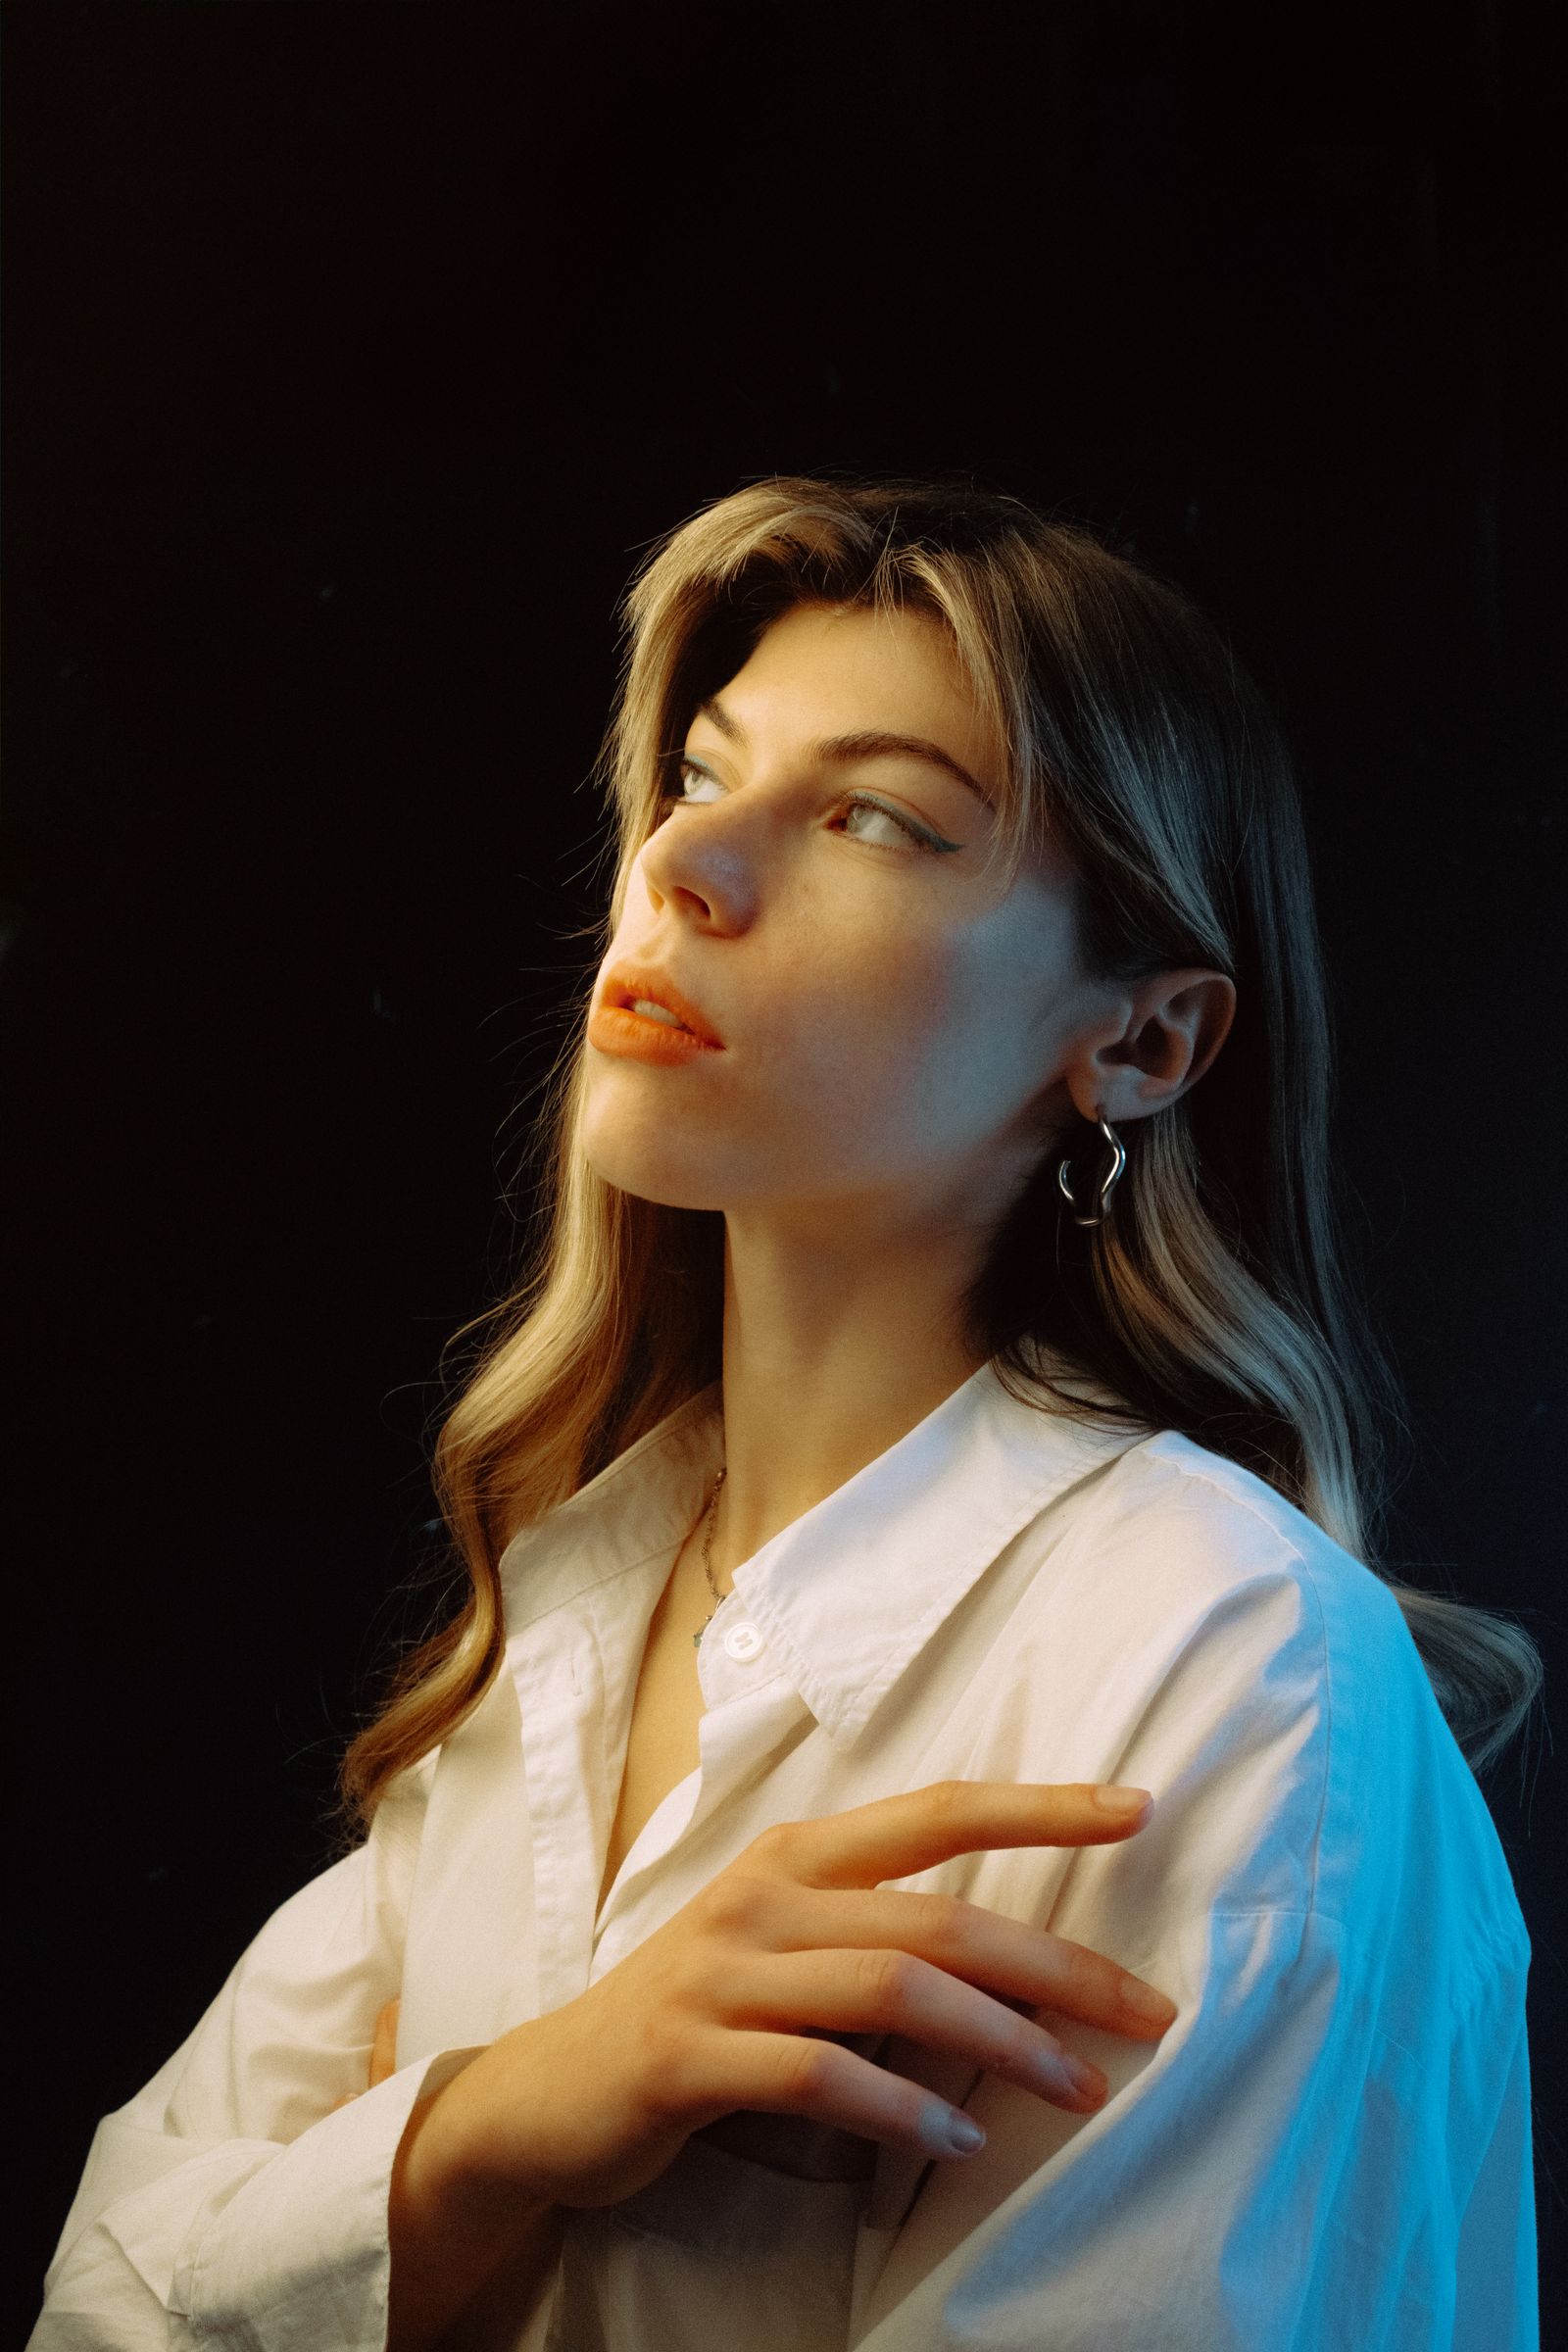
The most important variable in portrait photography is not gear. It is where the light is coming from and what angle it hits the face. Side lighting creates shadows that reveal bone structure and add drama. Front lighting flattens faces but evens out skin texture. Window light at 45 degrees to the subject is the foundation of most flattering natural light portraits because it creates a catchlight in the eye and models the face without deep shadows.
Before any shoot, spend 60 seconds walking around the subject and watching how the light changes on their face from different angles. The angle that shows a catchlight in both eyes and creates shadow that defines the cheekbone without blocking out the far side of the face is your starting position.
2. Focus on the Near Eye, Not the Nose
At wide apertures, depth of field is shallow enough that the point of focus within a face matters. The standard rule: focus on the eye that is closest to the camera. When one eye is sharp and the other is slightly soft, it looks intentional. When the nose is sharp and both eyes are soft, it just looks like a missed focus.
Modern cameras with eye-detection autofocus handle this automatically in most lighting conditions. If yours offers eye AF, use it. If not, use a small single-point focus and place it deliberately on the near eye, especially at apertures below f/2.8 where the depth of field is narrow enough that consistent manual placement matters.
3. Use a Lens Between 50mm and 135mm
Focal length affects how faces render in photos. Wide-angle lenses (24-35mm) distort facial features when shooting close: the nose appears larger relative to the ears, and the overall proportions look stretched. Telephoto lenses (85-135mm) compress perspective and make facial features appear more proportionate. This is why 85mm and 105mm lenses are traditionally called portrait lenses: they produce natural facial proportions without requiring the photographer to shoot from far away.
The 50mm is a solid all-purpose choice for environmental portraits where you want to show context. The Sony 85mm f/1.4 GM II (B&H) is one of the best dedicated portrait lenses currently available, combining fast aperture with exceptional sharpness at f/1.4 and remarkable autofocus speed for tracking moving subjects. At 85mm, tight head-and-shoulders portraits look natural and the bokeh separation at f/1.4 is distinctive.
 Save
Save4. Shoot at f/2.8 or Wider for Subject Separation
The blurred background effect that distinguishes professional portrait photography from phone snapshots comes primarily from using a fast aperture (f/1.4 to f/2.8) with a medium telephoto lens. The background blur is not a filter or an edit: it results from the shallow depth of field when a wide aperture is combined with distance between the subject and the background.
To maximize separation without going so wide that depth of field becomes unmanageable: shoot at f/2 to f/2.8, position your subject at least 10-15 feet from the background, and choose backgrounds with varied tones and color so the blur is visible rather than against a plain wall where it makes no difference.
5. Position the Subject, Not Just the Camera
Where you stand matters less than where your subject stands. Moving the subject three feet closer to a window changes the quality of the light falling on them entirely. Asking them to turn slightly toward or away from the light source changes whether their face reads flat or dimensional. Most portrait photographers who consistently produce strong work spend more time thinking about subject placement relative to light than they spend thinking about camera angles.
6. Manage ISO Aggressively to Protect Shadow Detail
Portraits shot with natural light in dim indoor conditions create a temptation to underexpose at a low ISO and recover in post. Resist it. Underexposed shadows in portrait files carry noise and loss of skin texture detail that does not recover cleanly. Raising ISO to 1600 or 3200 and getting a correctly exposed image produces a better result than shooting at ISO 400, underexposing by 2 stops, and then pushing the shadows in Lightroom. The shadow recovery on most modern RAW files is good; it is not magic.
7. Keep the Background Simpler Than You Think Necessary
Busy backgrounds compete with the subject for the viewer’s attention. When you look through the viewfinder at a portrait composition, scan the background actively: are there bright spots that will draw the eye away from the face? Is there a tree or fence post appearing to grow out of the subject’s head? Are there colors in the background that clash with the subject’s clothing?
The simplest fix for background clutter is often just to move: take three steps to the side to put a blank wall or open sky behind your subject. Shooting upward toward the sky from a lower angle is a reliable way to eliminate a distracting ground-level background when no clean backdrop is available.
 Save
Save8. Give Subjects Something to Do With Their Hands
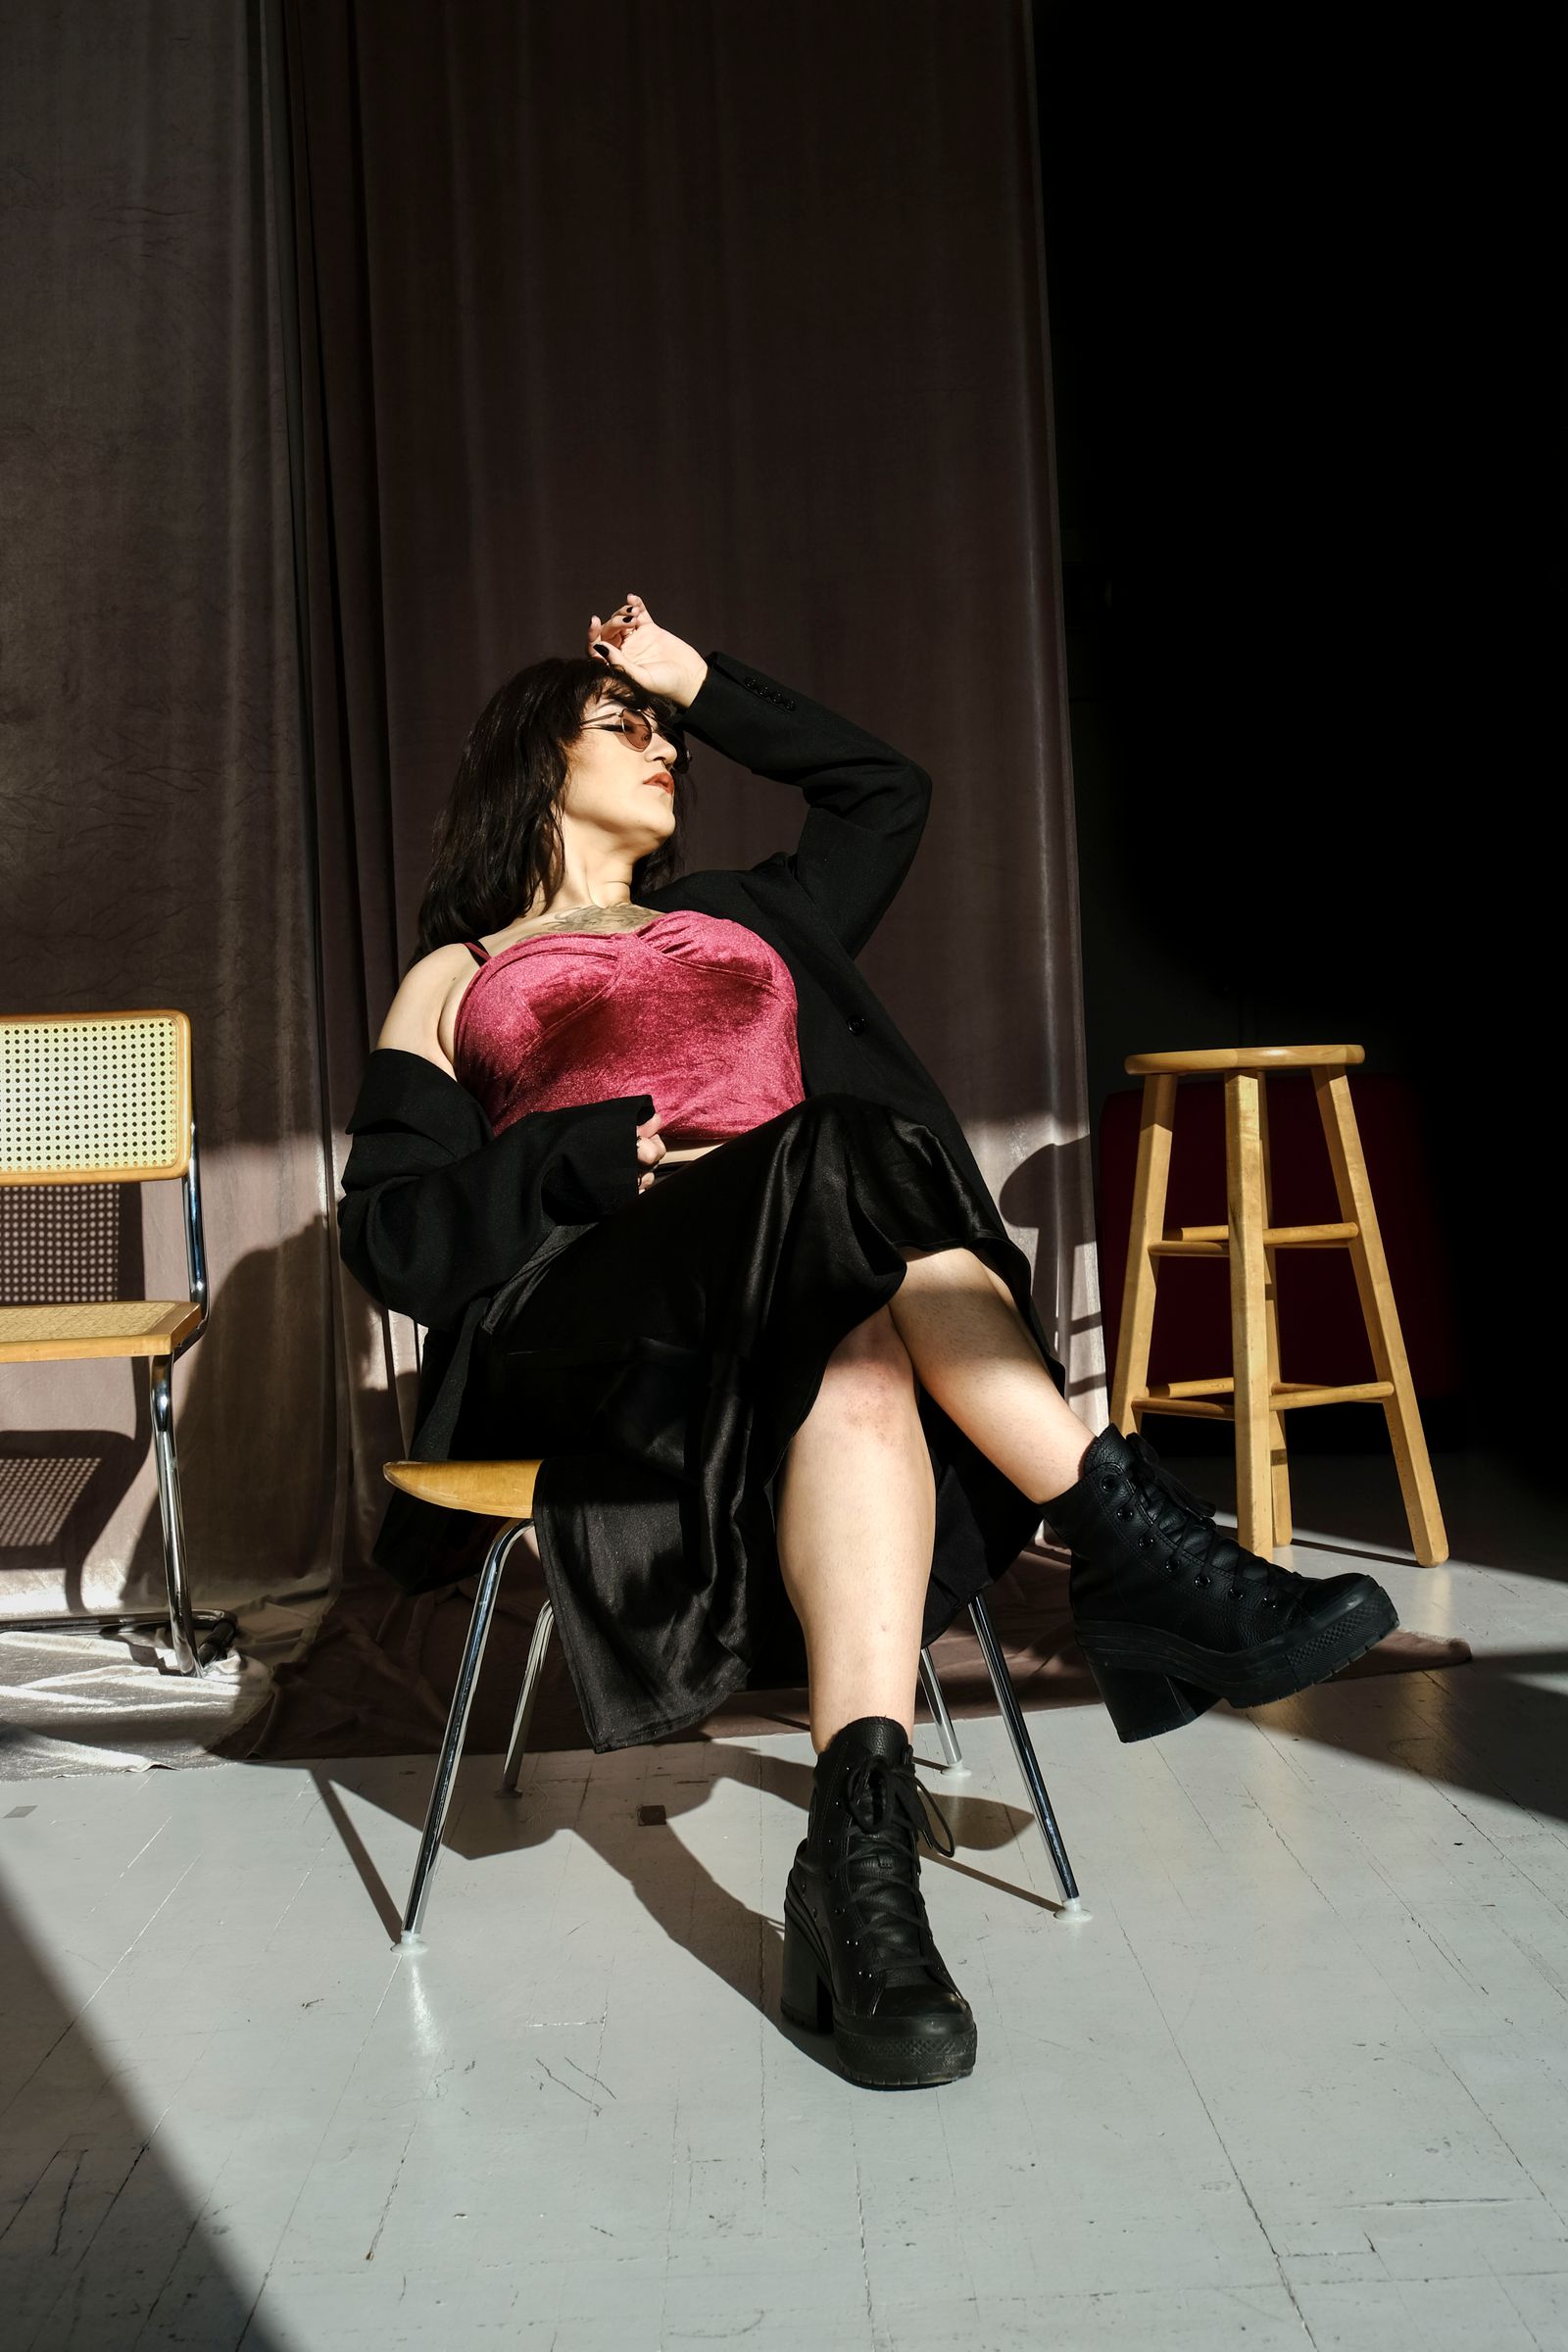
Hands are difficult in portrait photography. When subjects do not know what to do with them, they end up in unnatural positions that look stiff or awkward in the frame. Give them a task: hold a coffee cup, put a hand in a pocket, cross arms naturally, or in the case of families and couples, hold hands with someone else in the frame. The hands do not need to be the focus of the image; they just need to be doing something plausible.
9. Shoot Sequences, Not Singles
Expression timing is the hardest element of portrait photography to control. The difference between a photo that works and one that almost works is often a fraction of a second: the eyes are slightly closed, the mouth is mid-word, the natural smile has just collapsed into self-consciousness. Shooting short bursts of 3-5 frames at the moment of an expression gives you options within the same gesture rather than committing to a single frame that may or may not be perfect.
This does not mean spray-and-pray on continuous shooting. It means: when you see an expression building, fire a short burst of 3-4 frames and then stop. Review and select the one where the expression peaks. Over time you will develop better timing for when to release the shutter and need fewer frames per keeper.
Want to go further? The ShutYourAperture Academy’s The Portrait Masterclass (8 modules, 32+ lessons) is built to help you build portraits around faces, stories and human connection.
10. Edit Skin Tones Last and With Reference
Skin tones are the most sensitive element to edit in portrait work. Color casts that look mild on a landscape or product photo look obvious on a face because viewers have strong, automatic calibration for what skin tones should look like. Edit all other adjustments first, then evaluate skin tones at the end with fresh eyes.
Use a reference: open a photo of the same subject from a previous well-received shoot, or a reference image with similar skin tone from another photographer whose color work you respect. Compare side by side. When skin tones look off, the most common cause is orange or yellow over-saturation in the HSL panel, or a warm white balance that was appropriate for the ambient light but reads as too orange on skin specifically. Desaturating orange by -10 to -15 in HSL is often the fastest fix.
Portrait photography is one of those disciplines where technical knowledge serves the personal. The more natural these controls become, the more attention you can give to the person in front of the camera, which is where the real portraits come from.
Keep a separate copy of your portrait files
A black Samsung T7 Shield portable SSD, 1TB model MU-PE1T0S/AM, is one storage option for portrait originals and edited exports. Check the computer connection and capacity before buying. Open the copied files and maintain another checked copy separately. A drive does not replace a complete backup plan or change expression, focus or skin tones. Compare the current retailer specifications; no hands-on test, price or stock promise is being made here.
Compare Samsung T7 Shield Portable SSD Black 1TB MU-PE1T0S/AM on Amazon | Check Samsung T7 Shield Portable SSD Black 1TB MU-PE1T0S/AM at B&H
Affiliate disclosure: We may earn a commission from qualifying purchases through these gear links at no extra cost to you. As an Amazon Associate, Shut Your Aperture earns from qualifying purchases.