

Let’s be real for a second, portrait photography is a lot like dating. You show up with high hopes, a bit of nervous energy, and a lot of gear. But sometimes, despite your best intentions, things just don't click. You get home, upload your files, and realize your subject looks like they’re posing for a mugshot or, worse, they’re slightly out of focus.
We’ve all been there. Even Edin Chavez has had those "what was I thinking?" moments. The jump from taking a "picture of a person" to creating a "portrait" is a big one. It involves mastering light, psychology, and technical precision all at once. If you feel like your portraits are missing that oomph, you’re probably making one of these seven common mistakes.
The good news? They are all easy to fix. Let’s dive in and turn those "meh" shots into "wow" portfolio pieces.
1. The Blurry Eye Blunder
If the eyes aren't sharp, the portrait is a failure. It sounds harsh, but it’s the truth. In any portrait, the eyes are the anchor point. They are the "windows to the soul," as the cliché goes, and if the camera focuses on the tip of the nose or the earlobe instead, the viewer’s brain immediately flags the image as "wrong."
The Mistake: Relying on basic auto-focus settings that pick the closest object. Often, this results in a sharp nose and blurry eyes, especially when shooting with a wide aperture.
The Fix: Use Single Point AF or, if your camera supports it, Eye-AF (Eye Auto Focus). Modern mirrorless cameras are incredible at tracking eyes in real-time. If you’re shooting on an older DSLR, manually select your focus point to land directly on the eye closest to the camera.
Also, watch your aperture. While a creamy background is great, shooting at f/1.2 might give you such a thin depth of field that if the subject even breathes, the eyes go soft. Try stopping down to f/2.0 or f/2.8 until you’ve mastered your focus technique. For more technical gear tips, check out PhotoGuides.org.
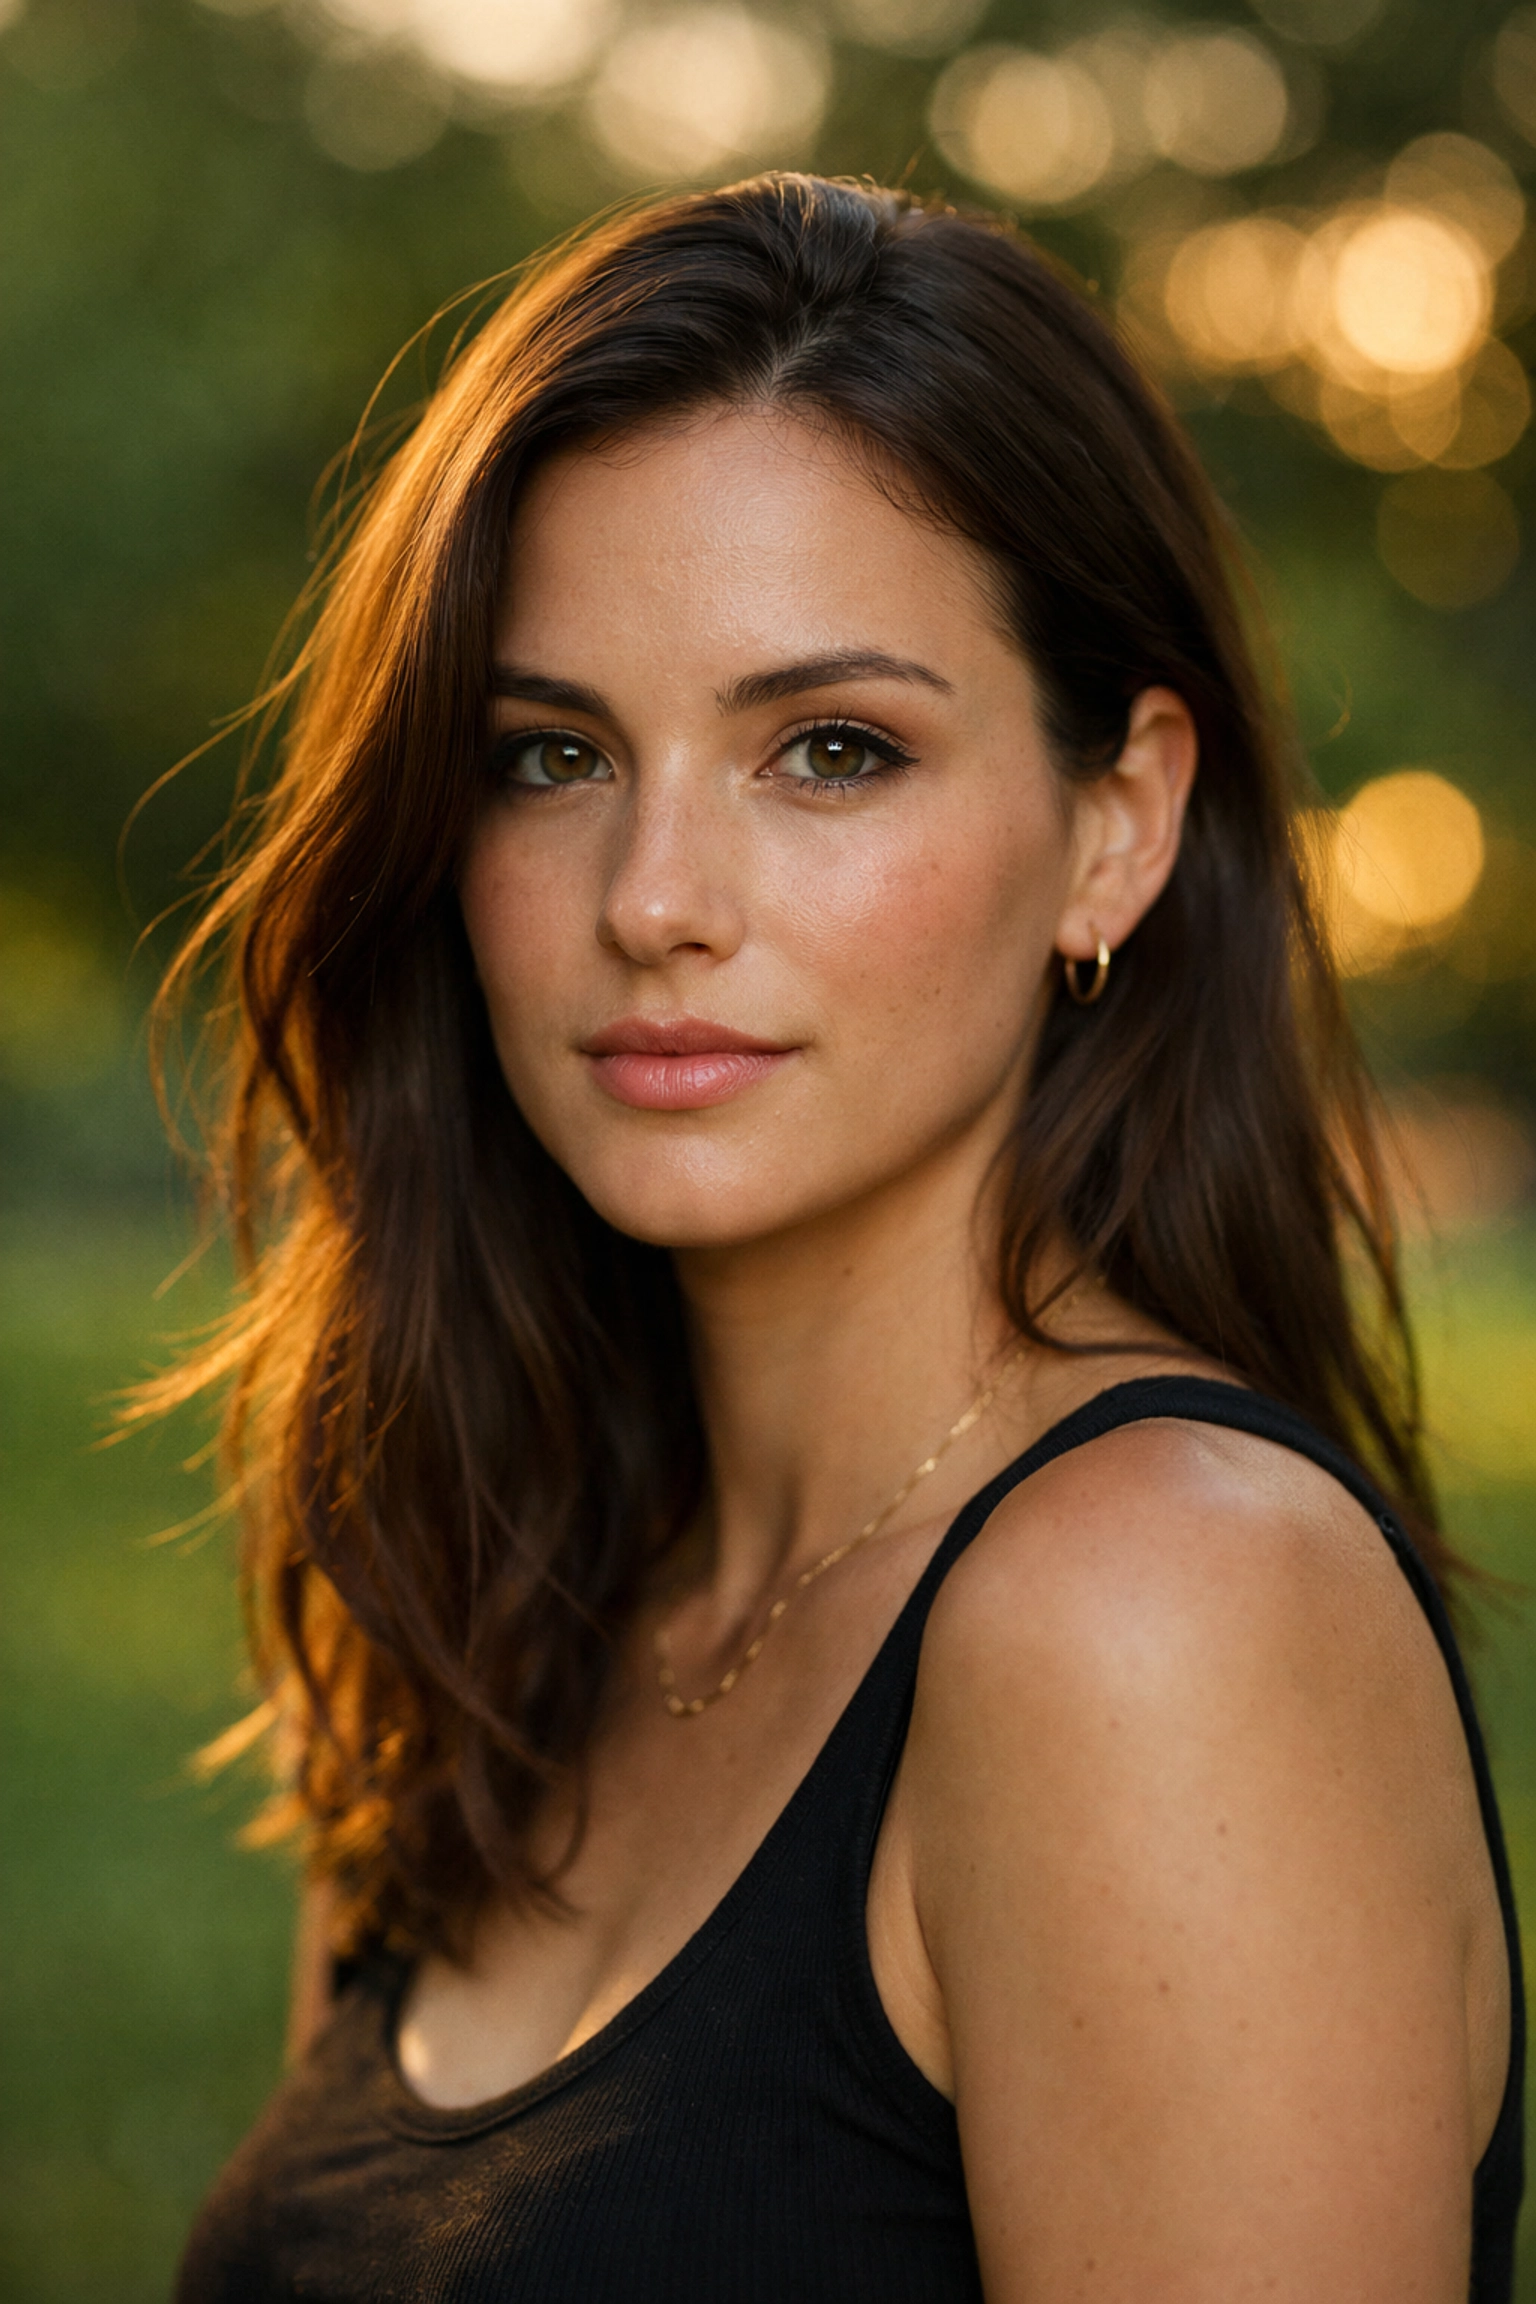
2. Lighting That Adds 20 Years
Light is the most powerful tool in your kit, but it can also be your worst enemy. Many beginners think "more light is better," so they take their subjects out at high noon. The result? Raccoon eyes, harsh shadows under the nose, and every single pore on the face standing out in high relief.
The Mistake: Shooting in direct, overhead sunlight or using a single, harsh light source without any diffusion.
The Fix: Look for "open shade" or wait for the Golden Hour. If you’re shooting outdoors, find a spot under a tree or the shadow of a building. This provides a soft, even glow that is incredibly flattering for skin. If you’re stuck in the sun, use a reflector or a scrim to soften the light hitting your subject.
Inside the studio or at home, never point a bare flash directly at someone’s face. Bounce the light off a white wall or use a softbox. You want the light to "wrap" around the face, filling in shadows and smoothing out the skin. If you want to dive deeper into how light interacts with different environments, our guide on mastering light and water for perfect shots offers some great parallels you can apply to portraiture.
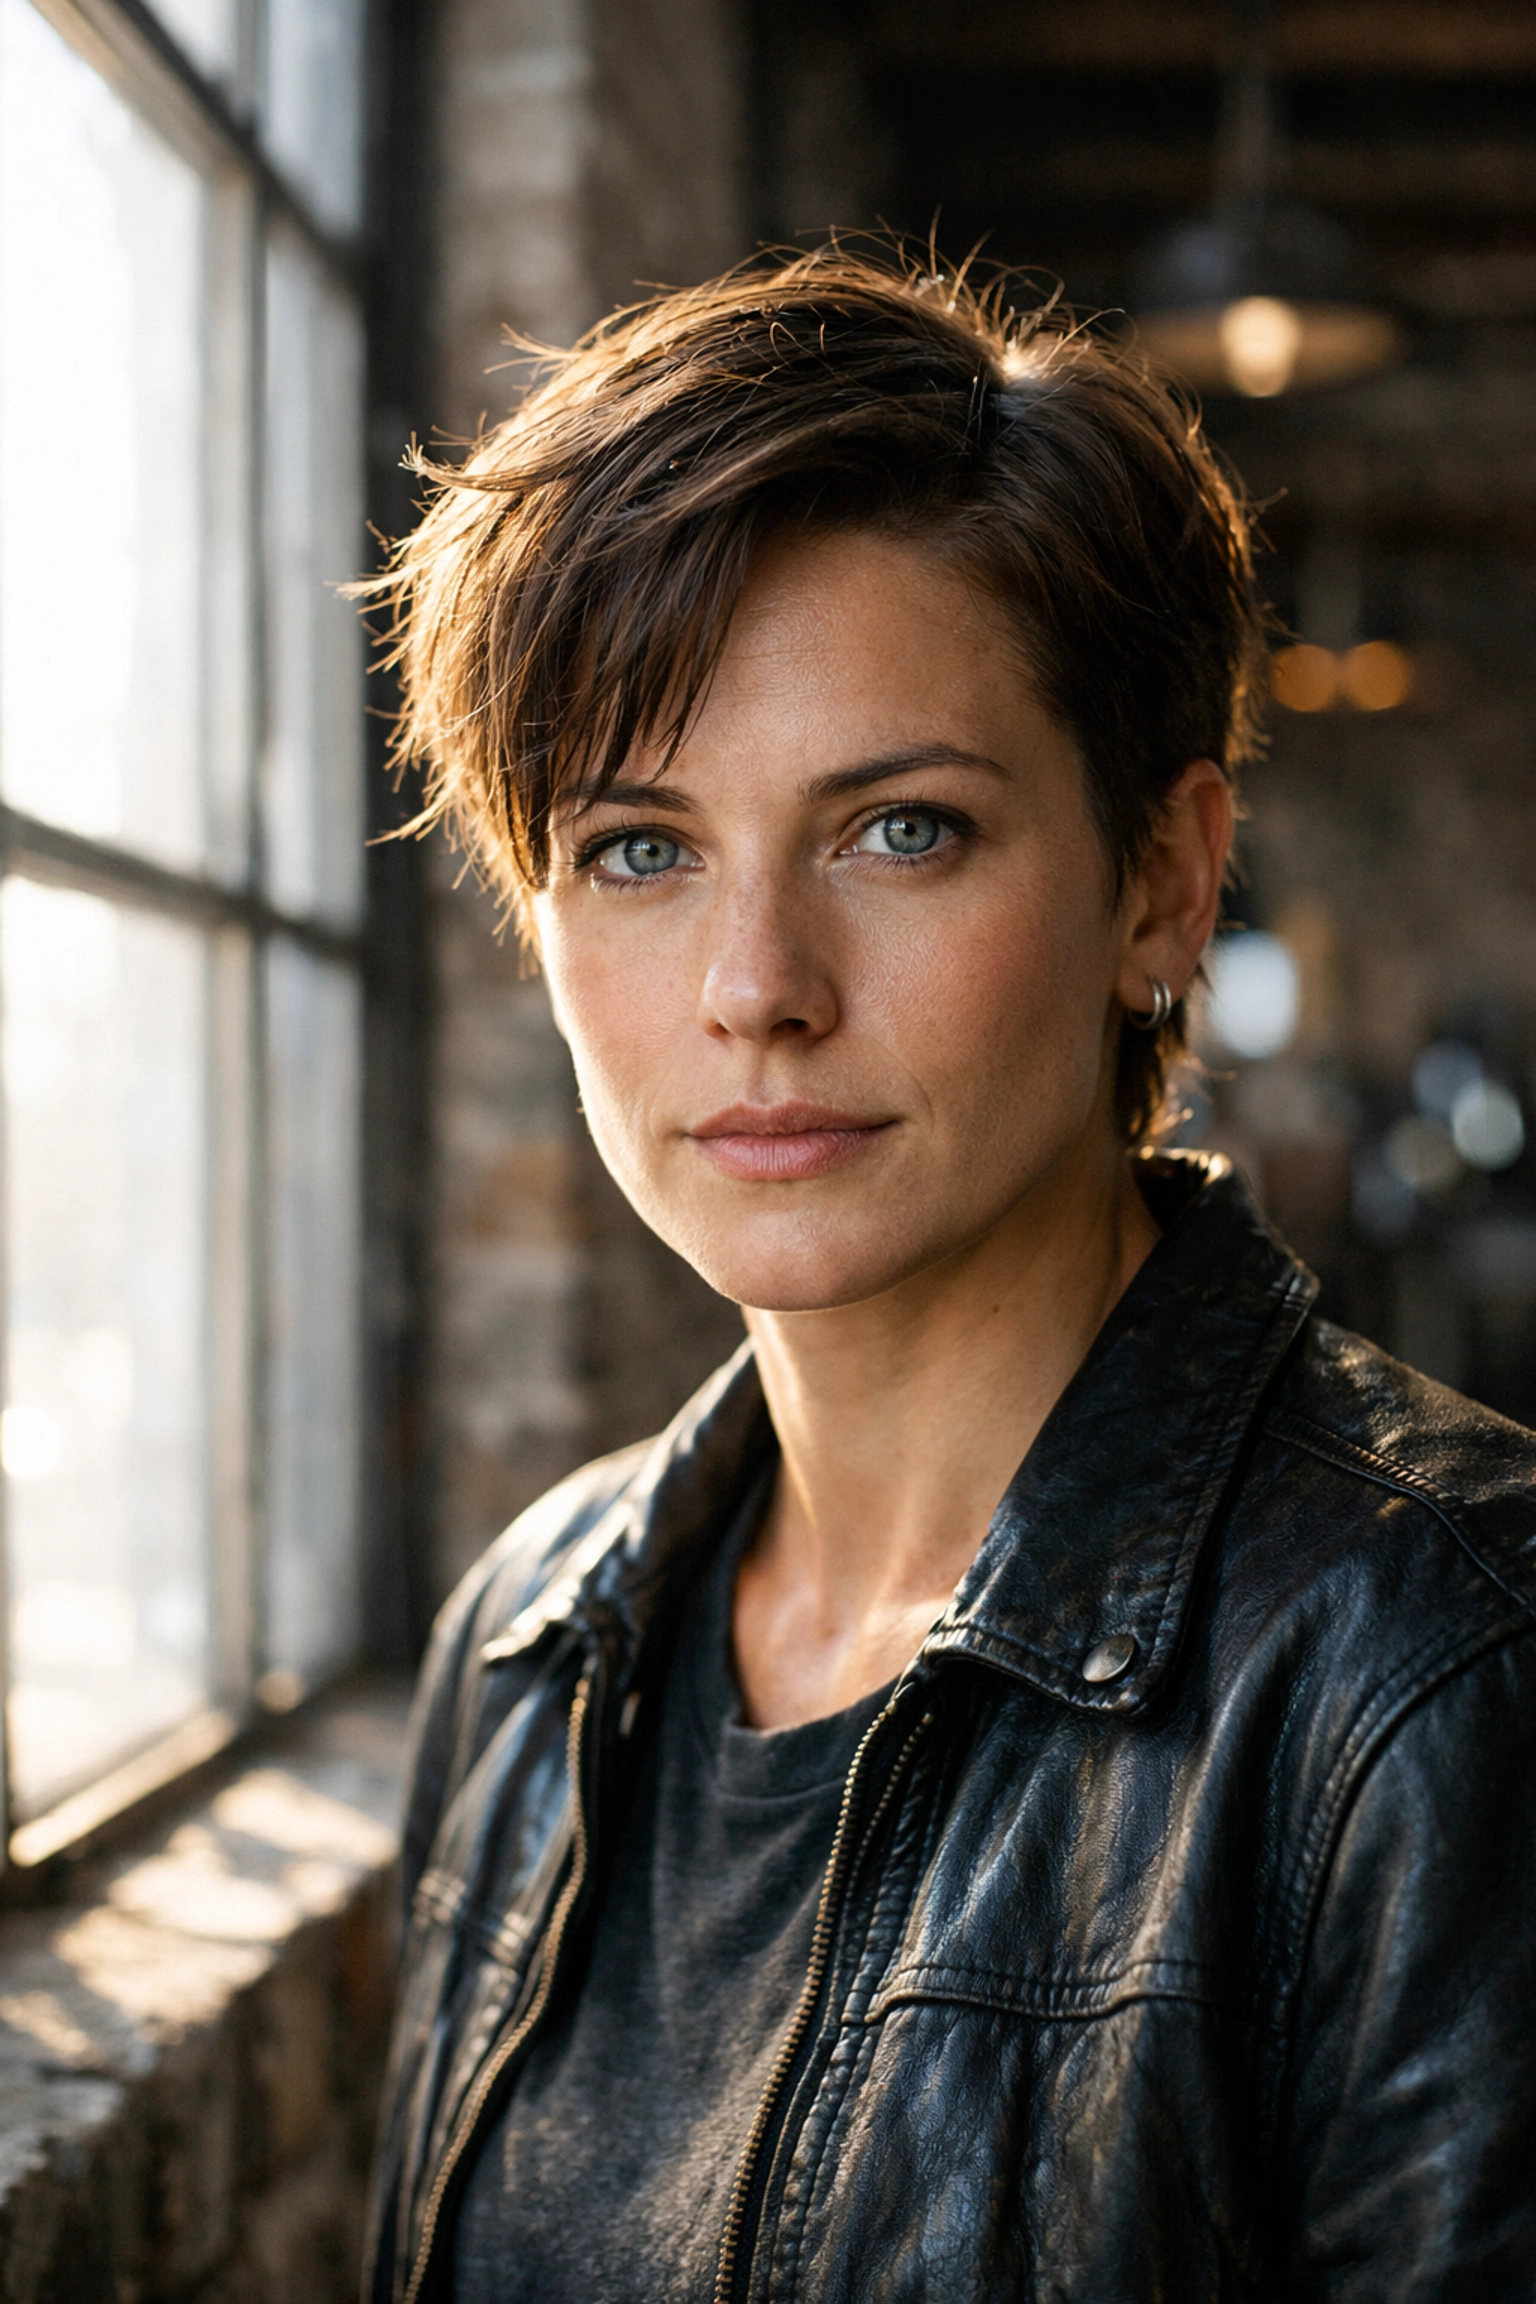
3. The "Wallflower" Effect (Flat Backgrounds)
A great portrait isn’t just about the person; it’s about how they relate to the space around them. A common mistake is having your subject stand right against a wall. This creates a flat, "mugshot" look with no depth and often results in ugly shadows being cast directly behind them.
The Mistake: Lack of separation between the subject and the background.
The Fix: Pull your subject away from the wall. Even three to five feet can make a massive difference. By creating distance, you allow the background to fall out of focus, which creates that beautiful "bokeh" effect that makes the subject pop.
Think about the background as a supporting character. It should be interesting but not distracting. If you’re looking for inspiration for unique backdrops, check out our post on unlocking secrets to enchanting urban photography. Sometimes, a gritty alleyway or a textured brick wall provides the perfect contrast to a soft portrait, as long as there is enough distance to keep the focus where it belongs.
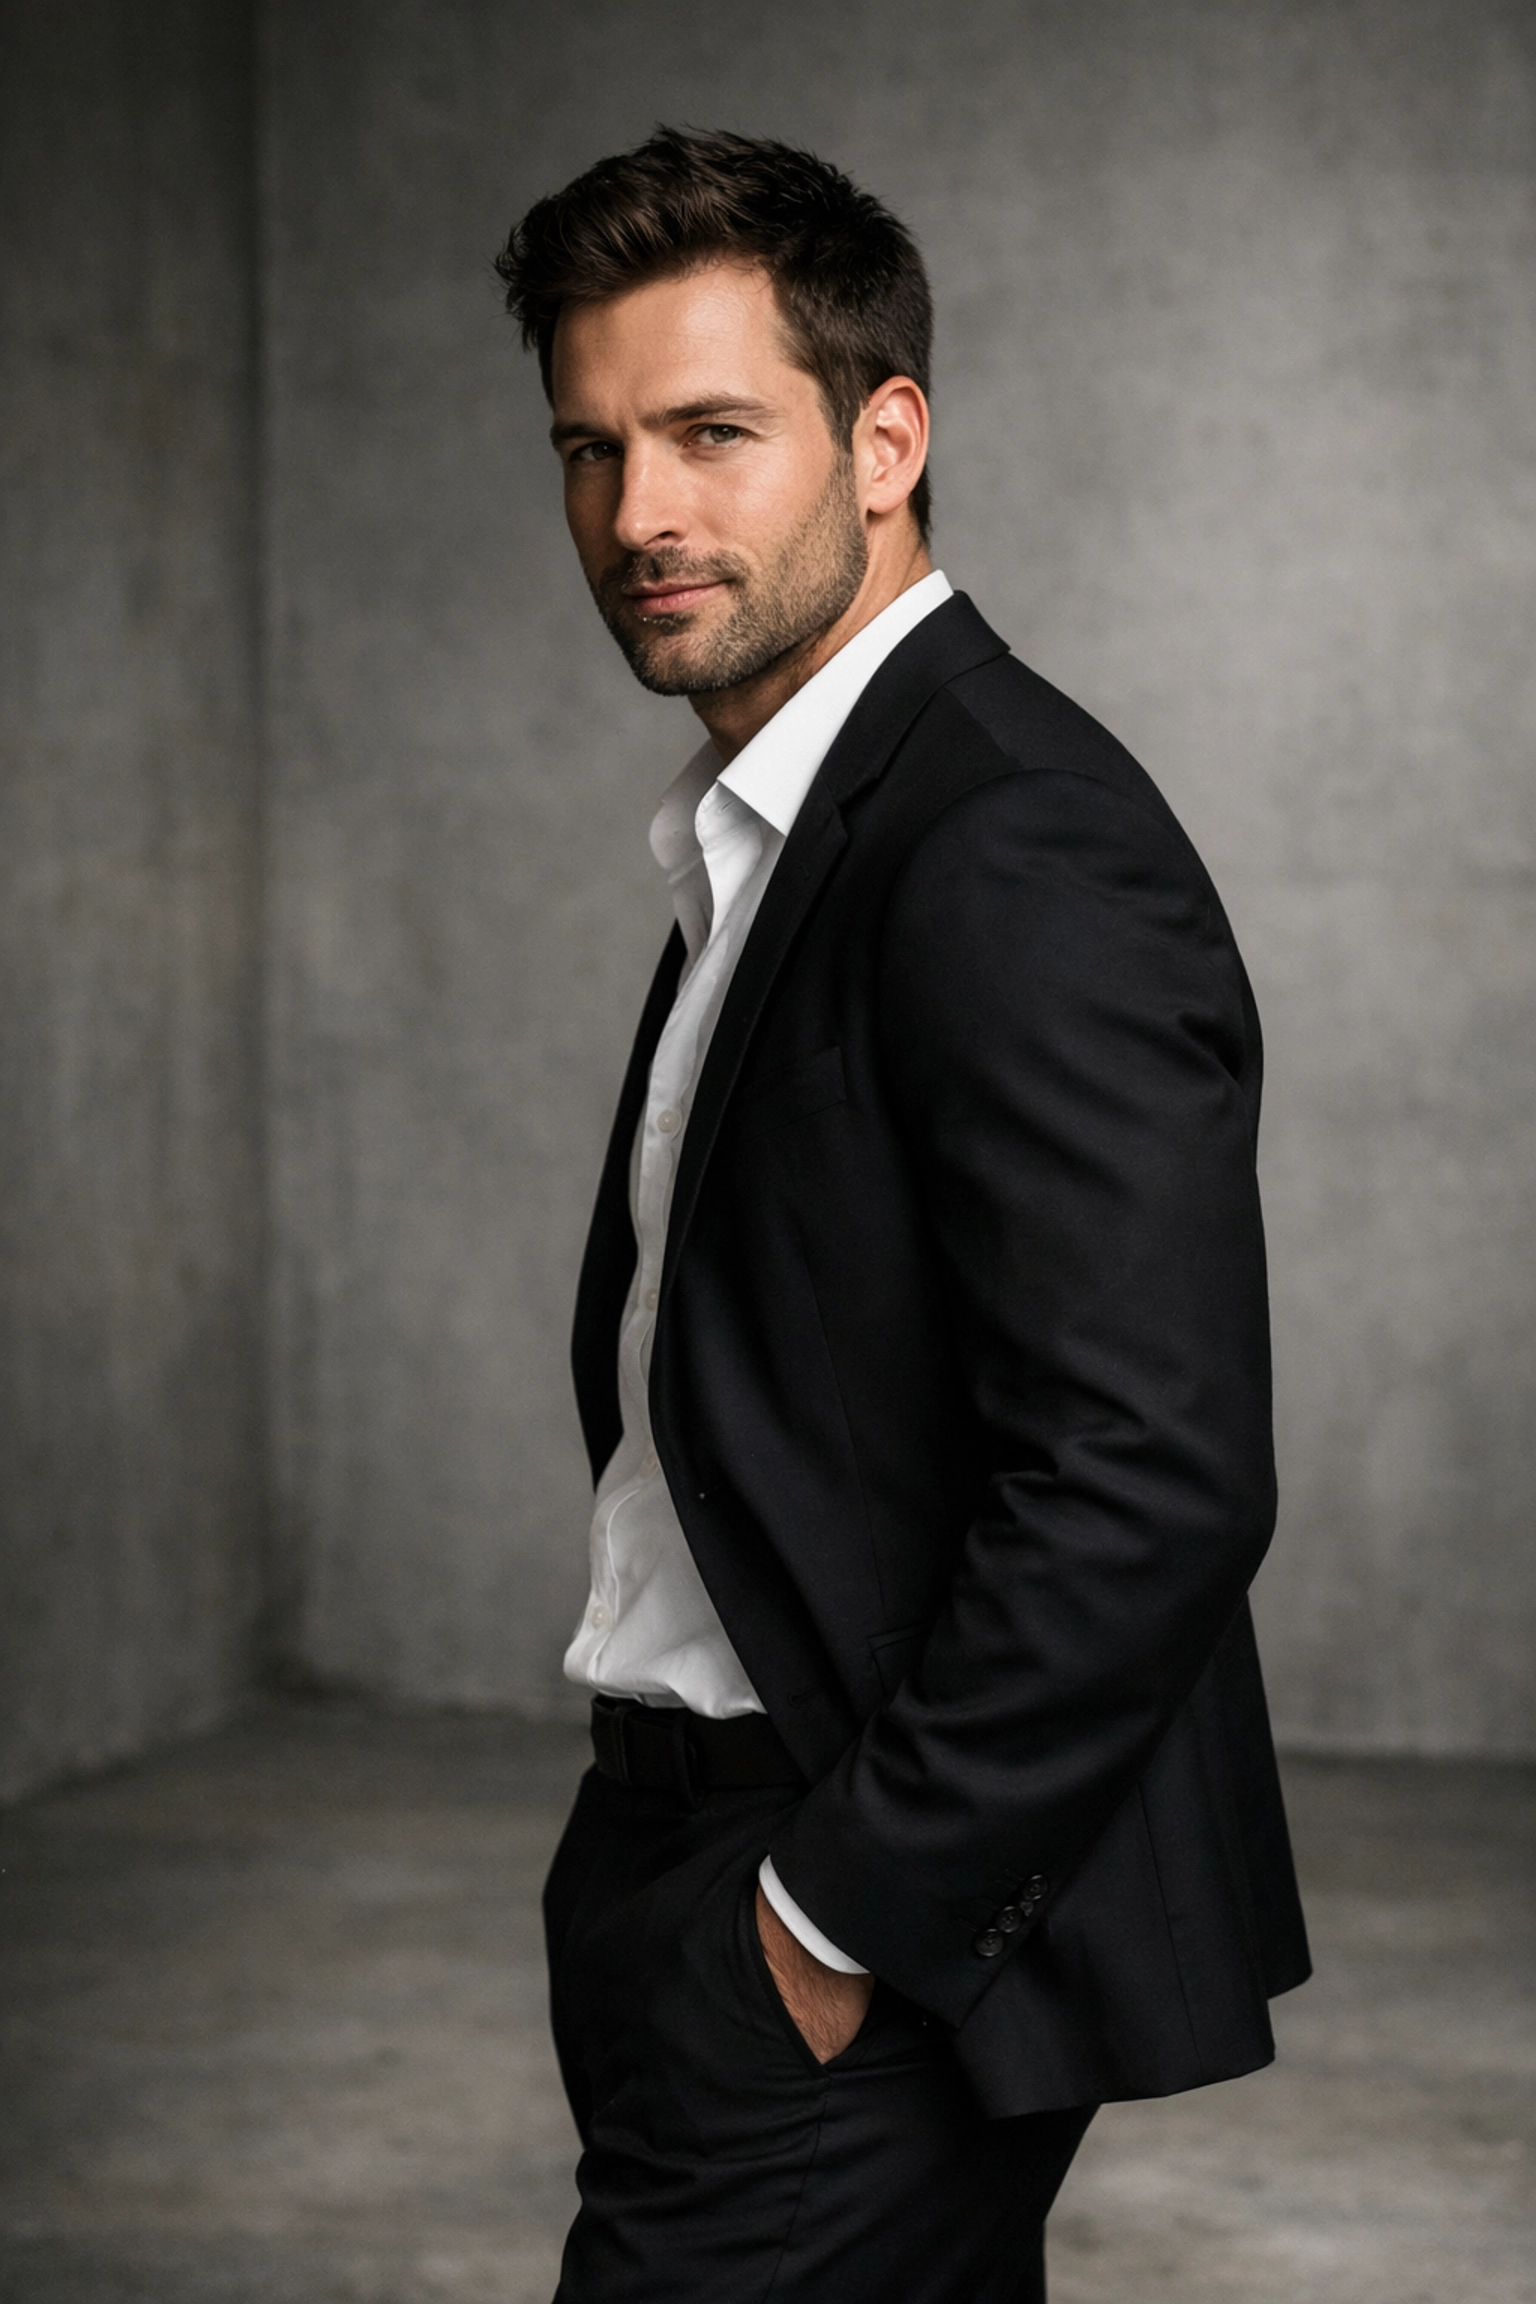
4. Standing Like a Statue (Square-On Posing)
When people get in front of a camera, they tend to freeze. They stand square-on, shoulders level, looking like they’re waiting for a doctor’s appointment. This is the least flattering way to photograph a human being. It makes people look wider and static.
The Mistake: Allowing the subject to face the camera directly with no movement or angles.
The Fix: The "45-Degree Rule." Ask your subject to turn their body about 45 degrees away from the camera, then turn their head back toward you. This slims the profile and creates more dynamic lines.
Encourage "micro-movements." Ask them to shift their weight from one foot to the other, or tilt their chin down slightly to give the eyes more impact. Posing is a conversation. Don’t just stand there clicking; give them direction. Tell them where to put their hands: pockets, hair, or lightly touching their face: to avoid the "what do I do with my hands?" panic. For more posing inspiration, Edin often shares behind-the-scenes insights on blog.edinchavez.com.
5. The Limb Chopper (Awkward Cropping)
There is an old rule in photography: "Never cut at the joints." Yet, so many portraits feature people with missing hands, chopped-off feet, or strangely severed elbows. It creates a visual tension that makes the viewer uncomfortable.
The Mistake: Cropping the frame directly at the wrists, elbows, knees, or ankles.
The Fix: Crop at the "meaty" parts. If you’re doing a head-and-shoulders shot, crop at the mid-chest. If it’s a three-quarter shot, crop at the mid-thigh.
Be mindful of the edges of your frame. If your subject’s fingers are just barely grazing the bottom of the photo, it looks like a mistake. Either include the whole hand or crop it decisively. When in doubt, shoot a little wider than you think you need to. You can always crop in later during the editing process, but you can’t add a missing foot back in once the shutter has fired.
6. Over-Smoothing and Over-Editing
We’ve all seen those portraits where the person looks like they’re made of plastic. Their skin is so smooth that they no longer have a nose bridge or pores. While we want our subjects to look their best, over-editing is a surefire way to kill the soul of a portrait.
The Mistake: Using heavy-handed skin softening or "beauty" filters that erase all natural texture.
The Fix: Use a light touch and professional tools. The goal isn't to change how the person looks, but to remove temporary distractions like a blemish or a stray hair. You want to keep the character of the face.
One of the best ways to handle this efficiently is using AI-powered tools that understand facial anatomy. For example, Luminar has incredible portrait enhancement features that allow you to brighten eyes or soften skin without losing the natural texture. It saves hours of manual masking and keeps the results looking professional rather than "over-filtered." Remember, your job is to capture a human, not a mannequin.
7. Metering for the Wrong Thing (Exposure Issues)
Cameras are smart, but they can be easily fooled. If your subject is wearing a white shirt against a dark background, your camera might overexpose the shirt to compensate for the darkness, blowing out all the detail. Or, if they’re backlit by a bright window, the camera might turn your subject into a silhouette.
The Mistake: Using "Evaluative" or "Matrix" metering in tricky lighting situations, resulting in an underexposed or overexposed subject.
The Fix: Switch to Spot Metering. This tells your camera to only care about the light hitting a very small part of the frame: usually where your focus point is. Point that focus point at your subject’s face. This ensures the skin tones are exposed correctly, even if the background goes completely white or black.
Also, always shoot in RAW. If you mess up the exposure slightly, RAW files hold enough data to recover those highlights or shadows in post-production. If you’re struggling with exposure in bright outdoor settings, our guide on the best camera settings for stunning water landscapes covers a lot of the same exposure principles that apply to high-contrast portraits.
Bonus Tip: The Importance of Connection
Beyond the technical settings and the expensive lenses, the biggest mistake you can make is forgetting the human element. A portrait is a collaboration. If your subject is uncomfortable, it will show in their eyes and their posture.
Stop looking at your screen every two seconds. Talk to them. Tell a joke, share a story, or give them genuine compliments. When a subject trusts you, they relax, and that is when the magic happens. The best portraits are often the ones taken in between "official" poses when the subject finally lets their guard down.
Putting It All Together
Portrait photography is a journey of constant learning. You’ll fix the focus, then realize the lighting is off. You’ll fix the lighting, and then notice an awkward crop. That’s okay. That’s how you grow.
If you’re looking for more ways to expand your portfolio, don’t limit yourself to the studio. Try taking your portraits into different environments. Maybe a picturesque coastal escape or one of these hidden gem locations for travel photography. Changing the scenery can often spark new creative ideas and force you to solve lighting problems in real-time.
Don't forget to keep your editing workflow simple. Using software like Luminar can help you fix some of those common lighting and skin texture mistakes with just a few clicks, allowing you to spend more time behind the lens and less time behind a computer screen.
Now, grab your camera, find a willing subject (even if it's just a patient friend), and go make some mistakes. Just make sure you know how to fix them next time! Check out www.proshoot.io for more professional shooting techniques to level up your game.


