

Let’s be real for a second: taking a portrait is easy. You point a camera at a human, you press the shutter, and boom, you have a photo of a person. But taking a great portrait? That is a whole different beast. It’s the difference between a DMV ID card and a piece of art that stops someone mid-scroll.
Whether you are shooting a CEO for a corporate profile, a bride on her big day, or just a friend in a coffee shop, mastering portrait photography is about more than just knowing where the "on" button is. It’s about light, psychology, and a few technical tricks that make the person in front of your lens look like a million bucks.
At Shut Your Aperture, we believe photography should be fun, not frustrating. So, put down the manual for a minute and let’s dive into the ultimate guide to portrait photography techniques.
Gear Talk: Do You Really Need That $2,000 Lens?
The short answer is: No. The long answer is: It definitely helps, but it’s not the secret sauce.
When you’re starting out, you might think you need the most expensive gear to get those creamy, blurry backgrounds (we call that bokeh, by the way). But honestly, the best gear is the gear you know how to use. However, if you are looking to upgrade, the lens you choose is far more important than the camera body.
The Nifty Fifty (50mm)
The 50mm lens is the "Goldilocks" of portrait photography. It’s not too wide, not too zoomed in. It’s just right. On a full-frame camera, it mimics the human eye’s perspective. It’s great for environmental portraits where you want to show a bit of the background. If you’re shooting on a budget, a 50mm f/1.8 is usually the cheapest and best investment you can make.
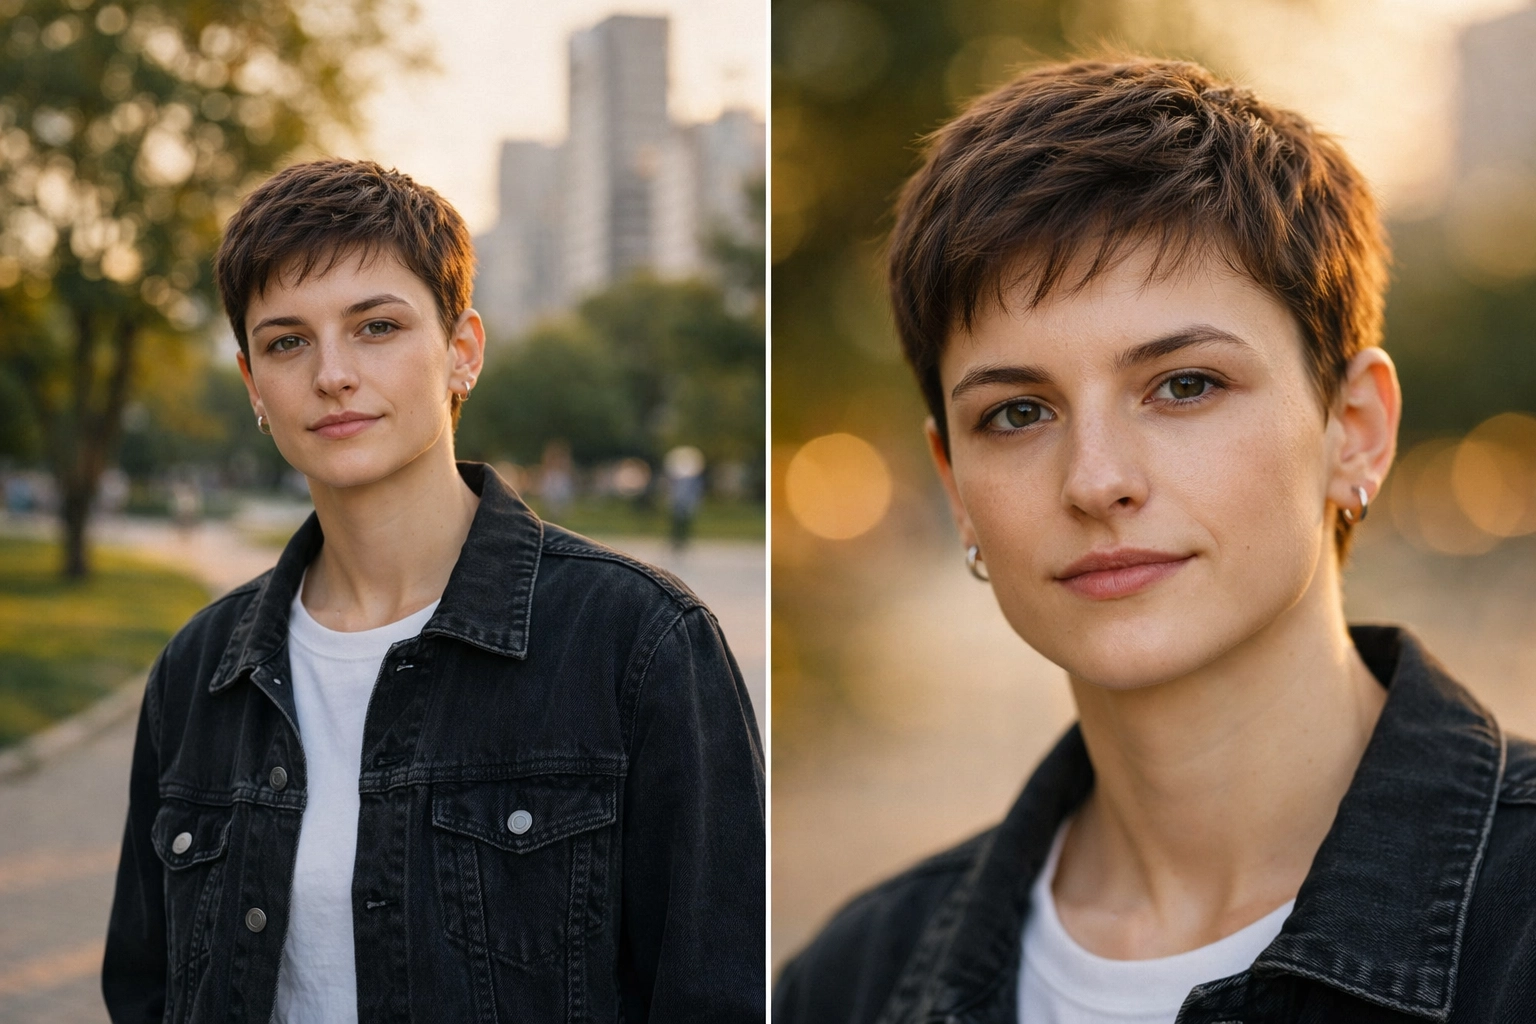
The 85mm King
If you ask any pro over at ProShoot.io, they’ll probably tell you their favorite portrait lens is an 85mm. This focal length is flattering because it slightly compresses the face, making features look more proportional. Plus, it allows you to stand a comfortable distance from your subject so you aren't right in their personal space.
Why Prime Lenses?
While zoom lenses are convenient, prime lenses (lenses with a fixed focal length) usually have wider apertures, like f/1.4 or f/1.8. This is what gives you that professional look where the subject is sharp and the background looks like a watercolor painting.
Mastering the Camera: Settings for Success
You can have the best model in the world, but if your settings are off, the photo is going to look "off." Here is the quick-and-dirty guide to getting your settings right every time.
The Aperture (The "Blur" Setting)
In portraits, you usually want a wide aperture. This means a low f-stop number (like f/1.8, f/2.8, or f/4). Why? Because it creates a shallow depth of field. It isolates your subject from the background. If you're shooting a group of people, though, don't go too low, or the person in the back will be a blurry mess. Bump it up to f/5.6 or f/8 for groups.
ISO and Noise
Keep your ISO as low as possible, usually 100 or 200. High ISO numbers create "noise" (that grainy look), which is rarely flattering in a portrait. If you are shooting in a dark room, you’re better off using a tripod or a flash than cranking your ISO to 6400. For more on managing light in tough spots, check out our Long Exposures Lightroom Editing Video Course.
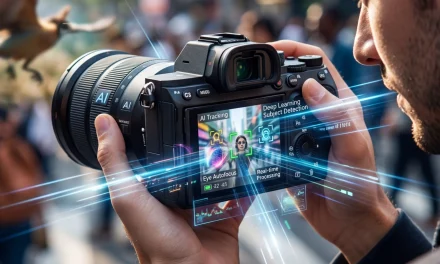
Focus on the Eyes
This is the golden rule of portraiture. If the eyes aren't in focus, the photo is a "delete." Most modern mirrorless cameras have "Eye-AF" (Auto Focus), which is basically magic. It tracks the subject’s eye and keeps it sharp even if they move. If you're shooting manually, always aim for the eye closest to the camera.
Lighting: The Make or Break Factor
You can fix a lot of things in post-processing, but bad lighting is hard to hide. You don't need a massive studio setup to get great light; you just need to understand how light works.
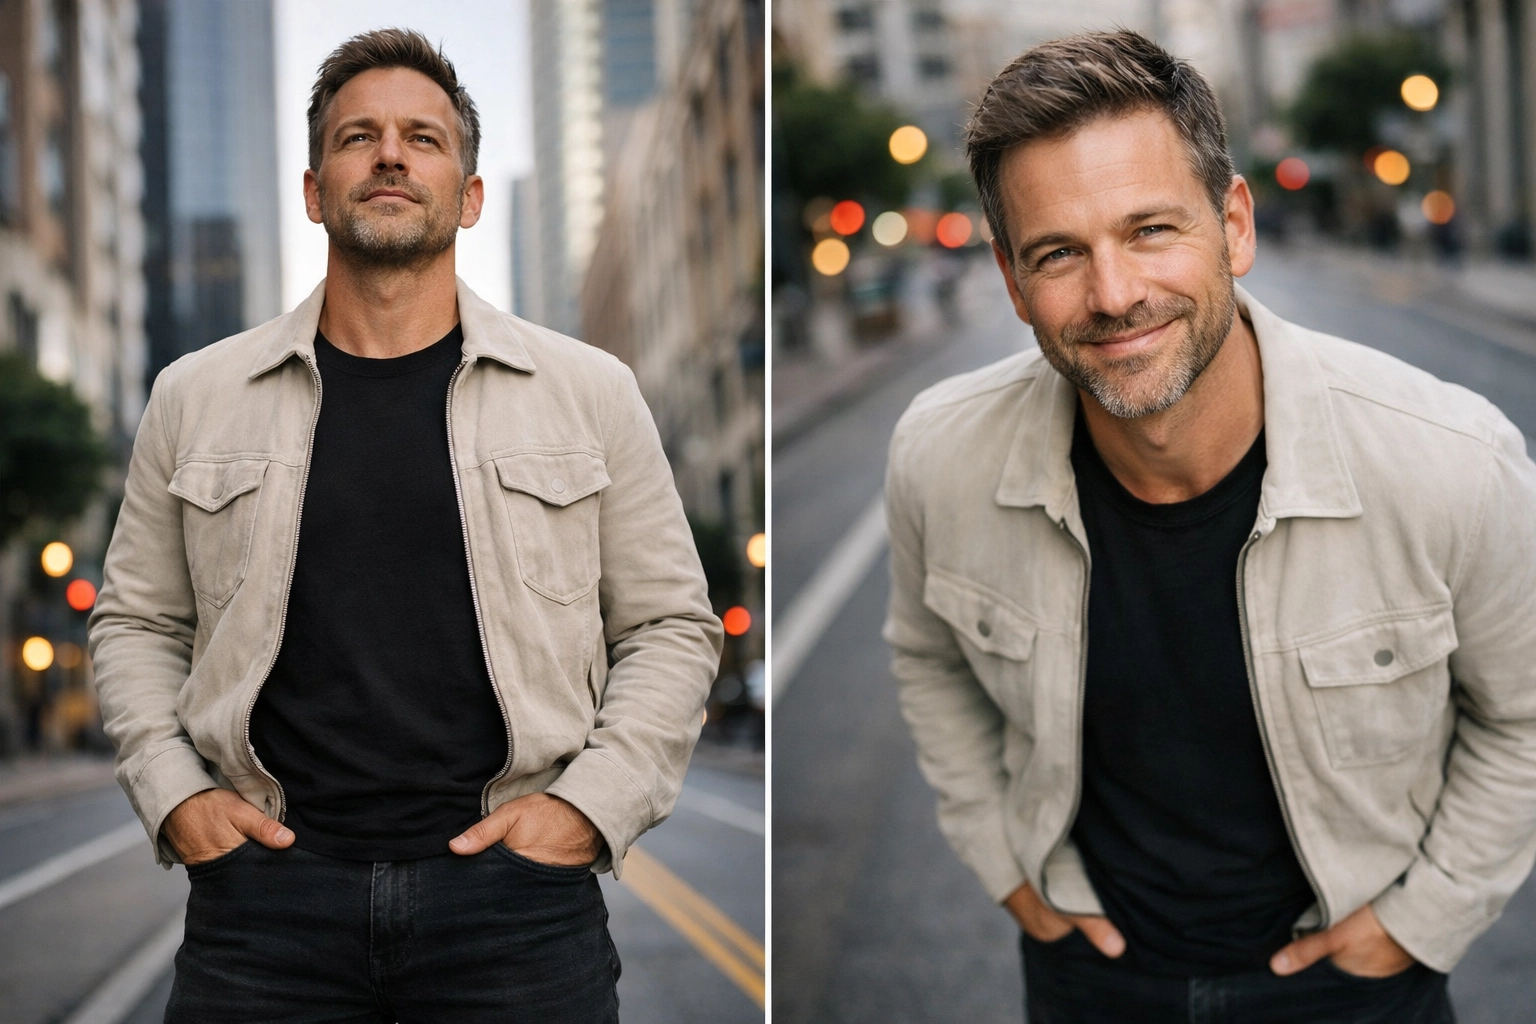
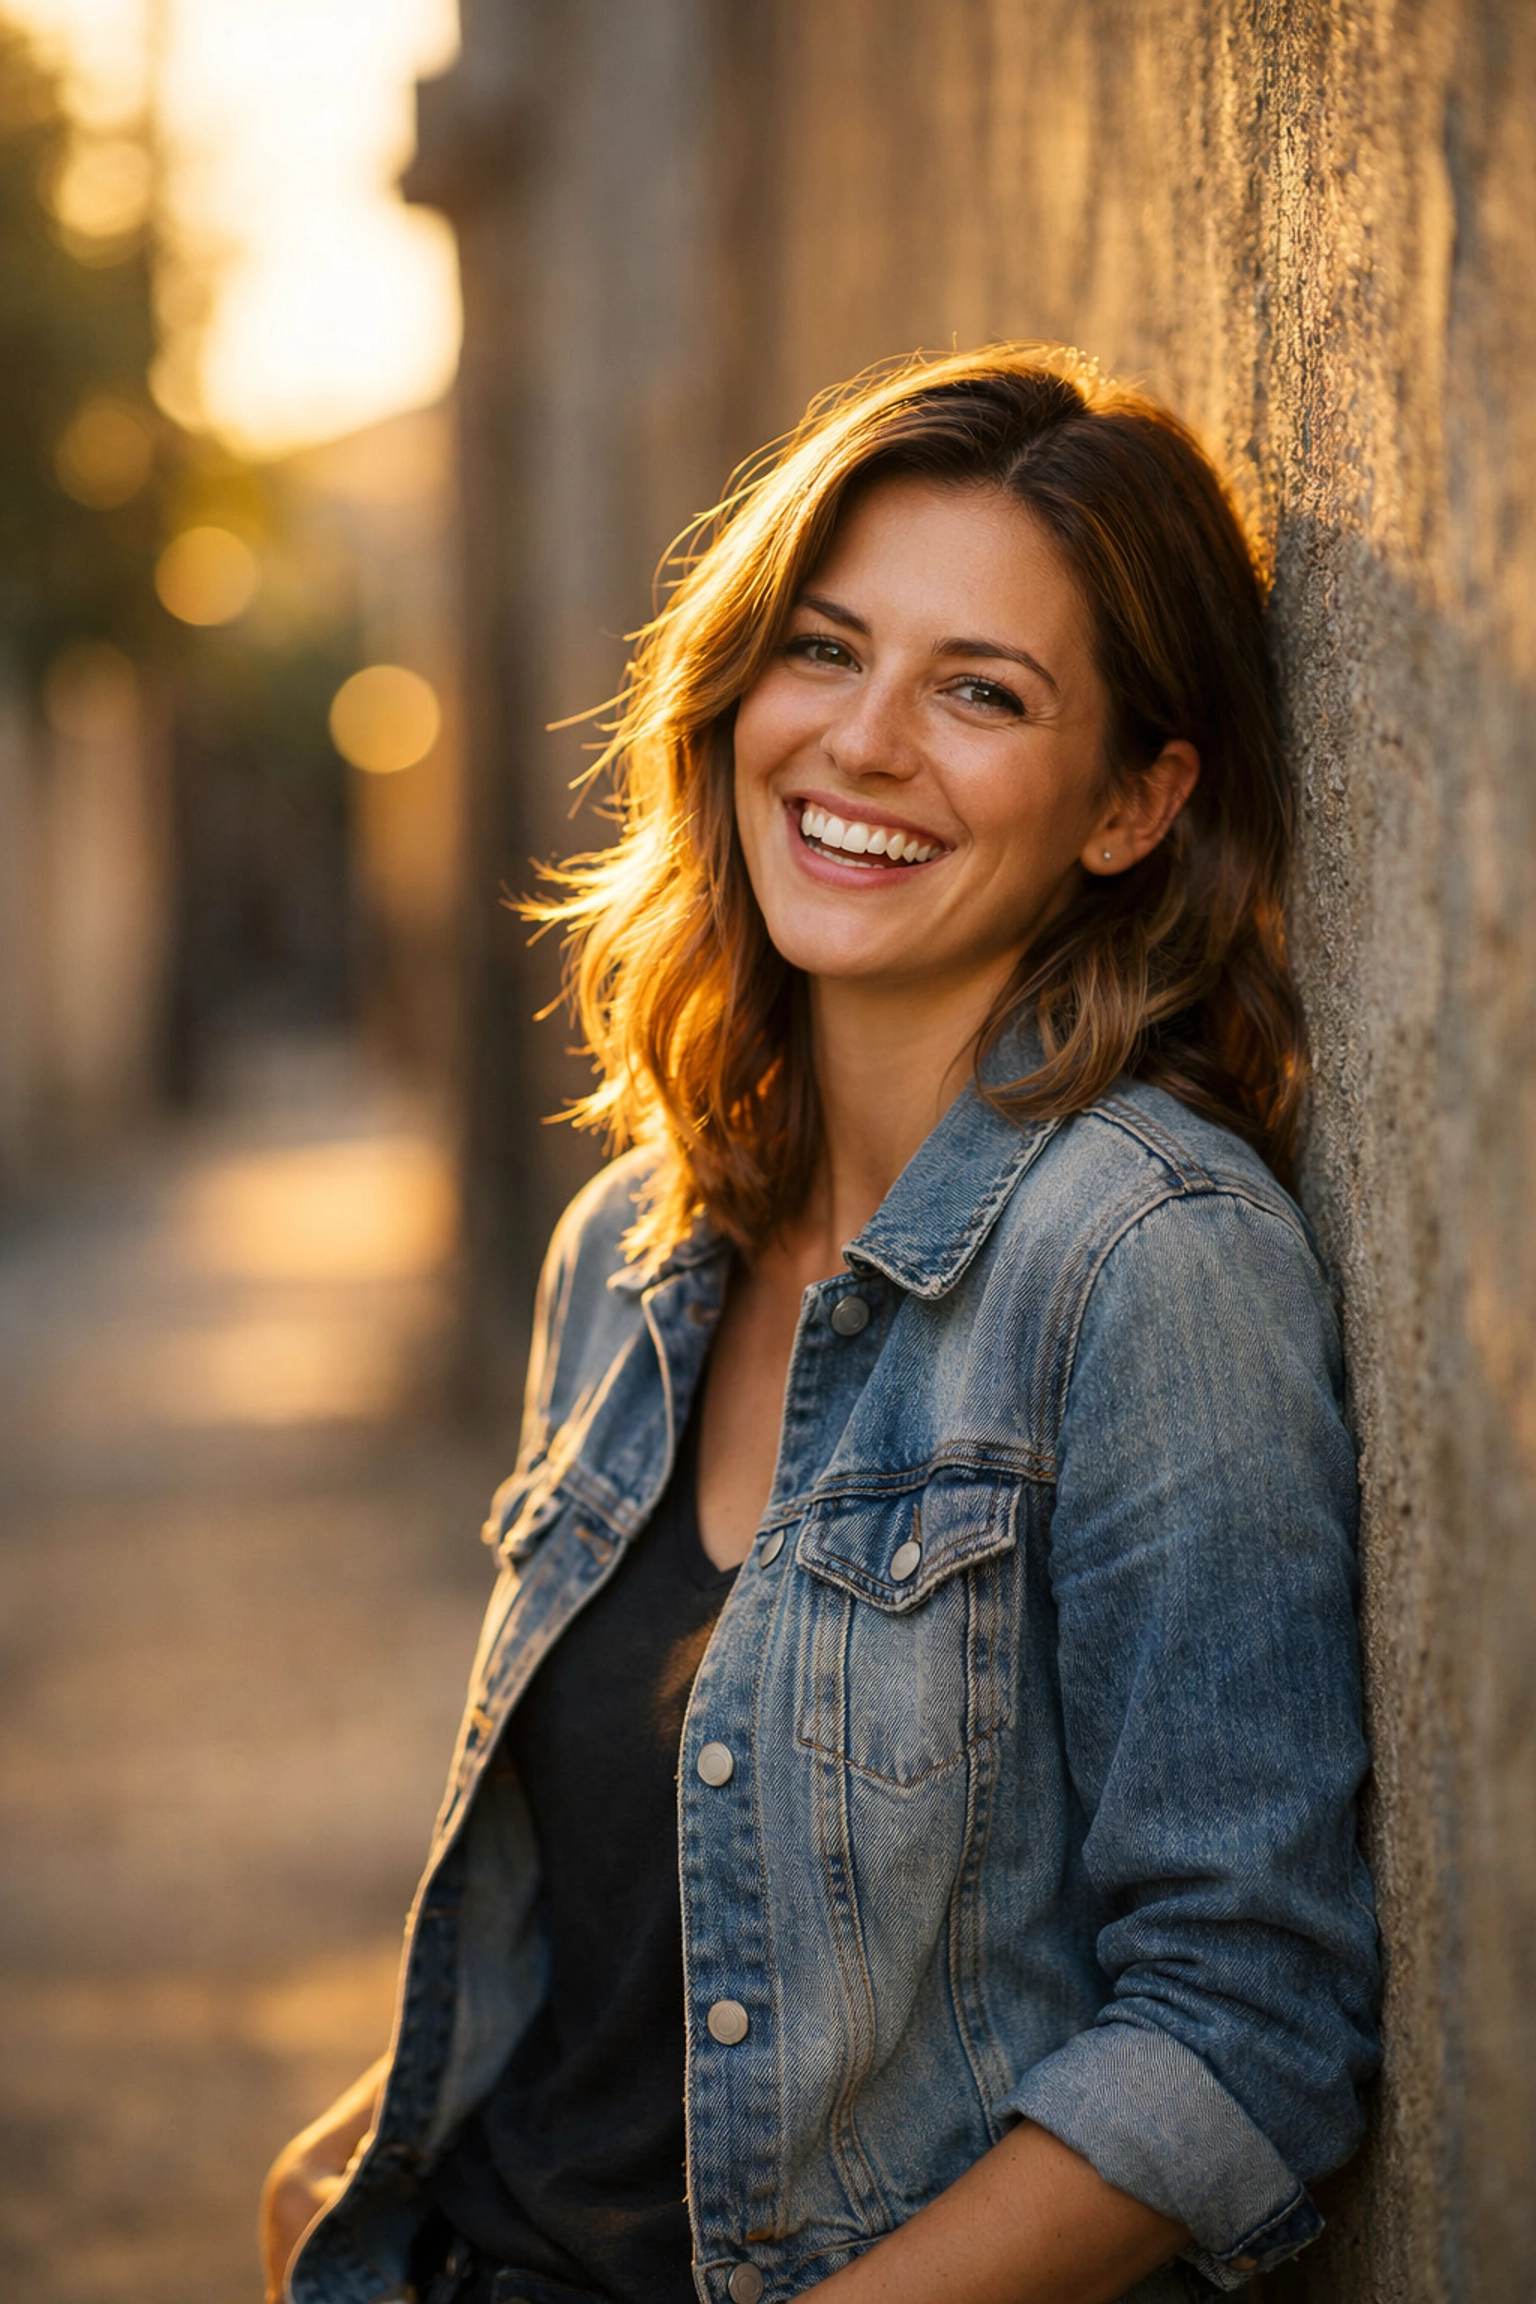
The Magic of Natural Light
Natural light is your best friend. The best time to shoot is during the "Golden Hour", the hour after sunrise or the hour before sunset. The light is soft, warm, and hits the face at a beautiful angle.
If you have to shoot in the middle of the day, avoid direct sunlight. It creates harsh shadows under the eyes (the dreaded "raccoon eyes"). Instead, find some "open shade", like under a tree or in the shadow of a building. The light will still be bright, but it will be much softer and more even.
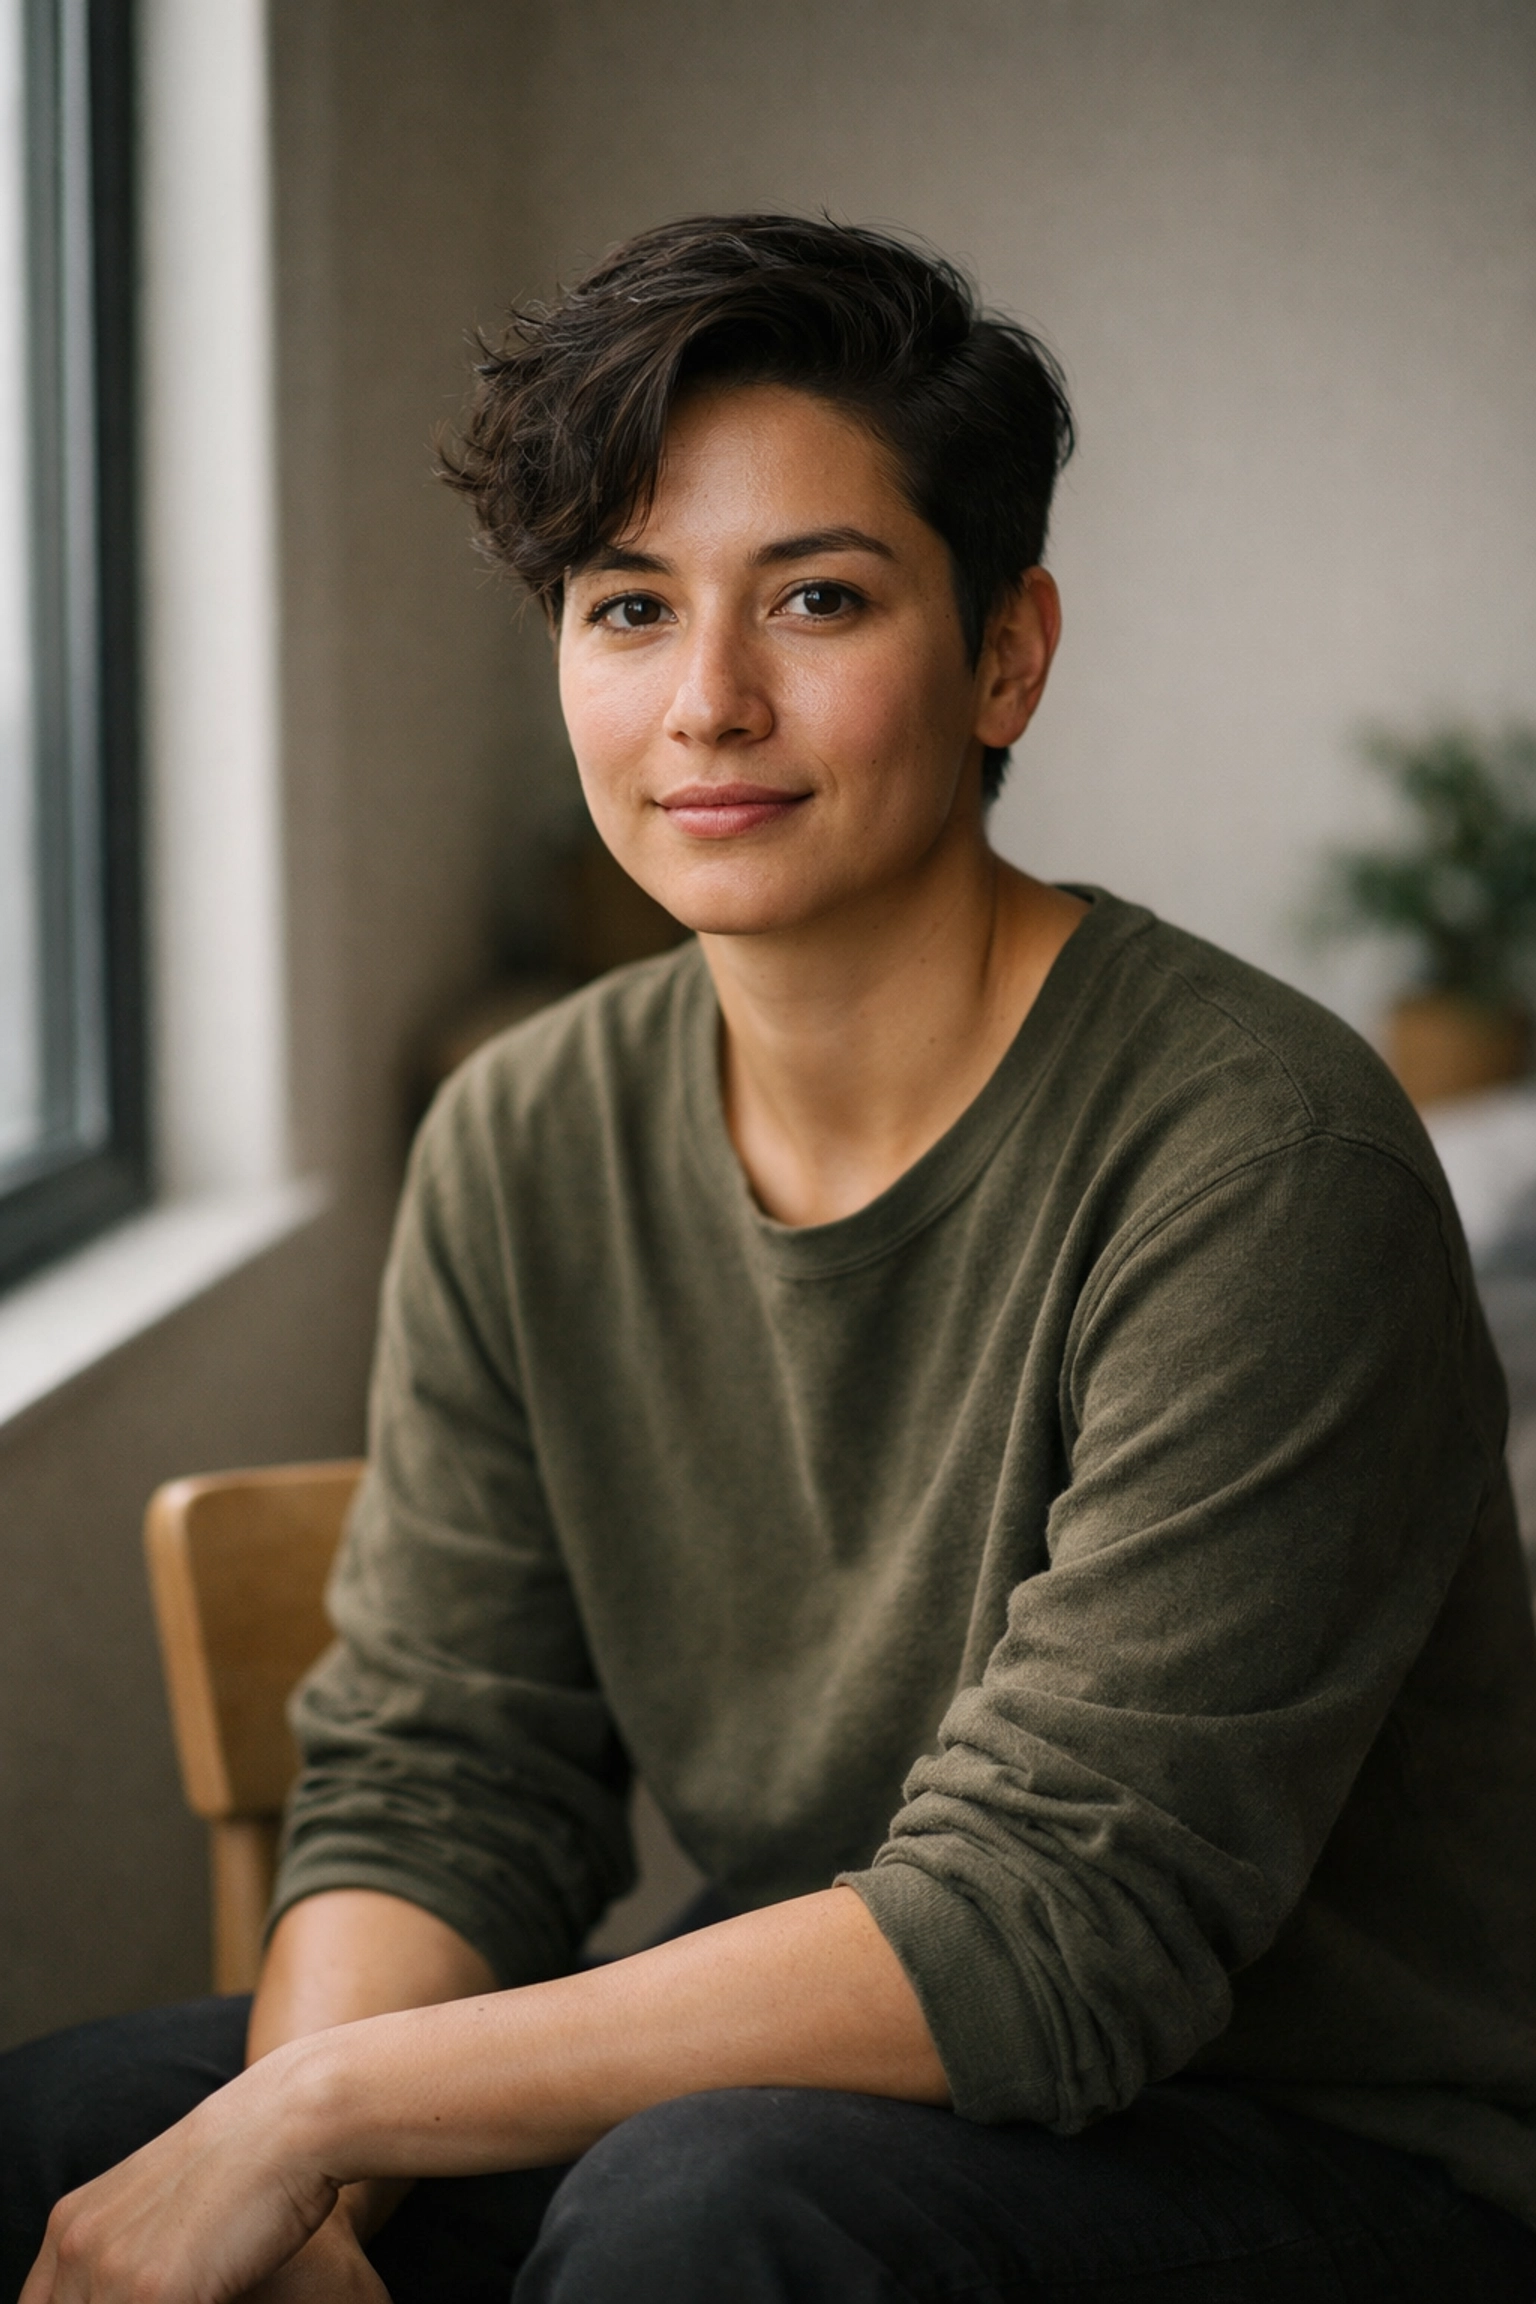
Window Light
If you're indoors, find a window. Position your subject so the light hits them from the side at about a 45-degree angle. This creates a bit of shadow on the other side of the face, which adds depth and dimension. This is often called "Rembrandt Lighting," named after the painter who used this technique to make his subjects look dramatic and cool.
Reflectors are Life Savers
If one side of the face is too dark, you don't need a second light. You just need a reflector. You can buy one for twenty bucks or just use a white piece of foam board. Bounce the light back onto the dark side of the face to fill in those shadows. It makes a world of difference. For a deeper look at professional lighting setups, PhotoGuides.org has some killer tutorials.
Composition: Beyond the Rule of Thirds
We’ve all heard of the Rule of Thirds, put your subject on the grid lines rather than dead center. It works, but let’s go a bit deeper.
Negative Space
Sometimes, leaving a lot of "empty" space around your subject can make the photo feel more powerful or emotional. If your subject is looking to the left, leave more space on the left side of the frame for them to "look into."
Leading Lines
Use the environment to lead the viewer’s eye toward the subject. A fence, a road, or even the edge of a building can act as a "leading line." This creates a sense of depth and makes the photo feel more three-dimensional. If you're shooting in a city, check out our Miami Cityscape BW Preset to give those structural lines a classic look.
Angles Matter
Don't just stand there and shoot from eye level. Get low and shoot up to make your subject look powerful and heroic. Or, shoot from slightly above to make the subject look more approachable or vulnerable. Just don't go too extreme, or you'll end up with a weird "MySpace" angle from 2006.
The Psychology of Posing: Making People Feel Human
Most people hate being in front of a camera. They feel stiff, they don't know what to do with their hands, and they give you that "fake" smile that looks like they’re being held hostage. Your job is to make them forget the camera is there.
Talk to Them
Don't just hide behind your viewfinder. Talk to your subject. Ask them about their day, tell a bad joke, or ask them what they had for breakfast. The moment they laugh or relax is when you hit the shutter. Edin Chavez often talks about this on his personal blog, the connection with the subject is more important than the camera settings.
Give Them Something to Do
If someone looks stiff, give them an "action." Tell them to fix their hair, adjust their cufflink, or walk toward you. Movement creates natural poses. Instead of saying "Smile," tell them to "think of a secret." You’ll get a much more interesting expression.
The "S" Curve
For more feminine poses, look for the "S" curve. Have them shift their weight to one leg and tilt their shoulders. This creates a more dynamic and flattering silhouette. For more advanced posing techniques, especially in fine art, our Fine Art Nude Photography Tutorial goes deep into the human form.
Post-Processing: Polishing the Gem
Taking the photo is only 70% of the work. The remaining 30% happens in the edit. You don't want to over-process someone so they look like a plastic doll, but you do want to enhance what’s already there.
Presets are Your Best Friend
If you’re shooting a lot of portraits, editing every single one from scratch is a nightmare. Using presets is a great way to maintain a consistent style. Our Wedding Lightroom Presets are designed specifically to make skin tones look natural and beautiful.
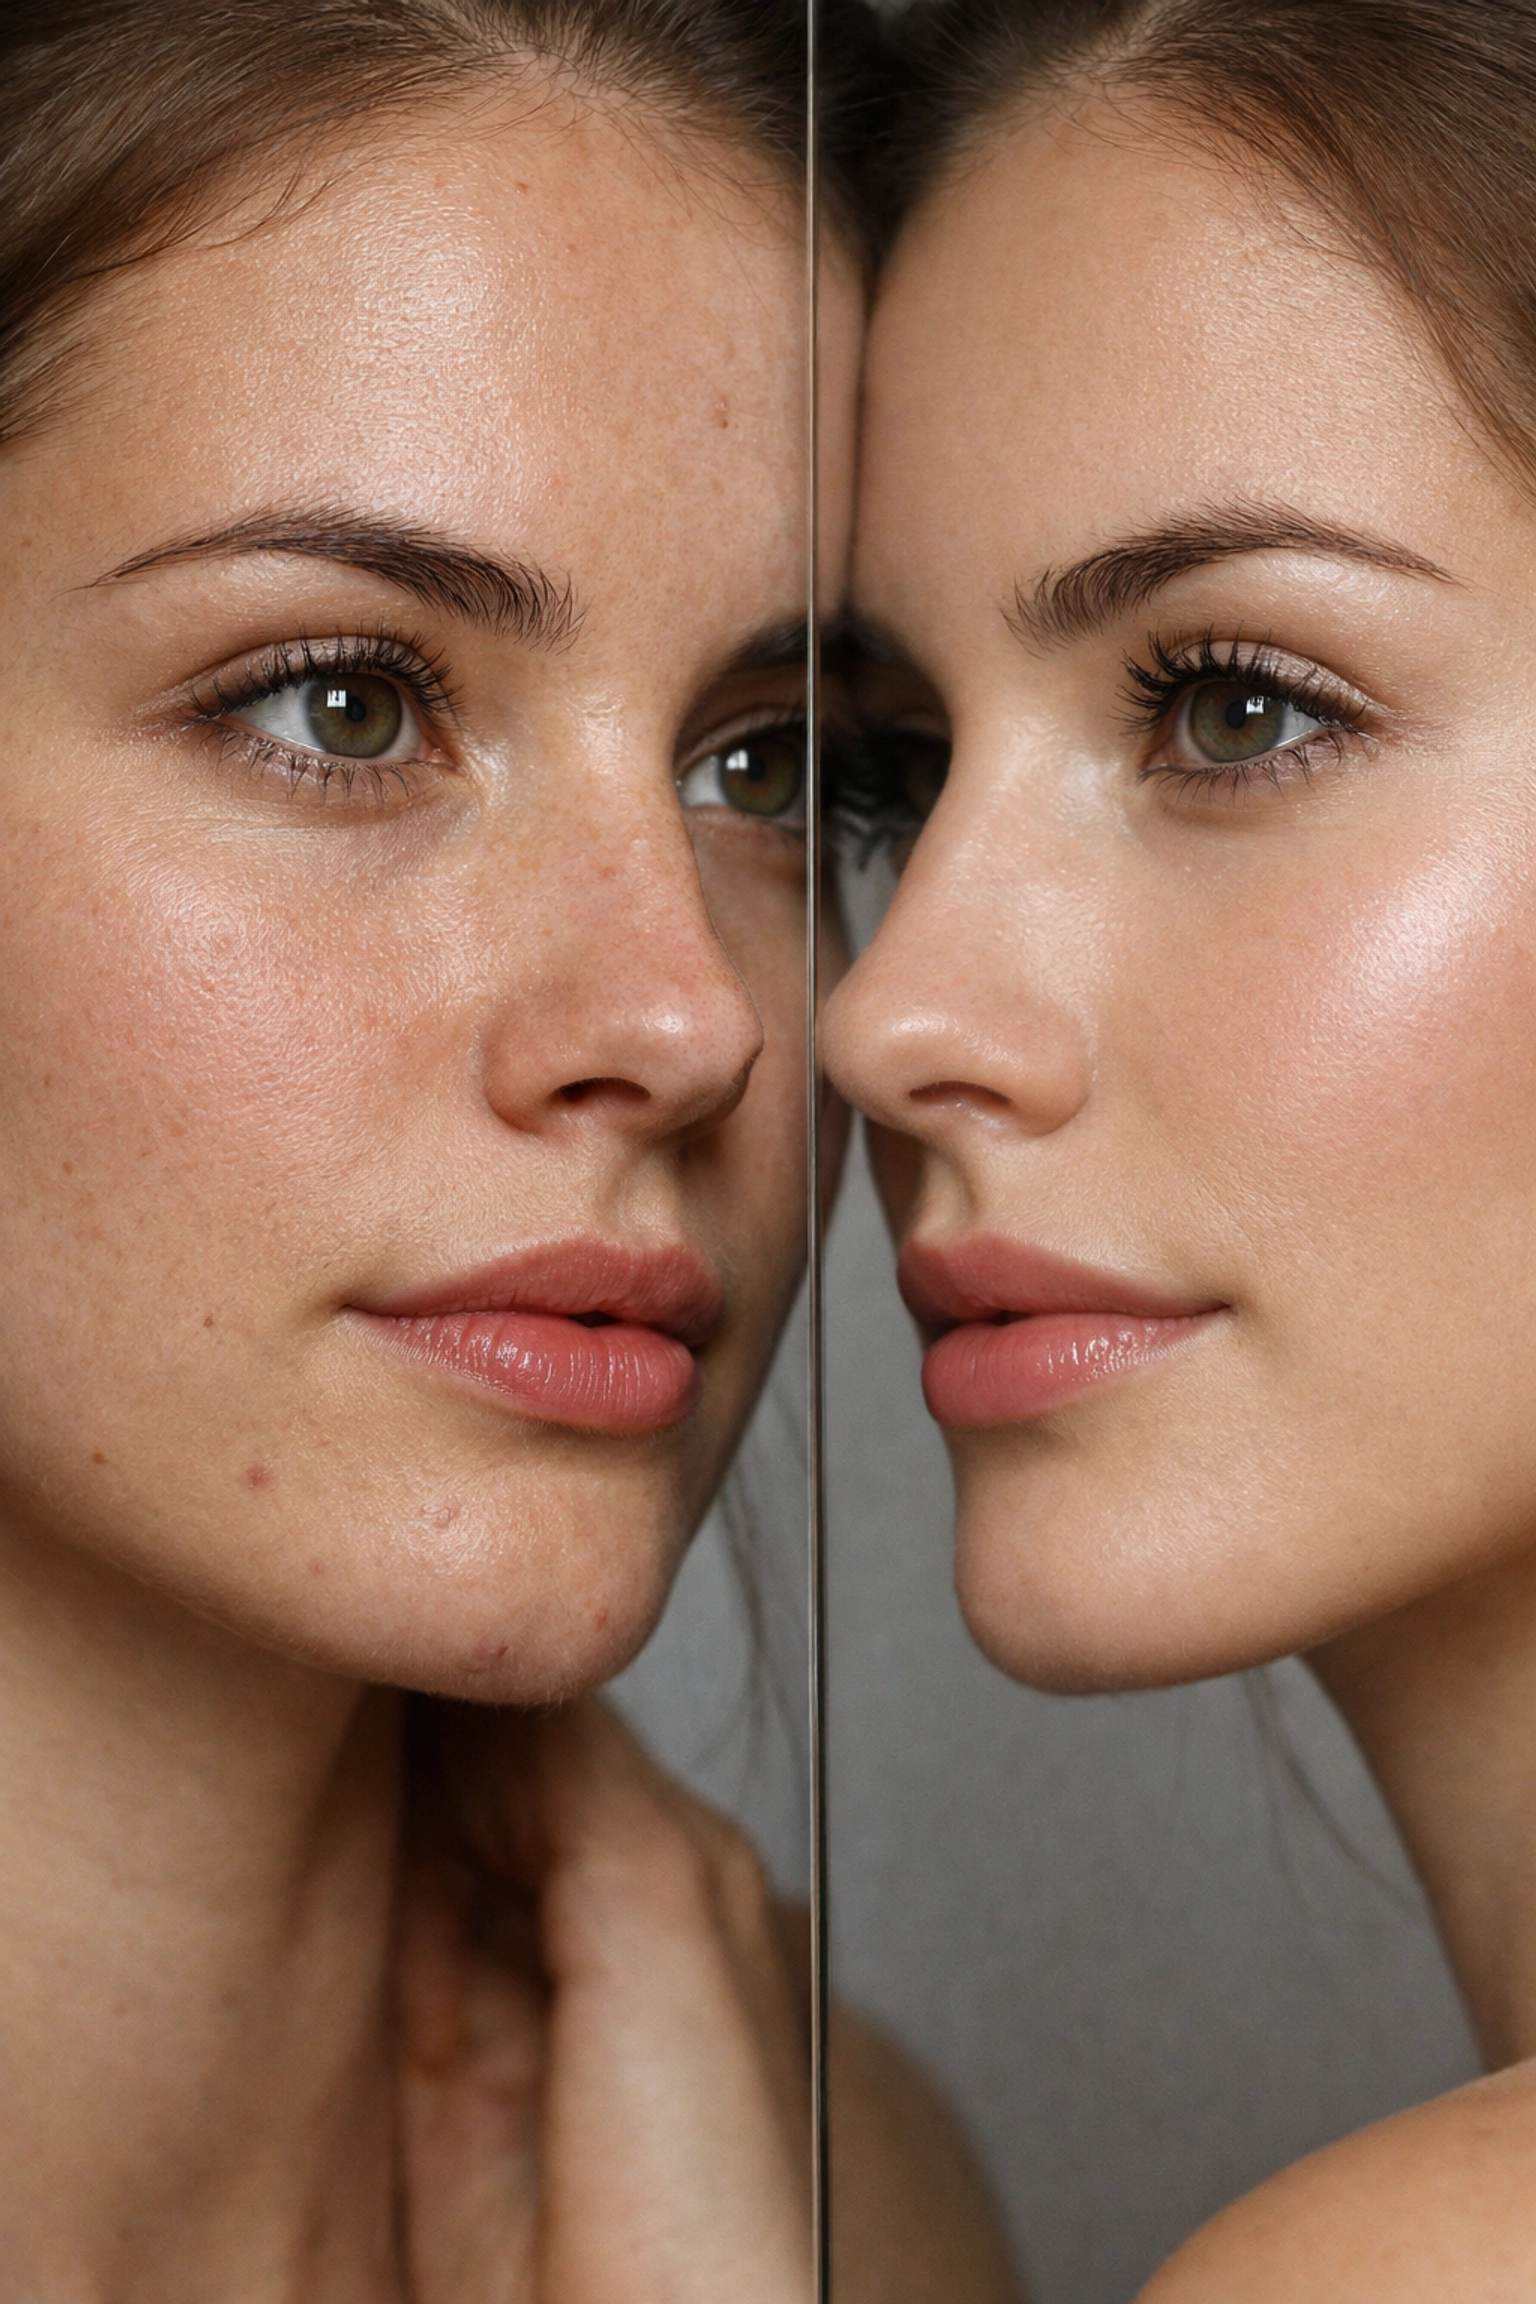
Retouching with Care
When it comes to skin, less is more. Remove temporary things like a stray hair or a pimple, but leave the permanent things like moles or character lines. You want the person to look like the best version of themselves, not a different person.
If you’re looking for a powerful tool that makes retouching a breeze, I highly recommend checking out Luminar. Its AI tools can handle things like skin softening and eye enhancement in a way that looks realistic and saves you hours of manual masking.
Black and White vs. Color
Sometimes, color can be a distraction. If a portrait is about emotion or texture, try converting it to black and white. It strips away the noise and focuses everything on the subject's expression. If you're new to this, our Complete BW Lightroom Video Editing Course is a great place to start.
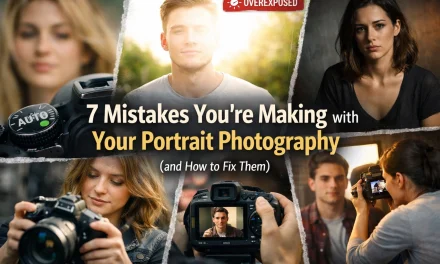
Common Pitfalls (And How to Avoid Them)
Even the pros mess up sometimes. Here are the most common mistakes I see in portrait photography:
- Distracting Backgrounds: You might have a great subject, but if there is a trash can or a tree "growing" out of their head, the photo is ruined. Always check your background before you click.
- Wrong White Balance: If your subject looks like an Oompa Loompa or a Smurf, your white balance is off. Keep it on Auto if you're unsure, but always shoot in RAW so you can fix it later.
- Missing the Focus: I’ll say it again: focus on the eyes. A blurry eye is a dealbreaker.
- Over-Processing: Don't go crazy with the sliders. If the skin looks like it was blurred in MS Paint, you’ve gone too far. Use Luminar's AI sliders to keep things tasteful.
Final Thoughts: Just Keep Shooting
Portrait photography is a journey. Your first hundred portraits will probably be "meh," and that’s okay. The more you shoot, the more you’ll start to see light and shadow in a different way. You’ll start to notice how a slight tilt of the head changes the whole vibe of a photo.
Don’t get too caught up in having the "perfect" gear. Focus on the person in front of your lens. Photography is about storytelling, and every face has a story to tell.
If you want to see some examples of high-end portrait and fine art work, take a look at Edin Fine Art or Edin Studios. Seeing how the pros handle composition and light can give you that spark of inspiration you need for your next shoot.
Now, get out there, grab your camera, and start shooting. And remember: if the photo isn't working, just change your angle, find better light, and: as we always say: Shut Your Aperture!
For more tips, tricks, and the best editing tools in the game, keep browsing Shut Your Aperture. We’re here to help you turn your passion into a craft. Happy shooting!


