

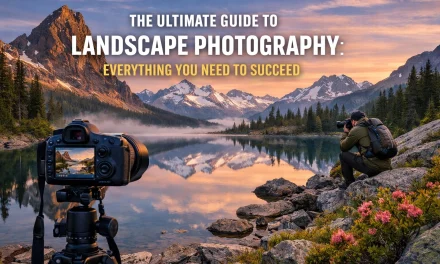
Look, I get it. That little "M" on your camera dial might as well stand for "Mayhem." For most beginners, switching off Auto mode feels like jumping out of a plane without knowing if the parachute is actually a backpack full of silverware. It’s scary, it’s intimidating, and your first few shots will probably be pitch black or bright white.
But here is the truth: Manual mode is the only way to get the camera to see the world the way you do. Auto mode is a guess. It’s a computer trying to be an artist, and let’s be honest, computers are great at math but terrible at "vibes." If you want to take better photos, you have to take the steering wheel.
In this guide, we are going to break down the "M" word into something you can actually use. No gatekeeping, no overly complex physics: just the stuff you need to know to finally master your camera.
The Exposure Triangle: The Only Three Knobs That Matter
Photography is essentially just capturing light. If you have too much light, your photo is a white mess. If you have too little, it’s a dark void. Manual mode gives you three tools to control that light. We call this the Exposure Triangle.
Imagine you are trying to catch rain in a bucket.
- Aperture is how wide the bucket is.
- Shutter Speed is how long you leave the bucket out in the rain.
- ISO is like a sponge at the bottom of the bucket that helps soak up the water faster.
If you change one, you usually have to change another to keep the bucket from overflowing or staying empty.
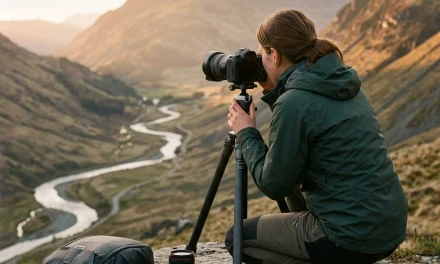
1. Aperture: The "Eye" of the Lens
Aperture is the opening in your lens. It’s measured in "f-stops" (like f/1.8, f/4, or f/11). This is where most beginners get a headache because the numbers work backward. A small number (f/1.8) means a huge opening. A big number (f/22) means a tiny opening.
- Wide Aperture (f/1.8 – f/2.8): Lets in a ton of light. It also creates that blurry background (bokeh) everyone loves. This is perfect for portraits or when you’re shooting in a dark room.
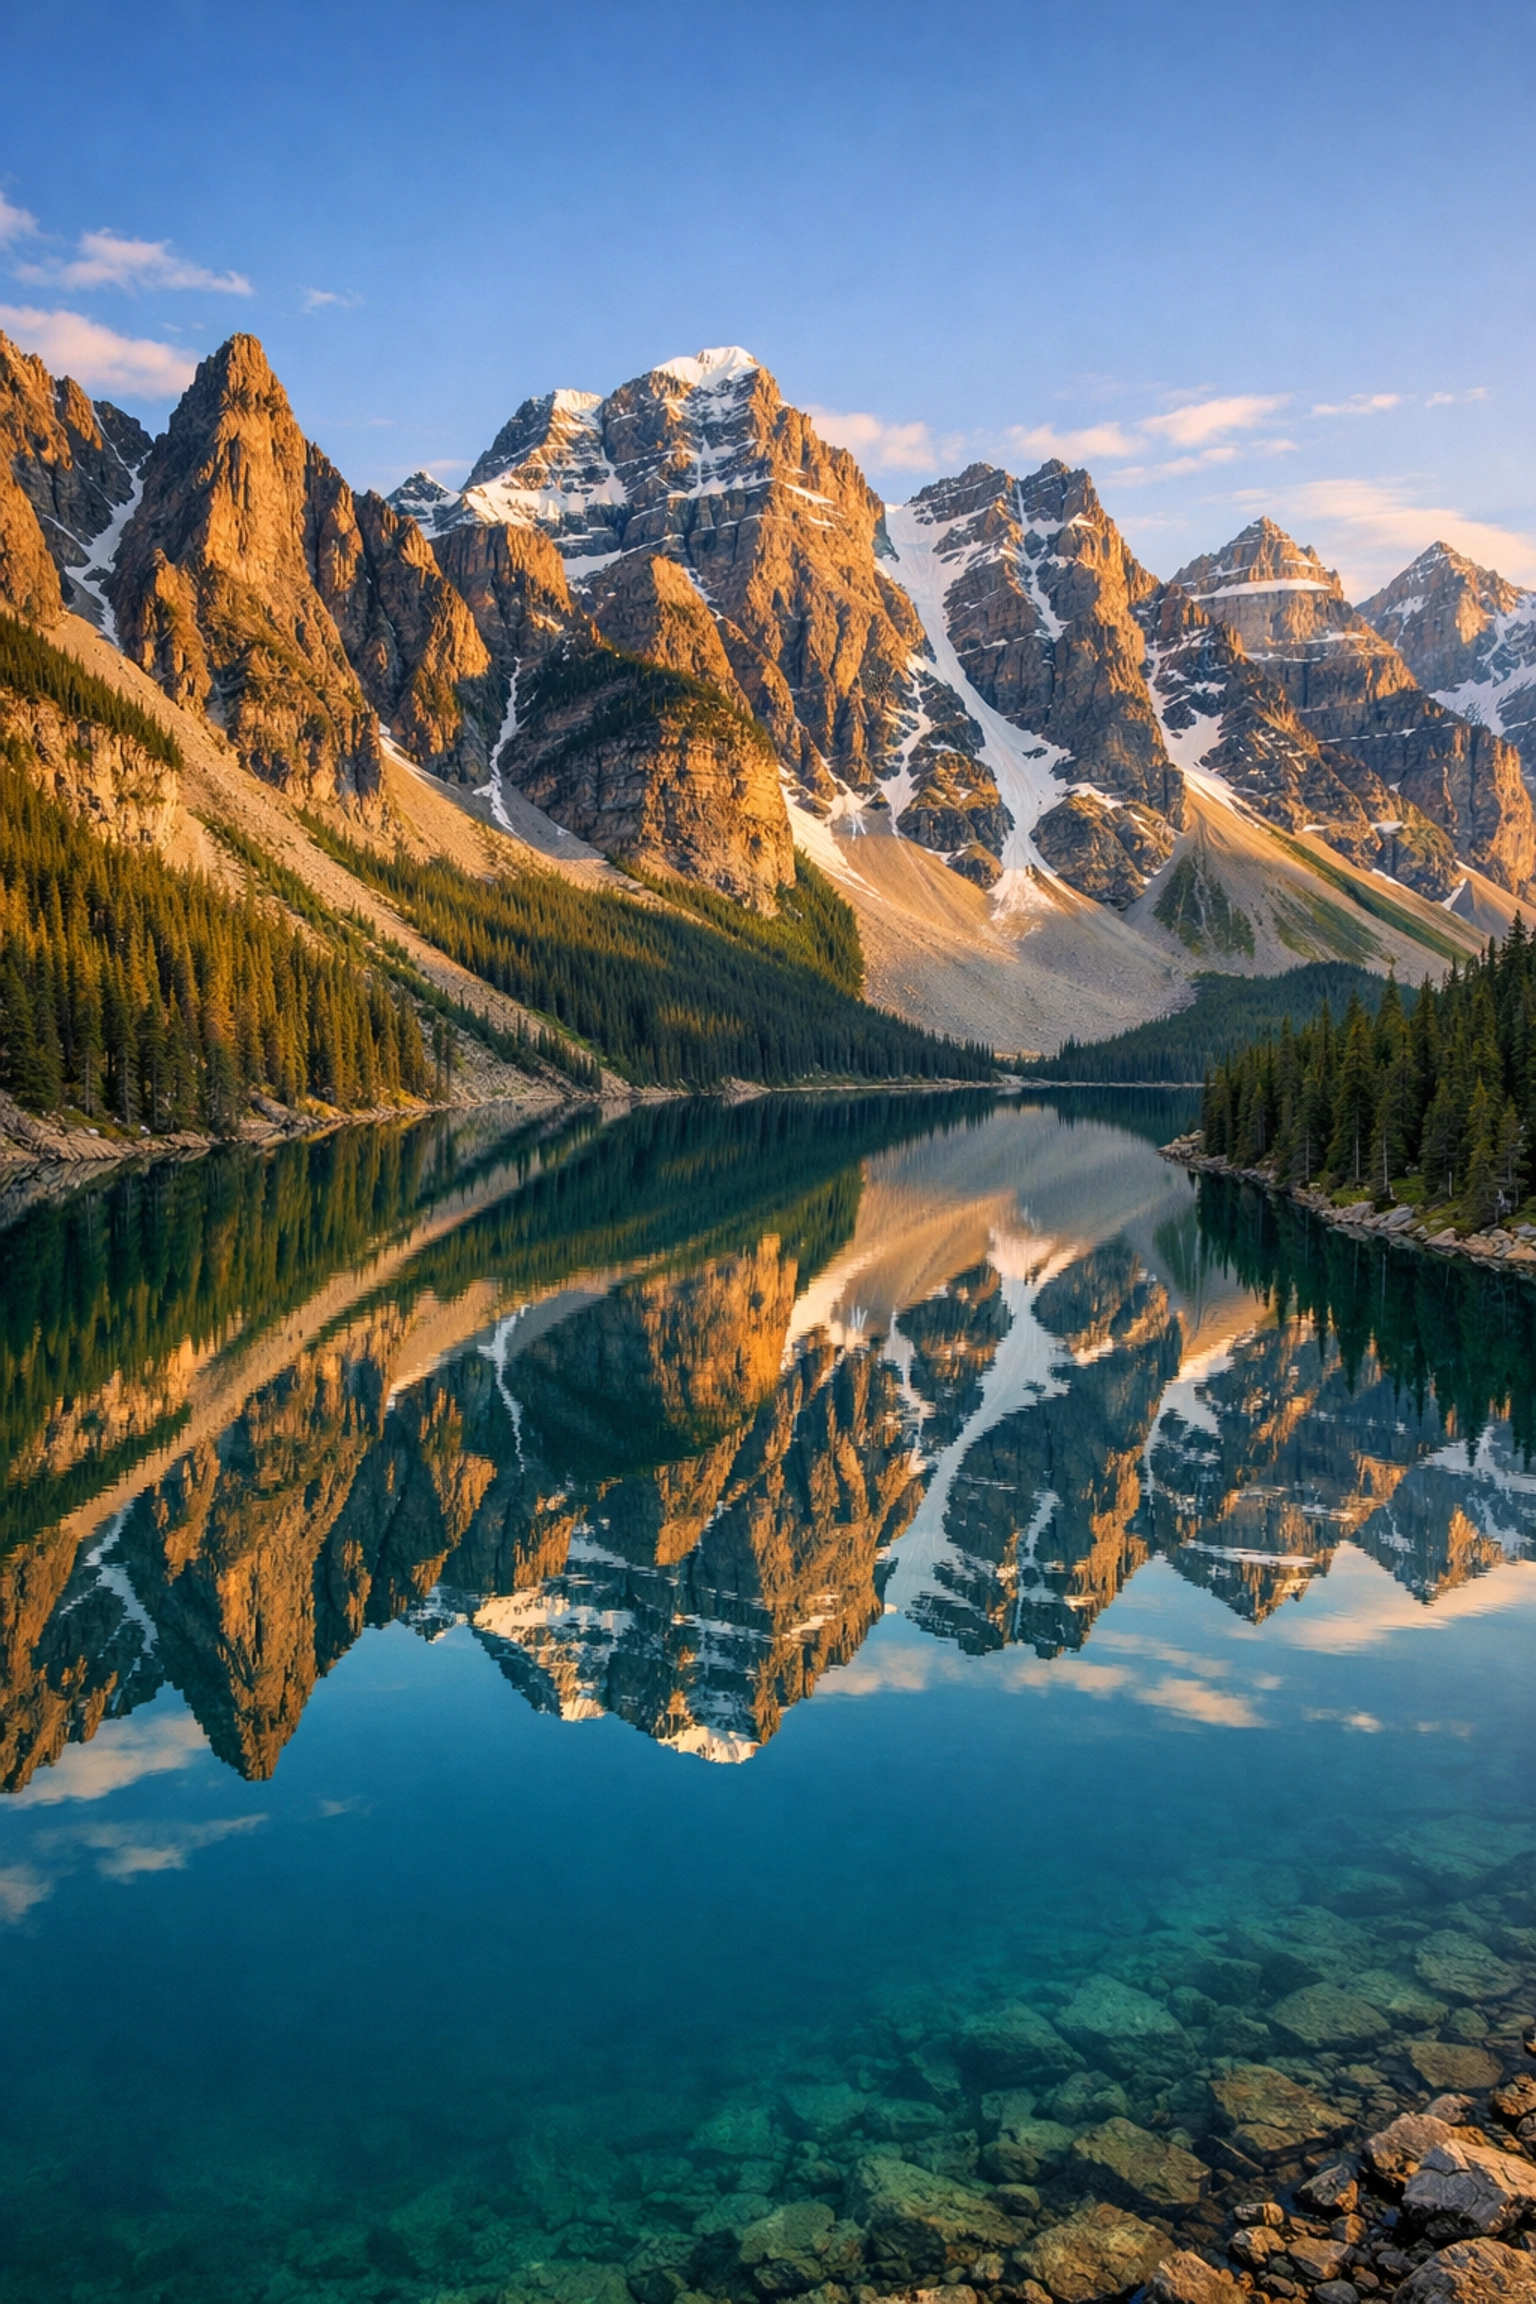
- Narrow Aperture (f/11 – f/16): Lets in very little light but keeps everything in focus, from the rock at your feet to the mountain in the distance. This is the go-to for landscape and cityscape photography.
If you’re struggling with getting the right look, check out some technical specs on PhotoGuides.org to see how different lenses handle these apertures.

2. Shutter Speed: The Gatekeeper of Time
Shutter speed is how long the "curtain" inside your camera stays open. It’s measured in fractions of a second (like 1/1000) or full seconds (like 30").
- Fast Shutter Speed (1/500 and up): Freezes motion. If you want to catch a bird in flight or a kid running without them looking like a blurry ghost, you need a fast shutter.
- Slow Shutter Speed (1/60 or slower): Blurs motion. This is how you get those silky-looking waterfalls or light trails from cars at night.
Just a heads up: if you go slower than 1/60, you usually need a tripod because even your heartbeat will shake the camera enough to make the photo blurry. If you want to dive deep into the art of the blur, our long exposures lightroom editing video course shows you how to polish those shots to perfection.
3. ISO: The Light Booster
ISO is your camera's sensitivity to light. Back in the day, you had to buy different rolls of film for this. Now, you just turn a dial.
- Low ISO (100-400): Use this when it’s bright outside. It gives you the cleanest, highest-quality images.
- High ISO (1600-6400+): Use this when it’s dark. It helps the camera "see" in the shadows, but there is a trade-off: Noise. High ISO makes your photos look grainy, like an old TV with bad reception.
Modern cameras are getting better at high ISO, but you should always try to keep it as low as possible. If you end up with a bit of grain, software like Luminar has some incredible AI-powered tools to clean up that noise without losing detail.
Finding the Balance: Using the Internal Light Meter
Now that you know what the three settings do, how do you know what to set them to? Your camera has a built-in "cheat sheet" called the Light Meter.
When you look through the viewfinder (or at the screen), you’ll see a little bar with a "0" in the middle, a "+" on the right, and a "-" on the left.
- If the little ticker is on the minus side, your photo will be too dark (underexposed).
- If it’s on the plus side, it’ll be too bright (overexposed).
- If it’s at zero, the camera thinks the exposure is perfect.
In Manual mode, your job is to adjust the Aperture, Shutter Speed, and ISO until that ticker lands on the zero.

The Step-by-Step Manual Workflow
Don't just start spinning dials randomly. Follow this workflow to keep your sanity:
- Set your ISO first. If it’s sunny, go with 100. If you’re indoors, try 800.
- Choose your Aperture. Do you want a blurry background (f/2.8) or a sharp landscape (f/11)?
- Adjust your Shutter Speed. Look at your light meter. Dial the shutter speed left or right until the meter hits "0."
- Take the shot.
- Review and Adjust. Did it look too dark? Slow down the shutter or raise the ISO. Was the background not blurry enough? Open up the aperture (lower f-number) and then speed up the shutter to compensate.
Photography is a conversation. You tell the camera what you want, it tells you what the light is doing, and you find a middle ground. For more pro-level gear advice on what cameras handle manual settings best, take a peek at proshoot.io.
Why You Should Stop Using Auto Right Now
Auto mode is like a GPS that only takes the main highway. It’ll get you there, but you’ll miss all the cool scenery.
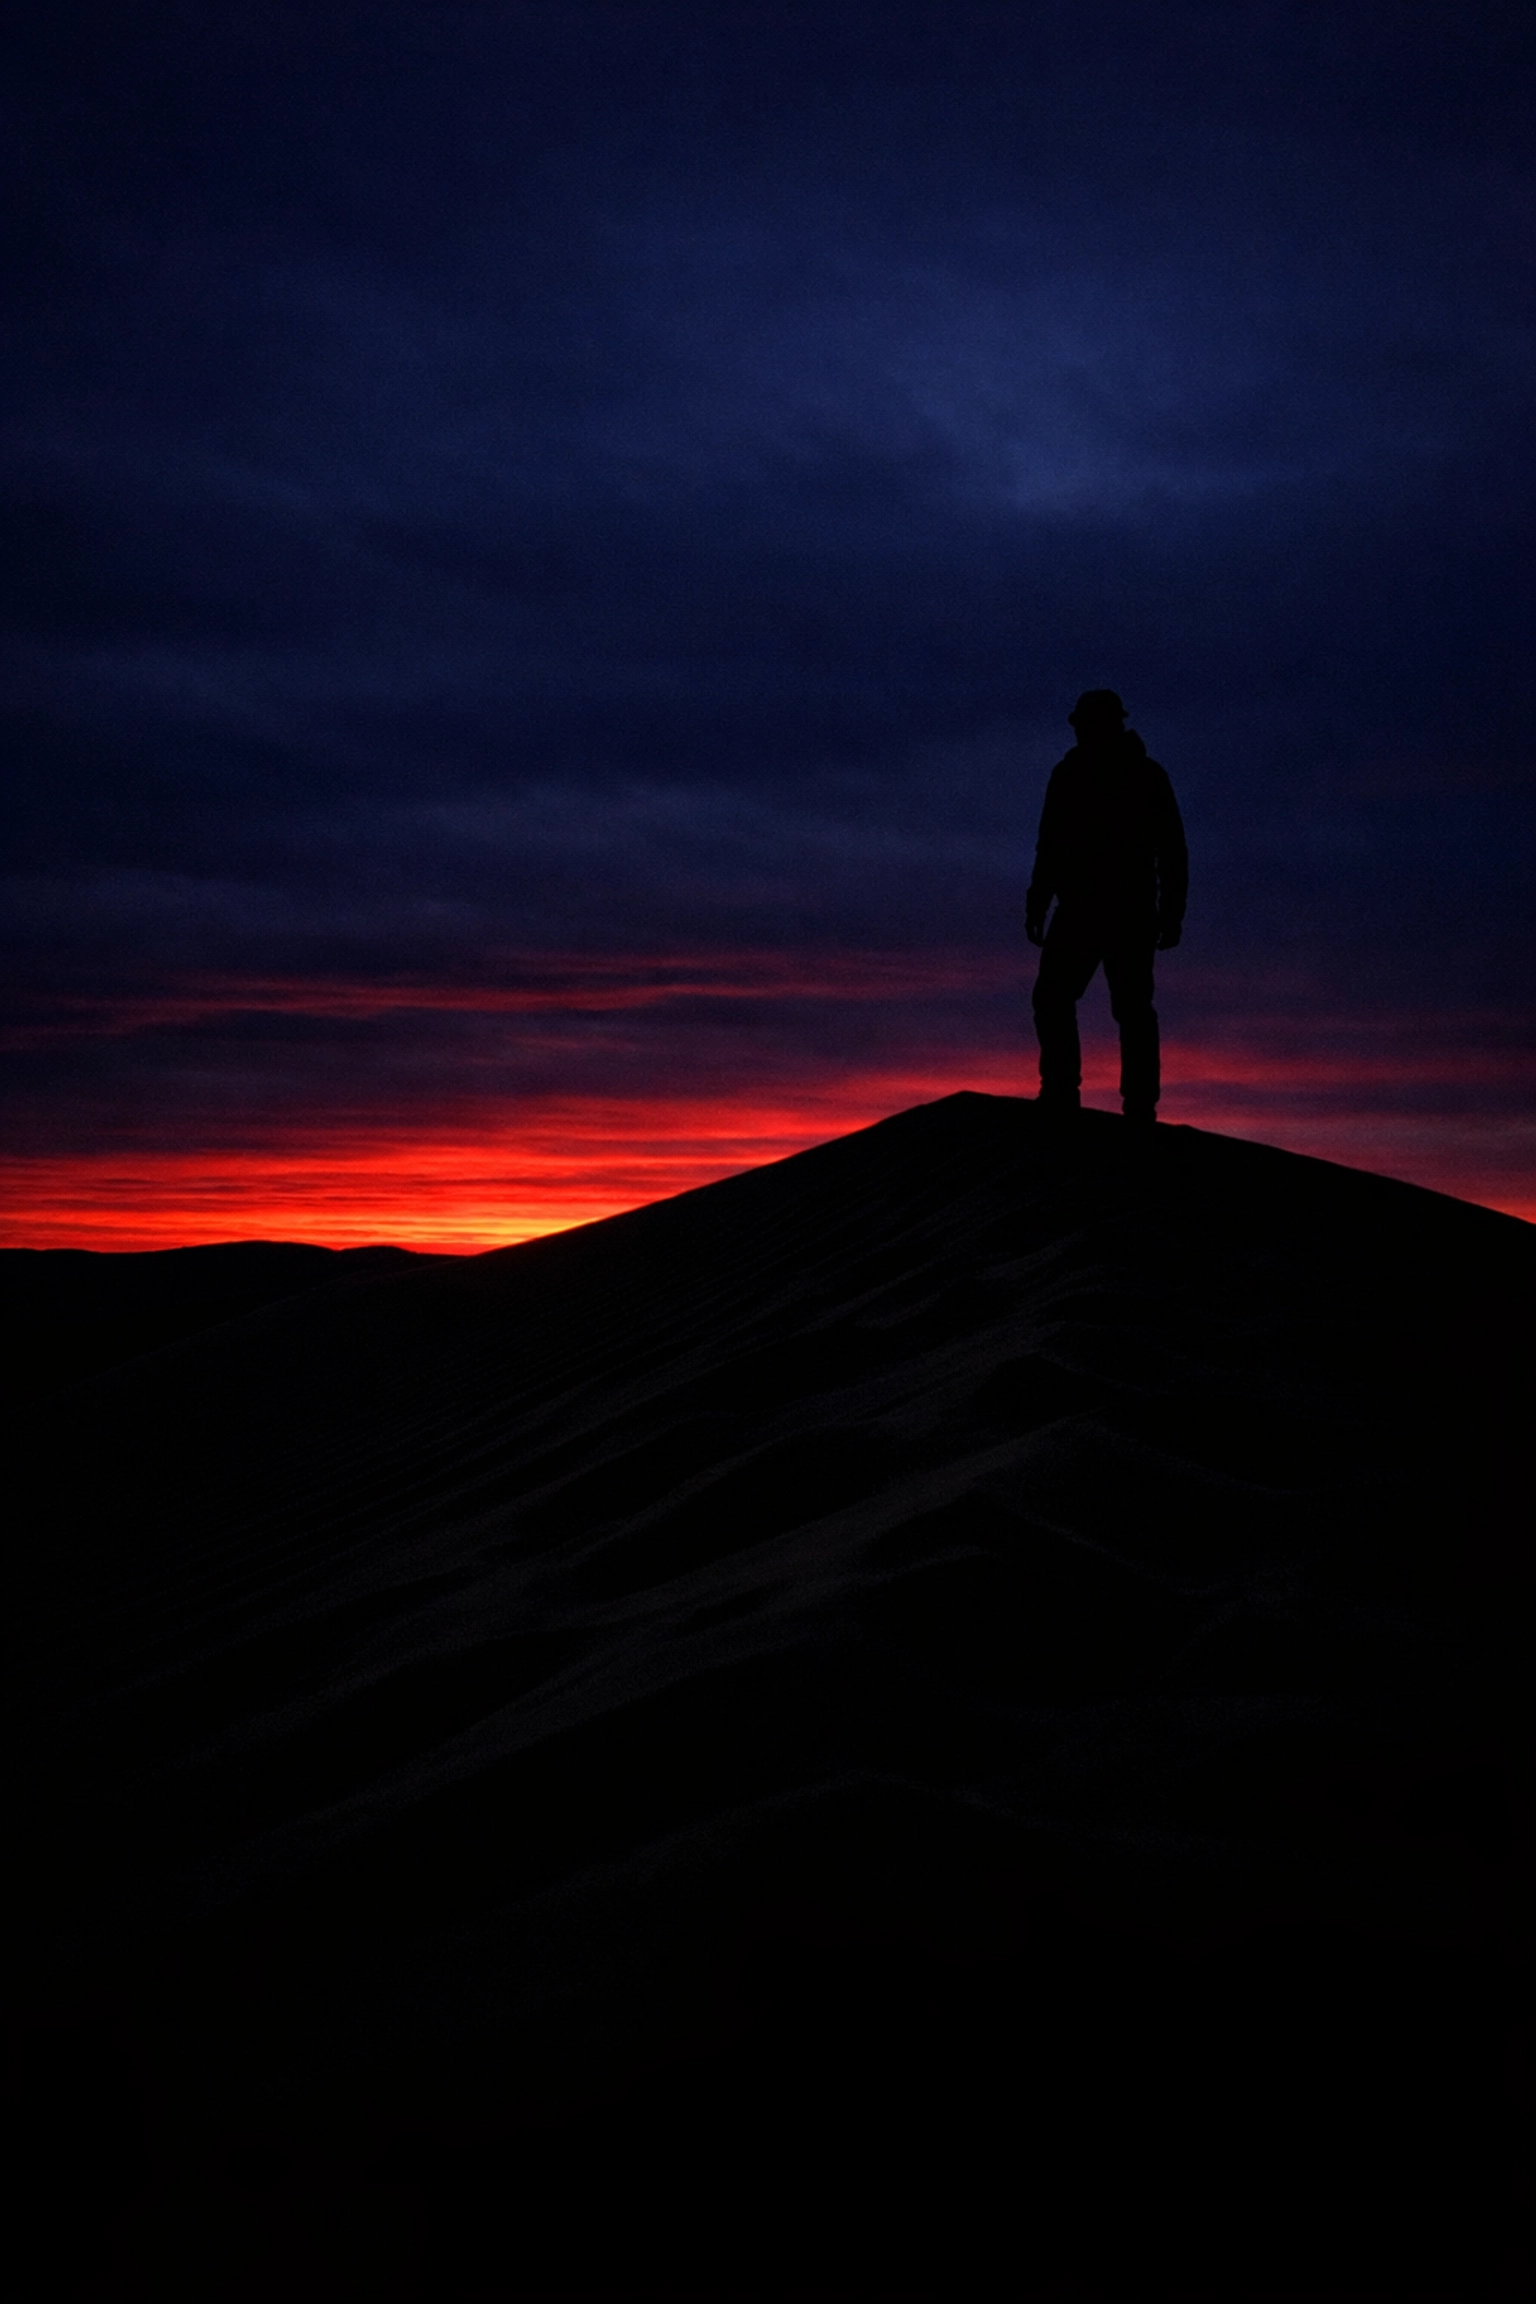
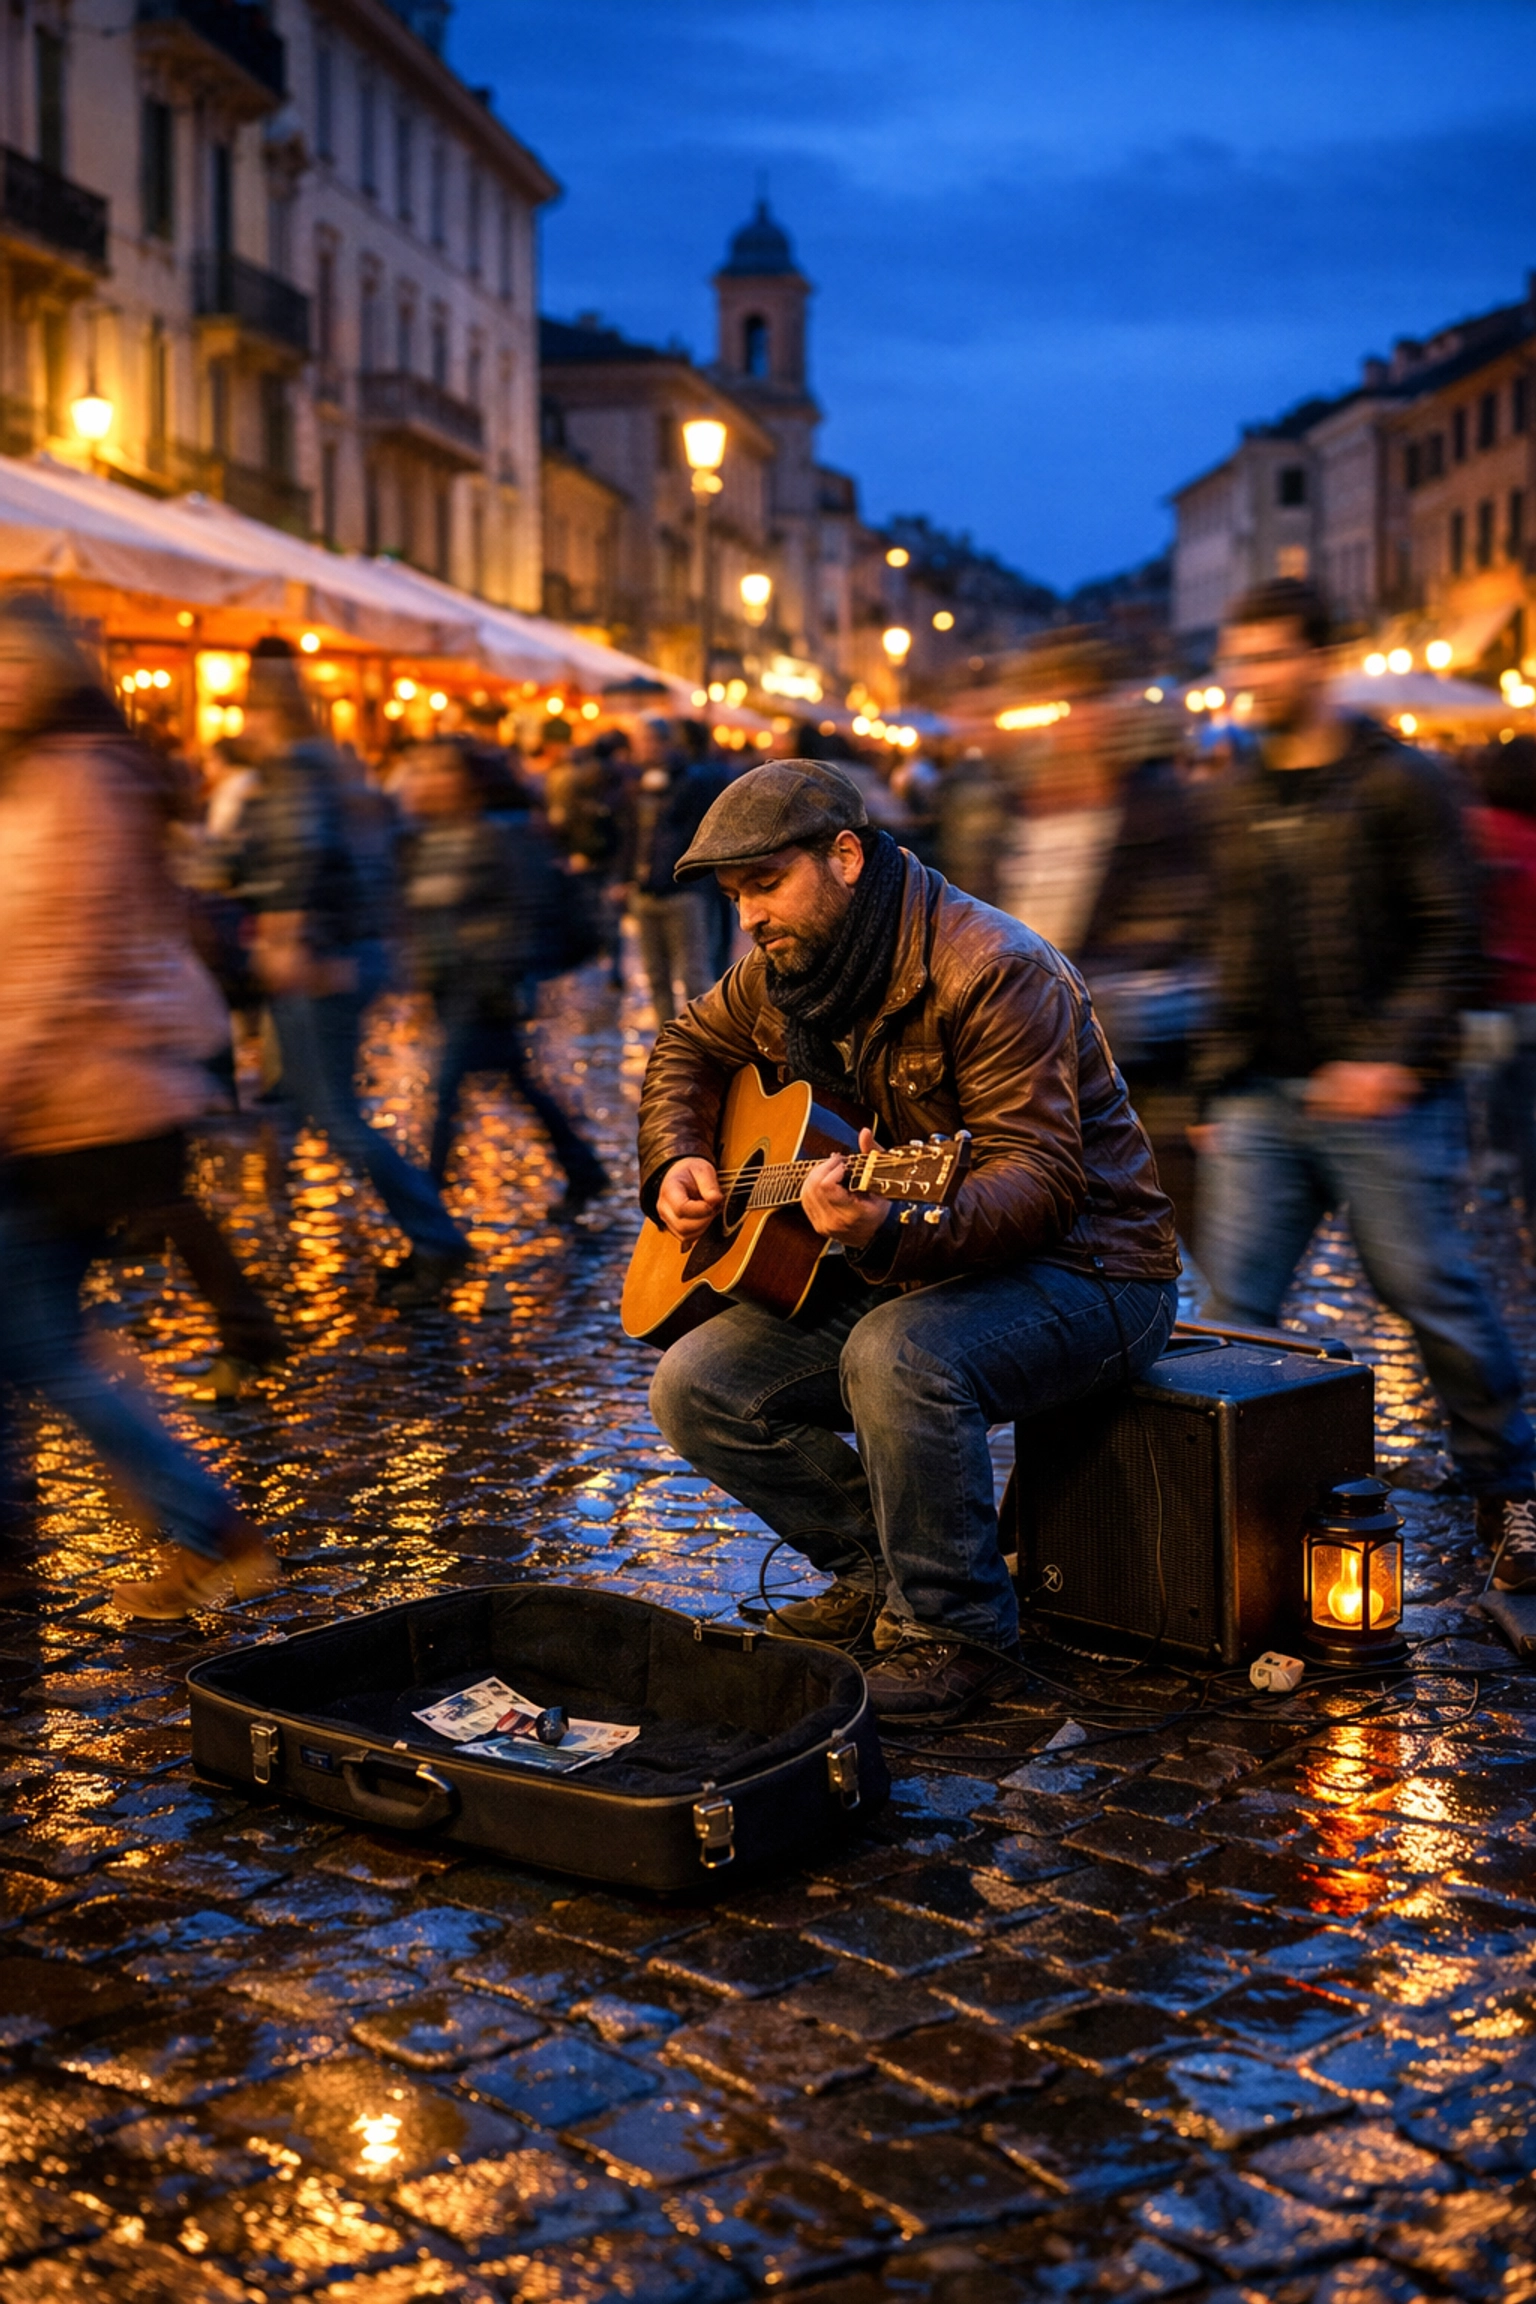
When you stay in Auto, the camera makes safe choices. It sees a dark room and pops up a nasty, harsh flash. It sees a sunset and tries to make the sky look like noon. By mastering manual mode, you can decide to underexpose a silhouette for drama or use a slow shutter to make a crowded street look like a ghostly blur.
Think about Steve McCurry's composition tips. None of those iconic shots were "accidents" made by a camera's auto-program. They were deliberate choices made by a photographer who understood his tools.
Common Mistakes Beginners Make
Even if you understand the theory, you’re going to mess up. I still mess up. Edin Chavez, the guy who started this whole thing, has a wealth of stories about technical "oops" moments over on blog.edinchavez.com. Here are the big ones to watch for:
- The "ISO 6400 in the Sun" Error: You were shooting in a dark basement yesterday and forgot to change your ISO when you went outside today. Result? A solid white photo. Always check your ISO before you start a new session.
- The Shutter Speed Shakes: You’re shooting at f/8 for sharpness, but it’s a bit cloudy, so you set your shutter to 1/10. Unless you’re a statue, that photo is going to be blurry.
- Trusting the Screen: The little screen on the back of your camera lies. It looks bright because the screen's backlight is turned up. Always use your light meter and learn to read a "Histogram" (that little mountain graph) to see if you’re actually losing detail in the shadows or highlights.
If you do find yourself with a photo that’s almost perfect but just a little "off" in terms of exposure, don't delete it. Using Luminar can often recover details you thought were gone forever. It’s a lifesaver for manual mode learners.
Developing Your Creative Eye
Mastering manual mode isn't just about the technical stuff; it's about the creative freedom it unlocks. Once the settings become second nature, you stop thinking about "f-stops" and start thinking about "mood."
For instance, if you're shooting street photography, you might want a slightly faster shutter speed to catch people in motion, but a mid-range aperture so you don't have to worry about missing focus. If you're doing real estate photography, you'll likely be on a tripod with a narrow aperture to get every corner of the room sharp. (By the way, if that’s your niche, our real estate lightroom presets will save you hours of editing time).
Practice Exercises to Master "M"
You won't learn this by reading a blog post. You learn it by doing. Grab your camera and try these three exercises:
Exercise 1: The Bokeh Test
Find an object (a coffee mug, a flower, your dog). Set your aperture to the lowest number your lens allows (like f/1.8 or f/3.5). Adjust your shutter speed until the light meter is at zero. Take the shot. Now, change your aperture to f/11. Your meter will show it's way too dark. Adjust your shutter speed (make it slower) until the meter is at zero again. Compare the two shots. Notice the background change?
Exercise 2: The Motion Blur Test
Find something moving: a fan, a faucet, or cars on a street. Try to take a photo at 1/1000 shutter speed (you'll need a wide aperture or high ISO). Then try to take one at 1/15. See the difference in how the motion is captured.
Exercise 3: The Low Light Challenge
Go into a dimly lit room. Try to get a sharp photo without using a flash. You'll quickly learn how to balance a slow-ish shutter speed with a higher ISO. This is where you'll see why people invest in "fast" lenses (lenses with low f-numbers).
Finishing the Job in Post-Processing
Even the best manual exposure can usually benefit from a little polish. Mastering manual mode is 90% of the battle, but the final 10% happens in the edit. Whether you are using Luminar to enhance the colors or applying specific presets to give your work a signature look, editing is part of the modern manual workflow.
If you’re just starting out, don't feel like you have to do everything from scratch. Using something like our landscape and cityscape lightroom presets can give you a great starting point, showing you what a "perfect" exposure can look like after a bit of professional tuning.
Final Thoughts
Manual mode is not about being a "purist" or a snob. It’s about having the keys to the kingdom. It’s about knowing that when you see a beautiful scene, you have the skills to capture it exactly as it feels.
Don't get discouraged if your first 500 photos are garbage. Every great photographer you admire: from the pros listed on edinstudios.com to the ones selling work for millions (check out the top 5 most expensive photographs ever sold for some inspiration): had to learn the same three settings you are learning today.
Turn that dial to "M." Take a deep breath. Start shooting. The "Mayhem" will turn into Magic before you know it.


