Updated October 2026
Divine Moments by Daniel James Greenwood is a landscape photography series built around light, atmosphere, and a strong sense of wonder. Flowers fill the foreground, mountains become silhouettes, waterfalls glow between dark walls, and star-filled skies extend the scene upward. The pictures ask you to spend time inside them rather than simply identify a location and move on.
This feature first appeared on Shut Your Aperture in November 2016. Greenwood supplied a personal statement about creative vision and the wish to inspire others through his imagery. The original series remains the center of this page. I have expanded the editorial discussion to help you look closely at the photographs and take useful ideas into your own work, without pretending to know camera settings or production methods that the original feature did not document.
These are Greenwood’s featured images, not photographs from my own gallery. The discussion below is visual analysis of the finished work. It does not claim that every picture is a single exposure, identify a particular editing program, or reconstruct how a sky was made. Enjoy the image, then keep what you can observe separate from what would require an explanation from the artist.
The idea behind Divine Moments
In his original statement, Greenwood described a spiritual connection with light and a desire to spread inspiration. He also emphasized staying true to a unique vision rather than treating photography as a formula. Those ideas give the series a useful frame: the pictures are presented as expressive work, with feeling at the center, not as a scientific record of a shooting technique.
One short line from that statement carries the practical point: Always stay true to your own unique vision, unique mind and unique spirit.
It is easy to agree with that sentence and then make a photograph that imitates someone else’s finished look. The harder task is deciding what you want a scene to communicate and building a frame around that decision.
For me, the value of a feature like this is the chance to slow down. Look at the path your eye takes, the relationship between the brightest and darkest areas, and the way the foreground changes your sense of scale. You can study those decisions without needing the exact lens or a list of slider values. The photograph itself is the first source.
 Save
SaveRead the foreground before you rush to the sky
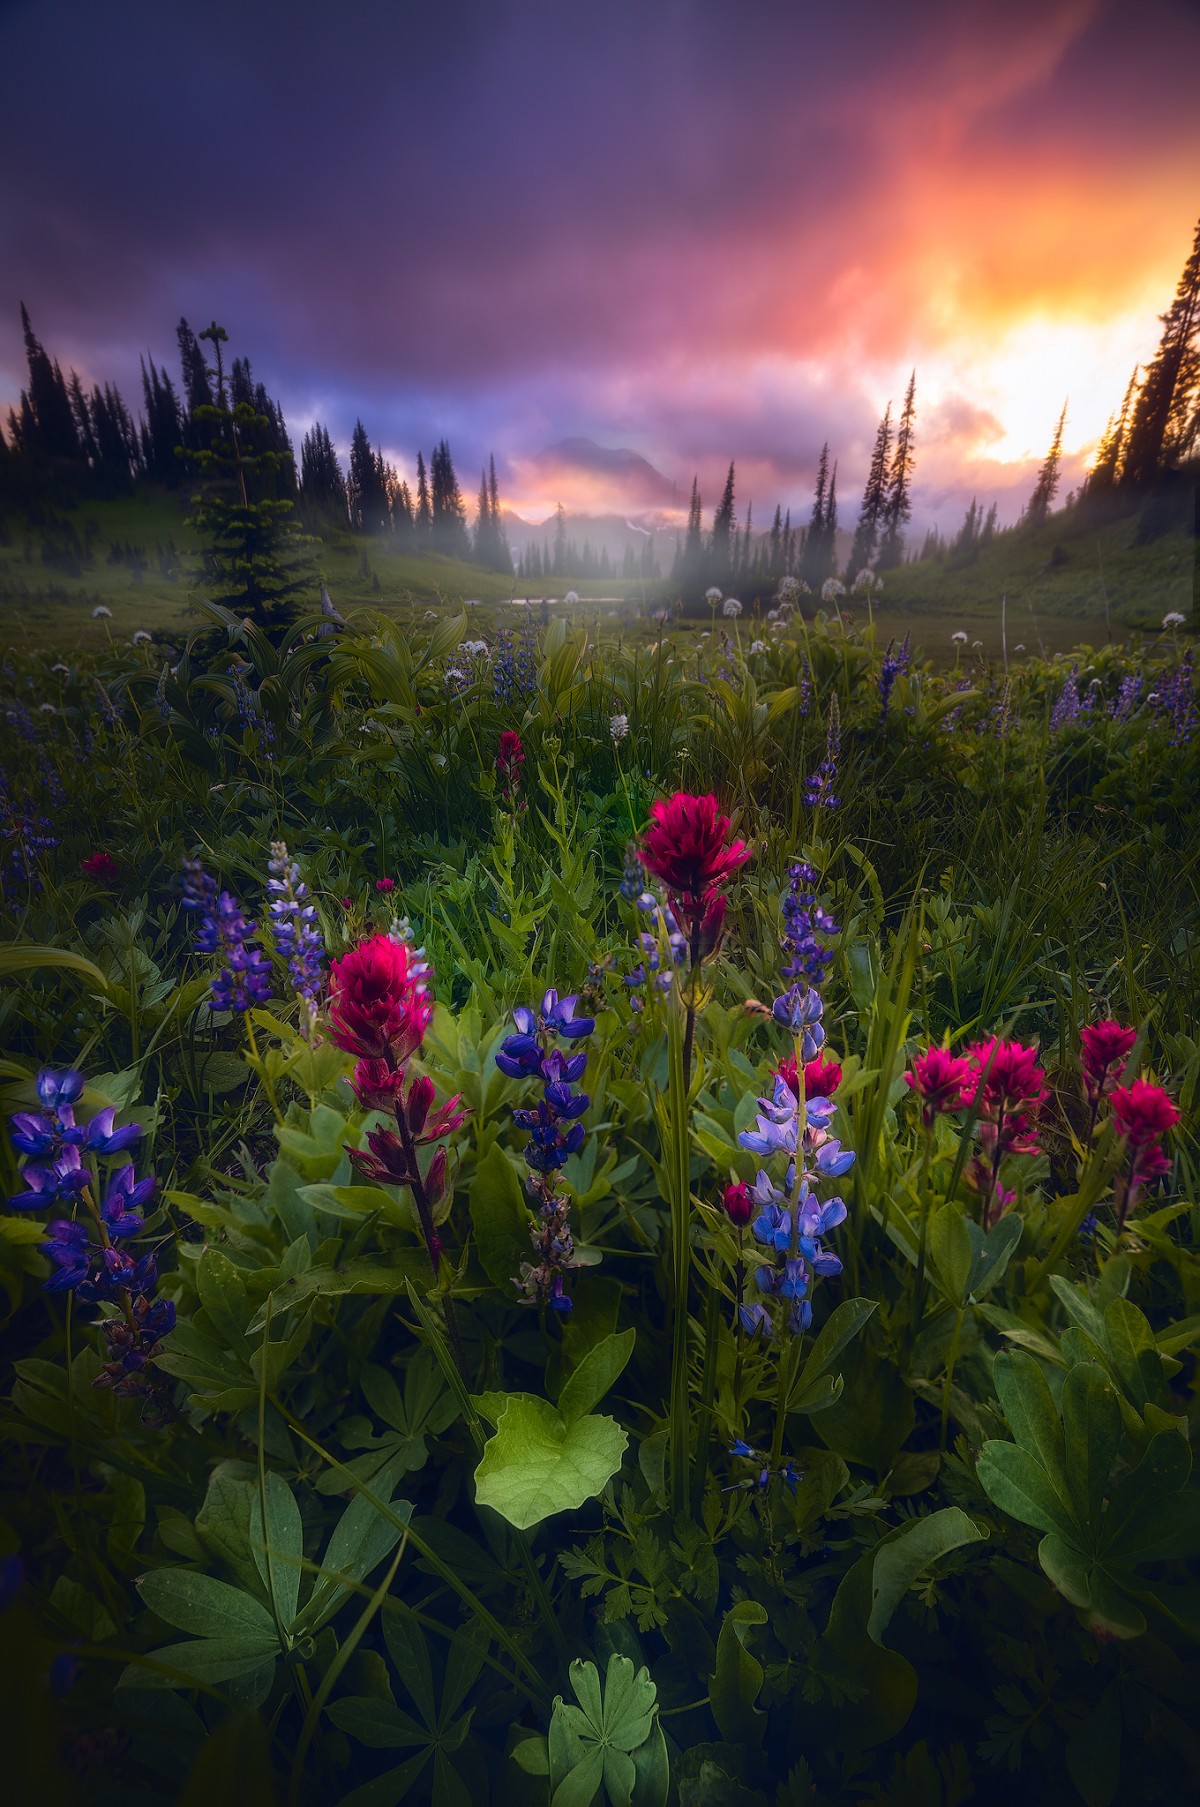
The flower-filled opening image has a dramatic sky, but the nearby plants do much of the compositional work. The red and purple flowers provide recognizable forms close to the viewer. Smaller vegetation and trees lead into the distance. The bright sky becomes the destination rather than the only subject. Cover the top of the image for a moment and notice how much structure remains below it.
That is a useful exercise for your own landscapes. A powerful sunset cannot organize a weak foreground by itself. Before pointing the camera upward, look for a shape, line, texture, or relationship near you that belongs in the picture. It should support the scene, not merely occupy empty space at the bottom. A rock or flower added without purpose can be as distracting as an empty patch of ground.
Notice also how the dark vegetation gives the warm sky somewhere to stand out. If every part of the image were equally bright and intense, the eye would have less reason to travel. Contrast is doing a job here: it separates the near ground from the light beyond. When you edit your own file, preserve that hierarchy instead of trying to make every area equally prominent.
Reflections give the frame a second rhythm
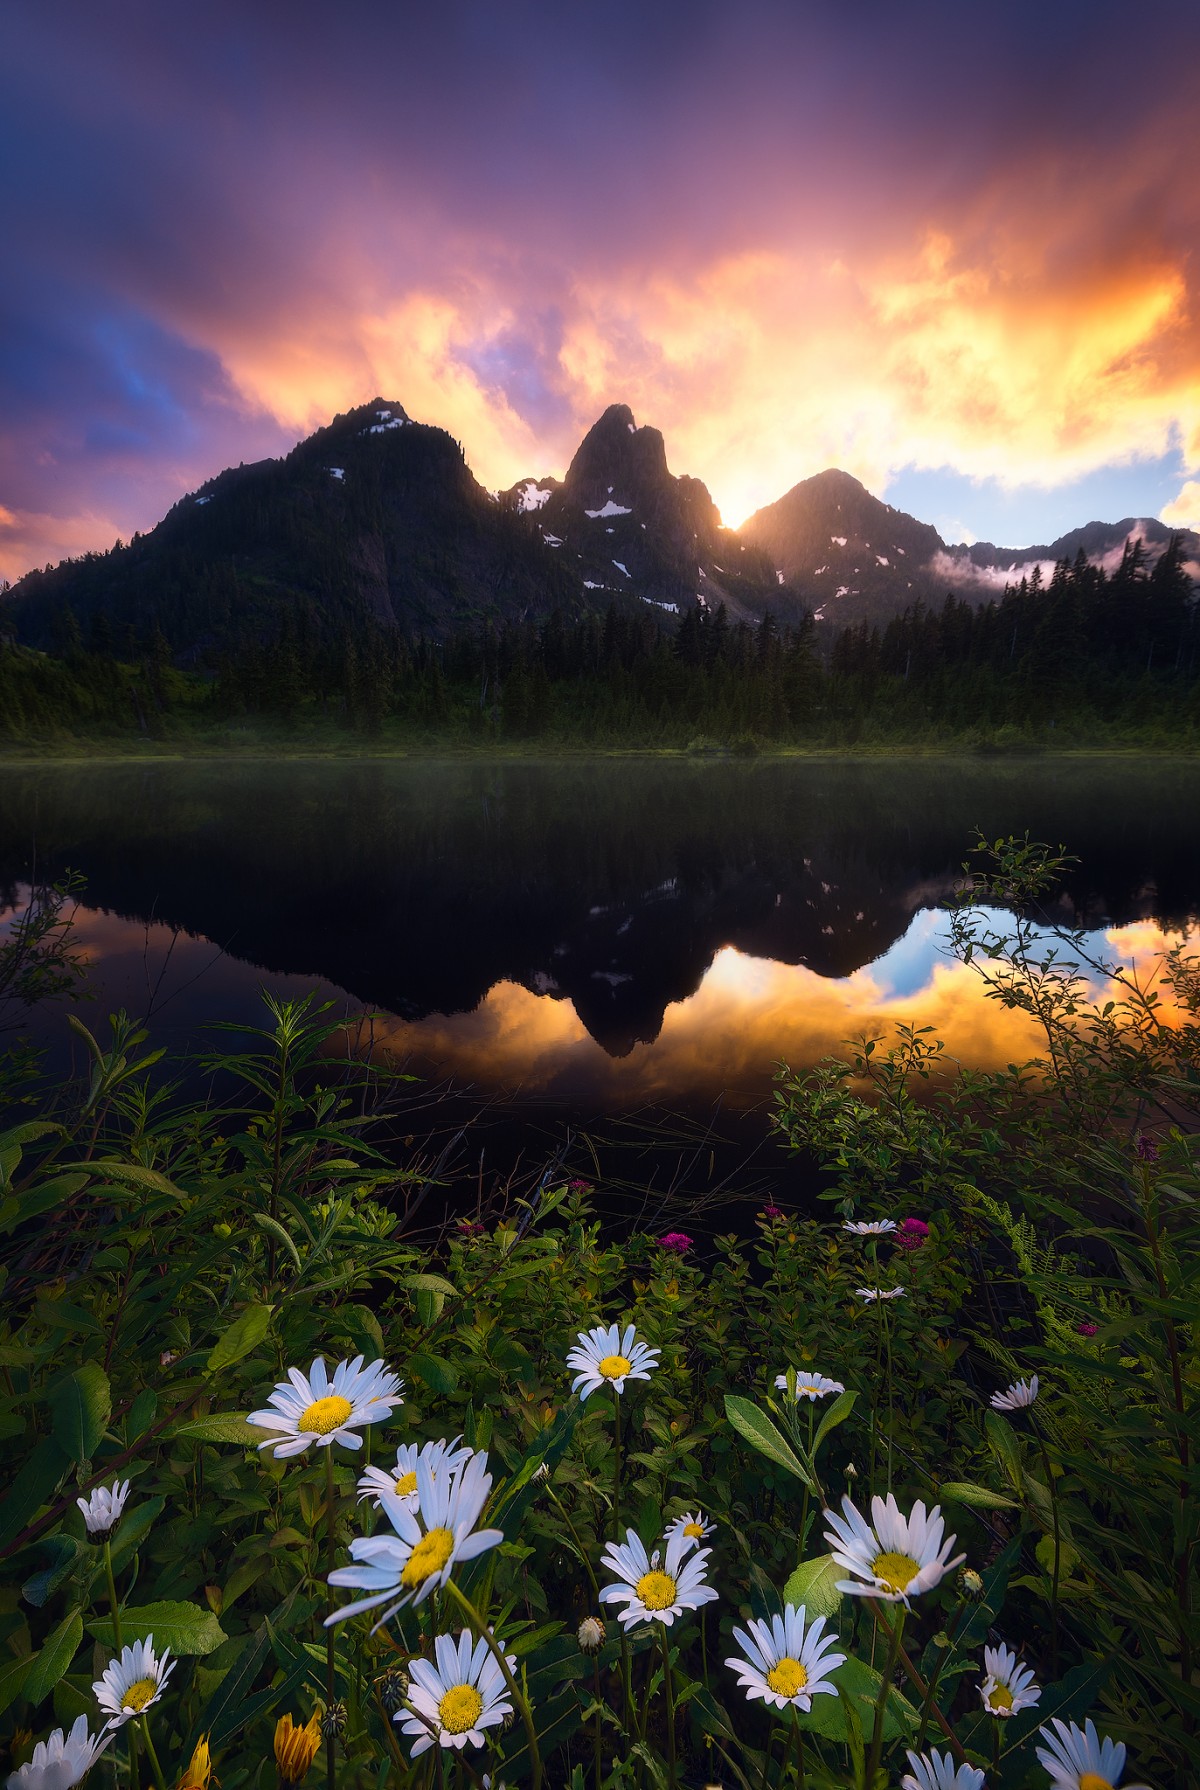
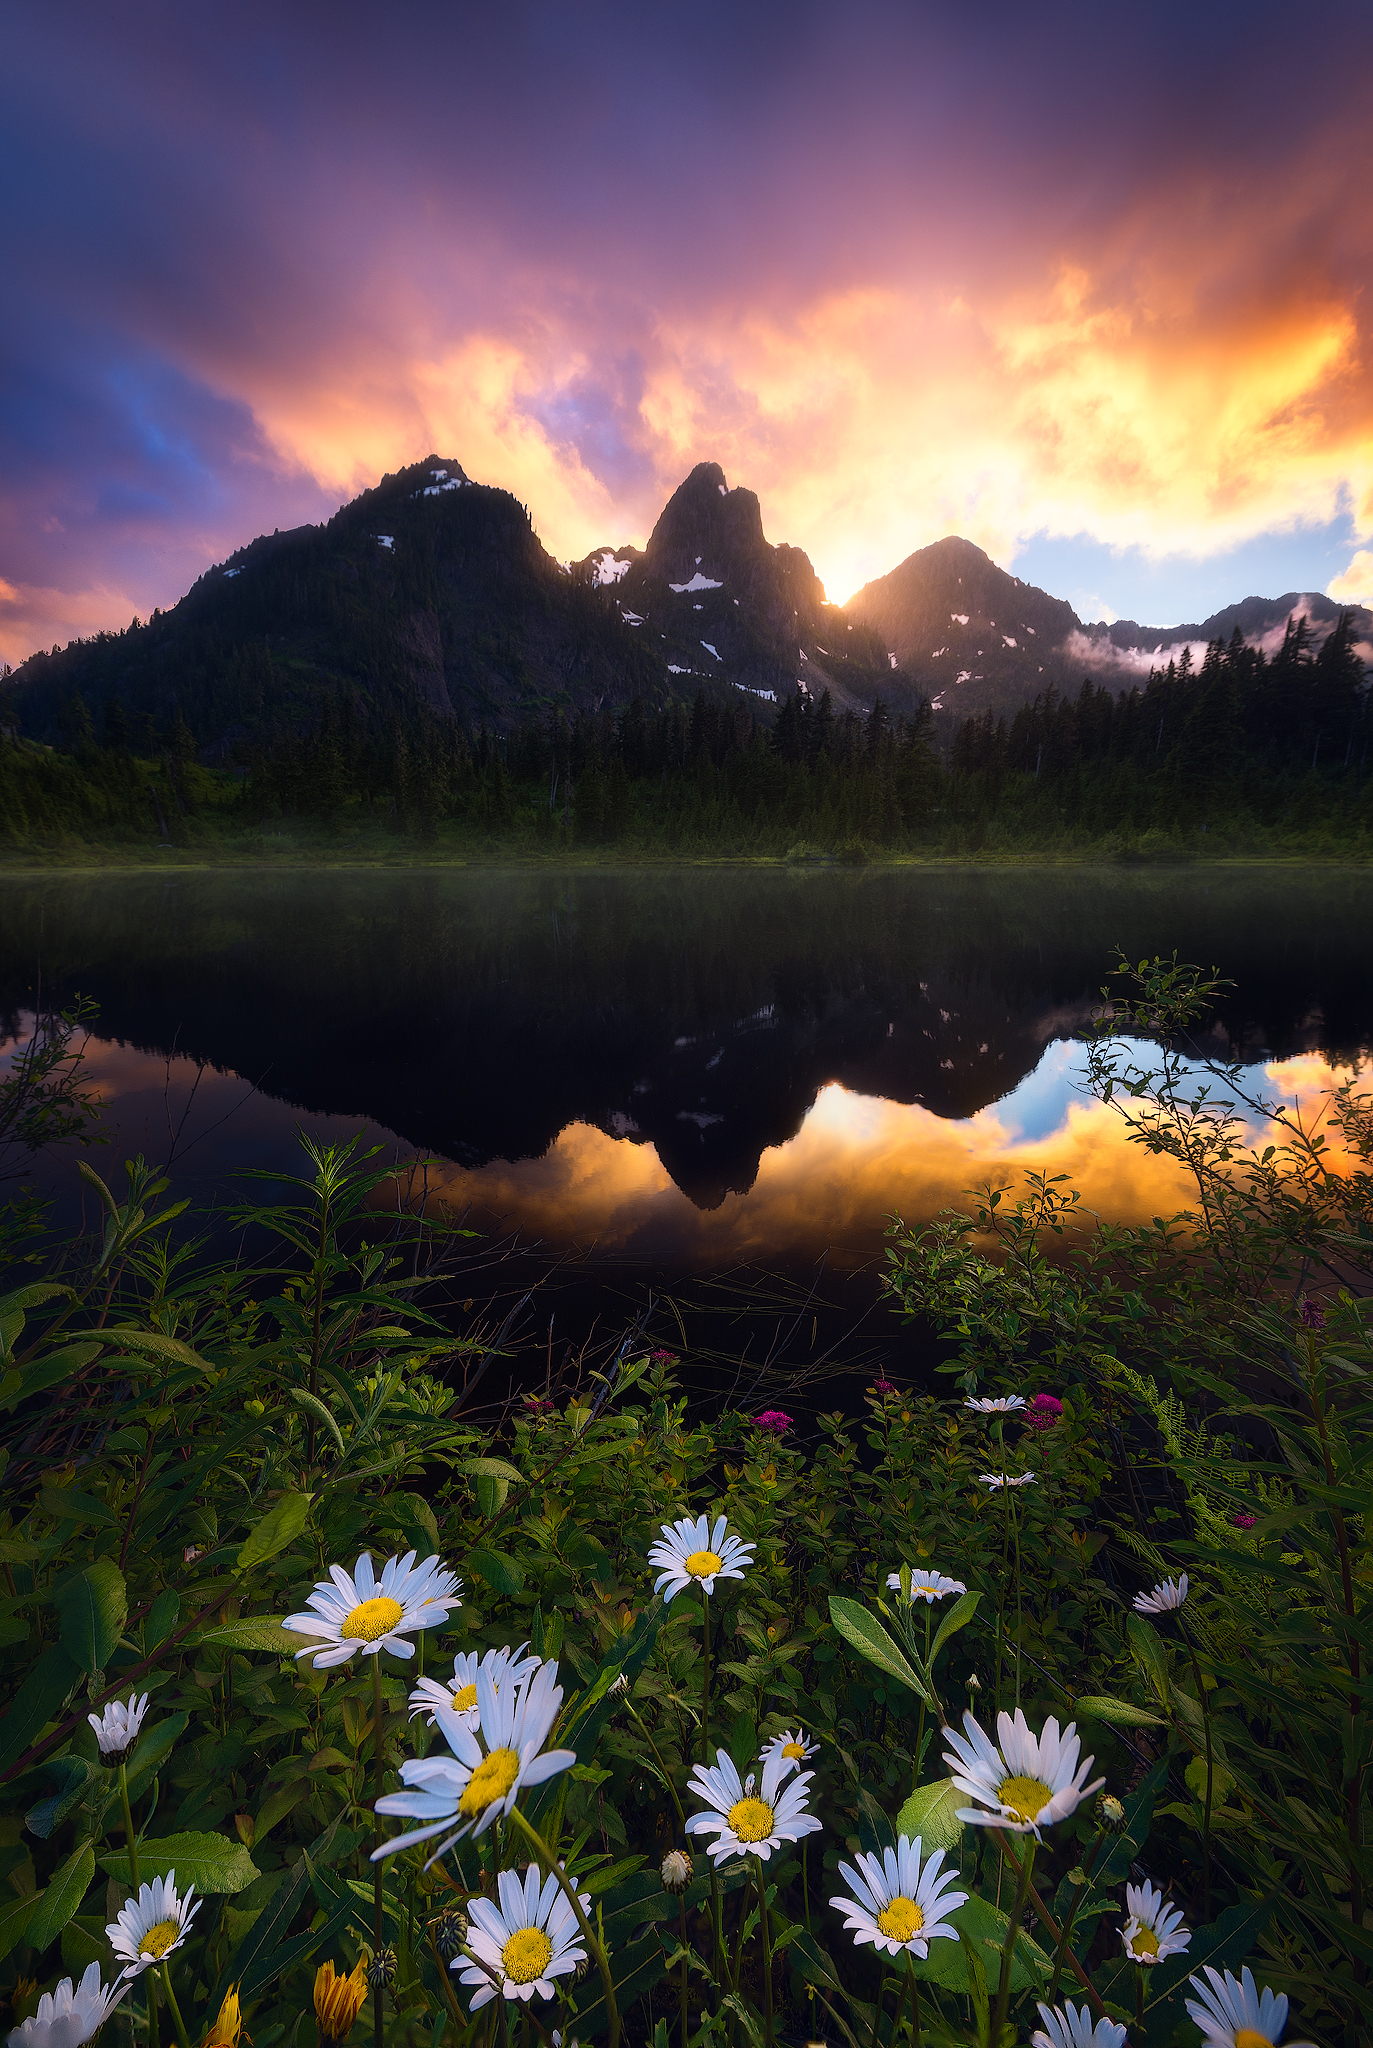
In the mountain-and-lake image, the peaks and their reflection form a strong central relationship. The flowers sit low in the frame, while the glowing sky opens above. The water repeats the dark mountain shape and the warm light, creating a rhythm that is different from simply filling half the photograph with lake. The reflection has a role in the composition.
 Save
SaveWhen photographing reflective water, decide whether the reflection is the main structure or a supporting detail. A nearly symmetrical frame can feel calm and deliberate. A frame with more foreground can make the viewer feel closer to the shore. Neither choice is automatically correct. Compare them because they say different things, not because one follows a rule more neatly.
Watch the edges of the reflected shape. A small shift in position can change whether a branch overlaps an important peak or whether the shoreline cuts through a useful color band. This is a place to take a little time before capture. Good editing can refine a relationship already present, but it is harder to rescue a composition whose important forms collide.
A vertical frame can make a landscape feel expansive
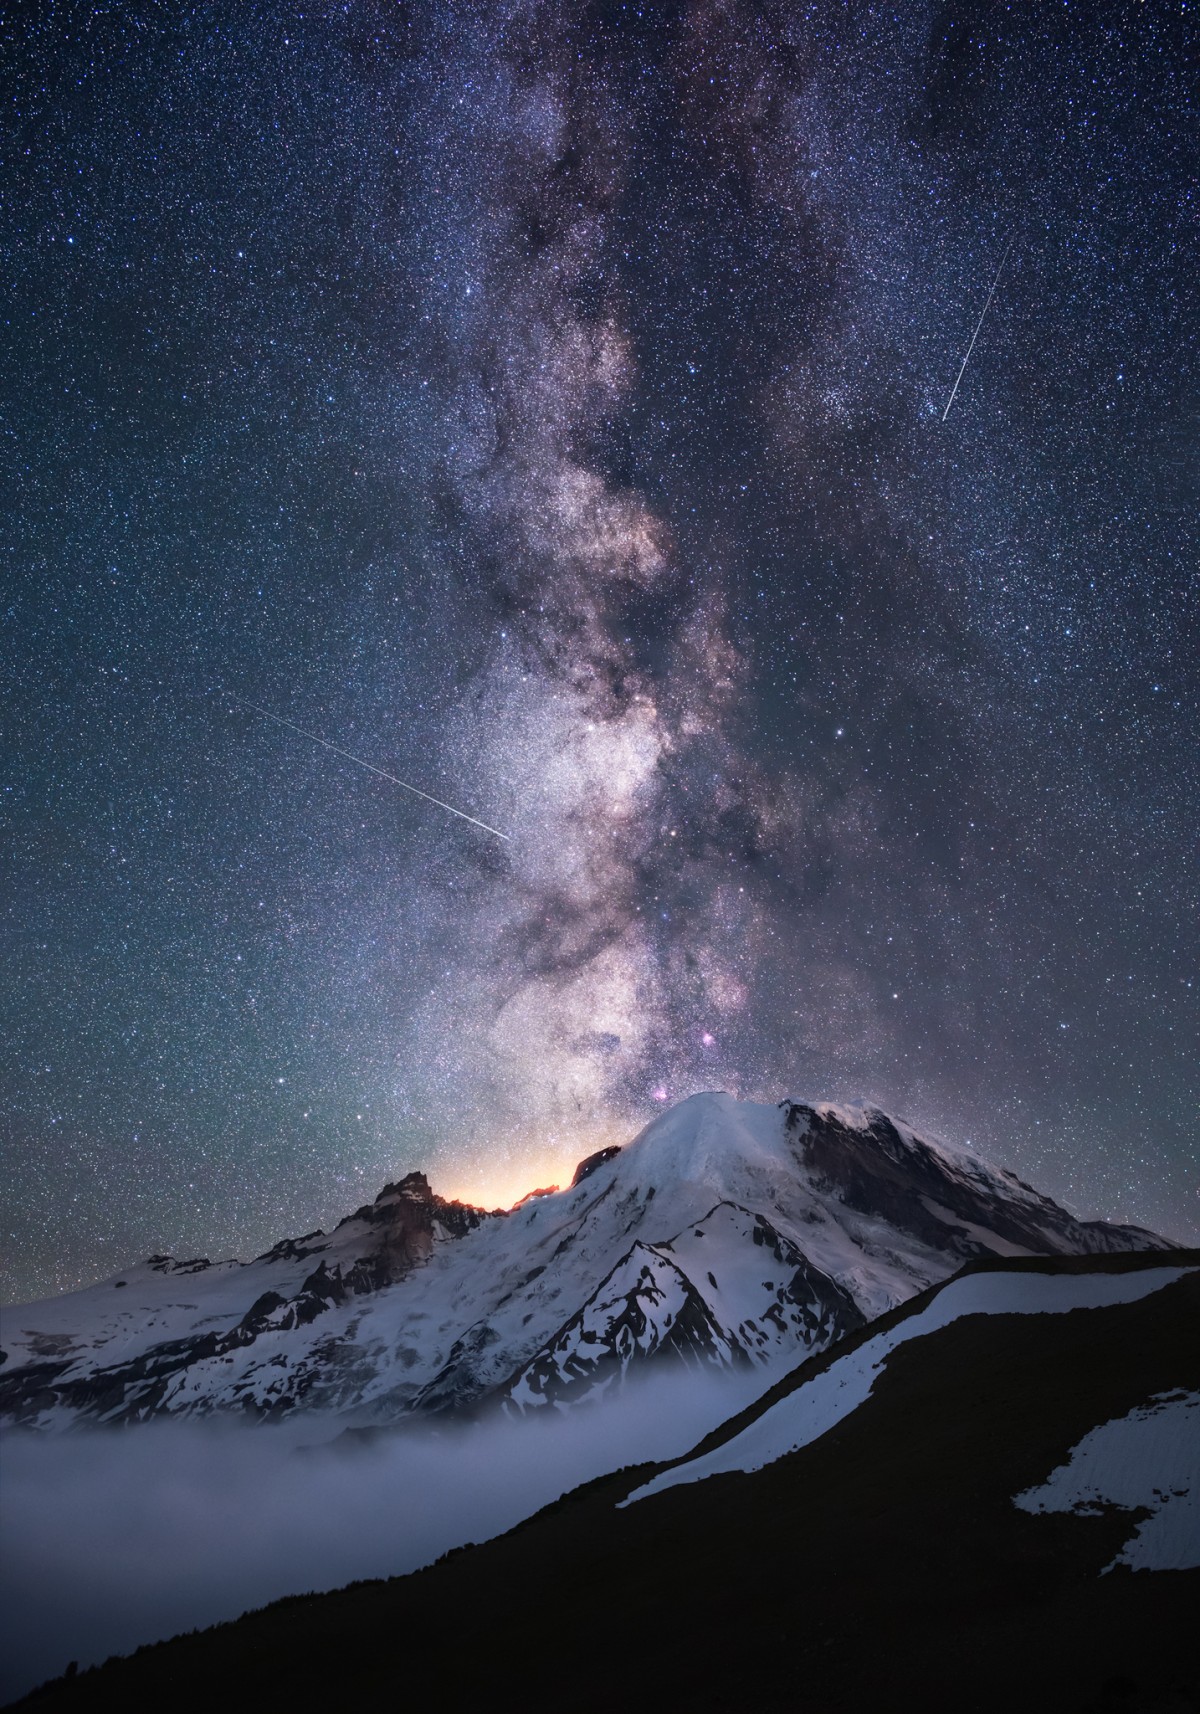
Most of this series uses a vertical frame. That choice lets the image move from close foreground through land or water and into a large sky. It is especially clear in the snow-covered mountain beneath a broad star field. The mountain is a substantial form, yet the space above it gives the scene another scale entirely.
 Save
SaveDo not assume that landscape photography must mean a horizontal picture. Turn the camera and compare the relationships. A vertical frame may make a waterfall feel taller, connect a foreground rock with a distant peak, or give a night sky a stronger direction. A horizontal frame may better serve a shoreline or the breadth of a ridge. Choose according to the idea, not the category name.
The frame should earn its empty-looking space. A large sky works when its texture, light, or shape participates in the image. If the upper region says nothing, the vertical format may simply stretch the picture. Look at the full frame at a small viewing size to see whether it has a clear flow. Then inspect the detail at a larger size.
Waterfall images: structure before motion
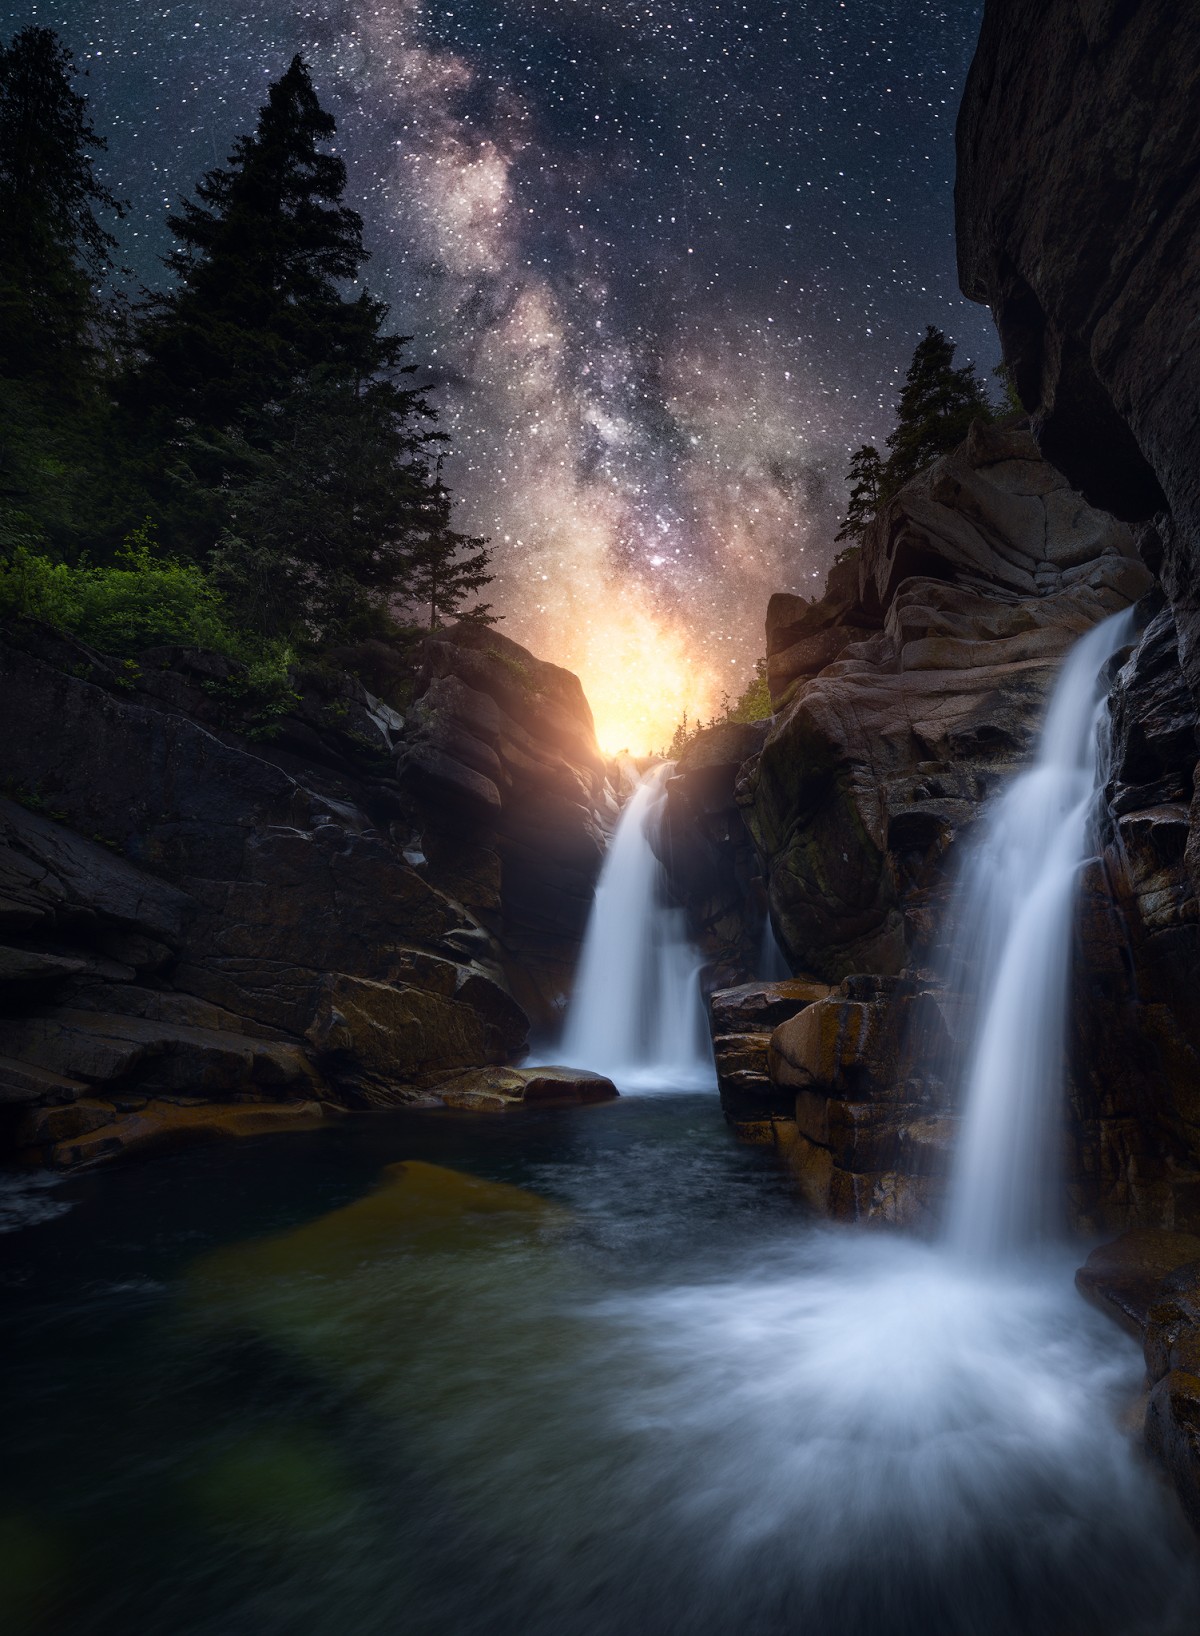
The twin-waterfall image puts bright water between trees and rock. The flowing areas stand out against dark surroundings, while the sky continues the upward movement. You can describe those visible relationships without claiming to know the exposure time or how the sky and foreground were produced. The finished frame provides enough to study on its own.
 Save
SaveIn your own waterfall work, begin by organizing the stable shapes. Look at the walls, trees, rocks, and the point where the water enters and leaves the frame. The motion then becomes part of an already readable arrangement. A blurred stream does not automatically make a compelling picture if the surrounding forms lead nowhere.
Keep access and safety separate from the desire for a dramatic angle. Wet rock, moving water, steep edges, and darkness deserve caution. Do not enter restricted areas or move into a hazardous position because another photograph appears to have been made nearby. A published image is not a route guide, and a strong composition is never permission to take that risk.
Dark areas are part of the story
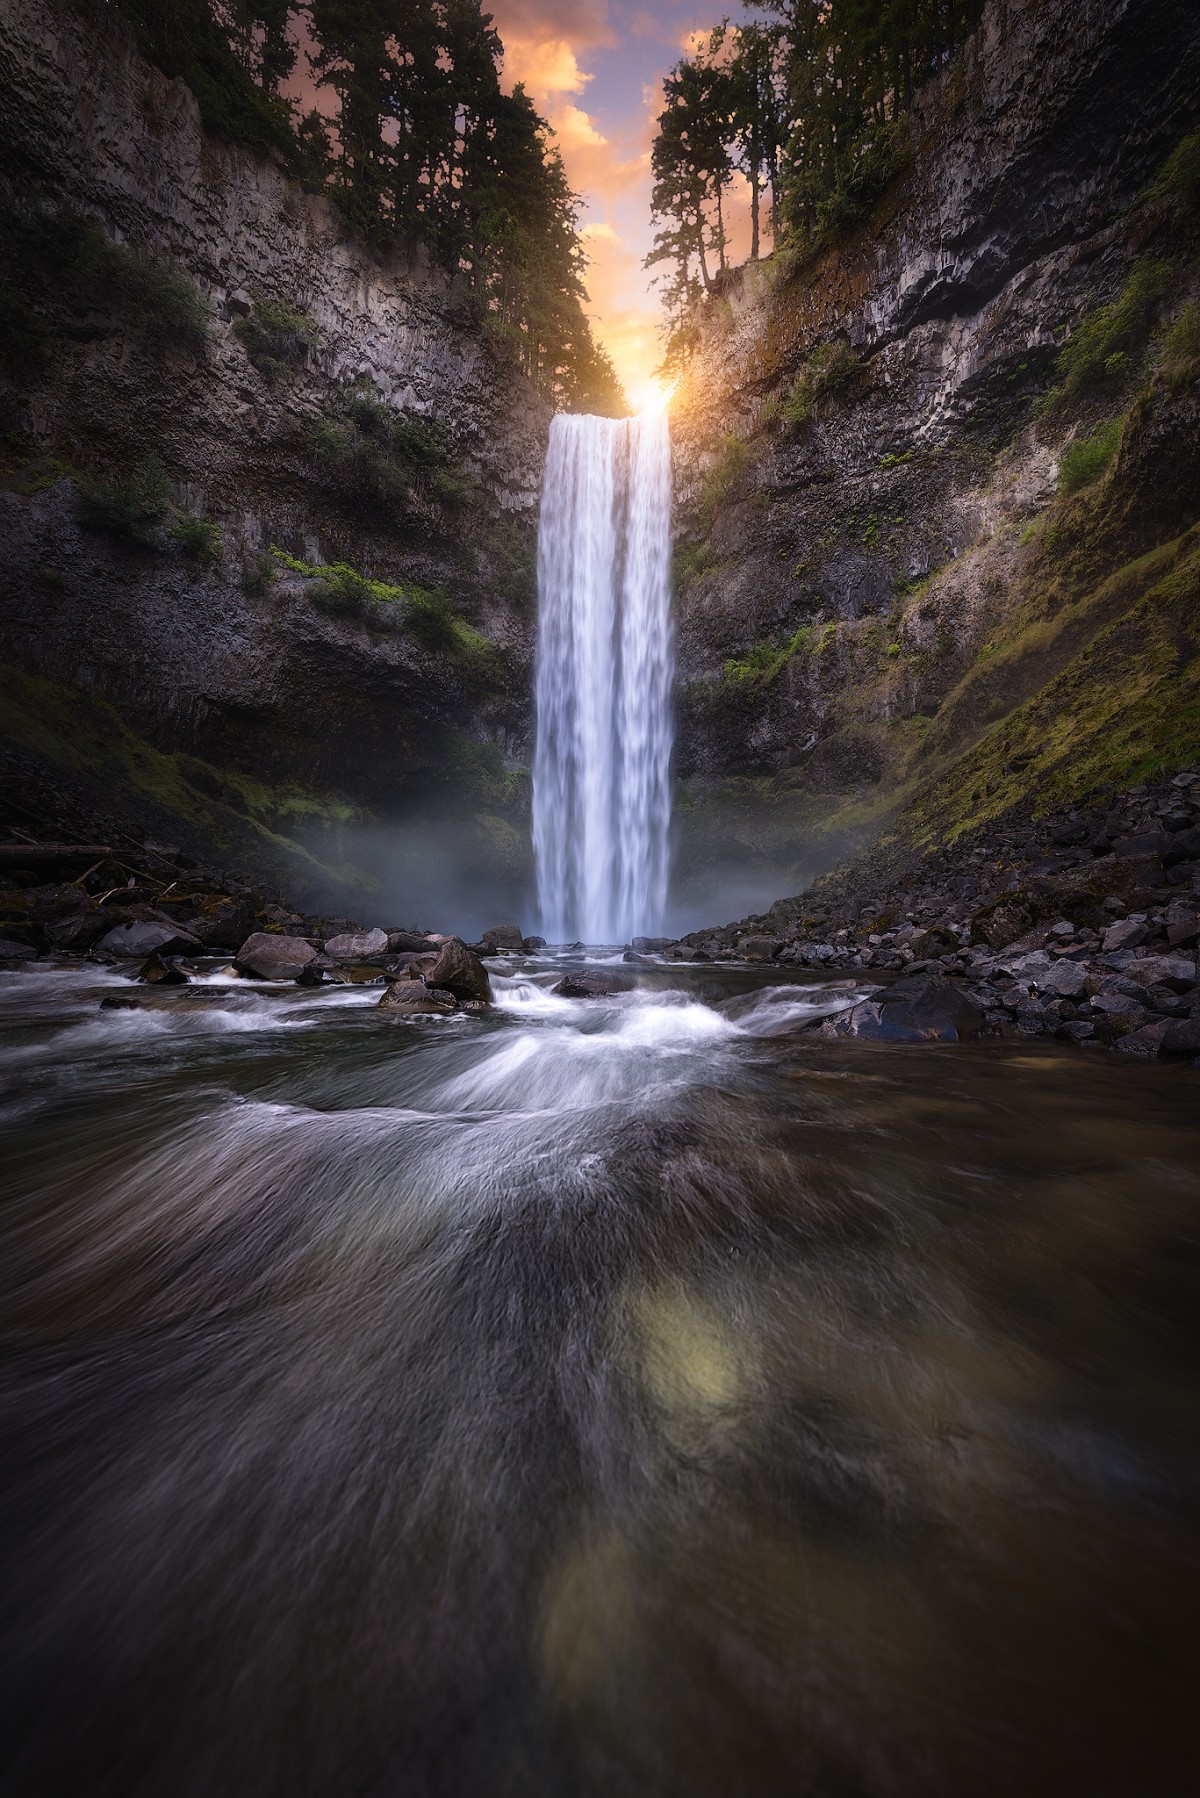
The single-waterfall photograph uses dark canyon walls to hold a bright vertical fall. The foreground water extends toward the viewer, and the warm sky appears above the gap. It is tempting to lift every shadow when editing a landscape, but the dark walls are doing useful work. They contain the bright water and make its shape easy to read.
 Save
SaveFor your own edit, ask what needs detail and what can remain quiet. A shadow may need enough information to avoid a distracting block, but it does not need the same brightness as the subject. The right balance depends on the image and intended display. Make a test output before judging a dark photograph only from a bright editing screen.
Look for unwanted bright distractions near the borders too. A small pale rock or a bright patch of sky can pull the eye away from the fall. Sometimes a slightly different frame is better than a heavy correction. Editing should help the viewer see the main relationship, not create a separate spotlight on every small object.
The lighthouse image uses a clear anchor
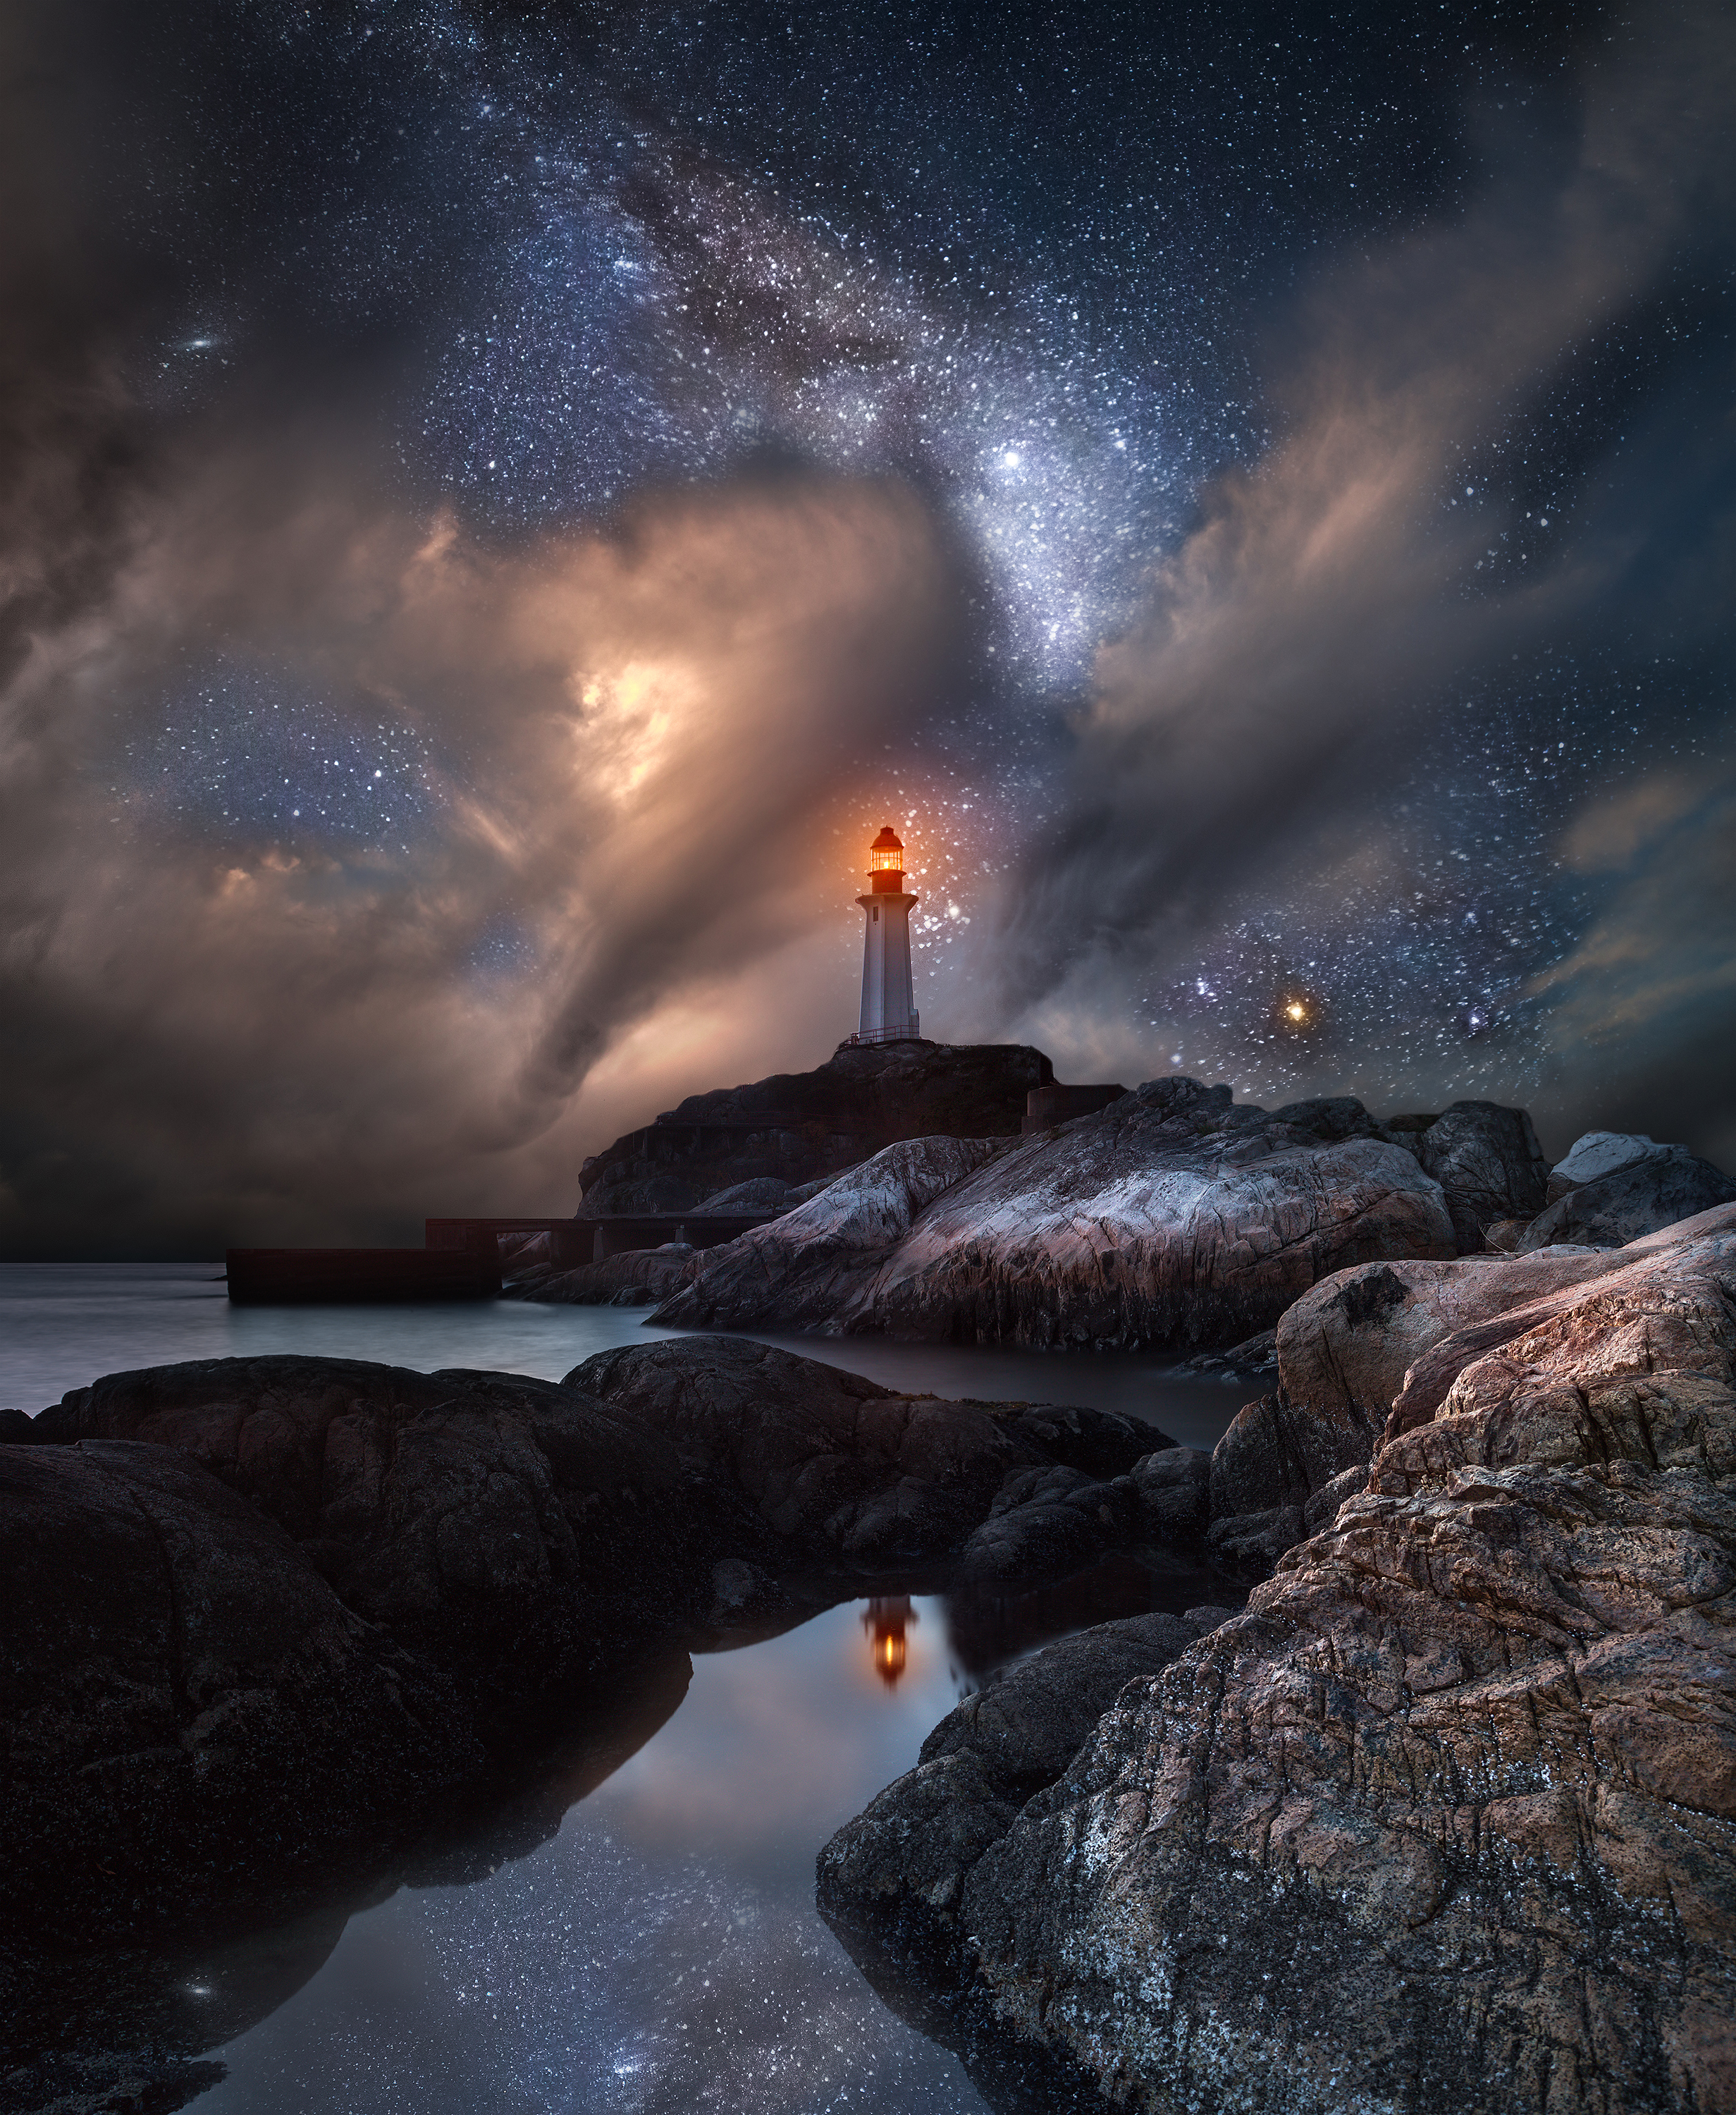
The lighthouse scene has a recognizable central subject among rocks, clouds, stars, and reflected light. The tower gives the viewer a stable point to return to. Its warm light relates to the cloud glow and the small reflection below, while the surrounding rock remains a darker structure. That repeated warm accent helps connect different regions of the picture.
 Save
SaveA recognizable anchor can help a complex landscape. It might be a tree, a rock shape, a building, or a person whose presence is appropriate to the scene. The goal is not to add an object simply to provide scale. It is to find something that organizes the image and supports the feeling you want. If the anchor competes with everything around it, simplify the frame.
This image also offers a useful color exercise. Look for where warm light repeats, where cool tones dominate, and where neutral rock gives those colors a place to contrast. For your own work, try describing that relationship before moving a saturation slider. An intentional color balance is more useful than making every color stronger at once.
Quiet images belong in an expressive series too
The final mountain reflection is less crowded than the flower and waterfall scenes. A distant mountain, a tree line, clouds, stars, and still water carry the image. Warm light appears near the horizon and in the reflection, while the larger regions remain subdued. The scene gives the series a different pace.
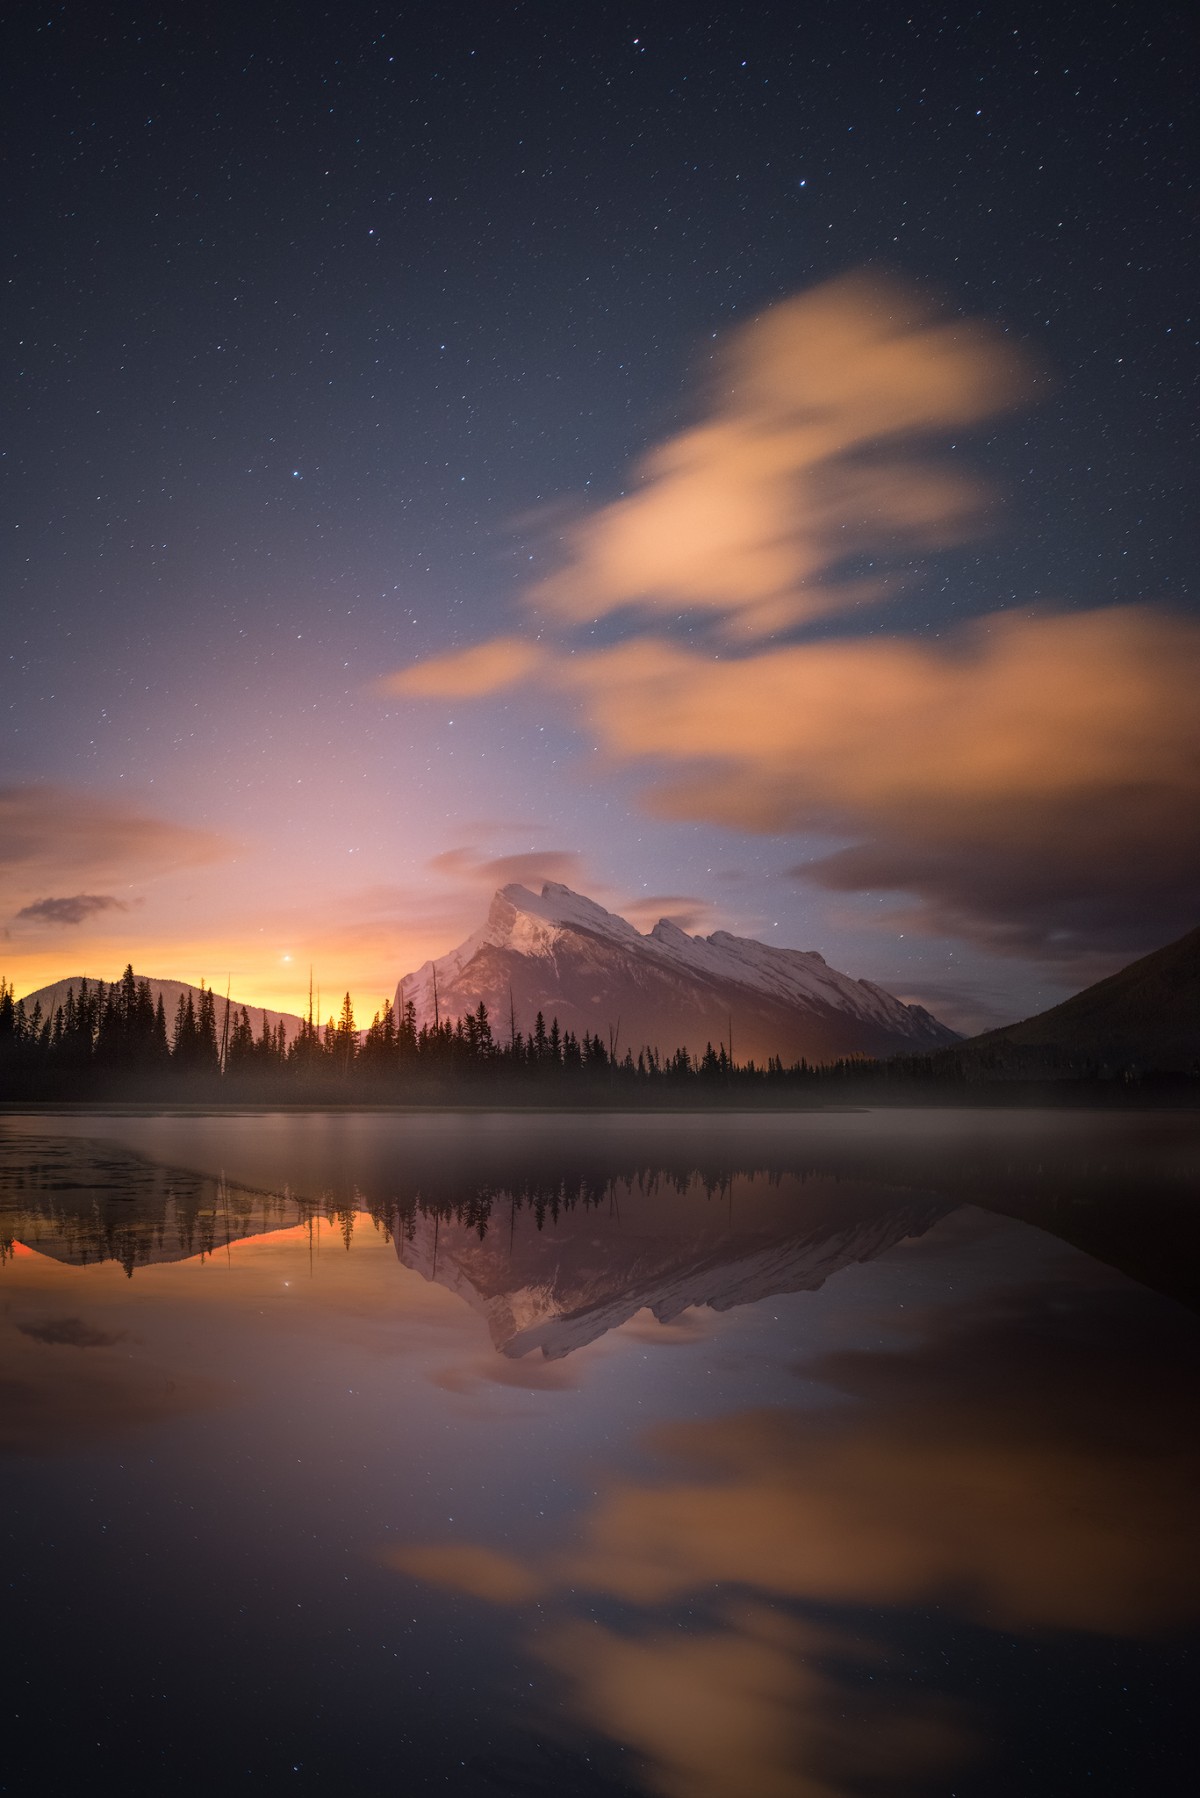 Save
SaveWhen building your own series, do not select only the loudest individual pictures. Compare how the images behave together. A quieter frame can make the next dramatic image feel stronger, and it can give the viewer time to stay with a mood. Sequence is a photographic decision, not just a matter of arranging files by date.
Try a small sequence before making a large portfolio. Choose a handful of images that share a feeling or visual relationship, then remove anything that repeats without adding something. Look for changes in scale, density, and brightness. A series can be coherent without making every frame look identical.
Study the work without inventing its production story
The original Divine Moments feature did not provide camera settings, exposure counts, exact location notes for every frame, or a documented editing workflow. Filenames and visual impressions are not enough to reconstruct those facts. In particular, a dramatic sky does not prove a specific blending method, and a smooth waterfall does not establish an exact shutter speed.
Keep questions open when the evidence is open. You can admire the finished artwork and still distinguish it from a documentary claim. If you want to learn a production method, seek an explanation from the artist rather than reverse-engineering certainty from appearance. When sharing your own composites or heavily constructed work, describe it appropriately for the audience and the rules of the publication or competition.
The practical ideas here do not depend on solving that uncertainty. Foreground structure, light hierarchy, color relationships, an anchor, and sequence can all be studied directly. That is where I would put my attention first. Borrow a way of looking, then make a photograph that belongs to your own experience rather than copying the visible surface of someone else’s work.
Keep the files behind your own series safe
A finished portfolio should be easy to return to. Keep the original captures, useful working files, and final outputs identifiable. If you create alternate versions, name them clearly enough that you know which one was delivered or published. Do not delete source files simply because one export looks finished on a phone screen.
A portable drive can be part of that workflow, but it is only one copy. Verify important transfers and keep another independent copy before clearing camera cards. The product below is a practical storage option, not a claim about the equipment Greenwood used for these images. The original feature did not document his gear.
Turn inspiration into your own photographs
The useful next step is to choose one visual idea and practice it. Work on a foreground that leads into the frame, a reflection with purpose, or a clear anchor in a busy scene. You do not need to reproduce a dramatic star-filled landscape to apply what you noticed. Start where you are and make the composition deliberate.
If you want to build those skills, explore the Shut Your Aperture Academy. Better control of light, composition, and visual decisions gives inspiration somewhere to go. Choose the current training that fits your goals, then put the ideas to work in photographs that are yours.
Frequently asked questions
What is Divine Moments by Daniel James Greenwood?
It is a landscape photography series featured on Shut Your Aperture in November 2016, accompanied by Greenwood’s statement about light, personal vision, and inspiration.
Are these photographs by Edin Chavez?
No. The featured series is attributed to Daniel James Greenwood. The expanded discussion is editorial analysis, not a claim that Edin made the series.
What camera settings did Greenwood use?
The original feature did not document camera settings or exposure counts. This page does not invent them from the appearance of the finished images.
Are all the images single exposures?
The original feature does not establish that. Enjoy the expressive imagery without treating this page as proof of a specific capture or blending method.
What can I practice after studying the series?
Practice purposeful foregrounds, light hierarchy, reflections, vertical compositions, clear visual anchors, and selecting a varied but coherent sequence of your own photographs.
Archive note: Images and the quoted artist statement are from the original November 2016 Divine Moments feature. The original artist link was this Facebook profile; it is retained as an archive reference, not a verified current contact or offer.