By Edin Chavez | Updated November 2026
A good time-lapse makes a familiar landscape feel alive. The Mountain, a short film by TSO Photography, follows moving skies, mountain silhouettes, trees and changing light around El Teide on Tenerife. Terje Sorgjerd made it in April 2011, and this feature first appeared on Shut Your Aperture in June 2014. Watch how the fixed land gives every change in the sky something to move against.
I like work that makes you stop looking at a location as a single instant. A photograph can hold a moment. A time-lapse can show the relationship between moments: clouds crossing a ridge, a sky changing color, or the stars moving above land that seems still. The challenge is giving that motion a frame worth staying in. A dramatic sky is a starting point, not the whole photograph.
Watch the film first, then watch again with one question in mind. What stays still while the world moves around it? That is a useful place to begin. The still forms give the movement scale and direction. Without them, an impressive sequence can become a collection of effects rather than a clear visual idea.
Watch The Mountain
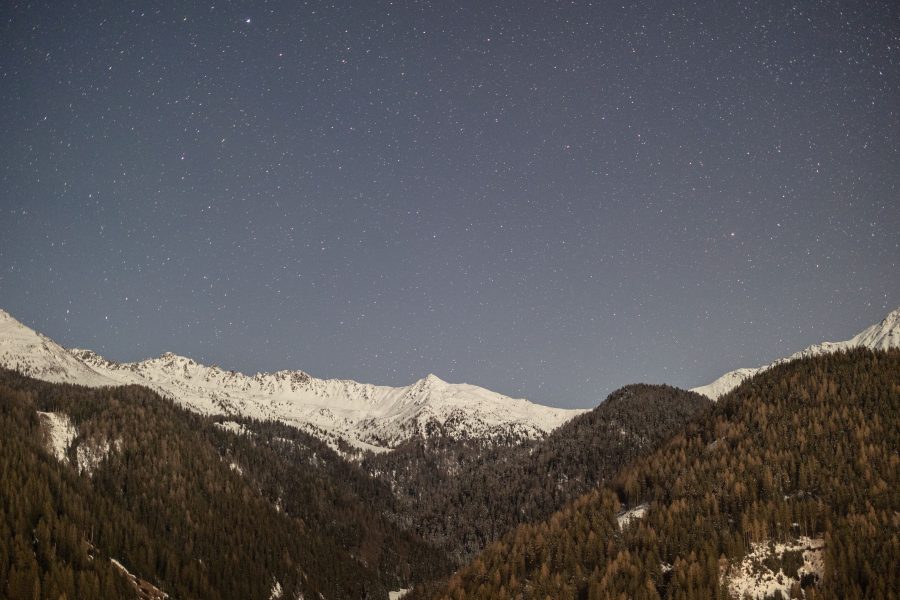
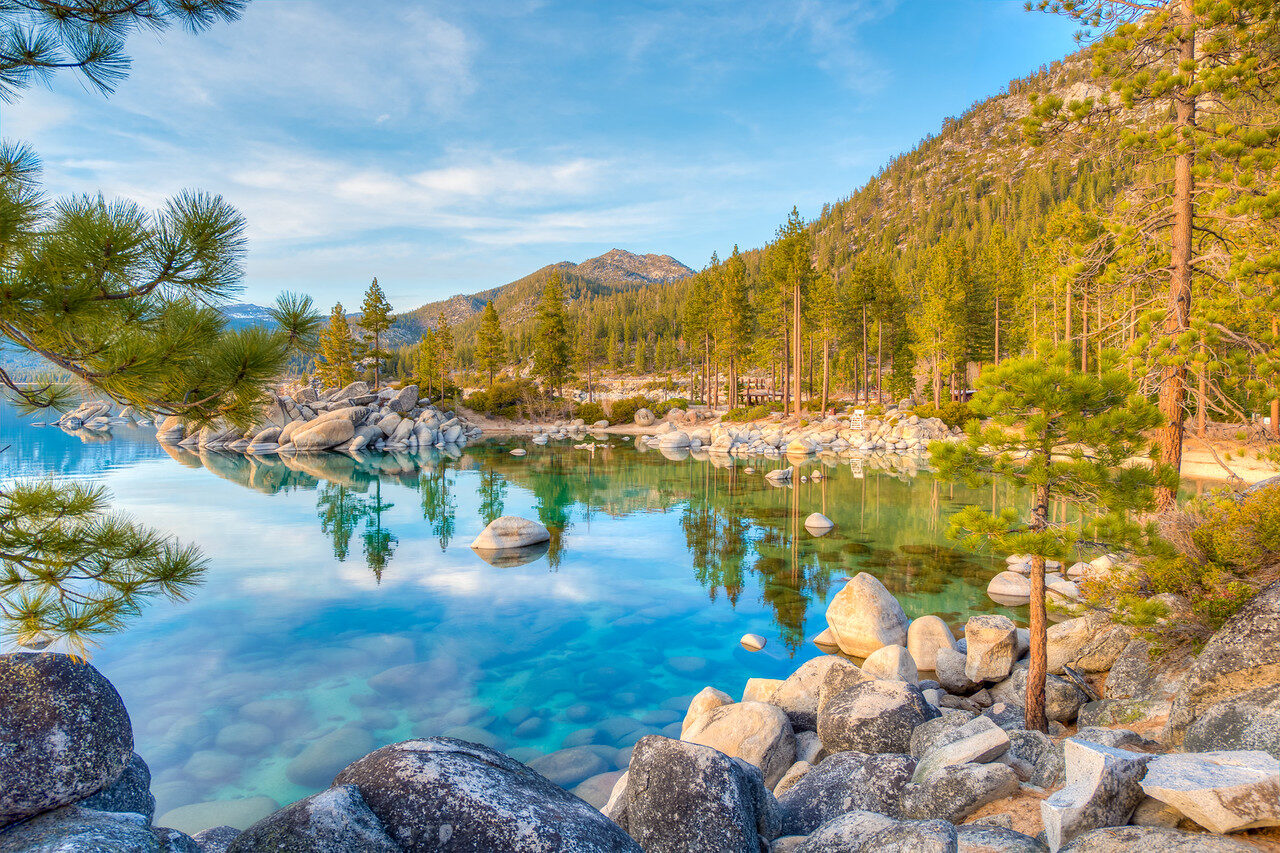
Watch The Mountain on Vimeo. The embedded film is attributed to TSO Photography. The still landscape examples later on this page are separate illustrations from my own gallery, not frames from the film and not photographs of Tenerife.
The original story, with the right attribution
In the description accompanying the film, Sorgjerd says he filmed between April 4 and April 11, 2011. He describes his goal as capturing the Milky Way together with El Teide. He also describes a demanding week of hiking and limited sleep. Those are the filmmaker’s account of his production, not instructions to copy the same conditions and not a story from my own travels.
One memorable detail in that account concerns dust. Sorgjerd says a sandstorm reached him during a long night sequence, and that the camera recorded illuminated dust while the Milky Way remained visible. He points viewers to roughly 00:32 in the film. Keep that explanation attached to its source. It is not evidence that every cloudy-looking night sequence is dust, nor a reason to remain outside during hazardous weather.
The original description names Ludovico Einaudi’s Nuvole bianche as the music and says it was used with permission. That permission applies to the original film as described by its maker. It does not give viewers a license to reuse the music, download the footage for their own projects, or sell derivative work. Sharing the official player and studying the composition are different from obtaining production rights.
Start with a frame that works without movement
Before setting an interval, look at the scene as a photograph. Is there a clear subject? Does the foreground belong? Are important forms cut awkwardly by the edges? Motion cannot repair a frame that has no structure. A cloud may move through the picture beautifully while a bright distraction at the border keeps pulling your eye away from it.
A mountain silhouette is useful because it stays recognizable through changing light. A tree, shoreline, rock, or distant building can do the same job. The anchor does not have to be centered or large. It needs to support the scene and remain readable as conditions change. Consider where the brightest cloud or sun might travel, not just where it is when you set up.
I would rather begin with a simple relationship than collect every possible subject. Land below, sky above, one strong foreground shape: that can be enough. If the frame needs constant explanation, simplify it. Take a test still, look at it at a small size, and ask whether the eye has somewhere clear to go. Then consider what motion adds to that relationship.
 Save
Choose the movement you actually want to show
Time-lapse is not a single look. Fast clouds, slow shadows, moving stars, changing crowds, and water each behave differently. Decide which change matters before choosing a capture plan. Otherwise you can return with hundreds of technically sound frames that do not describe anything clearly. The question is simple: what will be different at the end of the sequence?
Look for contrast between moving and still elements. Clouds crossing a fixed ridge make their direction easy to read. A reflection can repeat the movement but also introduce ripples. Trees may be visually strong anchors in calm conditions and distracting moving shapes in wind. That is not a reason to avoid trees; it is a reason to observe them before committing to a long sequence.
Make a short test when possible. Watch the result rather than judging the interval only from individual photographs. If the movement jumps too far between frames, the sequence may feel abrupt. If little changes, you may need more elapsed time or a different subject. A useful test is cheaper than an entire evening spent discovering that your chosen frame has no visible progression.
Intervals, frame counts, and playback: a planning example
A time-lapse compresses capture time into playback time. For a simple example, 240 frames played at 24 frames per second produce ten seconds of finished footage. If captures start five seconds apart, the first to last capture starts span 1,195 seconds, just under twenty minutes. This is planning arithmetic, not a claim about the settings used in The Mountain.
Interval controls how much the scene can change between pictures. Shutter duration affects how movement appears inside each picture. Those are related decisions but not the same control. A long exposure can smooth motion within a frame; a longer gap can still make the transition between frames abrupt. Keep the camera’s saving and processing time in mind too, especially when using long exposures.
Check how your camera defines its interval before relying on a calculator. Some systems measure from one exposure start to the next; other workflows may add a waiting period after an exposure finishes. A nominal five-second setting does not always mean the same capture rhythm. Run a short test and inspect the actual sequence before leaving the camera to work.
Plan a realistic amount of footage. A few clean seconds can be more useful than a long, unstable sequence. Include time to set up, test, pack away, and return safely. Battery capacity, storage, temperature, and access limits can end a capture before the sky does. Treat them as part of the plan rather than problems to solve after darkness falls.
Keep the camera stable and the focus deliberate
A time-lapse asks every frame to agree about where the camera is pointing. Small movements become obvious when the sequence plays. Place the support on stable ground, keep straps and loose cables from catching wind, and do not leave equipment where it blocks a path. Recheck the composition after tightening the head because some setups shift slightly when locked.
Focus on the part of the scene that needs to read clearly. Magnified live view can help you judge a distant subject or a bright star, but check the actual result rather than trusting a lens marking alone. If autofocus is no longer needed after setting focus, use a workflow that prevents it from hunting between frames. Confirm how your camera behaves before the sequence begins.
Do not assume that maximum depth of field or the smallest aperture is always the best choice. The subject, available light, movement, and intended output all matter. Make a test photograph and inspect important details. This page does not provide an exact aperture or shutter recipe for Sorgjerd’s film because the verified description does not establish one.
 Save
Exposure changes need a plan, not a surprise
A scene that stays in similar light can be easier to capture consistently than a transition from daylight into darkness. Automatic exposure may change brightness in visible steps. Fixed exposure may stop representing the scene well as the light changes. Neither approach is a universal answer. Choose a method that fits the amount of change, then test how your camera responds.
White balance changes can be just as noticeable as exposure changes. A fixed white balance can help keep color consistent across a sequence, while raw files leave room for later adjustment. That does not mean every frame should have identical brightness or color. Sunset should still feel like sunset. The aim is to avoid accidental jumps, not erase the natural progression.
Watch highlights in test frames. A bright sky, reflected sun, or small lamp can become a harsh distraction when it loses texture. Also judge the dark land at the size you intend to publish. Raising every shadow can make the landscape noisy and flat. Some darkness is useful when it keeps the viewer’s attention on the sky or a lit subject.
For a large day-to-night transition, learn a tested capture and processing workflow before attempting a once-only event. Exposure ramping and flicker correction can help in appropriate workflows, but they are not substitutes for a stable setup and good source files. Begin with a simpler sequence if the whole process is new to you.
Let the foreground and atmosphere work together
A strong landscape gives the sky something to move above. Foreground detail can make the viewer feel close to a scene while distant ridges establish scale. It can also become a distraction if it is too bright, too crowded, or moving unpredictably. Look for a useful relationship, not simply an object to fill the bottom third.
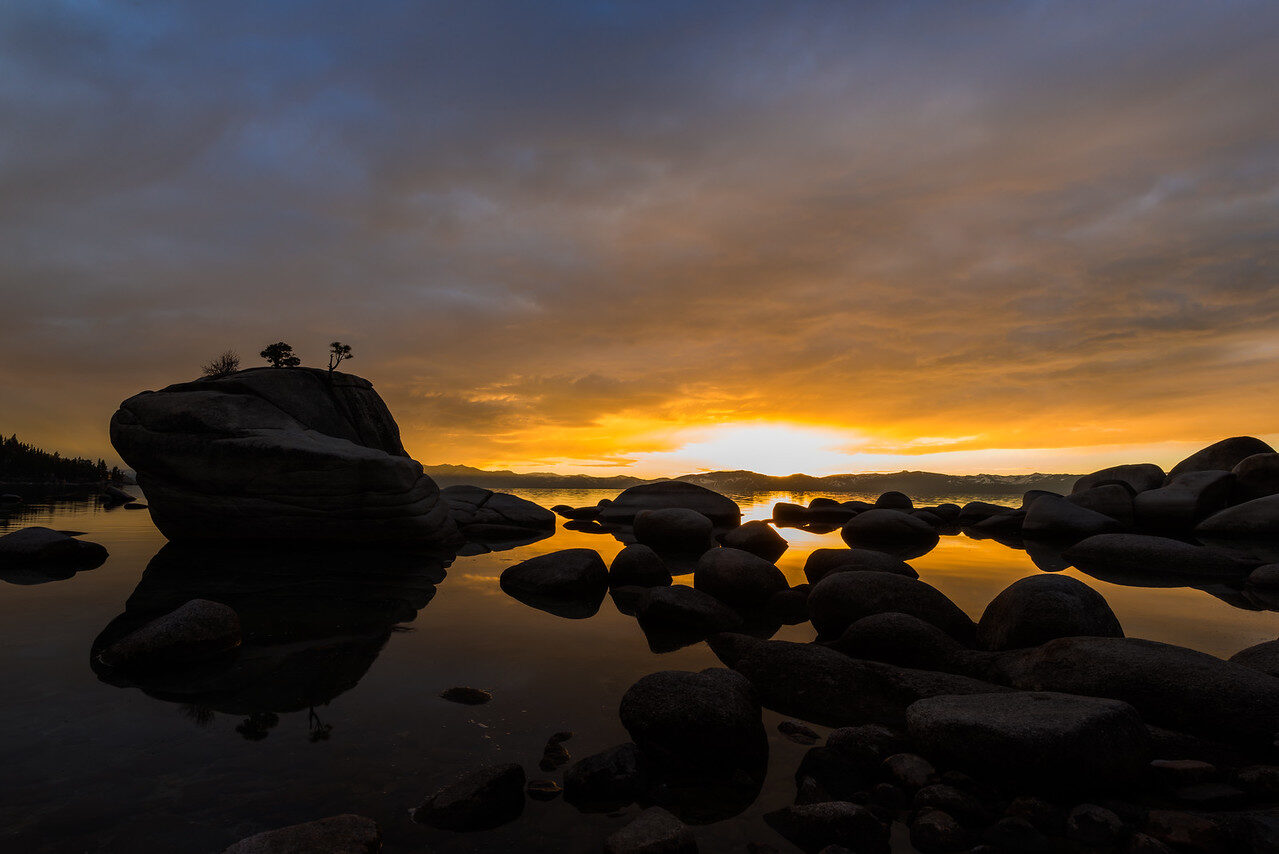
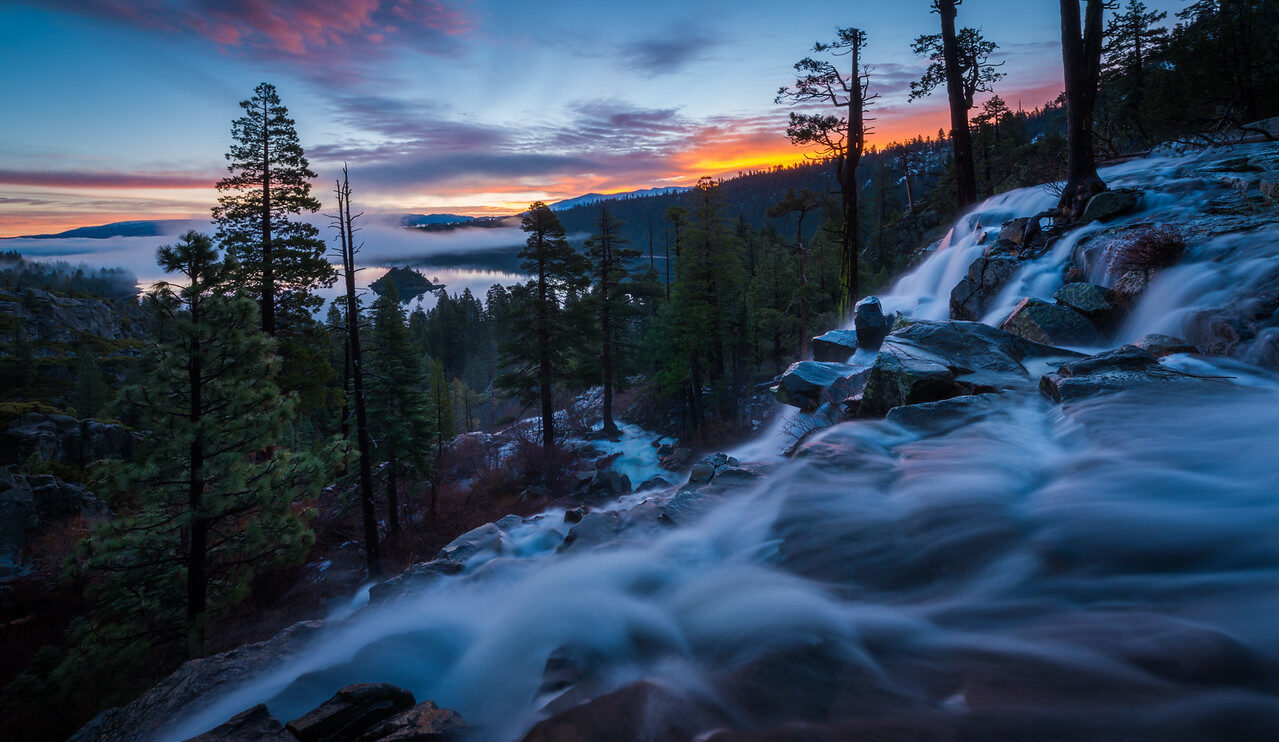
The flowing water in the illustration below is a different kind of motion from a sky sequence. Its bright shapes lead through the foreground while the distant lake and trees provide depth. Study the stable arrangement first. In your own time-lapse, moving water may change substantially between exposures; test whether it supports the larger rhythm or competes with it.
 Save
Atmosphere does not have to mean a spectacular storm. Low mist, gradual color changes, or cloud shadows can give a sequence direction. Wait for a change that belongs to the frame. Do not intensify every color simply because the final work is a moving image. Let the relationships remain believable for the kind of photograph or film you are presenting.
Night work: safety, access, and honest expectations
A film made in a mountain environment is not a current access guide. The original 2011 description does not establish today’s road conditions, permits, observatory access, weather, or rules around Teide. Check current official information before planning a visit. Do not enter restricted facilities or assume that a visible filming position is safe or legal now.
Darkness makes ordinary hazards harder to judge. Uneven ground, water edges, traffic, cold, wind, and changing weather deserve a plan before you concentrate on a screen. Keep a clear route back, carry suitable light and clothing, and tell someone your plan when appropriate. A good image is not a reason to ignore an unsafe situation or stay longer than planned.
The filmmaker’s story of an exhausting week should remain a production anecdote, not a goal. Fatigue affects judgment, and a long sequence can be abandoned. It is better to come back safely with a short test than push through conditions because a famous film made difficult circumstances look beautiful. The camera sees only one part of the situation.
Build a sequence you can edit and return to
Keep each capture sequence together and label it clearly. Preserve the originals before renaming, processing, or converting them. Apply adjustments consistently where appropriate, then inspect the playback for jumps, unstable framing, and color changes. A folder of attractive stills does not prove that the moving sequence works.
Use a short rough export early. Judge it at normal speed and at the display size your audience will use. Look at the beginning and ending as carefully as the middle. A hand entering the last frame or a sudden camera bump can spoil an otherwise good sequence. Trim intentionally rather than leaving those problems for the viewer to notice.
Sound and music change the pace of a film, but use material you have the right to use. The original film’s music credit is not your license. Silence or properly licensed sound is better than borrowing a track on the assumption that a short clip will be acceptable. Keep records of licenses with the finished project.
Back up the original frames, working files, and final exports. A portable drive can be a working copy, but it is not a complete backup system by itself. Verify important transfers and keep another independent copy before clearing cards. The product below is a storage option for your own workflow, not a claim about equipment used in The Mountain.
A practical first sequence
Choose a safe, accessible location with a stable foreground and visible cloud movement. Take a still you like, secure the camera, and run a short test. Review focus, brightness, and movement before starting a longer capture. Keep the first attempt simple enough that you can identify what worked and what needs changing.
Afterward, write down the interval behavior, number of usable frames, playback rate, and any interruptions. Those notes are more useful than a vague memory that the settings seemed right. Compare the finished sequence with your original idea. Did it show the change you wanted, or did another part of the scene dominate? Use that answer to plan the next attempt.
 Save
For a stronger foundation in composition and visual decisions, explore the Shut Your Aperture Academy. Better control of the frame gives motion a purpose. Choose current training that fits your goals, then practice with scenes you can return to rather than waiting for an extraordinary location to do the work for you.
Who made The Mountain time-lapse film?
The Mountain is attributed to TSO Photography, the work of Terje Sorgjerd. It is not a film by Edin Chavez.
Where and when was The Mountain filmed?
The filmmaker’s original description says it was filmed around El Teide on Tenerife between April 4 and April 11, 2011.
What interval and camera settings were used?
The verified description does not provide a complete capture-settings recipe. The planning example on this page is an illustration, not a reconstruction of the film.
Are the still photos on this page frames from the film?
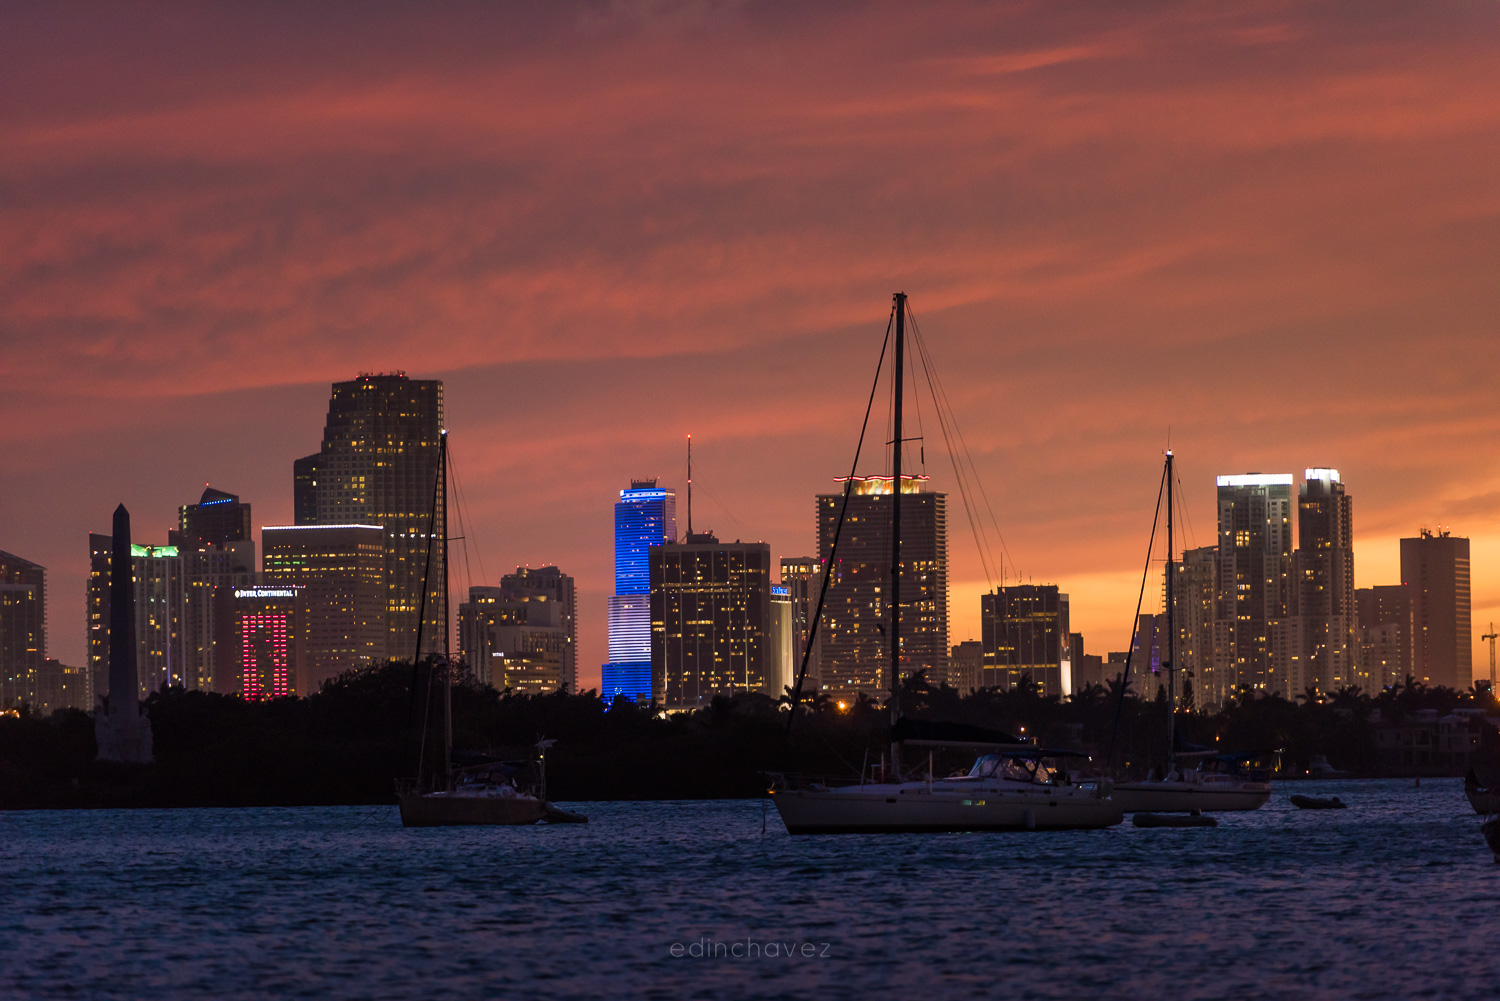
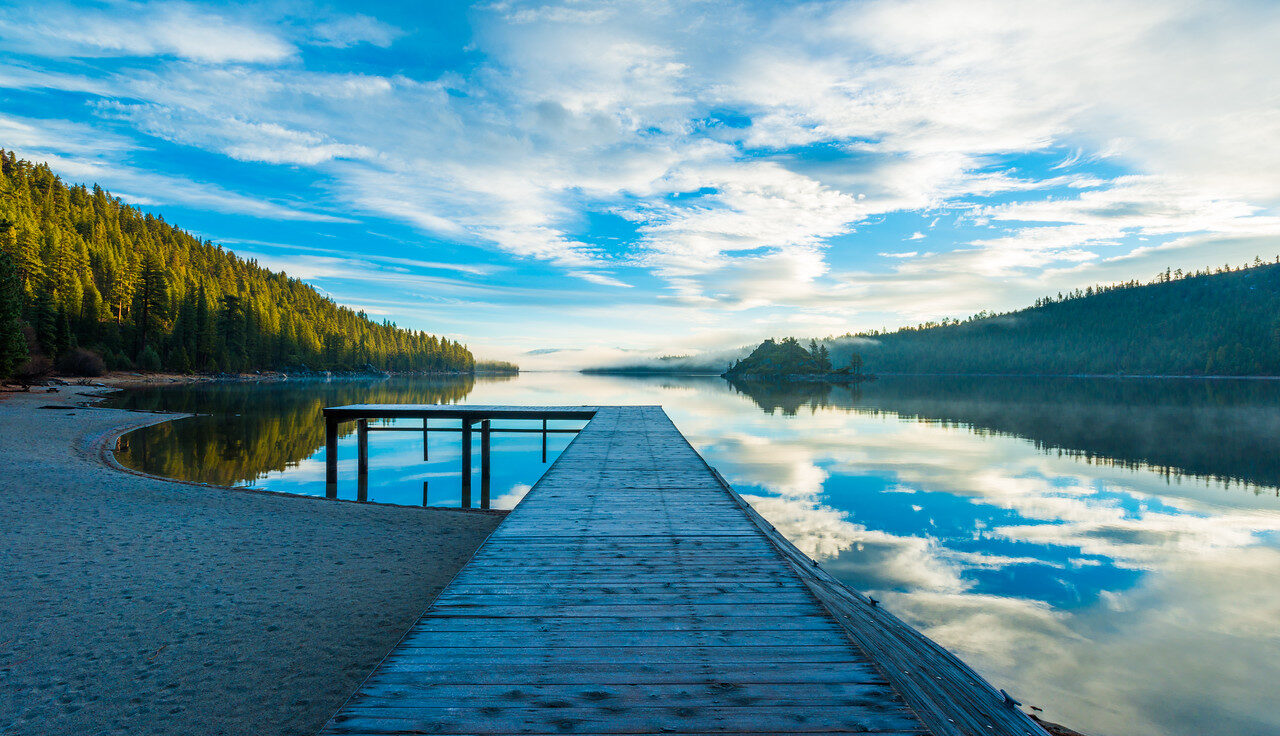
No. The still landscapes are separate examples from Edin’s gallery, used to discuss composition. They are not presented as Tenerife images or video frames.
Can I reuse the footage or music in my own project?
Embedding or linking the official film does not grant reuse rights. Obtain the appropriate permission or license for footage and music before using either in your own production.
How many frames do I need for ten seconds of time-lapse?
At 24 frames per second, ten seconds needs 240 usable frames. If exposure starts are five seconds apart, the first to last start spans 1,195 seconds. Confirm how your camera defines the interval and allow extra time for setup and tests.
How do I avoid sudden brightness or color jumps?
Test exposure and white balance before the main capture. Fixed settings can help in steady light, but a large day-to-night change needs a planned adjustment workflow. Review a short playback so you can catch jumps before committing to a long sequence.
Source note: Film history comes from the filmmaker’s description and The Atlantic’s 2011 coverage. Practical night-photography references: NPS Acadia and NPS Anza Trail.
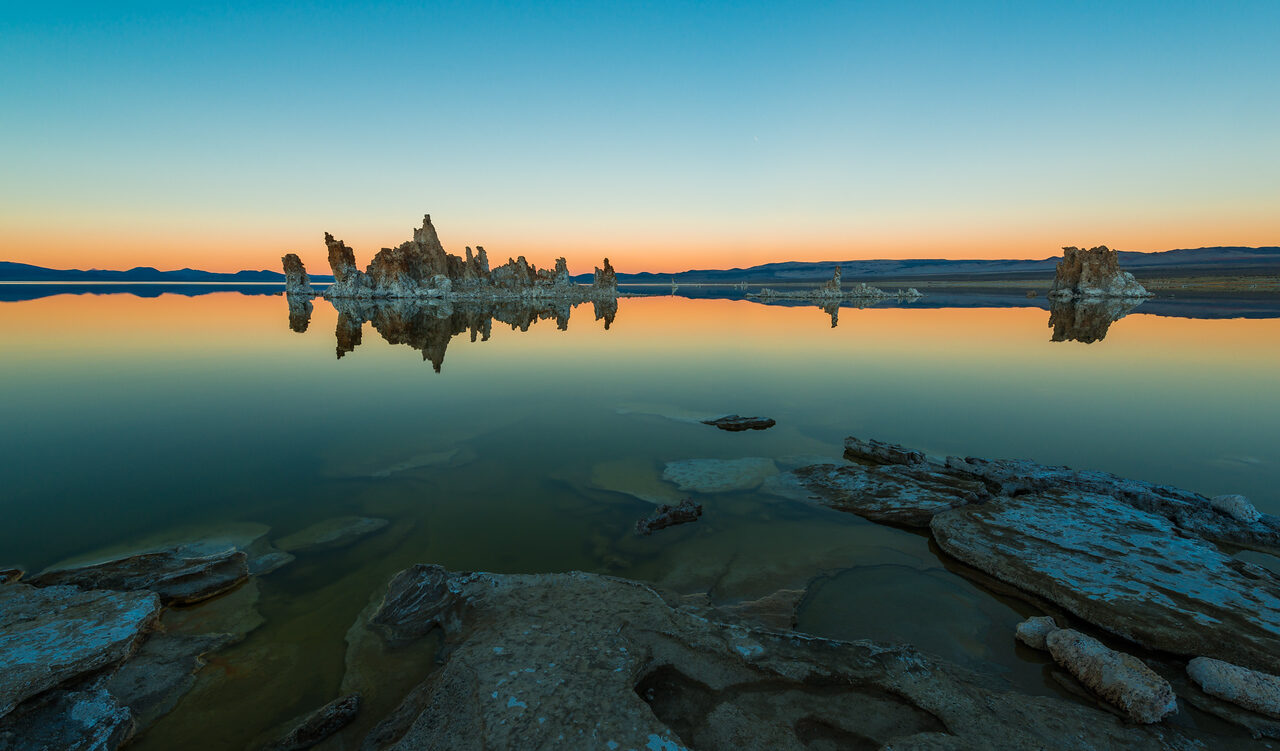
Featured illustration: tufa formations reflected in Mono Lake, California. Not Tenerife or a frame from The Mountain. Photo: Edin Chavez. Copyright Edin Chavez. Body photographs are credited beside each image.
Affiliate links may earn a commission. Check the exact product, included cable, price, and return terms.