

A good photography experiment makes the picture clearer. A bad one makes you buy a strange accessory, risk your camera or spend an hour wondering what the trick was supposed to do. Start with a scene you understand, change one thing and look closely at the result.
These DIY photography tips use light, distance, viewpoint, reflections, timing and color. Most need only your camera or phone and a safe place to work. A white card can help with one exercise, but the main tool is paying attention. You are learning what changes the photograph, not collecting gimmicks.
Updated October 2026. The photographs illustrate composition and visual choices. They are not before-and-after tests, and no camera settings are claimed for them. Make your own comparison frames during the exercises so you can judge what actually changed.
Set up a useful experiment before chasing a result
Pick one subject and decide what you want to improve: its shape, separation, placement or sense of movement. Make a plain starting frame. Then change one variable and take another. If you move the camera, change the light and edit the colors at the same time, you will not know which change helped.
Keep the setup safe. Do not hang equipment from improvised supports, put anything over a hot light or work where a tripod blocks people. Keep liquids away from electronics, keep hands clear of moving parts and stay on stable ground. A useful experiment does not require a risky location or a fragile homemade mount.
Label the frames simply so you remember what happened. “Window from side” and “window from front” are more useful than a folder of nearly identical files with no notes. Compare them at the same display size. An experiment succeeds when you can explain the difference, even if neither frame belongs in your portfolio.
1. Change the direction of window light
A window can be your first lighting lesson. Put a still object near it and watch where the bright side ends and the shadow begins. A bowl, a piece of fruit or a textured object works well. Turn the subject a little, then move yourself around it. The light is the same, but its direction relative to the camera changes.
Make one frame with light from the side, one with more front light and one with light coming from behind the subject. Look at texture, silhouette and the brightest areas. Side light may show the surface more clearly; backlight may emphasize an edge or a transparent part. There is no need to declare one direction the winner for every subject.
If you photograph a person, ask first and keep the session comfortable. Tell them what you are testing, and let them stop. You do not need to turn a practice exercise into a public portrait. A still object teaches the same basic direction lesson without making someone wait while you adjust the camera.
Watch for mixed lighting. A warm ceiling light and a cooler window can put different colors on different parts of the subject. Try a simpler setup if it is safe to turn the nearby light off. Do not darken a workspace where someone needs to see what they are doing.
2. Use a white card to control a shadow
Place a plain white card on the shadow side, outside the frame. It can reflect some of the available light back toward the subject. Start farther away and bring it closer gradually. Watch the shadow itself rather than assuming the card must be as close as possible.
Take a frame without the card, then one with it. Keep the camera, subject and window relationship steady. Compare the darker edge of the subject and its separation from the background. If the fill removes the shape you liked, move the card away. The goal is useful detail, not eliminating every shadow.
Secure the card so it cannot fall onto the subject or equipment. Keep paper and fabric away from heat, flame and hot lamps. Do not cover a light with an improvised material unless the equipment is designed for that use. With window light, a small dry tabletop setup is enough.
Repeat with a different object. A glossy surface and a rough surface may respond differently. That is the lesson: the same simple tool does not produce one fixed look. You still need to judge the subject and decide what the picture needs.
3. Separate the subject from the background
Put a small subject near a background and take a frame. Then move it farther from the background while keeping the framing as similar as you can. Check what happens to distractions, shadows and separation. A cleaner background can improve the image before you change an aperture setting.
On a camera, aperture, focal length and distances all affect how the background appears. Do not assume the widest aperture is the only answer. Move the subject first, check focus and make a second frame with a different aperture when that control is available. See our aperture guide for the depth-of-field tradeoff.
On a phone, try the normal camera before adding a simulated blur mode. Keep the subject far enough away for reliable focus and check fine edges in the result. Artificial blur can make mistakes around hair, leaves and narrow gaps. A physically simpler background often needs less software help.
Do not claim a portrait is better just because its background is blurrier. The subject’s expression, light and focus still matter. Use separation to support the picture, not to hide an unclear idea. Make a version with more background detail if the location is part of the story.
4. Find a foreground frame instead of adding a prop
A doorway, an arch or a gap in leaves can give the eye a path toward the subject. Start with a clear view, then move until part of the surroundings forms a frame. You do not need to carry something to hold in front of the lens. Often the scene already contains what you need.
Choose focus deliberately. The subject beyond the foreground may be the important part, so check that the camera has not focused on the closer edge. If the frame is too sharp or too dark, it can become the subject by accident. Review the balance, not just the novelty of shooting through something.
Keep the frame simple. One useful edge may be stronger than surrounding the subject on every side. Check that it does not cut through a face, a building feature or another important detail. Move a small amount and compare the new overlap before taking many nearly identical frames.
Work from places where you are allowed to stand. Do not enter private spaces, damage plants or lean over a barrier for a cleaner frame. If the composition needs an unsafe position, choose another one. The exercise is about seeing relationships, not reaching a forbidden viewpoint.
5. Make the same subject from high and low viewpoints
Start at your normal standing height. Then lower the camera to a safe kneeling position and photograph the same subject. Notice which background objects appear or disappear, how nearby shapes change size and where the horizon falls. Viewpoint affects the whole arrangement, not just the subject.
Try a slightly higher position only when it is available safely. Do not climb on an unstable chair, stand in traffic or stretch over an edge. Raising the camera a little while you remain on stable ground may be enough. A simple still life on a table makes this exercise easy to control.
Keep track of camera tilt. A viewpoint change and a tilt can change the look together, especially around buildings and straight lines. If you want a fair comparison, make the intention clear. One frame can emphasize height; another can keep the shape more neutral.
Compare how the subject connects to the background. A lower view might isolate it against the sky, while a higher one may show context. Neither is automatically stronger. Pick the viewpoint that explains what you want the viewer to see first.
6. Study reflections by moving, not by touching the surface
Reflections change as you change the viewing angle. Find a safe glass surface or a calm patch of water and make a frame. Move slightly left or right, or change camera height, and watch which reflected shapes enter the picture. The reflected scene is part of the composition.
For glass, pay attention to your own reflection and nearby bright objects. A different position may reduce an unwanted reflection without any accessory. A dark card held safely outside the frame can sometimes change what the glass reflects, but do not press it against fragile glass or block someone’s view.
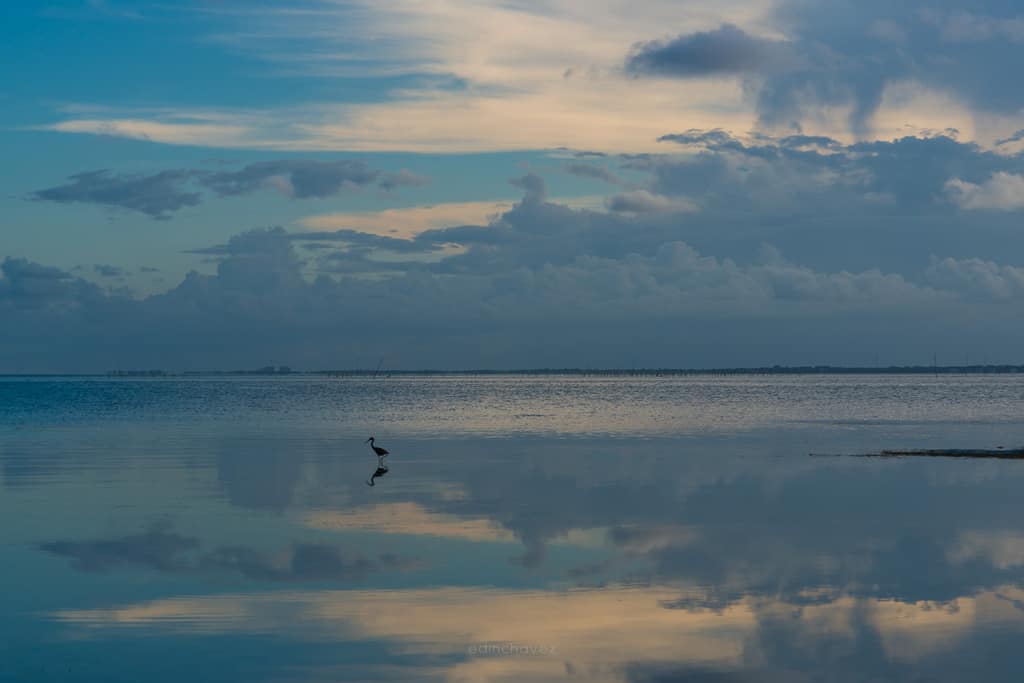
With water, choose a stable dry position and keep equipment away from the edge. You do not need to step into a puddle or lean over deep water. Wind and movement can change the reflection between frames, so note that difference when comparing them. A reflection does not have to be perfectly mirror-like to be useful.
Decide whether the reflection or the object is the subject. A frame can show both, but competing details may make it harder to read. Look for a clean boundary, a repeated shape or a strong color relationship. Keep the useful part and remove clutter by moving the camera.
7. Compare frozen movement with visible blur
Choose a safe moving subject such as a flag moving in the breeze. Stay clear of roads, machinery and other hazards. Make a frame with a shutter speed that keeps the movement fairly sharp, then try a slower one. Check the result rather than guessing from the setting alone.
A faster shutter can reveal a brief shape. A slower one can show the movement over time. The amount of blur depends on the subject’s speed, direction and the camera’s movement, so one number will not fit every scene. Our shutter-speed guide explains the control behind the experiment.
If a still part of the scene should remain sharp, support the camera safely. A proper tripod or another stable, suitable setup helps you separate subject blur from camera shake. Do not balance equipment on a narrow ledge. Use a timer or remote release if touching the camera disturbs the frame.
On a phone, use only controls or modes your device actually provides. Some long-exposure effects combine several frames rather than making one long exposure. Judge the result honestly and do not describe the effect as something you have not verified. The visual goal is still to decide how movement should read.
8. Limit the frame to two dominant colors
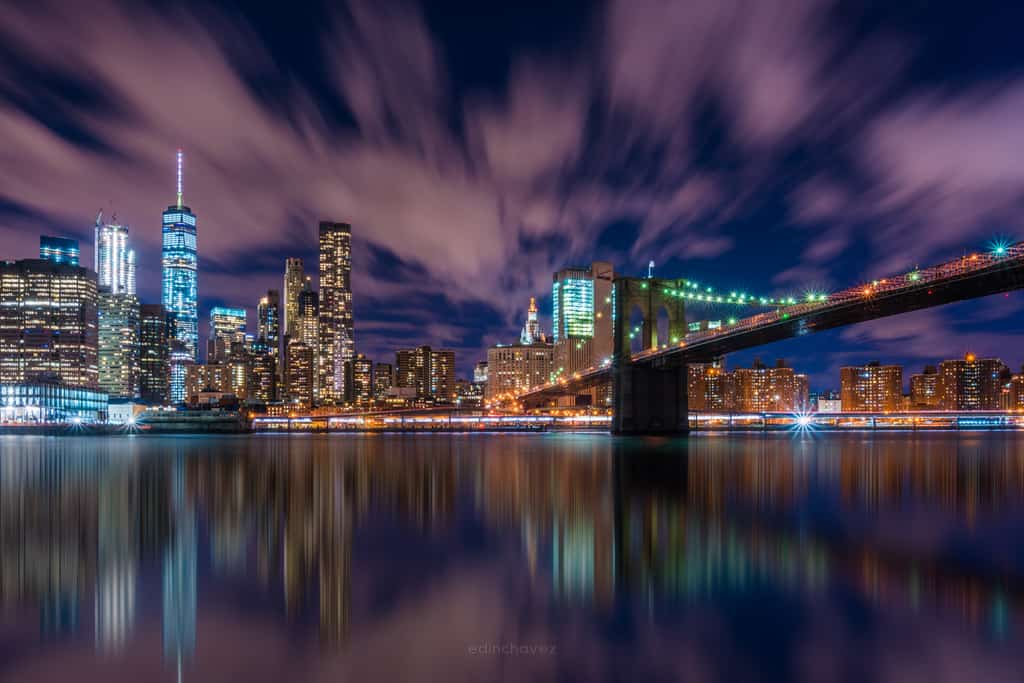
Look for a scene where two colors carry most of the picture. That might be a blue object against a warm background or green leaves beside a pale wall. Move or simplify the frame until extra colors stop competing. Do this in the scene before reaching for an editing tool.
Make a wider frame with the distractions and a cleaner frame without them. Compare where your eye goes first. A color limit can help a subject stand out, but it can also make a picture feel empty if you remove useful context. Keep the objects that explain the scene.
Use editing to support what you saw, not to force every color into a preset. Check white balance and saturation, especially around skin and familiar materials. A strong color relationship should not require making the subject look implausible. Save the original so you can review the choice later.
Review the result, not the trick
Choose one pair from the session and write a sentence explaining the change. Was the subject clearer, the background quieter or the movement easier to understand? If you cannot tell, repeat the exercise with fewer variables. An honest comparison is more useful than calling every experiment a success.
Keep the method that helps your photographs and drop the one that does not. You can use these ideas in portraits, still life, street scenes or landscapes, but each scene needs its own judgment. A trick is only useful when it serves the picture.
DIY photography questions
Do these exercises need a new lens?
No. Start with your camera or phone and learn what movement, light and timing change. Buy equipment only when you can name the limit it would address.
How do I make a useful comparison?
Take a plain starting frame, change one variable and keep the others as steady as practical. Label the files and compare them at the same size.
Does a white card replace a flash?
No. It reflects available light rather than producing its own. Its effect depends on the light, placement and subject.
Can I create background blur on a phone?
You can test subject and background distance with the normal camera. Simulated blur modes add software effects, so inspect edges and judge whether the result helps.
Is slower shutter speed always more creative?
No. Blur is useful only when it supports the picture. Make a sharper version too and compare what each communicates.
Which DIY tricks should I avoid?
Avoid heat near paper or fabric, liquid near electronics, loose overhead mounts and unsafe viewpoints. Simple optical and composition exercises are enough.
Learn faster with a plan. The ShutYourAperture Academy has 22 photography courses, from the fundamentals of aperture, shutter and ISO to genre courses like landscape, portrait and street.
Gear for safe photography experiments
Use the gear you own first. If you need more stable framing or controlled fill, compare compatible tripods, phone supports and reflectors. Check load limits, mounting compatibility and safe placement. Do not turn a support purchase into an improvised overhead rig.
Compare on Amazon | Compare on B&H
These are comparison searches, not tested product reviews or promises of compatibility, price or availability. Build your light and composition skills with the Shut Your Aperture Academy.
Affiliate disclosure: As an Amazon Associate I earn from qualifying purchases. Purchases through Amazon and B&H links may earn a commission at no extra cost to you.

