Updated October 2026
Getting closer is easy. Getting the right detail sharp is where the photograph begins. Push the camera too far toward a flower and you can lose focus completely. Stop a little farther back, choose what matters, and the same subject can suddenly make sense.
Close-up photography is a good way to learn because the problems are visible. A small movement changes the framing. A bright reflection steals attention. One petal is sharp while the next is soft. You can work through those decisions with a flower, a pencil, or a small object instead of waiting for a trip.
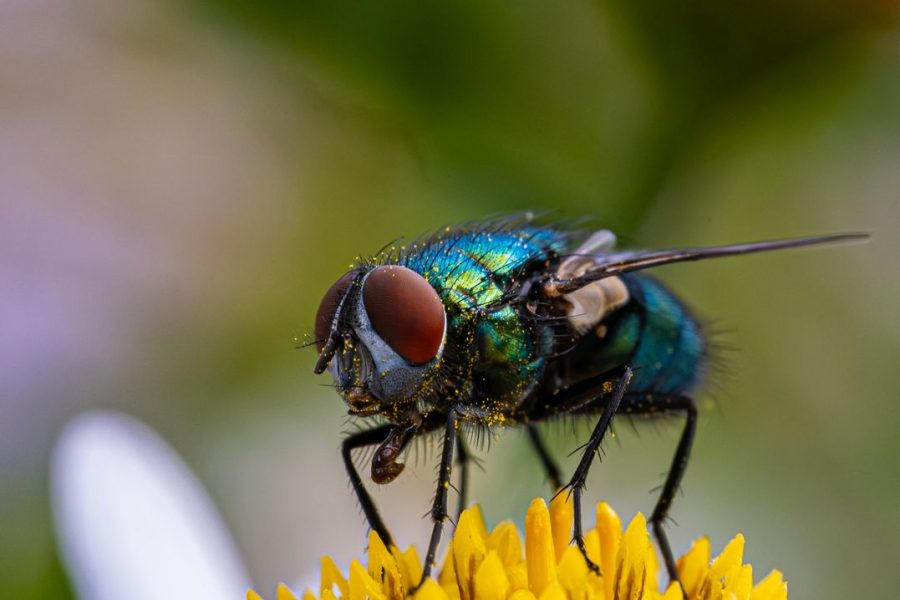
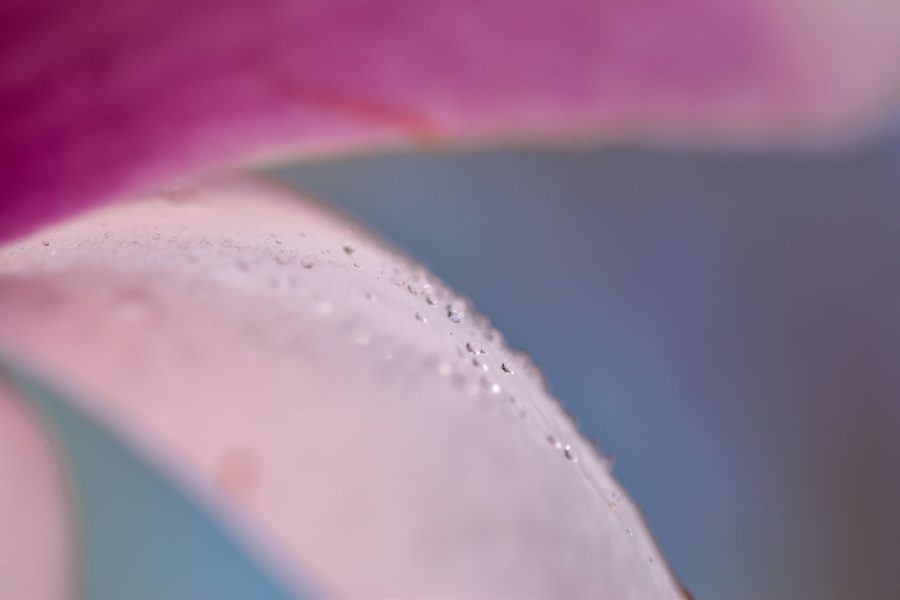
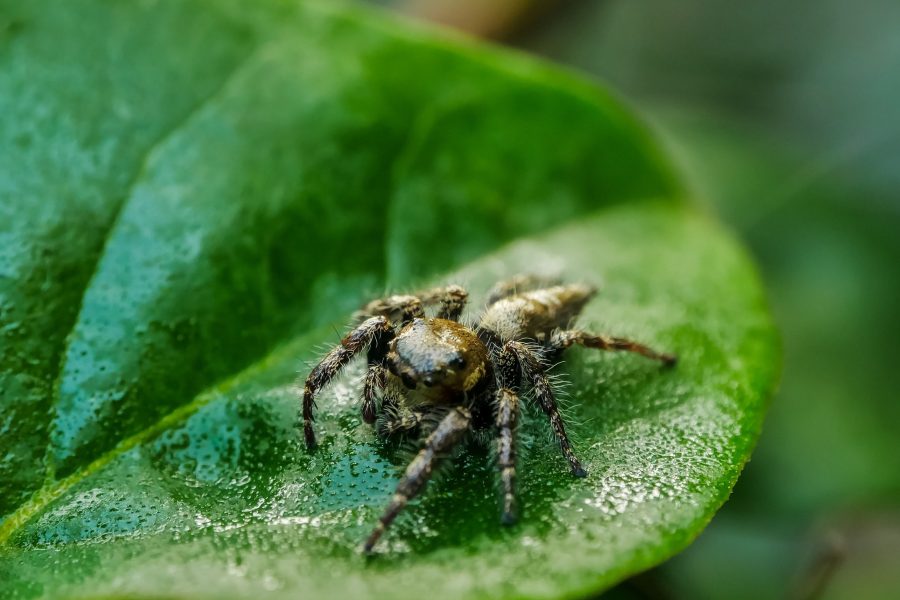
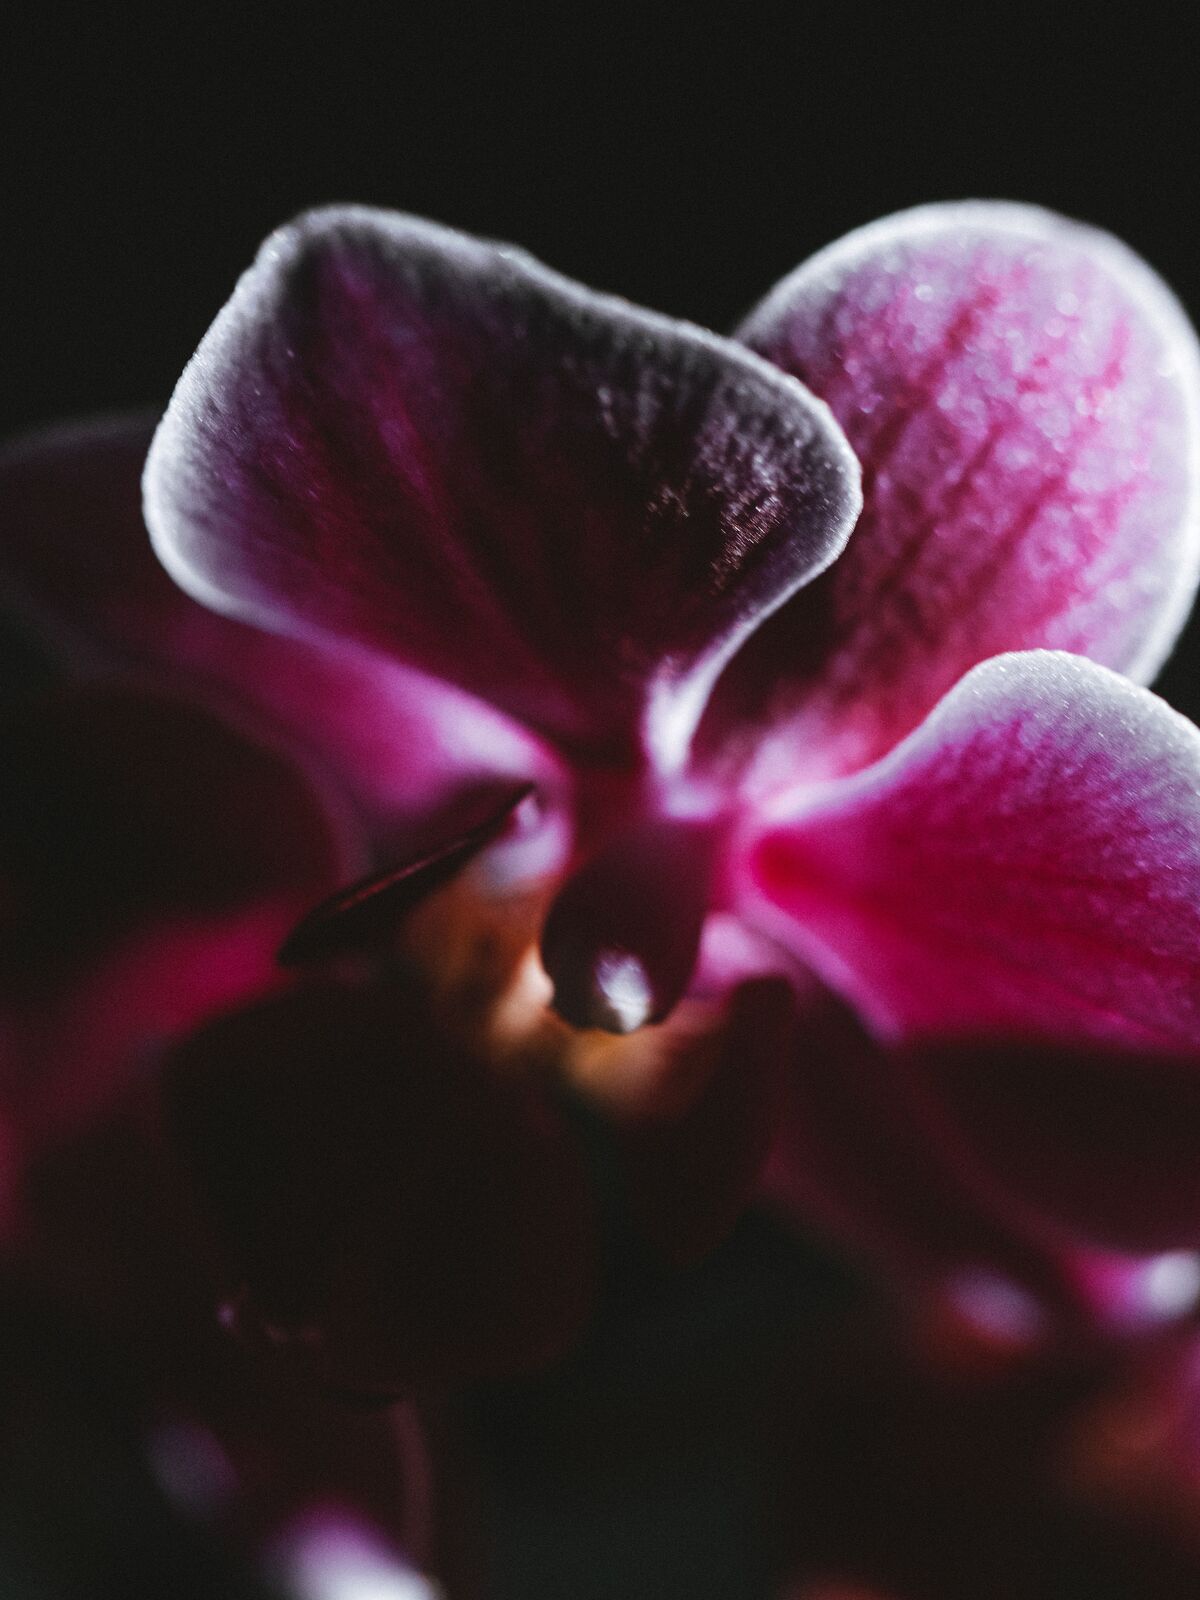
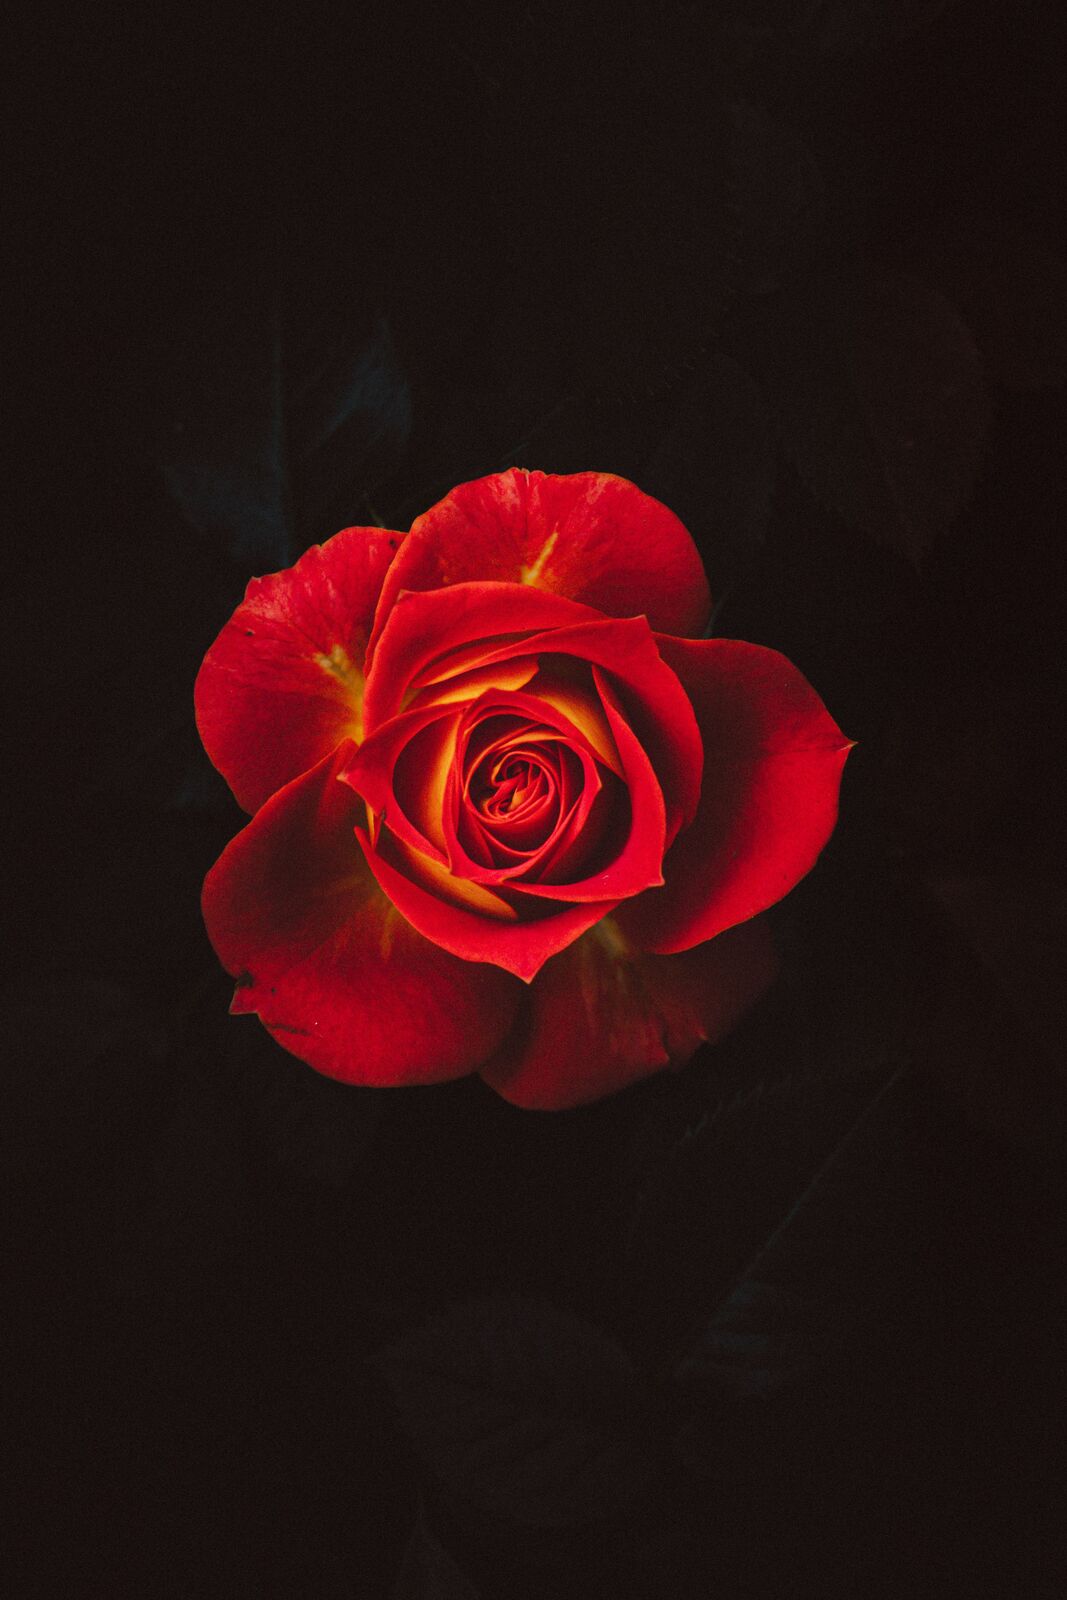
This guide is about making deliberate close photographs, not buying a macro lens before you understand the picture. The real flower photographs illustrate focus, shape, and background choices. They are not my controlled tests, and no camera settings are invented for them. Study what is visible, then test the technique with your own equipment.
1. Start with the detail you want to show
Before moving the camera, name the subject inside the subject. A flower might give you a curved petal, a bright center, or a relationship between two overlapping shapes. An object might give you texture, a worn edge, or a repeated pattern. Pick one reason for the close view.
Then remove anything that does not help that reason by changing the framing. You do not need to fill every corner with detail. A quiet area can make the important part easier to read. Look at the edges before pressing the shutter so a cut-off stem or bright corner does not become the first thing you notice.
Make a wider frame as well. It gives you context and helps you compare whether the close version actually adds something. A tight crop should explain a detail, not merely prove that you can get near it. If the wider photograph is clearer, keep it.
2. Learn your lens’s closest focusing distance
Every lens has limits. Moving the camera closer than its focusing range does not create more usable detail. It creates a subject that the lens cannot bring into focus. Nikon’s close-up photography guide points to closest focusing distance as a basic check before choosing equipment.
Use the lens instructions to find that limit, then test it on a still subject in good light. Start farther back, focus, and move closer gradually. When focus becomes unreliable, step back and try again. Do not turn that test into a claim about another lens or phone; different equipment behaves differently.
On a phone, check which camera or close-focus mode is active. A change in lens can also change perspective and processing. Review the saved file rather than assuming the preview represents the final result. A slightly wider sharp picture is more useful than a very tight one that never focused.
3. Separate a close-up from a macro claim
A close-up describes a tight view. Macro also involves reproduction scale: how large the subject is recorded on the sensor relative to its actual size. A lens marketed for close work may offer a different maximum magnification from another lens. Read the specification rather than using the word macro for every small subject.
You do not need to know the precise reproduction ratio to begin learning composition. You do need it when comparing equipment or making a technical claim about a photograph. Keep those two tasks separate. The picture can be useful without a label that the available file cannot prove.
Start with the camera you have. Make a good frame at its comfortable working distance before adding accessories. That tells you what is actually missing: magnification, working room, light, or steadiness. Each is a different problem, and a new lens is not the answer to all of them.
4. Choose a background that supports the shape
At close range, the background can become a field of color or blur. It still affects the photograph. Look for bright patches behind the subject, strong lines that touch its edges, and colors that compete with the main detail. Move the camera a little and see what changes.
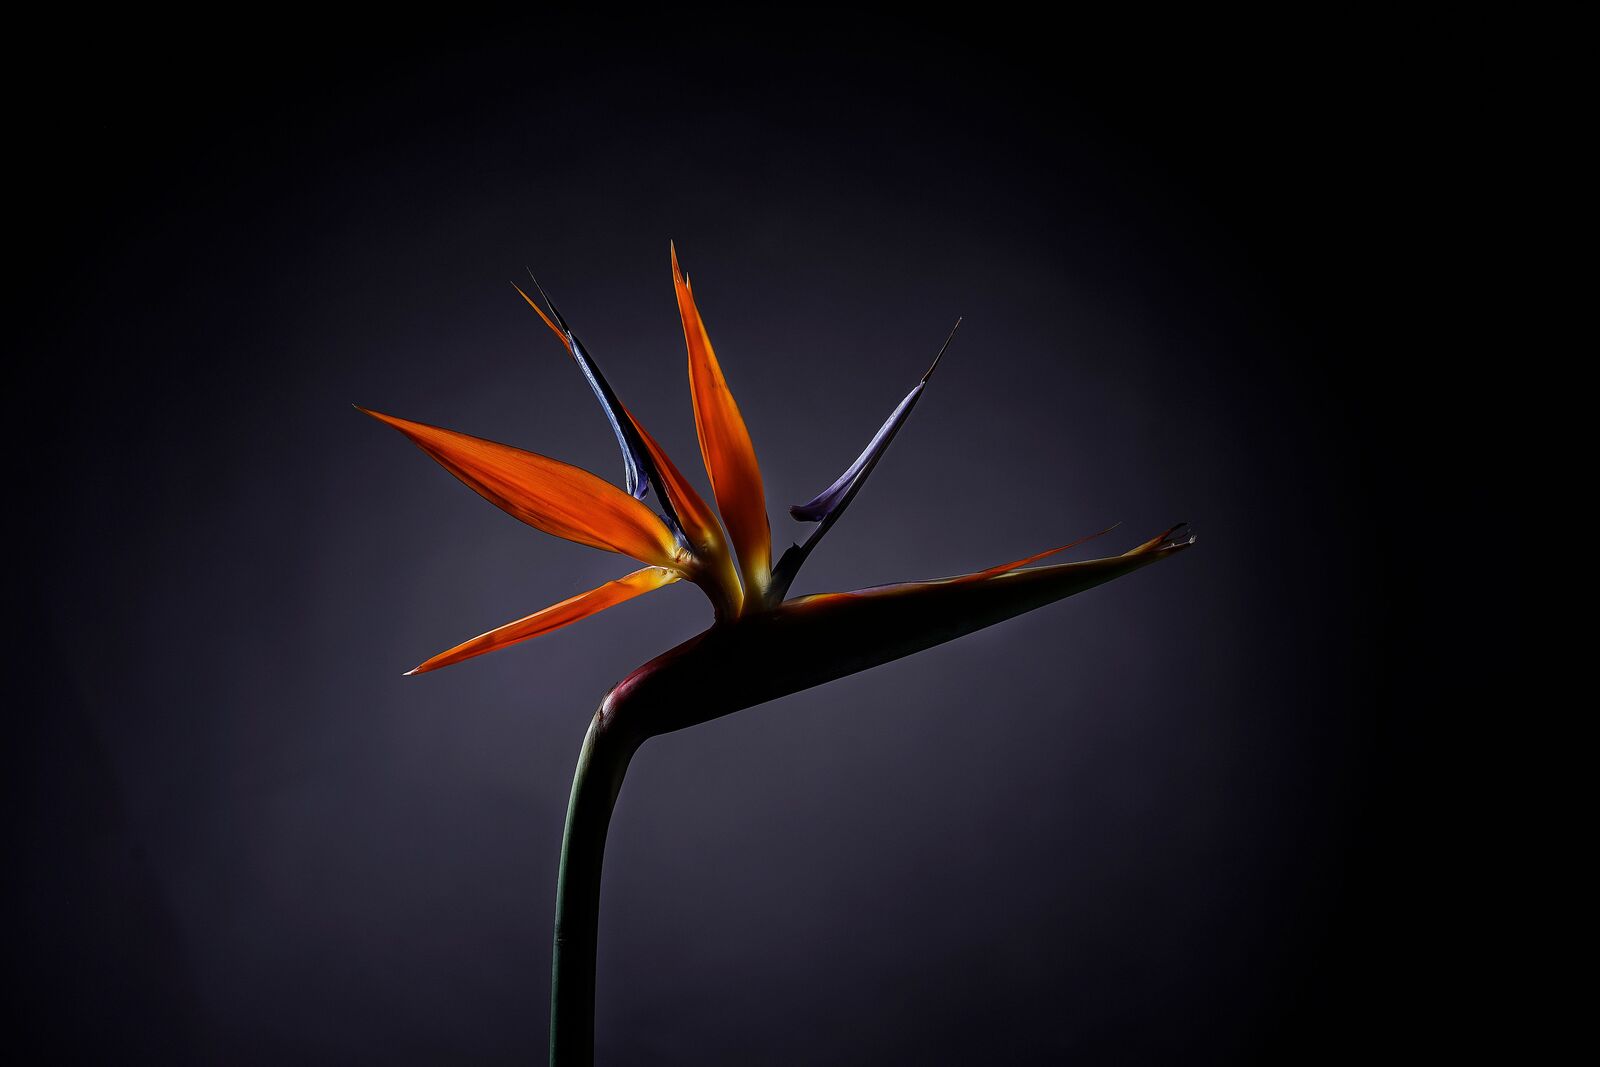
A dark background can separate a bright flower, but it does not prove that the picture was made at night or with a particular light. The examples here are visual references, not lighting diagrams. Use the relationship between the subject and its surroundings without inventing how the photographer produced it.
Do not damage vegetation or remove living parts for a cleaner frame. Find another permitted angle, wait, or choose another subject. Indoors, you can arrange an owned object and a simple background without pretending the arrangement is a natural scene. Keep fragile subjects and surfaces out of harm’s way.
 Save
5. Place the important detail in the focus plane
At close distances, a small change in the camera’s angle can change which parts appear sharp. Decide whether the photograph needs one detail or several related details. If the important surfaces lie at very different distances, focusing on one does not make the others equally clear.
Try turning the camera slightly so the details you need lie more nearly along the same plane. That can be more useful than changing aperture first. Watch how the composition changes with the angle, though. A technically convenient position is not automatically the most interesting one.
Use a focus area you can place deliberately. If autofocus keeps choosing a nearer edge, a smaller area or manual focus may help. Check the result at a useful magnification. A focus indicator tells you that the camera accepted a distance; it does not tell you that it chose the detail you intended.
6. Use aperture as a trade-off, not a cure
A narrower aperture can increase the range that appears acceptably sharp, but it changes exposure requirements. You may need more light, a longer exposure, or higher ISO. It can also affect fine-detail rendering at very small openings. Test the result on your camera instead of assuming the smallest opening always wins.
A wider aperture can emphasize a thin area of detail and leave the surroundings soft. That is useful when the chosen detail remains clear enough to carry the picture. It is less useful when the subject becomes so vague that the viewer cannot find a reason for the frame.
Compare a few apertures while keeping the composition as similar as practical. Inspect the detail you care about and the background separately. Do not call photographs made with different light, distance, and angle a controlled aperture comparison. An honest practice exercise is enough.
 Save
7. Control camera movement and subject movement separately
A tripod can reduce camera movement. It cannot stop a flower moving in the wind. If the flower shifts during the exposure, the stationary background may be sharp while the subject is soft. Diagnose that difference before buying more support or changing focus settings.
For a moving subject, a shorter exposure may help, with the usual trade-offs in light and ISO. For a still subject, stable support and a careful shutter release can help. Choose a timer or remote release when it fits your camera and situation. Follow the equipment instructions for stabilization on a tripod.
Keep support on stable ground and away from paths, fragile plants, and table edges. Do not pin, chill, restrain, or handle an insect to make it easier to photograph. Wait for a subject that you can observe without interference, and accept that some moments will not become pictures.
8. Make the light reveal texture
Look at the surface before looking at the exposure meter. Light from the side can reveal small ridges and curves; light from another direction may make the same surface look flatter. Move an indoor object or change your permitted viewpoint outdoors and compare the effect.
A window can be a useful starting point for owned still-life subjects. Keep hot lamps and improvised materials away from each other, and do not put a cloth over a light that was not designed for it. A safe reflector or diffuser should be used according to its instructions.
Watch glossy areas. A small highlight can explain a curved surface, while a large blown reflection can hide the detail. Change the relationship between light, subject, and camera before trying to repair it in editing. Keep enough highlight information for the surface you want to describe.
9. Protect color without flattening the photograph
Bright petals can look attractive on the screen while losing useful detail in the file. Review the image and the histogram or highlight warning if available. Pay attention to the color channels when your camera or software shows them; overall brightness alone may not explain saturated-color clipping.
Reduce exposure deliberately when important detail is lost, then check again. Do not darken every photograph just because the subject is colorful. The goal is to preserve the part that matters while keeping the image readable. A test frame is cheaper than guessing through an entire sequence.
White balance changes the relationship between warm and cool colors. Keep it appropriate for the light or make a clear creative choice. Avoid pushing every flower toward the same intense color. The shape and texture should remain part of the picture, not disappear behind saturation.
 Save
10. Try accessories only when the need is clear
Extension tubes and close-up filters can change how a lens focuses nearby, but compatibility and performance depend on the equipment. Check the mount, electronic communication, filter size, and instructions before buying. An accessory that fits mechanically may still change working distance or autofocus behavior.
A dedicated close-focus lens can offer useful magnification and handling. The best choice depends on the size of the subject and the room you need between camera and subject. More working distance can be helpful, but do not treat one focal length as universally better.
Borrow or test when possible. Make the same kind of picture you actually want to produce, not a test that only confirms the accessory exists. Compare the files for useful detail, comfortable handling, and repeatable focus. The gear should solve a problem you can name.
11. Edit the detail without drawing around it
Begin with exposure, color, and a crop that gives the subject a clear place. Check whether the brightest area is also the most important area. Small local adjustments can guide attention without making every petal equally bright. Keep transitions smooth enough that the edit does not become the subject.
Sharpen carefully. Fine texture can turn into hard outlines or noise when you push it too far. Strong noise reduction can erase the texture you came close to photograph. Compare with the original at a useful magnification and judge the final viewing size as well.
Do not use an edited image as proof of detail that was never recorded. Keep the original file, and label substantial composites or removals when the photograph is meant as a record. A cleaner picture and an accurate record are different goals; make that distinction honestly.
12. Build one repeatable exercise
Choose a safe, still subject and one variable to change. Try distance, light direction, or aperture while keeping the other decisions as steady as practical. Write down what you changed if you want to compare later. Do not rely on memory to explain several similar files.
After the session, choose the frame that explains the subject most clearly. It may not be the closest one. Look at focus, light, background, and edges, then decide what to test next. Small, deliberate practice gives you a more useful lesson than a folder full of almost identical pictures.
Take that habit outdoors without treating nature like a controlled set. Respect the subject, work from allowed positions, and leave it as you found it. Close-up photography is about noticing more, not disturbing more. The best detail is one you can see clearly and photograph responsibly.
Close-up photography FAQ
Do I need a macro lens to make close-up photographs?
No. Start within your camera’s focusing range. A dedicated lens or accessory may help when you can identify the magnification or handling problem you need to solve.
Why does focus fail when I move closer?
You may be inside the lens’s closest focusing distance. Step back, focus again, and check the lens instructions.
Will a tripod keep a moving flower sharp?
Not by itself. Support can reduce camera movement, but subject movement still needs a suitable exposure time.
Should I use the smallest aperture?
Not automatically. Compare useful depth of field, exposure requirements, and fine detail on your camera.
Are these flower photographs settings tests?
No. They are verified real photographs used to study shape, background, and focus. No exposure settings or controlled comparisons are claimed.
Want to go further? The ShutYourAperture Academy’s Macro Photography: The Hidden World (8 modules, 32+ lessons) is built to help you reveal the universe inside a single drop, a petal or an insect’s eye.
Gear for deliberate close-up photographs
Start with your current camera and a still subject. These are comparison searches, not promises of stock, price, or compatibility. Check the exact product before buying.
For a macro lens, extension tube, close-up filter, or tripod, check mount compatibility, electronic communication, filter size, working distance, and load limits. Compare on Amazon | Compare on B&H
For more work on the photograph itself, visit Shut Your Aperture Academy.
Affiliate disclosure: As an Amazon Associate I earn from qualifying purchases. Purchases through Amazon and B&H links may earn a commission at no extra cost to you.