Updated October 2026
The first problem with photographing a snowflake is finding one you can actually see. The second is keeping it there long enough to make the photograph. A crystal lands on a sleeve, catches the light, and can lose the detail you wanted before you have finished arranging the camera. This is macro photography with a subject that will not wait.
Build the setup before the snow arrives. Have a cold catching surface, a way to focus close, and light you can control. Then work on one crystal and one decision at a time. You do not need a perfect six-pointed specimen to make a good photograph. Clear structure, an interesting angle, and a clean frame matter more than a promise of symmetry.
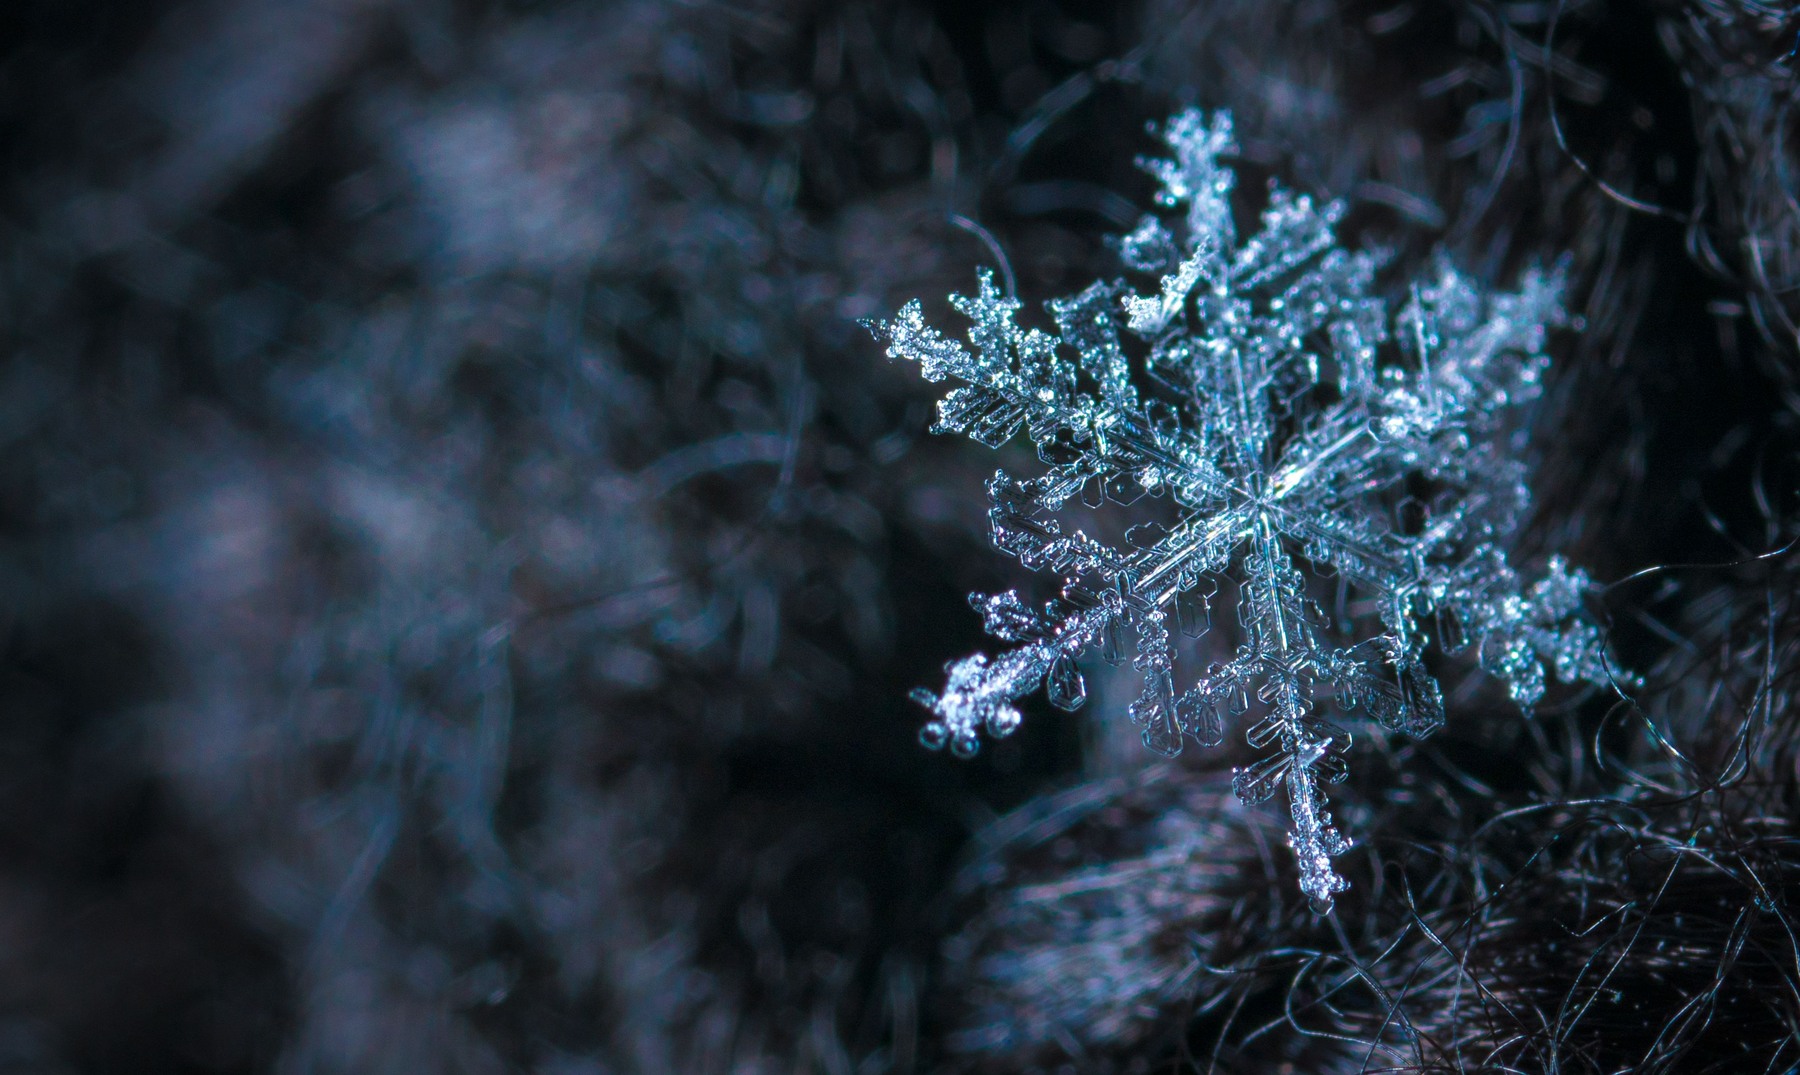
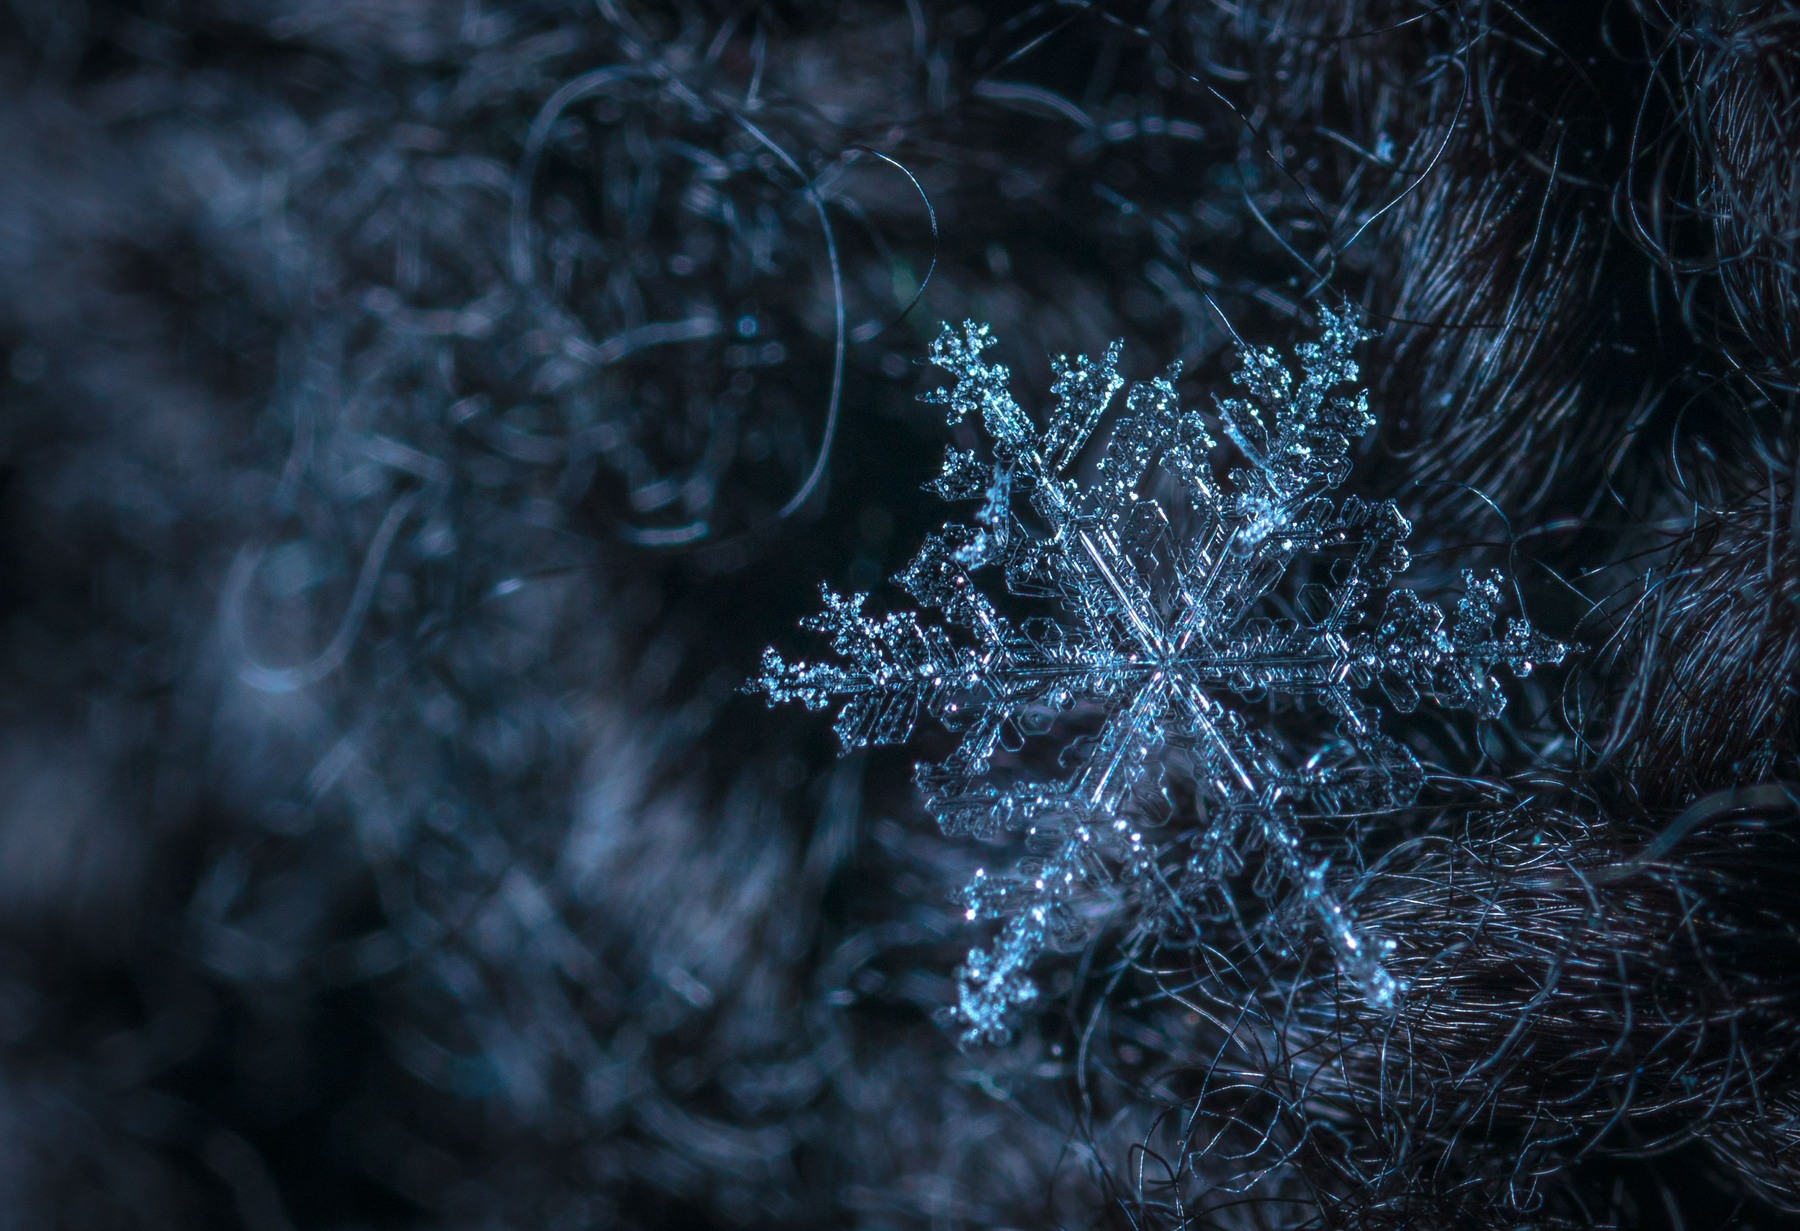
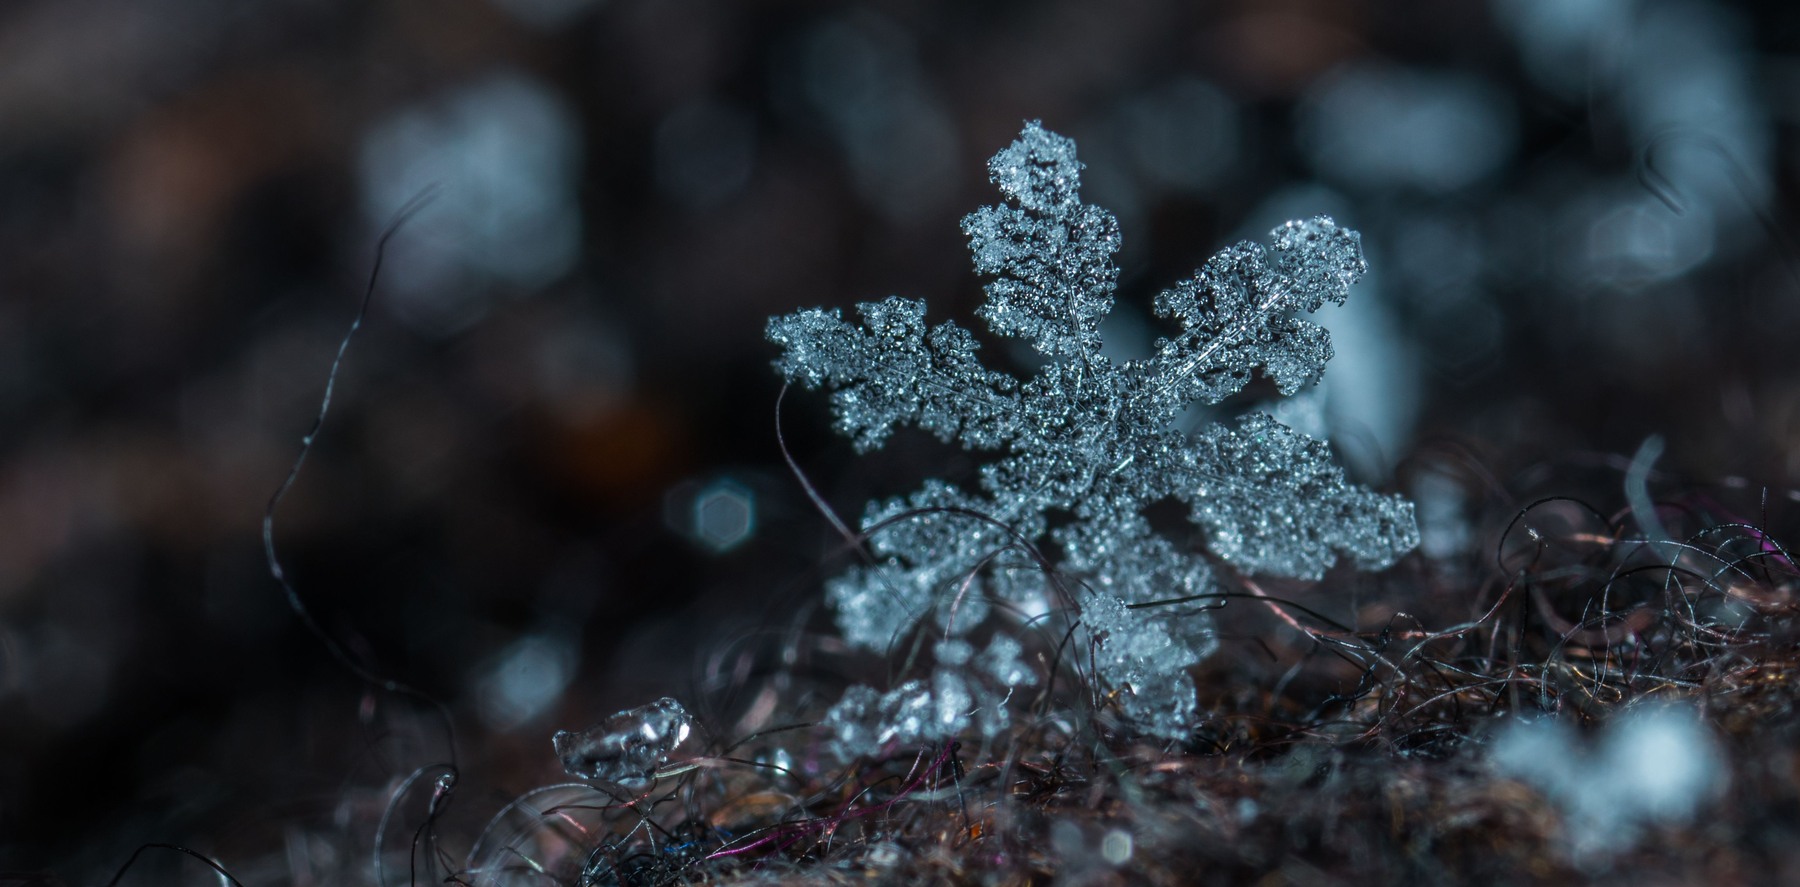
The real macro photographs in this guide illustrate crystal structure against dark fibers. They are not controlled comparisons, photographs made by Edin, or evidence of specific capture settings. Use the workflow to test your own conditions rather than copying settings nobody has verified for these images.
Start with fresh snow and realistic expectations
Look for freshly falling snow when it is safe to work outside. A newly landed crystal gives you a better chance to see a distinct shape than an old, compressed patch on the ground. Examine several samples before committing to one. Some snowfall will offer clear branches; other snowfall will give you clumps, fragments, or small simpler shapes.
Do not treat the temperature at your feet as a guarantee of what will fall. Snow crystals develop in clouds under changing conditions. Kenneth Libbrecht’s SnowCrystals guide to crystal forms explains the relationship between temperature, humidity, and shape. It does not support a simple rule that colder weather always makes a larger snowflake.
A forecast helps you plan, but the sample in front of the camera tells you what you can photograph. If the snow is wet or the crystals are damaged, choose a different approach or come back another day. Do not keep pushing a session because the thermometer appears to match a number you read online.
Choose a safe place to work
You need room for the camera, a stable catching surface, and your hands. A sheltered spot can reduce wind and keep additional falling snow from covering the selected crystal. Keep the area cold rather than carrying the subject into a warm room. Check that your shelter does not shed water or snow onto the setup.
Stay away from road edges, unstable ice, roofs that can shed snow, and other hazards. Good footing matters more than a perfect background. Wear suitable layers and gloves, and keep the session short enough to stay comfortable. If you are too cold to work carefully, stop and warm yourself safely.
Arrange the equipment so you do not have to stretch across a slick surface. Manage straps and cables, and keep the support balanced. Snowflake photography can hold your attention on a tiny part of the scene. Pause occasionally and look at the whole working area.
Cool the catching surface before you use it
A dark mitten or cloth can give a transparent crystal a readable background. Let that surface cool outside before collecting snow. A warm glove straight from your hand can melt what lands on it. Have a spare surface ready so you can replace one that becomes crowded or damp.
Texture can help hold a crystal above the background, but it can also distract from the photograph. Inspect the fibers through the camera. A bright loose thread across the main branch can compete with the subject. Try another part of the cloth instead of assuming you can remove every distraction in editing.
Collect a small amount of fresh snow, then inspect it. Shaking a crowded cloth may be easier than trying to rescue a buried crystal. Do not handle a specimen with warm fingers. A fine brush can help clear nearby debris, but moving a delicate branch can break it. Begin by photographing it where it landed.
Understand magnification before buying more equipment
Close focus and magnification are related, but they are not the same thing. A lens that focuses near an object does not necessarily reproduce it large enough on the sensor to show fine branches. At 1:1 magnification, a subject is reproduced at its actual size on the sensor. A tiny crystal may still occupy only a small part of the frame.
Test the lens or accessory you already own. Can you frame the crystal clearly? Can you focus without touching the surface? Is there enough space for the light? Those answers are more useful than buying the word macro printed on a box. Larger specimens can be a practical starting point.
A close-up lens, extension tubes, a reversing setup, or a higher-magnification lens can offer other options. Each has compatibility and handling limits. Check the camera mount, filter thread, focusing behavior, and working distance before choosing one. More magnification also makes movement and shallow depth of field harder to manage.
Make a quick first frame, then improve it
Once you find a crystal, make a basic photograph before spending time on a complicated arrangement. Get enough of it in focus to record the shape. Then inspect the saved frame and decide what needs changing. You may not get a second chance with exactly the same specimen.
Look for a clear center, readable branches, and space around the crystal. A branch cut by the frame can look accidental. A large empty area can weaken the picture, but a little breathing room helps the shape read. Compare a wider view with a closer one when the subject lasts long enough.
Keep the camera, light, and background relationship as simple as possible. Change one thing at a time so you can tell what helped. You do not need to turn every snowflake into an equipment experiment. One strong frame is a better starting result than dozens of unclear tests.
Put focus on the structure you want to show
At high magnification, depth of field can be very shallow. Choose the important part of the crystal, then place focus there deliberately. A magnified live view can help you judge it, but remember that a screen preview is not the final file. Inspect the photograph itself whenever conditions allow.
Manual focus is often useful for such a small subject. Small movements of the camera can shift the sharp plane through the crystal. If you use a focusing rail or another support, make sure the movement is controlled and the setup remains secure. Do not move so close that the lens touches the catching surface.
Try an angle that keeps more of the crystal near the same focus plane. A tilted crystal can look striking while demanding more depth than one frame can hold. Decide whether the angle is worth the extra difficulty. The goal is a readable picture, not the most difficult possible setup.
Use light to reveal the ice, not erase it
Transparent ice can look dull from one angle and bright from another. Watch what happens as you change the relationship between the light and camera. A reflection can reveal surface detail, but a strong bright patch can also hide it. Make a test frame and judge the actual branches.
Available light may be enough for a simple setup. A flash or suitable LED can provide another option when you need control. Avoid equipment that adds enough heat to affect the specimen, and keep lights stable and safely positioned. Recheck the crystal after every adjustment.
Don Komarechka’s snow-crystal photography account describes using reflected flash light to reveal detail. His method is a useful example, not a universal recipe. You still have to test your own angle, magnification, and exposure rather than assigning his settings to an unrelated photograph.
Balance exposure around the brightest detail
Begin with the depth of field the picture needs, then balance shutter speed, light, and ISO. A dark background does not mean the crystal cannot contain a clipped highlight. Review the bright parts and retain the detail that matters. The histogram is a check, not a substitute for looking at the image.
If you use flash, stay within the camera and flash’s supported synchronization behavior. Check your own manual rather than borrowing an arbitrary shutter speed. Continuous light and flash are different tools, and changing between them can change the exposure and movement problem.
Do not force the lowest ISO when it makes the photograph unusable. A little noise can be a better trade than blur or a missed subject. Likewise, do not close the aperture indefinitely to solve shallow focus. Compare actual detail and consider a different angle or a carefully made focus series.
Know what focus stacking does
Focus stacking combines sharp areas from several photographs made at different focus positions. It can extend the apparent depth of field in the finished image. It is not the same technique as averaging repeated exposures to reduce random noise. Those processes solve different problems and need different capture choices.
For a focus series, cover the near and far details you want sharp, with useful overlap between frames. Keep the composition steady and work before the crystal changes. A gap in focus coverage cannot be fixed by taking many extra frames at the same focus position.
Start with a manageable sequence and inspect the result. If the crystal melts, shifts, or gathers more snow during the series, the frames may no longer align cleanly. A stacking tool can help combine information, but it cannot make changing branches identical. Sometimes the best single frame is the more honest and usable result.
Inspect a stack instead of trusting the merge
After combining the series, inspect the center, branches, and background at full size. Look for doubled edges, halos, missing detail, and patches of sharp cloth that distract from the ice. Automated blending can choose the wrong area where a thin branch meets a busy fiber.
Compare the merge with its source frames. Repair a blending error only when the source information supports the repair. Do not draw in a missing branch or rebuild the crystal into a more symmetrical shape. The imperfections are part of the subject you photographed.
Keep the source sequence and identify the final photograph as a focus stack when that distinction matters to its use. A combined photograph can show real structure clearly without pretending it was a single exposure. Be equally clear if a client asks for strictly single-frame images.
Keep cold-weather gear care simple
Check the camera, lens, flash, and battery instructions for operating conditions and moisture protection. Weather resistance is not permission to let snow melt into every opening. Brush off loose snow carefully and keep ports closed as the manufacturer directs. Do not change equipment where falling snow can enter it.
Carry a spare battery in a protected warm place if the equipment permits that practice. Cold conditions can reduce useful battery performance, so do not plan a long session around a nearly empty battery. Keep contacts protected and avoid makeshift heating that could damage equipment.
The OM SYSTEM winter macro guide advises placing cold gear in a sealed bag before moving into warmth so it can warm gradually. Follow your equipment’s care instructions and let it adjust before opening the bag. Avoid repeatedly moving the setup between warm and cold rooms.
Edit for clarity without inventing the crystal
Begin with restrained exposure, white balance, and contrast adjustments. Ice can reflect color from the surroundings and light. Do not assume every blue reflection should be neutralized, or that every snowflake should be pushed toward an intense blue. Make the choices that describe your captured scene.
Use sharpening carefully. A heavy setting can turn fine branches into bright outlines and exaggerate noise in the background. Inspect both the full-size file and the intended display size. Avoid sharpening a blurred detail until it looks like a different structure.
Remove ordinary sensor dust when appropriate, but do not replace the subject with generated detail or erase meaningful imperfections. Crop for a clean composition and export for the intended use. Open the exported file and check that the tiny details still read rather than assuming export success means it is finished.
Build a repeatable practice session
Prepare the camera and test close focus before heading out. Cool the background, collect a small sample, find a crystal, and make the first frame. Check focus and highlights. Improve the angle or light only after you have that basic record. Try a focus series if the subject and conditions permit it.
When the specimen changes, let it go. Collect another sample instead of trying to restore a melting crystal. Record what worked: magnification, light position, background, and the main difficulty. These notes help you solve the next session without turning every attempt into the same guesses.
Judge progress by the picture, not the number of frames. Can you see the shape? Is the main detail clear? Does the background support it? Did you stay safe and protect the gear? Answer those questions, then choose one thing to improve the next time fresh snow falls.
Snowflake photography FAQ
Does colder weather always mean larger snowflakes?
No. Crystal forms depend on cloud temperature, humidity, and their changing growth conditions. Inspect fresh samples instead of relying on a simple colder-is-larger rule.
Do I need a special camera?
You need suitable close-focusing capability and enough magnification for the desired frame. Test your current setup before choosing compatible accessories.
Is focus stacking a noise-removal method?
Focus stacking combines sharp areas from different focus positions. Averaging exposures for noise reduction is a different process.
Can I photograph the crystal indoors?
A warm room can quickly change or melt it. Work in safe cold conditions with a cooled catching surface rather than carrying the subject into warmth.
Should I invent a missing branch in editing?
No. Preserve the real structure and imperfections. Repair stacking mistakes only when the source photographs support the repair.
Do these images prove specific settings?
No. They are verified real photographs illustrating crystal structure, not controlled comparisons or settings recipes.
Gear for snowflake photography
Test your current close-focusing setup first. Compare a compatible macro lens or extension tubes, a stable support, suitable lighting, and a fine brush. Check mount compatibility, working distance, cold-weather guidance, and support load before buying.
Compare on Amazon | Compare on B&H
These are comparison searches, not reviews or promises of compatibility, price, or availability. Build your understanding of light and composition with the Shut Your Aperture Academy.
Affiliate disclosure: As an Amazon Associate I earn from qualifying purchases. Purchases through Amazon and B&H links may earn a commission at no extra cost to you.