
The best upgrade to your phone camera is often one step to the left. The bright sign disappears from behind a face, the light catches a cheek, or a reflection finally lines up. Nothing about the phone changed. The photograph did.
These smartphone photography tips start there: notice the light, choose what matters, and give the camera a clear job. Then use the controls your actual phone provides. You do not need to memorize a stranger’s menu or buy a bag of accessories before making a stronger image.
Updated October 2026. Camera features vary by phone, operating system and app. The photographs here illustrate shooting situations, not tests of a particular phone or proof of specific settings.
Start with a photograph, not a feature
Before opening the camera, finish this sentence: the picture is about this. A face, a strip of evening light, a pattern of windows, steam above a plate. If everything in the scene competes equally, the viewer has to do the work you skipped.
Give the subject room to read. Look at the brightest patch, the strongest color and the sharpest edge. Those things pull attention, even when they are not your subject. Changing your position can do more than tapping through settings because it changes what the camera sees.
A phone is useful because it is already with you. That convenience should encourage observation, not careless shooting. Pause long enough to check the light and frame, but stay ready for a passing expression or changing sky. Preparation makes quick photography more deliberate.
Clean the lens and check the simple problems
Pockets, fingers and sunscreen leave marks on camera glass. A smudge can make streetlights bloom and turn a crisp scene hazy. Before blaming night mode or buying a new phone, check the lens and wipe it with a clean, suitable soft cloth. Follow the manufacturer’s cleaning guidance rather than spraying a household cleaner over the camera.
Check the case too. Make sure it does not cover a lens, cast a shadow across the flash or prevent the phone from sitting securely in a holder. Apple specifically advises checking accessories when troubleshooting camera problems. If an add-on changes the image unexpectedly, compare a frame without it before deciding that the camera itself is broken.
Look for practical interruptions. Is there enough storage for the session? Is the battery ready? Can you open the camera without hunting through a crowded home screen? A beautiful moment does not wait while you clear space or learn a new app. Test the basic route before an outing.
Find better light before changing the exposure
Light gives a photograph shape. For a face, turn the person gently toward a window and watch how the eyes and cheeks change. For a small object, move it around the edge of that window light. One position may produce a bright reflection; another may reveal texture and leave a quieter background.
Soft light is not always better than hard light. An overcast sky can be kind to a portrait, while a sharp shaft of sun can make a graphic street photograph. Choose the light for the picture you want. Do not treat every shadow as a flaw or every bright scene as easy.
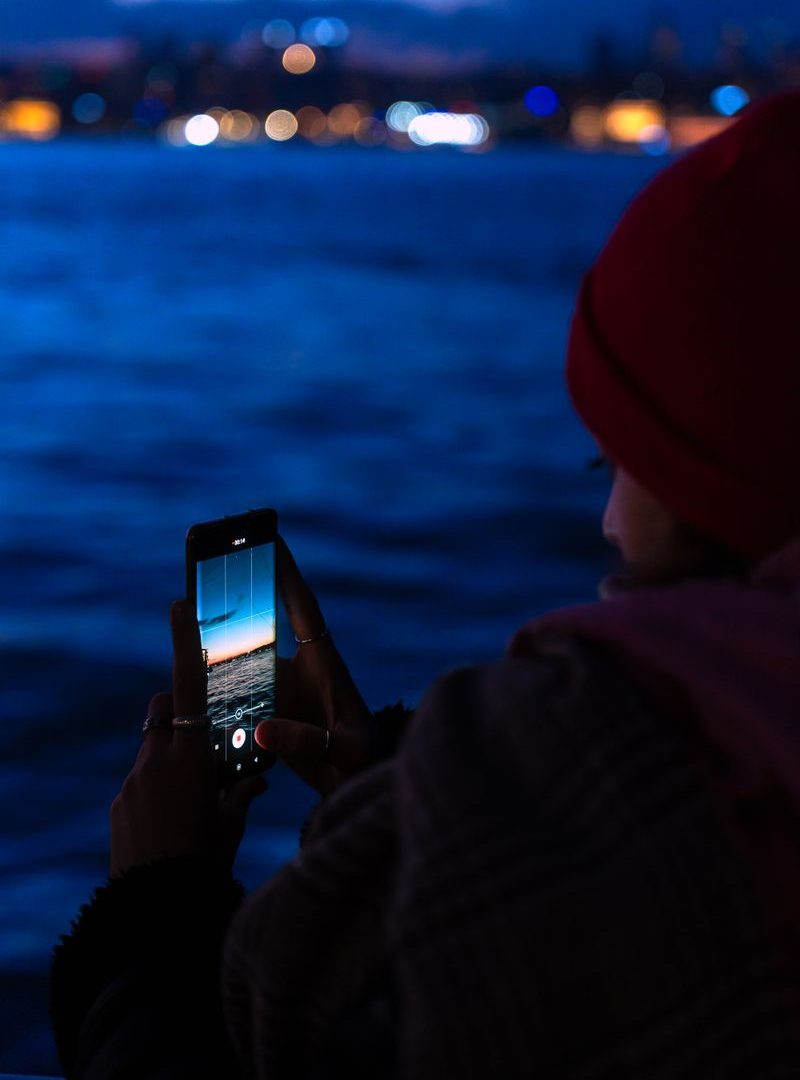
At sunset and blue hour, work while the balance between sky and artificial lights is changing. A scene that looked dull earlier can become interesting when windows and signs start glowing. Revisit the same safe position, make a few frames and inspect the difference. You are comparing actual light, not following a promise that every evening delivers a dramatic sky.
When a scene is too dim for a moving subject, finding more light is often more useful than asking the phone to work harder. A nearby lamp or brighter patch of shade may solve the problem. Use flash when it helps your purpose and compare the result; it is not automatically wrong just because it comes from a phone.
Choose focus and brightness deliberately
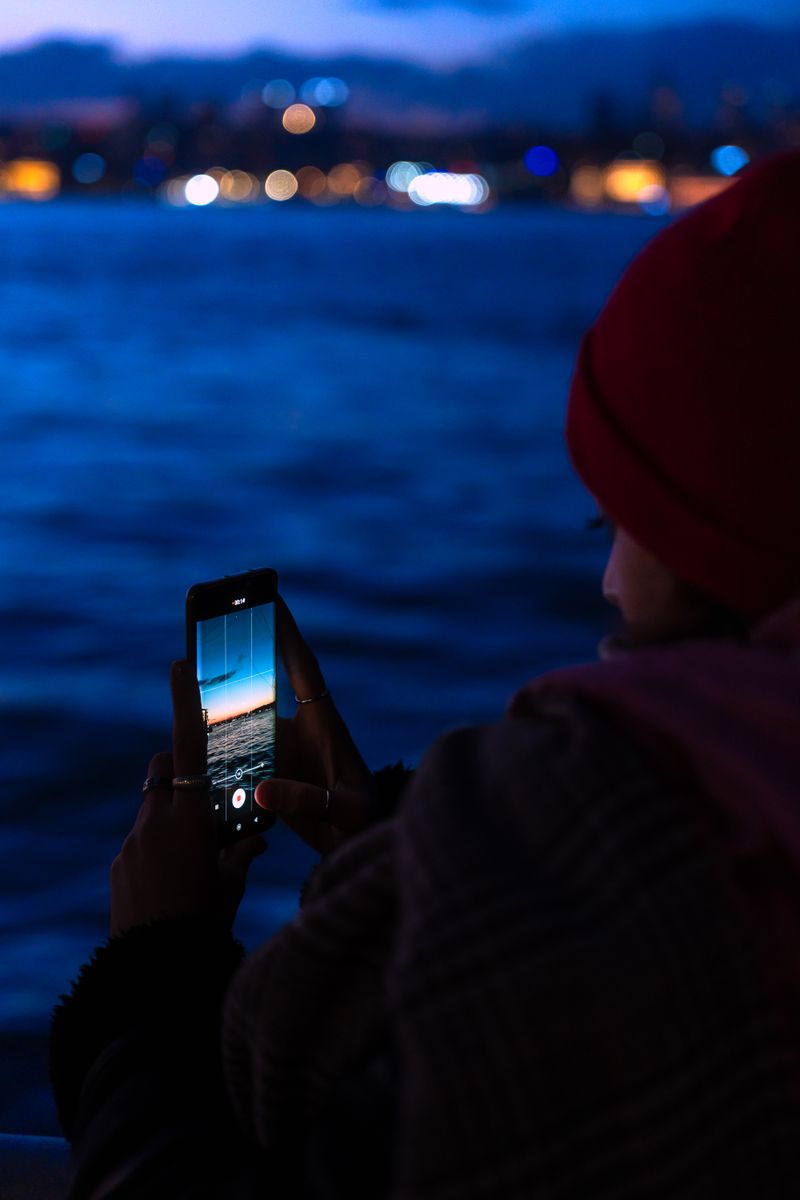
The camera may pick a bright background when you care about the face in front of it. Where your app allows it, tap the important part of the scene and check whether that area becomes sharp. Many phones provide some way to adjust brightness or lock focus and exposure, but the controls and gestures differ.
Read your own instructions once, then practice before a real moment matters. Apple’s iPhone camera guide and Google’s Pixel camera guidance are useful starting points for those devices. They are not instructions for every Android phone or third-party app.
After tapping, look at the image rather than trusting the focus indicator. If the subject is too close for the selected camera to focus, move back. If the phone offers a close-focus mode, learn when it switches cameras and what that does to the framing. A green symbol does not guarantee the exact detail you wanted is sharp.
For a bright sky or illuminated sign, lower brightness only as far as the picture needs. Protecting a sunset can leave a foreground silhouette, which might be exactly the point. If the face matters more, change the angle or light instead of trying to force an impossible balance. There is no universal exposure adjustment for all scenes.
Build the frame from the edges inward
Check all four edges before pressing the shutter. A half-cut hand, a stray bin or a bright sliver of sky can weaken an otherwise strong photograph. Move the phone slightly and see whether the frame becomes cleaner. This takes less time than repairing a complicated distraction afterward.
Use a grid if it helps you keep horizons straight or judge spacing. The rule of thirds is a starting point, not a command. A centered doorway, reflection or symmetrical portrait can be stronger than forcing the subject into a corner. Choose placement because it supports the subject, not because a grid line told you to.
Change height as well as direction. A lower position can separate a flower from clutter, while a higher view can organize a tabletop. Watch what happens to lines and proportions. Get low safely without blocking a path, leaning into traffic or putting the phone where it can fall.
Try one tighter frame and one with context. A wide view may tell the story of the place; a close view may make the gesture or texture clearer. Keep the version that communicates better. More of the scene is not always more of the story.
Understand zoom instead of banning it
A phone’s zoom number does not tell you everything about how the image is made. Depending on the device and conditions, it may switch to another camera, crop an image or combine information through processing. The available choices also differ by model. Do not assume a control labeled 2x means the same thing on every phone.
Make a practical comparison. Photograph the same subject from a safe position using the camera choices you normally use. Inspect fine lines, faces and dark areas on a larger screen when possible. Learn which settings meet your needs instead of borrowing a universal rule about never zooming.
Moving closer changes perspective because the camera position changes. Zooming from the same spot changes framing without giving you that new viewpoint. Neither replaces the other. For a face, stepping too close can exaggerate near features; for a landscape, moving may be impossible or unsafe. Choose the position first, then the framing.
If you cannot approach the subject, use the best option available and accept its limits. Do not cross a barrier or crowd wildlife for a sharper phone picture. A photograph is not worth a risky position.
Steady the phone, then watch the subject
Use both hands when you can, keep a relaxed grip and avoid jabbing the shutter. Support your elbows or the phone on a stable surface if that position is safe. Take a second frame when the moment allows, then check it. A steady camera is a habit, not a guarantee.
There are two different movement problems. Your hands can move the camera, and the subject can move within the frame. A tripod can help the first problem without fixing the second. If a person turns during a longer capture, a perfectly supported phone can still record blur or processing artifacts.
Where available, a timer or compatible remote release can keep your touch from disturbing a supported phone. Try it with a still scene before depending on it. For action, look for better light, anticipate the gesture and use your device’s suitable capture options. Avoid promising yourself that a long low-light mode will freeze a moving child or pet.
Let night photography stay night photography
A dark scene does not have to look like noon. Pools of light, silhouettes and reflections can carry the picture. Decide which detail needs to remain visible and which dark areas can stay dark. Chasing brightness everywhere can flatten the atmosphere you came to photograph.
On supported devices, low-light modes may take time to complete a capture. Apple advises holding the iPhone steady for Night mode, and Google gives similar advice for Night Sight. Keep the phone still until your app shows that the capture is finished. Availability and behavior vary; do not assume your phone has the same mode as a tutorial’s example.
Look closely at lamps, bright lettering and moving people after the capture. The preview can be flattering while fine detail is smeared or highlights are gone. Try another position, a different supported mode or a brighter part of the scene. Do not repeatedly change everything at once, or you will lose track of what helped.
Photograph people without letting software lead
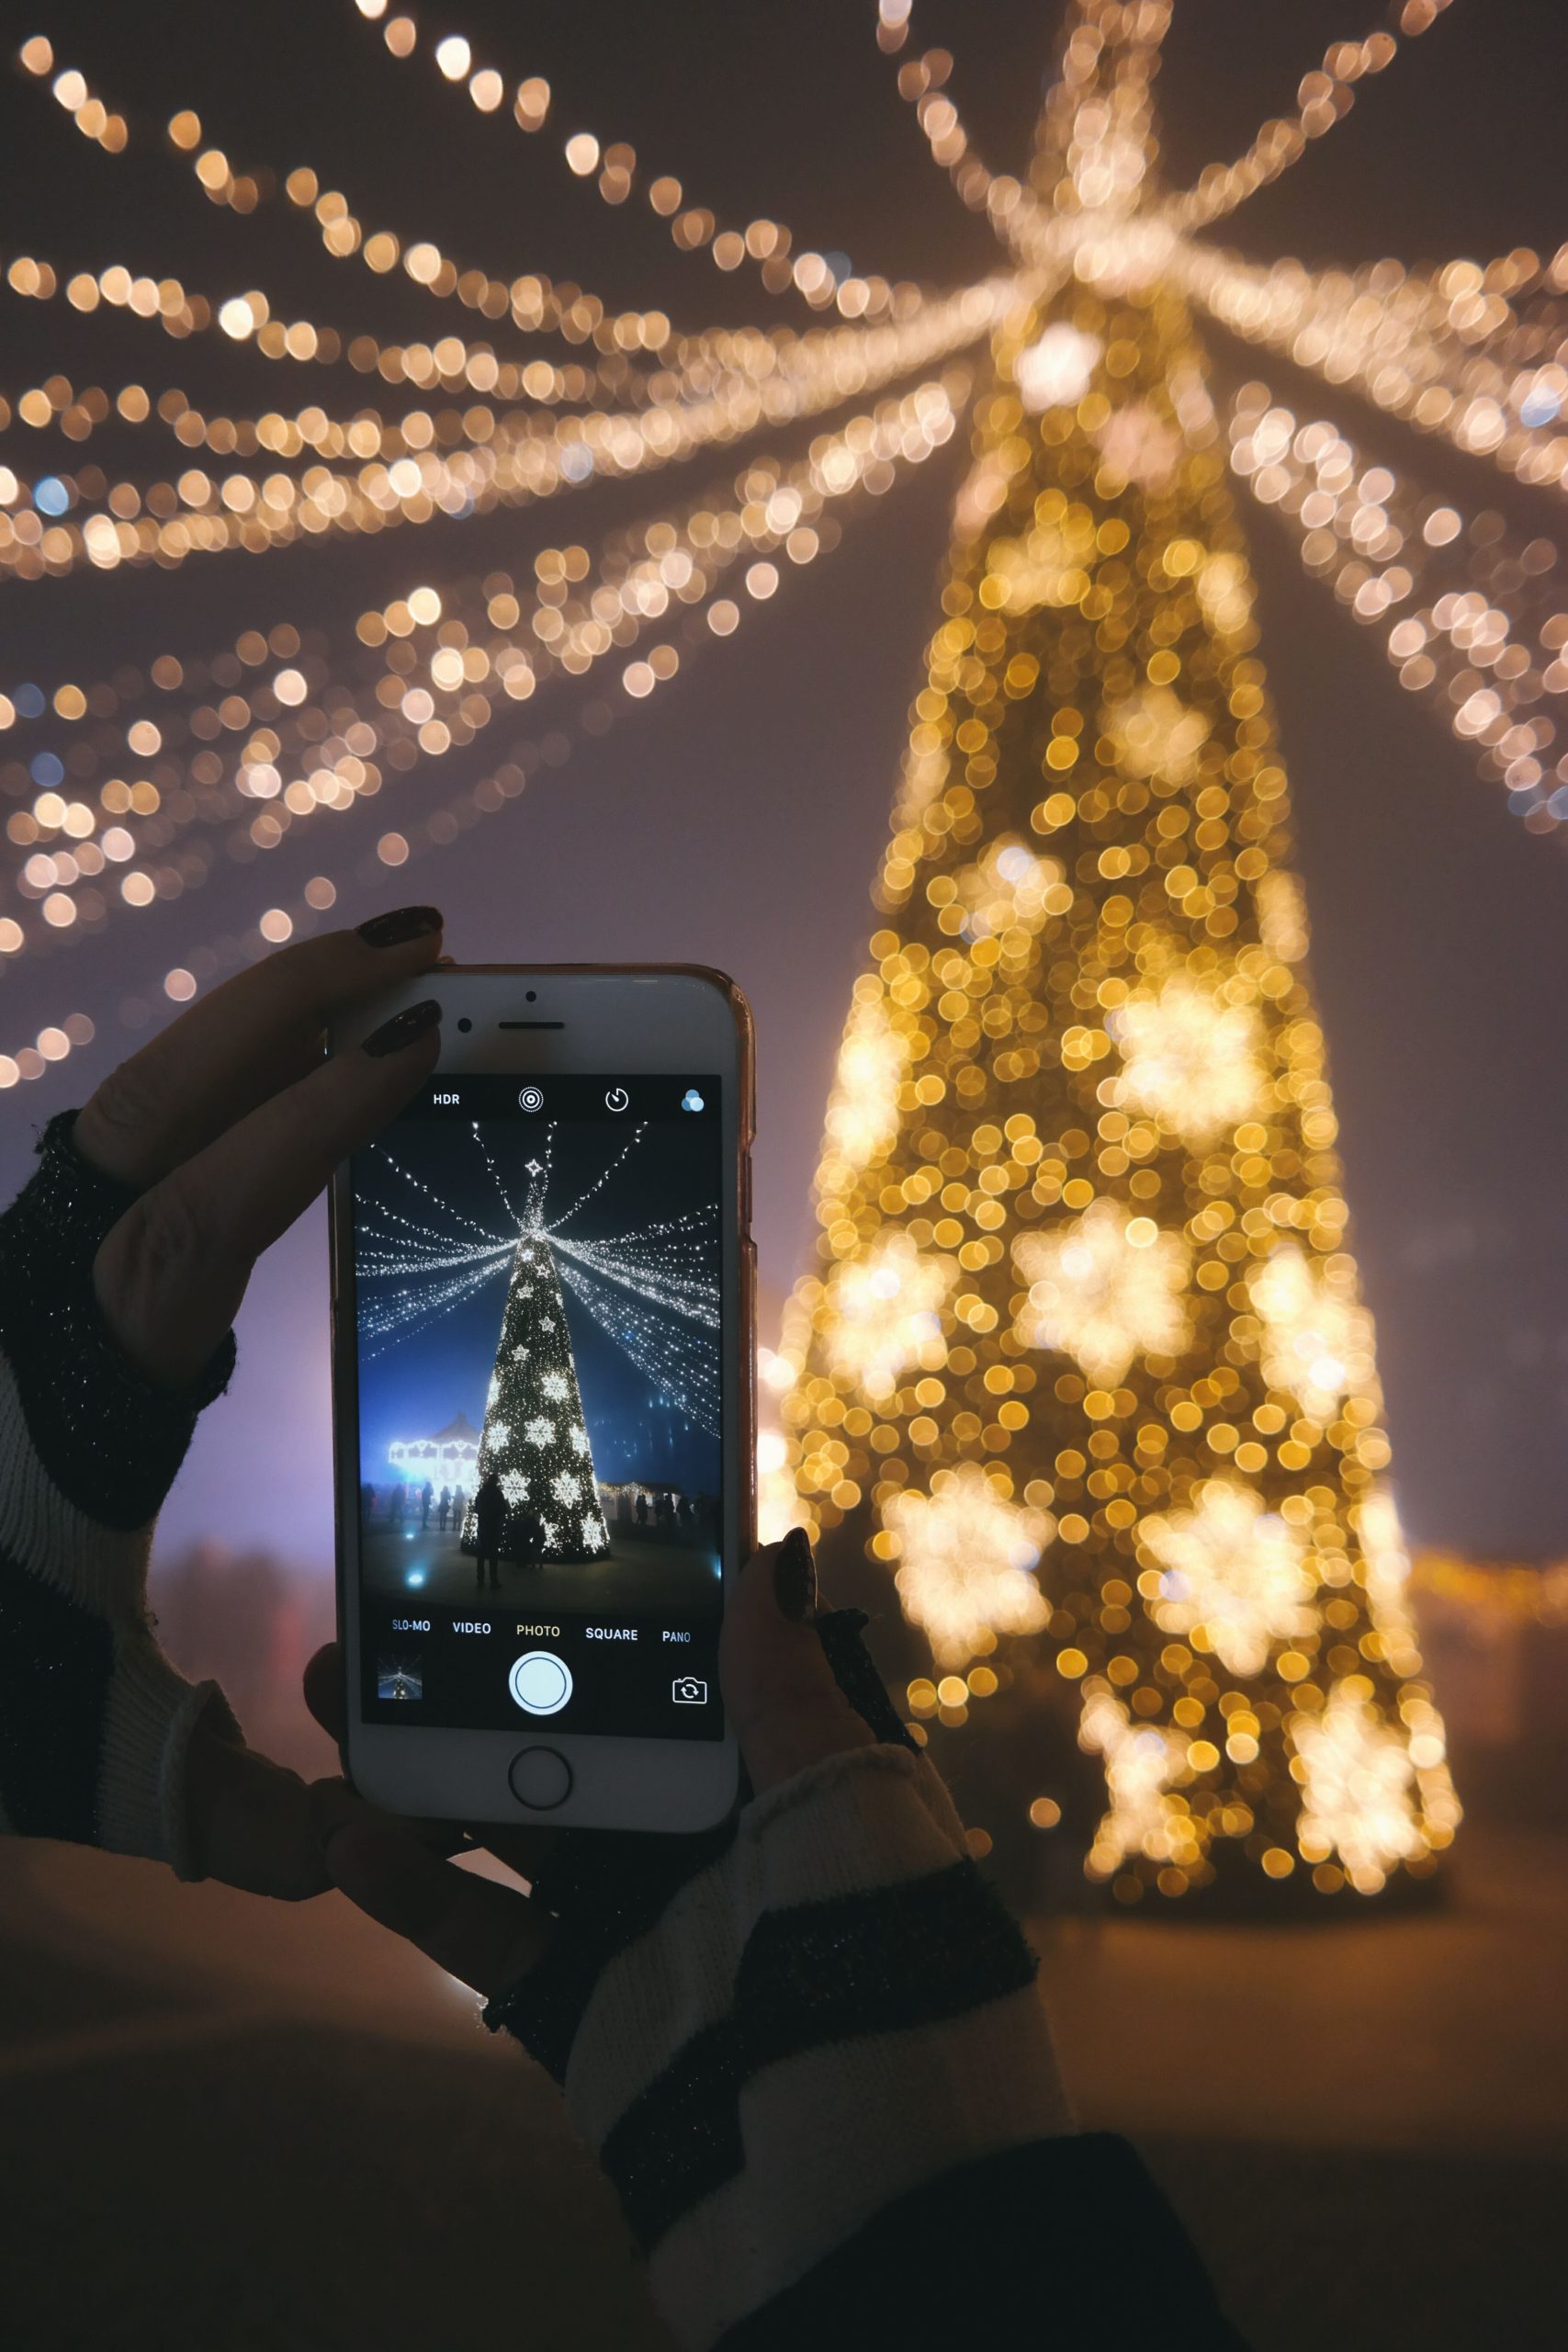
For a portrait, start with expression, light and background. Ask the person to stand where the light is useful, then move yourself until clutter stops competing with their face. Give clear, simple direction and make room for an unforced expression. Respect anyone who does not want to be photographed.
If your phone offers simulated background blur, check hair, glasses, fingers and other fine edges. Software may misunderstand what belongs in front of the background. Compare a normal photo when you have time. The portrait effect is an option, not evidence that the picture is more professional.
Watch the background at the same time as the face. A pole through a head or a bright screen behind a shoulder can be fixed by a small shift in position. Do not rely on later object removal to rescue every avoidable distraction. Clean capture gives you more honest choices.
Give food and small objects their own space
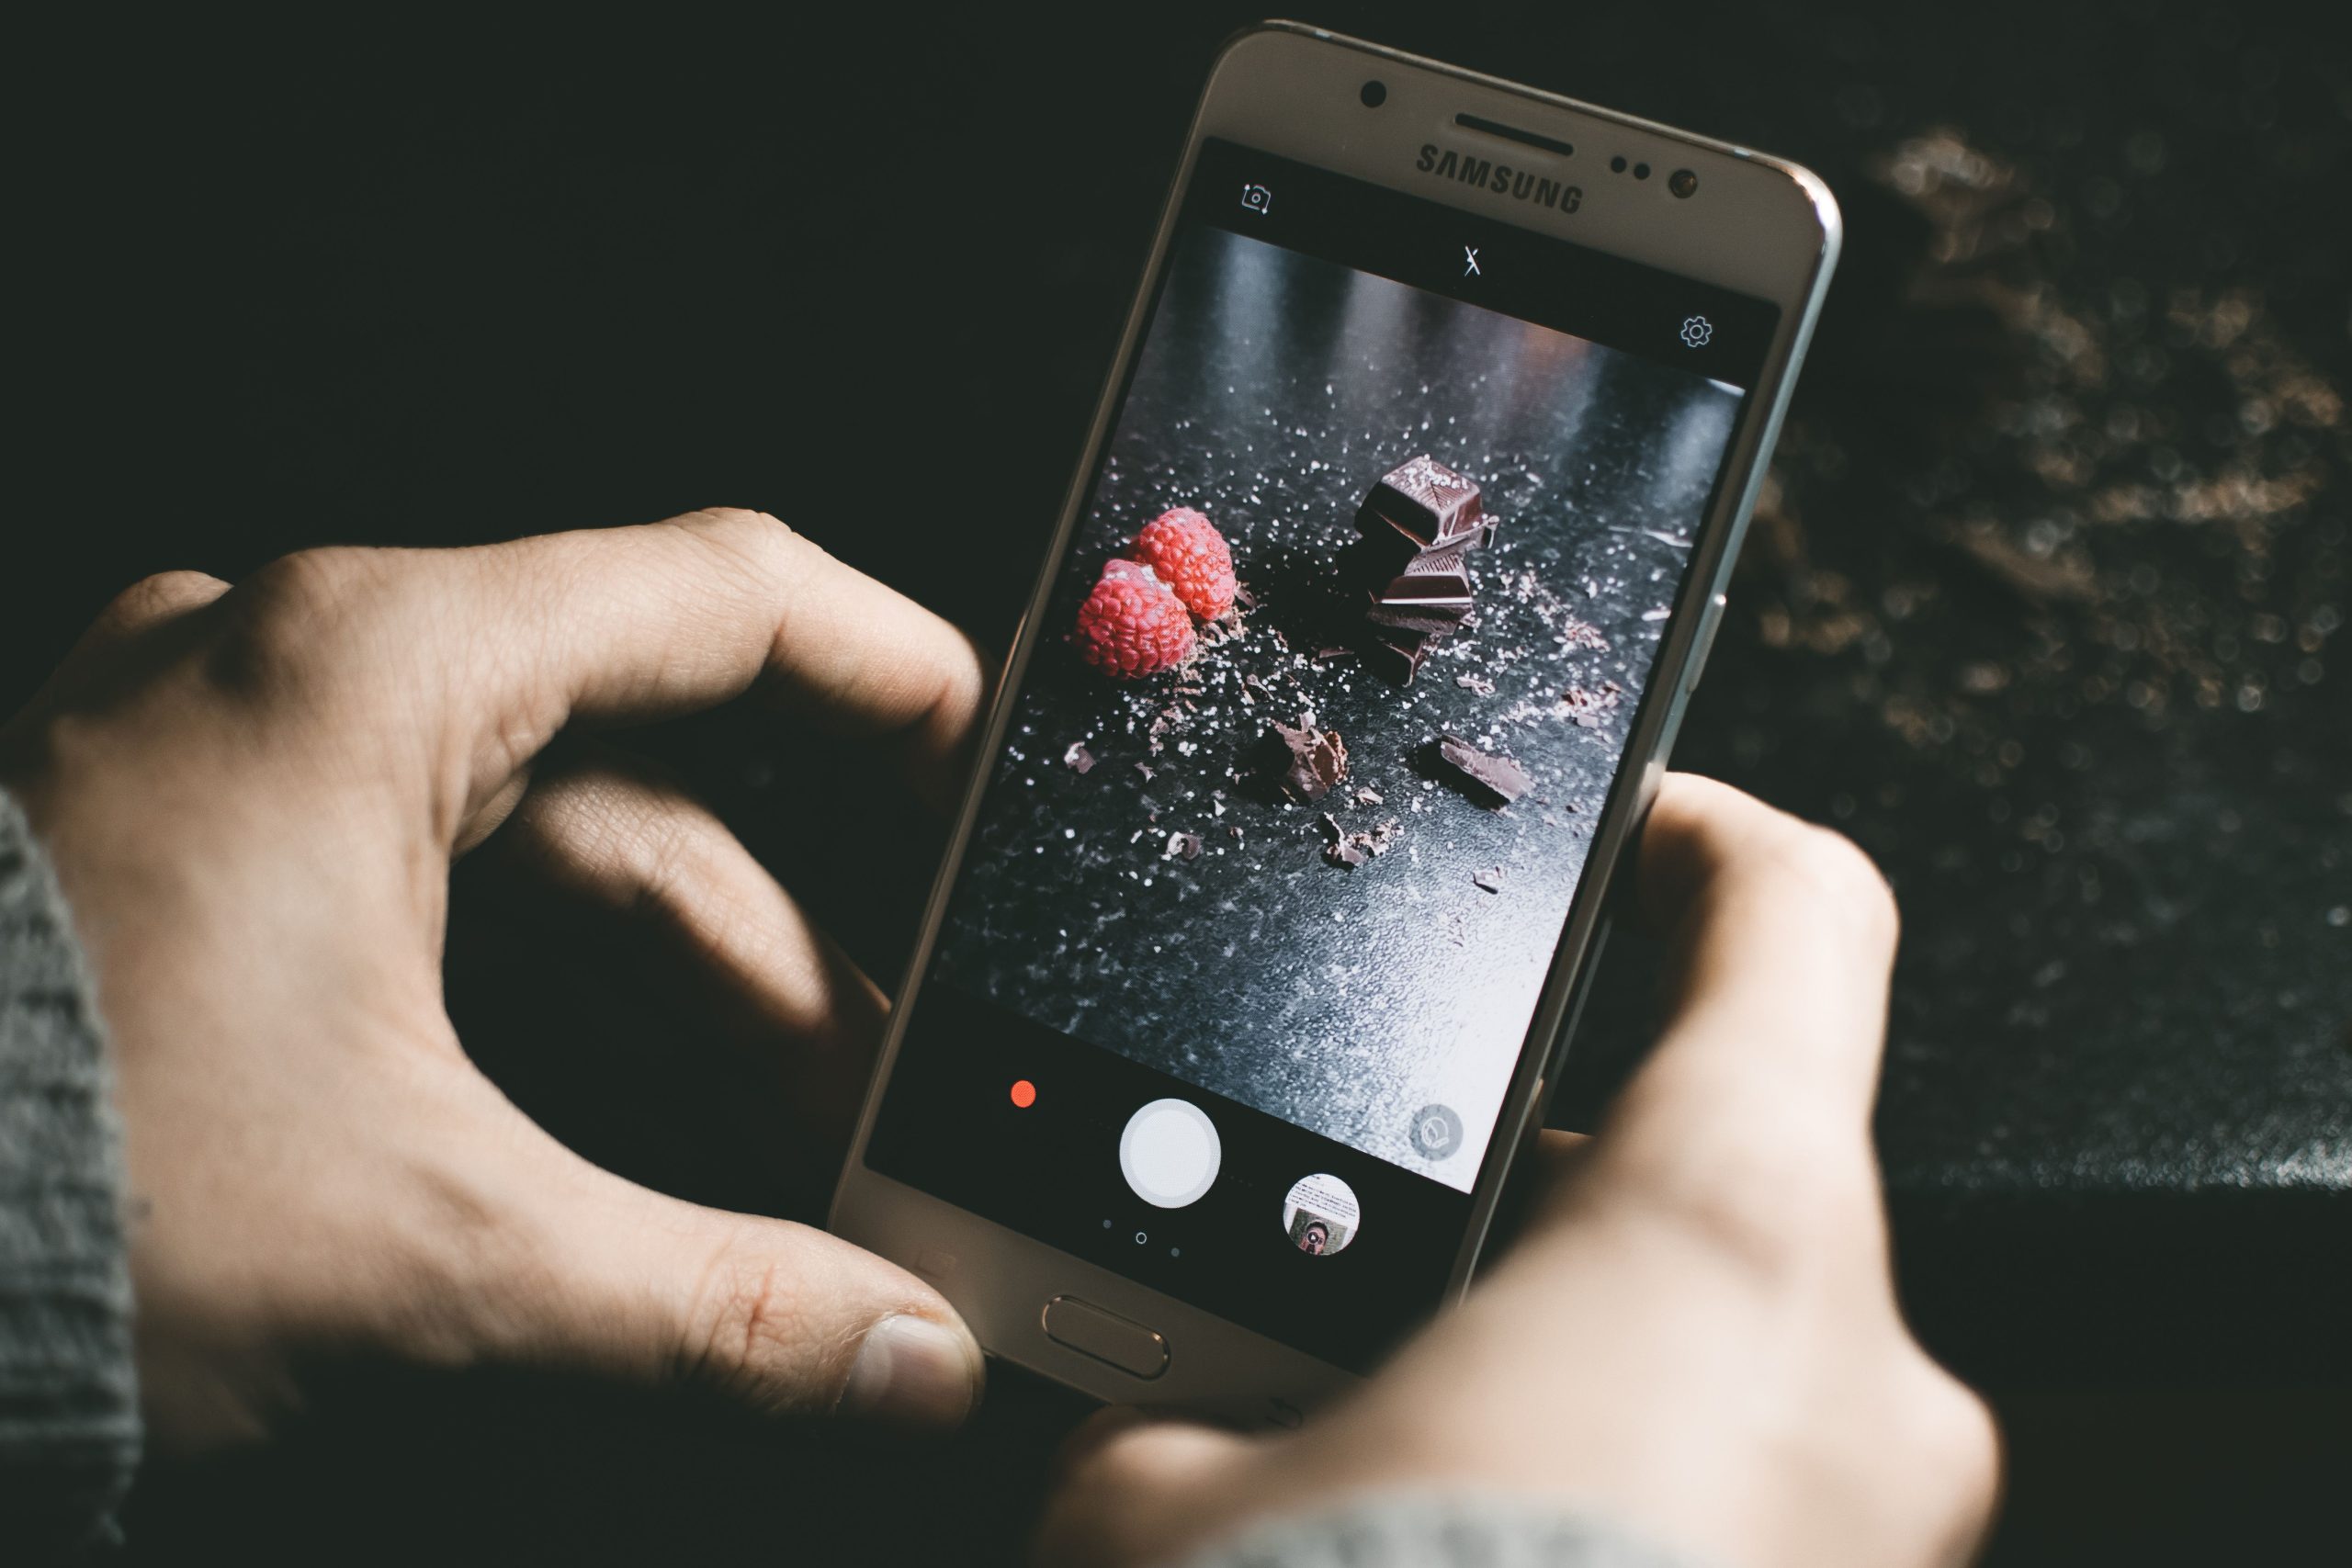
For food, start with a window and a clean arrangement rather than a filter. Move the plate until the light describes texture, then choose a background that supports the colors. Check reflections on cutlery and glass. A slight change in angle can make them less distracting without making the scene look artificial.
Overhead is useful when the arrangement is flat and graphic. A lower angle may better show the height of a stack or the shape of a glass. Try both if the scene is still. Choose based on the object, not on a fixed rule that food must always be photographed from above.
Do not push the lens too close simply to fill the frame. If focus fails, back away and reconsider the composition. Watch your own shadow and the phone’s reflection. Small objects make those problems easy to miss on a bright screen and obvious in the finished photograph.
Edit the photograph you actually made
Begin by choosing the strongest frame. Editing a weaker photograph for ten minutes is rarely better than selecting the one with a better expression or cleaner composition. Check focus first, then straighten, crop and adjust brightness and color with a clear purpose.
Keep an original. Compare your changes with it, especially after sharpening, noise reduction or strong color adjustments. Look for crunchy edges, unnatural skin and dark areas that have lost all texture. The screen’s brightness can fool you, so review the picture in ordinary viewing conditions rather than only outdoors in glare.
A preset can suggest a direction, but it cannot replace missing focus or a blocked face. Do not confuse adding a look with solving a capture problem. If you use generative edits that invent or remove content, be clear about that when the photograph is meant to document an event or place.
Export a version suited to its destination and keep the original separately. Check the actual shared result; messaging apps and social platforms may resize or compress it. Before sharing private pictures, review faces, addresses, reflections and any location information you do not want to disclose.
A short practice walk that teaches you something
Choose one subject and make three deliberate variations: a different angle, a different distance and a different relationship to the light. Keep the task small enough that you can explain why each frame changed. You do not need a spectacular location to practice seeing.
Review those frames together. Which one makes the subject clearest? Which background feels quieter? Where does your eye land first? Repeat the strongest idea with another subject. That loop teaches more than collecting unrelated tips and forgetting them before the next outing.
Keep a short note about the recurring problem, such as missed focus on close objects or blur with moving people at night. Solve that problem before shopping. The goal is to make your next photograph more intentional, not to prove that your phone can imitate every camera.
Smartphone photography FAQ
Do I need the newest phone to take better photos?
No. Start with light, framing, focus and steadiness. Upgrade only when you can name a limitation that your current phone cannot meet.
Should I always avoid zoom?
No. Phones handle zoom differently. Compare your camera choices in actual conditions, inspect detail and choose a safe position and useful framing.
Why are my night photos blurry?
Possible causes include a dirty lens, camera movement, subject movement or a focus problem. Check them separately; supporting the phone does not freeze a moving subject.
Is portrait mode always better for people?
No. Light and expression matter first. Simulated blur can make edge mistakes, so compare a normal frame and inspect hair, glasses and hands.
How close can I photograph a small object?
That depends on the phone, selected camera and available modes. If it cannot focus, move back and check the actual detail before taking another frame.
What accessory should I buy first?
Buy for a specific problem. A compatible holder and stable support may help still scenes, but they will not solve poor light, a weak composition or a moving subject.
Gear for smartphone photography
Start with your phone and a clean lens. If a still scene needs support, compare a secure phone holder, a stable compact tripod and a compatible remote release. Check case fit, mounting size, load rating and device support before buying.
Compare on Amazon | Compare on B&H
These are comparison searches, not reviews or promises of compatibility, price or availability. Build your understanding of light and composition with the Shut Your Aperture Academy.
Affiliate disclosure: As an Amazon Associate I earn from qualifying purchases. Purchases through Amazon and B&H links may earn a commission at no extra cost to you.

