From the Shut Your Aperture archive (2014): this is a historical film feature. Vimeo identifies the title and creator; an automated player-page response does not confirm that the video plays for every viewer.
Barcelona GO!
View Barcelona GO! on Vimeo, credited there to Rob Whitworth. The two-minute film uses fast-moving flow-motion sequences through Barcelona.
In the original filmmaker statement, Whitworth thanked the Catalan Tourism Board for location access and named the people involved in the production. His 2014 notes listed Nikon cameras, lenses and long hours spent shooting and editing. These are archival production notes, not current equipment or access advice.
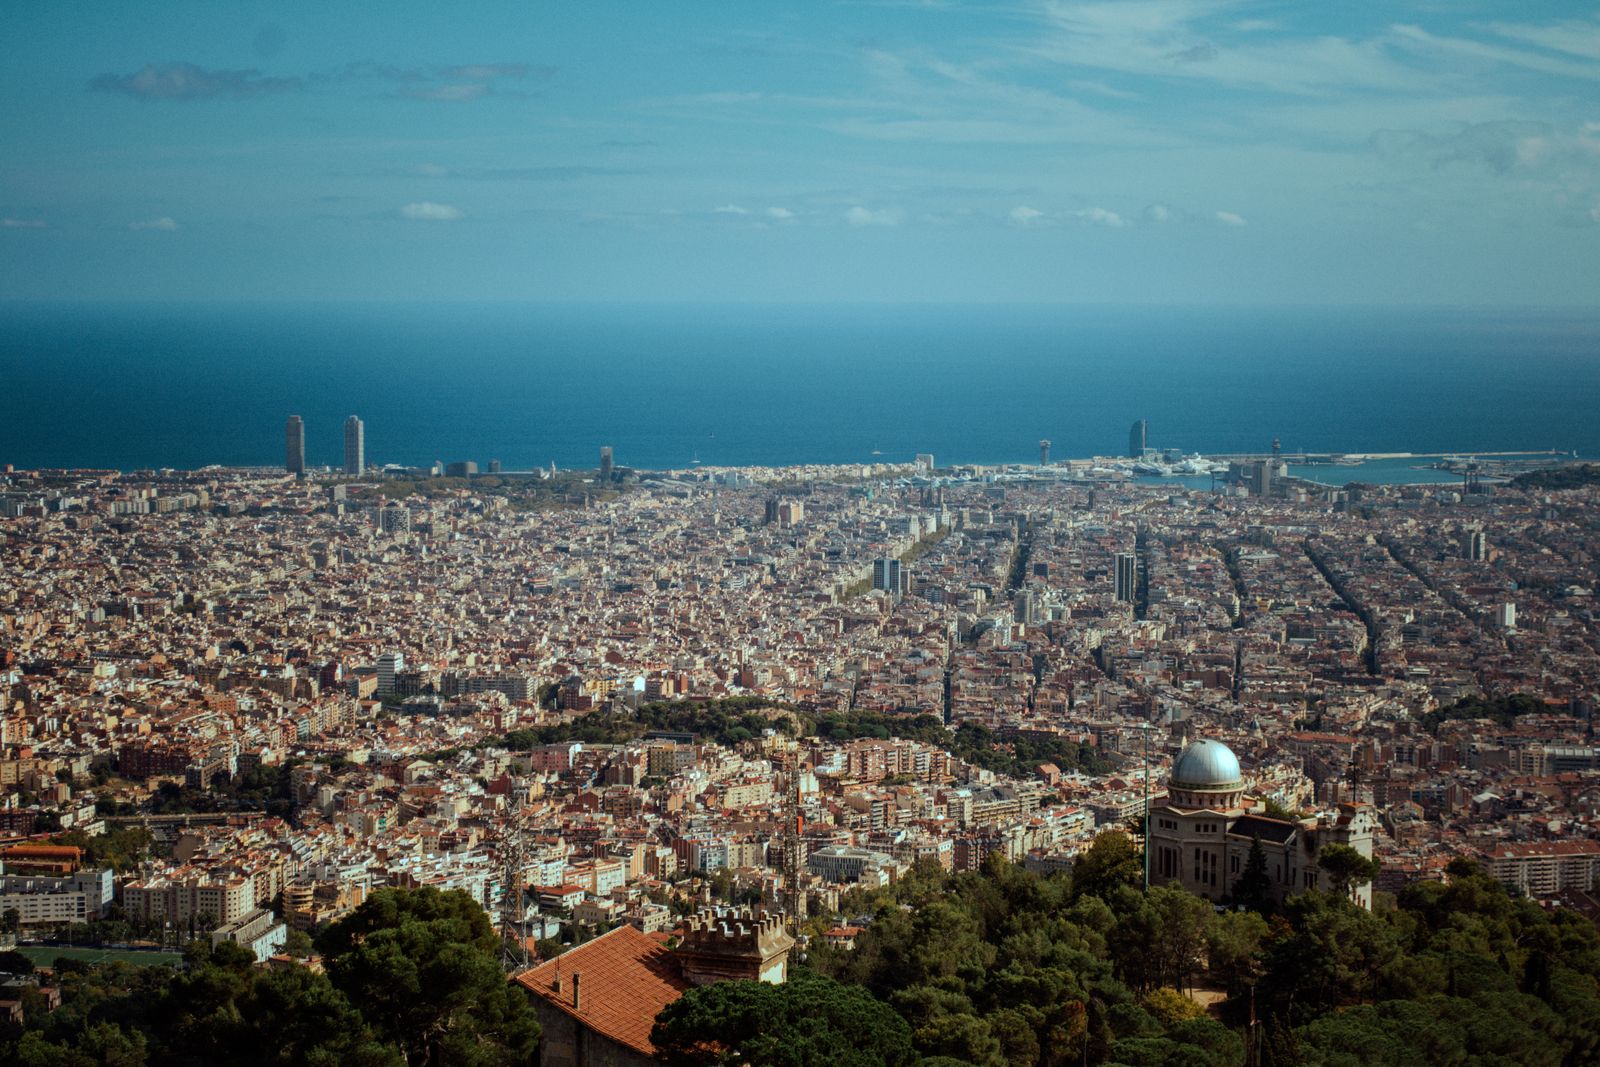
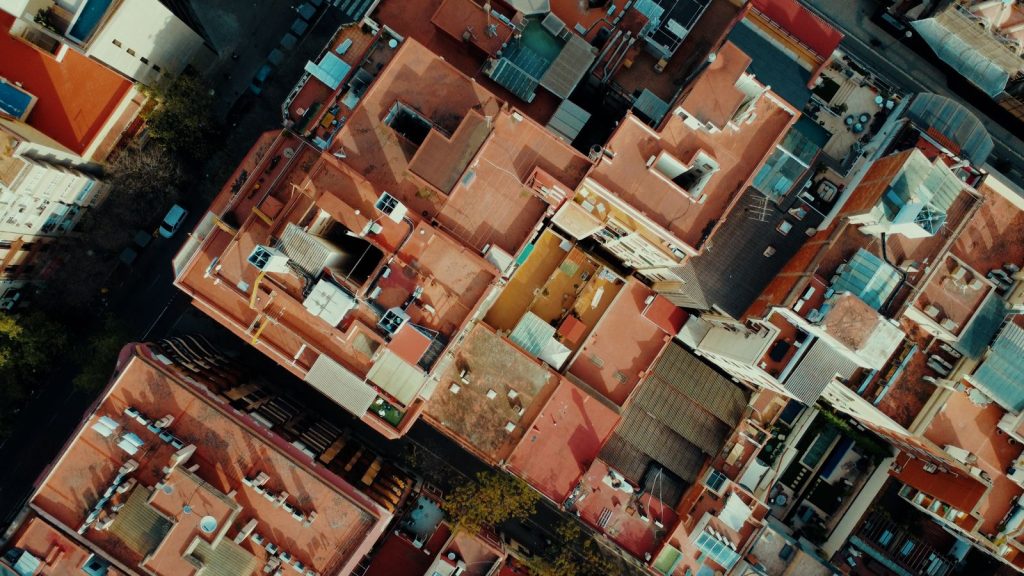
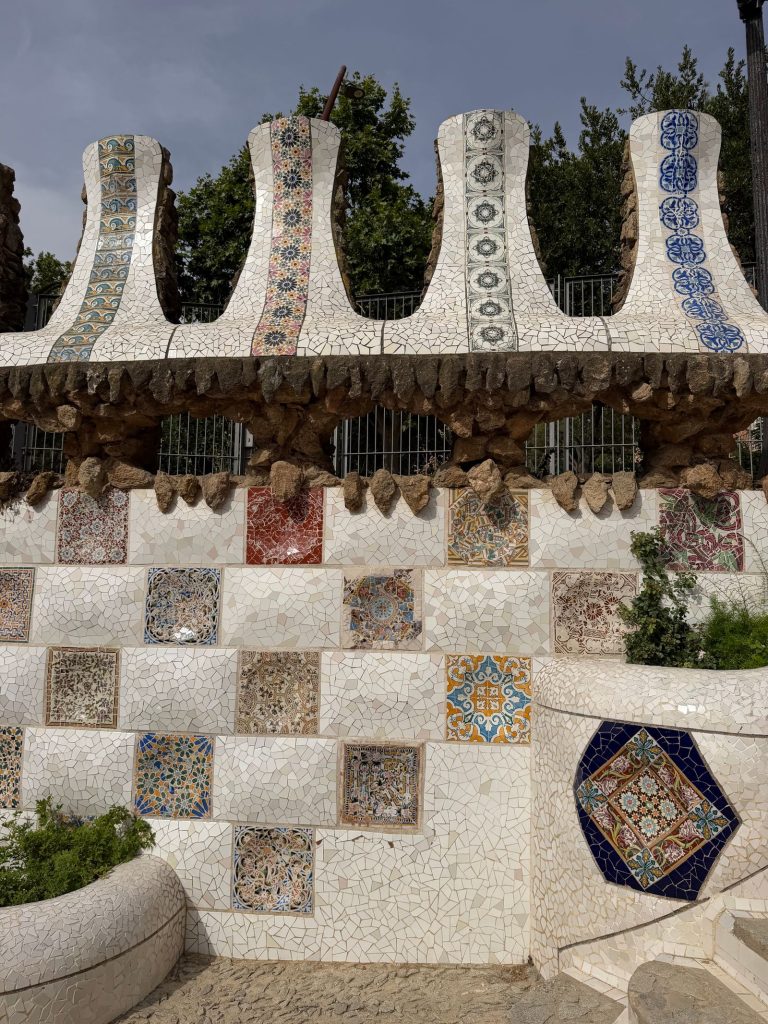
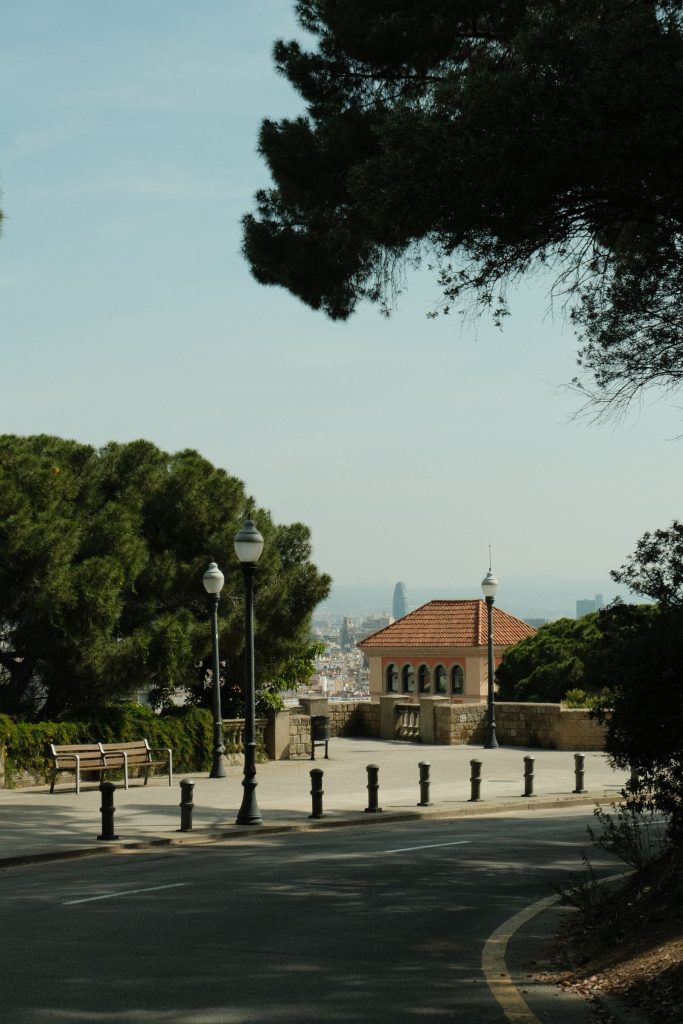
Updated Nov 2026. The film above is a 2014 piece, and the original post was short. This update adds a plain-language guide to the hyperlapse technique behind it. The photographs on this page are illustrative stills of Barcelona by Pexels photographers, not frames from the film, and nothing here describes a shoot we did ourselves.
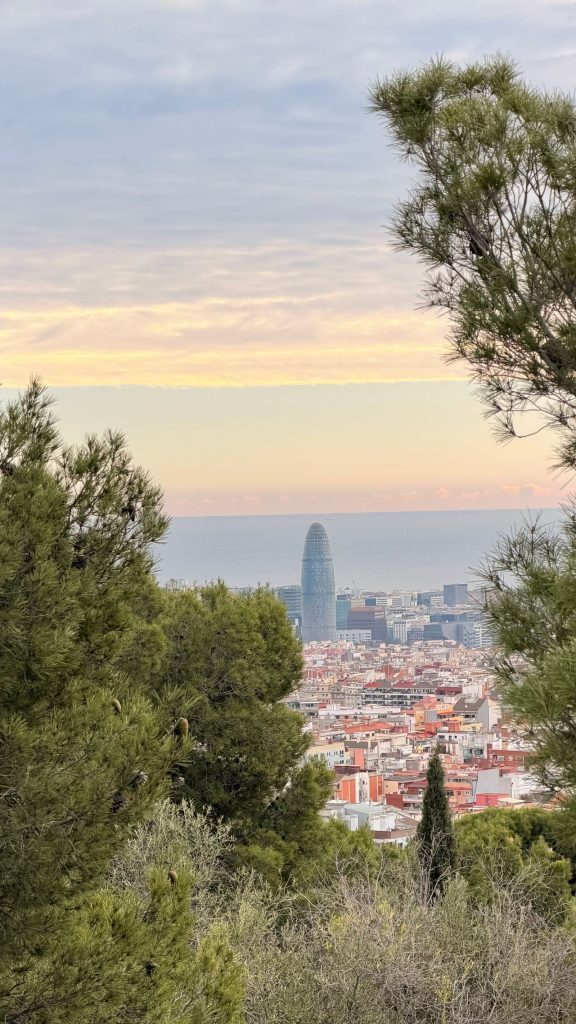
Header photo: Marcel Gierschick via Pexels. It is an illustrative still of Barcelona, not a frame from the film.
What Barcelona GO! actually is
Barcelona GO! is a short film by Rob Whitworth about moving through a city at speed. The film is about two minutes long and was made for the Catalan tourism authorities. According to Rob Whitworth’s own page for the film, it was commissioned by the Catalan Tourist Board to increase visitor numbers, it launched on June 13, 2014, and it reached one million organic plays within five days. Those are the filmmaker’s own figures, and we have not checked them independently.
When it came out, people reached for a few different labels. The review on Time Lapse Network called it a flow motion short and described it as a hyperlapse with an extra layer that makes the whole thing look smooth and continuous. That is a fair summary of what you see. The camera never seems to stop. It slides through streets, up stairs and across plazas, and the world around it keeps changing in fast forward. People walk in loops, light shifts and traffic streams past, yet the viewpoint keeps gliding forward as if it were on rails.
This page is not a review of the film and it is not a recipe for copying it. The finished piece is a professional production with a crew, planning and a long edit. What it can do is make a good starting point for a different question. How does a hyperlapse work, and what would a careful beginner need to understand before trying one? The rest of this guide answers that, using published tutorials that we link as we go.
Timelapse, hyperlapse and flow motion: three related ideas
A timelapse is a sequence of photos taken at regular intervals from a fixed position. Play the photos back at normal video speed and slow events, like clouds or a sunset, look fast. The camera stays put and the world moves.
A hyperlapse adds one big change. The camera moves between photos. Beyond The Time describes a hyperlapse as a special case of timelapse where you add a specific type of movement, and notes that the movement happens over much longer distances than a slider can manage. Shotkit puts it more simply: a hyperlapse is a timelapse with movement, taken as a series of photos at set intervals while you move between each shot, then combined into a video.
Flow motion is the name some people use for a hyperlapse that has been smoothed and joined together so the movement continues from one scene to the next. In Barcelona GO! the effect comes from stringing many short hyperlapse moves into one journey. Each move needs its own planning, and the joins between them take careful editing. You can learn the first part without worrying about the second.
The key difference between the two techniques is where the work happens. In a timelapse, most of the effort is waiting. In a hyperlapse, you are busy the whole time. You move, you re-aim, you check the frame and you shoot again, many times in a row. Beyond The Time points out that every frame is composed separately, which takes a lot more time than a simple video clip, and that patience is part of the kit.
The core idea: a fixed point and a steady path
Every hyperlapse tutorial we read comes back to the same two ideas. The first is a fixed point. This is a spot in the frame that you aim at for every photo, and it should sit in the same place in the frame each time, often the center. brotherside explains that a good fixed point stays visible for the entire sequence and is easy to tell apart from what surrounds it. They also warn against repeating patterns such as windows, bricks or tiles, because those make it easy to lose your place while shooting and confuse the stabilization software later.
The second idea is a shooting path. This is the line your camera travels along, and together with the fixed point it defines the composition. Simple paths produce familiar moves: pushing toward a subject, pulling away, moving sideways, or orbiting around something. The brotherside guide says the key is to keep a smooth line so the final motion feels natural. For a complicated path, you can mark the route on the ground with chalk or tape.
Put those two together and the logic is simple. You aim at the same point, you take a small step along your path, you re-aim and you shoot. Each photo is slightly different from the last. When they play back as a sequence, all the tiny movements add up to one long, sweeping move. That is the entire trick. The skill is in doing it consistently, hundreds of times, without drifting.
Counting frames before you start
The math is easy and it is worth doing before you leave home. The frame rate of your finished video tells you how many photos you need for each second. At 25 frames per second, a ten second clip needs 250 photos. Time Lapse Magazine gives exactly that example and says to multiply your frame rate by the clip length in seconds. A five second clip at 25 frames per second needs 125 photos, which is the figure brotherside gives for its own example.
This is why hyperlapse clips in finished films are often short. A ten second clip means 250 careful steps. A film that strings together dozens of moves needs thousands of photos. Even a beginner project is a real commitment, so start small. A three or four second clip is enough to teach you the whole process, and brotherside notes that a short sequence of about 91 photos, or 3.5 seconds, can work well as a looping clip.
Storage is the next thing to plan. Time Lapse Magazine mentions that a ten second clip shot as RAW files on a high-resolution mirrorless body takes up roughly ten gigabytes. If you plan to shoot several clips in a day, bring enough memory cards and know how you will back them up.
Step size and interval: two numbers that set the look
Two settings control the feel of a hyperlapse. Step size is the distance between camera positions for two neighboring photos. It controls how fast the camera seems to move. The brotherside guide says small steps of about 10 to 30 centimeters give a slow, calm movement that suits architecture, while larger steps give a faster and more energetic feeling. Time Lapse Magazine adds that a tripod hyperlapse is flexible here, because you can choose anything from meters down to a couple of centimeters. For very small steps you can use the tripod legs themselves as a measuring tool.
Interval time is the time between pressing the shutter for two neighboring photos. It controls how fast things in the scene appear to move. If you want to show people and traffic passing at a steady pace, keep the interval constant. For a tripod hyperlapse, Time Lapse Magazine recommends starting with an interval of at least ten seconds between exposures, which gives you time to move the tripod and adjust the pan and tilt. The brotherside example used an interval of about 3.5 seconds, which is the time they needed to move one step and re-aim. That suits handheld shooting better than a tripod.
The two numbers work together. A big step with a short interval makes the camera seem to rush. A small step with a long interval makes the camera drift while the scene moves faster around it. There is no right answer, only what suits your subject. A quiet square at sunset wants a different pair of numbers than a busy street.
 Save
Choosing a subject and a time of day
The best hyperlapse subjects have an interesting path and something that changes while you walk it. Time Lapse Magazine suggests picking a path with a smooth surface for the entire length of the move, and says that bonus points go to a surface with a pattern you can divide up, like paving tiles. You might take four photos per tile to keep your stride steady. Without a pattern, count steps, or measure a stride and stick to it.
Fast things are a problem on a tripod. If something crosses the frame faster than your interval and you freeze it with a fast shutter speed, it will appear in just one frame and flicker through the final clip. Time Lapse Magazine recommends slowing the shutter and using a strong neutral density filter, so the passing people and birds become soft motion trails instead of 250 individual photos of strangers. The same guide says that if you shoot at a tourist hotspot, arrive before or after the crowds.
Light matters just as much. The brotherside guide advises avoiding the midday sun when you can, because it creates dark shadows and blown highlights. Soft morning or evening light is kinder. Barcelona’s pale stone and terracotta rooftops look especially good in low sun, which is part of why the city shows up so often in videos like this one.
Also leave room around your subject. Because you will stabilize the clip afterward, the software crops in on every frame. Time Lapse Magazine recommends allowing 10 to 20 percent of extra room for that crop. If you frame tightly, you lose the edges of your subject when you stabilize.
Gear: less than you might think
The minimum equipment for a hyperlapse is a camera. Beyond The Time says so directly, and adds that you also need patience, maybe a lot of it. After that, a tripod is the most useful addition. The same guide prefers a tripod with a video head, because you can adjust pan and tilt separately. It says a ball head works but gets annoying unless the ground is perfectly even.
Some photographers use a gimbal or shoot handheld, and some use a monopod. Time Lapse Magazine notes that a gimbal lets you move the camera during the exposure, up to a shutter speed of about half a second, which gives motion blur at the edges of the frame that a tripod cannot. A tripod hyperlapse gives up that effect in exchange for sharp frames and total control over every step.
A neutral density filter helps for daytime work. In bright light your ISO hits its lowest setting quickly, so you cannot open the aperture or slow the shutter without overexposing. Time Lapse Magazine calls neutral density filters sunglasses for your lens and says a good collection for daytime tripod hyperlapses with a full-frame camera starts around an optical density of 1.8, which is called ND64. A grid overlay in the viewfinder or screen helps you keep the fixed point in the same place. If your camera has none, the same guide suggests a whiteboard marker or a piece of opaque tape.
Gear note: the 2014 production notes on this page are archival, as stated above. If you want a starting tripod for this kind of work, one option is the Manfrotto Befree Advanced Travel Aluminum Tripod at B&H. B&H lists it as a travel tripod with a maximum height of 59.1 inches that folds to 15.7 inches, and it showed as in stock at $199.95 on November 8, 2026. We have not used it. Check the load rating and head against your own camera, and note that price and availability can change.
Camera settings that keep the sequence consistent
A hyperlapse is only as good as its consistency. If the exposure or focus changes from photo to photo, you will see it in the final clip. Time Lapse Magazine gives a clear list. In a fixed lighting situation, use manual mode. In a changing situation like a sunset, use aperture priority with a fixed maximum exposure time. Keep focus manual and fixed for the whole sequence. Shoot RAW, and turn off any picture profiles or limiting settings that might change the look partway through.
Pick your focal length before you start. On a zoom lens, set it at one of the two extremes of the range so you do not nudge it by accident. To focus, open the aperture wide so the focus point is easier to see, zoom in digitally on your chosen point, and focus carefully. Then close down to an aperture where your lens is sharp. The same guide says an f-stop between 5.6 and 11 typically gives the best results.
For motion blur, Time Lapse Magazine points to the idea of a 180 degree shutter angle for smooth, cinematic movement. In practice that means a shutter speed of about half the frame time. At 25 frames per second, that is roughly one fiftieth of a second. A slower shutter smears moving subjects even more, which can help hide passersby. It also means you will probably need a neutral density filter in daylight.
Finally, prepare for the length of the shoot. A 250 photo sequence has no break for changing batteries or cards. Check the sensor for dust beforehand, because spots on the sensor will ruin every frame. Use a freshly charged battery, an empty card and a test run on your tripod to make sure the camera is balanced.
Shooting the sequence
Once you have chosen the fixed point, walked the path and counted the steps, the shoot itself is a loop. Align the camera with your chosen point and take the first photo. Wait for the exposure to finish. Move to the next position. Adjust the pan and tilt so the point is back at the mark on your screen. Shoot again. Repeat until you reach the end of your path.
It sounds easy, and the first ten frames are. Around frame 120 things get harder. Your feet are tired, the light has shifted, and a group of tourists is walking straight into your frame. That is the point where the advance planning pays off. Time Lapse Magazine warns that you cannot wait for a path to clear, because your interval has to keep marching at a constant pace. If a person walks through, keep going and handle it in the edit.
Watch your histogram as you shoot. Brightness often changes during a sequence even when you think the light is steady, and the exposure indicator and histogram are the quickest way to catch it. If it drifts too far, stop, note the frame number and decide whether to restart. A short, clean sequence is better than a long, flawed one.
 Save
Stabilizing and finishing
Even a careful shooter ends up with small errors. The fixed point is never exactly in the same place twice, and the camera height changes slightly with every step. That is why every tutorial we read treats stabilization as part of the technique rather than a repair job. Beyond The Time describes hyperlapse as replacing gear like sliders with post production stabilization.
The usual workflow is straightforward. First process the RAW files in batch, using a tool such as Adobe Lightroom or any other software that lets you grade and export many photos at once. Time Lapse Magazine also recommends LRTimelapse for sunrise and sunset sequences, because it adds ramping and deflicker tools to Lightroom. Then open the sequence as a video and stabilize it. Automatic stabilization is enough in many cases. For a tripod hyperlapse, you may need to stabilize by hand, and that guide recommends Adobe After Effects for both.
The brotherside guide goes into detail on the manual approach. It says the fixed point you used while shooting should be the same one you use as the position track point in stabilization, and it argues that a careful workflow gives better results than the usual one-click warp stabilizer. Their article includes example footage you can download and practice on.
Last, grade the clip and add motion blur or speed ramps if you want them. Keep an eye on the crop, because stabilization cuts into your frame. The clip is finished when it plays as one smooth, continuous move with no jitter.
What a film like this adds on top
A finished piece such as Barcelona GO! goes well beyond a single clip. Whitworth’s own page lists the Catalan Tourist Board as the client, which means locations, permissions and a plan for every move were part of the job. His 2014 notes, quoted in the original version of this post, thanked the tourism board for access and the people who worked on the film. A shoot like that is a team effort.
Then comes the join. Flow motion depends on each hyperlapse ending where the next one begins, so the eye sees one continuous move. That takes planning before you shoot, since you need to know how every clip will start and end, and careful work in the edit to blend them. If you try this yourself, begin with a single clip. Once you can make one clip smooth, try two that connect.
There is also a lesson in why the film worked. It had a clear idea, a single journey through one city, and it kept to that idea for two minutes. The technique served the idea. If you pick up a camera because of a film like this, try to start with the idea as well. What do you want a viewer to see as they move through your subject?
 Save
A simple first project
If you want to try this, keep the first attempt small. Pick a quiet place close to home, preferably with a paved surface and a clear subject, like a statue, a doorway or a building corner. Choose a fixed point on the subject. Plan a path of about three or four meters. Decide on a three-second clip at 25 frames per second, which needs about 75 photos. Choose a small step, around 10 to 30 centimeters, and an interval you can keep up with.
Shoot in the soft light of early morning or evening. Put the camera on a tripod, turn on the grid, set manual mode and fix your focus. Take your photos, one step at a time, and keep your attention on the fixed point. When you get home, process the photos in a batch, assemble them as a video and stabilize the result.
Then review it honestly. Was the exposure steady? Did the subject jump around the frame? Was the motion smooth? Write one note about each problem and one change to try next time. Your second clip will be much better than your first. By the fifth, you will understand why the people who make films like this one spend so much time on the details.
Barcelona GO! is still worth watching for what it shows is possible when a simple technique is carried out with care. The Vimeo link and player at the top of this page are the original source. If the player does not load for you, use the link beneath it.
Frequently asked questions
What is a hyperlapse?
A hyperlapse is a timelapse where the camera moves between photos. Shotkit describes it as a series of photos taken at set intervals while you move between each shot, then combined into a video.
What is flow motion?
The term is used for a hyperlapse that has been smoothed and joined so movement continues from one scene to the next. Time Lapse Network used it to describe Barcelona GO! when the film was released in 2014.
How many photos do I need for a hyperlapse clip?
Multiply your frame rate by the clip length in seconds. Time Lapse Magazine gives the example of 250 photos for a 10 second clip at 25 frames per second.
What interval should I use between photos?
It depends on how you shoot. Time Lapse Magazine suggests starting at 10 seconds or more for a tripod hyperlapse so you have time to move and re-aim. brotherside used about 3.5 seconds for a handheld sequence. Test and adjust.
How big should each step be?
brotherside says small steps of about 10 to 30 centimeters give slow, calm movement typical of architecture shots, while larger steps are faster. Pick based on the speed you want.
Do I need a neutral density filter?
In daylight it helps. Time Lapse Magazine says a daytime tripod hyperlapse with a full-frame camera calls for a collection that starts around ND64, which lets you use slower shutter speeds without overexposing.
Do I need special software to stabilize a hyperlapse?
No special tool is required. Time Lapse Magazine says automatic stabilization is enough in many cases, and recommends Adobe After Effects when you need to stabilize by hand. Try the stabilizer in the editor you already use first.