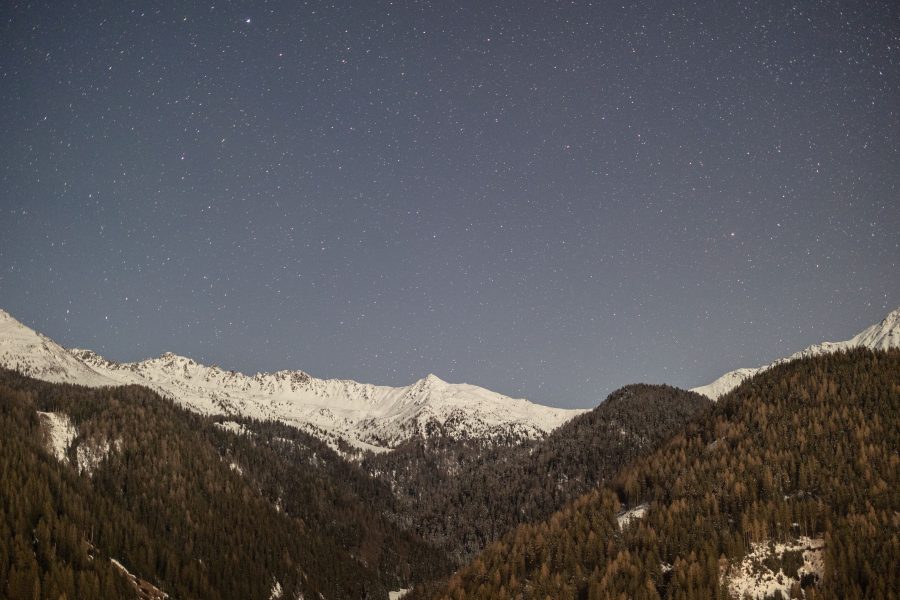
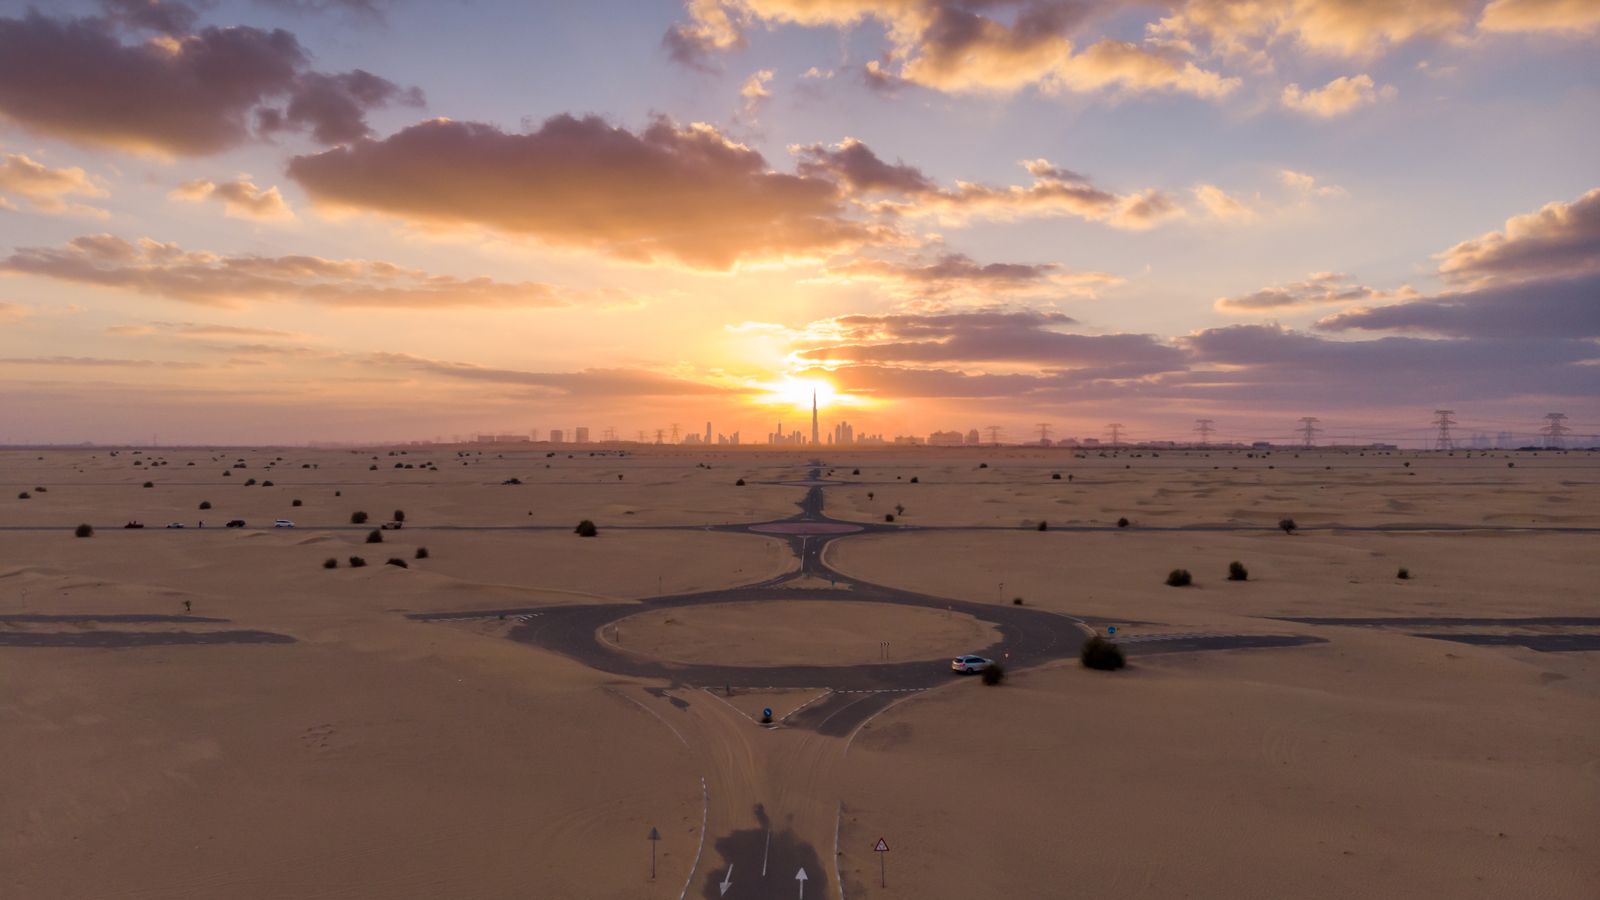
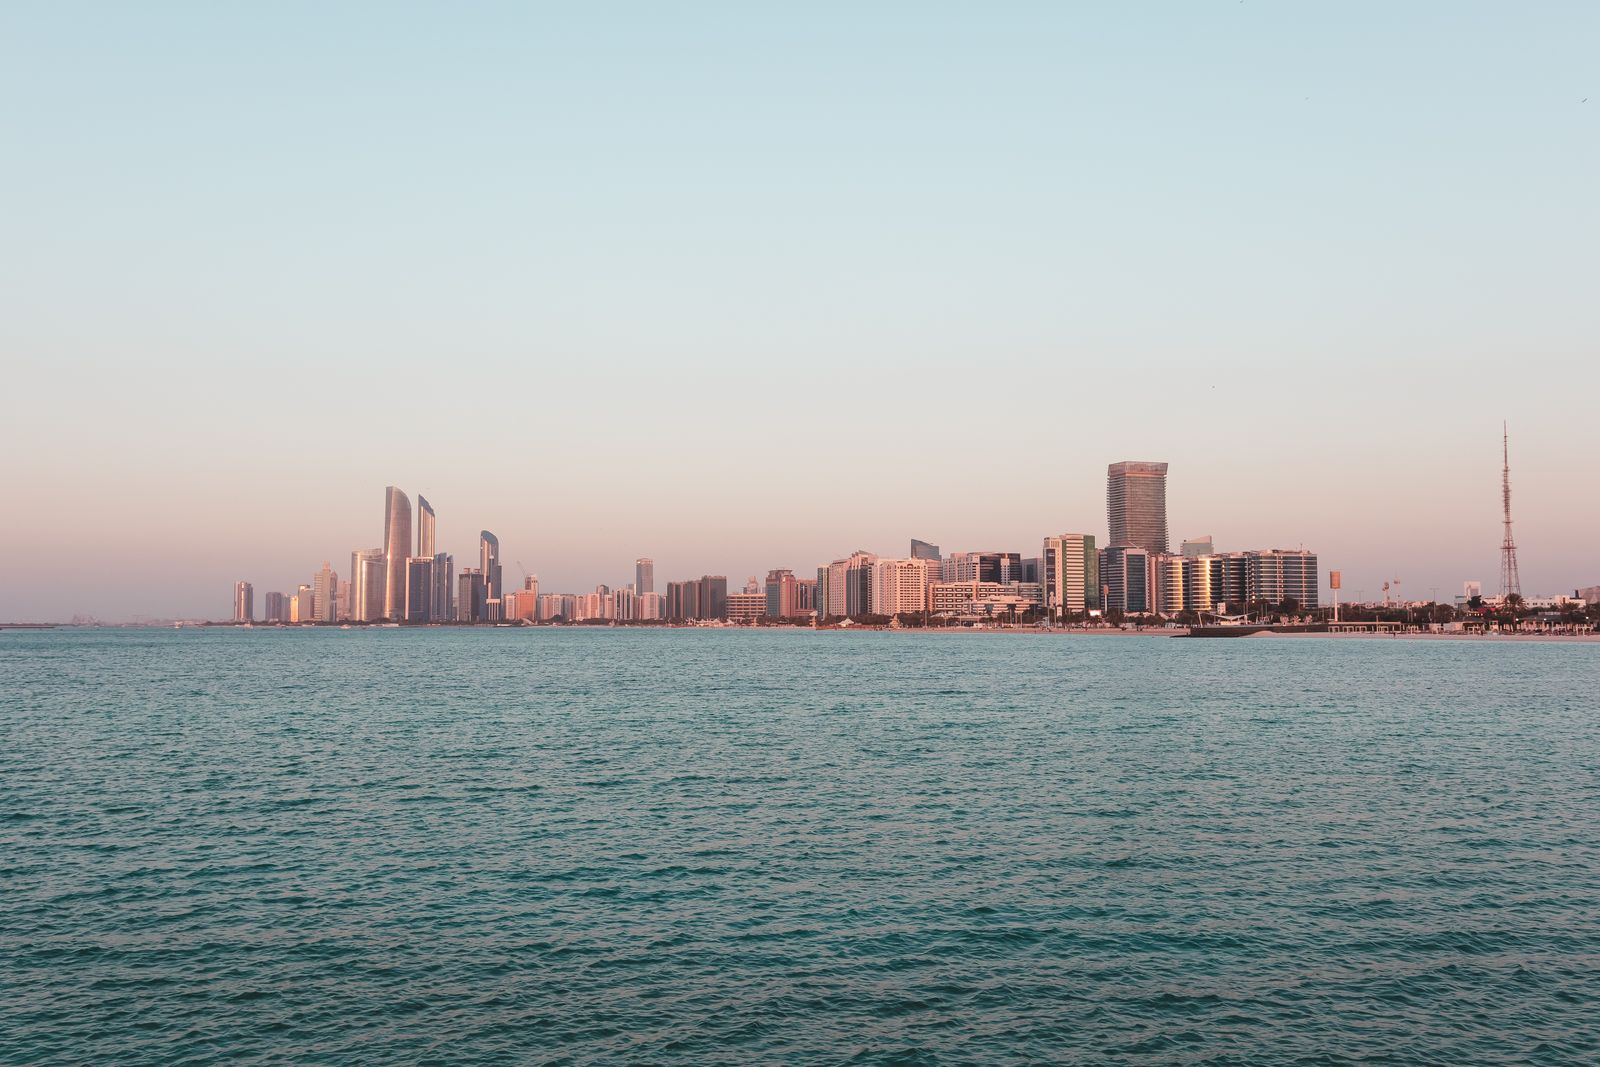
From the Shut Your Aperture archive (2014): this post originally shared a 2013 Dubai timelapse reel. The embedded player no longer plays reliably for everyone, so the original video is linked below rather than promised as a working embed. The photographs on this page are illustrative stills of the same city, not frames from that reel. Updated Nov 2026.
Dubai 2013 and the timelapse it shows
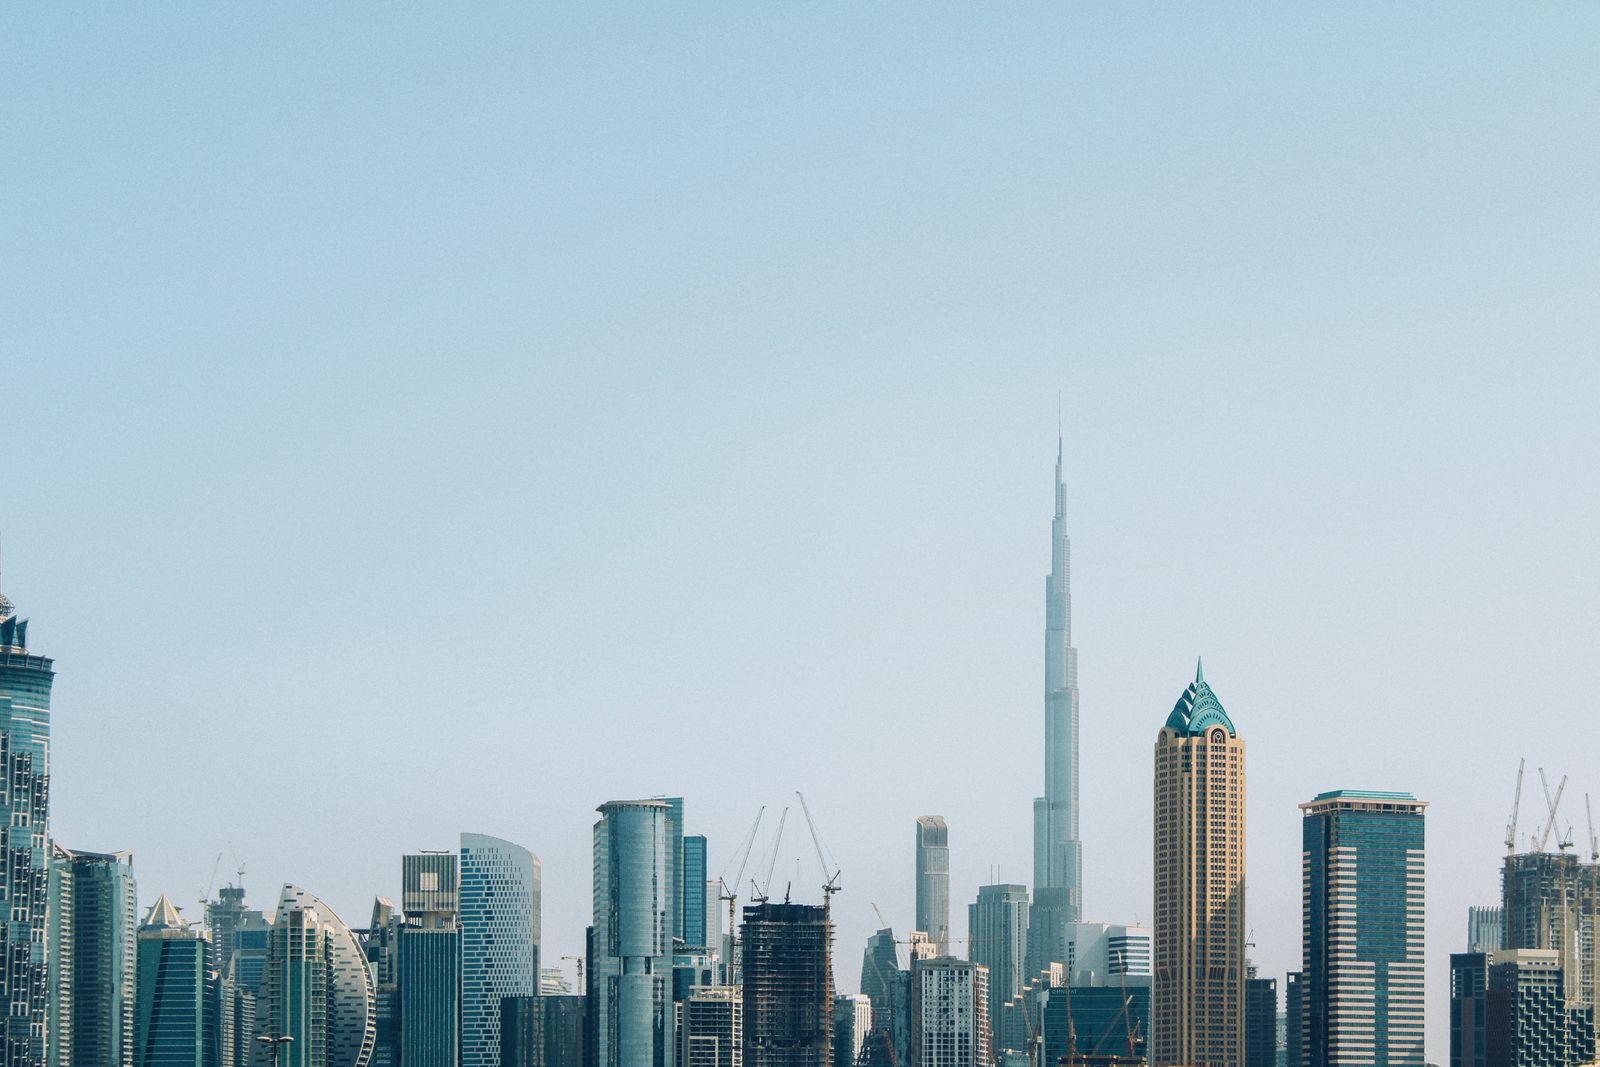
Dubai is a favorite subject for timelapse because the city changes so visibly across a single day. Glass towers catch the morning sun, traffic builds and thins, haze rolls in and the skyline switches on at dusk. A single fixed camera can record all of it.
 Save
The original post pointed to a 2013 demo reel of Dubai and Abu Dhabi, “Dubai 2013” on Vimeo, credited to zweizwei |timelapse&hyperlapse|. Vimeo’s public page identifies the title and creator, but whether it plays can depend on your account or region. The 2014 post also listed camera gear and footage formats. Those details are historical and say nothing about what you should buy or shoot today.
This guide uses the reel as a starting point and turns it into something practical. It explains how a timelapse works, how to choose an interval and shutter speed, how to avoid flicker and how to plan a city sequence. It is based on published guides from camera makers and timelapse specialists, linked where they are used. It is not a hands-on test, and it makes no claim about how the reel was shot.
What a timelapse actually is
Canon’s time-lapse guide describes the idea clearly. Individual frames are captured at regular intervals over a long period. When they play back at normal speed, time seems to move faster than it did. It also stresses that this is different from a long exposure, even though both deal with the passage of time. A long exposure blends time into one image. A timelapse keeps every moment as its own frame.
That difference changes how you think about the shoot. You are not making one photograph. You are making hundreds or thousands of nearly identical photographs, and every small inconsistency will show up when they play in a row. A slightly different exposure, a nudged tripod or a shifting focus point can turn into a flicker, a wobble or a soft patch that appears for a second and spoils the sequence.
So most of the craft is consistency. Lock down everything you can, let only the scene change and decide in advance how long the finished clip should be. The rest of this guide follows that order.
Plan the length of the finished clip first
Start from the end. Decide how many seconds of video you want. Then use the playback frame rate to work out how many photographs you need. A video plays at roughly 24 to 30 frames per second, so ten seconds of finished footage needs somewhere between 240 and 300 frames. A Time Lapse Network step-by-step tutorial describes the same logic and suggests a playback rate between 10 and 30 frames per second.
 Save
Next, decide how long the real event lasts. A sunset might last an hour. A busy street may need a few hours. A day-to-night transition across a skyline could take longer. Divide the real duration by the number of frames you need and you have your interval. If the numbers give you an interval that feels wrong for the subject, adjust the clip length, not the physics.
Write the plan down before you leave home. Note the start time, the end time, the interval, the number of frames and the memory you will need. A short plan prevents the most common mistake in timelapse, which is running out of battery or card space in the middle of the one moment you cared about.
Choose an interval that fits the subject
There is no universal interval. The same Time Lapse Network tutorial suggests a short interval, around one to four seconds, for busy city streets and traffic, and a longer one for slow moving clouds. For fast clouds on a windy day it suggests a range from about five to twenty seconds depending on how much the wind is moving them. Treat those as starting points to test, not rules.
For a skyline, think about what you want the viewer to notice. If it is traffic on a highway below, a short interval keeps the movement smooth. If it is the sky changing color behind the towers, a longer interval is enough, because the light changes slowly. If you want both, you may have to choose, or shoot two separate sequences from the same position.
Canon’s guide gives similar advice for different settings. It points to urban scenes for their traffic, architecture, reflections in glass and the interplay of artificial lights at dusk. For natural scenes it suggests longer intervals to capture slow movement. The pattern is simple: the faster the subject moves, the shorter the interval.
Shutter speed and motion blur
Interval and shutter speed work together. Canon says the shutter speed should be at most half the interval so each exposure can finish before the next begins. It also says a slower shutter speed that adds a little motion blur is usually more pleasing, and it suggests one thirtieth of a second or slower as a starting point.
Beyond The Time explains why with the 180 degree rule from video. In video, a shutter speed of about double the frame rate gives natural looking motion. In timelapse, the article suggests a simplified version: take the interval and divide it by two. With a two second interval, that points to about one second. It adds that many built-in interval timers count the interval in a way that includes the exposure, so the real behavior depends on your camera. Its motion blur article is worth reading before you choose settings.
The practical effect is easy to see. If cars and people are sharp in every frame, they can look like they are jumping from place to place. A little blur joins one frame to the next and makes the movement feel continuous. On a bright day, getting that blur can need a neutral density filter, which Canon lists among essential accessories because it lets you use a slower shutter speed without overexposing the frame.
Use manual settings to avoid flicker
Flicker is the enemy of a good timelapse. It is the effect where some frames look brighter or darker than their neighbors and the video seems to strobe. Learn Timelapse describes the cause and the cure in its guide to time-lapse exposure and flicker. Its main advice is to shoot in manual mode in scenes where the light is fairly constant, because that removes as many automatic decisions as possible. It lists shutter speed, aperture and focus as the settings to control by hand.
 Save
Expert Photography adds that flicker can come from changing light, such as clouds passing over the sun, from some indoor lights and from incorrect camera settings. Its deflickering guide says most flicker can be reduced with the right settings before you shoot, and that some sequences still need correction afterward.
A simple checklist helps. Set the exposure mode to manual. Set the ISO and white balance by hand as well, instead of leaving them on auto. Switch the lens to manual focus after you have focused carefully. Check your camera and lens manuals for automatic features that could change the frame or exposure between shots. Then take a few test frames and check them before you start the real run.
There is one important exception. Sunrise, sunset and the shift from day to night change the light a lot. A fixed exposure that is right at the start may be too bright or too dark an hour later. Learn Timelapse describes manual mode as the usual choice for scenes with relatively constant light, so treat changing light as a separate problem to practice once steady scenes work.
Fix the rest of the camera
Stability matters as much as exposure. Canon calls a sturdy tripod an absolute must, because the camera has to stay perfectly still through the whole sequence. Put it on firm ground, not on a loose surface that may settle, and keep it away from places where people may bump it. On a rooftop or balcony, check for vibration from the building and watch for wind.
Shoot RAW if your camera and card space allow it. Canon notes that RAW gives you the greatest flexibility in editing, even though the files are larger. For a timelapse that matters, because you can apply the same corrections to the entire set rather than repairing individual frames.
Plan for the number of files. A sequence can easily run to hundreds or thousands of frames, so Canon recommends high-capacity memory cards. Check your battery too, because a long run can drain it. Whatever you choose, start with a full battery and a formatted card.
An intervalometer, which Canon describes as a device that takes photos at set intervals, saves you from counting seconds by hand. Many cameras have one built in. If yours does not, an external timer remote can do the job. Check that the model you choose works with your specific camera before you buy.
Planning a city sequence
Scout the location first. Canon advises visiting beforehand to find a clear, uninterrupted view and to think about light, weather and possible disturbances. For a skyline, that means asking where the sun will be, what is likely to move into the frame and whether you are allowed to set up there.
Be careful about access. Rooftops, hotel balconies and private terraces often have rules about equipment and about photography. Ask first, and respect any limits you are given. In a public space, keep your gear out of the way of other people and do not block a walkway.
Think about the composition as a moving picture. A frame that looks balanced as a still may feel wrong when the clouds travel through it for ten seconds. Leave room for the movement you expect. If a tall tower will anchor the shot, decide whether it sits in the center or off to one side, and then keep that choice for the whole run.
Pay attention to the first and last frames. They will be the first and last things the viewer sees. If you can, begin before the interesting light arrives and keep going after it passes, so you have room to trim in editing. A few extra minutes at each end costs little and gives you choices.
Finally, think about the weather. Dust, haze and humidity can soften a skyline, as some of the photographs here show. That can look beautiful or flat, depending on the light. Check the forecast, and be ready to come back another day. Repeating a shoot is normal in timelapse work.
Put the frames together
Once you have the frames, the work moves to the computer. Import the sequence, apply the same adjustments to every frame and check a few at the start, middle and end. If you shot RAW, make the corrections to one frame, then copy them across the set so every image receives identical treatment.
 Save
Deflicker next if you need it. Expert Photography walks through the process and notes that you may still need a correction step even when your settings were good. Look at the sequence at full speed, not only frame by frame, because flicker is easiest to spot in motion.
Then assemble the frames into a video. Canon names several editing programs that its ambassadors and professionals use, including PowerDirector 365, Adobe Premiere Pro and Final Cut Pro. Free tools can also do the job. Choose the one you can learn well enough to finish a clip. Set the playback frame rate to match your plan, add any slow zoom or pan you want and export at a resolution that suits where the video will be shown.
Keep the original frames and your project file. If you later decide to change the speed, trim the ends or improve the color, you will want the source images, not only the exported video. Label the folders clearly, including the date, location and interval, so you can find them months later.
What the reel teaches
A timelapse reel like the 2013 Dubai piece is useful as a study. Watch it with a few questions in mind. Where does the motion come from? Is the camera still, or does it move? Do the clouds, the traffic or the lights carry the shot? How long does each scene last before the cut? You can learn a lot about pacing without knowing anything about how it was made.
Be cautious about guessing the technique. A clip does not tell you the interval, the shutter speed or the lens. If you want to copy an effect, test it yourself on a simple scene and adjust until you get a result you like. That is more reliable than reverse engineering a finished video.
A short first project
If you have never made one, begin small. Choose a subject with obvious movement, such as clouds over a building or traffic near a window. Set the camera on a stable tripod, switch to manual exposure and manual focus and take a short test run. Use a modest number of frames so that the whole process, from shooting to export, fits in one afternoon.
 Save
Review the result honestly. Was the exposure steady? Did anything shift? Was the motion smooth, or did it jump? Write one sentence about each problem and one change to try next time. Then repeat. A few small projects will teach you more than reading another list of settings.
When you are ready for a bigger scene, such as a skyline from dusk into night, use what you learned. Plan the clip length, choose an interval, think about the light change and bring enough power and storage. A good timelapse feels effortless on screen, but it is built from careful, repeatable choices made before the first frame.
Frequently asked questions
Is the original Dubai 2013 timelapse still available?
The original post linked a Vimeo reel titled Dubai 2013. Vimeo’s public page identifies the title and creator, but playback can depend on your account or region, so this page links to it instead of embedding it.
What is the difference between a timelapse and a long exposure?
Canon’s time-lapse guide explains that a timelapse captures separate frames at regular intervals and plays them back quickly. A long exposure blends a period of time into a single image.
How do I choose an interval for a city timelapse?
Start from the length of the finished clip and the real duration of the event. A Time Lapse Network tutorial suggests roughly one to four seconds for busy streets and traffic, and longer intervals for slow clouds. Test and adjust.
What shutter speed should I use?
Canon says to keep the shutter speed at no more than half the interval and suggests one thirtieth of a second or slower as a starting point. Beyond The Time describes dividing the interval by two as a simplified rule. Cameras count intervals differently, so test yours.
How do I avoid flicker?
Learn Timelapse recommends manual mode for scenes with fairly constant light, with shutter speed, aperture and focus set by hand. Expert Photography adds that some sequences still need deflickering after you shoot.
Do I need a neutral density filter?
In bright daylight, Canon lists a neutral density filter as an accessory that allows slower shutter speeds without overexposing. Whether you need one depends on the light and the effect you want.
What do I need besides a camera?
Canon lists a sturdy tripod, an intervalometer, high-capacity memory cards and, for daylight work, a neutral density filter. Check that any accessory is compatible with your exact camera.
Gear note: if you plan a timelapse and your camera supports it, an intervalometer takes over the timing. One option is the Nikon MC-36A Multi-Function Remote Cord at B&H, which B&H lists as an intervalometer for time-lapse shooting and showed as in stock on November 8, 2026. It works only with certain Nikon cameras, so check the compatibility list first. Availability can change.