Featured photograph: Photo by James Wheeler / Pexels / Pexels License. (Stock photo, illustrative.)
From the Shut Your Aperture archive (2014): this is a historical video feature. The embedded player now returns a sign-in/access response in the automated check, so the original video is linked rather than claimed as a confirmed playable embed.
Vancouver Island 4K – Timelapse
Gavin Hardcastle’s original 2014 caption says the trailer included scenes shot near Nanaimo, Victoria and Sooke. The gear, licensing, workshops and future-project ideas in that caption belong to 2014 and should not be read as current offers.
View “Vancouver Island 4K – Timelapse” on Vimeo (credited to Gavin Hardcastle / Fototripper). Vimeo’s public metadata identifies this title and creator, but playback availability may vary by account or region.
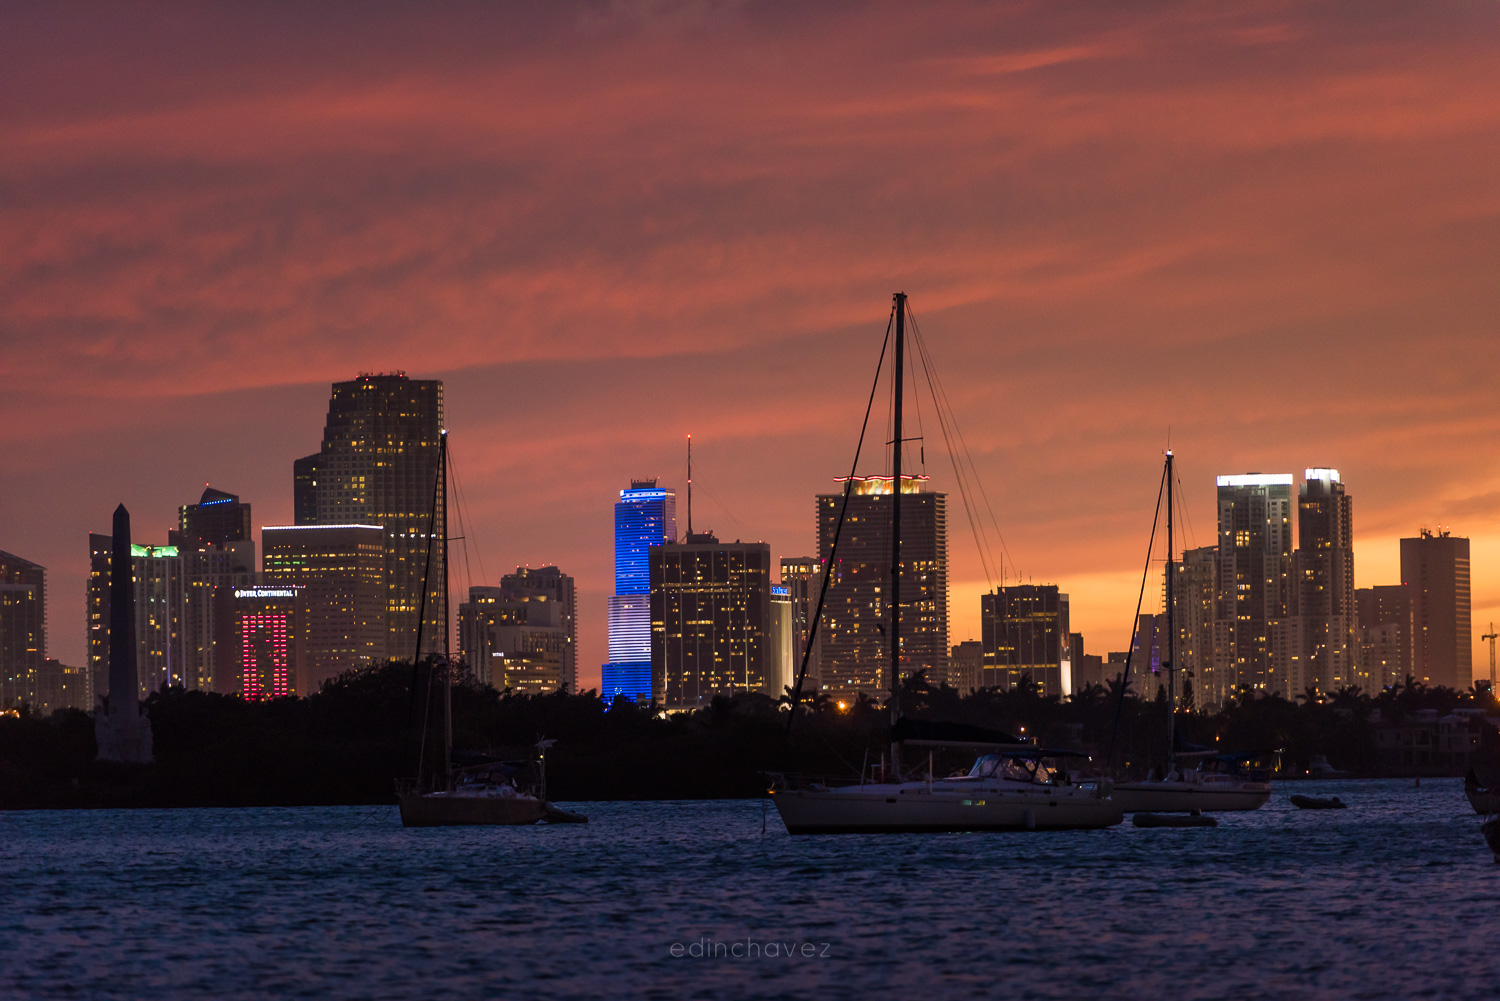
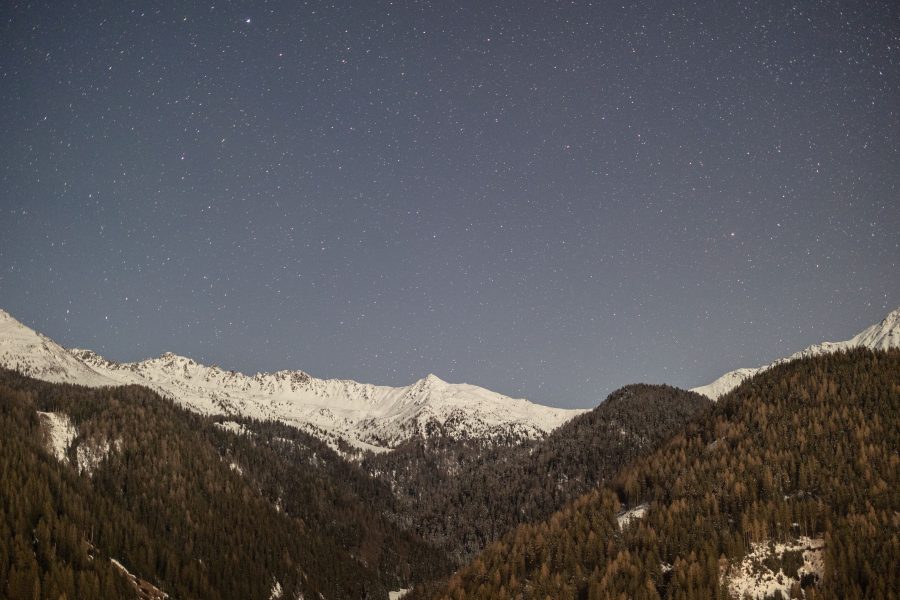
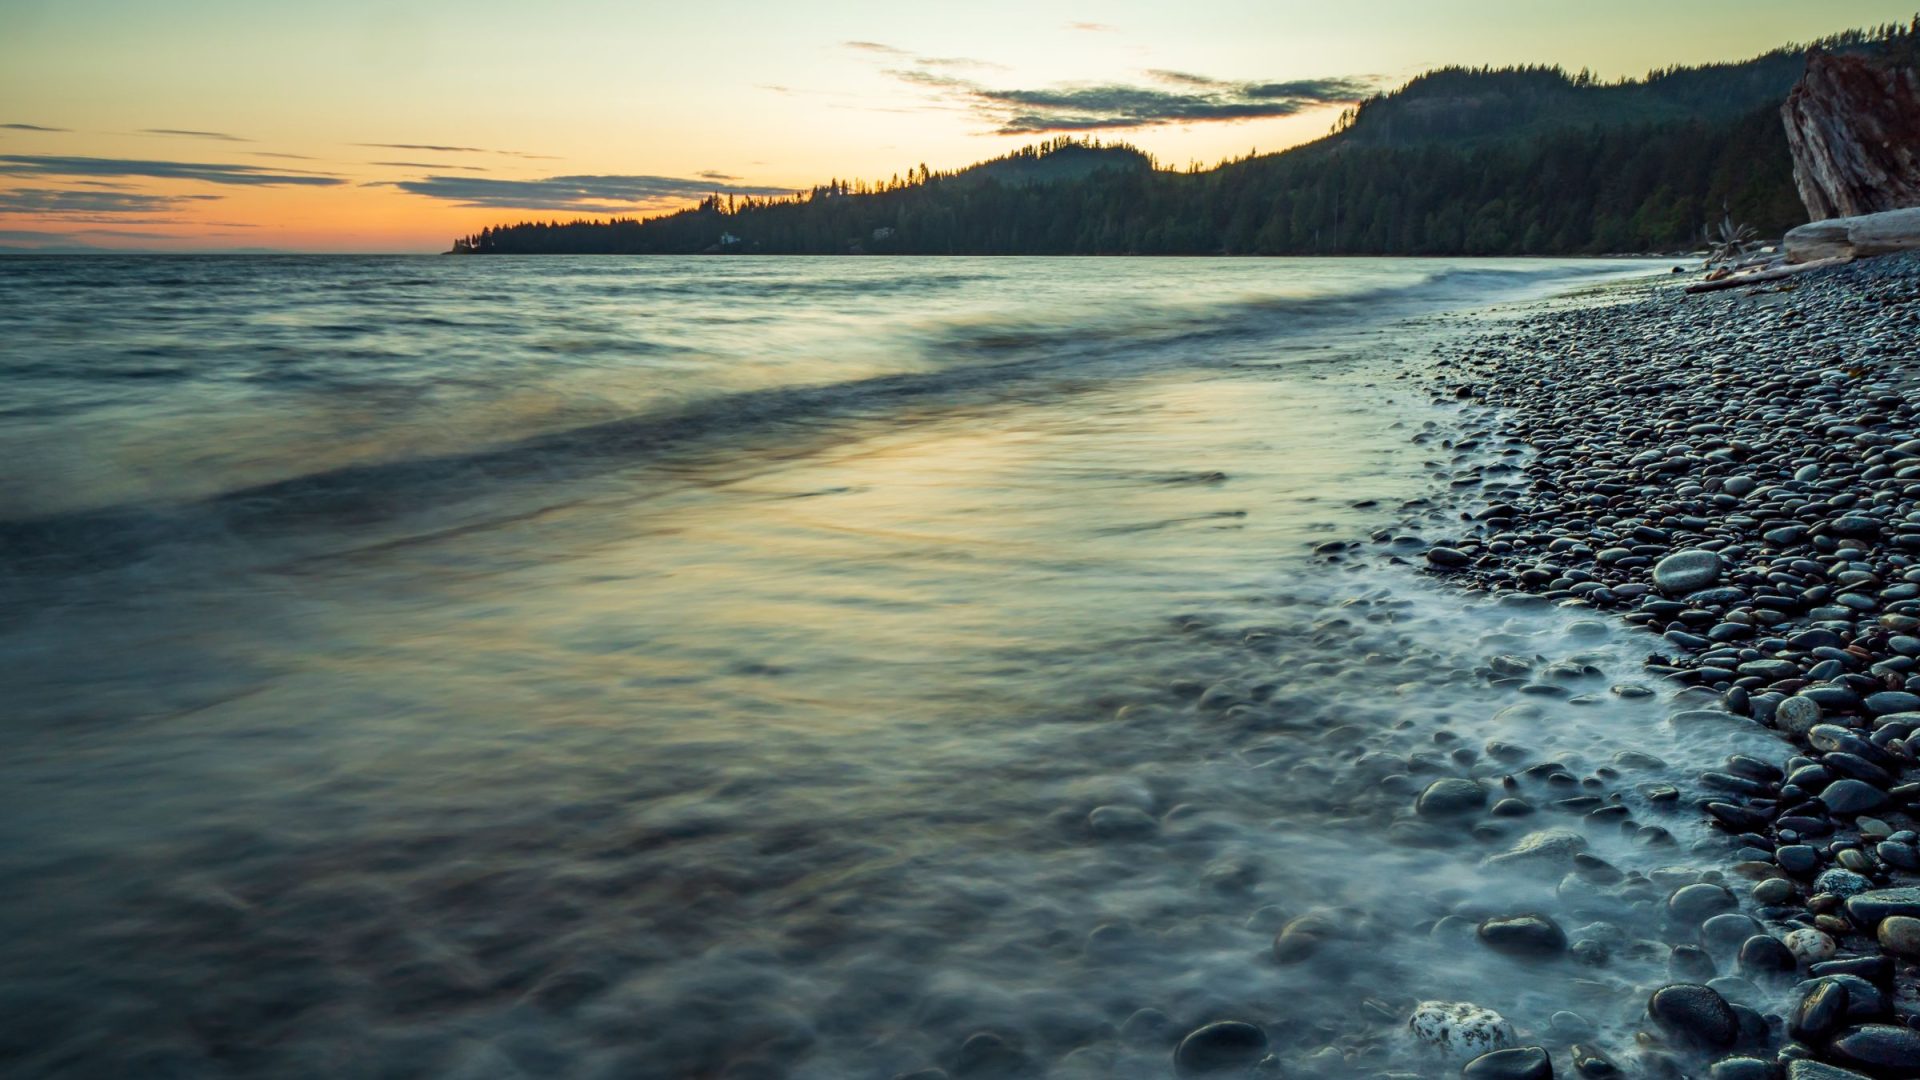
The five credited photographs are separate illustrative stock images, not frames or production photographs from the archived trailer, exact filming viewpoints, or Edin Chavez photographs.
A coastline is a study in different speeds
A coastal time-lapse can contain several kinds of movement at once. The water changes quickly, clouds take longer to cross the frame, and the outline of the shore may appear still throughout the sequence. That difference gives the filmmaker a useful starting point. Rather than asking how to make everything move faster, ask which change should lead the shot. A frame built around cloud movement may need a different balance of sky and foreground from one built around the changing edge of the water.
Begin a practice project by describing one change you want the audience to notice. Keep it specific enough to judge afterward. You might want to follow the movement of a cloud shadow across a headland, or compare repeated waves against a fixed line of rocks. Those are different questions, even if they can be recorded from the same viewpoint. A clear question helps you decide whether a sequence has succeeded without relying on dramatic music or a large output-resolution label to make it feel important.
Keep the place and the project separate
The archived title identifies Vancouver Island, but a place name is not a complete account of how a film was made. The preserved caption describes a particular historical project. Do not turn a list of locations in that caption into a current route, an access recommendation or a promise that a viewpoint will look the same on a future visit. A useful response to a landscape film can be an exercise in observation and editing, rather than an attempt to duplicate someone else's itinerary or equipment list.
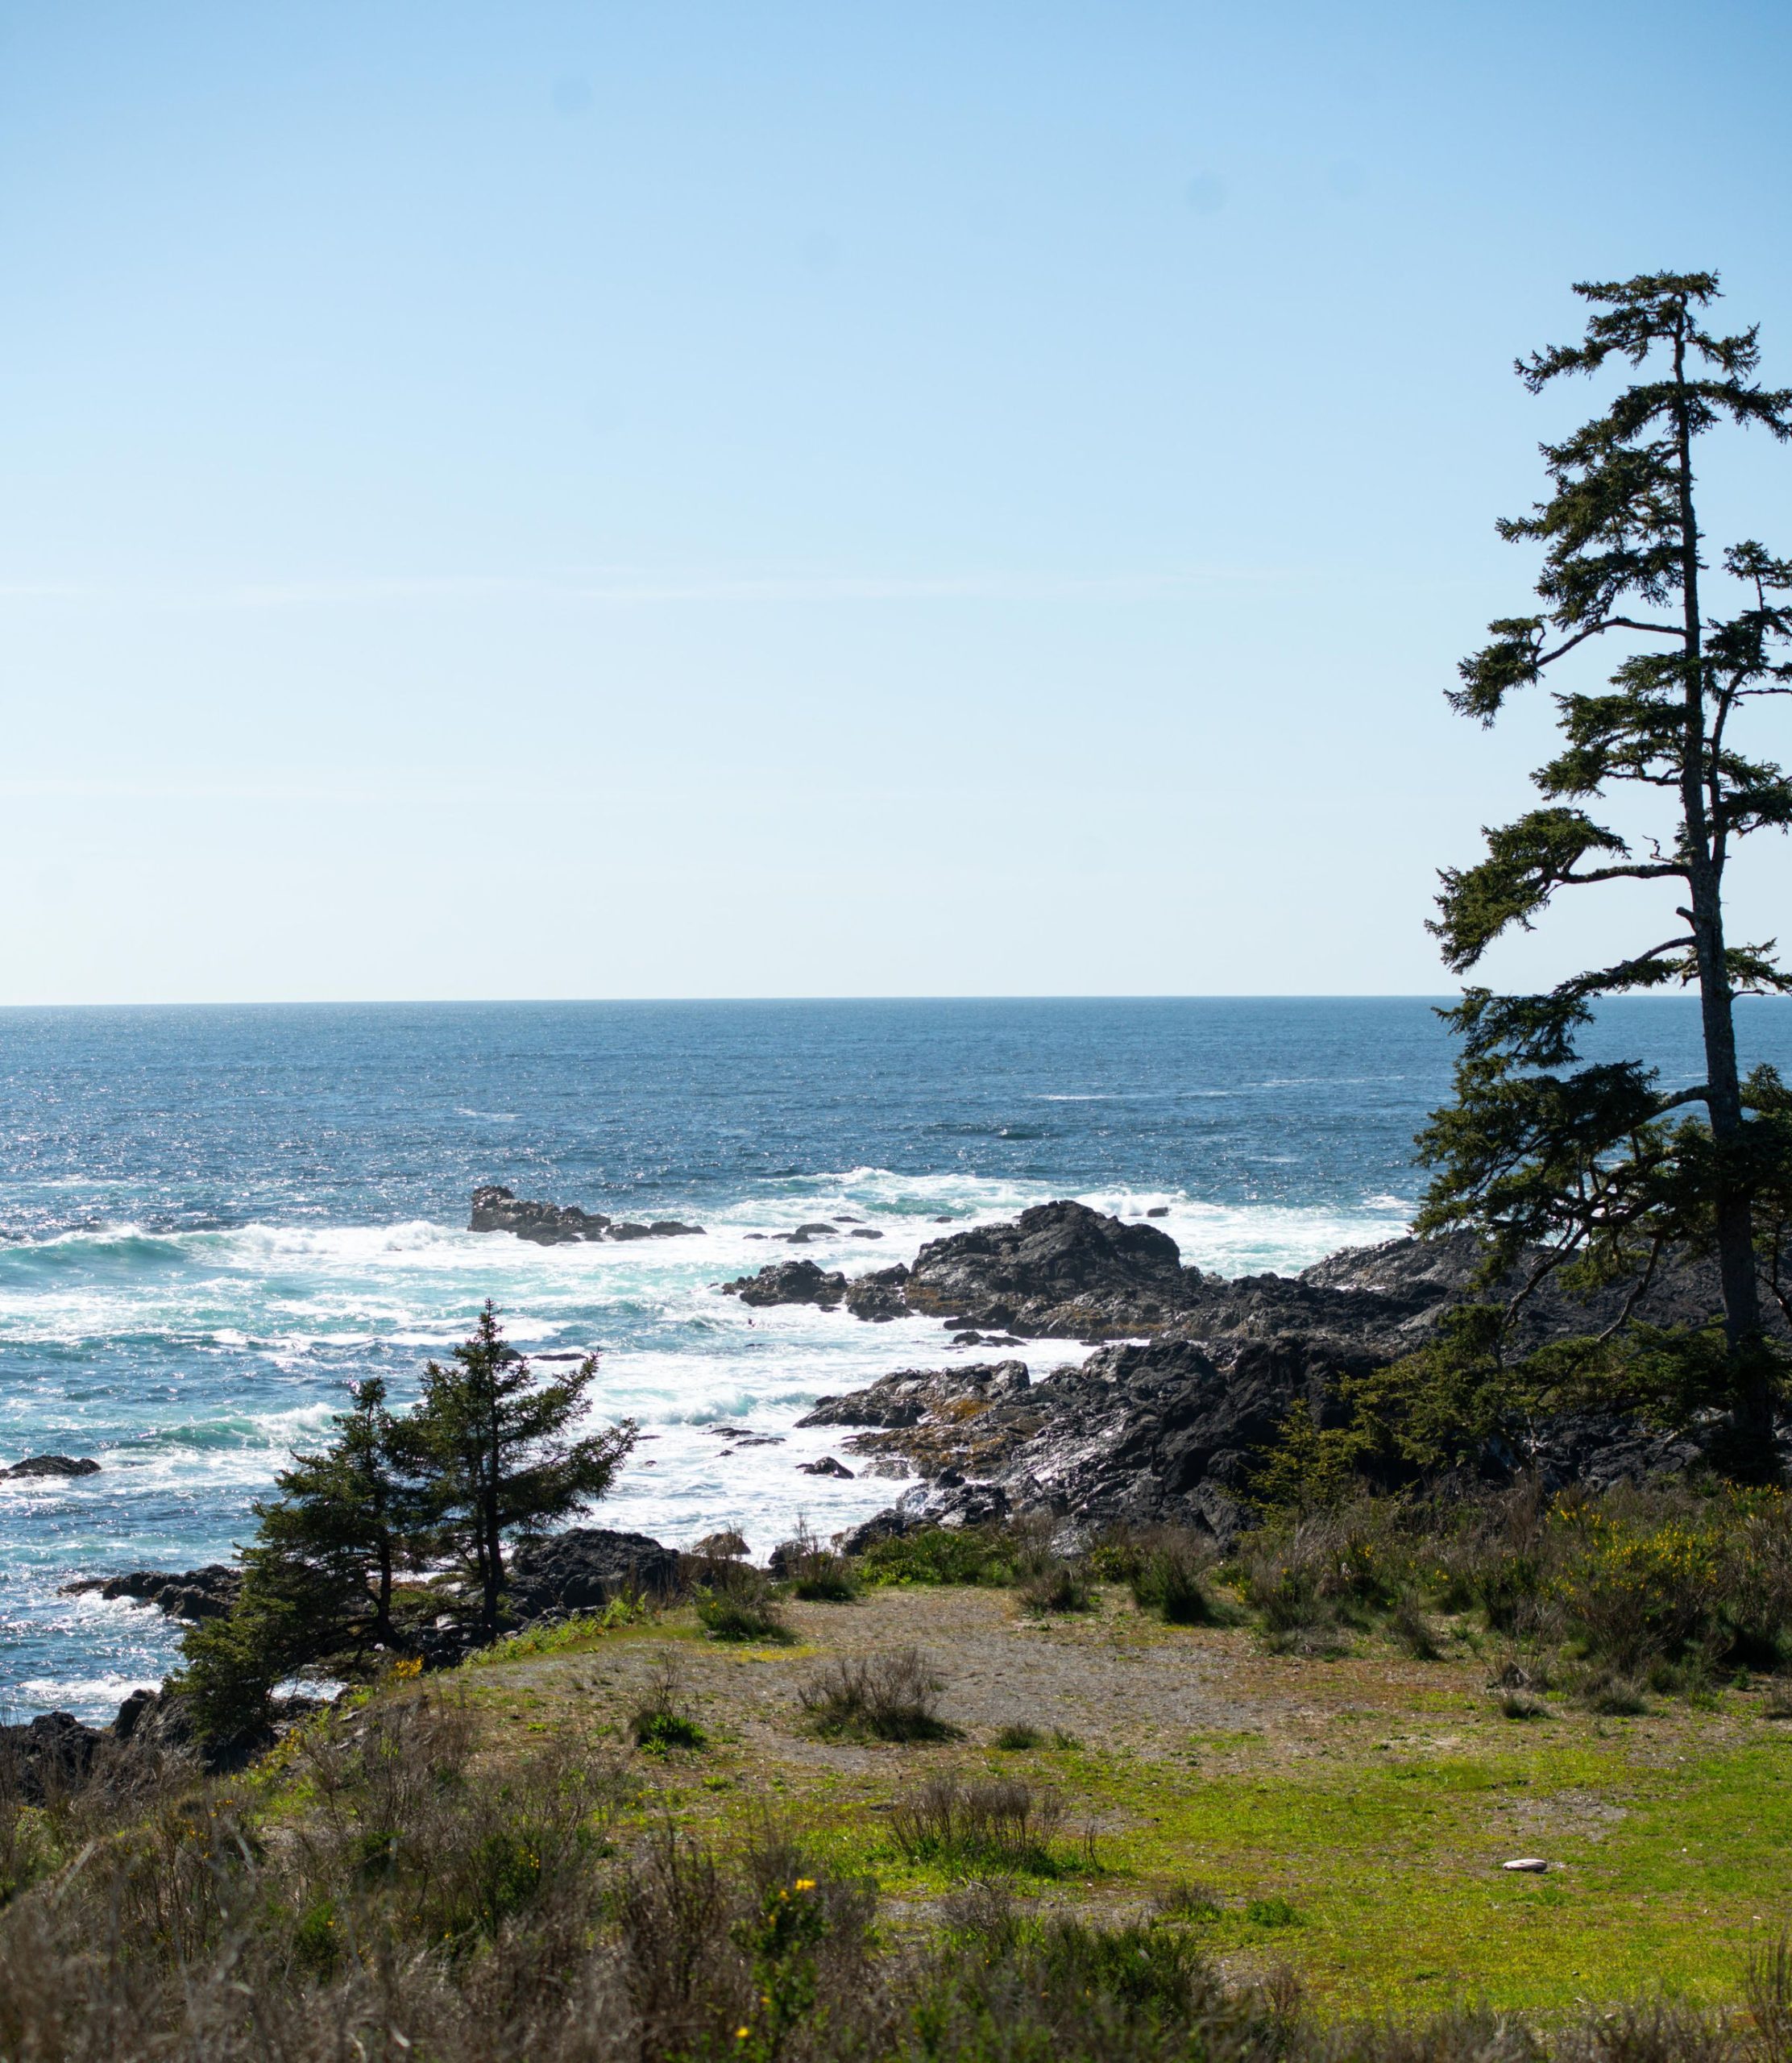
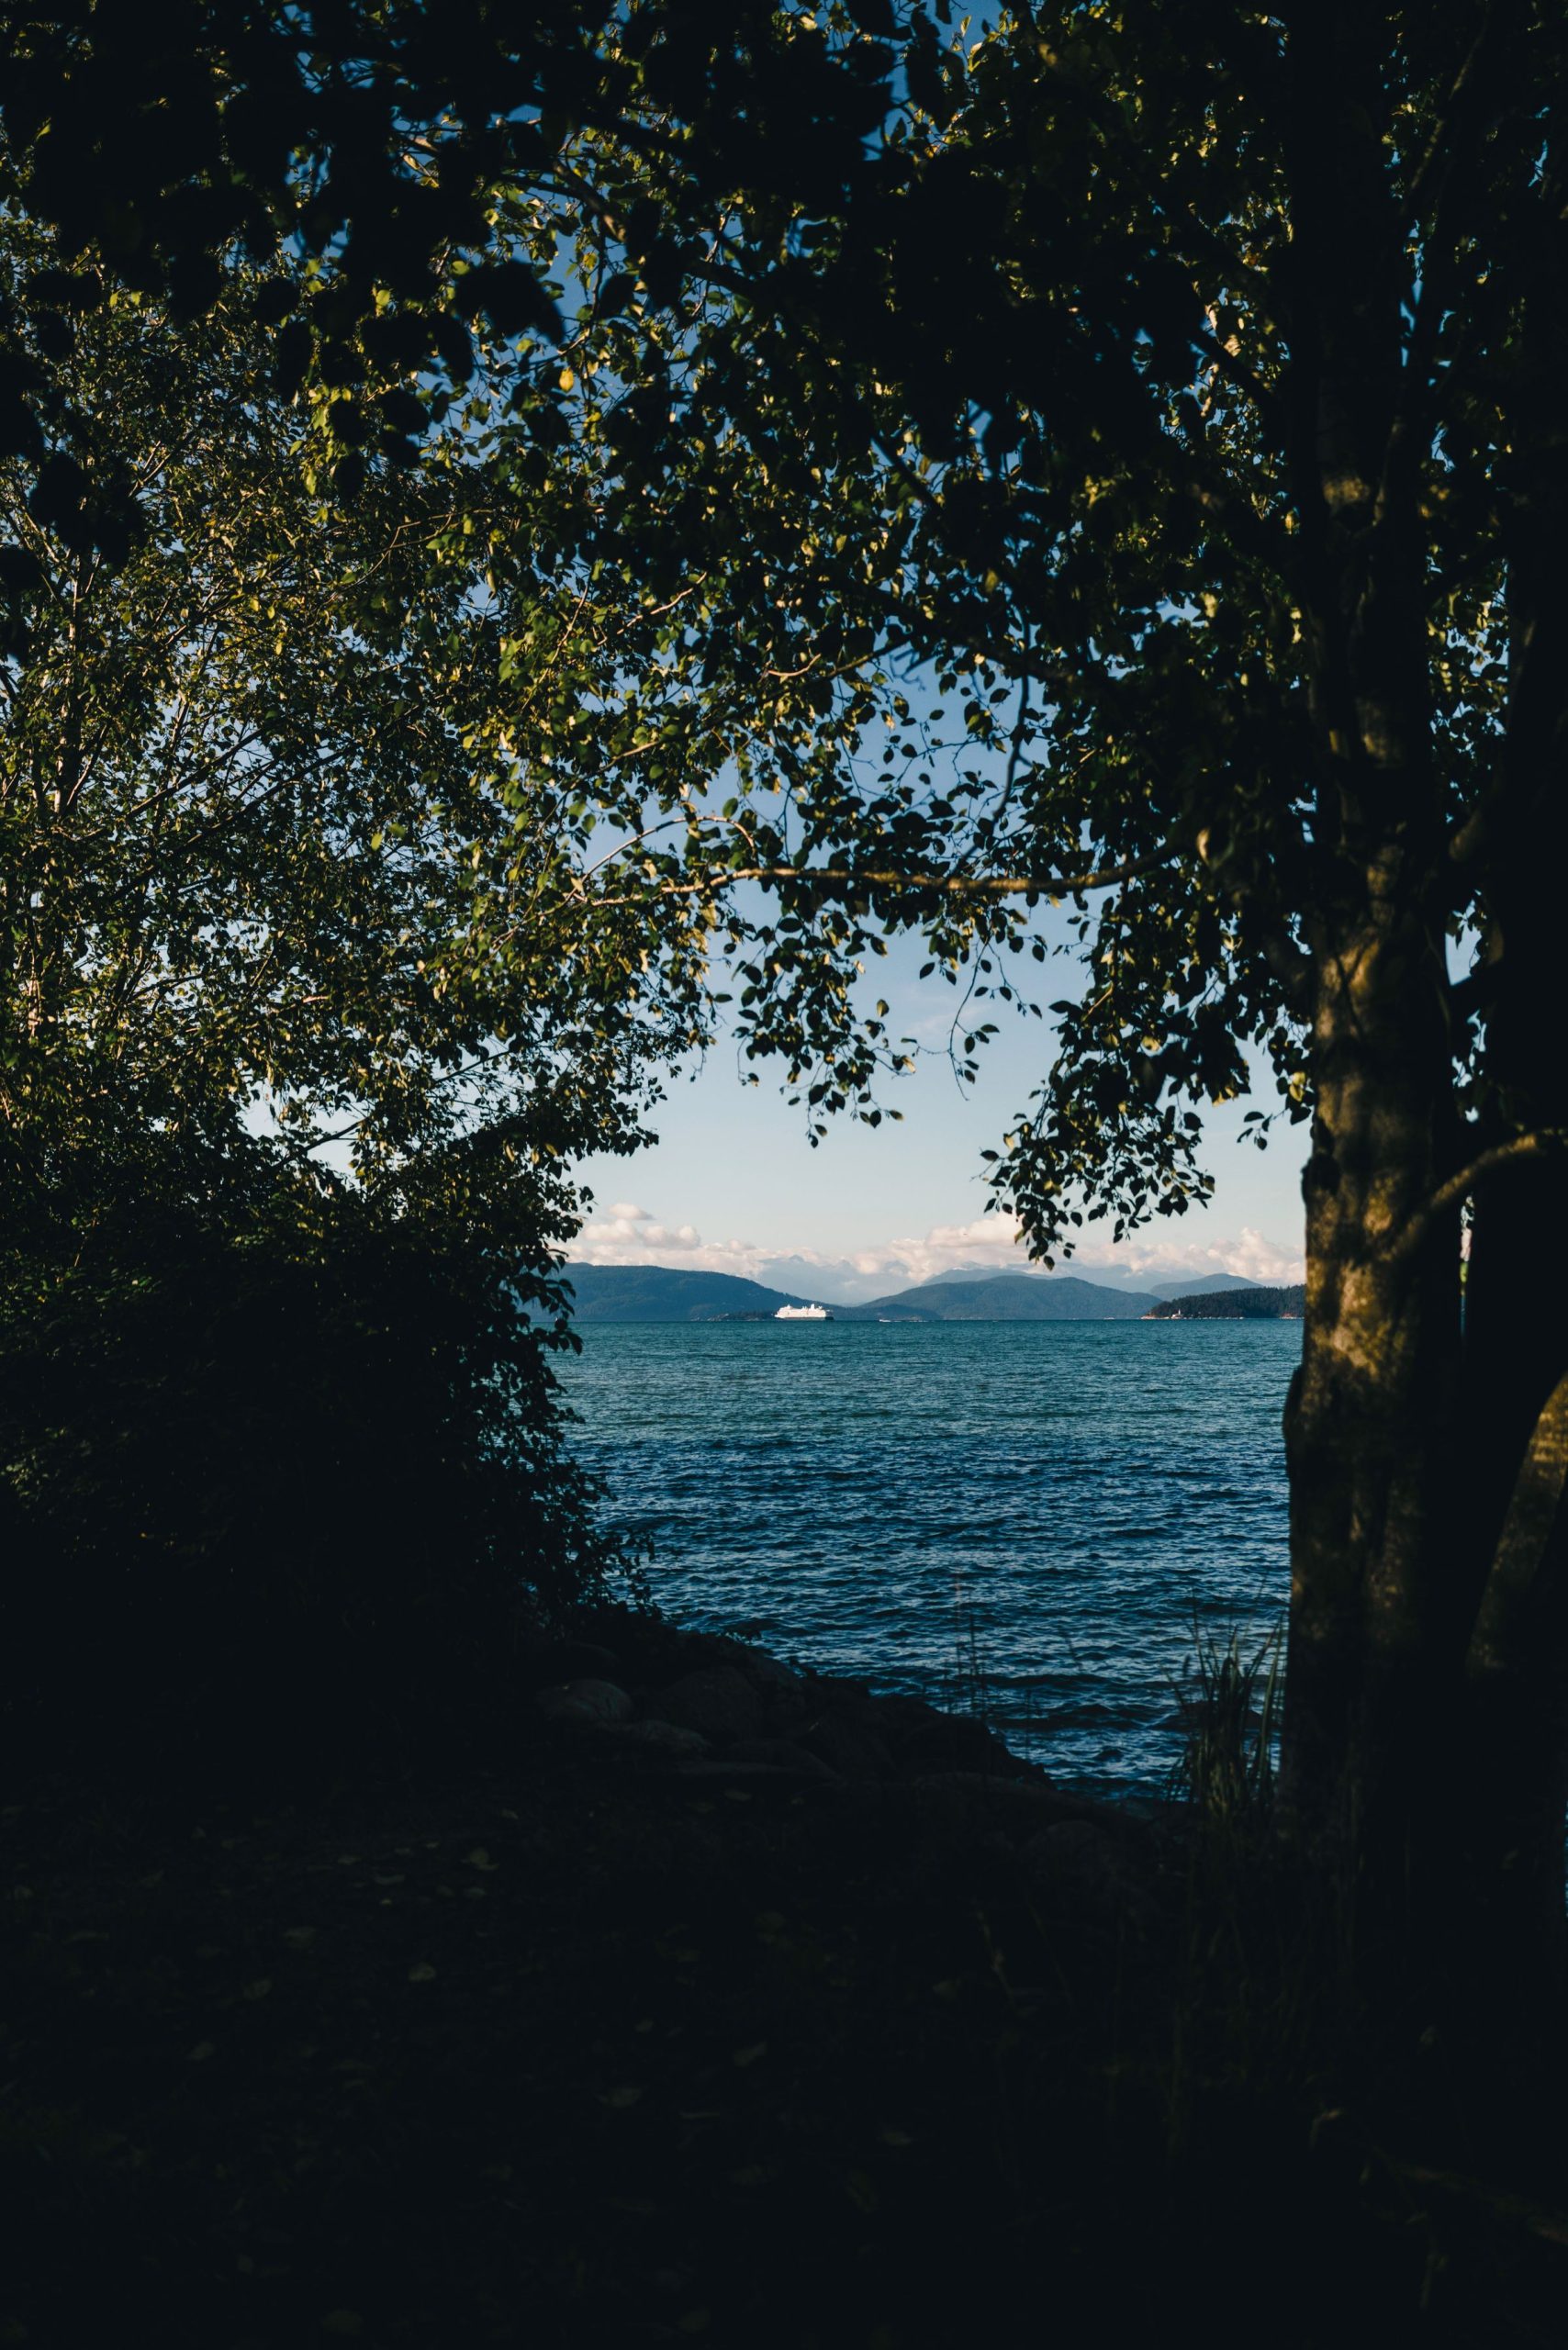
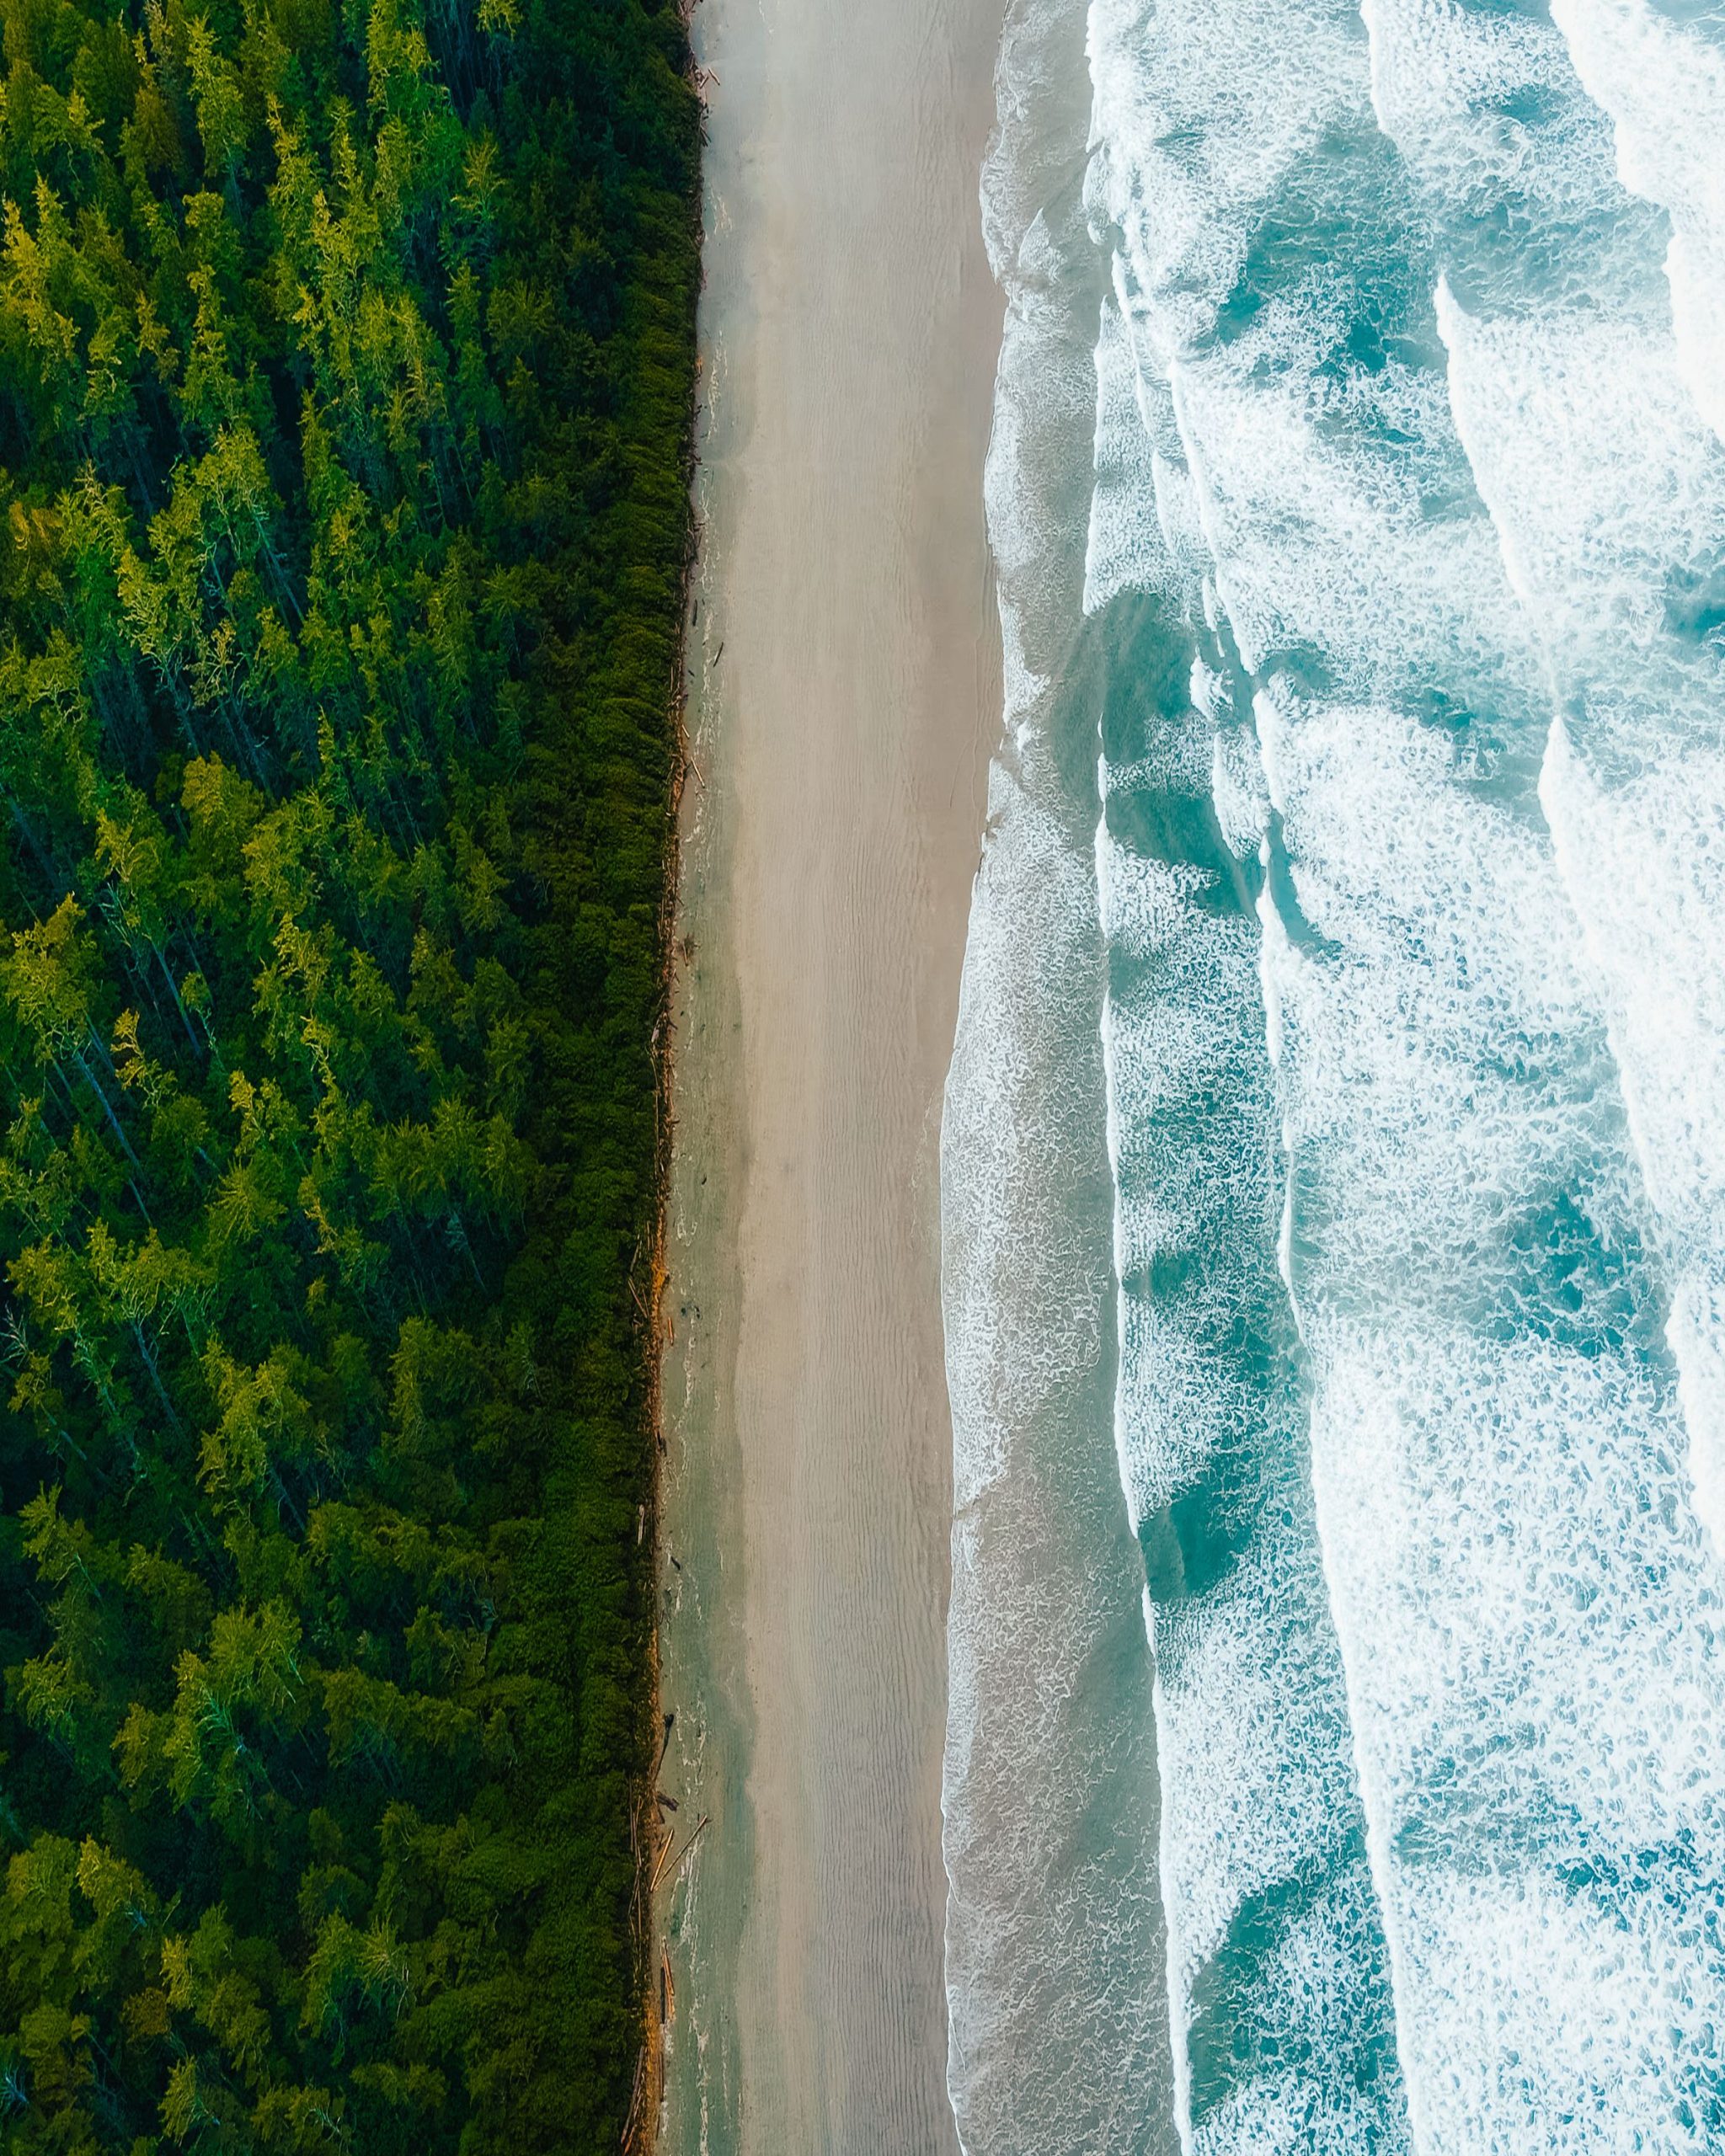
The photographs here are separately credited illustrations, not frames from the archived trailer. Their locations help establish a broader coastal setting without claiming that the film used those exact viewpoints. This distinction is useful in your own work, too. If an edit combines several places, make the relationship clear rather than letting a sequence imply that one beach, one stretch of forest and one sunset all belong to a single uninterrupted visit. A small caption can preserve that honesty without interrupting the visual flow of the film.
 Save
Compose for change, not only for a still frame
A good-looking first photograph does not always predict a clear moving sequence. Before starting a practice recording, imagine where the main movement could travel. Will a cloud leave the useful part of the frame? Could the moving water become difficult to read against a busy foreground? Try sketching the beginning and the possible end of the shot. The sketch does not have to be accurate enough to predict nature. Its purpose is to reveal whether the composition leaves space for something to happen rather than simply preserving an attractive starting arrangement.
Look for a stable reference that helps the audience understand the change. It could be the contour of the shore, a distant ridge or a small group of trees that remains recognizable while the surrounding light changes. Avoid filling the frame with competing movements before you know which one matters. For an editing exercise, compare a wider composition with a tighter crop from material you already own. Ask which makes the relationship between the fixed setting and the changing element easier to follow. Keep enough image area for the intended output rather than assuming every crop will hold up.
Choose a rhythm that suits the subject
Do not choose the pace of a sequence only because another film uses a similar subject. A quiet view of changing light may benefit from a patient rhythm, while an edit built around repeated wave patterns might call for something else. Use a short test sequence to judge the character of the movement before committing to a longer practice session. Watch the test as a moving clip, not merely as a set of attractive individual photographs. The gaps between the moments are part of the result.
When a test looks awkward, describe the problem before changing settings. Are clouds jumping across too much of the frame? Is water turning into a distracting pattern? Does the shot finish before any meaningful change becomes visible? These are different problems, and they should not all lead to the same answer. Keep notes about the recording and the playback version so that a second test is a real comparison. Change one part of the exercise at a time where possible, then compare the clips rather than relying on how they felt while you were making them.
 Save
Plan for a sequence of exposures
Exposure decisions in a time-lapse have to work across a set of images, not only in one selected frame. Review the beginning, middle and end of a test together. If one looks good but the sequence feels uneven, identify whether the underlying light changed, the recording settings changed or the processing treated similar frames differently. Do not assume that every brightness change is an error. A cloud passing over the scene may be the event the sequence was intended to show. Correcting it away could remove the point of the shot.
Treat a difficult transition as a separate exercise rather than a reason to make a simple project complicated. Start with a sequence whose light is manageable, learn how your files behave and review the result. Later, compare that experience with a more demanding change in light. The aim is to understand the relationship between recording and processing, not to memorize a universal exposure recipe. Follow the instructions for the camera and software you actually use, and preserve the original files so that a processing experiment does not become your only version of the material.
Recognize flicker before trying to remove it
An uneven sequence needs a careful diagnosis. Watch it once for overall changes in the scene and again for short, distracting jumps between neighboring frames. Compare the moving clip with the source images around a problem moment. This can help you distinguish an abrupt processing change from a visible event in the landscape. Keep the comparison narrow enough to be useful: a few relevant frames and the corresponding part of the clip are easier to judge than repeatedly changing settings across an entire finished film.
A deflickering tool should be part of a review process, not a promise that every recording problem can be repaired. Make a preview, compare the processed and unprocessed versions and check whether the change you wanted to keep still feels believable. If smoothing reduces an obvious distraction but also flattens the gradual change in light, reconsider the treatment. The purpose is not to force every part of the image into constant brightness. It is to make the intended movement legible without introducing a different, equally distracting version of the scene.
 Save
Color should move with the sequence
Review color across time as well as within a single frame. A treatment that looks pleasing in one photograph can be distracting when its effect changes through the sequence. Compare representative moments before applying a strong look everywhere. Pay attention to the relationship between the water, foliage and sky rather than judging each area in isolation. If one part of the sequence takes on a different character, decide whether that difference belongs to the recorded light or to an editing choice that needs more care.
For a practical comparison, make a restrained version of a short sequence before making a stronger one. Watch both at the size and pace you expect to use in the edit. Notice whether a treatment helps the audience read changing light or merely makes individual frames more striking when paused. There is room for an expressive interpretation, but it should still work as a sequence. Keep the reference version nearby so that you can compare the visual idea with the material rather than gradually forgetting how the recording looked before the experiments began.
Water does not have to look like clouds
A coastal scene can tempt you to give every moving element the same visual treatment. Instead, decide what role the water plays. It might be the main subject, a repeating foreground rhythm or a quieter base beneath changing clouds. Use that decision to guide your tests. A sequence does not become more successful merely because the surface looks smoother, busier or more dramatic. It becomes more successful when the movement supports the relationship you wanted the viewer to understand.
Try building two short edits from your own material: one that gives the water most of the viewer's attention and another that gives the changing sky more room. Compare the duration of each shot, the point where you cut and the amount of surrounding context you retain. You may discover that a different edit solves the problem more effectively than a more elaborate processing method. This is a storytelling exercise, not evidence that the original Vancouver Island trailer used either approach. Its value comes from making your own choices easier to explain and repeat.
 Save
Give neighboring shots a reason to meet
A collection of coastal clips can become repetitive if each offers the same kind of view at the same pace. Before arranging the final edit, describe the job of each sequence. One might introduce the larger setting, another might examine a texture, and another might mark a change in light. These roles do not require a complicated narrative. They give the audience a reason to move from one image to the next instead of watching a series of interchangeable scenic highlights.
Pay attention to the transition between shots. A sudden change in viewpoint, color or pace can feel intentional when it introduces a new idea, but arbitrary when nothing in the edit prepares the viewer for it. Try a direct cut before adding a transition effect. If the relationship between the clips is unclear, a longer dissolve may only hide the problem. Reorder the shots, shorten the sequence or remove a repeated idea. The strongest edit may use fewer locations than the material you initially hoped to include.
A soundtrack should not carry the whole film
Watch an early edit without a soundtrack and ask what still holds your attention. Can you follow the changes within each shot? Does the order of places feel deliberate? Is the ending clear enough to feel chosen rather than caused by running out of footage? These questions help you assess the visual structure before music gives the sequence a feeling of momentum it has not yet earned. A quiet review can reveal a weak shot more quickly than another hour of adjusting it against an exciting musical cue.
When you add sound, use recordings and music you have permission to include. Keep a note of their sources alongside the project. Do not describe added wave sounds as synchronized recordings of an image sequence unless that is what they actually are. A designed soundtrack can be an honest part of a landscape film when its role is understood. The goal is to guide attention and support the sequence, not to make the audience infer a documentary recording relationship that the production did not establish.
Finish the clip before celebrating the export
A completed export is the beginning of the final check. Open the actual file and watch it from start to finish. Look for jumps at the boundaries of shots, uneven brightness, unexpected color changes and framing problems that may not have stood out in a small preview. Check the opening and closing moments separately as well. A clip can be visually strong in the middle while beginning with a test frame or ending before the last movement has settled into a deliberate finish.
Keep a simple record of the version you reviewed and the changes you made afterward. If you replace the file, check the replacement rather than assuming the earlier review still applies. This makes a short personal project easier to finish because you know which version is ready to share. It also keeps the process grounded in the result that another person will actually see. The point of a coastal time-lapse is not to collect the most elaborate workflow. It is to turn a carefully observed change into a clear sequence that survives that final, ordinary viewing.
Keep an account of what you actually made
Write a short production note while the decisions are still fresh. Separate where the material came from, what you changed and what remains unknown. A note can be plain: which files form the sequence, which version of the edit you reviewed, and whether the soundtrack was recorded separately or added afterward. You do not need to publish every technical detail. You do need enough information to answer ordinary questions accurately if someone asks about a location, a recording method or the source of an image used to introduce the project.
This habit becomes especially useful when you return to older work. A memorable view is not a reliable record of a whole production, and a filename rarely explains why a particular version was chosen. Keep the source material, the working edit and the reviewed export clearly separated. If you later re-edit a sequence, describe it as a new version rather than quietly presenting new processing as the untouched original. A short, truthful account protects the work from inflated claims and makes the next project easier to begin with an idea you can actually test.
Before sharing, read the title and caption beside the finished clip. Do they describe this version, or a more ambitious project you once planned? Remove claims you cannot support about the recording location, the equipment, the sound or the length of the shoot. Give collaborators the credit you agreed to provide. These are small finishing decisions, but they determine whether the film is presented as carefully as it was edited. The result should invite the viewer to notice a real sequence, not ask an impressive label to stand in for one.
Historical context and practical references
The 2014 TimeLapseNetwork feature identifies Gavin Hardcastle and describes the Vancouver Island trailer, including Nanaimo, Victoria and Sooke. Fototripper’s time-lapse archive and Vancouver Island archive provide creator and place context. Older equipment references and travel descriptions are historical, not current offers, access checks or a verified account of every shot.
For a specific software workflow, the LRTimelapse basic tutorial explains keyframes, previews, transitions and deflickering. This is vendor documentation; its strongest quality claims are not guarantees for every recording. Matthew Vandeputte’s 2018 PetaPixel tutorial provides a practitioner’s sunset and sunrise example with period-specific software steps. An r/timelapse beach discussion supplies anecdotal community context, not a universal recording recipe.
The exercises above are general editorial practice ideas, not a reconstruction of Gavin Hardcastle’s source files, production methods or editing decisions. For more learning, visit the Shut Your Aperture Academy.
Keep time-lapse sequences and exports organized
For your own private files, keep originals and finished exports together. A black Samsung T7 Shield portable SSD, 1TB model MU-PE1T0S/AM, is one storage option to compare. Check capacity and your computer connection before buying. Open the copied files and maintain another checked copy separately. A drive does not replace a complete backup plan. Compare the current retailer specifications; no hands-on test, price or stock promise is being made here.
Compare Samsung T7 Shield Portable SSD Black 1TB MU-PE1T0S/AM on Amazon | Check Samsung T7 Shield Portable SSD Black 1TB MU-PE1T0S/AM at B&H
Affiliate disclosure: We may earn a commission from qualifying purchases through these gear links at no extra cost to you. As an Amazon Associate, Shut Your Aperture earns from qualifying purchases.
Sources and further reading
- Original Vimeo destination, playback not confirmed
- TimeLapseNetwork: Vancouver Island historical feature, October2014
- Fototripper: Time Lapse Photography archive
- Fototripper: Vancouver Island archive
- LRTimelapse: Complete Basic Tutorial
- PetaPixel: Matthew Vandeputte sunset/sunrise workflow, August2018
- r/timelapse: Beach sequence community discussion, March2021
- Pexels License
Vancouver Island time-lapse questions
Who made Vancouver Island 4K Timelapse?
The archived feature credits Gavin Hardcastle / Fototripper. Its 2014 context is preserved; current playback of the linked Vimeo destination has not been confirmed.
Which locations does the original caption name?
The preserved 2014 caption names scenes near Nanaimo, Victoria and Sooke. This is historical project context, not a current access check or a complete shooting itinerary.
Are these photographs frames from the trailer?
No. They are separately credited illustrative Pexels photographs, not film frames, production photographs, exact filming locations or Edin Chavez photographs.
Does every coastal time-lapse need the same interval?
No. Use a short test of your own subject and review it as a moving clip. Choose the rhythm to support the change you want to show rather than copying an unrelated recipe.
Should all brightness changes be removed?
No. Changing light may be the subject of the sequence. Compare the source frames and a preview before treating a visible change as unwanted flicker.
Do these exercises reproduce the original production workflow?
No. They are general observation and editing exercises. The archived trailer does not establish the recording or processing choices for every shot.
Can I reuse the linked film or its music?
A public link does not grant reuse rights. Obtain the permissions needed for footage, music and other material you plan to include in your own work.
Affiliate disclosure: Some links are affiliate links. If you buy through them, Shut Your Aperture may earn a commission at no extra cost to you. As an Amazon Associate, we earn from qualifying purchases. The five credited Pexels photographs are separate illustrative stock images, not footage or production photographs from the archived trailer or Edin Chavez photographs.