Featured image: Photo by Nguyen Ngoc Tien on Pexels. Pexels License. (Stock photo, illustrative.)
Find out what is moving
Sharp close-up nature photography starts with a diagnosis, not a favorite camera setting. A soft insect eye, a blurred flower edge and a leaf with one sharp strip can look similar in a small preview, but they may have different causes. Camera movement shifts the whole frame. Subject movement changes the position of the animal or plant during the exposure. Missed focus places the sharpest detail somewhere other than where you intended. Limited depth of field leaves only a narrow range of distances acceptably clear. Separate those problems before changing equipment or adding more frames.
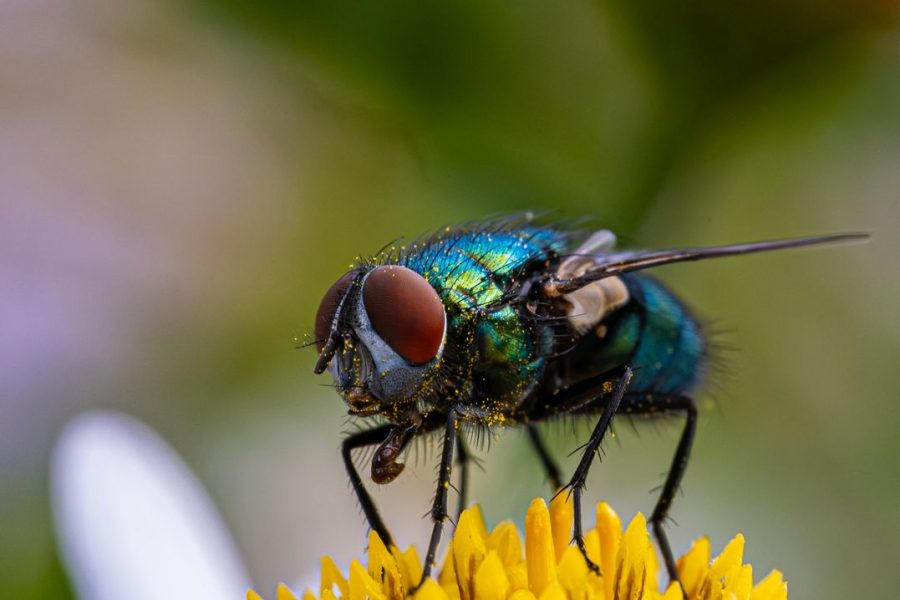
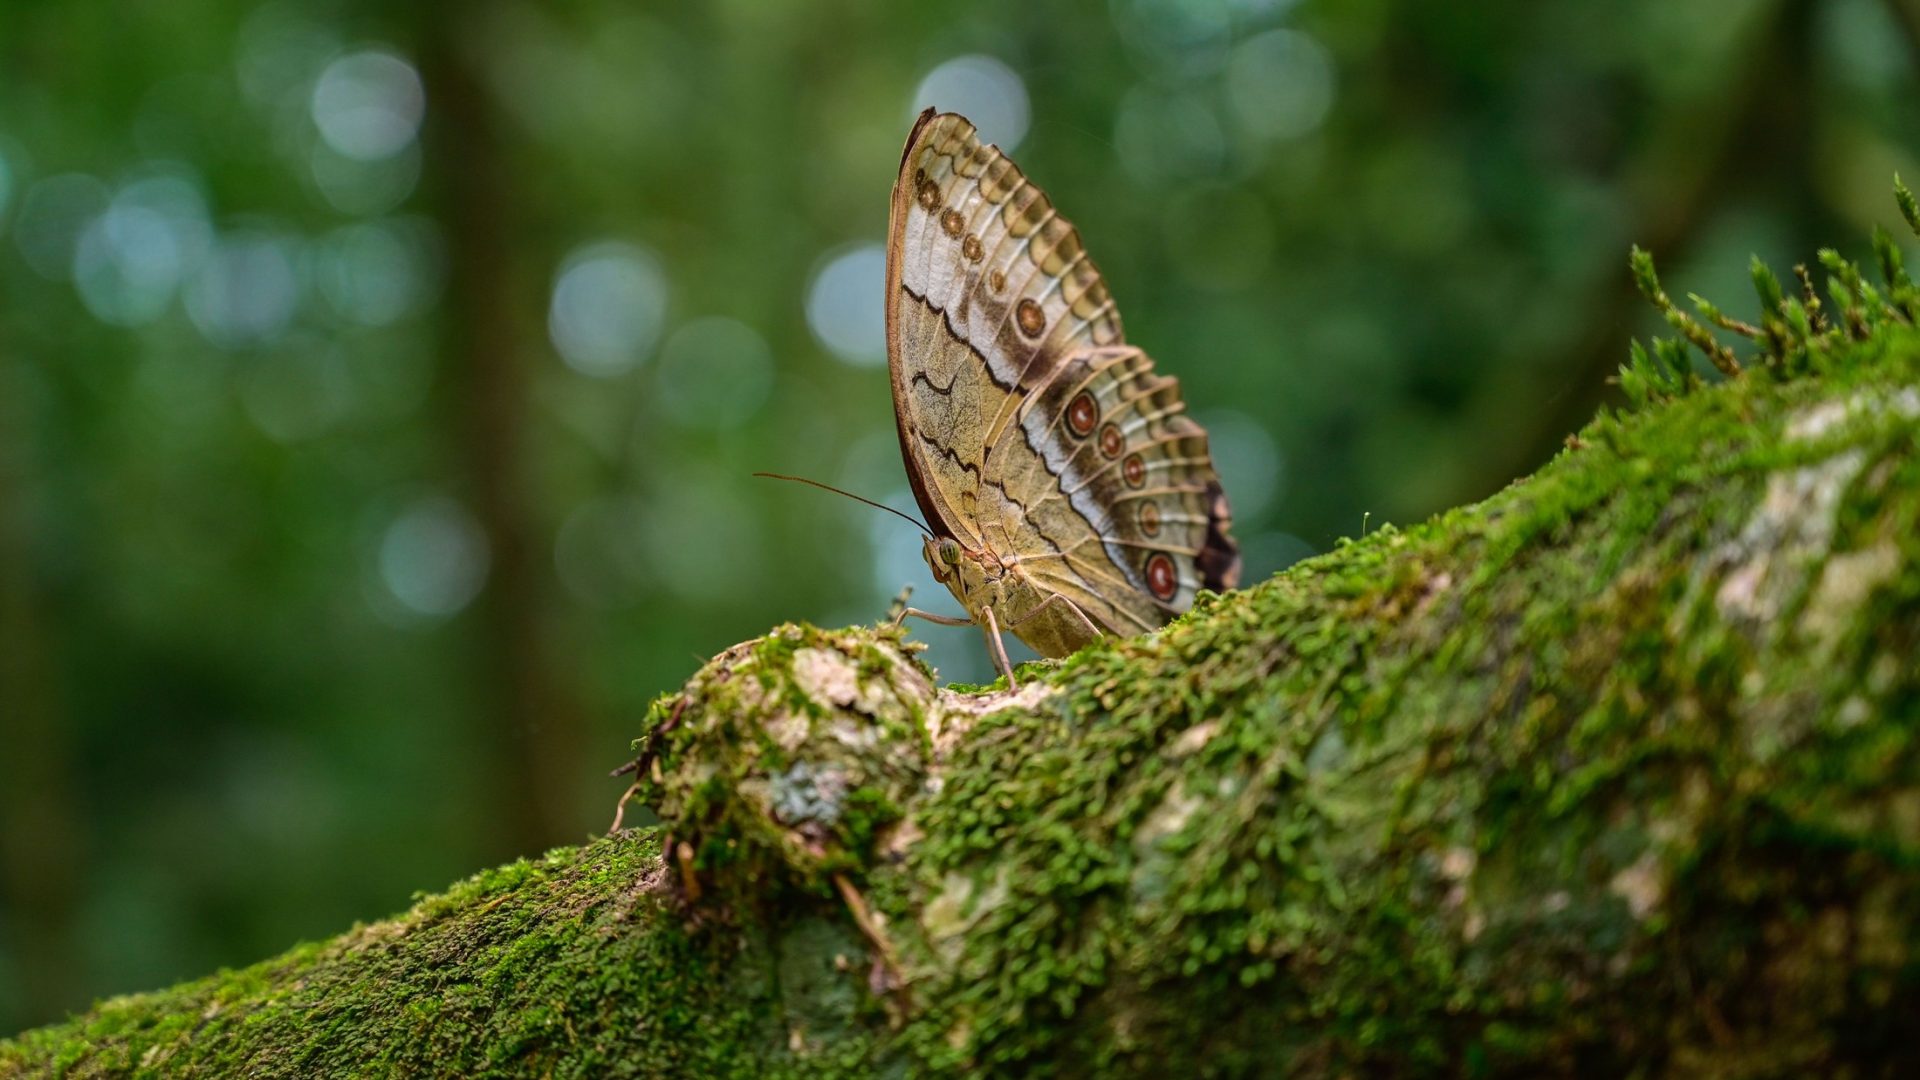
Watch the subject for a few moments before lifting the camera. A pine cone resting on a stable surface presents a different problem from a flower rocking in the breeze. Even an animal that appears settled can move its antennae, head or legs. Decide which detail must be sharp and whether that detail can stay still long enough for your method. The butterfly photograph is an illustration of a close encounter, not evidence of a particular shutter speed or lighting technique. All photographs in this guide are illustrative stock images rather than controlled tests of the settings discussed.
Build one reliable frame first
Begin with a single exposure that communicates the important detail. Choose a clear point of attention and avoid making every part of a three-dimensional subject equally important. For an insect portrait, the visible eye may matter more than the distant wing edge. For frost, a particular cluster of crystals may carry the photograph while the stems behind it remain soft. A single frame gives you an honest baseline: you can see what your focus, support and exposure choices achieve before introducing the additional alignment and blending problems of a stack.
Make a short series with deliberate changes rather than a long burst without a plan. Hold the composition as consistently as practical, focus on the chosen feature and review a magnified preview. If the detail is unreliable, change one thing. Improve your support, use a faster shutter speed or select a different focus point, depending on what the preview shows. Record the change if you are practicing. Your aim is a repeatable method for this subject in these conditions, not one lucky frame that leaves you uncertain about what worked.
Read the pattern of softness
Look at both the intended subject and something stationary nearby. If a still twig and the subject both show a similar directional smear, camera movement is worth investigating. If the twig is clear while an antenna is blurred, local subject movement is a stronger possibility. If another surface is crisp but the intended point is not, check focus placement. These clues are useful rather than infallible: several causes can occur together. Review another frame and compare the pattern before deciding that one adjustment has solved the problem.
Depth of field creates a different pattern from a simple focus failure. You may have a sharp eye but a soft shell, or one crisp ridge across a cone with softer scales nearer and farther away. Ask whether the important surfaces sit at different distances from the camera. A small change in camera angle can bring more of a relatively flat subject into a similar focus distance. You can also move back and accept a looser view. Do not assume that a soft background or a deliberately soft edge makes an otherwise successful close-up defective.
Stabilize the camera without trapping yourself
For a stationary subject, a stable support can make careful framing and focus easier. Place tripod feet on a firm, permitted surface, check the locks and keep the setup out of paths. Use a remote release or a short self-timer when pressing the shutter is disturbing the camera and the subject can wait. Check the instructions for your camera and lens before deciding how stabilization should behave on support. There is no need to repeat an old rule about switching every stabilization system off on every tripod.
A tripod controls camera position; it does not control the subject. A supported camera can record a beautifully steady background behind a blurred moving flower. Equally, a rigid setup can become awkward when an insect changes position and you need to follow it without crowding it. Choose support for the actual task, not because close-up work supposedly always requires it. For a handheld frame, find a balanced stance and use available support without leaning on living plants. If the position is unsafe or damages the habitat, abandon the frame and find another subject.
 Save
Choose exposure for a moving subject
When the subject moves, shutter speed becomes a practical test rather than a number to copy. Make a frame, enlarge the important feature and increase the shutter speed if motion remains visible. The amount of movement, magnification, camera handling and intended display size all affect what is acceptable. Photography Life’s macro settings guide and Tamron’s macro guide offer different example settings. Treat those examples as starting points for a check, not promises that a particular exposure will freeze every small subject.
A faster shutter admits less ambient light when aperture and ISO stay unchanged. You may need a higher ISO, a wider aperture or additional light to keep the exposure useful. Each change has a cost: a wider aperture reduces depth of field, while a higher ISO may make fine detail noisier. A slightly noisy but clearly focused eye can be more useful than a clean file with motion blur. Judge the saved result at the size you intend to show it, and keep enough margin for the movement you actually observe.
 Save
Give focus a specific job
Place the focus point on the detail that matters and confirm where the sharpest plane lands. A camera may prefer a high-contrast branch instead of a small animal in front of it. If autofocus repeatedly chooses the wrong surface, try a smaller focus area or manual focus, using the controls available on your camera. Magnified live view can help with a stationary setup, but a tightly magnified view may make following a moving subject harder. Choose the focusing aid that lets you verify the important feature without losing track of the encounter.
At close distances, moving the camera forward or backward can change focus even if the focus ring stays untouched. Notice this when reviewing handheld attempts: breathing and an unbalanced stance can move the sharp plane away from the chosen point. Do not chase every soft frame by turning the ring in the opposite direction. First improve your position and check whether your body is drifting. For a moving subject, make a small number of careful attempts while it remains undisturbed, then allow it space instead of pursuing it for an ideal frame.
 Save
Use aperture as a tradeoff
Stopping down can increase the depth that looks acceptably sharp, but it cannot place focus correctly or stop movement by itself. It also reduces light, which may force a slower shutter speed, higher ISO or more flash. Very small apertures can reduce fine detail through diffraction, so selecting the largest f-number is not a guarantee of the clearest result. Compare a modest change in aperture with a change in camera angle or distance. The best compromise is the one that preserves the detail the picture needs while keeping motion and image quality acceptable.
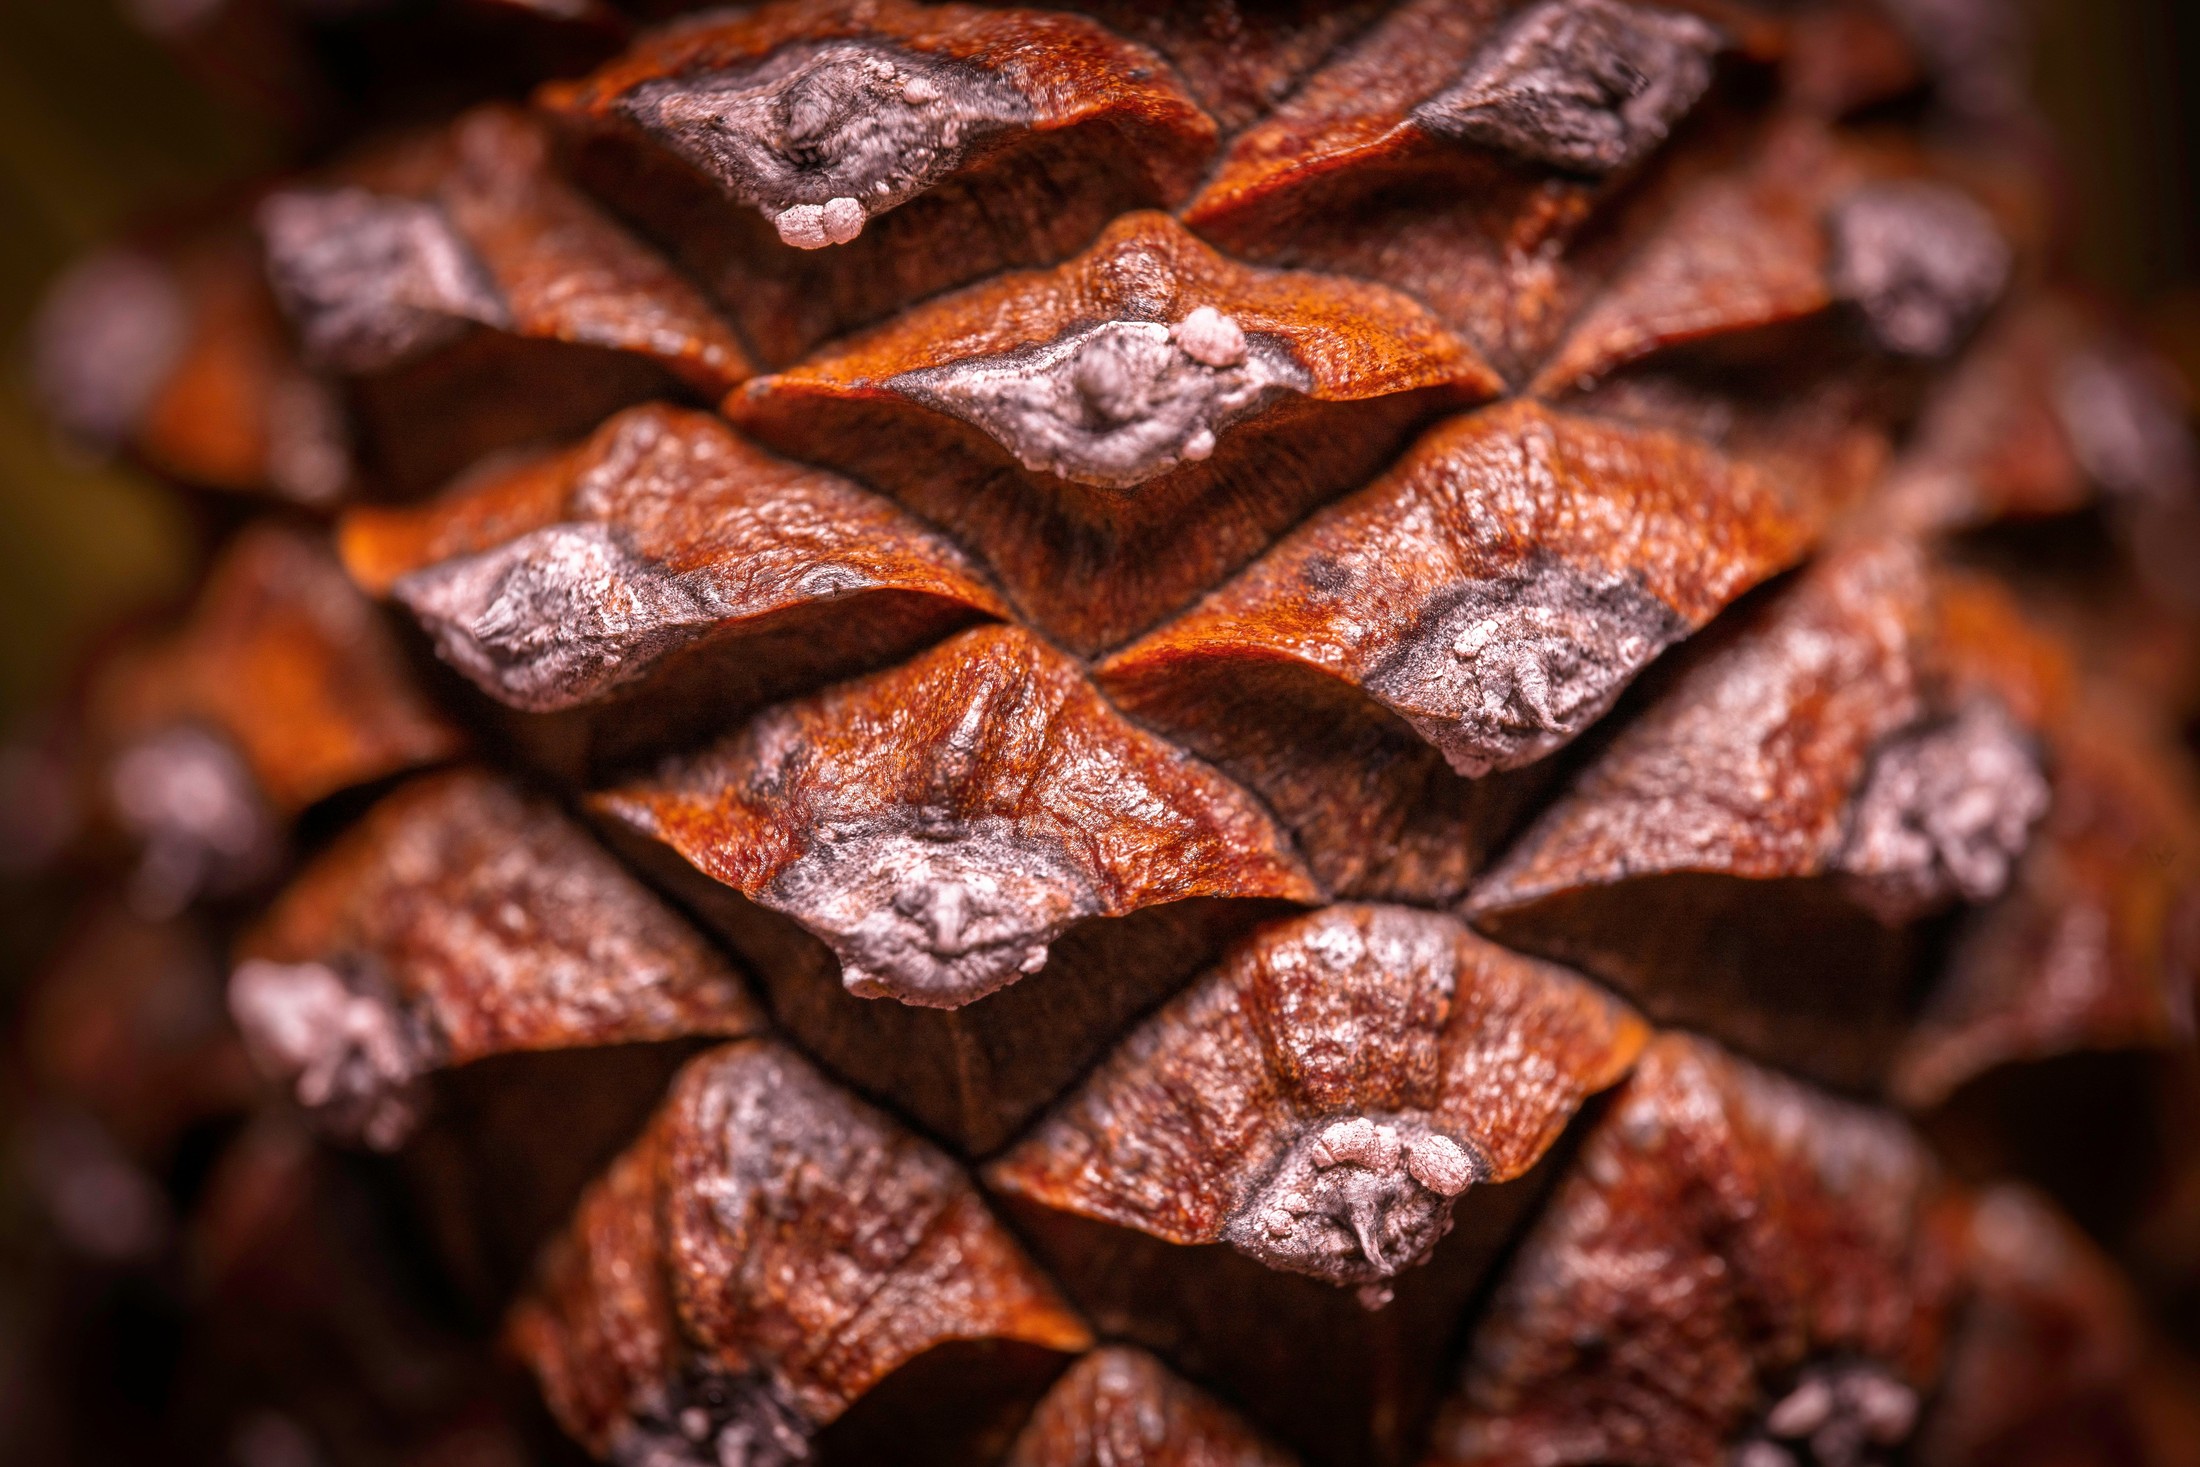
The pine cone photograph illustrates why depth is a choice. Its overlapping scales occupy different distances from the camera, and some areas are intentionally softer than others. You could choose a single ridge as the subject, move farther away for a different balance of detail and context, or try a stack if the entire setup is stable. None of those choices is automatically superior. Decide whether more sharp area would explain the shape better or merely make the image busier. Evaluate the whole photograph as well as a magnified fragment.
Understand what flash can and cannot freeze
Flash can add light at close range and, under suitable conditions, its short pulse can help record movement sharply. That does not mean every flash exposure freezes everything. The duration of the pulse matters, and ambient light can still record movement during the shutter opening. Check the saved image for a second blurred outline or ghosting around the subject. Work within the camera’s supported synchronization settings and the flash instructions. Do not assume that the fastest shutter speed shown in the camera menu is available with your chosen flash mode.
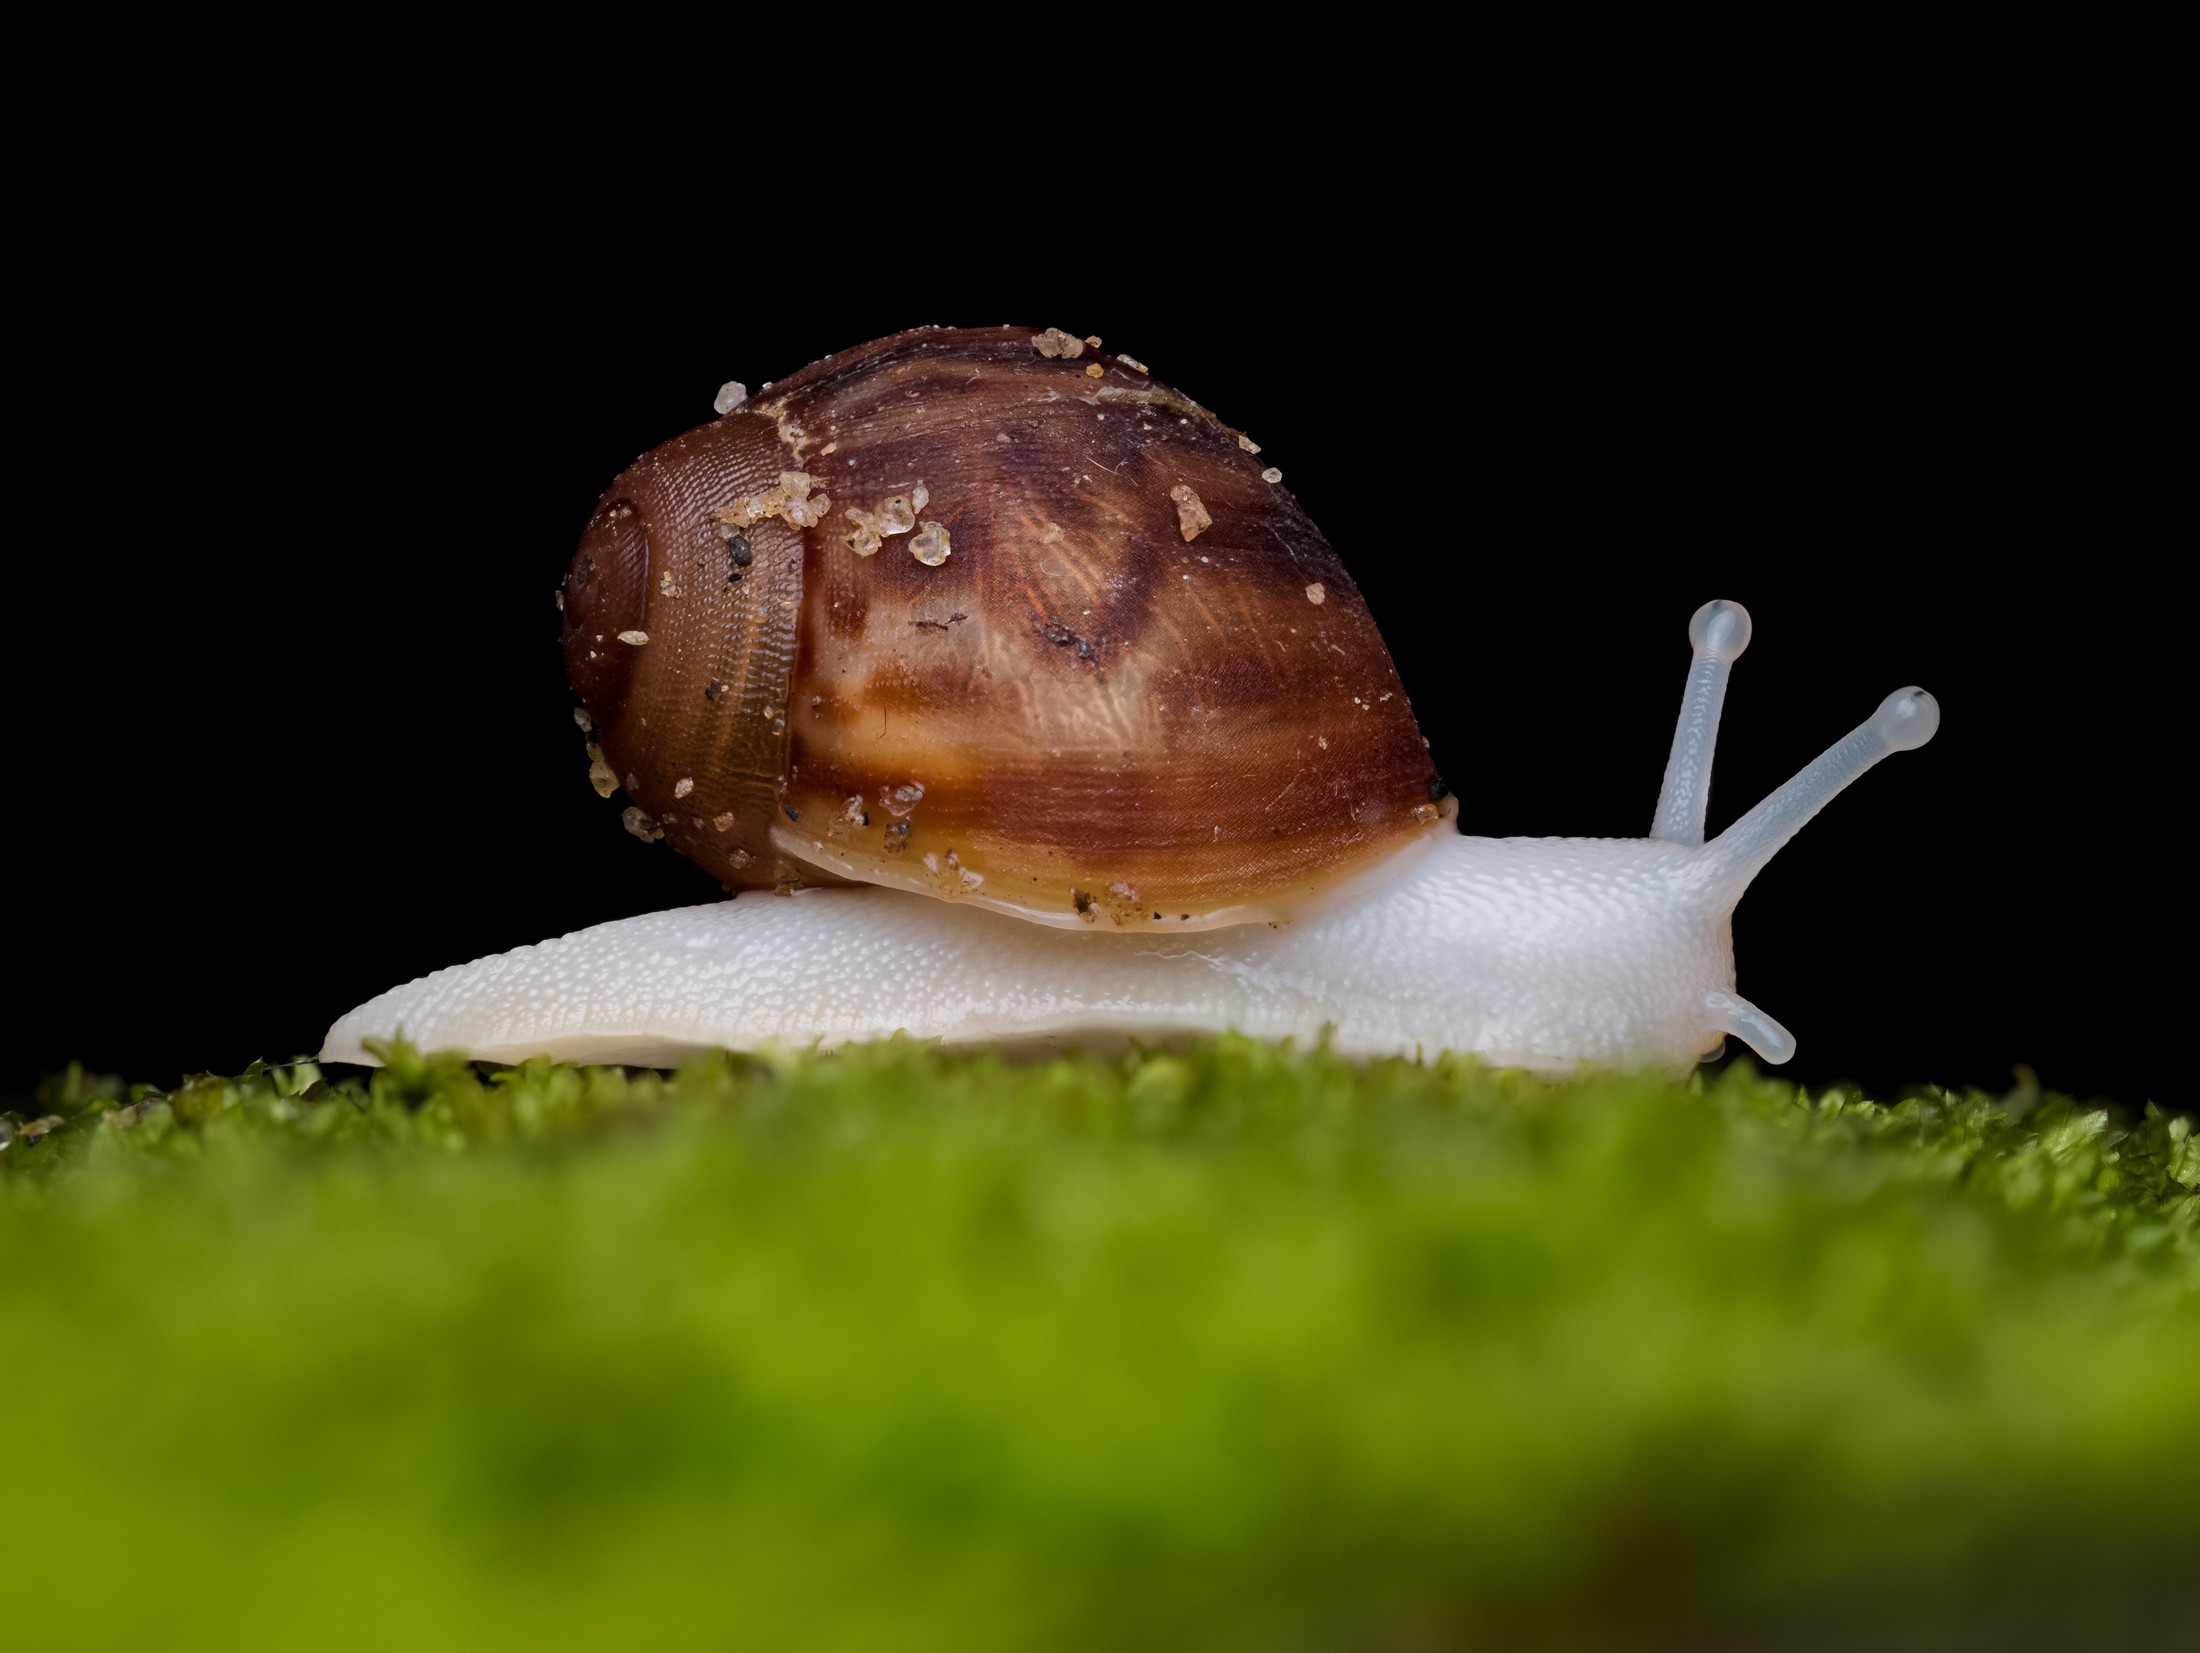
Keep the lighting modest and inspect it rather than relying on the flash to solve all problems. Look for harsh reflections on a shell, a pale area losing texture or a shadow obscuring the feature you meant to show. A suitable diffuser can change how the light falls, but it is not a universal recipe and should not touch the subject. Do not infer the lighting setup from the snail photograph’s dark background. The image illustrates a three-dimensional living subject; it does not establish how the photographer made the exposure or whether flash was used.
Stack only when the conditions support it
Focus stacking combines photographs made at different focus distances so that more of the subject can appear sharp in the final image. Canon’s focus-stacking guide describes capturing a sequence and combining it with camera features or software. The useful starting conditions are stable framing, consistent illumination and a subject that stays in place through the sequence. Confirm what your own camera supports; automatic focus bracketing, in-camera blending and flash compatibility are not interchangeable features. A manual sequence remains possible, but it still needs careful capture and review.
Begin with a stationary subject and a short test sequence that covers the intended near and far detail with overlap between sharp areas. Review the individual frames before blending. A skipped distance can leave a soft band that software cannot invent honestly. A swaying stem, walking snail or changing shadow can produce halos, doubled edges or mismatched detail. Amateur Photographer’s focus-stacking guide shows varied approaches rather than one universal frame count. When the conditions will not hold, return to a good single frame rather than forcing a complicated stack.
Protect the subject and inspect the result
Do not make the subject still by chilling an insect, restraining an animal or damaging the plant around it. Wait for a natural pause or choose a subject that already suits the method. Follow local access rules and the Leave No Trace advice to leave what you find. Avoid picking flowers, moving natural objects or clearing vegetation to create working room. If an animal changes its behavior because you are close, back away. A technically sharp photograph is not a reason to turn an undisturbed encounter into a staged scene.
After capture, check the critical detail, then check the rest of the frame. A stacked image needs close inspection at crossings and fine edges, not only at its central sharp area. In a single frame, look for movement, processing halos and excessive sharpening. Adjust exposure and color with restraint, and do not promise that sharpening will recover detail that never reached the file. If a crop removes useful context, compare it with a less tight version before committing. Keep the original frames so that your edit can be checked against what you actually recorded.
 Save
Practice a diagnosis you can repeat
Use one accessible stationary subject for a brief exercise. Make a supported single frame, then a handheld frame with the same intended point of focus. Compare the sharp detail and note what changed. Next, compare two sensible apertures while keeping motion under control. If your subject remains stable, make a small focus sequence and inspect whether the extra sharp area improves the picture. Do not change all the variables at once. A written note such as camera steady, subject moving is more helpful next time than the vague conclusion that macro photography is difficult.
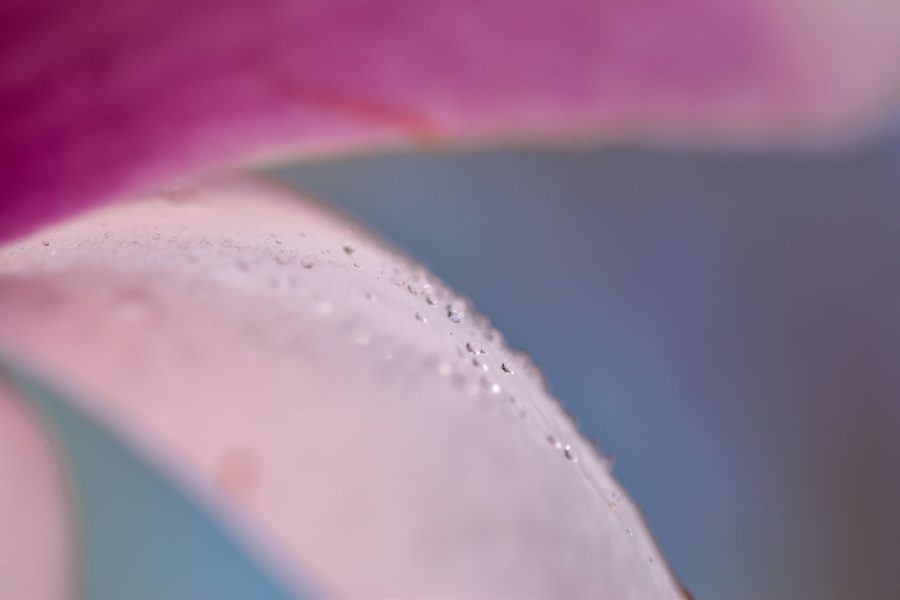
Finish by choosing the simplest method that produced the picture you wanted. A flower with droplets can work with selective focus; it does not have to be sharp from every front petal to the farthest edge. The flower illustration is a reminder to judge intent rather than chase uniform detail. For a broader study of close focusing, lighting and technique, explore the Academy’s Macro Photography: The Hidden World. Build from one reliable exposure, learn the limits of your conditions and add complexity only when it gives the subject something useful.
Frequently asked questions
Why are my close-up nature photos soft?
Check camera movement, subject movement, missed focus and limited depth of field separately. Compare a stationary detail with the subject and inspect where the sharpest area falls before changing settings.
Will a tripod make a moving flower sharp?
A tripod stabilizes the camera but does not stop the flower. Wait for a pause, test a faster shutter speed or choose another subject when movement prevents the result you need.
What shutter speed should I use for insects?
There is no universal number. Test against the actual movement, magnification and intended output size. Increase shutter speed when needed and balance the resulting light loss with aperture, ISO or suitable additional light.
Should I use the smallest aperture for macro photography?
Not automatically. Smaller apertures increase depth of field but reduce light, and very small apertures can reduce fine detail through diffraction. Check the result and compare changes in angle or distance too.
Does flash always freeze close-up subject movement?
No. The flash pulse duration and the amount of ambient exposure both matter. Check for ghosting and work within the synchronization and mode limits of your camera and flash.
When is focus stacking a good choice?
Use it when the subject, framing and light can remain stable through a sequence. Capture overlapping focus distances and inspect the blend for soft bands, halos and doubled edges. Choose a single frame when motion makes stacking unreliable.
How can I practice without disturbing wildlife?
Start with a naturally stationary subject on an accessible permitted route. Change camera support, focus and exposure rather than moving plants or restraining animals. Leave natural objects where you find them and back away if an animal changes its behavior.
Support for a stationary close-up setup
A Peak Design Aluminum Travel Tripod is one support option for a stationary close-up setup. Check the full camera-and-lens weight, plate fit and required working height before buying. Inspect the locks and keep paths clear. A tripod does not freeze a moving subject or choose a composition. Compare the current retailer specifications; no hands-on test, price or stock promise is being made here.
Compare Peak Design Aluminum Travel Tripod on Amazon | Check Peak Design Aluminum Travel Tripod at B&H
Affiliate disclosure: We may earn a commission from qualifying purchases through these gear links at no extra cost to you. As an Amazon Associate, Shut Your Aperture earns from qualifying purchases.