Featured image: Photo by Konstantin Alexeevich on Pexels. Pexels License. (Stock photo, illustrative.)
Begin with a subject and a relationship
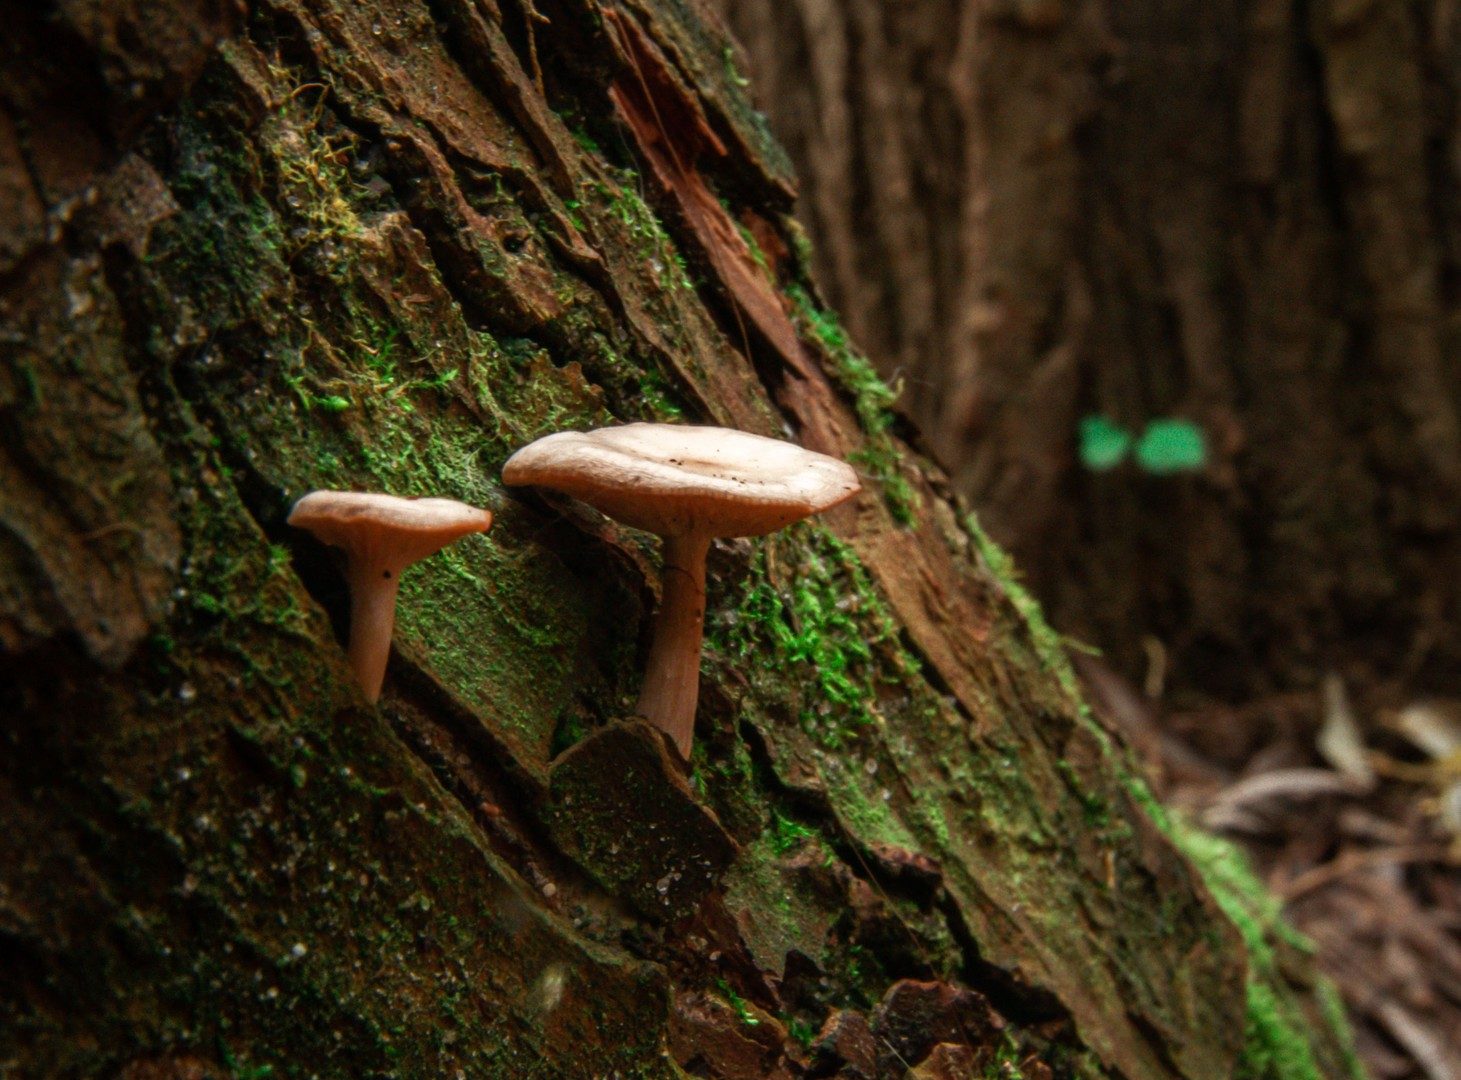
Close-up nature photography becomes more interesting when you stop treating closeness as the whole idea. A mushroom is a subject, but the way its cap projects from a dark tree trunk is a relationship. A leaf can be a patch of color, a translucent screen or a repeating pattern, depending on where you put the camera. Before moving in, decide which relationship you want the photograph to explain. That decision gives you a reason to choose one viewpoint over another rather than simply filling the frame with something small.
Start by looking without the camera for a few moments. Notice the subject’s shape, what sits behind it and which side catches the light. Choose one feature you want a viewer to see first: a curled edge, a line of veins or a droplet hanging beneath a stem. Then identify the part of the scene that competes with it. You are now solving a specific picture problem. You might need a lower angle to separate a pale cap from pale ground, or a small sideways move to hide a bright gap between branches.
Change camera height before changing equipment
A standing viewpoint is convenient, but it often describes a small subject as an object on the ground. Lowering the camera can give that same subject a profile and place the surrounding vegetation behind it. A higher viewpoint may be better when the important feature is a flat arrangement, such as veins spreading across a leaf. Neither height is automatically more artistic. Match the height to the information you want to show. Make an overhead frame, a level frame and a lower frame of an accessible subject, then compare what each one reveals.
Keep the experiment safe for the habitat. Use a tilting screen if your camera has one, stay on durable permitted surfaces and avoid kneeling on plants to reach a lower angle. You do not have to get underneath every subject. A viewpoint that requires breaking stems, leaving a marked route or disturbing an animal is the wrong viewpoint. The useful exercise is to find a different relationship from somewhere you can stand or crouch without damage. If the accessible angle does not work, choose a different subject rather than forcing the scene.
 Save
Separate the subject from its background
Background problems are often easier to solve with position than with a wider aperture. Watch the edge of your subject while shifting the camera a little to either side. A distracting twig may slide away from a leaf tip. A pale opening may move out from behind a mushroom. Because near and distant objects shift differently as your viewpoint changes, a small move can reorganize the frame without changing the subject itself. Nikon’s composition guidance recommends checking the whole viewfinder and changing position when background elements interfere.
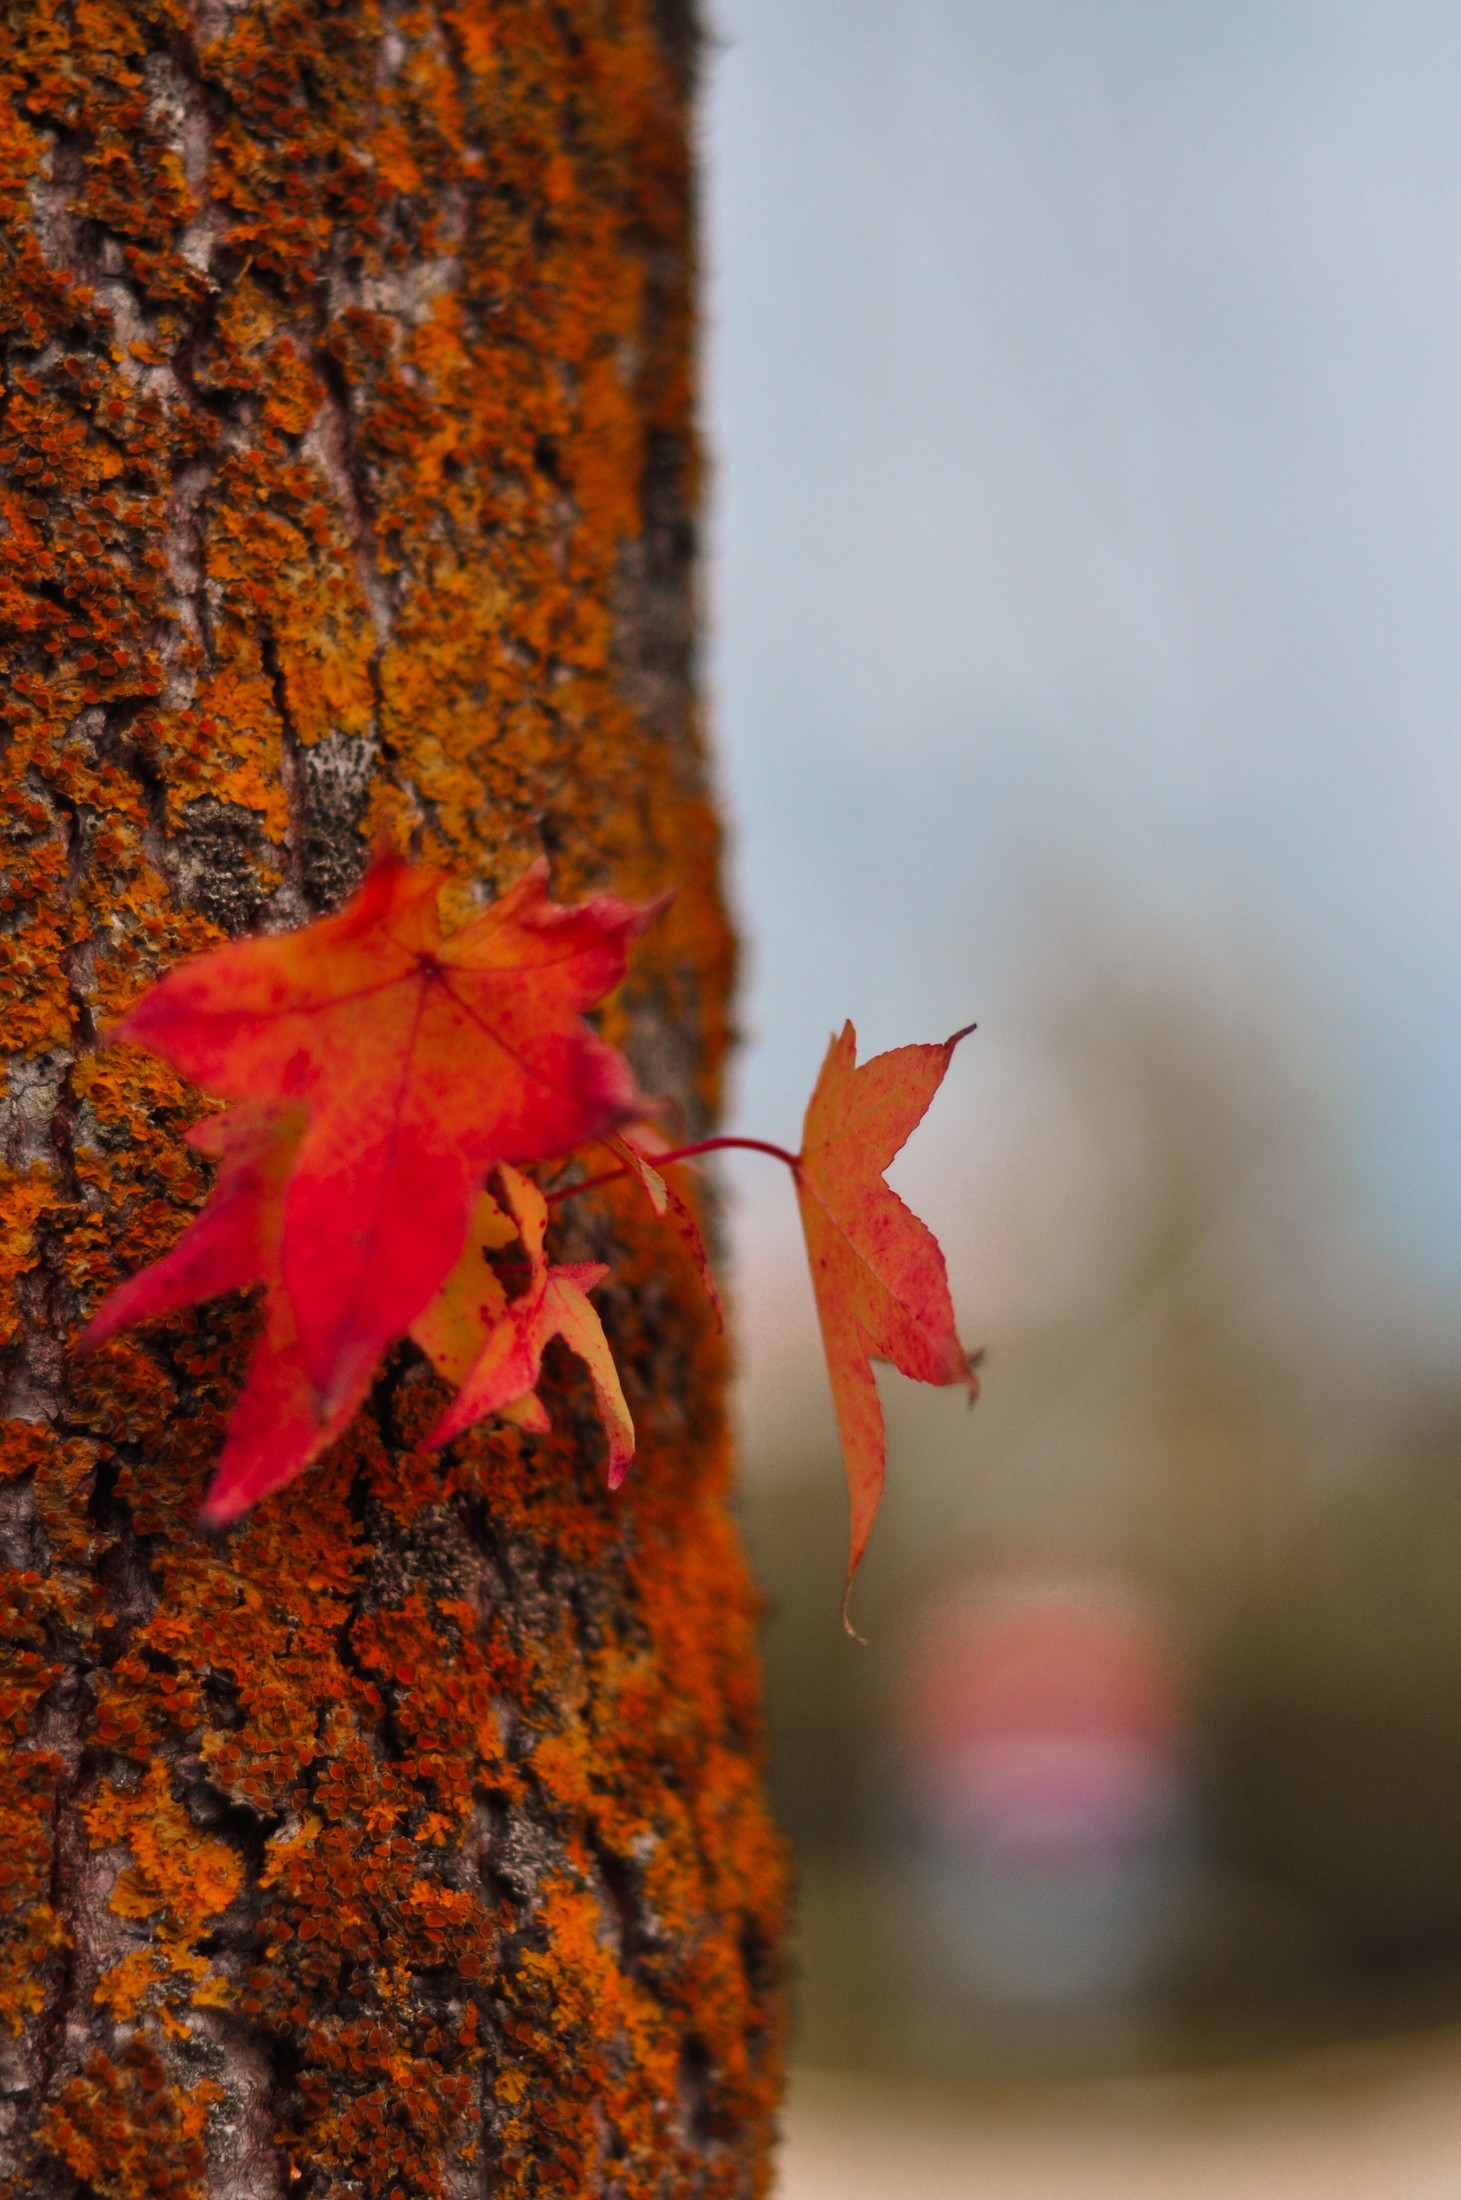
Look for differences in brightness, color and texture as well as blur. A soft background can still contain a large white patch that steals attention. A detailed background can work when its lines support the subject rather than crossing it awkwardly. In the red-leaf photograph, the trunk provides texture on one side while the distant background gives the leaf edge room on the other. Use that relationship as a prompt for your own search, not as proof of a particular lens, aperture or distance. The photographs here are illustrative stock images, not a controlled settings comparison.
Decide how much habitat belongs in the frame
Moving closer removes information. Sometimes that is exactly what the picture needs, but sometimes it removes the reason the subject is interesting. A tight view of a mushroom cap may show its surface while hiding how it grows from a trunk. A wider close-up can keep that attachment visible and include enough bark to give a sense of place. Make both versions before deciding. Ask whether the extra surroundings explain something useful or merely fill space. If the subject loses its identity in the tighter frame, the wider version may be the stronger photograph.
Do not confuse an intimate view with a claim about magnification. Photography Life’s macro tutorial explains life-size reproduction as a 1:1 relationship between the subject’s real size and its image on the sensor. Many useful nature close-ups do not reach that ratio. You can practice viewpoint, light and background control with an ordinary lens or a phone that focuses close enough for the scene. Judge the result by whether it communicates the intended detail, not by whether it qualifies for a technical label.
 Save
Align the camera with the detail that matters
At close distances, getting one point sharp does not guarantee that nearby features will also be sharp. Think about the orientation of the surface you want to describe. If your subject is a relatively flat leaf and you want detail across it, try bringing the camera’s sensor plane closer to parallel with that surface. This puts more of the leaf at a similar distance from the camera. It is often a more useful first change than immediately choosing the smallest aperture. For an angled leaf, decide whether sharpness across the surface matters more than the feeling of depth.
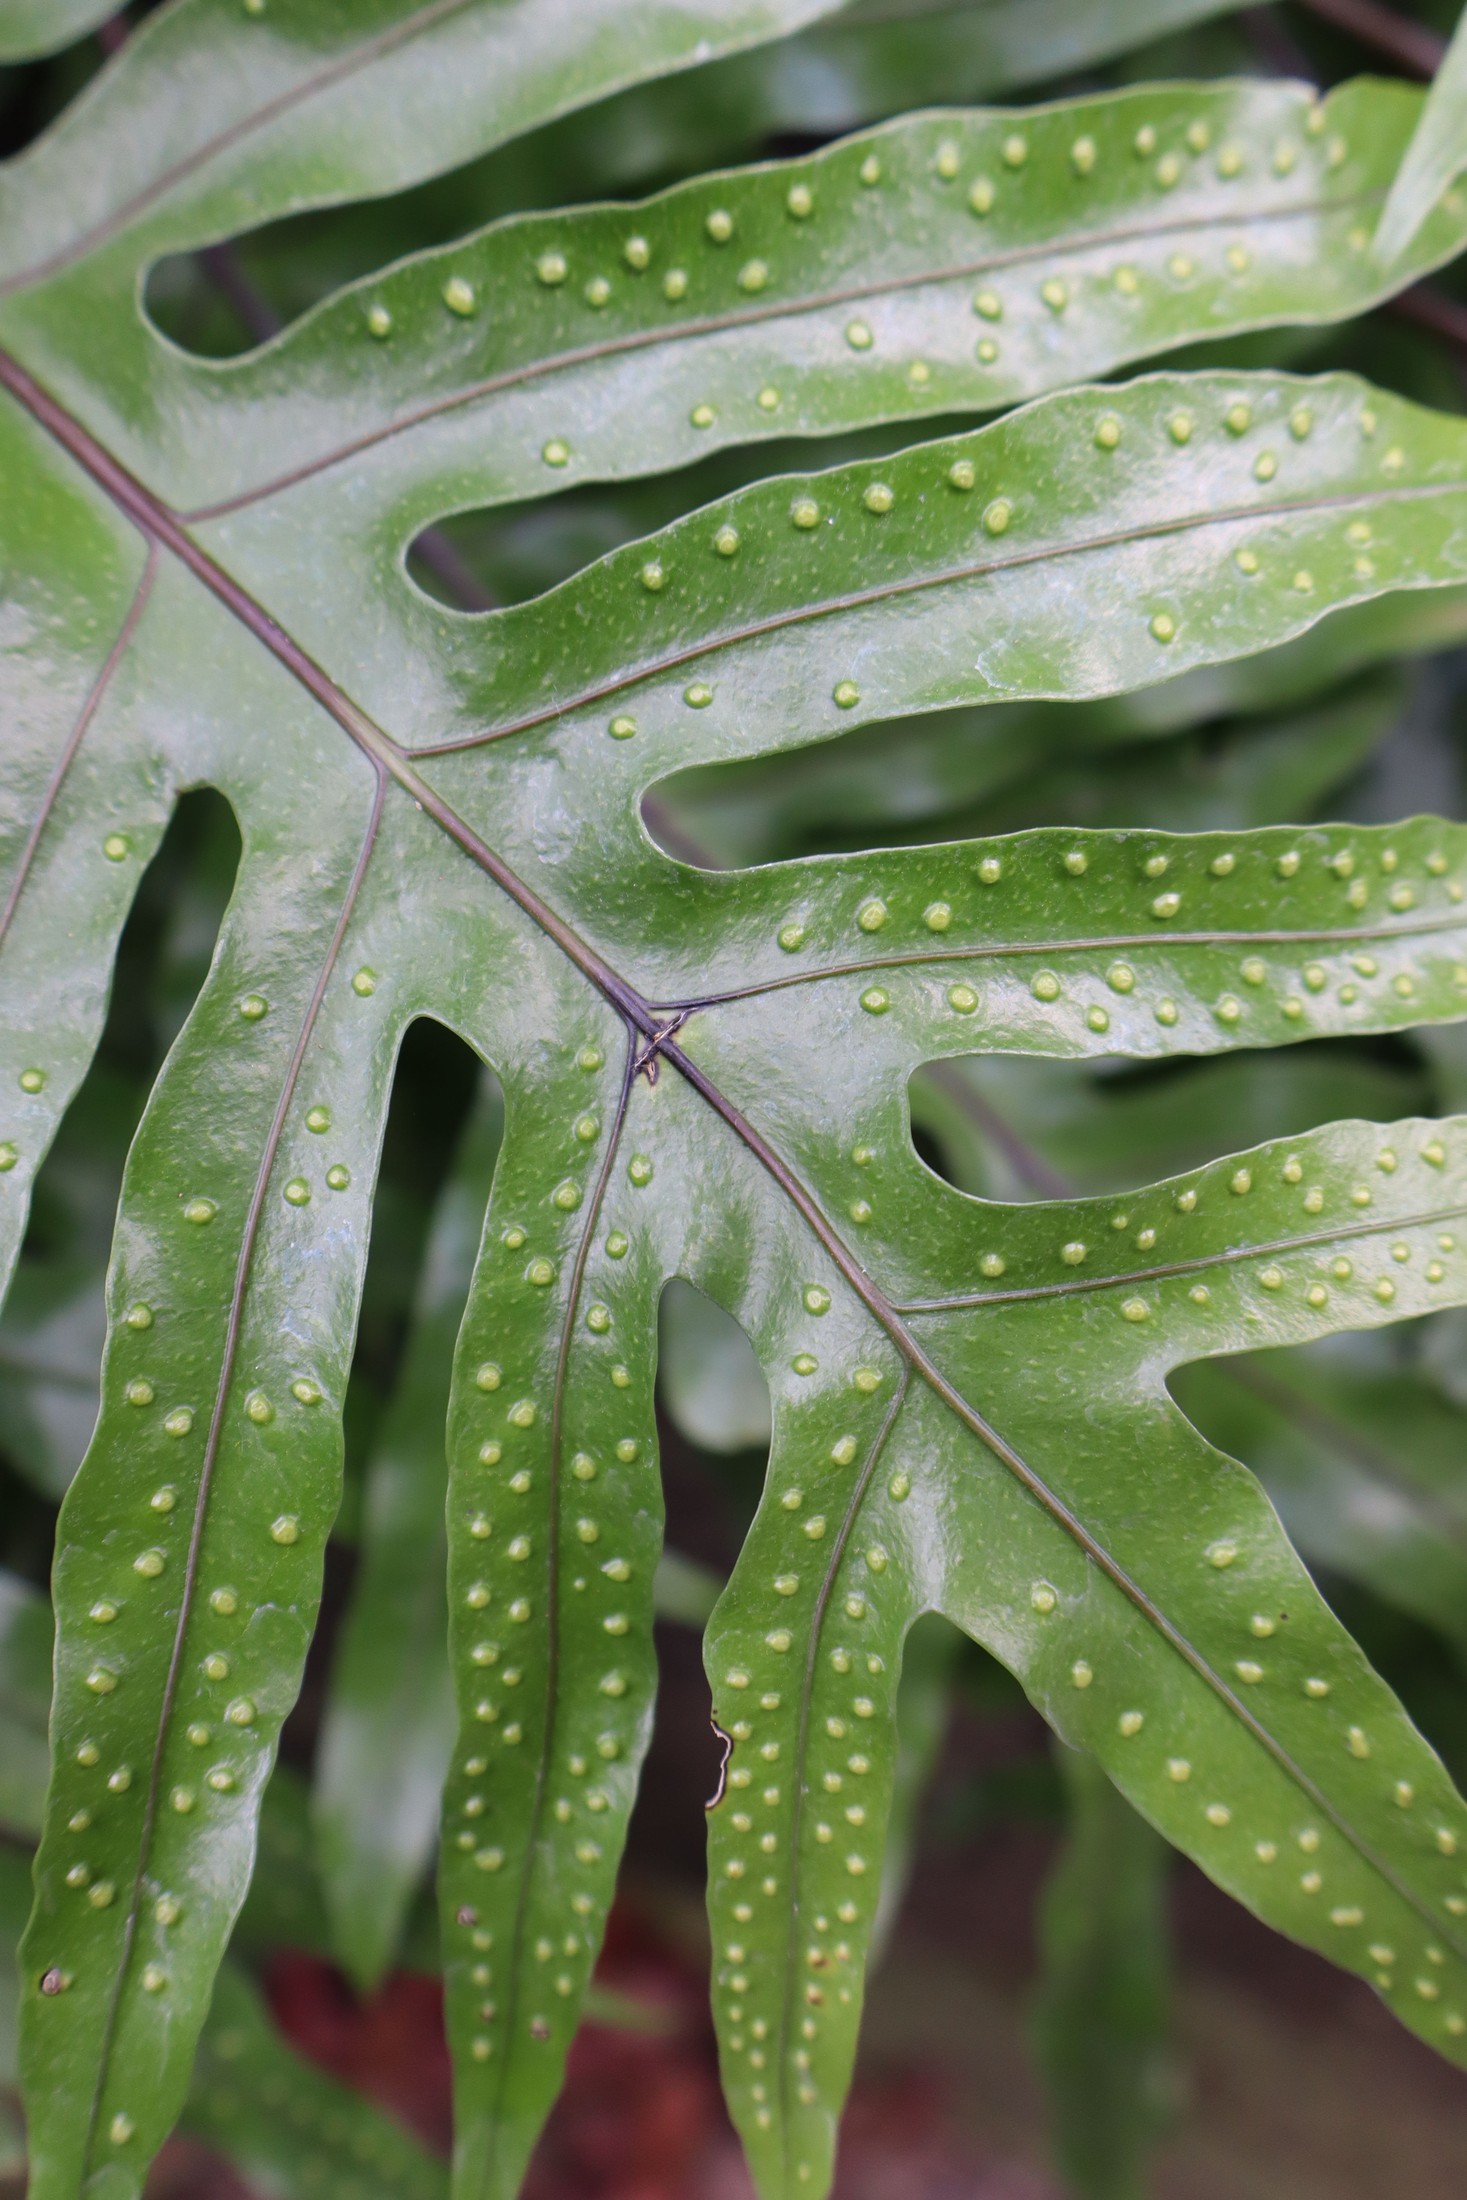
A side view makes thickness and layering easier to read but can place important features at different focus distances. Select the feature that carries the photograph and focus there. With the leaf underside shown here, the repeating structures and branching veins suggest different possible points of attention. A broad, nearly parallel view emphasizes the pattern. An oblique view could emphasize the raised surface instead. Amateur Photographer’s close-up sharpness guide discusses careful focus and alignment as part of managing limited depth of field.
Let the light change the viewpoint
Walk your eyes around the subject before deciding where the camera belongs. Light from the side can make bark ridges or a curled edge easier to see. Light passing through a leaf can emphasize its outline and internal structure. Softer light can make it easier to hold detail across a pale surface without a hard shadow. These are different descriptions of the same subject, so choose the description that fits your idea. Canon’s foliage guide describes backlighting, overcast conditions and changing position to control flare.
Bright backgrounds need special attention when you turn toward the light. Inspect the highlight warning or histogram if your camera offers one, and review whether the important pale areas still contain the detail you want. A tiny sparkling droplet can be attractive without every reflection retaining texture; a large blank leaf may be a different problem. Shielding the lens from stray light can help with flare, but do not shade the actual subject unless changing its illumination is your intent. Keep checking the picture as you move because a small position change can affect both light and background.
Use motion and focus as separate checks
A picture can look soft because focus missed, because the camera moved or because the subject moved. Those problems need different fixes. If a leaf is swaying, a steadier camera alone will not freeze it. Try waiting for a pause and using a faster shutter speed when necessary. If the subject is still but your framing drifts forward and backward, improve your support or take a little more distance. Review a magnified part of the important detail rather than judging sharpness only from the small full-frame preview. Check more than one frame before deciding the method is reliable.
Aperture is a tradeoff, not a rescue button. Closing it can increase the depth that appears acceptably sharp, but it can also require a slower shutter speed or higher ISO for the same exposure. Very small apertures can reduce fine detail through diffraction. There is no single setting that wins for every subject, camera and output size. Choose enough depth for the feature you want, then check whether motion and noise are acceptable. On a phone, avoid assuming that a heavily blurred preview proves natural optical separation; inspect delicate leaf edges in the saved image for processing mistakes.
 Save
Photograph delicate details without changing them
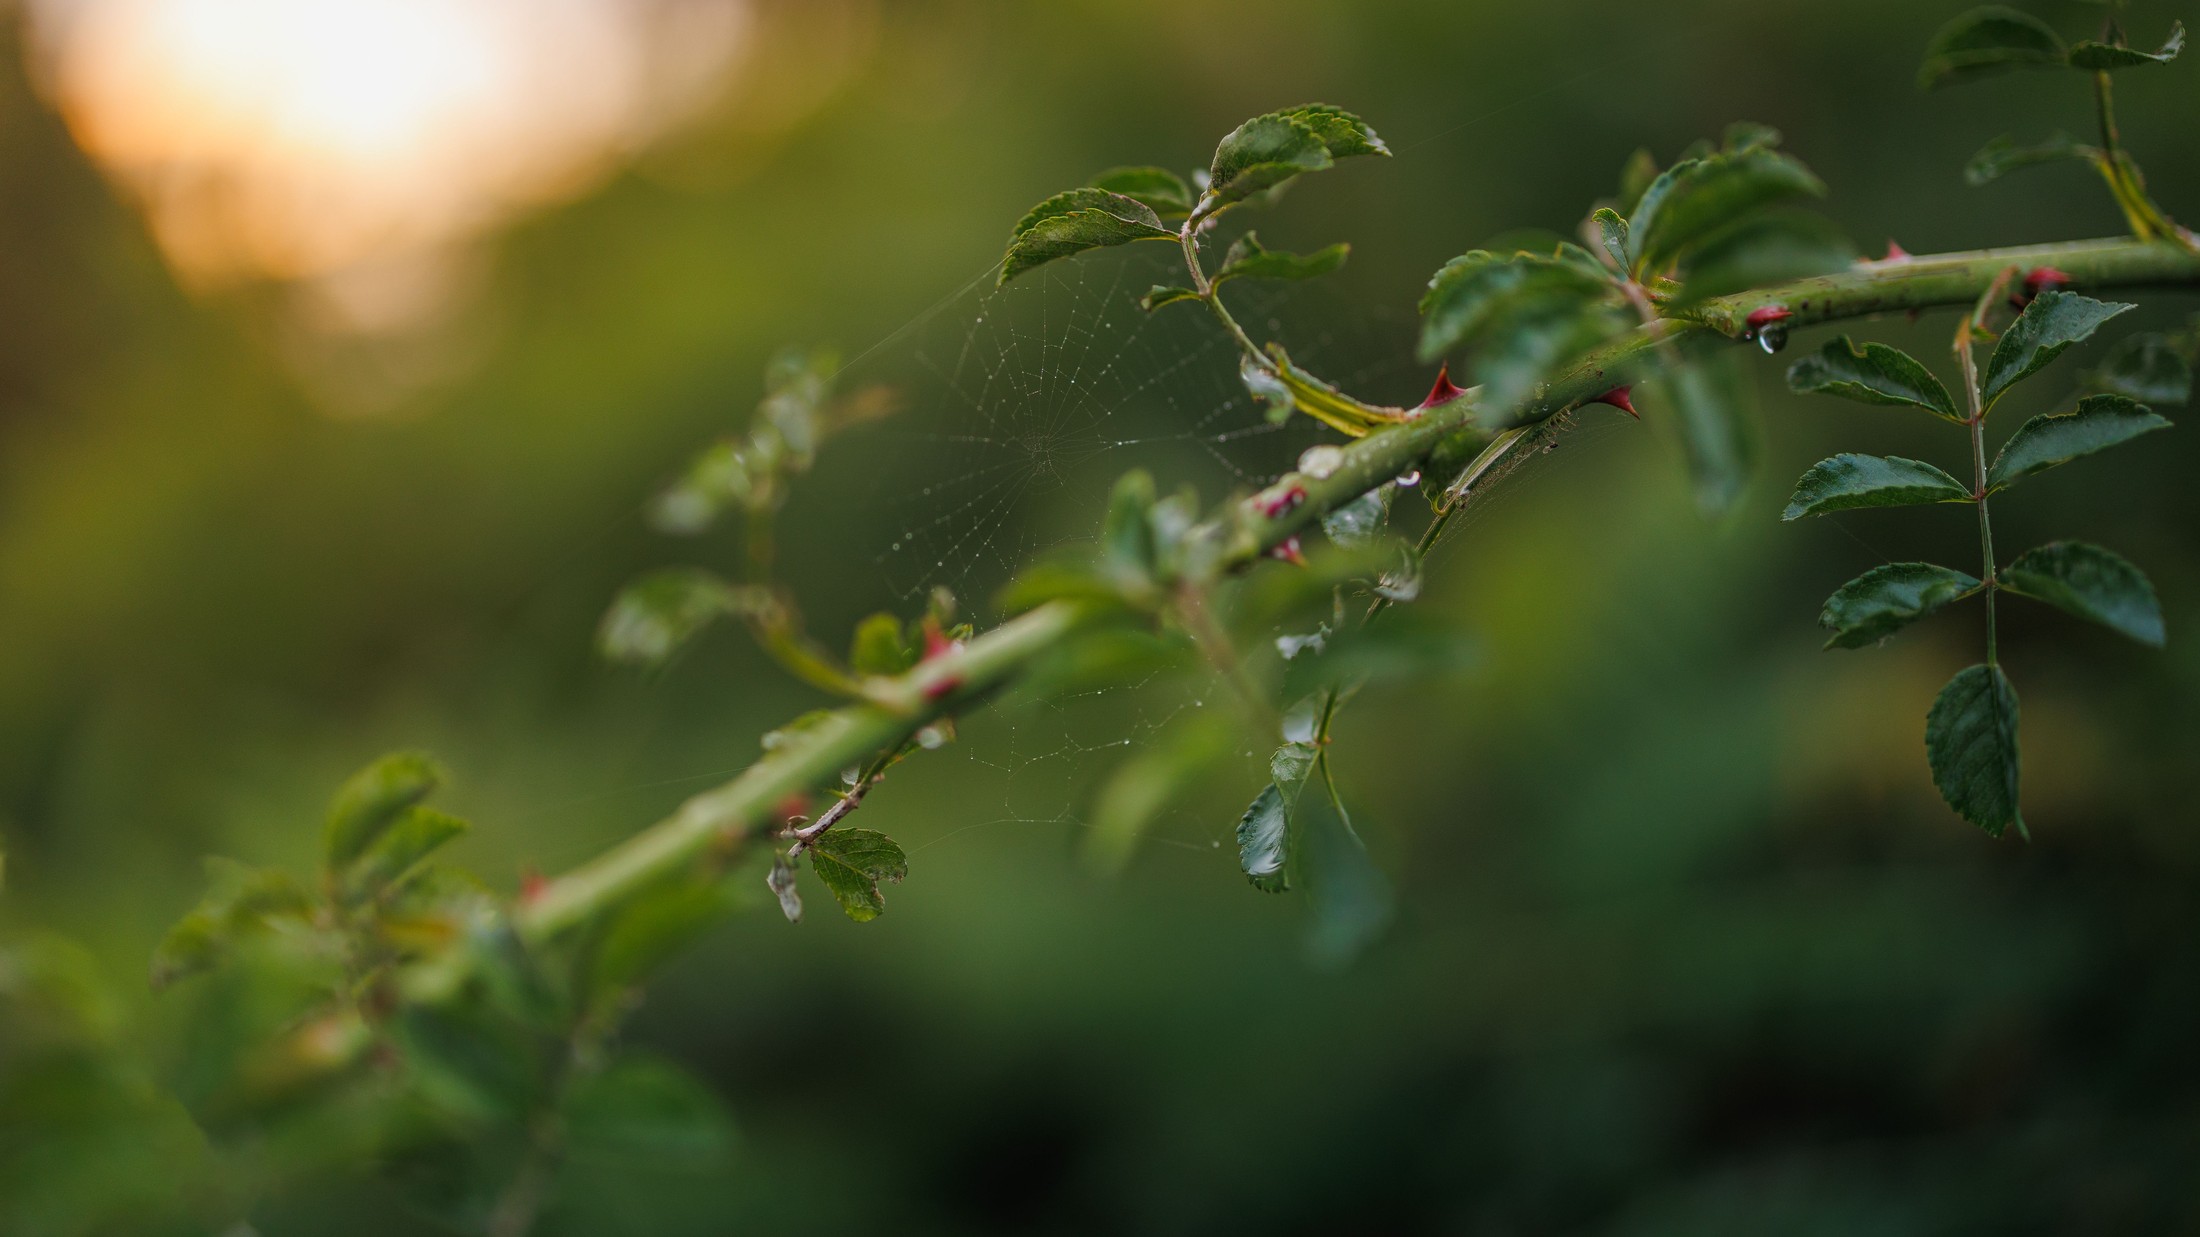
Dew and webs reward patience because the detail may be hard to see until it catches the light. Look for a dark area behind the fine lines, then move carefully within the space already available to you. The branch-and-web photograph illustrates how a diagonal subject can sit against a softer field of color. It does not demonstrate that you should reposition a branch or add droplets. You can make an honest picture by waiting for existing light and choosing a clearer line of sight. A less tidy natural arrangement is preferable to damaging the subject for a cleaner frame.
Follow the Leave No Trace principle of leaving what you find. Do not pick flowers, strip away vegetation, move natural objects or interfere with webs to improve a composition. Respect local access rules and give living subjects space. Avoid spraying water, chilling insects or baiting animals for a close-up. If your presence changes an animal’s behavior, back away. Your photograph can record a small encounter without turning that encounter into a set. This restraint also makes the viewpoint exercise more useful: you learn to solve the frame with the camera instead of rebuilding the scene.
Build a deliberate comparison in the field
Choose one stationary subject and make a short comparison sequence while the light is reasonably stable. Begin with the most obvious accessible view. Next, change height without changing the intended subject. Then move sideways to improve the background. Finally, decide whether to include more habitat or move closer to one detail. Do not change every variable at once. Keep a brief note of what you changed so that the later comparison teaches you something beyond which frame happened to feel pleasing. The purpose is a clear visual decision, not a large burst of nearly identical files.
Compare the frames at the size you expect people to see them. A tiny background twig may disappear in a small web image, while a bright patch can remain distracting even at thumbnail size. At a larger size, check whether the detail that motivated the photograph is actually clear. Keep the version that best supports your original idea, then consider whether another version tells a genuinely different story. You might retain an environmental close-up and a pattern study, but you do not need every intermediate camera position. Editing the sequence is part of learning which changes mattered.
Edit for the scene you intended to show
Begin processing with exposure, white balance and a crop that supports the subject. Check whether the crop removes important context, such as where a mushroom meets the bark, before trimming tightly around the most colorful detail. Use local adjustments sparingly to guide attention rather than turning a shaded background into featureless black. Fine textures can become brittle under heavy sharpening, and foliage can look unnatural when saturation is pushed too far. Return to the unedited file occasionally so that a series of small adjustments does not quietly become a very different picture.
Choose the right level of disclosure for the purpose of the image. A personal art experiment can use different methods from a photograph presented as a record of a natural encounter. Do not describe a composited or generated scene as an untouched field observation. If you combine frames, remove major elements or use a staged subject, make that clear when it matters to the audience. For this viewpoint exercise, a simple single-frame edit is enough. It keeps the connection between the position you chose outdoors and the photograph you evaluate afterward easy to understand.
 Save
Practice with one familiar patch of nature
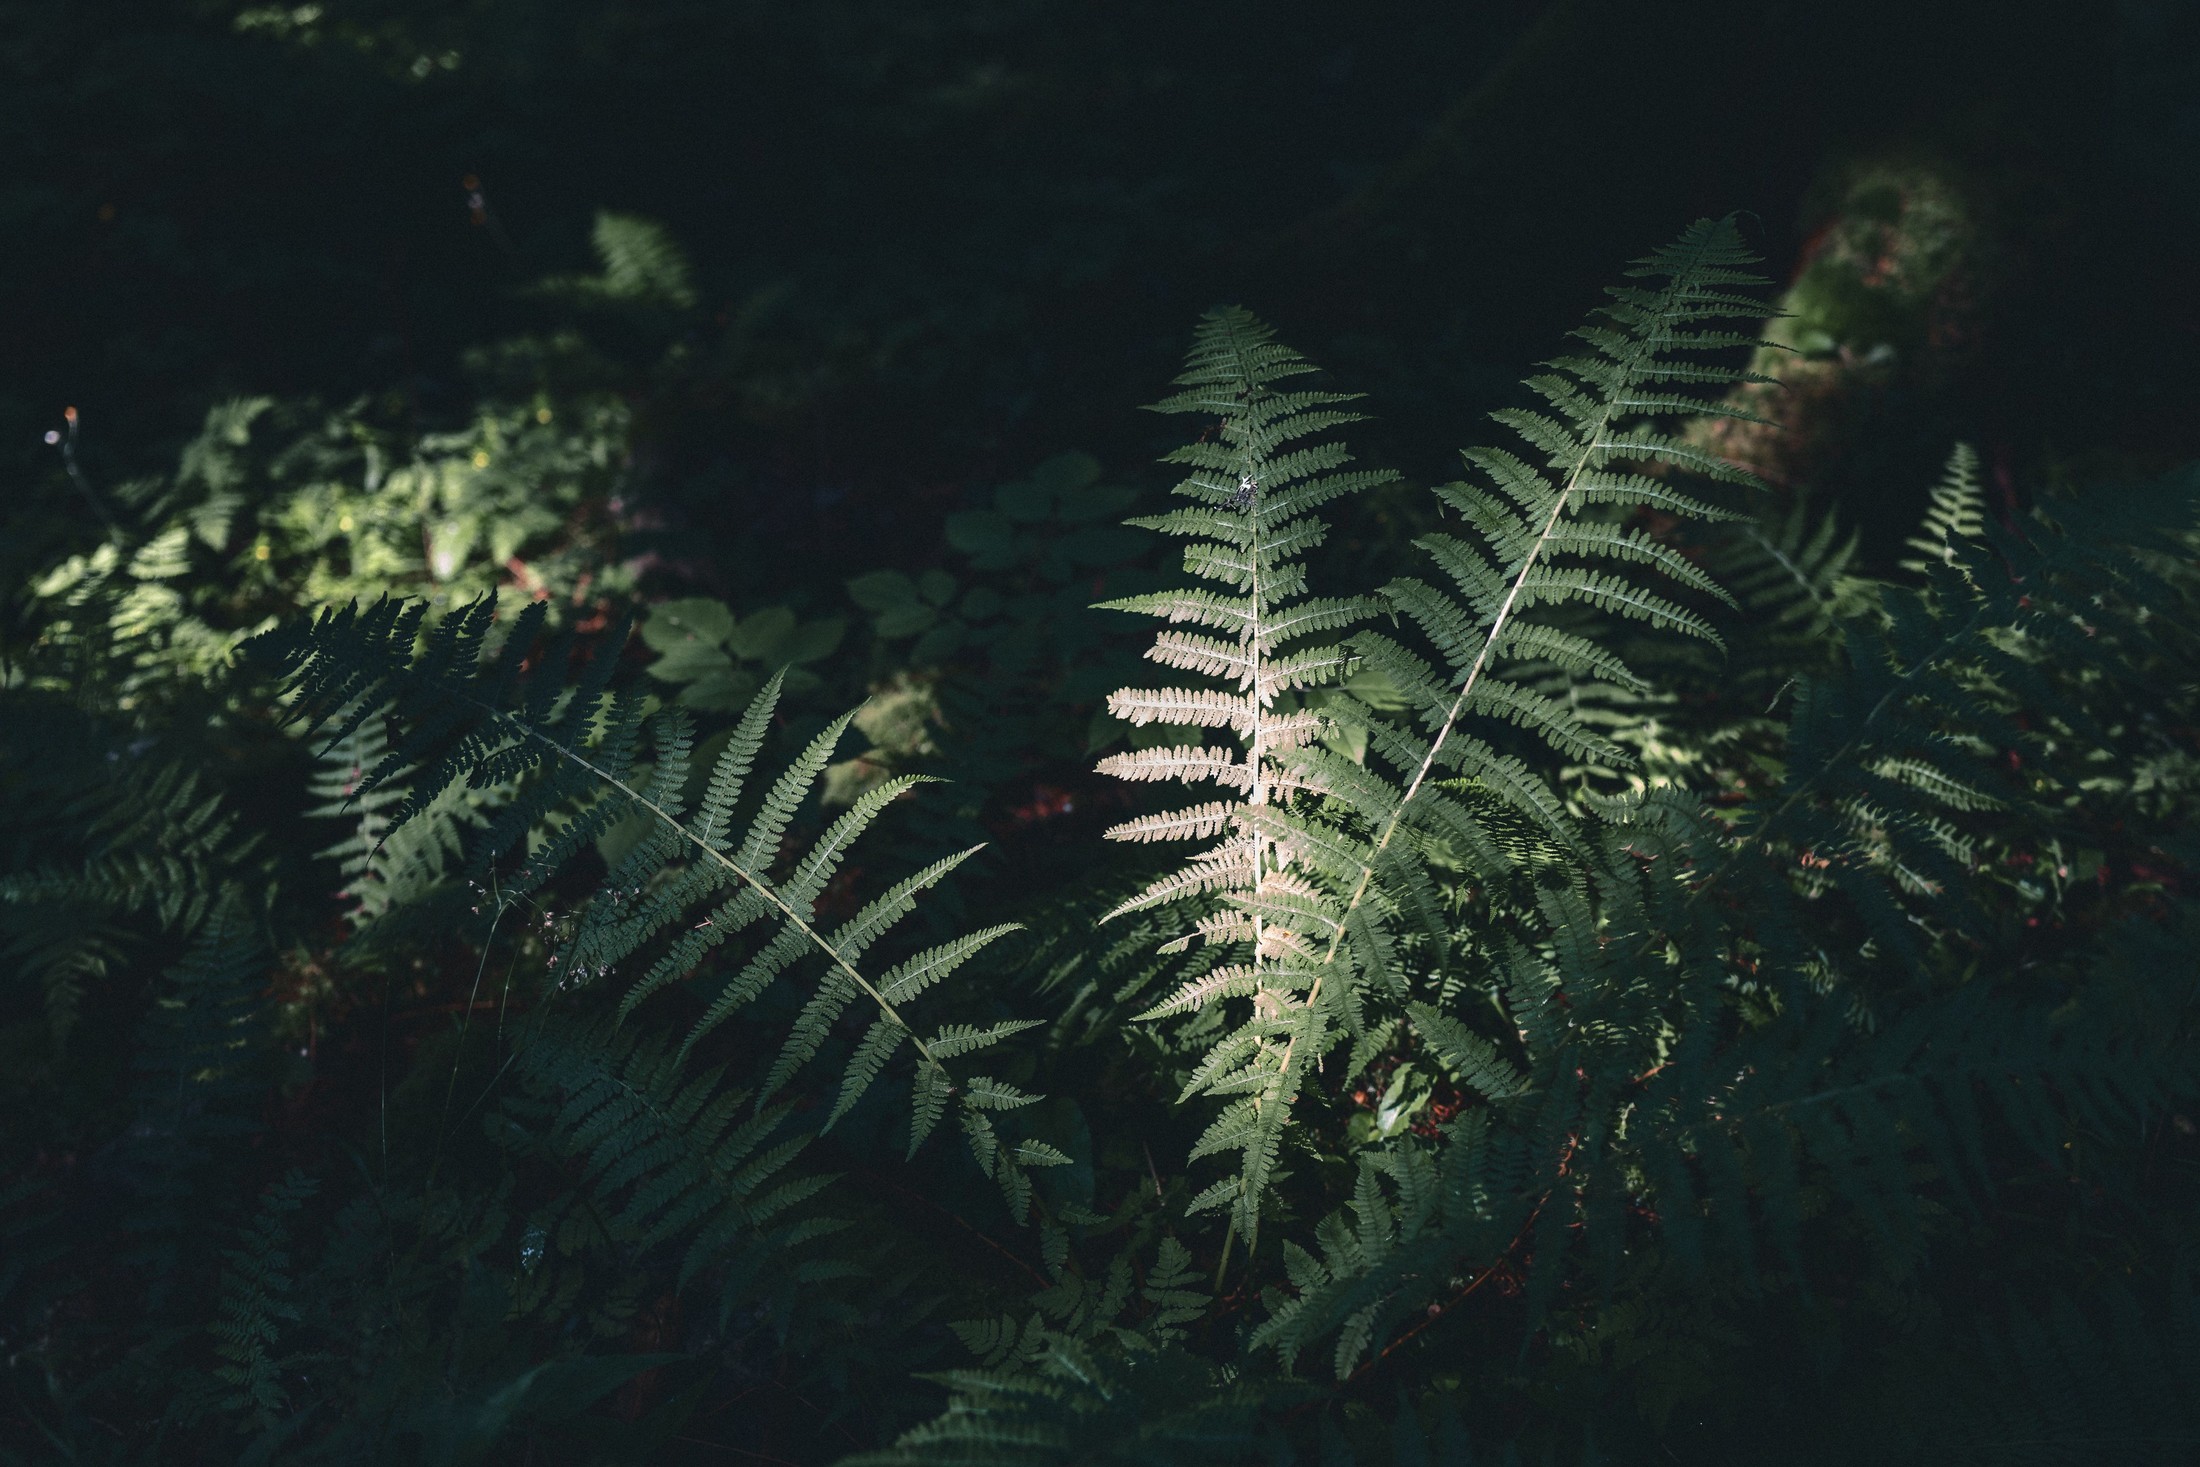
You do not need a distant destination to practice seeing differently. Return to an accessible garden edge, a permitted woodland path or a tree you can observe without damage. Look for changing relationships rather than a new species every time: a frond isolated by a patch of light, bark made clearer by side illumination or a leaf edge separated from its background. The fern photograph suggests one such relationship, with lit fronds standing against shade. In your own setting, wait and watch before deciding whether that contrast helps the subject or hides too much of it.
Finish the session by answering one practical question: which change in camera position improved the photograph, and why? Keep the answer specific enough to use again. Lowering the camera separated the cap from the ground is more useful than the low shot looked better. If you want to build on this exercise with magnification, lighting and focus work, explore the Academy’s Macro Photography: The Hidden World. Start with the equipment you already have, work within its focusing limits and let a clear visual problem guide the next step.
Frequently asked questions
How does perspective change a close-up nature photograph?
Changing camera position alters the relationship between the subject, its background and the light. A lower view can reveal a profile; a higher view can emphasize a flat pattern. Choose the position that explains the detail you want viewers to notice.
Do I need a macro lens to practice different viewpoints?
No. Use a camera or phone that focuses close enough for the subject and stay within its focusing limits. A macro lens is useful for higher magnification, but background control, camera height and light can be practiced without one.
What is the difference between close-up and 1:1 macro?
Close-up is a broad description of a detailed view. At 1:1 magnification, the subject is reproduced at its real size on the sensor. A strong nature close-up does not have to meet that technical ratio.
How can I simplify a distracting background?
First try moving the camera slightly sideways or changing its height. Check bright patches and crossing lines as well as blur. Then choose an aperture that gives the subject enough depth of field without relying on blur to solve every distraction.
Why is only part of my leaf sharp?
At close distances, depth of field can be limited. Try aligning the sensor plane more closely with a relatively flat leaf, focus on the important detail and review at magnification. Also check for camera movement or a swaying subject.
Should I move a branch or flower to improve the frame?
Leave natural objects where you find them and avoid disturbing living subjects. Change your own viewpoint, wait for different light or choose another subject. Follow local access rules and leave the habitat as you found it.
What should I review after a viewpoint exercise?
Compare the subject edge, background, important sharp detail and amount of habitat in each frame. Identify which position best supports your intended idea. Keep notes about the change that helped so that the next session builds on a clear observation.
An optional carry accessory for nature walks
A black Peak Design Slide Lite camera strap, model SLL-BK-3, is one carry option between photographs on a nature walk. Check the attachment points and full camera-and-lens weight before buying. Follow the attachment instructions and inspect the anchors. This optional accessory does not set the camera angle or choose a viewpoint. Compare the current retailer specifications; no hands-on test, price or stock promise is being made here.
Compare Peak Design Slide Lite Camera Strap Black SLL-BK-3 on Amazon | Check Peak Design Slide Lite Camera Strap Black SLL-BK-3 at B&H
Affiliate disclosure: We may earn a commission from qualifying purchases through these gear links at no extra cost to you. As an Amazon Associate, Shut Your Aperture earns from qualifying purchases.