Featured image: A jumping spider resting on a green leaf. Photo by Wahyu Prabowo / Pexels. Pexels License. (Stock photo, illustrative.)
Choose the lens for the subject you actually photograph
A macro lens is a tool for making small subjects large in the frame, but the right choice starts with the subject rather than the lens name. A flower head, a beetle and the fine structure of a feather ask different things of your equipment. Think about the smallest detail you want to show, how close you can approach it and whether it will stay still. Those three questions narrow the choice more effectively than buying the lens with the most dramatic maximum magnification.
This guide to choosing a macro photography lens focuses on reproduction ratio, working distance, compatibility and handling. It does not rank a particular model as best for everyone, and the stock photographs illustrate subjects rather than prove what a named lens can do. Before shopping, write a short brief: your camera mount, your usual subject, the space you work in and the output you want. You can then compare specifications against a real task instead of comparing isolated numbers that may have little effect on your pictures.
Read reproduction ratio before the word macro
Reproduction ratio describes the size of the subject’s image on the sensor compared with the subject itself. At 1:1, a subject measuring ten millimeters across forms an image ten millimeters across on the sensor. At 1:2, that image is five millimeters across. Nikon’s macro lens guide explains the life-size convention. A lens that focuses close is not necessarily capable of life-size reproduction. Read the maximum magnification specification rather than treating the word macro on the barrel or sales page as a complete description.
Choose enough magnification for your subject, with some room for framing. A large blossom may fill the picture comfortably below 1:1, while a tiny insect’s eye can demand more magnification than an ordinary life-size lens provides. Sensor dimensions also affect how much of the subject fits in the frame, but cropping does not change the optical reproduction ratio. A smaller sensor may frame a smaller area at the same ratio; it has not transformed a 1:2 lens into a 1:1 lens. Keep framing and magnification separate when comparing systems.
 Save
Separate minimum focus distance from working distance
Minimum focus distance is measured from the camera’s sensor plane to the subject, not from the front of the lens. Working distance is the clearance between the front of the lens and the subject. That clearance determines whether you can position a light, avoid a shadow or approach an insect without touching its surroundings. A short minimum focus specification can sound useful while leaving very little space in front of a long lens. Compare working distance at the magnification you plan to use, rather than assuming the two measurements mean the same thing.
A lens hood, extending barrel or attached accessory can reduce the practical room available. Check the manufacturer’s diagram or manual when the published specification is unclear. If possible, try the lens on your camera with the hood and lighting arrangement you expect to use. Bring a small object and look at the actual gap at close focus. For a jumping spider on a leaf, that gap can determine whether you have a workable camera position. For a stationary seed pod indoors, limited clearance may be less troublesome if you can arrange the subject and light.
Use focal length to shape the shooting setup
Macro lenses with shorter focal lengths can suit a compact tabletop arrangement or subjects you can approach closely. Longer focal lengths often provide more working room at comparable magnification, which can help with insects and lighting. This is a general tendency, not a substitute for checking the particular lens design. Internal focusing, physical length and maximum magnification all matter. Photography Life’s macro tutorial discusses how focal length, distance and magnification interact. Compare the complete setup rather than expecting a focal-length label to predict every handling detail.
More clearance can come with a larger, heavier or more demanding lens. Ask whether you will carry it on a long walk and whether your support can hold it comfortably. Consider the background too: camera position, subject distance and framing influence which parts of the surroundings appear behind the subject. Do not choose a long lens solely because somebody calls its background blur better. Stand where you would actually shoot, frame a similar subject and judge the arrangement of background shapes. A lens that lets you reach a clean angle is more useful than a specification you cannot exploit.
Match the lens mount and sensor coverage first
A compatible mount is the first requirement, not an optional detail to check after a purchase. Confirm the exact camera model and the exact lens version, including any suffix that identifies a different mount. Some manufacturers sell similar-looking macro lenses for several systems, and an adapter can change which functions work. Check sensor coverage as well. A lens designed for a smaller image circle may crop the image on a larger-sensor camera or show dark corners, depending on the camera and its settings. Compatibility is a specific pairing, not a brand-level promise.
Then check autofocus, electronic aperture control, stabilization and any camera-specific restrictions through the maker’s current documentation. A mechanically mountable lens may still require manual operation or lack a feature you expected. If you are considering an adapted lens, identify the adapter model rather than assuming every adapter behaves alike. Ask whether the combination meets your subject brief without relying on a future workaround. A modest compatible lens you can use confidently is a better starting point than an impressive bargain whose aperture, focus or coverage does not fit your camera.
 Save
Decide how much autofocus matters for your subjects
Autofocus is useful when it can place the sharp plane where the photograph needs it, but close focusing can make small errors obvious. A focus limiter, when available, restricts the distance range the lens searches. Check whether its close-range setting suits your work and how easily you can change it. For active subjects, assess focus acquisition with the camera you own, not only a reviewer’s body. A lens can be excellent optically while feeling slow or awkward for the way you approach a moving insect in changing light.
Manual focus remains valuable for deliberate close-up work. Look for a focus ring that is comfortable to reach, predictable to adjust and usable in your working position. A focus-by-wire ring depends on electronic control and can feel different from a mechanically coupled ring; try it rather than assuming either type will suit you. With a stationary subject, small camera movements may be a practical way to place focus after setting magnification. With a live subject, keep your approach gentle and leave space. No focusing system removes the need to watch the subject and choose the important detail.
 Save
Judge sharpness at the magnification you will use
A lens’s wide-open performance at ordinary distances does not tell the whole story about its close-up use. Look for reviews that show the magnification, aperture and test method, and distinguish a carefully controlled test from an attractive sample photograph. Digital Camera World’s macro lens guide is a useful starting point for identifying options, but confirm the exact specifications with the manufacturer before buying. Compare what matters to your subject: central detail, edges across a flat object, color fringing or behavior around bright highlights.
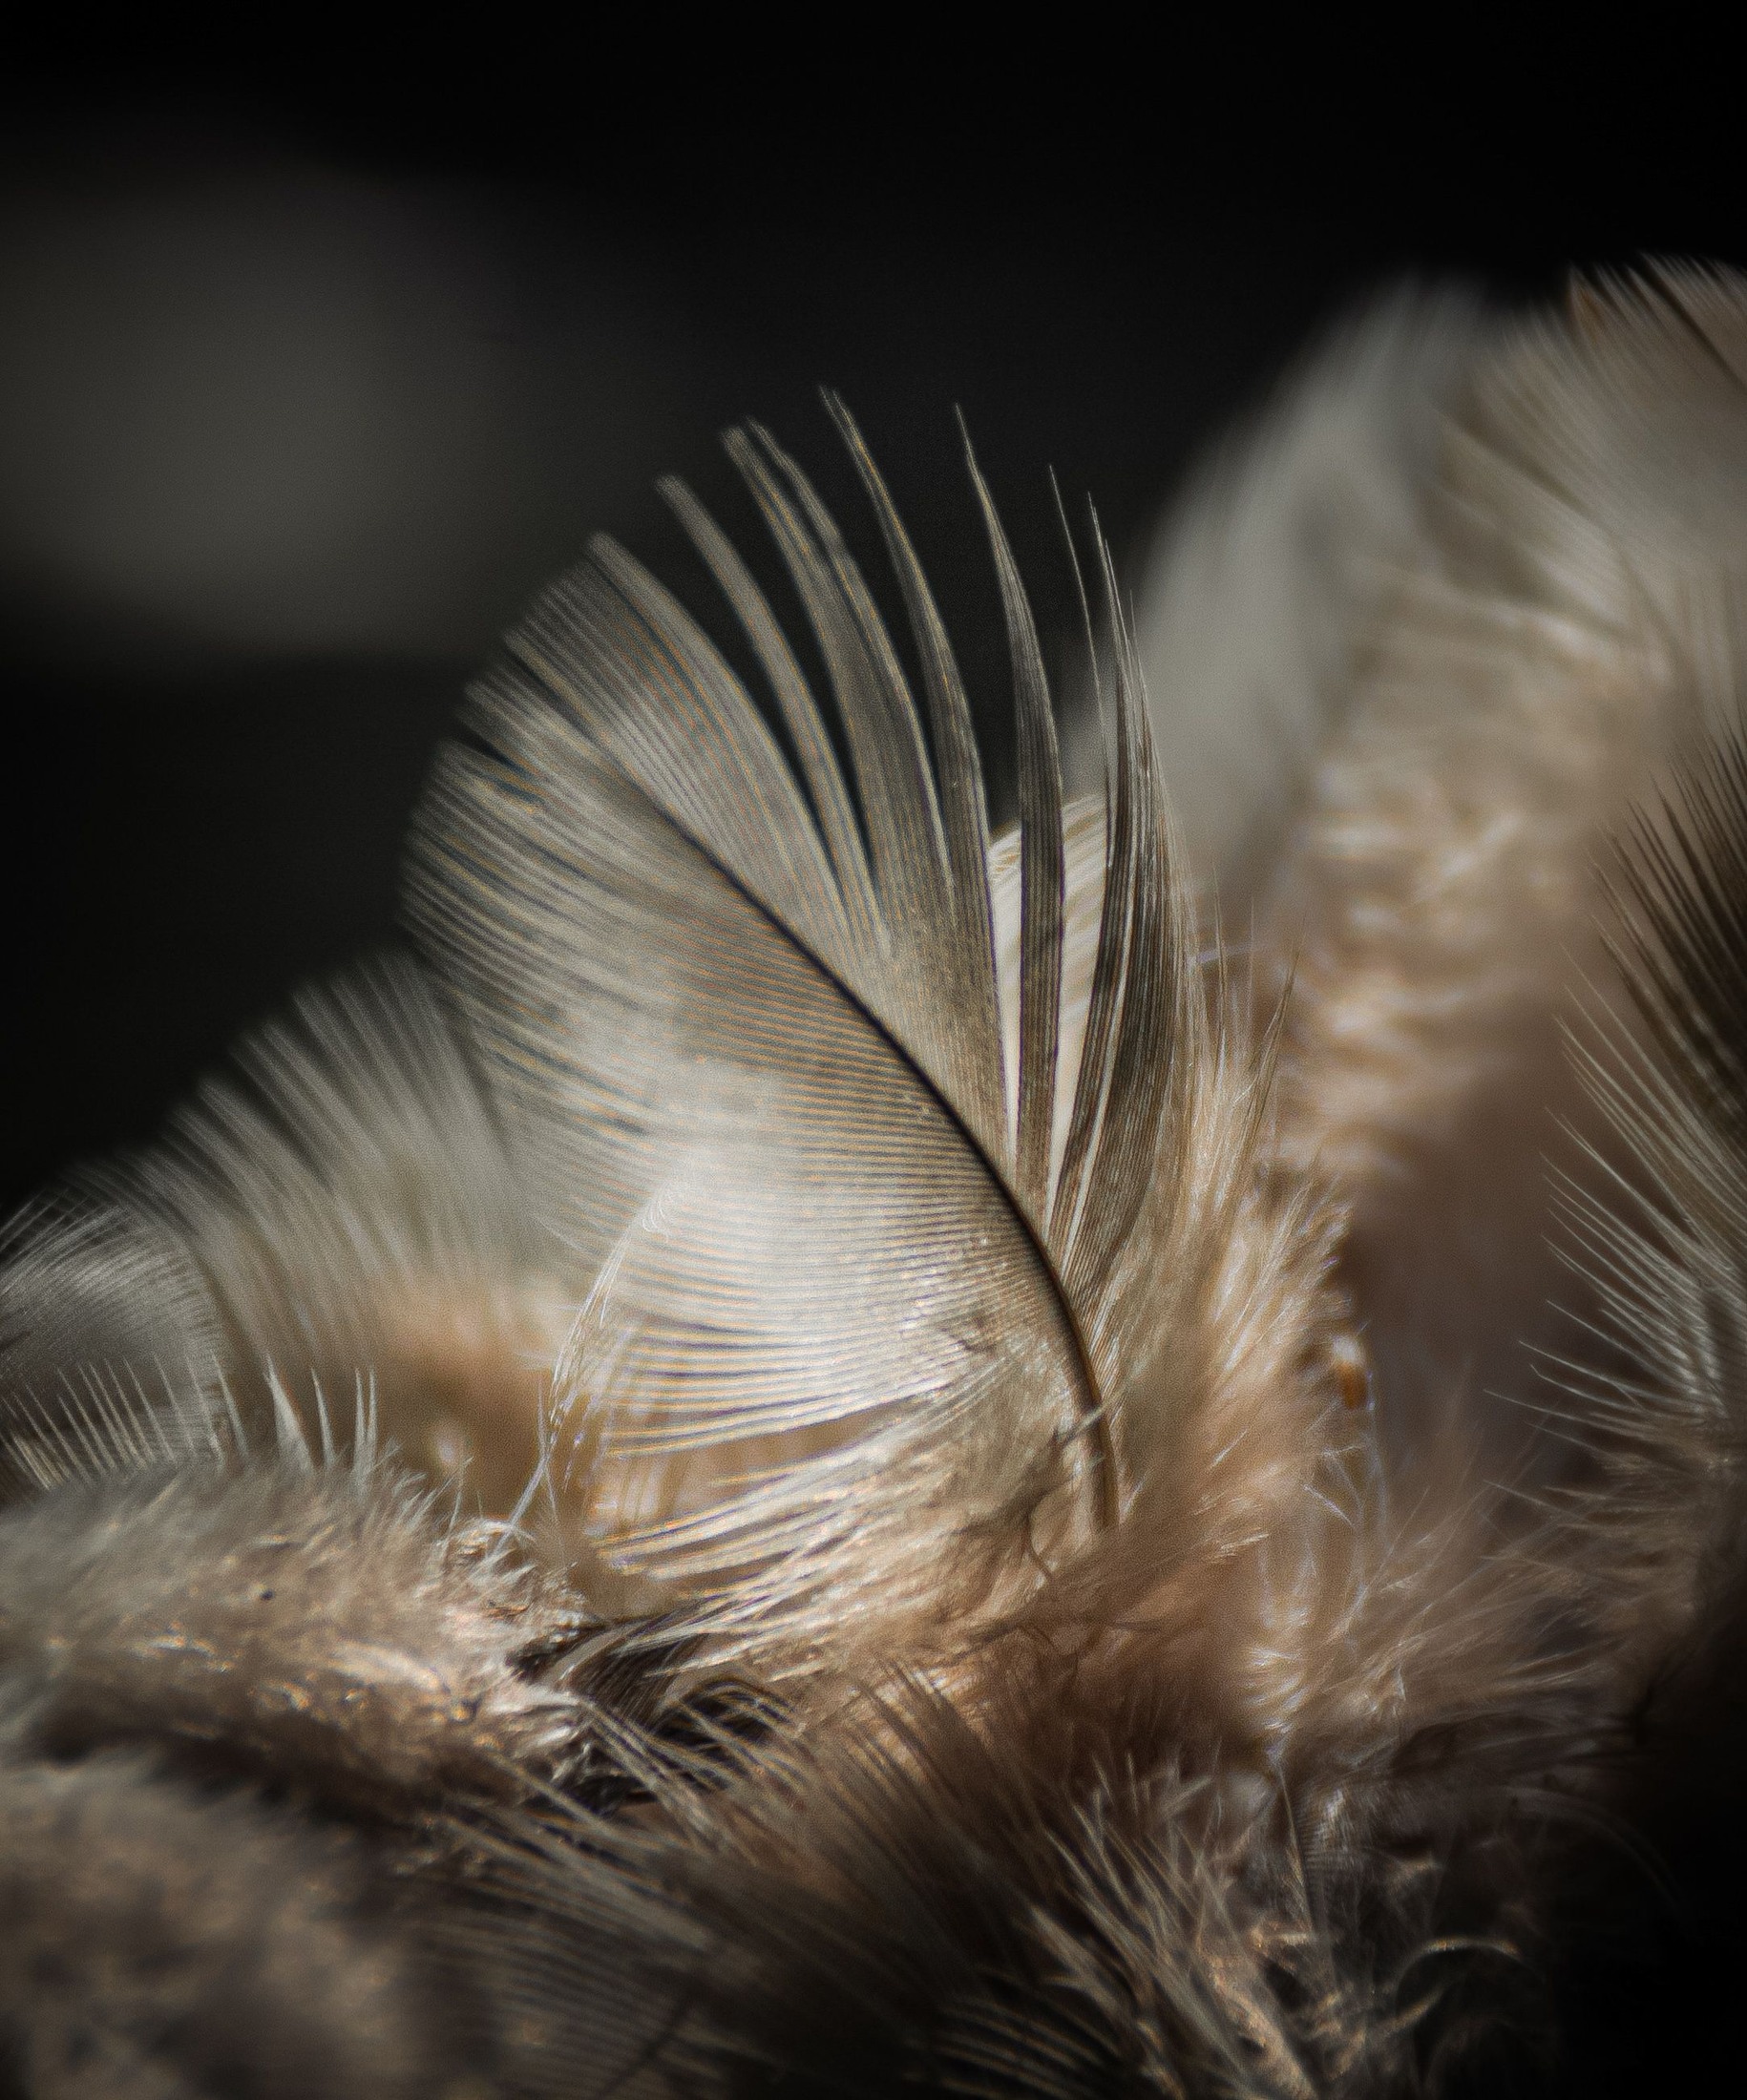
Fine feather strands are a useful reminder that detail depends on the whole capture. Precise focus, a suitable depth of field and control of movement matter alongside optical performance. At close range the sharp zone can be very thin. Stopping down can increase depth of field, but diffraction eventually softens fine detail, so the smallest aperture is not automatically the best choice. Test several apertures on your own subject while keeping framing and focus consistent. Choose the result that balances depth and detail at your intended display size rather than chasing a universal aperture recommendation.
Treat stabilization as help, not a cure
Lens or in-body stabilization can reduce the effect of camera movement in supported situations, but it cannot freeze an insect or a leaf moving in the wind. Its effectiveness also depends on the system and shooting conditions. Read the lens and camera guidance, especially for close focusing and tripod use. Do not assume a stabilization rating measured in one situation will translate unchanged to life-size work. When comparing lenses, treat stabilization as one useful handling feature, then decide how much of your actual blur comes from camera shake, subject movement or focus error.
Support matters most when it solves a specific problem. A tripod can hold a stationary composition while you adjust light or compare focus positions. It cannot stop the subject moving, and it may slow you down when following an active insect. A focusing rail can offer controlled camera movement for a static setup, but it adds weight and another adjustment. Start with the support you can position safely and repeatably. Keep the lens balanced, avoid an awkward extended center column where possible and check the picture rather than assuming the presence of a tripod guarantees sharpness.
Leave enough room for light and the background
At high magnification, the camera and lens can get in the way of the light you wanted to use. Before choosing a lens, imagine a diffuser or small light beside the subject. Can you place it without bumping the plant or casting a hard shadow? Can you move the camera sideways to clean up the background? Canon’s macro photography advice connects close focusing with practical lighting and stability choices. A little more clearance can be valuable even when the subject itself does not react to your approach.
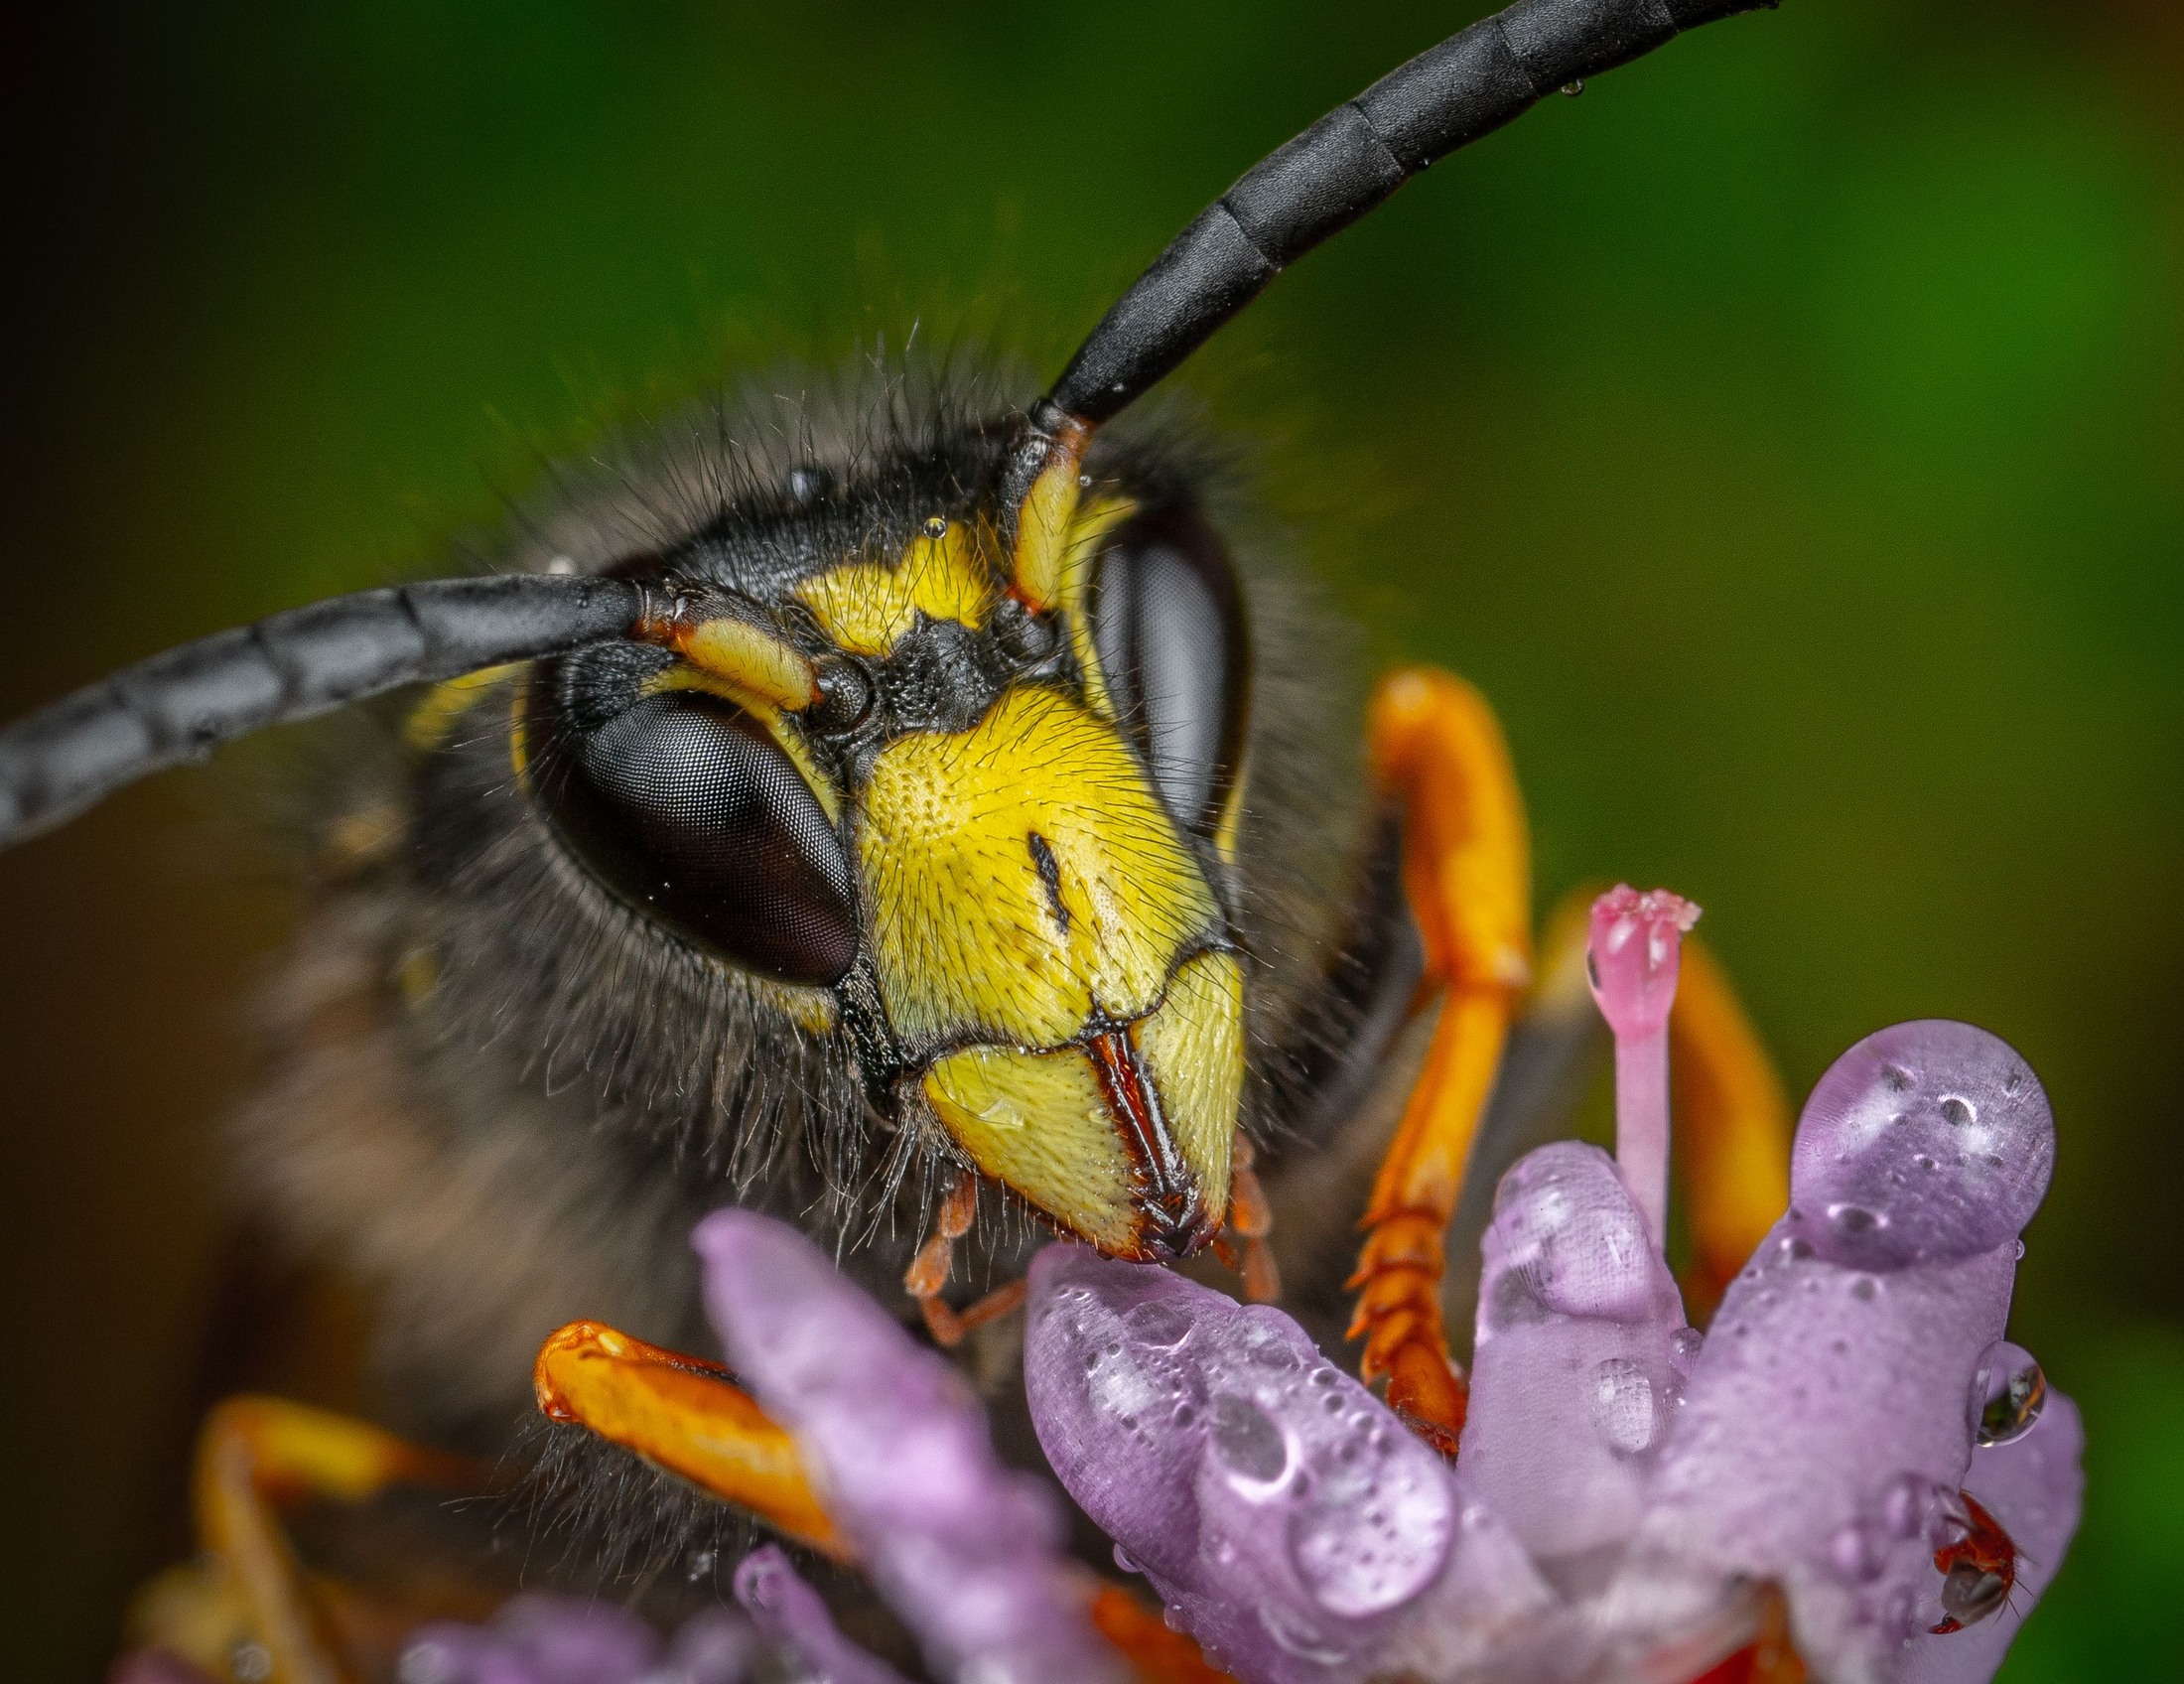
The dew-covered beetle and the wasp on a flower illustrate different surfaces that can produce strong highlights. A softer, well-positioned source may be more useful than another increment of magnification when reflections hide the detail. The photographs here are not lighting diagrams or evidence of the equipment used. Use them to identify a problem to test: reflections on a shell, texture on a flower or separation from a busy background. Select a lens that leaves room to make those decisions instead of forcing every subject into the same cramped lighting arrangement.
Consider extension tubes before replacing a useful lens
Extension tubes sit between a compatible lens and camera and move the lens farther from the sensor, allowing closer focusing. They do not contain corrective optics, but that does not mean they have no practical costs. Focus range changes, light loss can matter and working distance may become very short. Electronic contacts and compatibility affect autofocus and aperture operation. Canon’s extension-tube explanation describes the tradeoffs. Check the supported lens and tube combination instead of assuming that a tube fitting the mount is suitable for every lens.
Tubes can be a reasonable experiment when you already own a suitable lens and want to learn what closer focusing feels like. They are less convenient when you need to move quickly between distant and close subjects. A dedicated macro lens may offer a more usable focus range and a more predictable close-up setup. Compare the complete cost, handling and clearance rather than treating the accessory as automatically economical. If a trial shows that your real problem is wind or poor focus placement, buying more magnification will not fix it. Use the experiment to identify what you actually need next.
 Save
Test a candidate with a small, repeatable subject
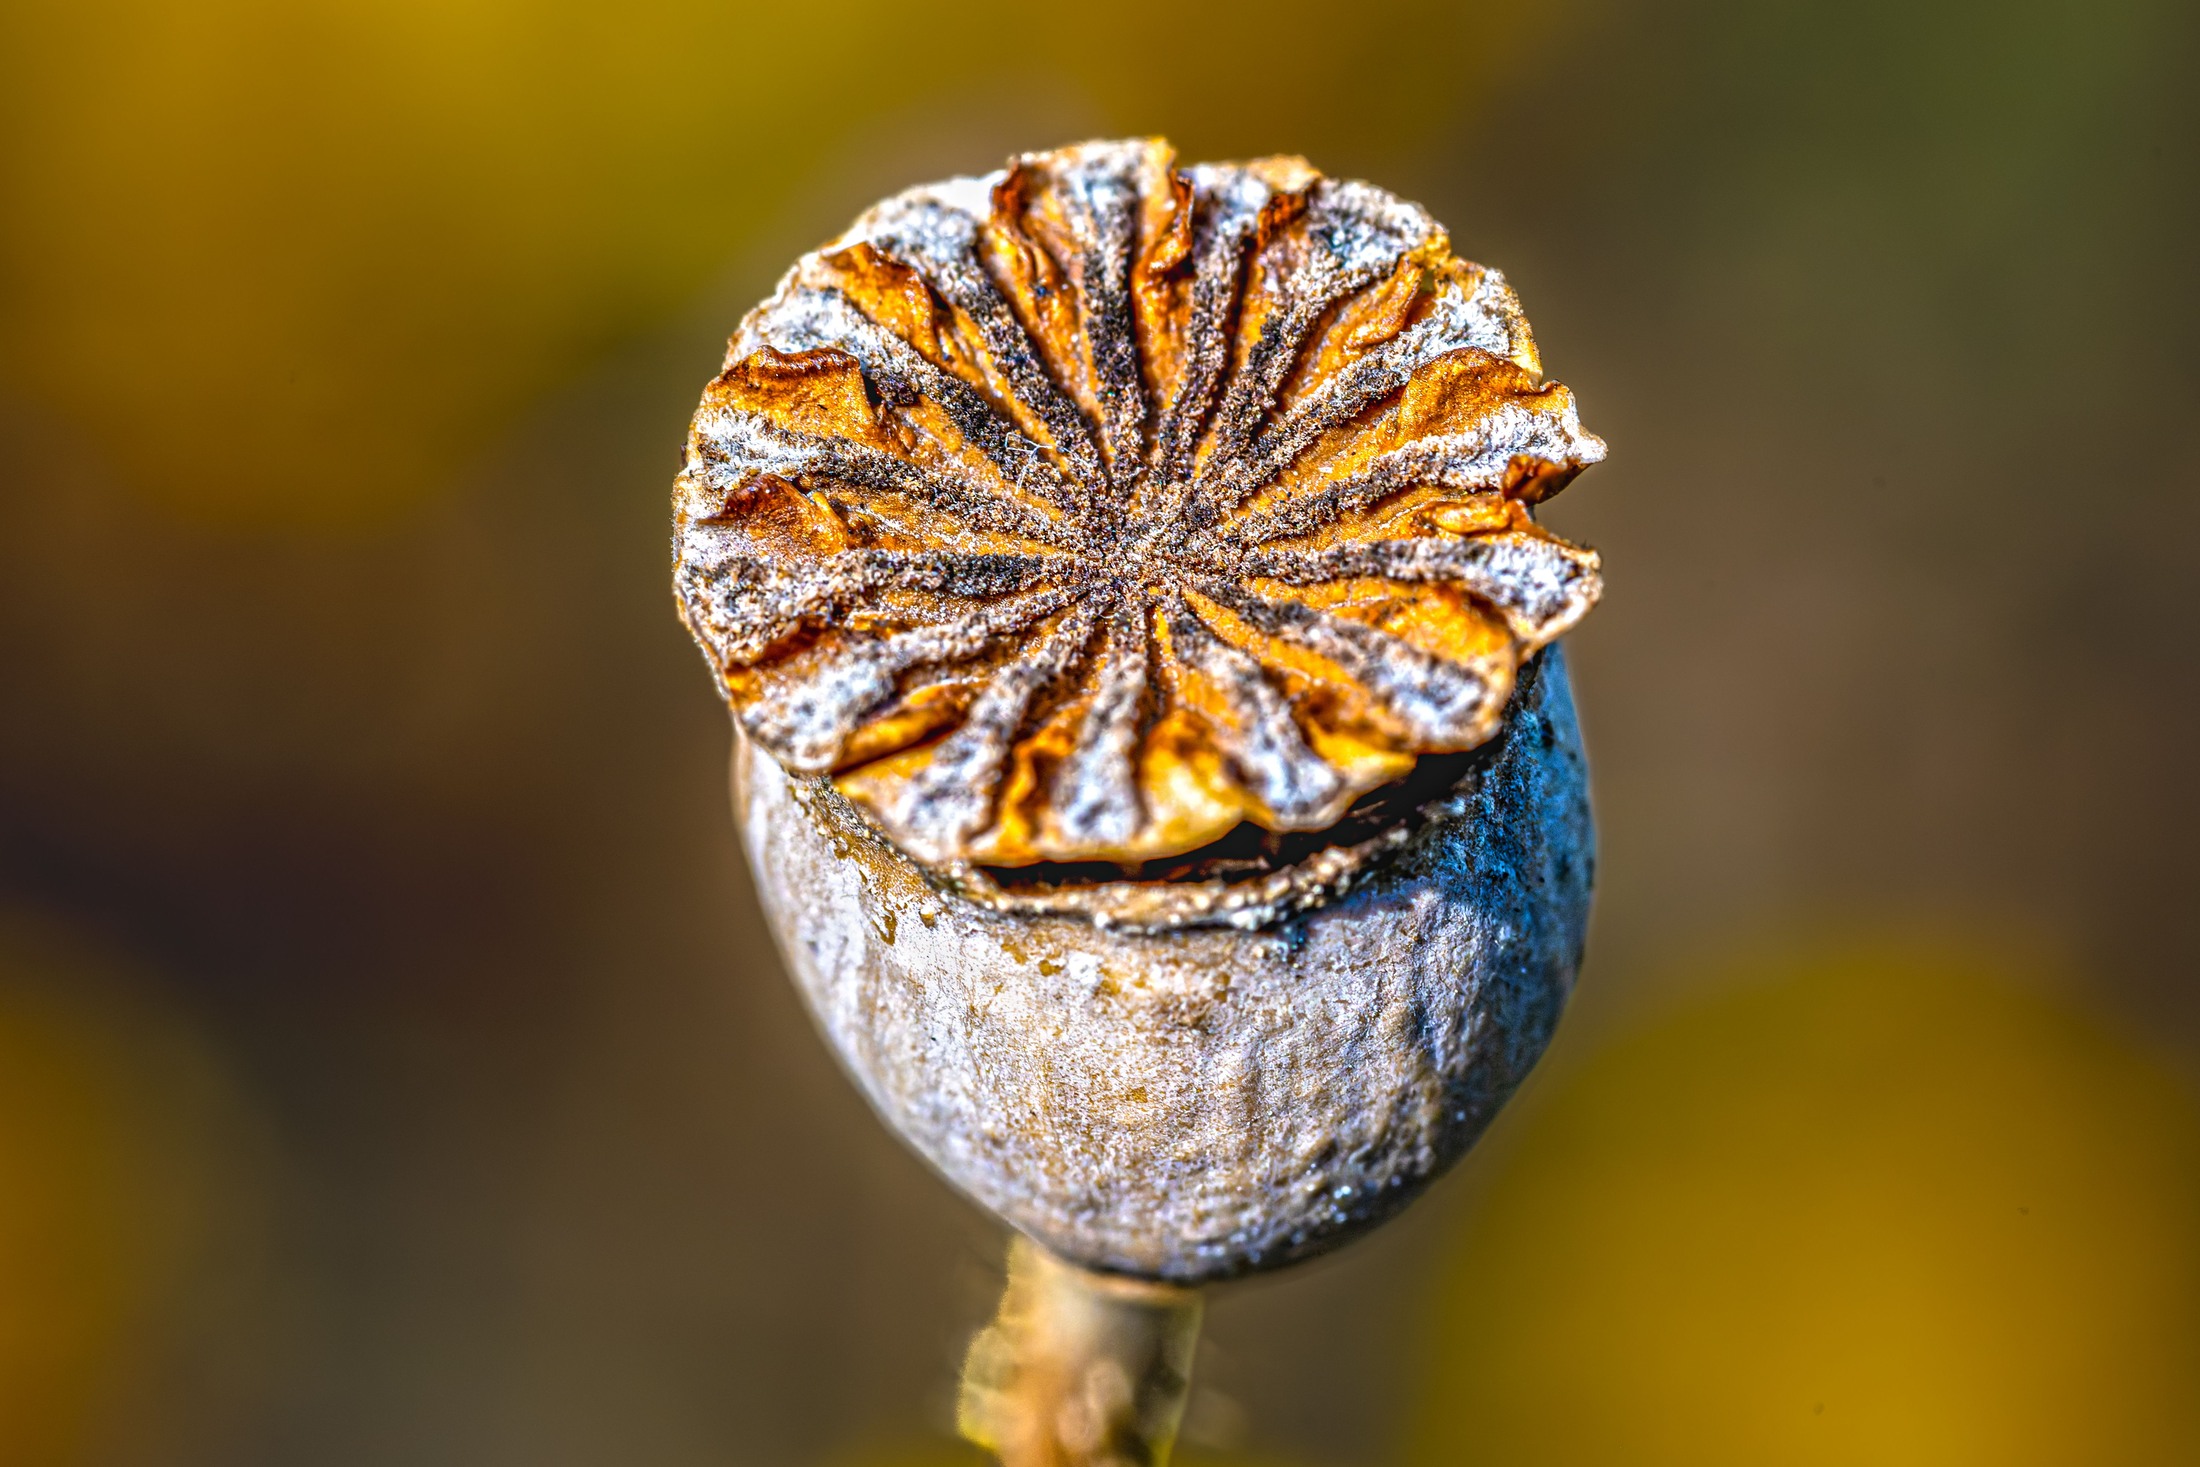
If you can borrow, rent or try a lens, bring a static subject that resembles your work. A textured seed pod, a small piece of fabric or an everyday object with fine detail is more useful than a quick photograph across a shop. Frame it at the magnification you expect to use. Check whether the focus ring, switches and camera grip remain comfortable. Inspect the working gap and try placing your usual light. Test the lens in the conditions that will expose a mismatch before you commit to owning it.
Review the files at a sensible size and compare like with like. Keep framing, light and processing consistent when judging two lenses, and record which settings changed. Check a detailed area at full resolution, then view the entire picture at the output size you plan to use. A small difference visible only at extreme enlargement may matter less than a clear handling advantage. If buying used, inspect condition and verify the seller’s current return terms before paying. This guide makes no stock, price or return-policy promises about a particular seller or listing.
Make the final choice with a clear order of priorities
Start with compatibility and sufficient magnification. Next choose working distance and physical handling that suit your subjects. Then weigh focus behavior, stabilization, size and the cost of any accessories you will truly use. This order keeps a minor specification from overruling a basic mismatch. For skittish insects, approach and clearance may carry more weight. For flat objects on a controlled tabletop, repeatable positioning and detail across the frame may matter more. For occasional close-ups on a walk, a manageable kit may be the deciding advantage.
Write down why the chosen lens fits your brief and what limitation you accept. Perhaps it offers useful clearance but adds weight, or it is compact but leaves less space for lighting. That note makes the purchase a reasoned choice rather than a promise that the equipment will transform your work. Once the lens is in use, practice focus placement, subject care and light before adding more accessories. A well-matched macro lens should make those decisions easier. It does not replace them, and the most useful upgrade is the one that removes a problem you can name.
Macro lens questions
Does a lens need 1:1 magnification to be useful for close-ups?
No. Larger subjects can fill the frame at lower magnification. Check maximum reproduction ratio against the size of the detail you want to photograph rather than relying on the macro label.
What is the difference between focus distance and working distance?
Focus distance is measured from the sensor plane to the subject. Working distance is the practical gap from the front of the lens to the subject. A hood or extending barrel can reduce available clearance.
Is a longer macro lens always better?
No. Longer focal lengths often provide useful clearance, but the specific design, weight, handling and subject matter decide whether that advantage is worth the tradeoff.
Does a crop sensor increase a lens reproduction ratio?
No. A smaller sensor records a smaller area at the same optical ratio. This changes framing, not the size of the subject image relative to the subject itself.
Do I need autofocus for macro photography?
It depends on the subject and workflow. Autofocus can help with active subjects, while manual focus and controlled camera movement can work well with static subjects. Test the exact camera and lens combination.
Can stabilization freeze an insect moving on a flower?
No. Stabilization addresses camera movement in supported conditions. Subject movement, wind and focus error still need their own solutions.
Are extension tubes a substitute for a macro lens?
They can enable closer focusing with compatible lenses, but they change focus range and may reduce light and working room. A dedicated macro lens can be more convenient when close-up work is frequent.
Support for a stationary close-up setup
A Peak Design Aluminum Travel Tripod is one support option for a stationary close-up setup. Check the camera-and-lens weight, plate fit and required working height before buying. Keep paths clear and inspect the locks. This support link does not choose a macro lens or promise a particular magnification. Compare the current retailer specifications; no hands-on test, price or stock promise is being made here.
Compare Peak Design Aluminum Travel Tripod on Amazon | Check Peak Design Aluminum Travel Tripod at B&H
Affiliate disclosure: We may earn a commission from qualifying purchases through these gear links at no extra cost to you. As an Amazon Associate, Shut Your Aperture earns from qualifying purchases.