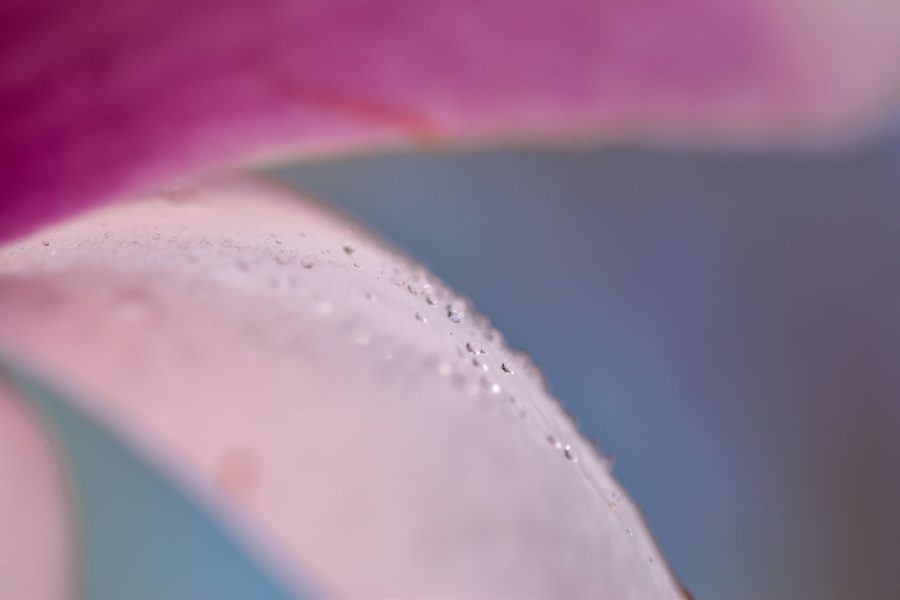
Macro photography makes small mistakes large. A leaf moving a few millimetres, a focus point landing behind the eye or a bright reflection on a petal can change the whole photograph. Slow down. Choose the detail that matters, get the camera stable and make one controlled adjustment at a time.
You do not need to fill the frame with the smallest thing you can find. You need a readable subject and enough control over focus, light and background to show it well. This guide builds that control with practical tests, from a stationary object on a table to a moving subject outside.
Start with a subject that will stay still
A coin, textured leaf, seed pod or household object gives you time to learn. Place it somewhere safe with a background you can move. A living insect in wind adds subject movement, unpredictable direction and a welfare concern before you have tested the camera. Start with the simpler problem.
Choose the feature that should carry the photograph. It might be the edge of a seed, a repeated pattern or a drop of water. Write it in one short phrase. This prevents you from making a technically demanding close-up that has no clear point of interest.
Use a subject you can photograph without damaging it or disturbing anyone. Do not remove plants from a protected place or chill, trap or harm an animal to hold it still. A difficult subject is not a reason to abandon care for the thing you are photographing.
Make a wider frame first. See how much context helps. Then move closer in small steps and compare. Filling the frame is one option, not a measure of whether the photograph succeeded.
Understand the equipment you already have
Check the lens’s closest focusing distance and the kind of detail it can resolve. “Macro” in a product name does not tell you every capability. Read the current specifications for your lens rather than assuming it reaches life-size reproduction or gives the same working distance as another model.
A dedicated macro lens, extension tubes and close-up accessories solve different problems. Compatibility, autofocus behavior and available focusing range vary. Before buying an accessory, check that it fits the mount and lens you intend to use. Do not force a connection that looks nearly right.
Working distance is the space between the front of the lens and the subject when you are focused. It affects whether you block the light, can place a diffuser and can photograph a living subject without crowding it. Closest focusing distance is often measured from the camera’s sensor plane, so do not confuse the two measurements.
Test your present lens with a simple subject and see where it stops focusing. That tells you more about the next purchase than a list of equipment assembled before you know which kind of close-up you want to make.
Keep the background part of the decision
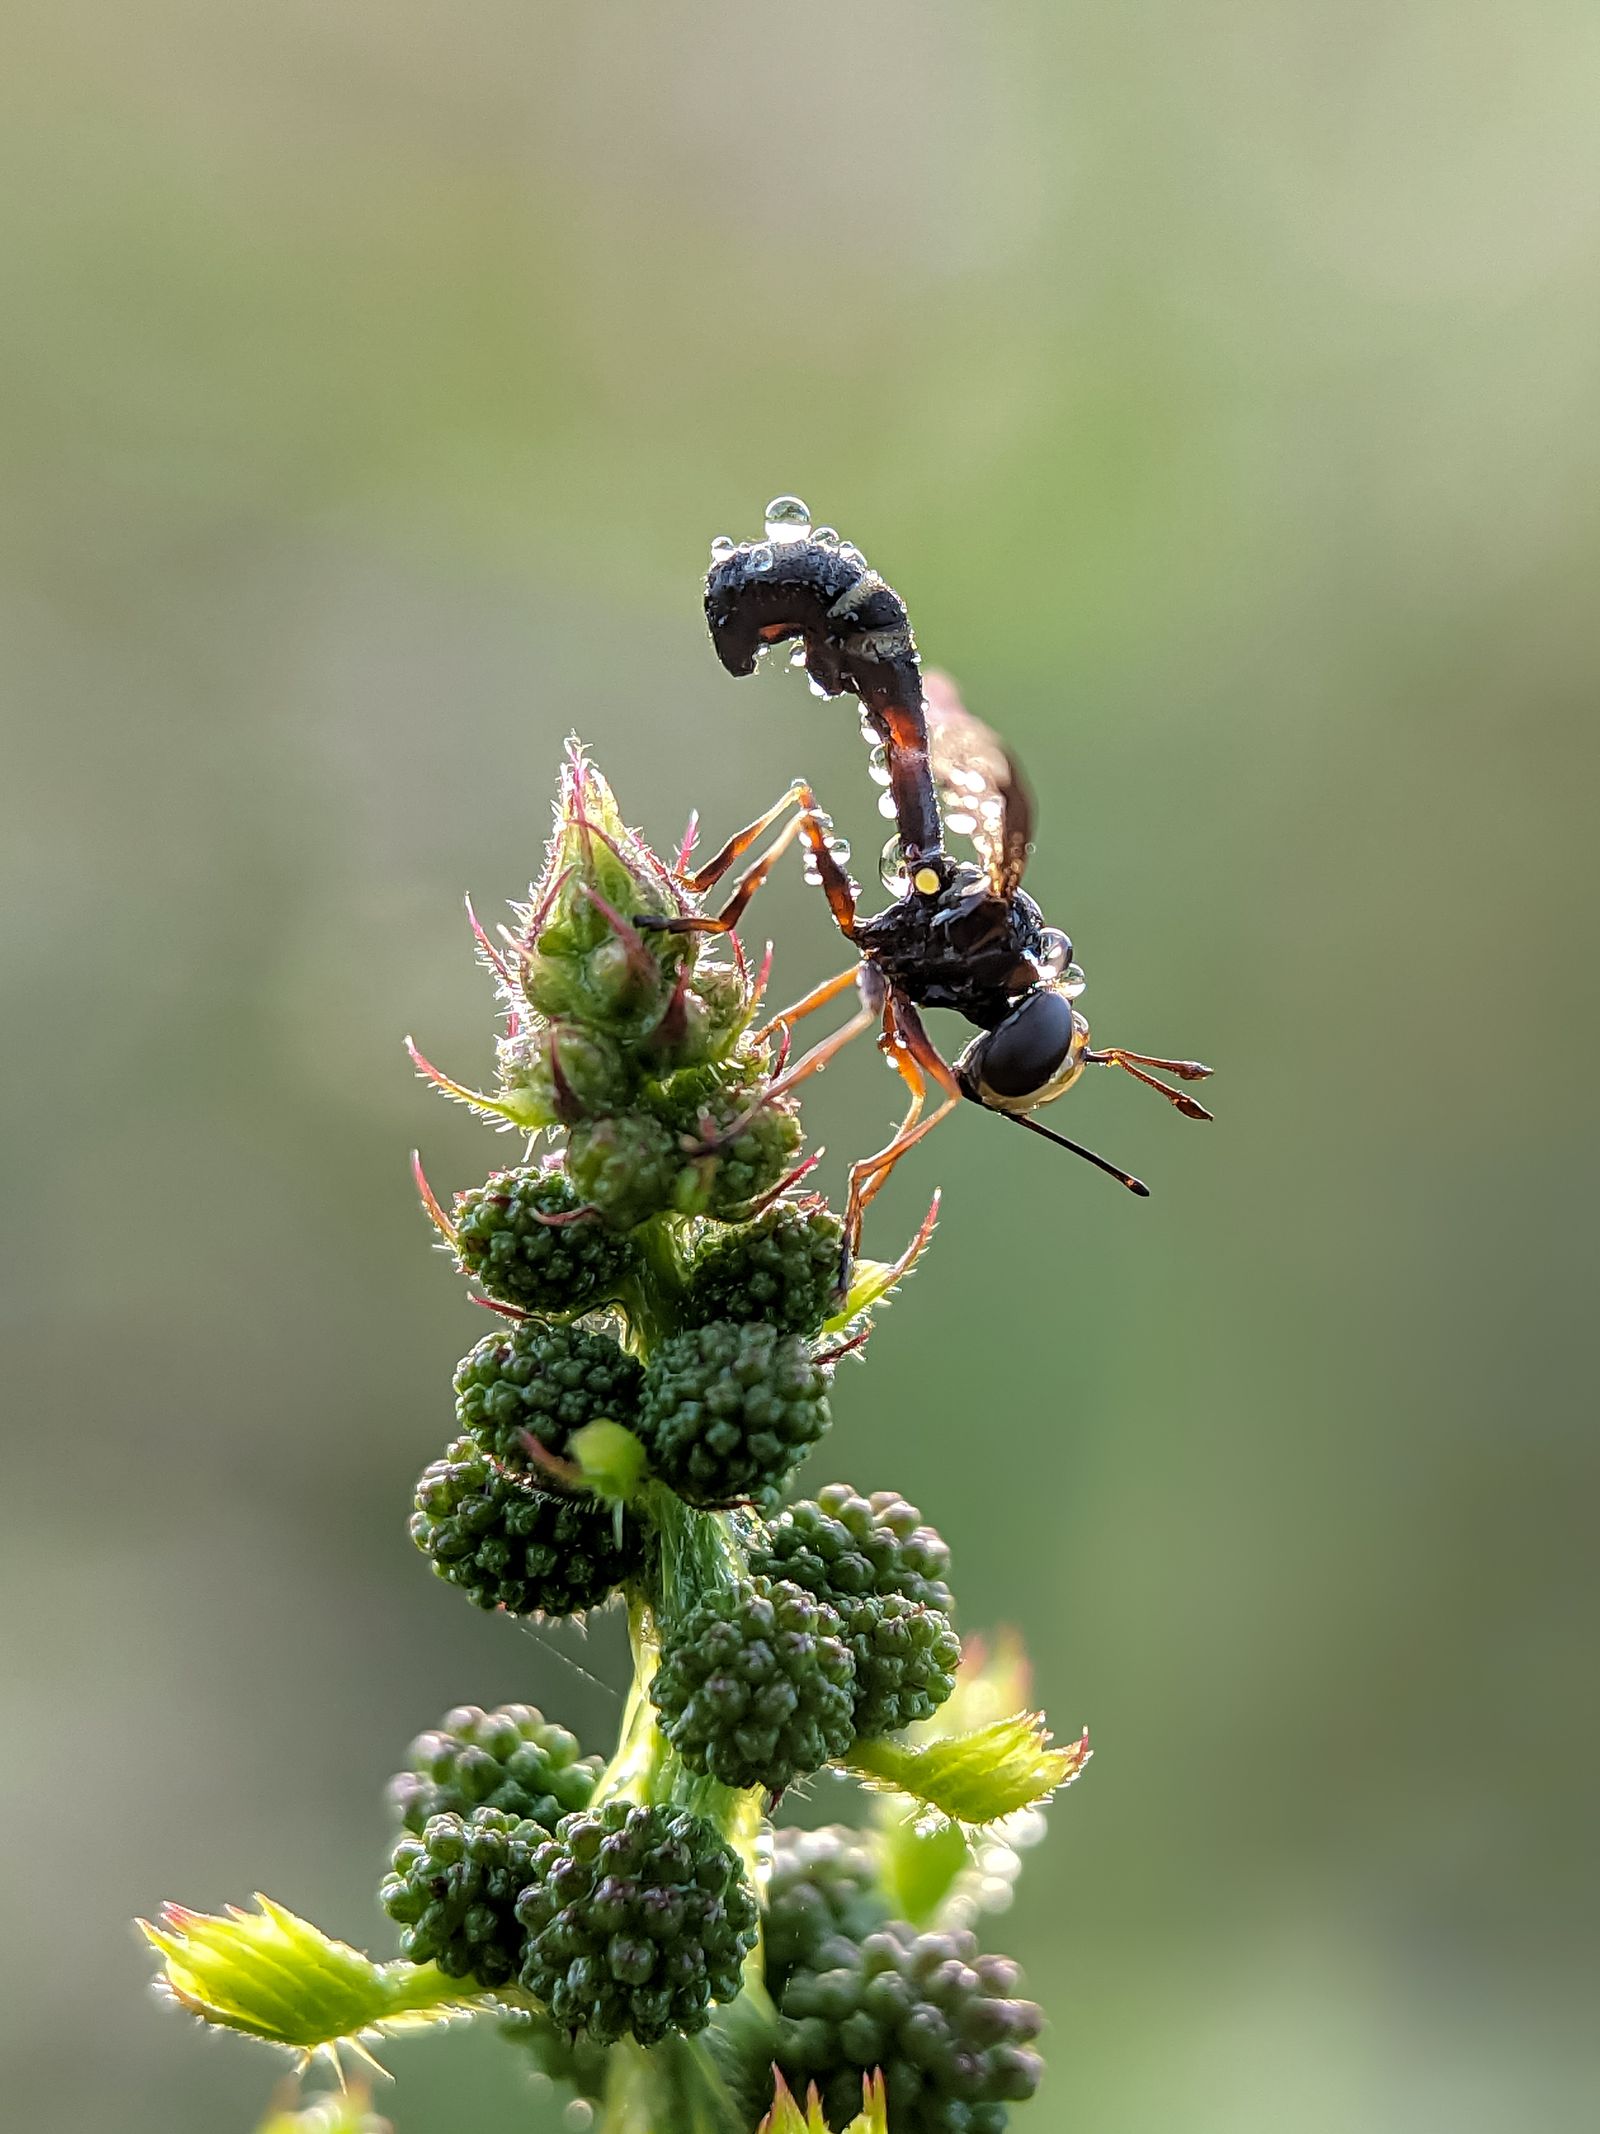
A small change in angle can completely change a macro background. A bright gap between leaves may become a large soft patch. A line across a table may cut through the subject. Move the camera a little and watch the background before adjusting the subject.
Look for tonal separation. A dark seed against a dark surface may disappear even when it is sharp. A bright petal against a pale wall may lose its edge. You can change the background, move the subject in a controlled setup or alter the camera position.
Do not make the background smooth at the expense of the subject’s essential detail. A very wide aperture may blur a distraction while also blurring the feature you wanted to show. Check the relationship between those decisions rather than treating shallow depth of field as an automatic improvement.
For an exercise, photograph the same object against two simple backgrounds and from two heights. Keep the lighting consistent. Choose the version where the subject reads most clearly, not the one with the strongest effect.
 Save
Place the focus plane deliberately
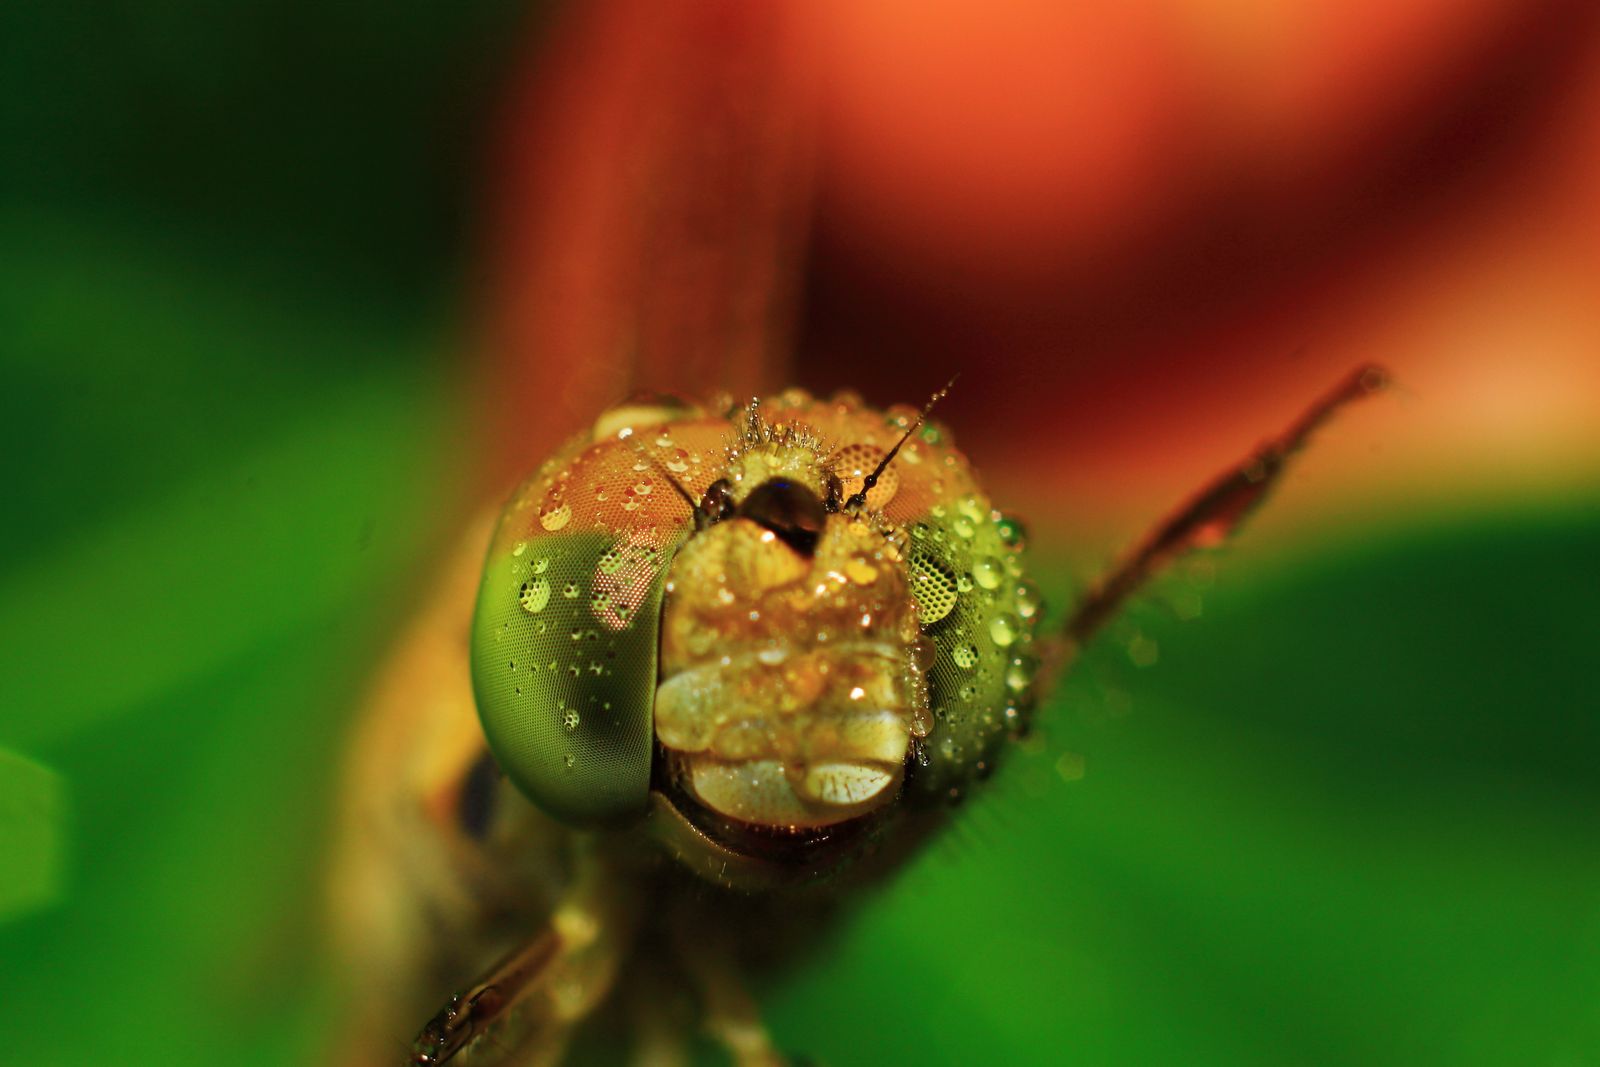
At close distances, depth of field can be very limited. Focus on the important plane, then inspect the photograph at full size. On a textured object, that may be a particular ridge. On an animal, the relevant eye is often the anchor, but the composition and purpose still matter.
Tilting the camera changes which parts of a flat subject sit at similar distances from the lens. If you want a stamp or a flat texture sharp across the frame, align the camera carefully with that surface. A tilted view can leave one edge soft even when the middle is sharp.
For a subject with depth, decide what can be soft. One sharp edge with a gradual falloff may describe form better than trying to make every surface equally detailed. If the photograph is a product record or scientific-style description, your requirements may be different from an expressive close-up.
Canon’s macro photography tips explain the close-focusing and depth-of-field problem. Use the guidance to plan a test on your own equipment, not to assume one aperture will make every close subject sharp.
Test aperture instead of chasing the smallest opening
Make a three-frame comparison with the camera and subject fixed. Try a wider aperture, a moderate aperture and a smaller one, adjusting exposure to keep the brightness comparable. Inspect the important feature and the background in each frame.
Stopping down can increase the region that looks acceptably sharp, but it is not an unlimited solution. Diffraction and other optical limits can reduce fine detail at small apertures. The useful balance depends on magnification, lens, sensor and final output. Judge the actual files at the size you need.
Do not change aperture, position, light and focus at once during the test. If everything moves, you will not know why one version looks better. Record the settings and keep the sequence together so you can compare the tradeoff later.
If a smaller aperture forces a slow shutter outdoors, subject movement may cancel the depth advantage. Raise ISO, improve the light or wait for still conditions as appropriate. A theoretically deep focus zone does not help if the leaf moves during the exposure.
Separate camera shake from subject movement
A tripod can help with a stationary subject, but it does not stop wind, a breathing person or an insect. Look at what moved. If the whole frame has a similar smear, camera movement may be involved. If the background is sharp but the subject is blurred, the subject may have moved.
In a controlled setup, use the camera’s suitable remote or delayed-release method to reduce disturbance. Check the manual for your camera and shutter mode. Stabilization behavior on a tripod varies by system, so do not apply one blanket setting to every lens.
Outdoors, support yourself safely and make a test at the shutter speed you intend to use. At high magnification, a tiny change in camera distance also changes focus. A burst may give you several opportunities, but it does not replace a controlled position and a clear focus target.
Do not hold a living subject or bend a delicate plant just to reduce movement. Choose a calmer moment, change the subject or make a wider photograph. Working within the scene can be a better decision than forcing a close-up.
 Save
Shape the light before editing the file
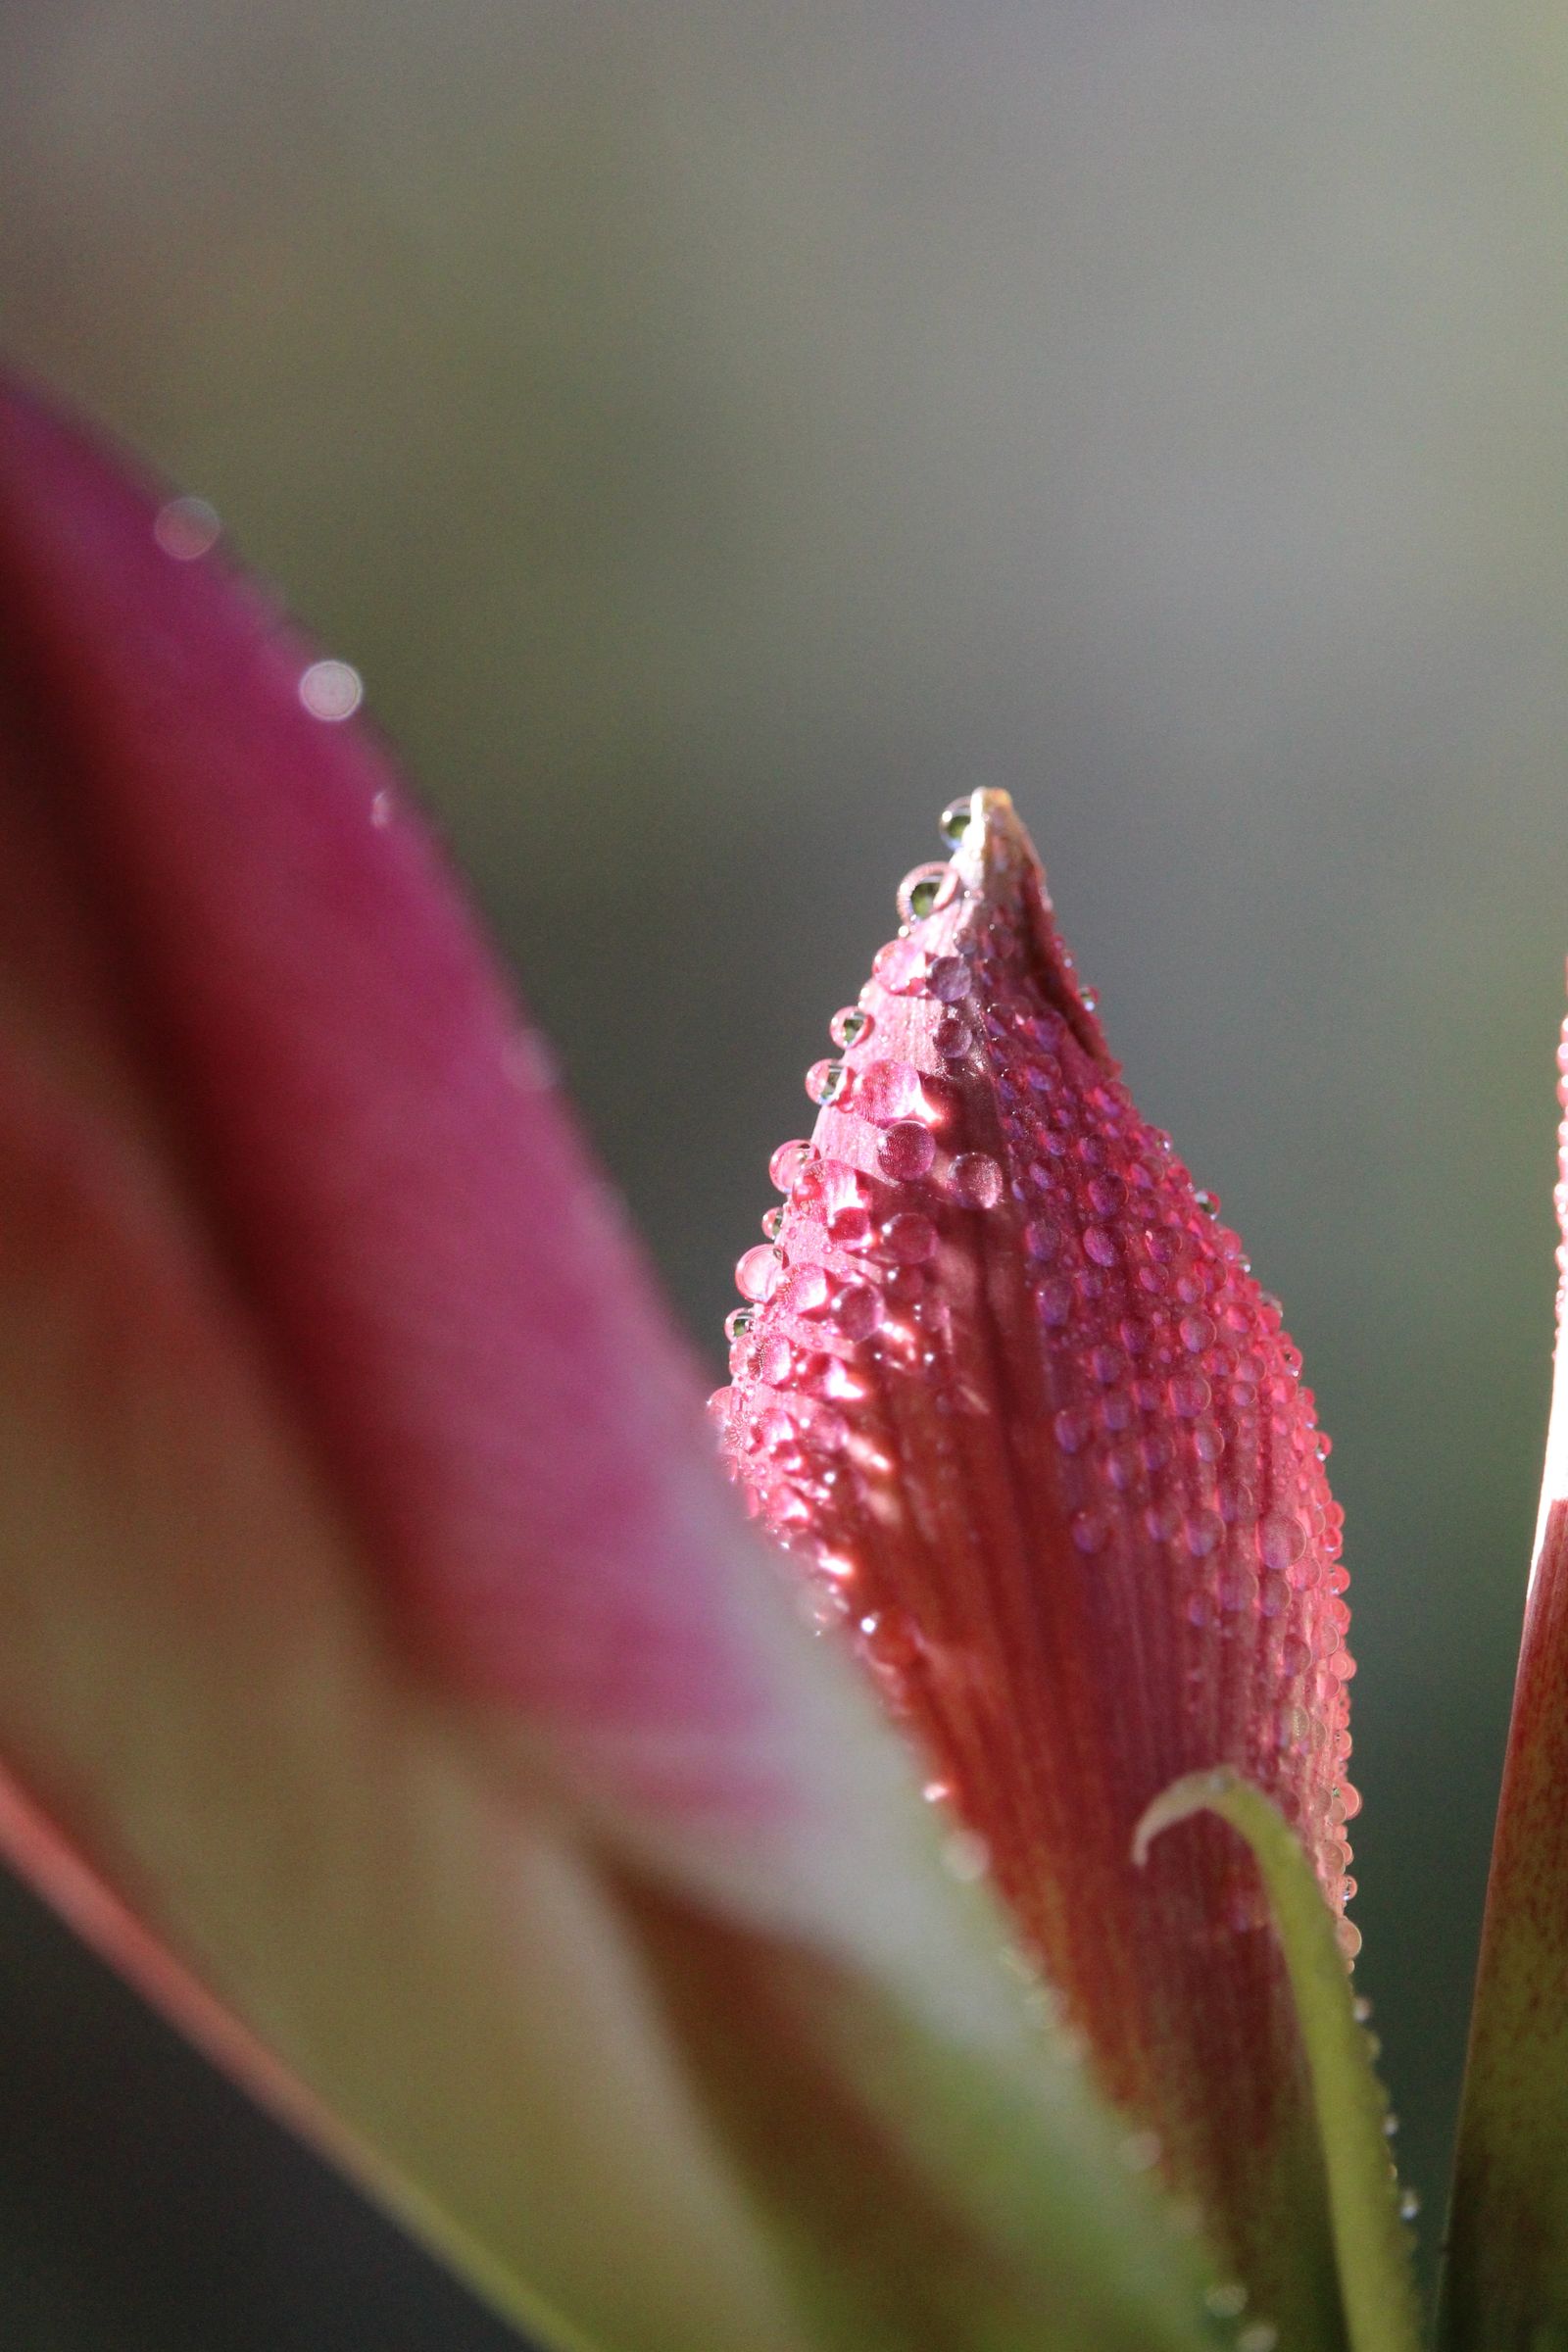
Start with one light source and observe its direction. Side light can reveal texture. A more frontal light can reduce texture and shadows. Backlight can define translucent edges, but may also make exposure and flare harder to control.
A small diffuser can soften a hard source when used appropriately. Keep it safe and do not put it against a hot lamp. Move it and check whether the reflection becomes larger and smoother or simply shifts into the part of the subject you wanted to keep clear.
Reflective subjects need careful angles. A shiny surface may show the light, the room or you. Instead of trying to erase every reflection later, move the source, camera or background and inspect the change. A controlled highlight can explain the shape; an uncontrolled white patch can hide it.
If using flash, check the actual exposure and the subject response. Flash power, distance, modifiers and ambient light all affect the result. Do not treat a short flash burst as a guarantee that every kind of movement is frozen, especially when ambient exposure is contributing strongly.
Focus stacking is a separate workflow
Focus stacking combines photographs focused at different distances. It can extend the apparent sharp region when a single frame cannot show enough depth. It is useful for a stable subject and controlled camera position; it is not a cure for an animal that changes pose between frames.
Canon’s focus-stacking guide explains how shifting focus through a subject can support a combined result. Camera focus-bracketing and in-camera stacking features vary. Check your specific model and software rather than assuming every camera provides the same process.
Begin at the nearest required detail and work through to the farthest required detail with sufficient overlap. Keep the exposure and lighting consistent where possible. If the camera or subject shifts, inspect the sequence before spending time on a merge.
After combining, look for halos, duplicated edges, missing textures and abrupt blur transitions. Fine hairs, translucent surfaces and overlapping shapes can be difficult. Compare the result with the source frames. A stack that looks sharp in a thumbnail can still contain errors large enough to distract in a print.
Keep the individual files and the merged version. If the merge fails, you may still have a strong single frame. Do not delete the sequence because the first automated result looked finished.
Try a controlled tabletop session
- Choose one object: Use a stable subject with visible texture and a feature you can name.
- Set one light: Begin with a window or a suitable continuous source. Keep the direction consistent.
- Clean the frame: Adjust the background and edges before trying extreme magnification.
- Choose focus: Identify the plane that needs to be sharp and align the camera accordingly.
- Make an aperture test: Compare three openings while keeping the composition stable.
- Review full-size files: Check detail, motion and reflections. Change only the problem you can identify.
This session teaches you what your lens and technique are doing. Keep notes on working distance, light position and the aperture comparison. The notes do not need to be a laboratory report; they need to let you repeat the useful result.
 Save
Take the method outside
Outside, choose a safe subject and observe movement before framing tightly. A sheltered plant may be easier than one at the edge of a windy path. Look for a position that does not require trampling surrounding vegetation or blocking other people.
Check how your own shadow changes the light. At close distances, your body or lens can block the source. Move around the subject carefully and compare. A different angle may give better light and a simpler background without any accessory.
When photographing living subjects, work patiently and avoid forcing behavior. Do not assume a still insect is available to touch or reposition. If it leaves, let it leave. A responsible session can end without the picture you planned.
Make a wider environmental frame as well as the close detail. The context can help explain the subject and may produce the stronger photograph. Macro work should not make you forget that the surrounding scene also has a composition.
Edit for detail without manufacturing it
Begin with exposure and white balance, then inspect local contrast. Strong sharpening can produce halos around fine edges. Heavy noise reduction can erase texture. Judge both at full size and at the final display size rather than looking only at a magnified preview.
Clean visible dust when appropriate for the image’s use, but distinguish cleanup from changing the subject. Generative tools can invent detail, remove a structural feature or alter a living subject. For documentary, scientific, client or contest use, check the relevant rules and describe material changes where required.
Crop deliberately. A tight crop can strengthen a detail, but it can also remove the context that made the photograph readable. Compare a wider and tighter version before deciding. Keep the original file so the decision stays reversible.
Finish with a small group that shows different useful views rather than ten near-identical frames. One can explain the whole object, one its texture and one a specific detail. A set with clear roles is easier to understand than a pile of sharp surfaces.
Want to go further? The ShutYourAperture Academy’s Macro Photography: The Hidden World (8 modules, 32+ lessons) is built to help you reveal the universe inside a single drop, a petal or an insect’s eye.
Gear for a controlled macro-light exercise
A small reflector gives you a way to compare light on the same tabletop subject. The Impact R2522-51 22-inch 5-in-1 reflector is one option to compare. Start with the white surface, move it slowly and watch how the shadows change. Check the size and how you will hold it without touching the subject. It will not stop wind or fix missed focus. Compare the current retailer specifications; no hands-on test, price or stock promise is being made here.
Compare Impact R2522-51 22-inch 5-in-1 reflector on Amazon | Check Impact R2522-51 22-inch 5-in-1 reflector at B&H
Affiliate disclosure: We may earn a commission from qualifying purchases through these gear links at no extra cost to you. As an Amazon Associate, Shut Your Aperture earns from qualifying purchases.
Frequently asked questions
Do I need a dedicated macro lens?
Not to begin learning close-up composition and light. Test the lens you have. A dedicated macro lens may give useful magnification and working distance, but choose it after identifying what your present setup cannot do. Check current specifications and compatibility.
Why is only a thin part of the subject sharp?
Close focusing often produces limited depth of field. Check camera alignment, focus placement and aperture. For a stable subject needing more depth, a carefully made focus stack may help. For a moving subject, simplify the required sharp region first.
Should I use the smallest aperture?
Not automatically. Test depth against fine-detail loss and exposure needs. A smaller opening can require a slower shutter or higher ISO and can introduce diffraction softness. Choose the balance that works in the actual photograph.
Can I stack handheld insect photographs?
Some sequences may combine, but movement and changing alignment make the process harder. Do not promise a clean stack from a moving subject. Review the files and keep a strong single frame as an option.
What is the best exercise for a beginner?
A stable tabletop object, one light and a three-aperture comparison. It isolates the decisions you need to understand before adding wind, subject movement and unpredictable light outdoors.
Choose the detail, control the light and verify the focus. Getting closer is only the beginning. More practical tips: Shut Your Aperture.
Some links on Shut Your Aperture are affiliate links. If you buy through one, we may earn a commission at no extra cost to you.