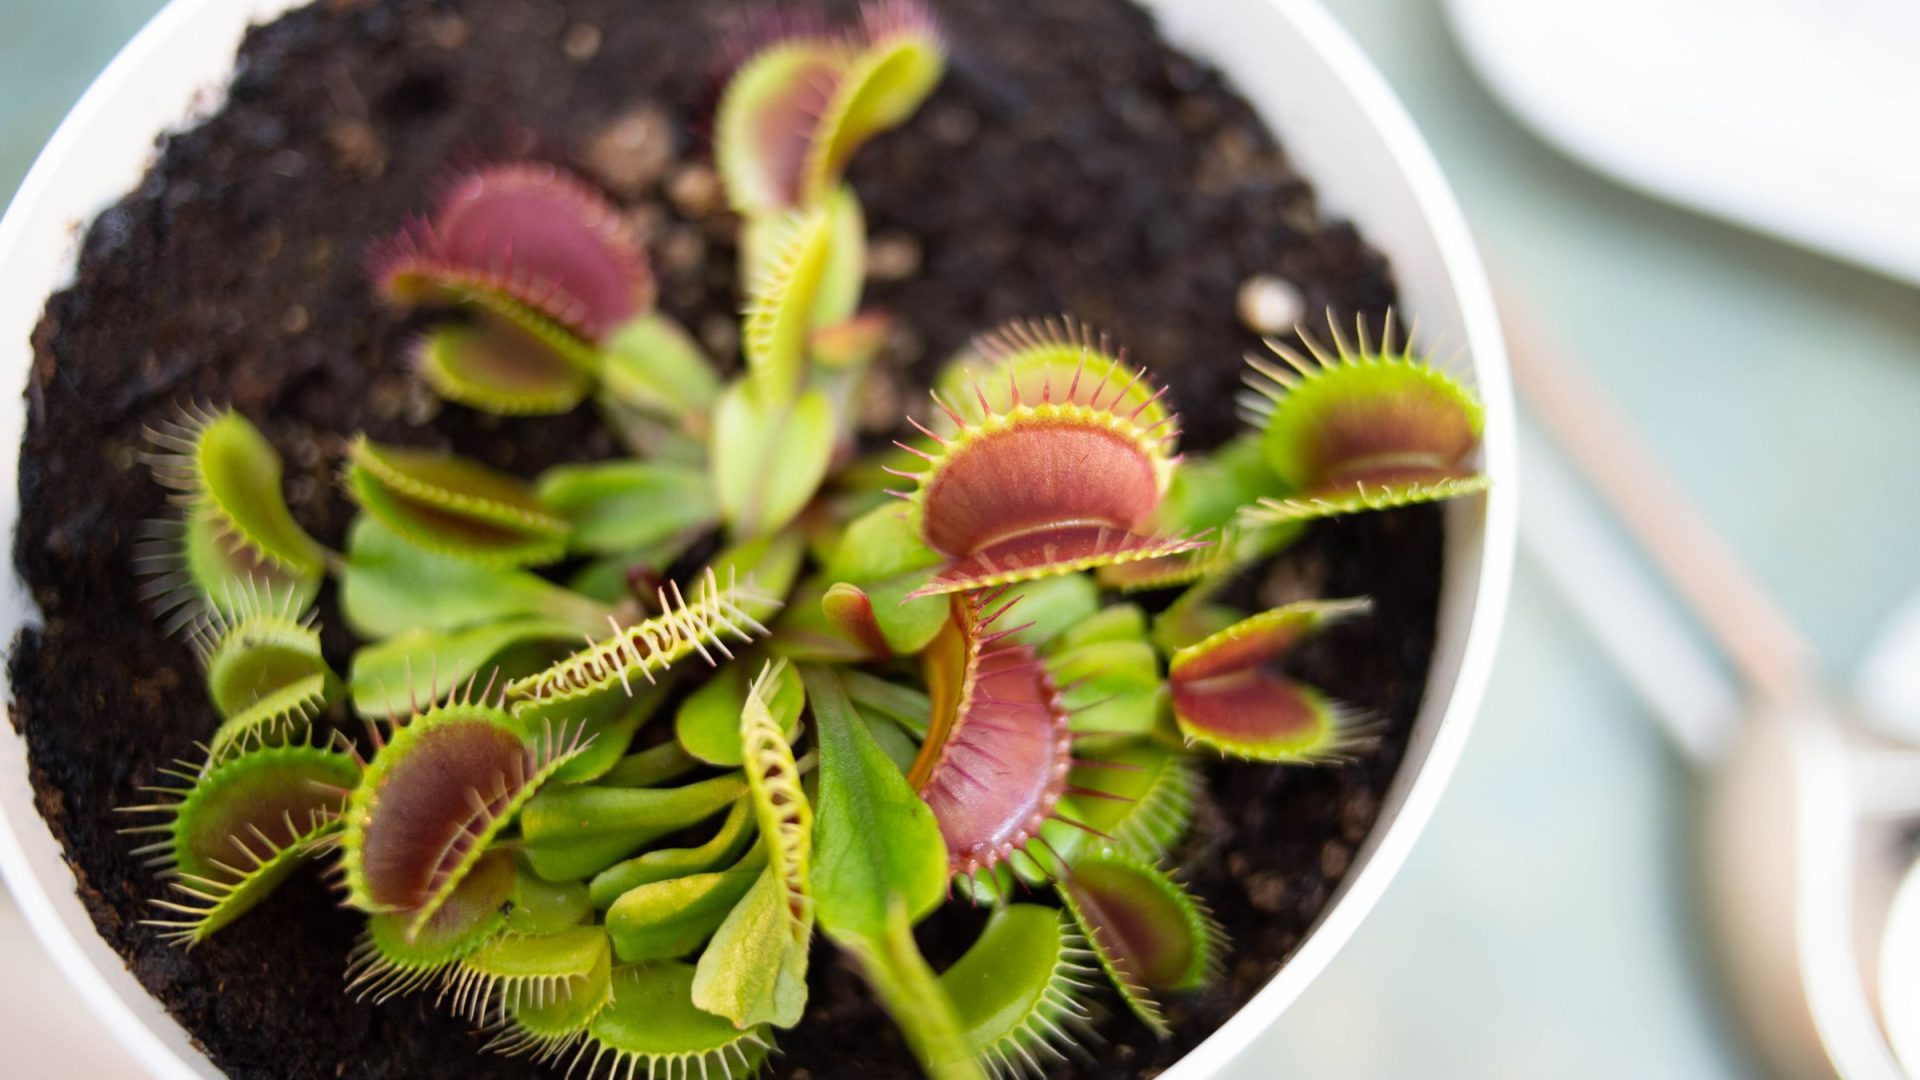
Featured photograph: Photo by Erik Mclean / Pexels / Pexels License. (Stock photo, illustrative.)
From the Shut Your Aperture archive (2014): this preserves a filmmaker’s historical production account, not a current business or equipment offer. Vimeo confirms the film’s title and credit, but automated access does not guarantee playback for all viewers.
Carnivora Gardinum
View Carnivora Gardinum on Vimeo, credited there to Biolapse. The original post described a timelapse film about carnivorous plants and said its production involved more than a year of effort, including 107 consecutive days of shooting with two cameras.
Its maker also described custom motion-control and environmental equipment used for the project. Those notes refer to the film’s creation and are not current availability or purchasing advice.
Watch for change before planning a long shoot
Carnivora Gardinum is a useful reminder that a plant can be a demanding moving subject even when it appears still during an ordinary visit. The interest comes from changes that become easier to see when photographs are presented as a sequence. For your own work, begin with that idea rather than the scale of the original production. A small, well-observed change can make a stronger first study than a complicated set that you cannot keep consistent.
Watch the plant before deciding where to place the camera. Look for the part of the subject that is likely to change and the space it may move into. A frame that looks perfectly balanced at the start can become cramped later. Give the intended action enough room, but avoid making the plant so small that the viewer cannot understand what changed. Sketching a wider and a tighter option can help settle the composition before you commit equipment to the setup.
Keep the purpose of the sequence plain. You might be studying how a new leaf changes the outline, how a stem alters its position or how light reveals the shape of a pitcher. Choose one question that your photographs can answer. Do not promise a dramatic biological event on a schedule you have not observed. The camera records the subject available to it, not the sequence you hoped the subject would perform for your edit.
Separate the film's account from your own experiment
An ambitious film can inspire a modest exercise without becoming a recipe. The historical production account describes choices made for a particular project, with its own subjects, room and custom equipment. Repeating one reported interval or buying something with a similar name does not recreate that system. Use the account to identify the questions worth testing: stability, focus, lighting, continuity and the ability to keep the plant healthy while the camera is running.
Avoid treating a behind-the-scenes description as plant-care advice. Different plants and growing conditions can need different care, and a photographic setup should not take priority over the living subject. Confirm the needs of the actual plant with an appropriate specialist source. If the arrangement makes normal care difficult, change the arrangement. A sequence that depends on withholding necessary care is not a useful model for a responsible photographic study.
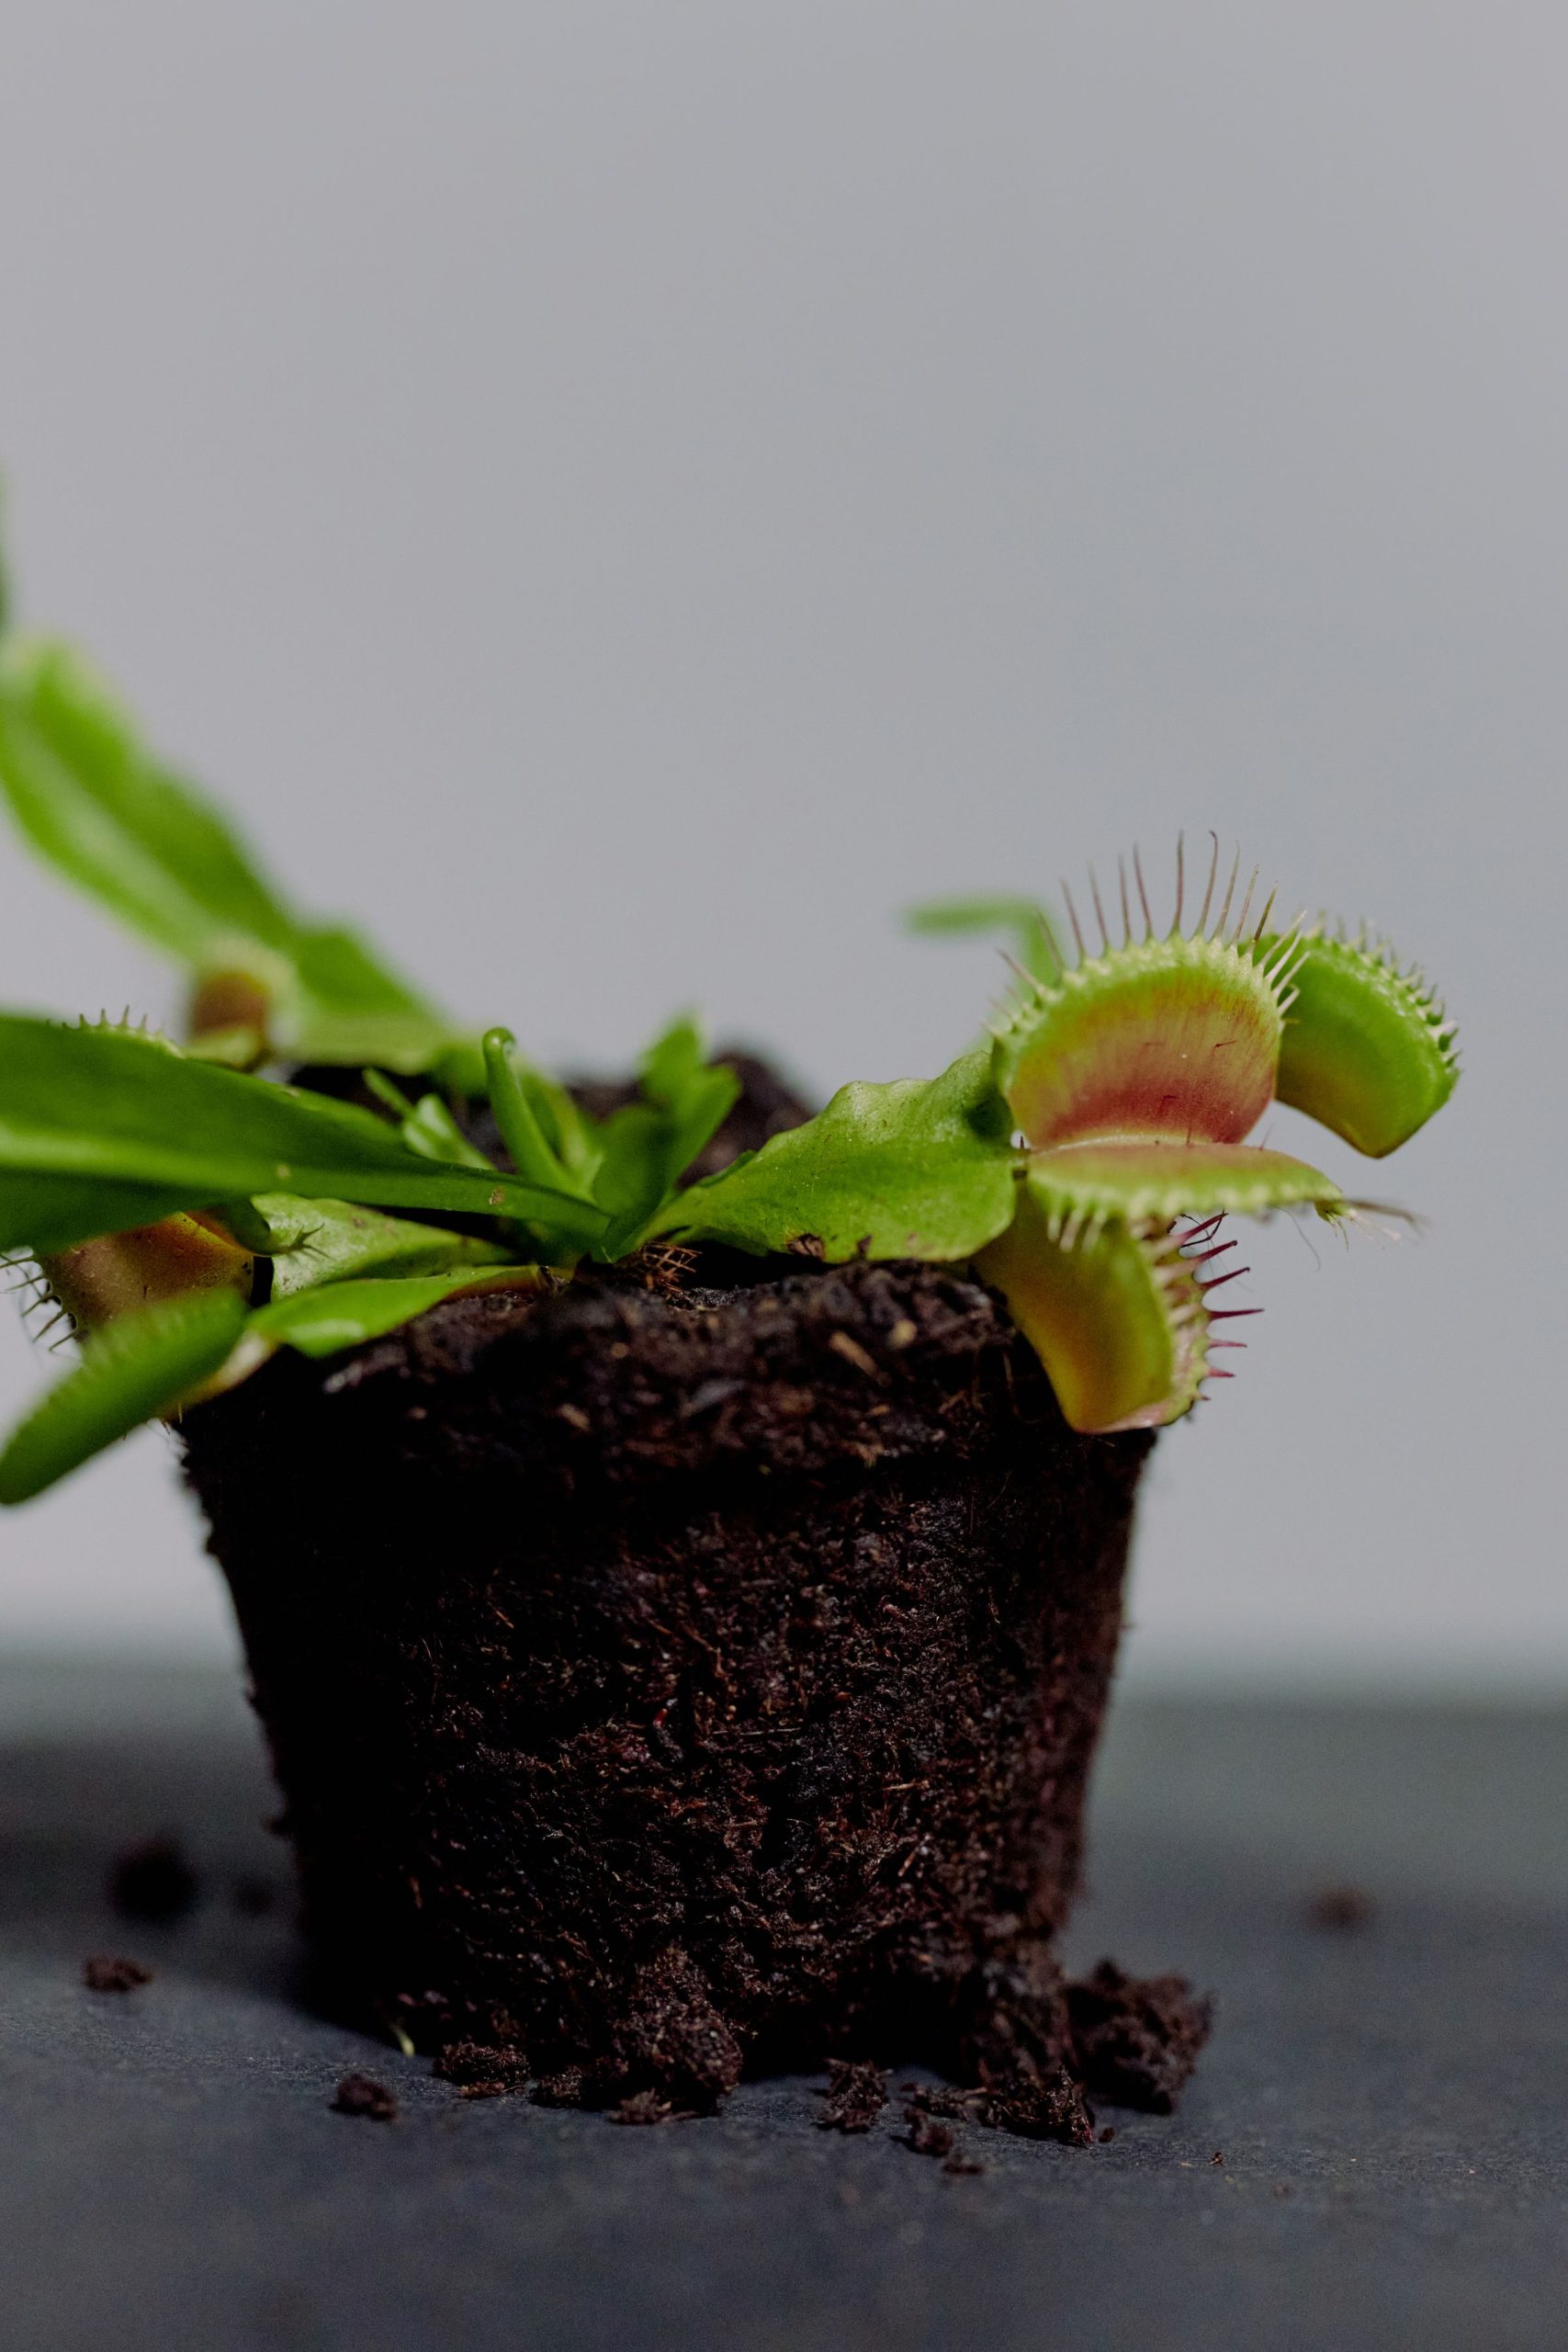
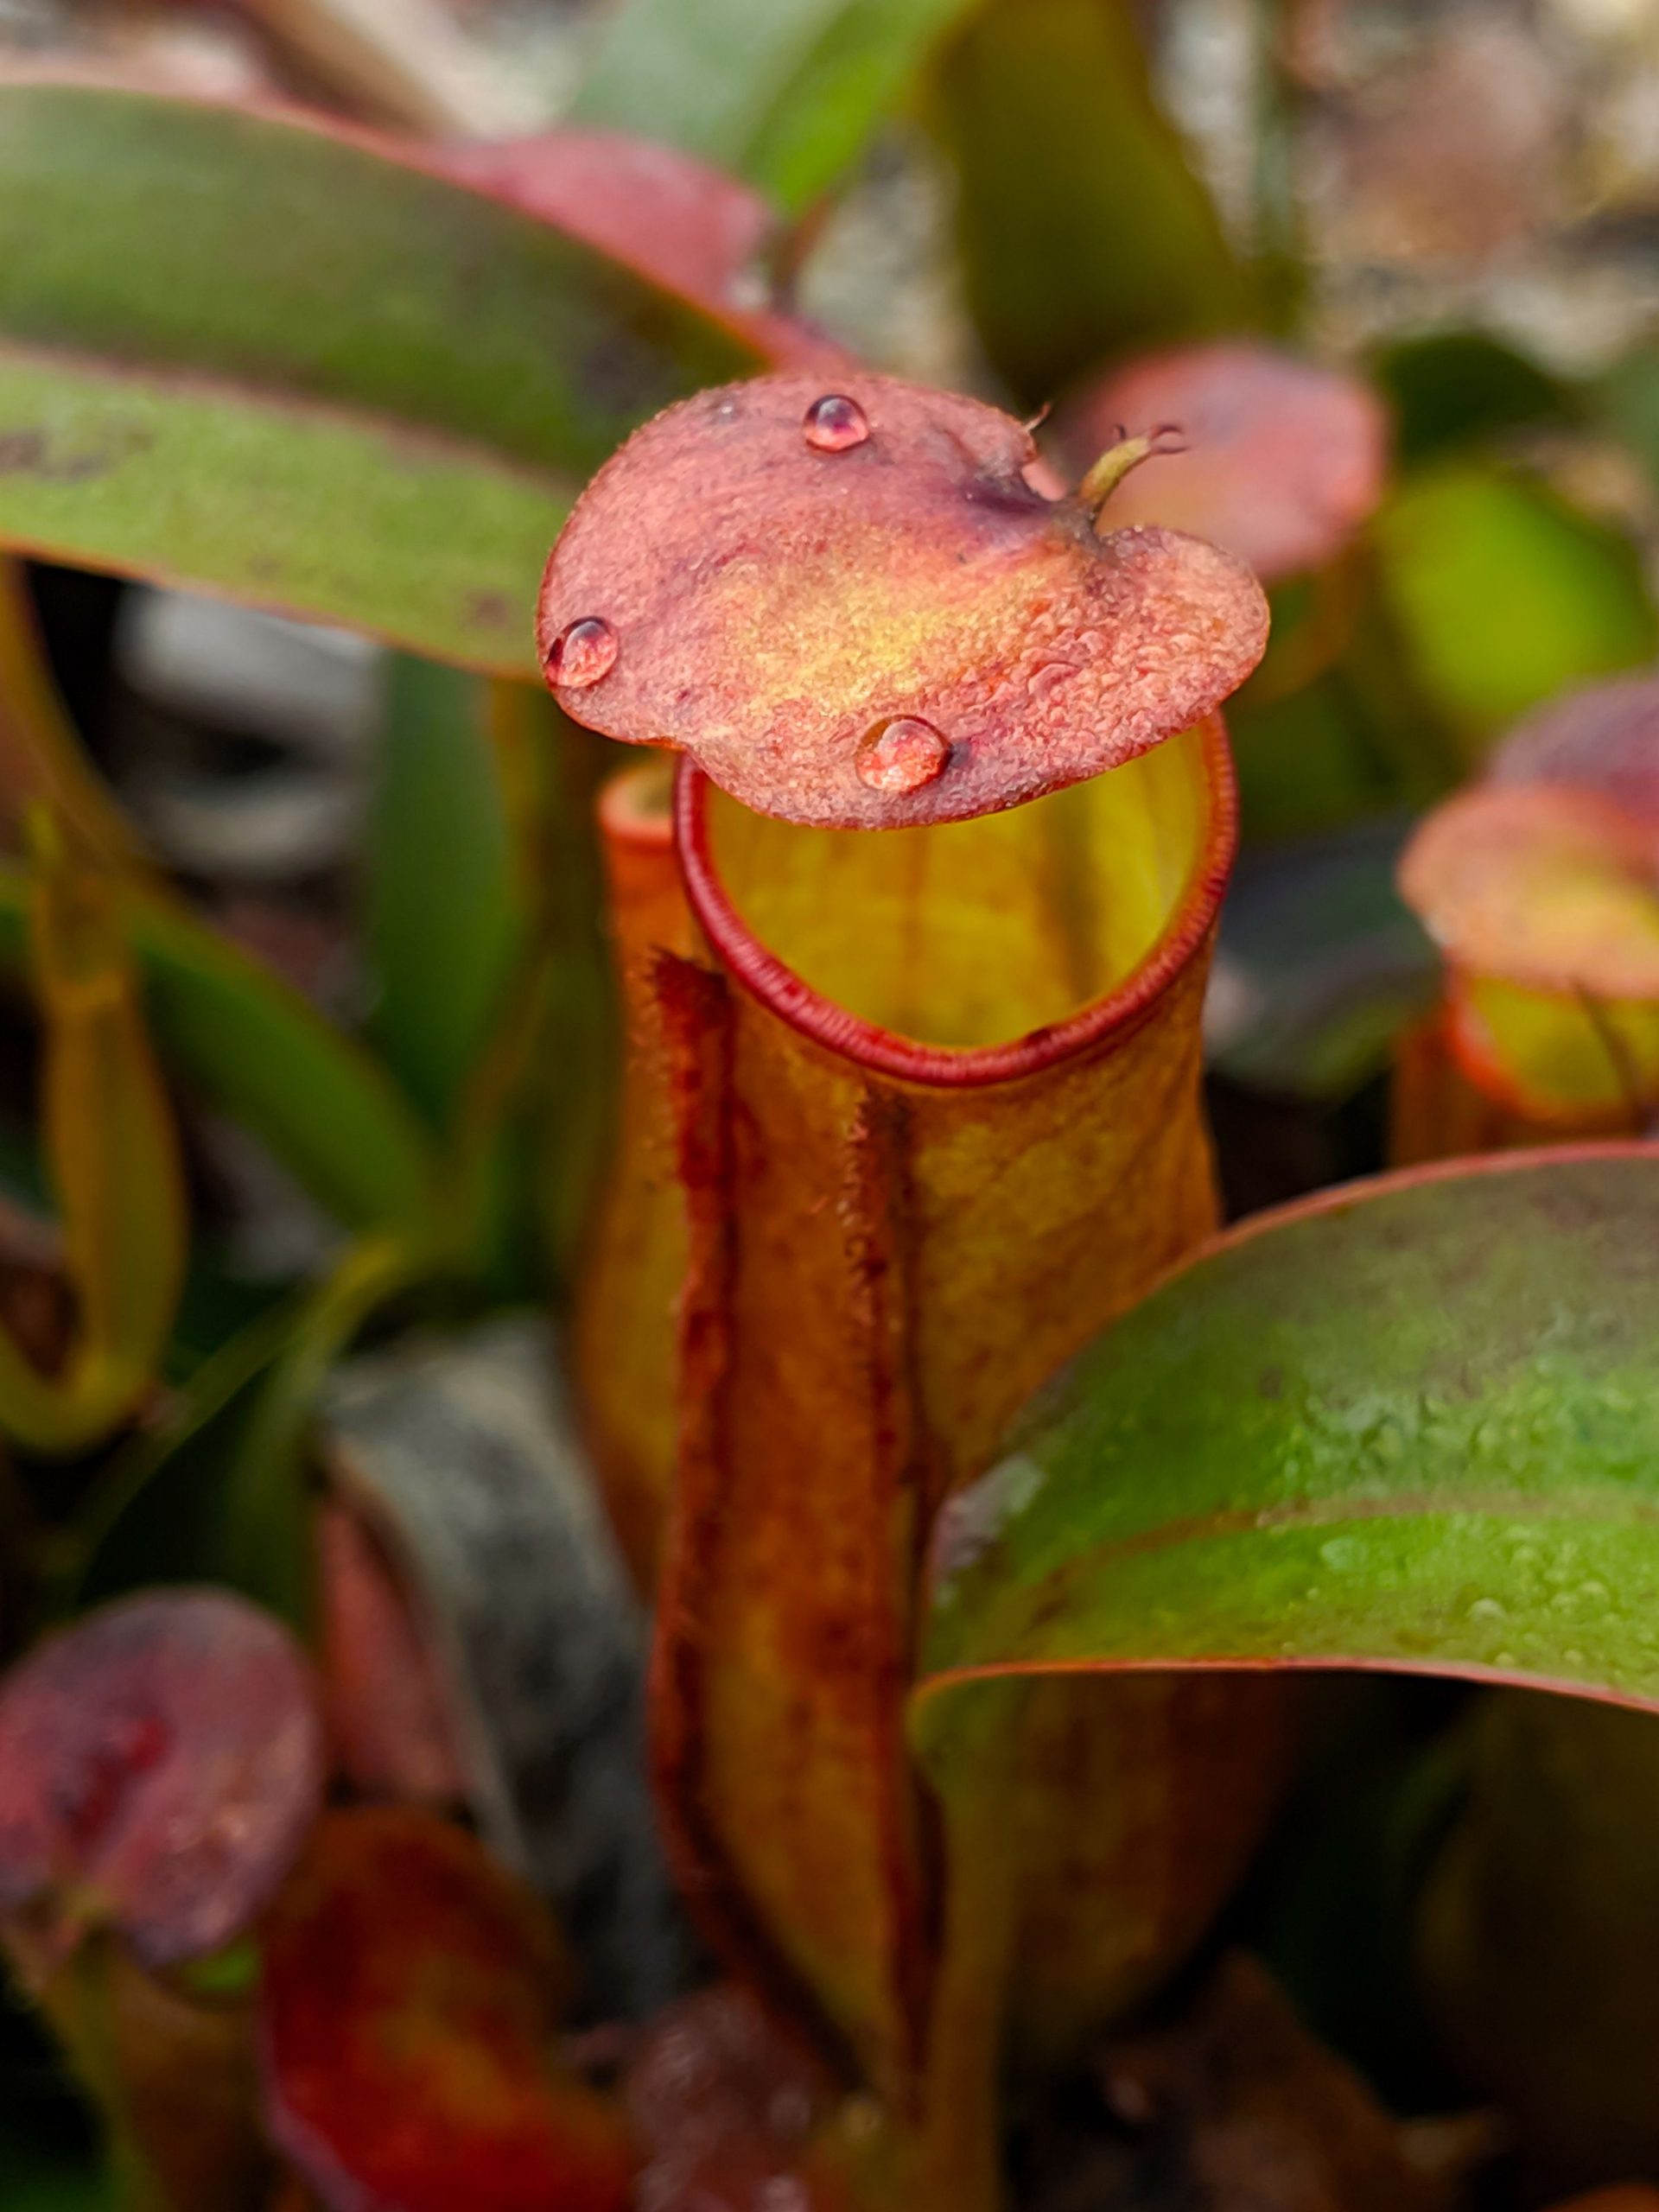
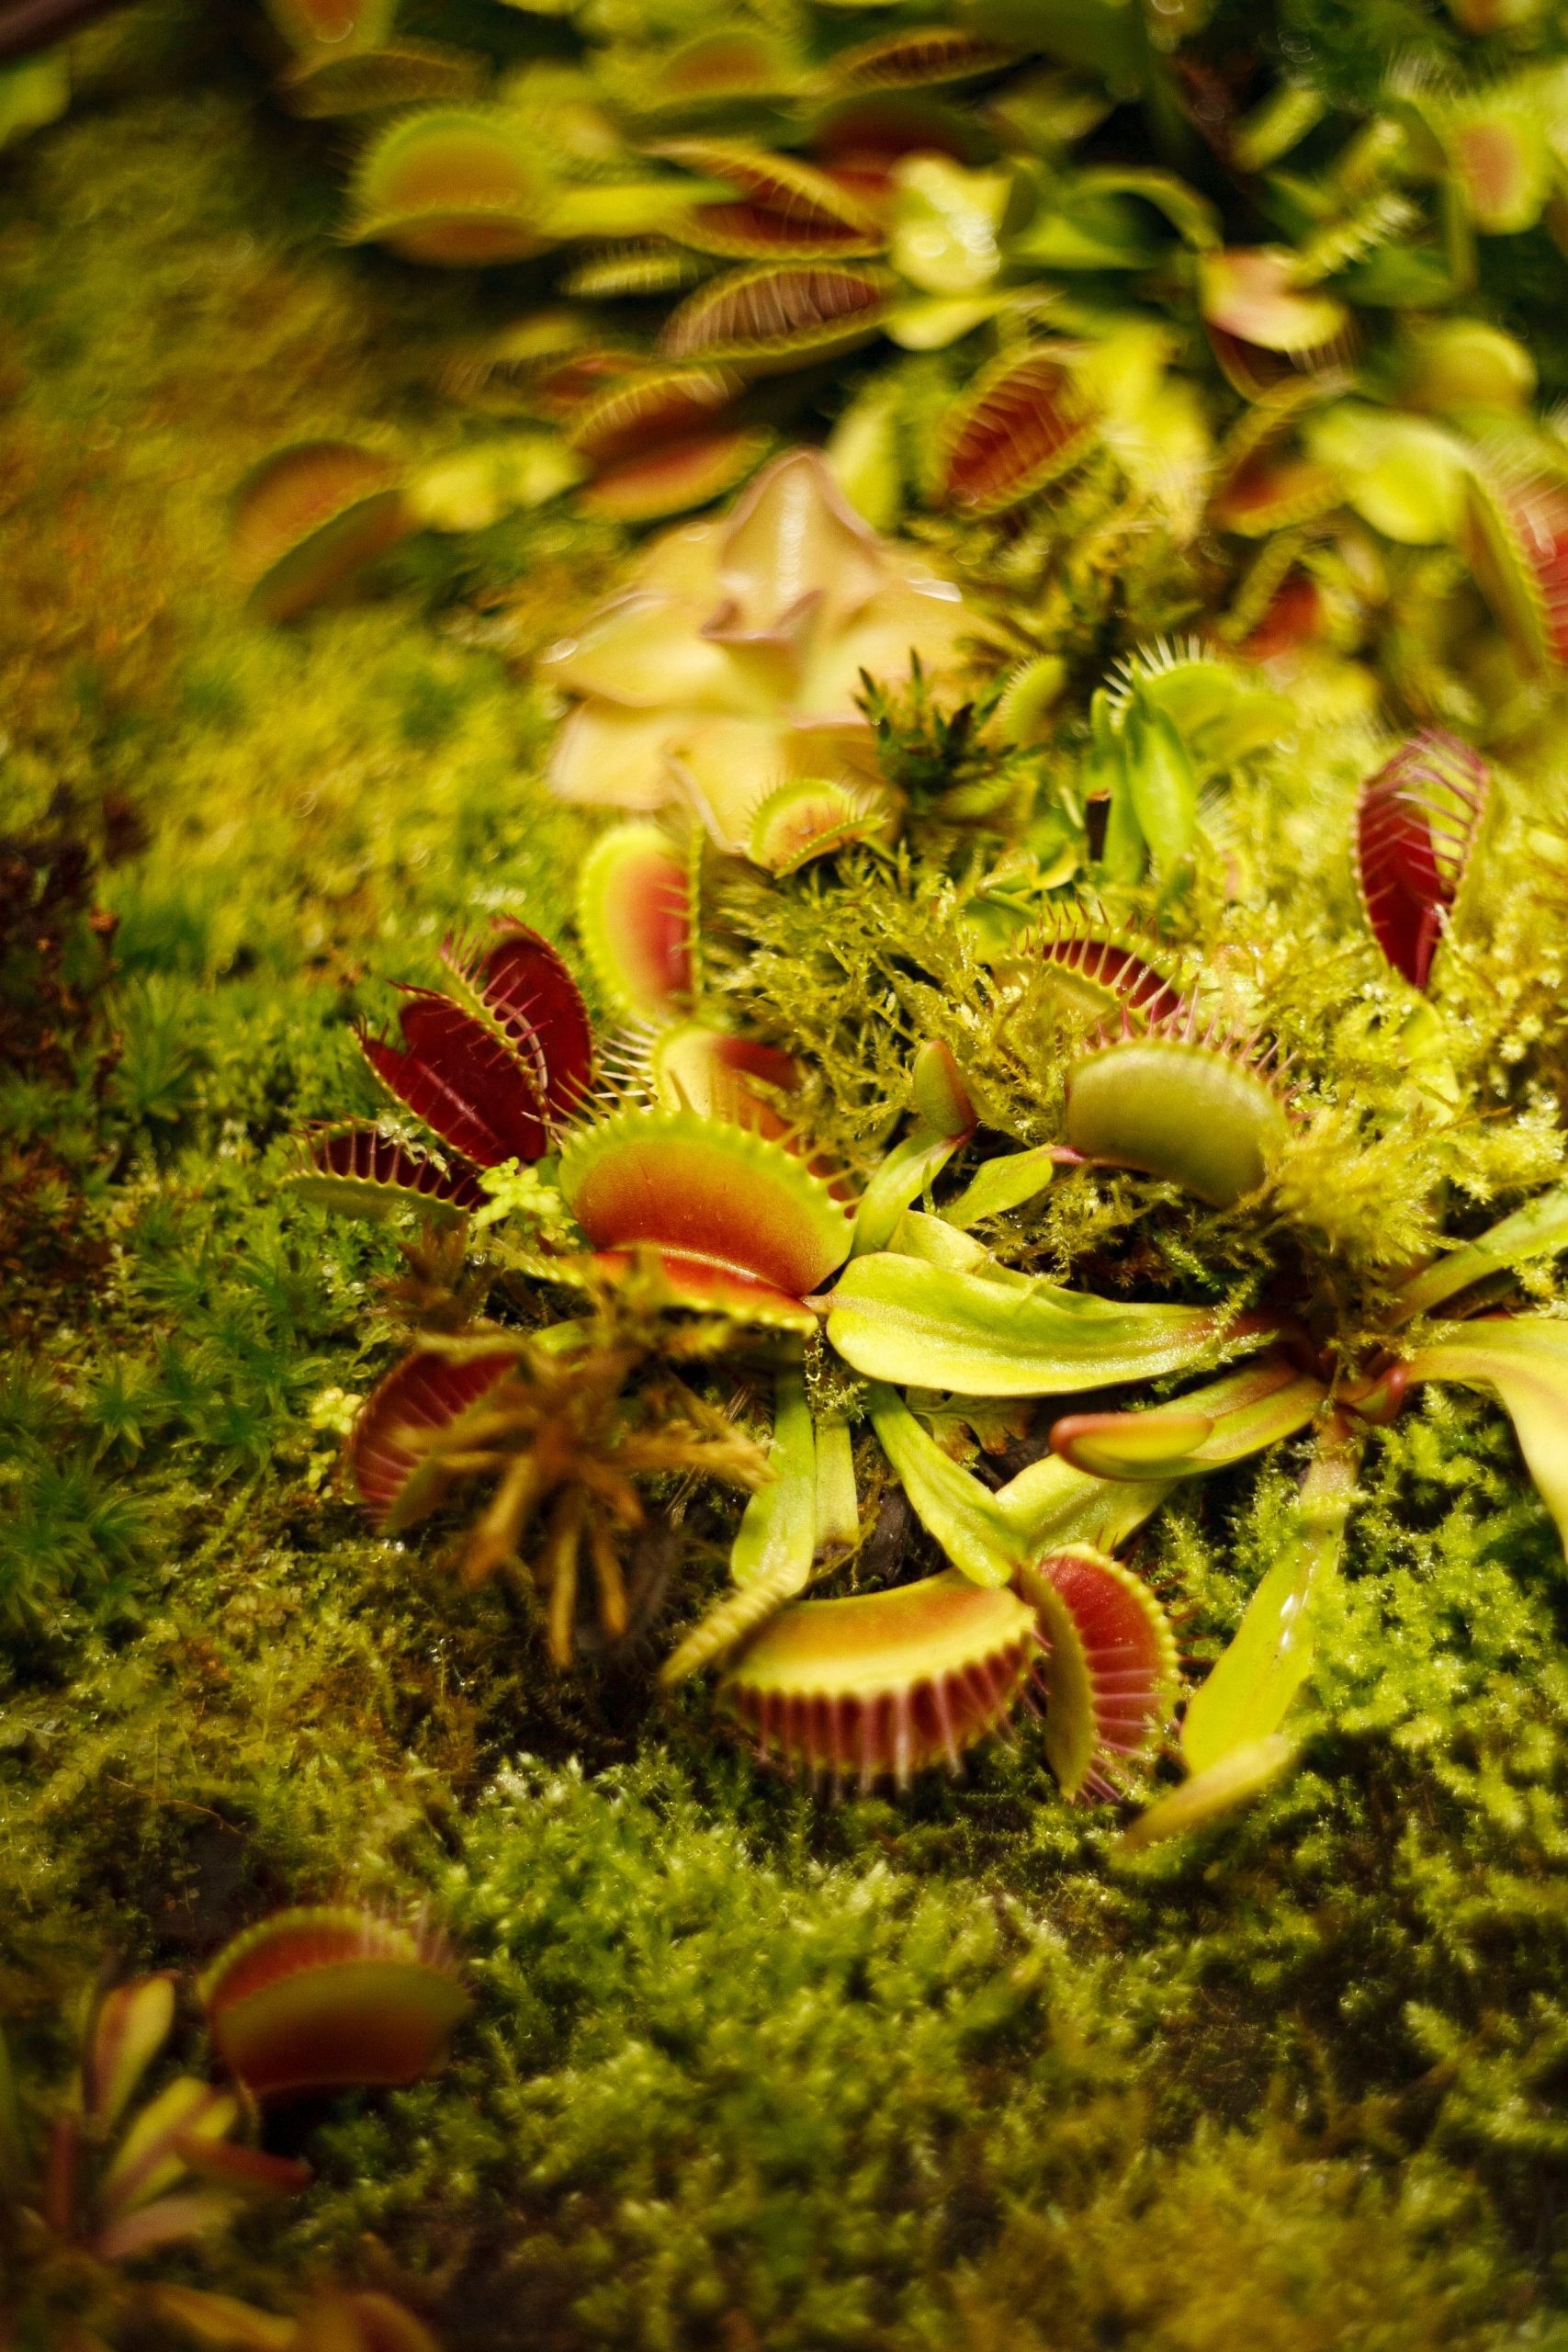
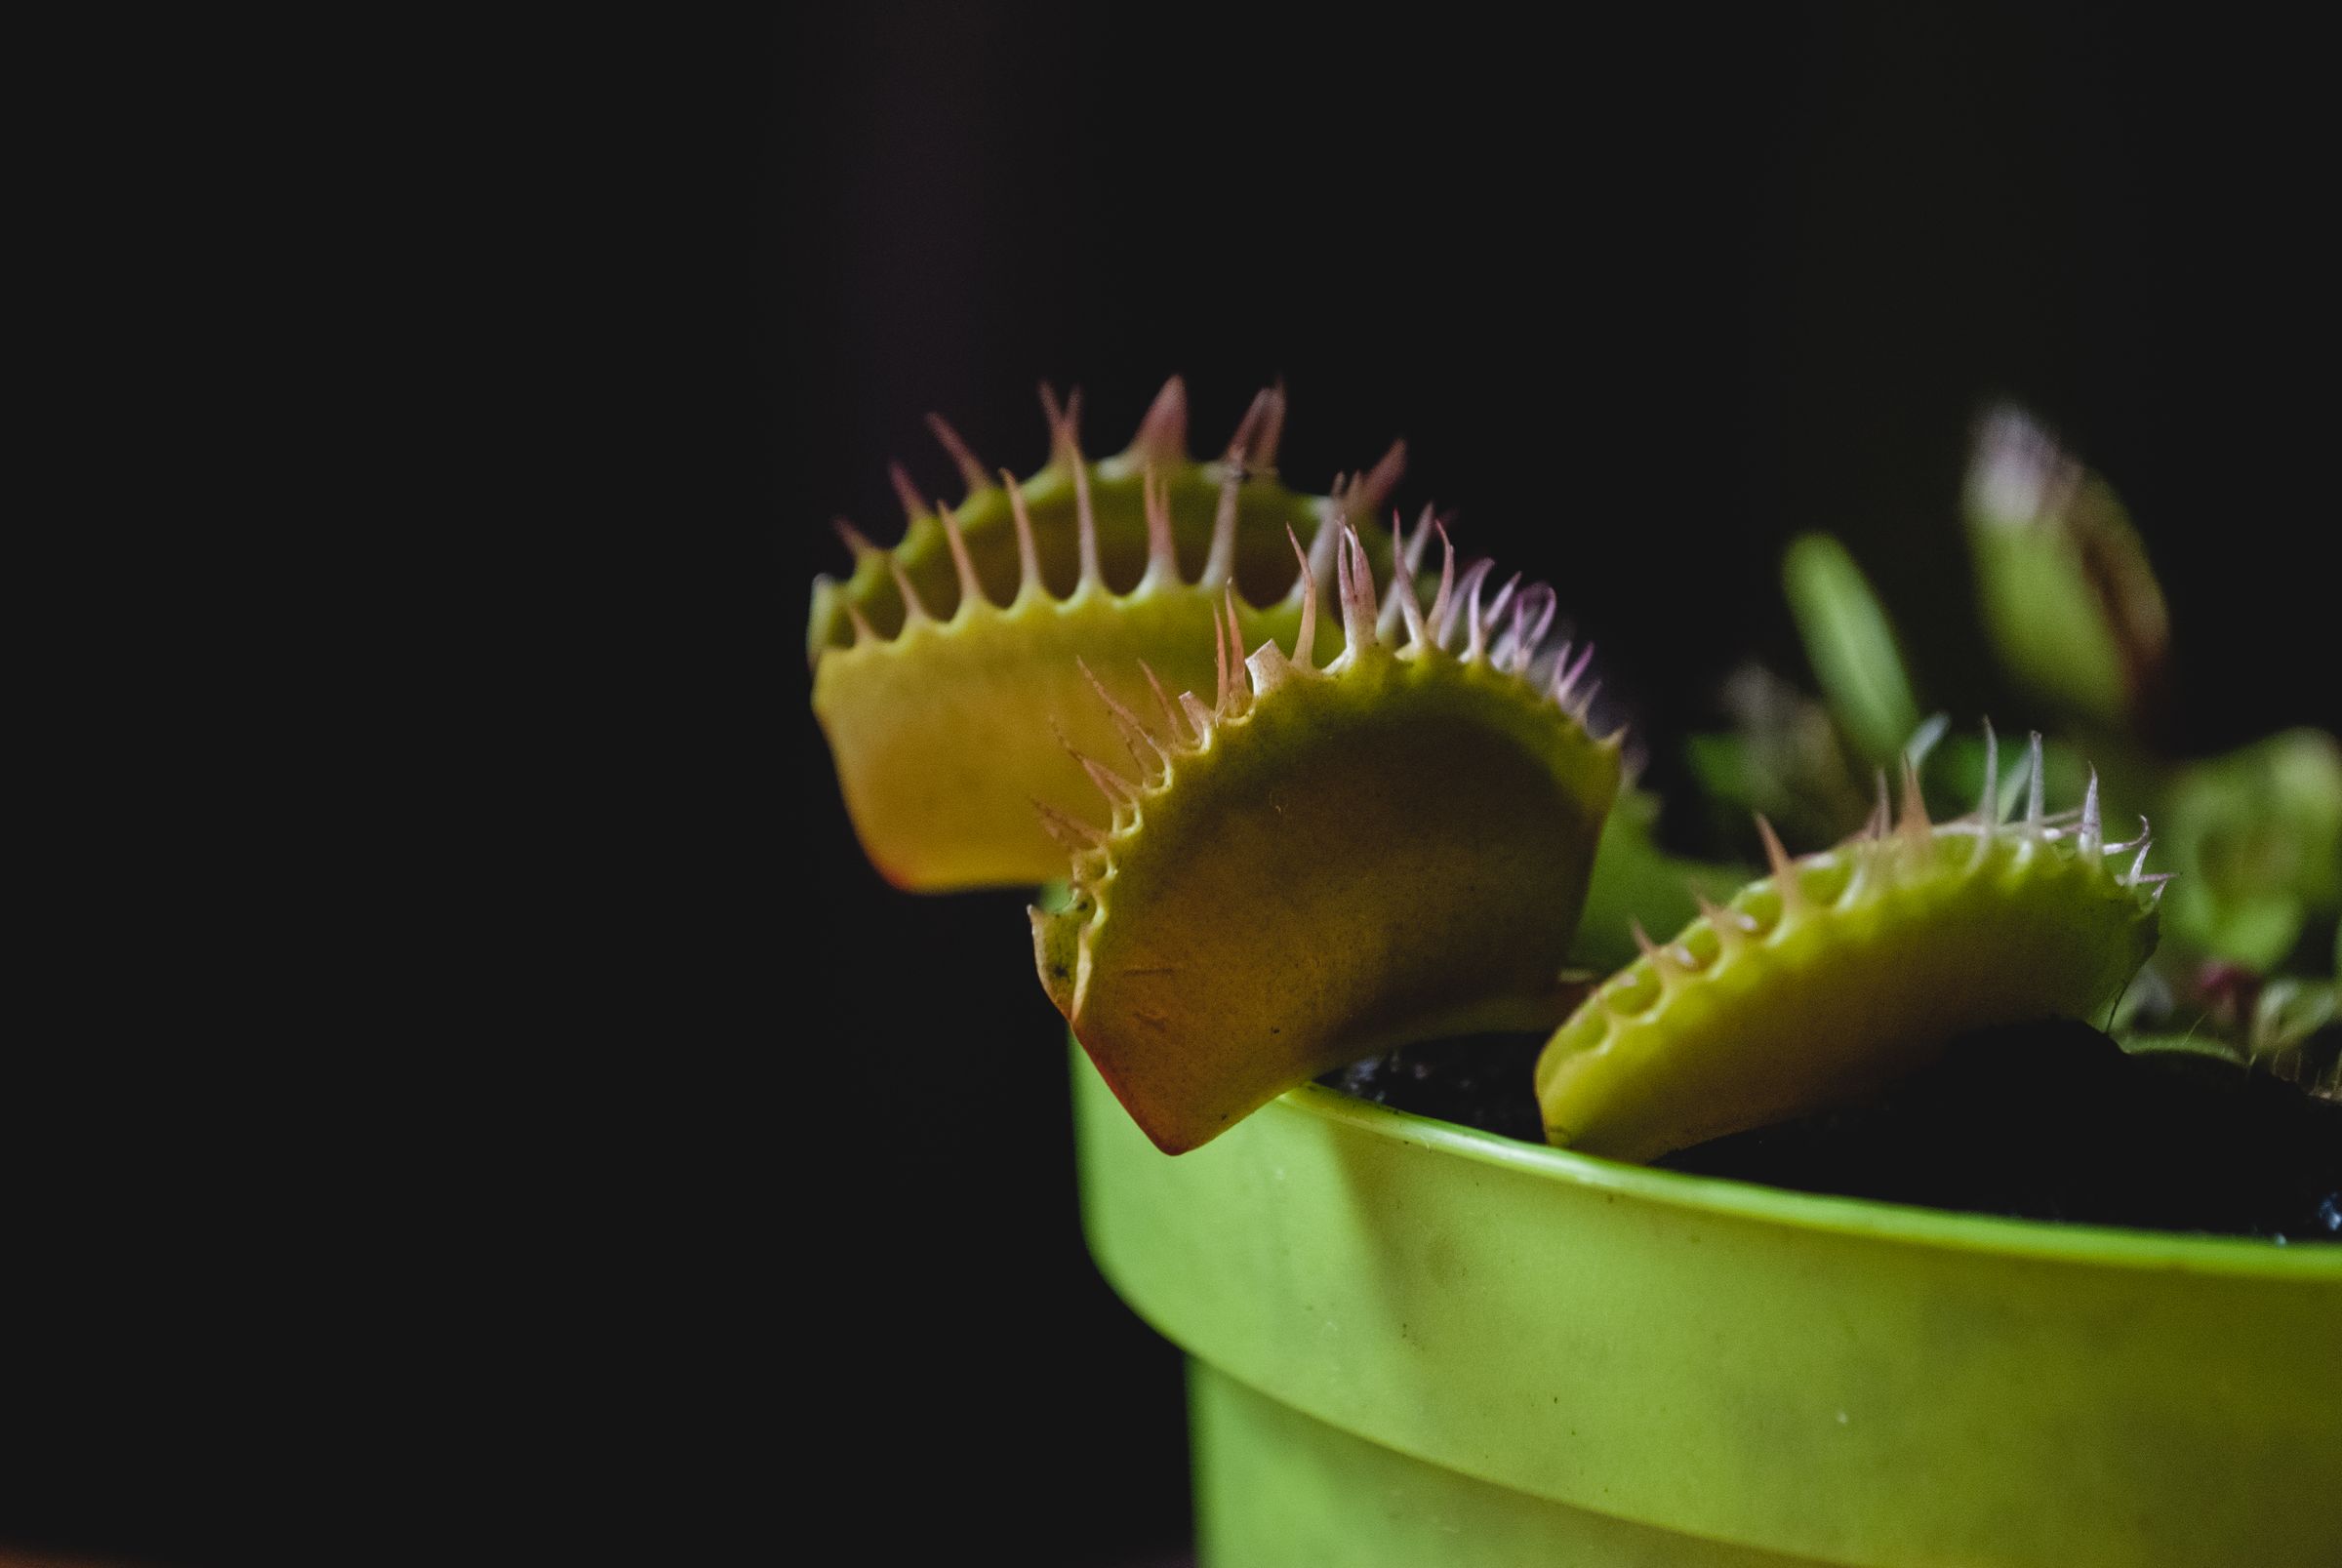
The five credited stock photographs here illustrate shapes and details, not the original film's sets or equipment. They do not show how any particular sequence was made. Keep that distinction in mind when building your own notes. A still photograph can help you consider an outline or a background, while a sequence is needed to judge timing and continuity. Neither should be asked to prove something it does not actually record.
 Save
Build a setup that you can leave alone
Choose a position where the camera, support and subject are unlikely to be bumped. Think about the route someone takes through the room, the reach needed for watering and the space required to check the equipment. A stable tripod does little good if its leg blocks the door or a cable crosses a busy path. Make the setup practical enough that you can maintain it without repeatedly rebuilding the composition.
Place the plant so the important shapes are separated from the background. Check the view at the height and angle you will actually use, not only while standing over the pot. A leaf that looks distinct from above may disappear into another leaf from the camera's position. Move the camera rather than forcing the plant into a position that does not suit it. Keep the simplest arrangement that explains the change you want to watch.
Include enough space for ordinary access to the pot and support. Before recording a long sequence, rehearse the checks and care you expect to perform. Notice whether you need to reach across the frame, brush a leaf or move a reflector to do something essential. Those interruptions can become visible jumps later. A short rehearsal is cheaper than discovering the same problem after several days of otherwise usable photographs.
Choose an interval by testing the subject
There is no single interval that makes every plant sequence work. Begin by observing the rate of the change you want to show, then make a short test. An interval that gives smooth movement for one subject may create many nearly identical frames for another. Review the test at the playback rate you intend to use and ask whether the change reads clearly, rather than deciding from the spacing between still photographs alone.
Keep the distinction between capture interval and playback speed clear in your notes. One describes how frequently photographs were made; the other describes how those photographs are presented to the viewer. Changing playback can alter the feel of a sequence, but it cannot recover a moment that was never photographed. If the test jumps past an important stage, reconsider the capture plan before trying to solve the problem entirely in the edit.
Leave enough time for the camera to complete each exposure and write the file. Check how the actual interval mode behaves, because cameras and external controllers may describe timing differently. A test should establish that the sequence runs as expected, not merely that the first picture looks good. Record the settings and the result so you can repeat a successful test without guessing which combination happened to work.
 Save
Keep exposure and colour consistent
A sequence asks the viewer to compare frames, so small changes can become conspicuous. Review a run of photographs rather than judging only the first and last image. If brightness or colour changes in a way that distracts from the plant, investigate the cause before extending the shoot. It may be part of the real scene or part of the recording process. Those are different problems and may call for different choices.
Manual controls can help you make a controlled test, but they do not make every source of variation disappear. Inspect the result with the actual lights, camera and power arrangement you plan to use. Do not assume a lamp that looks steady to your eyes will produce identical exposures. Compare a short sequence after any change to the lighting or capture settings, and keep notes about what changed instead of adjusting several variables at once.
Choose a colour approach that helps the viewer read the plant. Strong grading can exaggerate differences between frames or make healthy-looking details appear unexpectedly unnatural. Begin with a restrained version and compare it with the more expressive edit. If the style becomes more noticeable than the change in the subject, consider whether it belongs in this study. Keep the original files so a later colour decision does not require starting the capture again.
Plan focus around the change
A close view can make small details important, but it can also make the useful area of focus feel very narrow. Decide which part of the plant carries the story and inspect that area in a test sequence. A sharp background or pot rim will not rescue the intended action if it grows out of the plane you chose. Leave room to reconsider the viewpoint before committing to a long recording period.
Do not make the first frame the only standard for focus. Consider the likely shape and position later in the sequence, while accepting that a living subject will not follow an exact diagram. Compare a slightly wider composition or a different angle if the close view is too fragile. The most detailed starting photograph is not always the most useful basis for a sequence that needs to remain readable over time.
Keep any planned focus change separate from an accidental one in your records. If you want to experiment with a moving camera or a focus pull, test that movement in a short sequence first. A complex move introduces more things to check, including the subject's position, background changes and the visible transition between frames. A locked camera is a useful reference when deciding whether the extra movement improves the result.
 Save
Make care and continuity part of the log
A capture log does not need to be elaborate. Record the start, the source folder, the settings that matter and any interruption that might explain a visible change. Note when you adjusted the setup, performed ordinary care or discovered a missing run of frames. The point is to make the sequence understandable later, when several similar folders and exports may no longer be easy to distinguish from memory.
Review the setup at a reasonable interval without turning every check into a disturbance. Look for a loose support, a full card, a power problem or an unexpected change in framing. Check that files are actually being recorded and can be opened. A timer display that appears active is not the same as a verified sequence of usable photographs. If something fails, preserve the available files and describe the gap rather than quietly presenting a continuous record.
Do not invent continuity to hide a problem. A short cut, a clearly explained gap or a different ending may be more honest than an edit that implies an uninterrupted event. The right choice depends on whether you are making an expressive film, a teaching example or a record intended for closer study. State the purpose and the meaningful editing choices so the viewer can understand what kind of evidence the sequence provides.
Assemble the sequence before polishing it
Import a test sequence in the correct order and check the naming before making detailed adjustments. Missing or misordered photographs can create a jump that looks like a capture problem. Keep the source sequence separate from exported stills and intermediate movies, so an application does not accidentally include the wrong files. A small, orderly folder structure is easier to verify than a large mixed folder with several versions of the same frame.
Watch the first assembly without a soundtrack. Notice whether the change is clear, whether the start gives enough context and whether the ending arrives before the sequence becomes repetitive. The original production's ambition does not require your study to be long. A brief sequence that communicates one change cleanly is more useful than a longer film that repeats the same visual information while waiting for something else to happen.
Make broad adjustments consistently, then inspect difficult passages. Compare the finished export with the source sequence to check that the timing, crop and colour still serve the intended subject. A small-screen review can expose a problem that is easy to miss while working close to a large editing display. Make sure a title or credit does not cover the part of the plant that explains the change you want the viewer to see.
 Save
Describe the result without borrowing another maker's work
Before publishing, write a caption that says what the sequence shows and identifies the meaningful construction choices. Explain if material was rearranged, if time was omitted or if the film is an expressive study rather than a continuous observation. Keep any biological interpretation within what you can support. A striking movement is not automatically proof of the cause you suspect, and an attractive edit should not quietly become an unsupported scientific explanation.
Credit every source that needs credit and keep permission separate from appreciation. Being able to watch a film or find a photograph online does not establish a right to republish it. Refer readers to the original film when discussing its maker's work. Use your own footage or properly licensed material for your own study, and avoid captions that suggest another person's photographs came from your camera or your experimental setup.
Keep a checked copy of the source files, the editable project and the final export. Open the copied files rather than assuming a completed transfer proves they are usable. Add a short note about the capture and the edit so you can explain the result later. The value of the exercise is not only the finished movie. It is also the clearer understanding of what stayed consistent, what changed and what you would test differently next time.
Compare the next experiment with this one using a single deliberate change. Keep the same subject and framing while testing the interval, or keep the interval while trying a simpler background. A comparison becomes harder to interpret when the camera, light, subject and edit all change together. Write down what you expected, what you observed and what remains uncertain. This makes an imperfect sequence useful instead of treating it as a failed attempt that taught nothing. It also gives the next shoot a clear starting point rather than sending you back to equipment shopping whenever a result is disappointing.
Choose a stopping point for the experiment before making another version. Decide which question the existing sequence answers and which question needs a new capture. Editing the same files again can improve presentation, but it cannot fix every weakness in the source material. If the main change happened outside the frame or focus, keep the lesson and plan a better test. A clear account of an imperfect attempt can be more useful than an overworked export that leaves you unable to remember what the camera originally recorded.
Production and technique references
The Fstoppers interview with Chris Field and PetaPixel’s contemporary report describe the original project. A 2014 TerraForums post preserves a contemporary production account. Reported durations and equipment refer to that historical film, not a current offer or a requirement for your own work.
Indiana University’s Plants-In-Motion guidance explains testing intervals and manual controls, and warns that artificial lights can affect plant growth. The DIYPhotography sequence guide and Fstoppers home exercise provide further workflow examples. These are photography references, not care instructions for a particular carnivorous plant. Continue learning through the Shut Your Aperture Academy.
Keep your own private files organized
For your own private files, keep originals and finished exports together. A black Samsung T7 Shield portable SSD, 1TB model MU-PE1T0S/AM, is one storage option to compare. Check capacity and your computer connection before buying. Open the copied files and maintain another checked copy separately. A drive does not replace a complete backup plan. Compare the current retailer specifications; no hands-on test, price or stock promise is being made here.
Compare Samsung T7 Shield Portable SSD Black 1TB MU-PE1T0S/AM on Amazon | Check Samsung T7 Shield Portable SSD Black 1TB MU-PE1T0S/AM at B&H
Affiliate disclosure: We may earn a commission from qualifying purchases through these gear links at no extra cost to you. As an Amazon Associate, Shut Your Aperture earns from qualifying purchases.
Sources and further reading
- Fstoppers, BTS of Carnivora Gardinum by Chris Field, December 2, 2014
- PetaPixel, Time-Lapse Captures Bug-Eating Plants, December 24, 2014
- TerraForums, Carnivora Gardinum thread, November 17, 2014
- Indiana University, Plants-In-Motion: Making Time-Lapse Movies
- DIYPhotography, Shoot and edit timelapse, April 24, 2024
- Fstoppers, Make Your First Time-Lapse Video at Home, May 17, 2020
Carnivora Gardinum questions
What is Carnivora Gardinum?
It is the historical carnivorous-plant timelapse film credited to Biolapse. Contemporary coverage identifies filmmaker Chris Field and describes its long-running production.
Is the reported 107-day shoot a recommended duration?
No. It is part of the historical production account, not a prescription for every plant or camera setup. Observe your subject and test a shorter sequence first.
Are these photographs frames from the film?
No. The five credited Pexels photographs are illustrative stock, not frames from Carnivora Gardinum, documentation of its setup or photographs by Edin Chavez.
What interval should I use for a plant timelapse?
Choose it by observing the change and testing a short sequence. Account for exposure and file-writing time, and review the result at the intended playback rate.
Is the production account plant-care advice?
No. Confirm the needs of your actual plant with an appropriate specialist source. Adjust the photographic arrangement so ordinary care is not compromised.
Why keep individual photographs and capture notes?
They make it easier to check file order, explain interruptions, revise an edit and understand which capture choices produced the sequence.
Can I reuse the film or its frames because I can watch it?
Viewing access does not establish reuse permission. Obtain the rights needed for any footage or frames, and keep the required creator and source credits.
Affiliate disclosure: Some links are affiliate links. If you buy through them, Shut Your Aperture may earn a commission at no extra cost to you. As an Amazon Associate, we earn from qualifying purchases. The five credited Pexels photographs are illustrative stock, not film frames or Edin Chavez photographs.