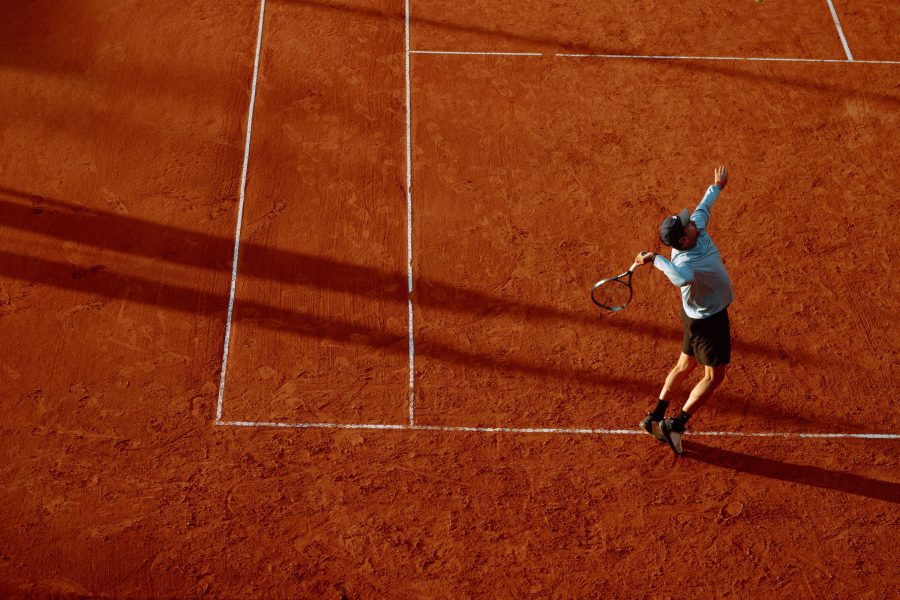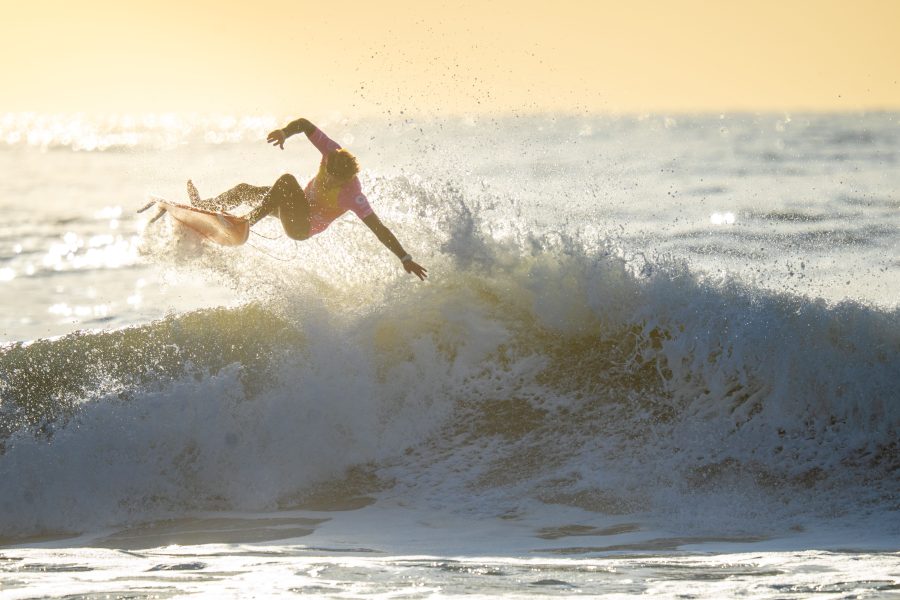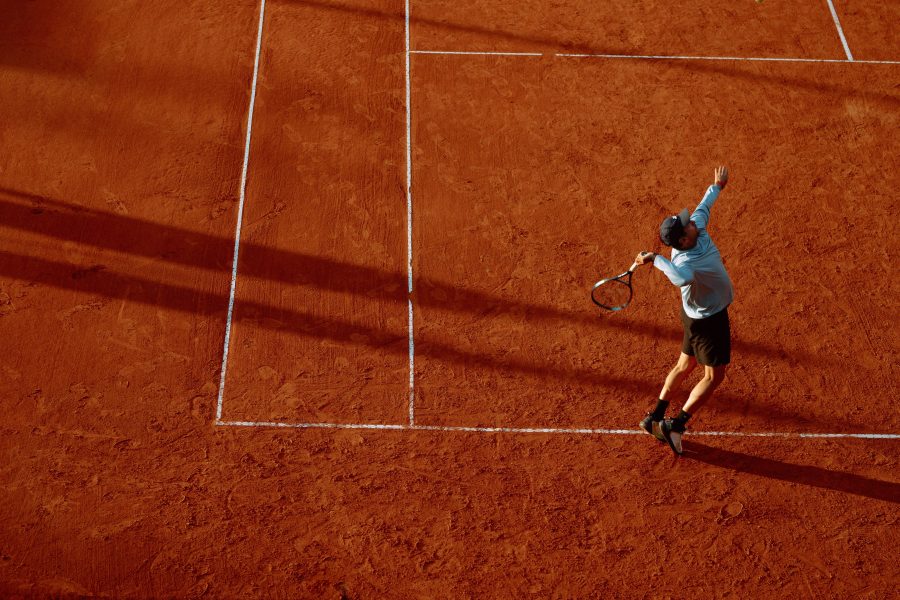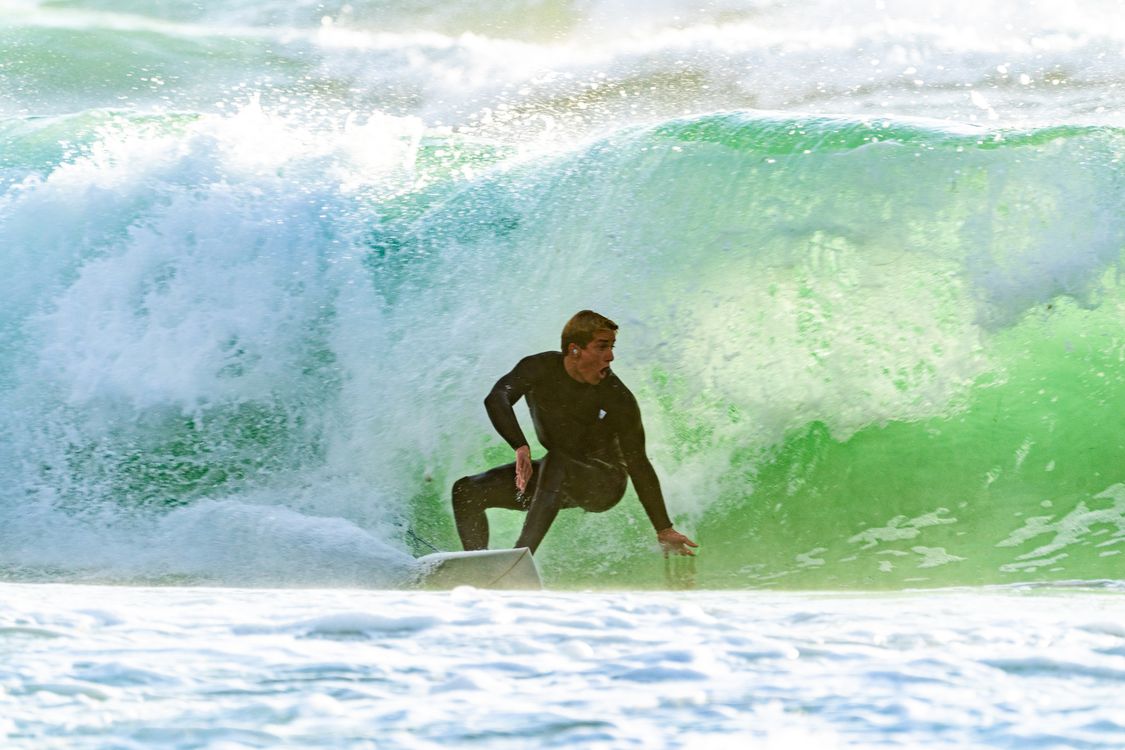
The winning shot is gone before you finish checking the back of the camera. Sports photography rewards being ready, knowing where the action is headed and keeping your eye on the game. A fast burst helps. It will not rescue a bad position or a shutter speed that turns every player into a smear.
Start with a sharp face, a readable moment and a background that stays out of the way. Get those right before chasing the biggest lens or the highest frame rate. The ball, the jump and the reaction matter more than another hundred nearly identical files.
Build your settings around movement
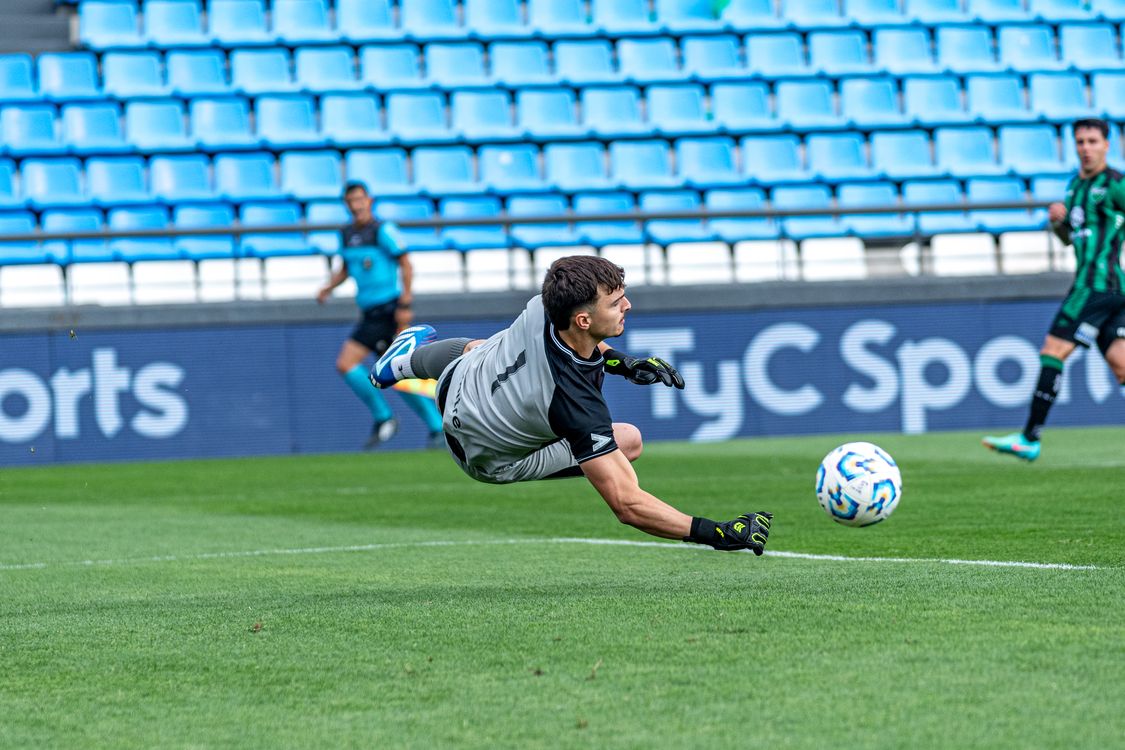
For freezing fast action, start around 1/1000 second and review the result. Fast limbs, flying water or a close subject may need a faster shutter. Slower movement may allow less. Treat that number as a starting point, not a setting that guarantees every sport will look sharp.
Shutter priority, usually S or Tv, lets you choose the shutter speed while the camera selects an aperture. Auto ISO can help when the light changes, but check that the camera can still make a usable exposure. If the lens is already wide open and ISO has reached your limit, the picture can be too dark. Do not assume an automatic mode can manufacture more light.
Manual exposure with Auto ISO is another useful approach when your camera supports it: choose the shutter speed and aperture, then let ISO respond to the light. In steady light, fully manual exposure can keep the athlete’s brightness consistent as the background changes. Check the face and important highlights rather than trusting the screen’s brightness alone.
A wide aperture helps gather light and soften a busy background. It also gives you less room for focus error. If two athletes at different distances need to be sharp, a little more depth of field may be worth the higher ISO. Noise is usually a better compromise than unintended movement blur. Read the shutter-speed lesson and aperture lesson if those tradeoffs are still new.
Make autofocus follow your subject
Use continuous autofocus for a moving athlete. Depending on the camera, that may be called AF-C or Servo AF. It keeps adjusting while you hold the focus control, unlike a single-shot mode that locks once and waits. Learn which button activates focus on your own camera before the event starts.
People detection and tracking can work well when your camera offers them, but do not hand over the choice blindly. Check that the box stays on the athlete you care about, not a spectator or another player. If a wide area keeps choosing the wrong person, use a smaller zone or a selected focus point and keep it on your subject.
Expect obstacles. A net, another athlete or a splash may steal focus. Tracking sensitivity and subject-switching settings vary by camera, so use its manual rather than copying a numbered setting from a different body. A setup that holds focus through a brief obstruction may also be slower to switch to a new player. Choose for the way this sport moves.
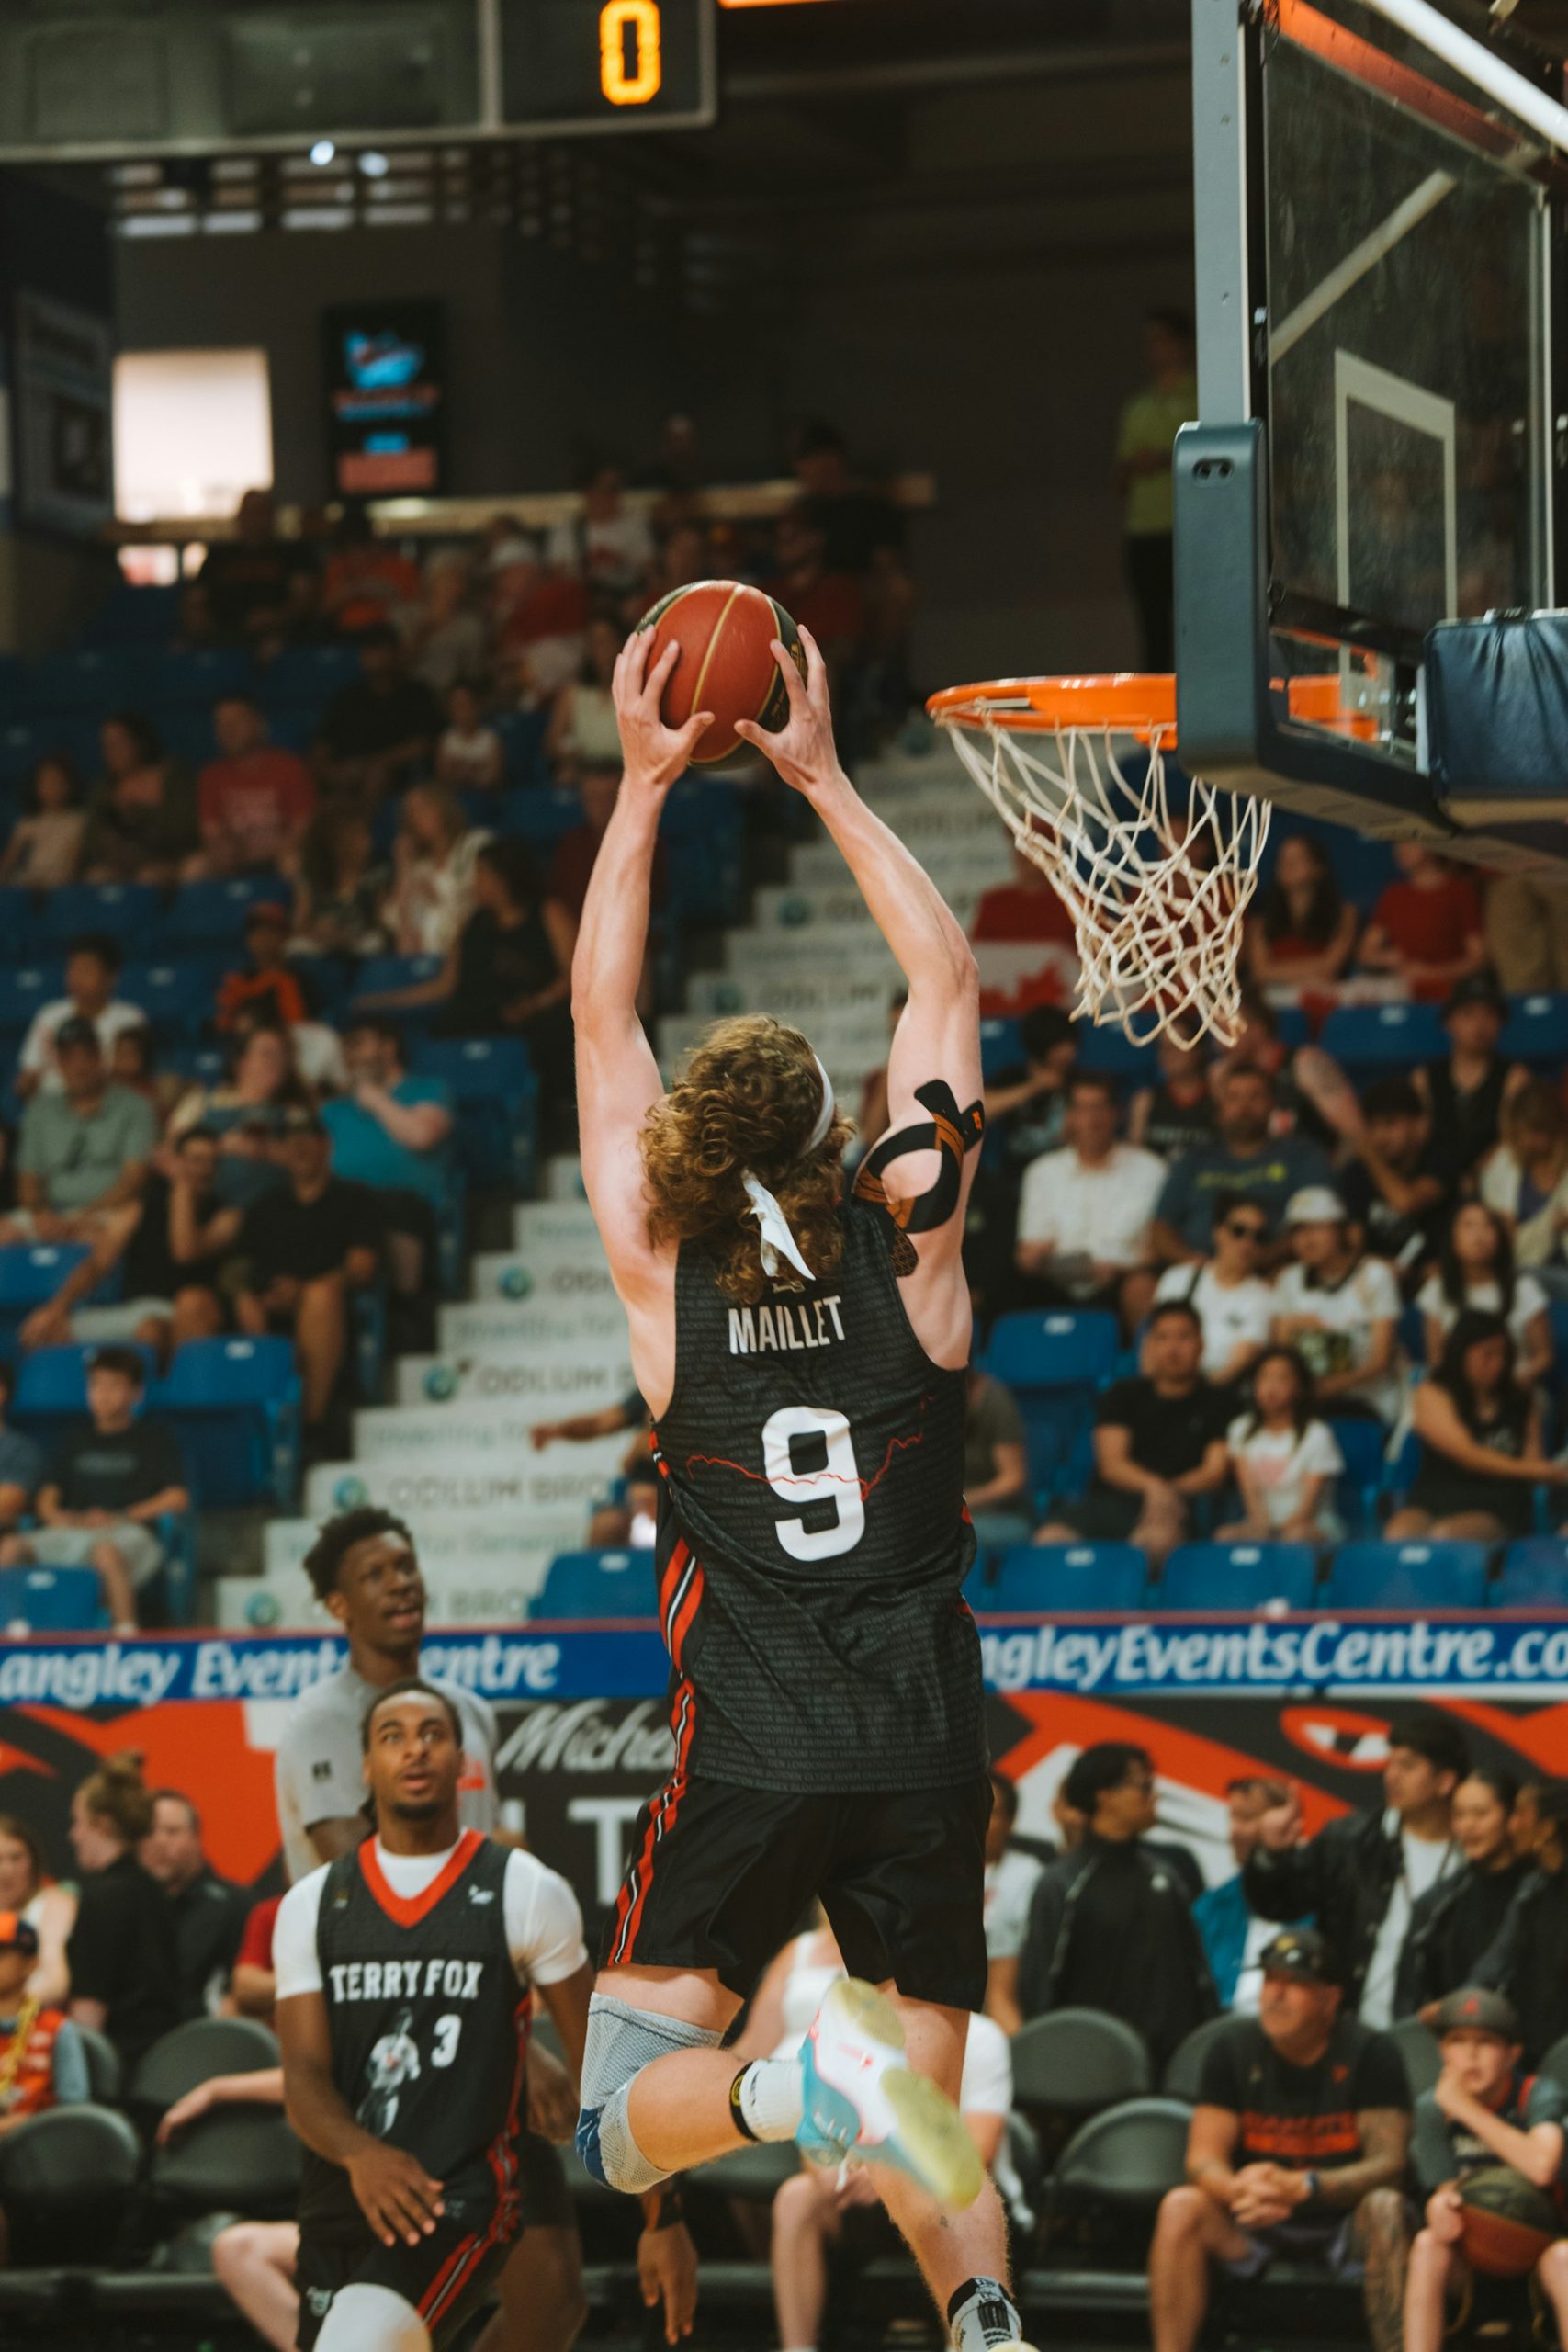
Give the camera time to acquire the athlete before the decisive moment. Follow the approach, keep the focus area where it needs to be and start a short burst as the action develops. Waiting until the jump has already peaked makes the camera and your timing work harder.
 Save
Choose a position, then clean up the frame
Know where you are allowed to stand. Stay behind the assigned boundary, follow the organizer’s rules and keep an exit clear. Never step into play for a better angle. At youth events, check the photography rules and any restrictions on publishing photographs before sharing them.
From an allowed position, look for faces and the direction of movement. A player running toward you gives a different photograph from the back of a jersey moving away. Watch which side of the court gives you a clean view of the basket, or which part of the course lets you see a rider’s expression. The right spot depends on the sport and access, not a universal “stand here” rule.
Look behind the athlete before the action arrives. A bright sign, an empty chair or a spectator’s head can become the loudest thing in the frame. A small change in angle or camera height can help, as long as it keeps you safe and does not block someone else’s view. Leave room for the ball and the movement instead of cutting both off in a rush to fill the frame.
A long lens narrows what you include. It does not guarantee a clean background. A wider photograph may tell the story better when the setting, opposing players or finish line matters. Use the composition lesson to practise subject placement and edge checks away from the pressure of a game.
Learn the play instead of chasing it
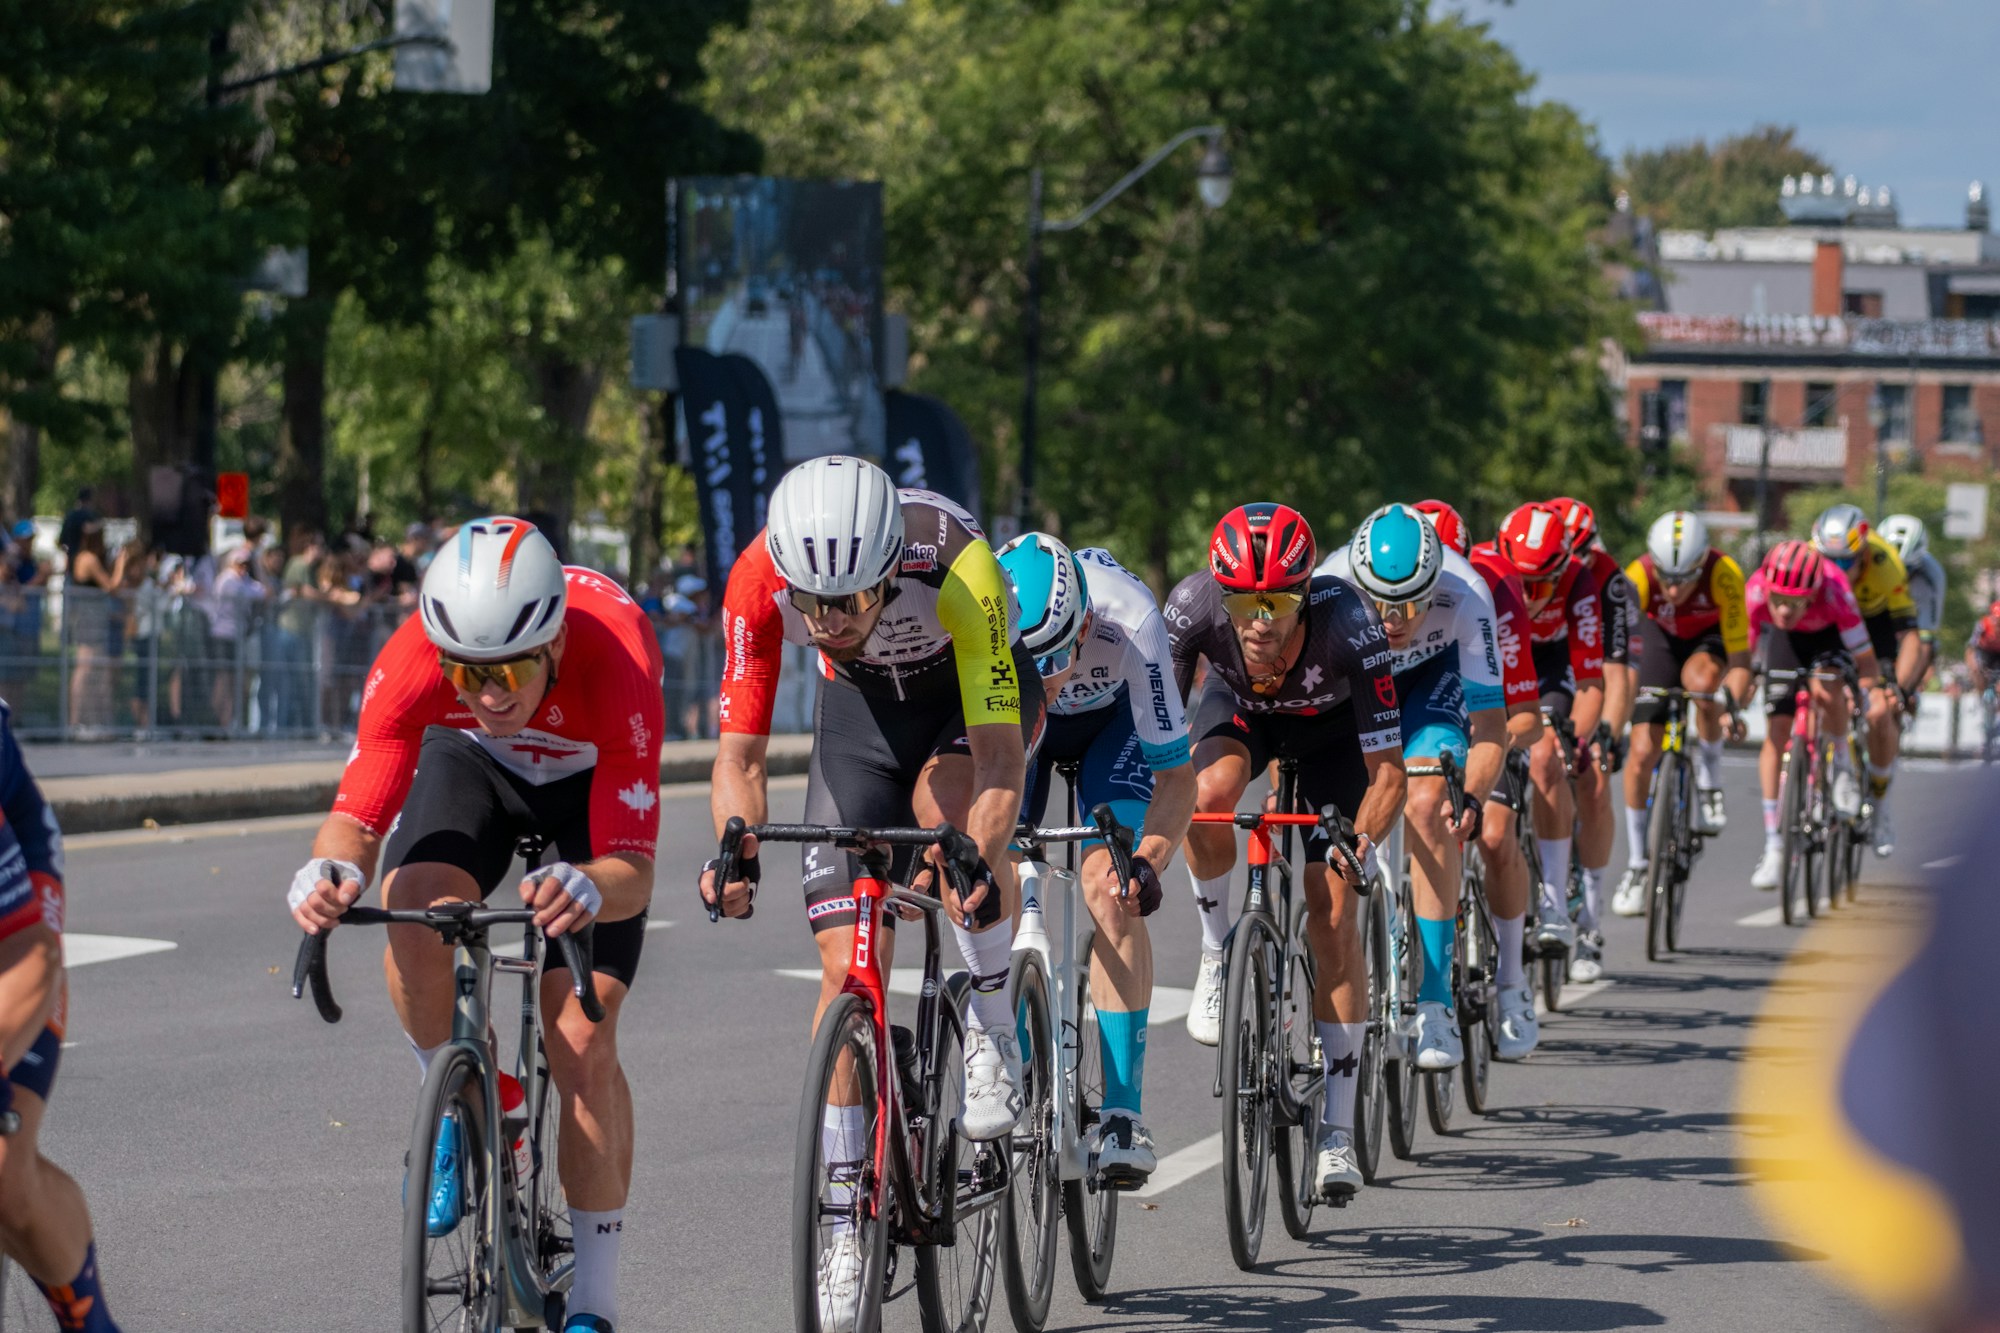
You do not need to know every statistic. You do need to understand where the next useful moment is likely to happen. Watch a few plays. Notice when a runner changes direction, when a shooter sets their feet or where cyclists bunch together. That gives you a place to aim before the action gets there.
Choose one repeatable moment to practise: a serve, a jump, a pass or a corner. Follow the approach and time a short burst around it. Then review between plays, not while the next one is happening. If you miss, work out whether the problem was timing, focus, shutter speed or your position. Changing everything at once makes it harder to learn.
Keep watching after the score. The celebration, disappointment and exchange between teammates can make a stronger photograph than the ball crossing a line. Add a wide view and a few details to tell the story. Do not turn the whole event into a gallery of identical action frames.
 Save
 Save
Use short bursts, not a permanently held shutter
Continuous shooting gives you choices around a moment. Start just before the action you expect, then stop. Long bursts fill the buffer and leave you sorting through more weak frames. Maximum frame rate can also depend on the camera’s shutter mode, file type, lens and exposure settings. Check the conditions in your manual.
Try the camera under the venue lights before the game. Artificial lighting and electronic scoreboards can cause flicker or bands. An electronic shutter can also distort fast movement on some cameras. If you see problems, check the camera’s shutter options and flicker-reduction features. Mechanical shutter, where available, may be worth testing, but it is not a universal cure for every light source.
High-frequency flicker reduction is a specific feature on some cameras, not another name for every anti-flicker mode. Nikon’s Z9 manual, for example, describes fine shutter-speed adjustments to reduce bands under certain LED lighting. Follow the instructions for your own model and test the actual lights. Do not discover the problem when you import the whole game.
Try panning when you want speed to show
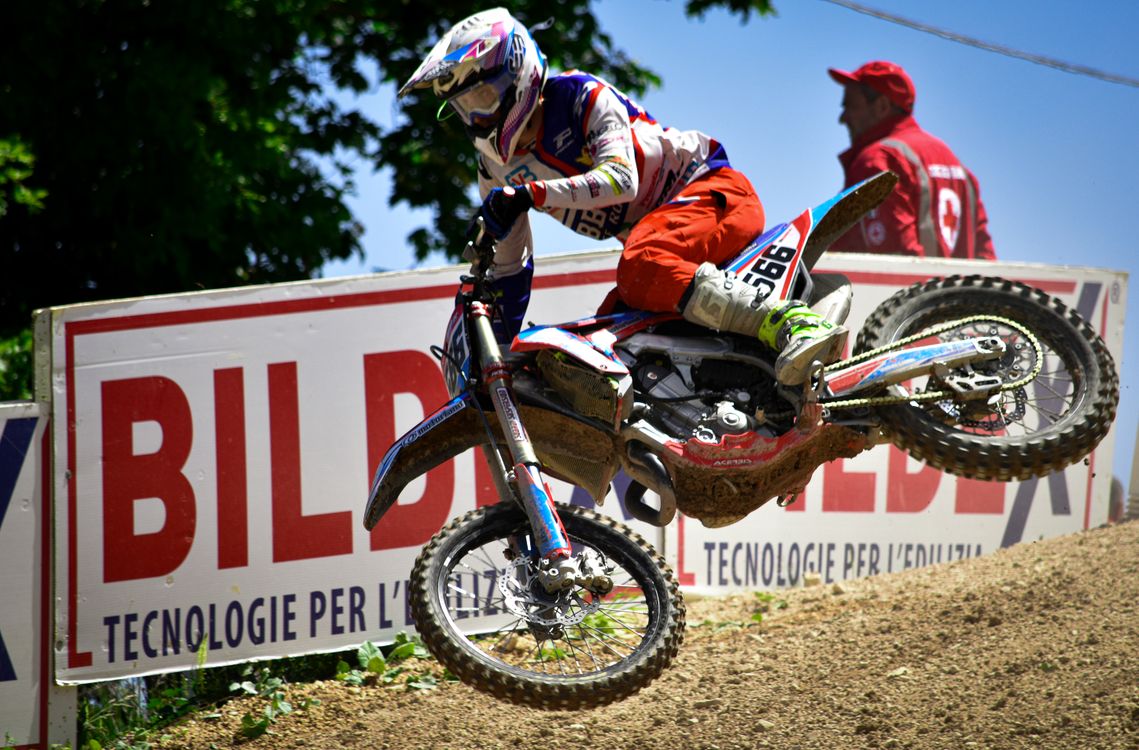
Freezing everything is not the only way to photograph movement. For a subject crossing in front of you, try following it smoothly at around 1/60 second. Keep following through the release, then review. Adjust the shutter speed to the subject’s speed, distance and the amount of blur you want. Expect misses while you learn.
Keep the focus control active as you follow the subject. If the lens has a dedicated panning stabilization mode, check its instructions. Some systems detect panning automatically; others need a setting changed. Do not apply one blanket stabilization rule to every camera and lens.
 Save
Pack for the event you are actually covering
Start with the camera and lens you own. Work out whether the real limitation is reach, low light, autofocus or access before spending money. A 70-200mm zoom can suit some sidelines and indoor positions. It may be too short for distant field action, and a wide-aperture prime may be too restrictive when players move toward and away from you. There is no mandatory sports lens.
Bring charged batteries, enough card space and protection suited to the weather. A monopod can take weight off your arms with a heavy lens if the venue permits it. It does not freeze the athlete. Rain protection does not make unsafe weather safe, either. Follow event instructions and leave exposed positions when conditions demand it.
Before the first play
- Confirm where you may stand and whether flash is allowed. Do not assume it is.
- Choose a shutter speed for the movement, then check exposure on the athlete.
- Set continuous autofocus and verify which subject the camera tracks.
- Make a test burst under the actual lights. Check sharpness, bands and exposure changes.
- Look for a clean background and room for the ball or equipment.
- Pick one moment to anticipate, then keep watching for the reaction afterward.
Sports photography questions
Why are my players blurry at low ISO?
Low ISO does not stop movement. Check the shutter speed and focus. If the light is limited, accepting a higher ISO may let you use the faster shutter the action needs.
Should I always use the fastest burst?
No. Use a rate that captures the moment without making tracking and file management harder than necessary. Test whether your chosen mode changes autofocus, shutter behavior or image quality.
Will image stabilization freeze a runner?
No. Stabilization deals with camera movement, not the runner’s movement. Choose a shutter speed for the action even when the lens or camera has stabilization.
Can I use flash at an indoor game?
Only if the organizer allows it and you can use it without disrupting the athletes. Many situations call for available light. Ask rather than assuming your camera’s flash is acceptable.
Further reading
- Canon: Action photography tips.
- Canon: Five tips for unique sports photos.
- Nikon: Z7 II and Z6 II sports settings, for those specific bodies.
- Nikon Z9 manual: High-frequency flicker reduction, a model-specific example.