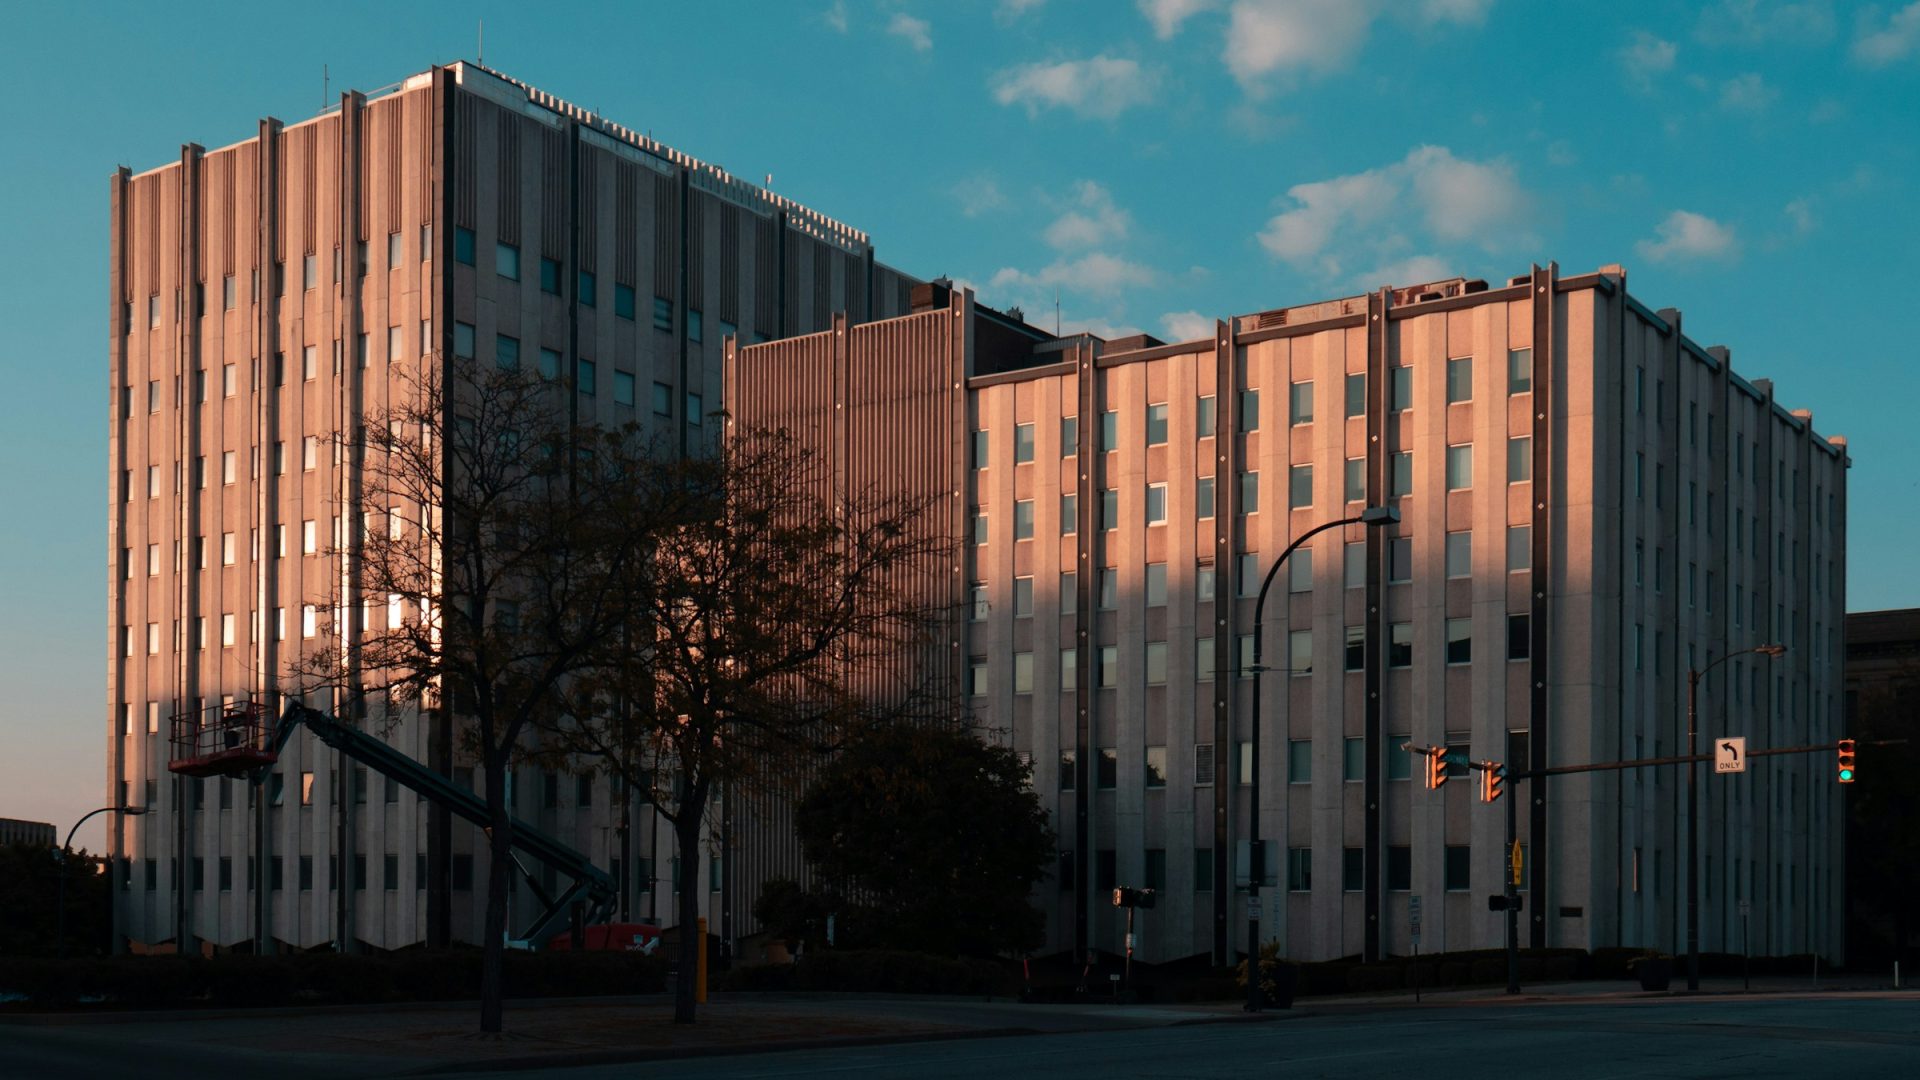
Featured photo: Stock photo by benjamin lehman via Unsplash (Unsplash License). Source: https://unsplash.com/photos/large-brutalist-building-bathed-in-warm-sunset-light-tMTiE34Hcsg (Stock photo, illustrative.)
The same building can look flat at noon, sculptural at sunrise and cinematic at blue hour, and advanced shooters plan their day around that fact instead of fighting it. Here is how to work each lighting situation like a professional. It takes timing, position and a willingness to come back when the light is right. The sections below move through the day the way a shoot actually unfolds: warm side light first, the blue window after sunset, the hard hours in between, interiors, weather and the return visits that separate a portfolio from a lucky afternoon.
Golden hour: shape and shadow
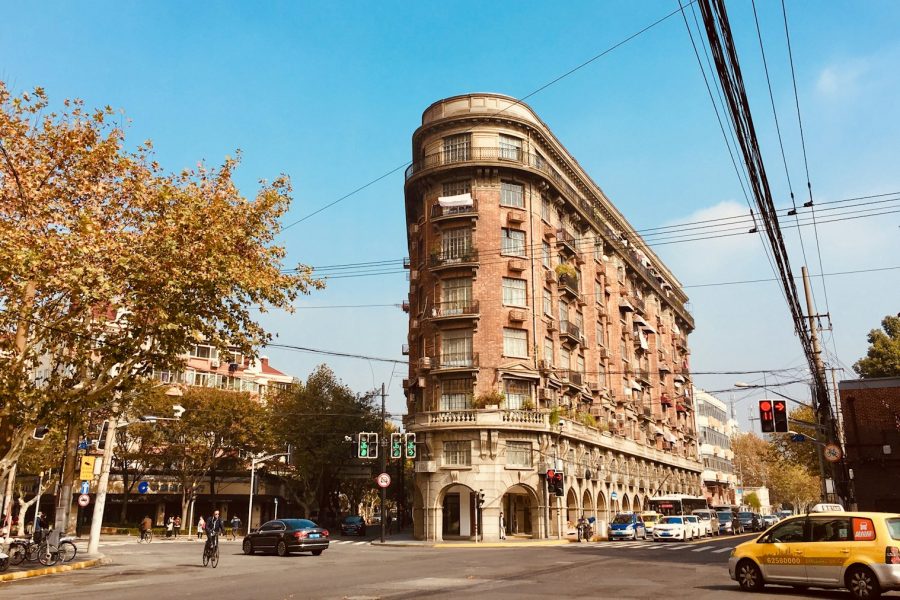
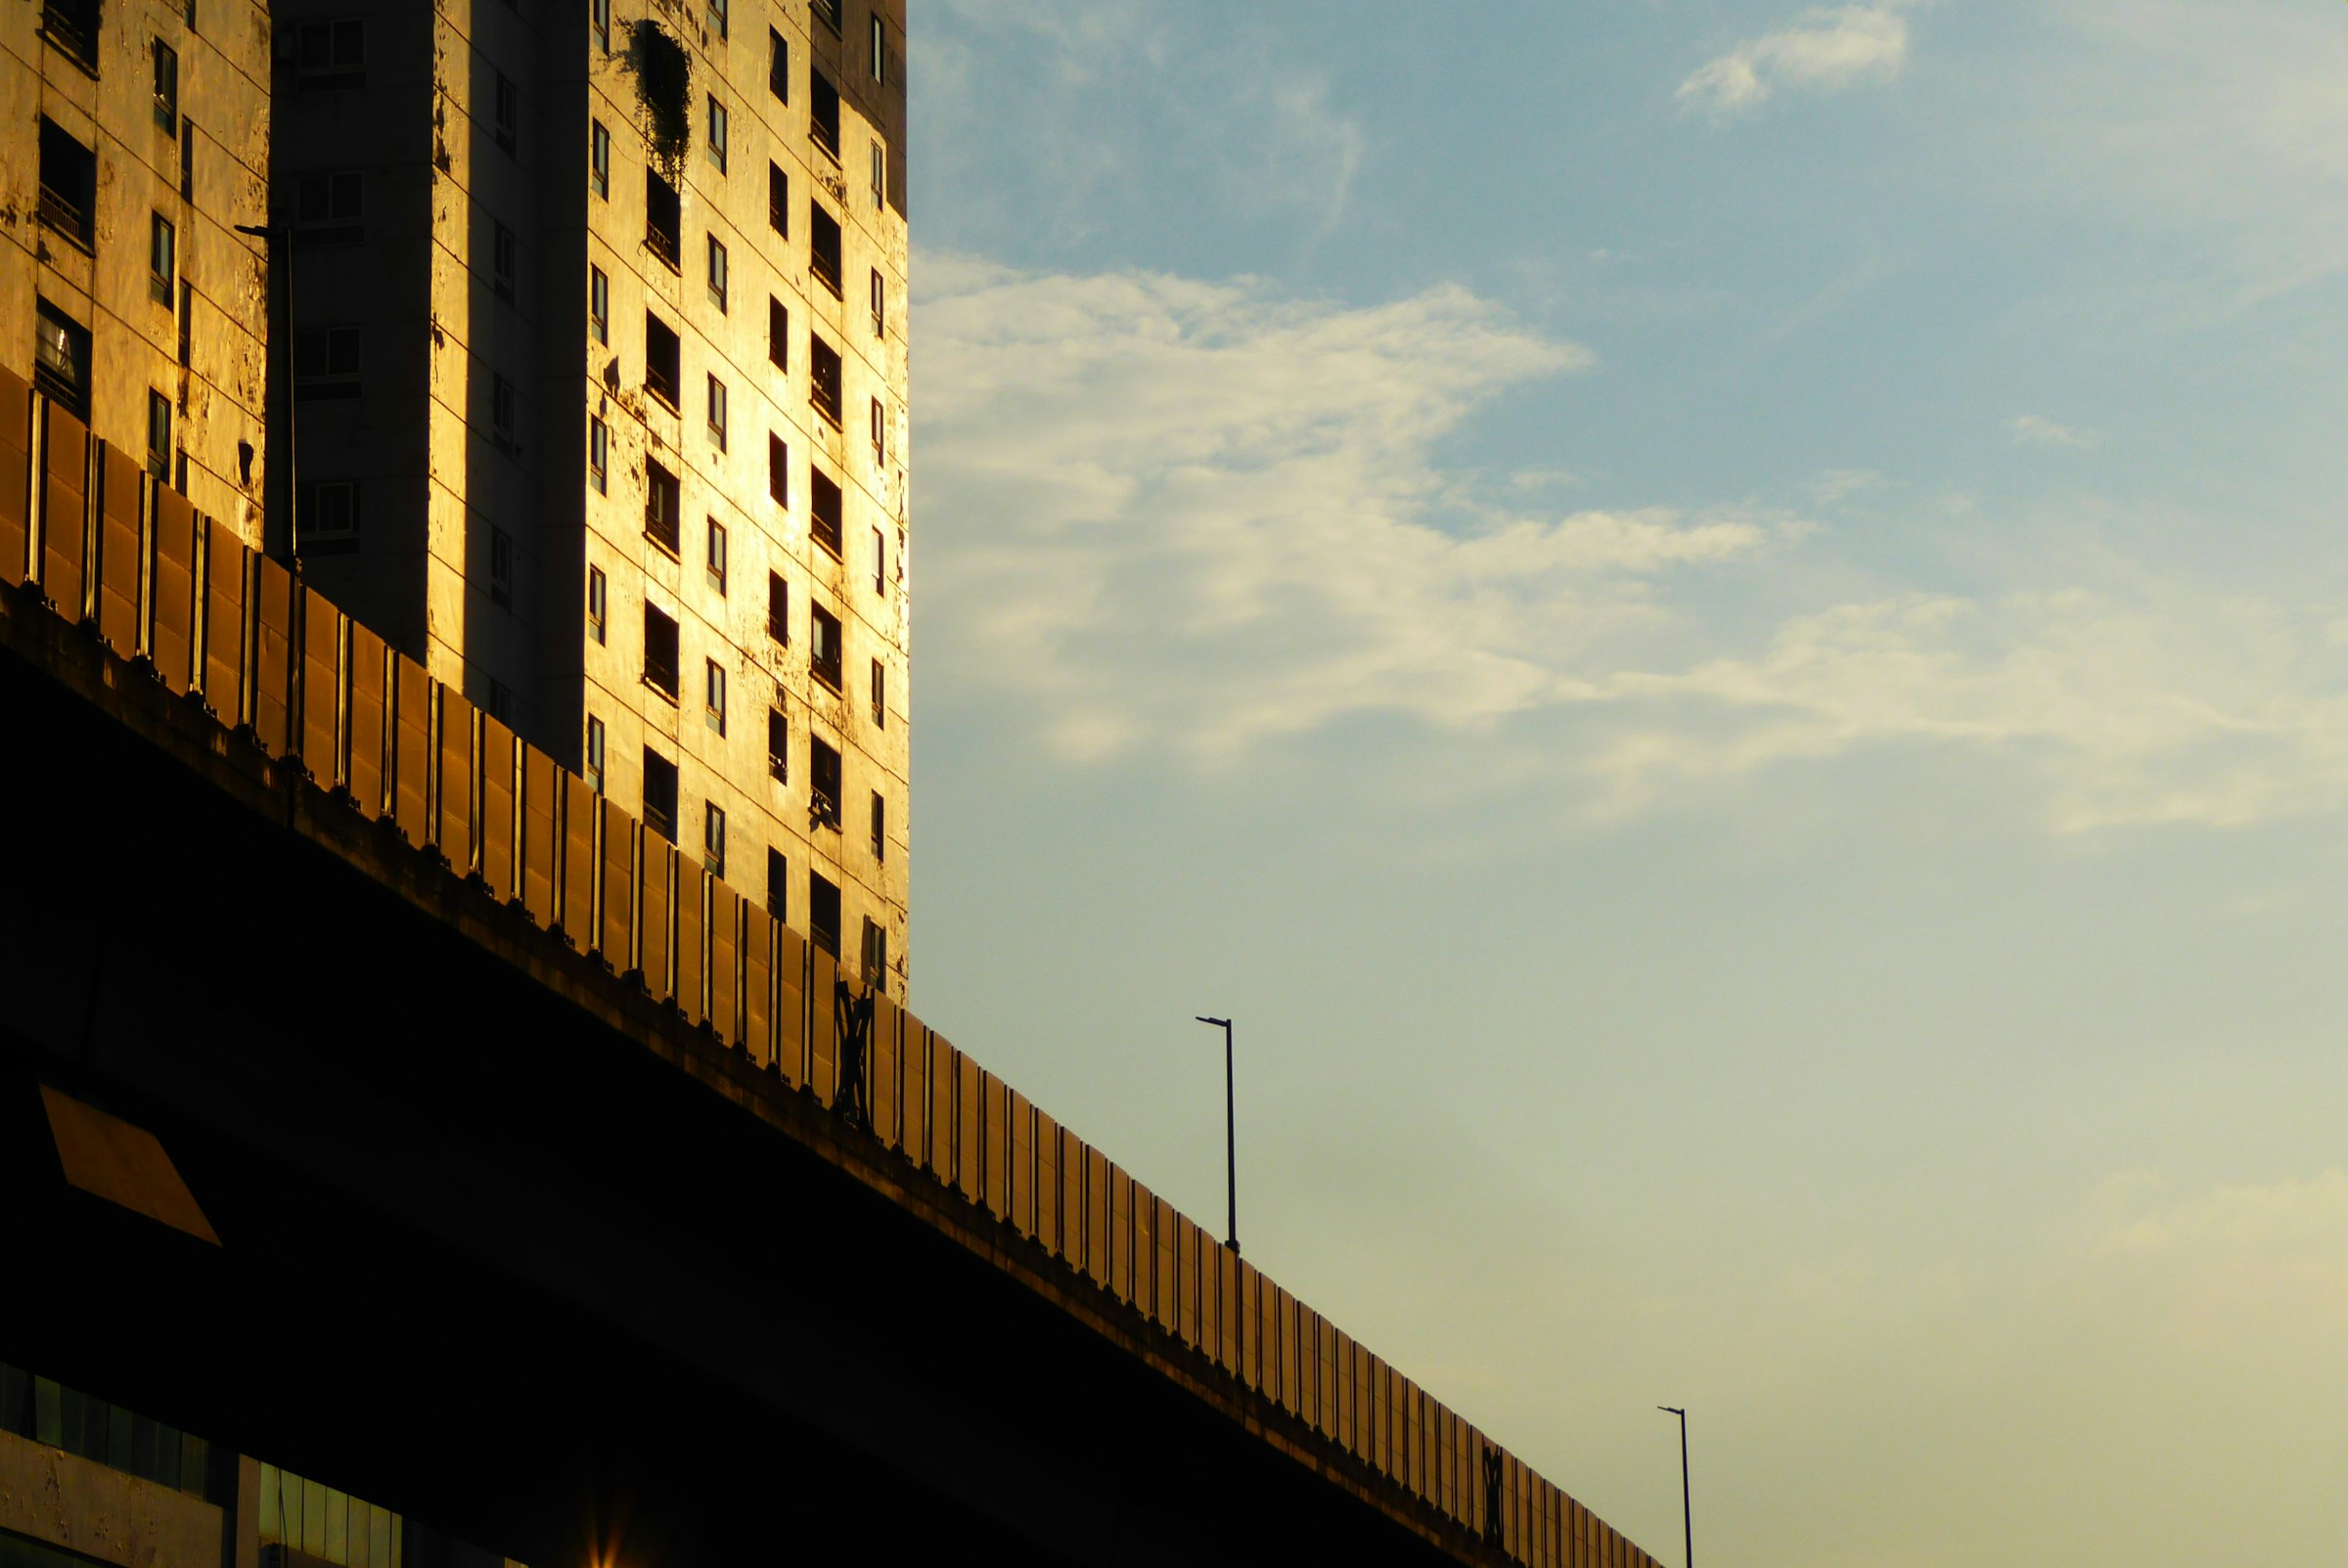
Low raking light at sunrise and sunset gives facades depth that midday sun erases. Side light is your friend: it pulls texture out of brick, stone and concrete, and it throws shadows that describe the building’s form. Scout which elevation faces which way and pick your session accordingly. Arrive early, because the best window is short.
Which facade lights up, and when, depends on the sun’s azimuth, which shifts with season and latitude, so check a sun-planning tool for where the sun will be on your date instead of assuming east means morning and west means evening. In a dense city, neighboring towers can cut your light off well before the published sunset time. Corners are often strong positions: stand where two lit elevations meet and the building reads as a three-dimensional object instead of a flat postcard.
In high-contrast side light, evaluative or matrix metering can misjudge the scene and lift the shadows more than you want, losing the warm tones on the lit face. How these modes weight the frame varies by manufacturer and mode, so check the histogram and highlight warnings rather than trusting the meter, and consider some negative exposure compensation when the lit surface is the subject. A small underexposure also tends to deepen the color of the light itself.
Treat the shadows as compositional elements, not exposure problems. A fire escape shadow raking across a blank wall, a column’s shadow stretching across a plaza, the diagonal of a neighboring tower’s shade creeping up a facade: these are the pictures that only exist for a few minutes. Frame them deliberately, level the camera so verticals stay vertical, and let the shadow be the subject when it is stronger than the building itself.
 Save
Blue hour: the money shot
 Save
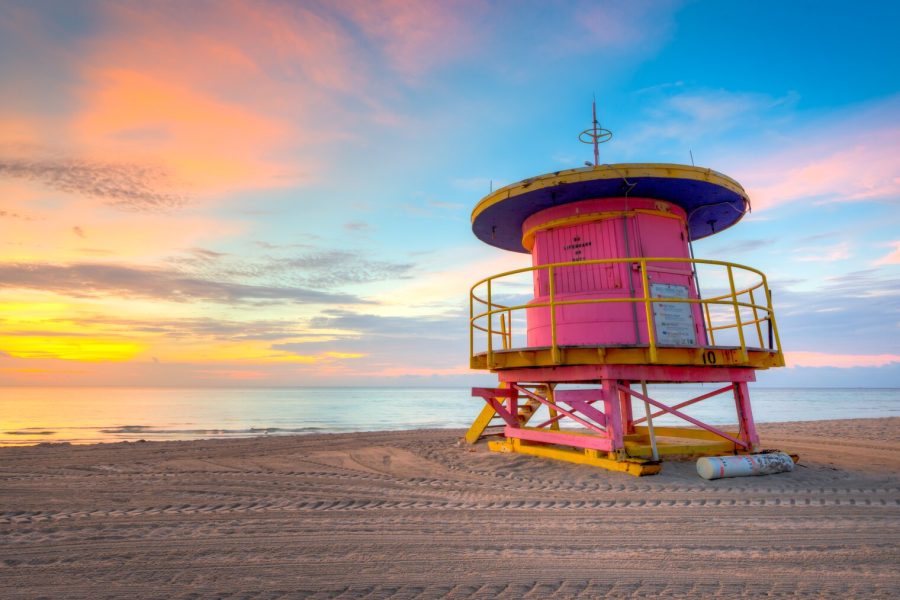
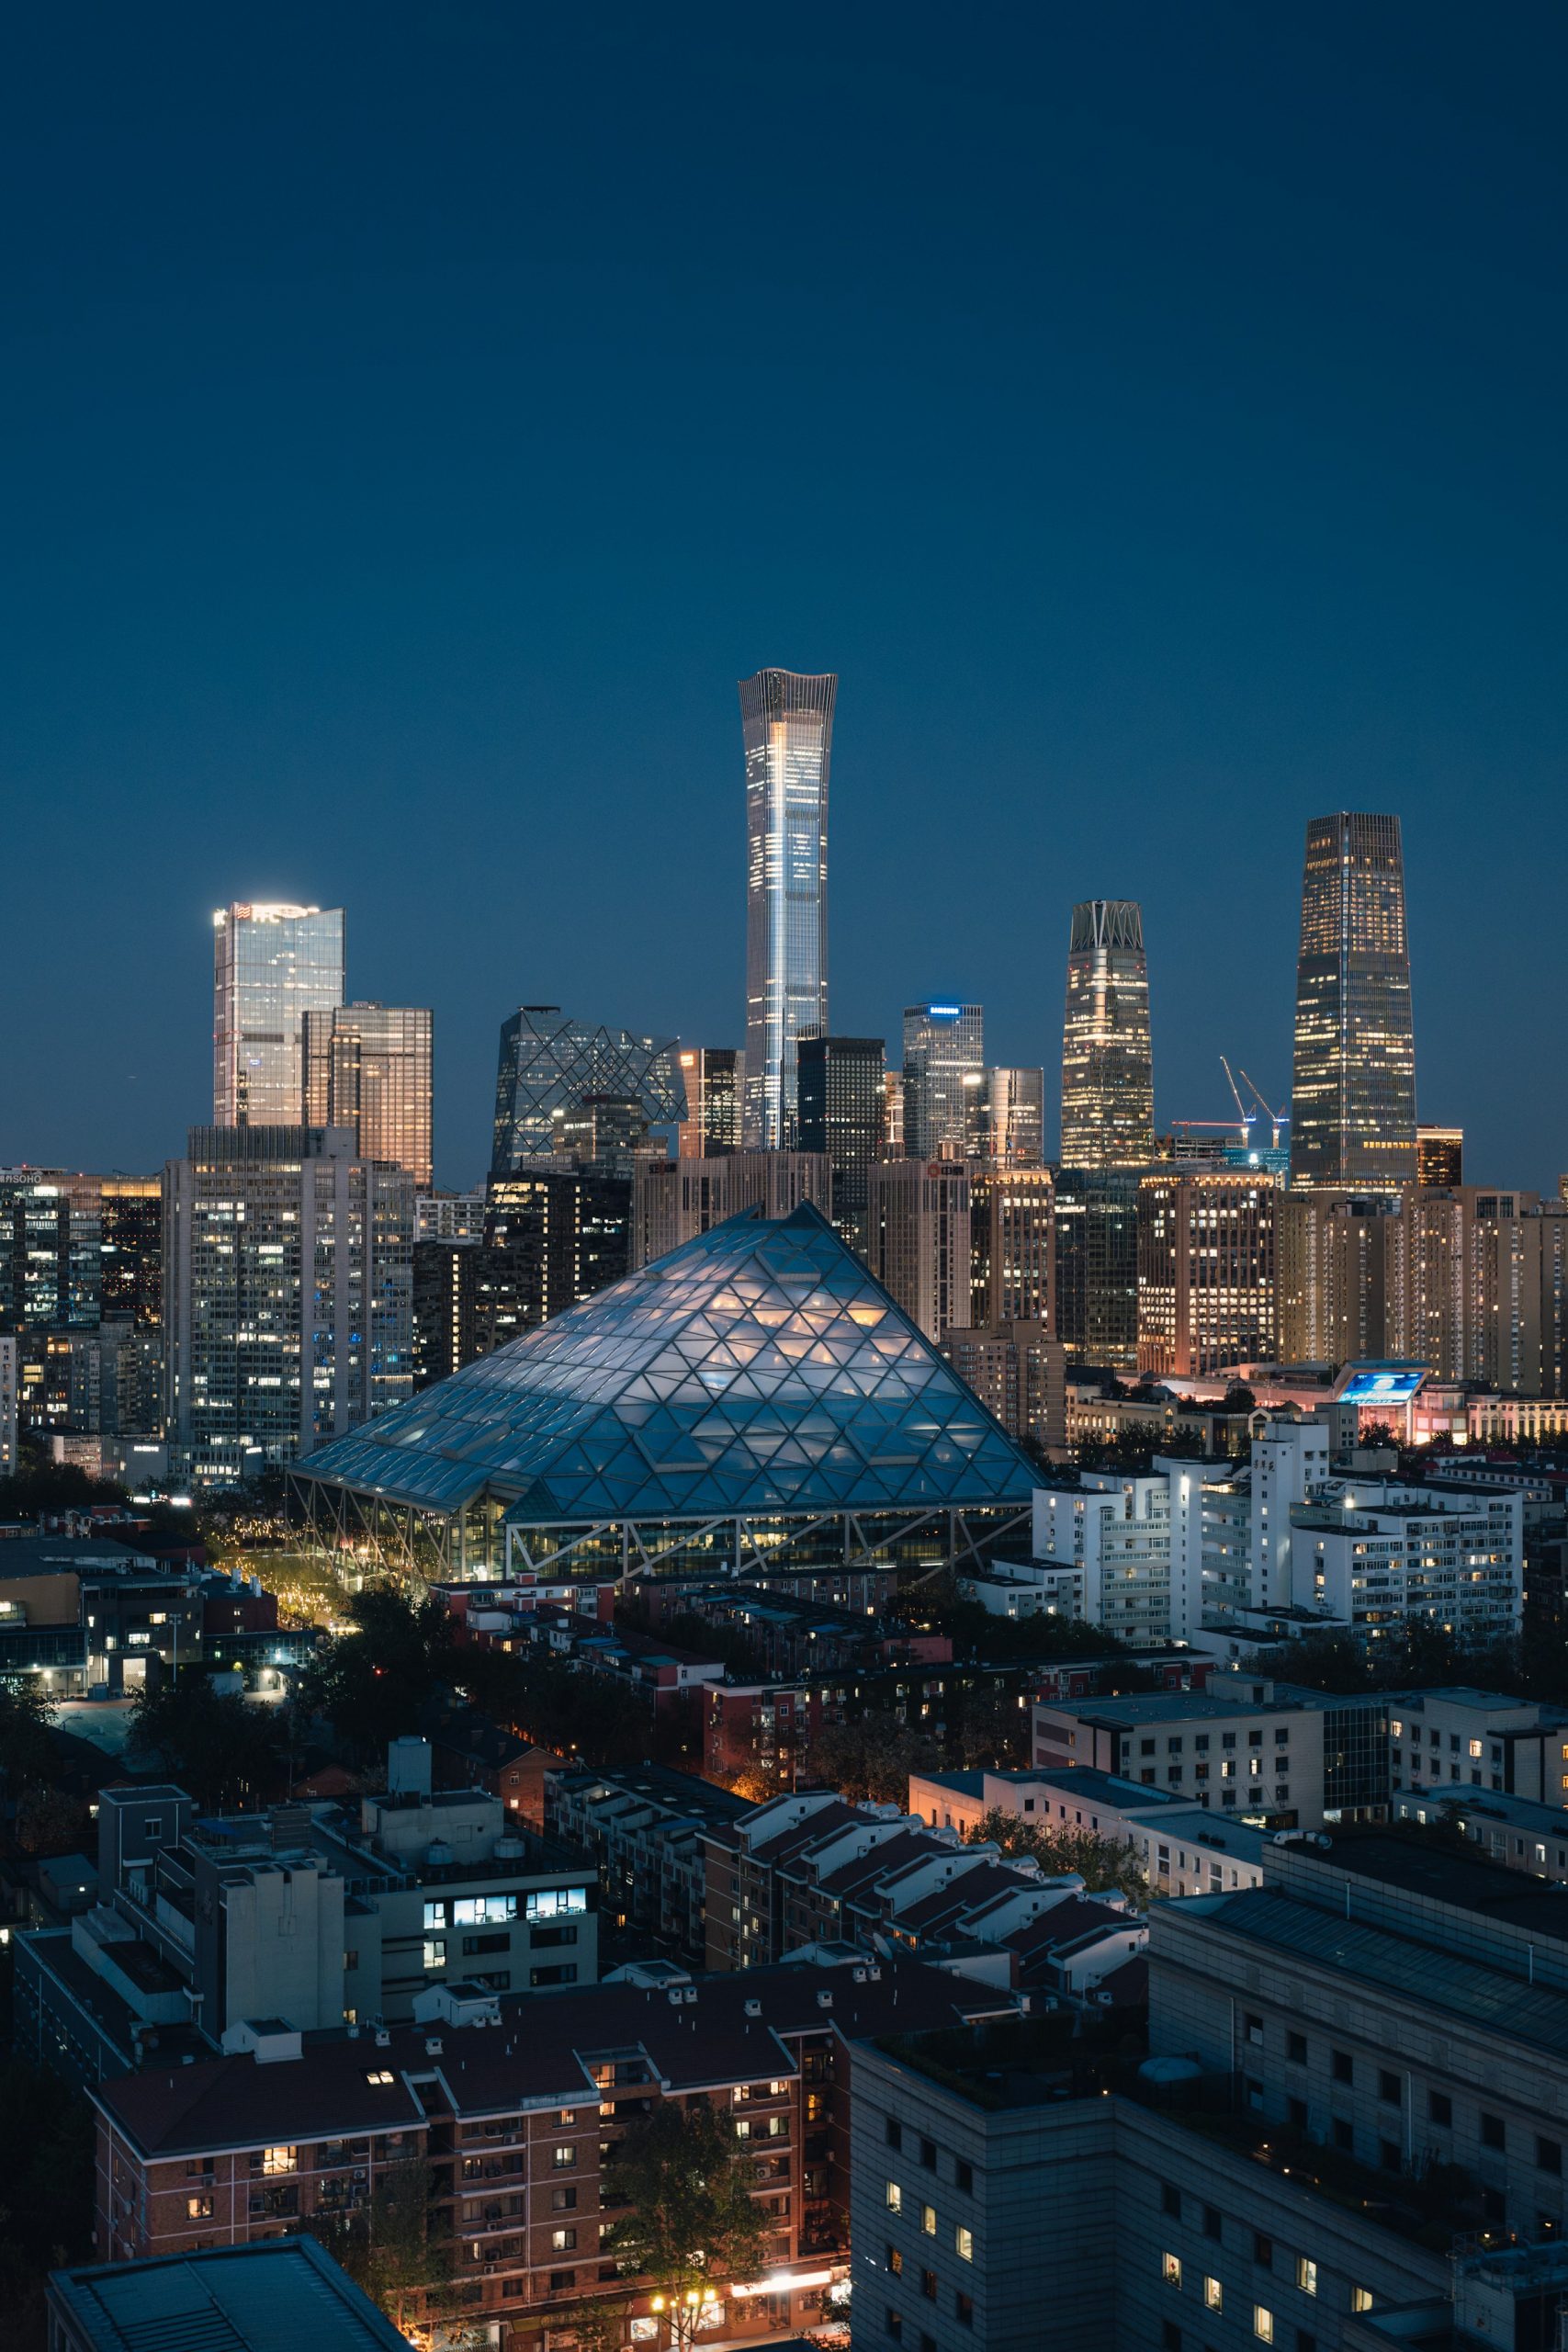
The short window after sunset, when the sky turns deep blue and interior lights come on, is when city architecture earns its keep. Its length varies with latitude, season and weather, and cloud cover can shrink it further. Balance is everything: expose so the sky holds color while the windows glow instead of blowing out. A tripod and a bracket of several frames give you the range to blend later, and very high contrast scenes can need a wider bracketed series than the usual two or three. Shoot the same composition at intervals as the light falls, because the balance point between sky and interior light is hard to predict and obvious when you see it.
Set up while there is still sunset color in the sky and lock the composition before the light gets good. Watch what happens inside the building as you shoot: office floors lighting up, lobby lights coming on, streetlights flickering alive. Those small changes are often what separates the frame that works from the ten that almost do.
Set white balance manually. Auto white balance can neutralize exactly the blue you came for, so use daylight balance or a fixed Kelvin setting and adjust to taste in the edit. Keep the ISO at the camera’s base setting when you can, and remember that a long shutter records movement: wind in trees, passing traffic and bridge or tripod vibration can all soften a frame, so weigh stability against stopping down.
Position matters as much as timing. Water doubles your options: harbors, rivers and even wide fountains give you a second skyline in the reflection, and a low angle near the edge exaggerates it. Elevated public spots, bridges, parking garage rooftops and park overlooks let you separate the building from street clutter, but check access rules before you set a tripod, since some overlook decks and garages restrict them.
Blend the bracket with a light hand. The goal is a frame that looks like what the scene felt like, so keep the sky blue, the windows warm and the shadows believable. Halos around rooflines and a sky that glows brighter than the street are the usual tells of an overworked blend.
Harsh midday: work the angles
Sometimes the schedule says noon and that is that. Move to shaded elevations, use the shadows between buildings as graphic elements, or go inside: midday is when interior shooting often makes the most sense anyway. A circular polarizer can cut reflections off glass and deepen skies, but the effect depends on your angle to the light and weakens away from the sweet spot, and wide lenses can show it as an uneven sky gradient, so check the frame rather than assuming the filter fixed it.
Hard light is also honest light for the right subjects. White walls, graphic shadow patterns, parking structures and stairwells all benefit from contrast that golden hour cannot deliver, and glass towers across the street can act like giant reflectors, bouncing soft fill into elevations that are technically in shadow. Walk the whole block before you write the light off. The weak angle in the morning is sometimes the strong one later, because the shadow lines have swung into position.
One midday trap deserves its own warning: dappled light through trees. It looks charming in person and reads as bright chaotic spots in a frame, pulling the eye everywhere except the building. Either wait for a cleaner moment, move to a different angle, or commit fully and make the pattern the subject.
Interiors and mixed light
 Save
- With the venue’s permission, turn off overhead lights when daylight dominates; mixed color temperatures are harder to fix than low light. Never touch exit signs or safety lighting.
- Bracket exposures for windows, then blend so the view outside stays visible.
- White balance for the main surface material, then clean up casts locally in the edit.
- Add one off-camera flash bounced into a ceiling only when the room truly needs it, and keep it subtle.
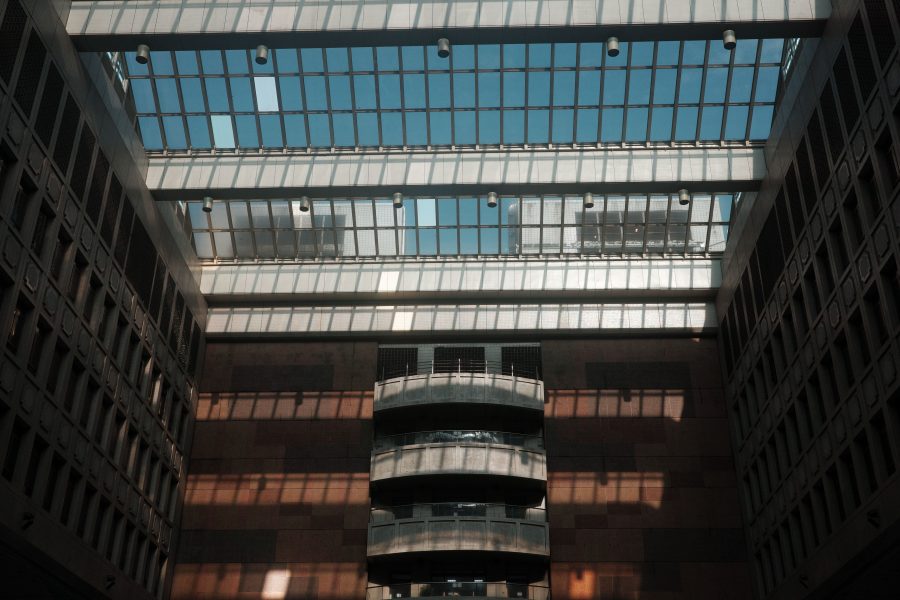
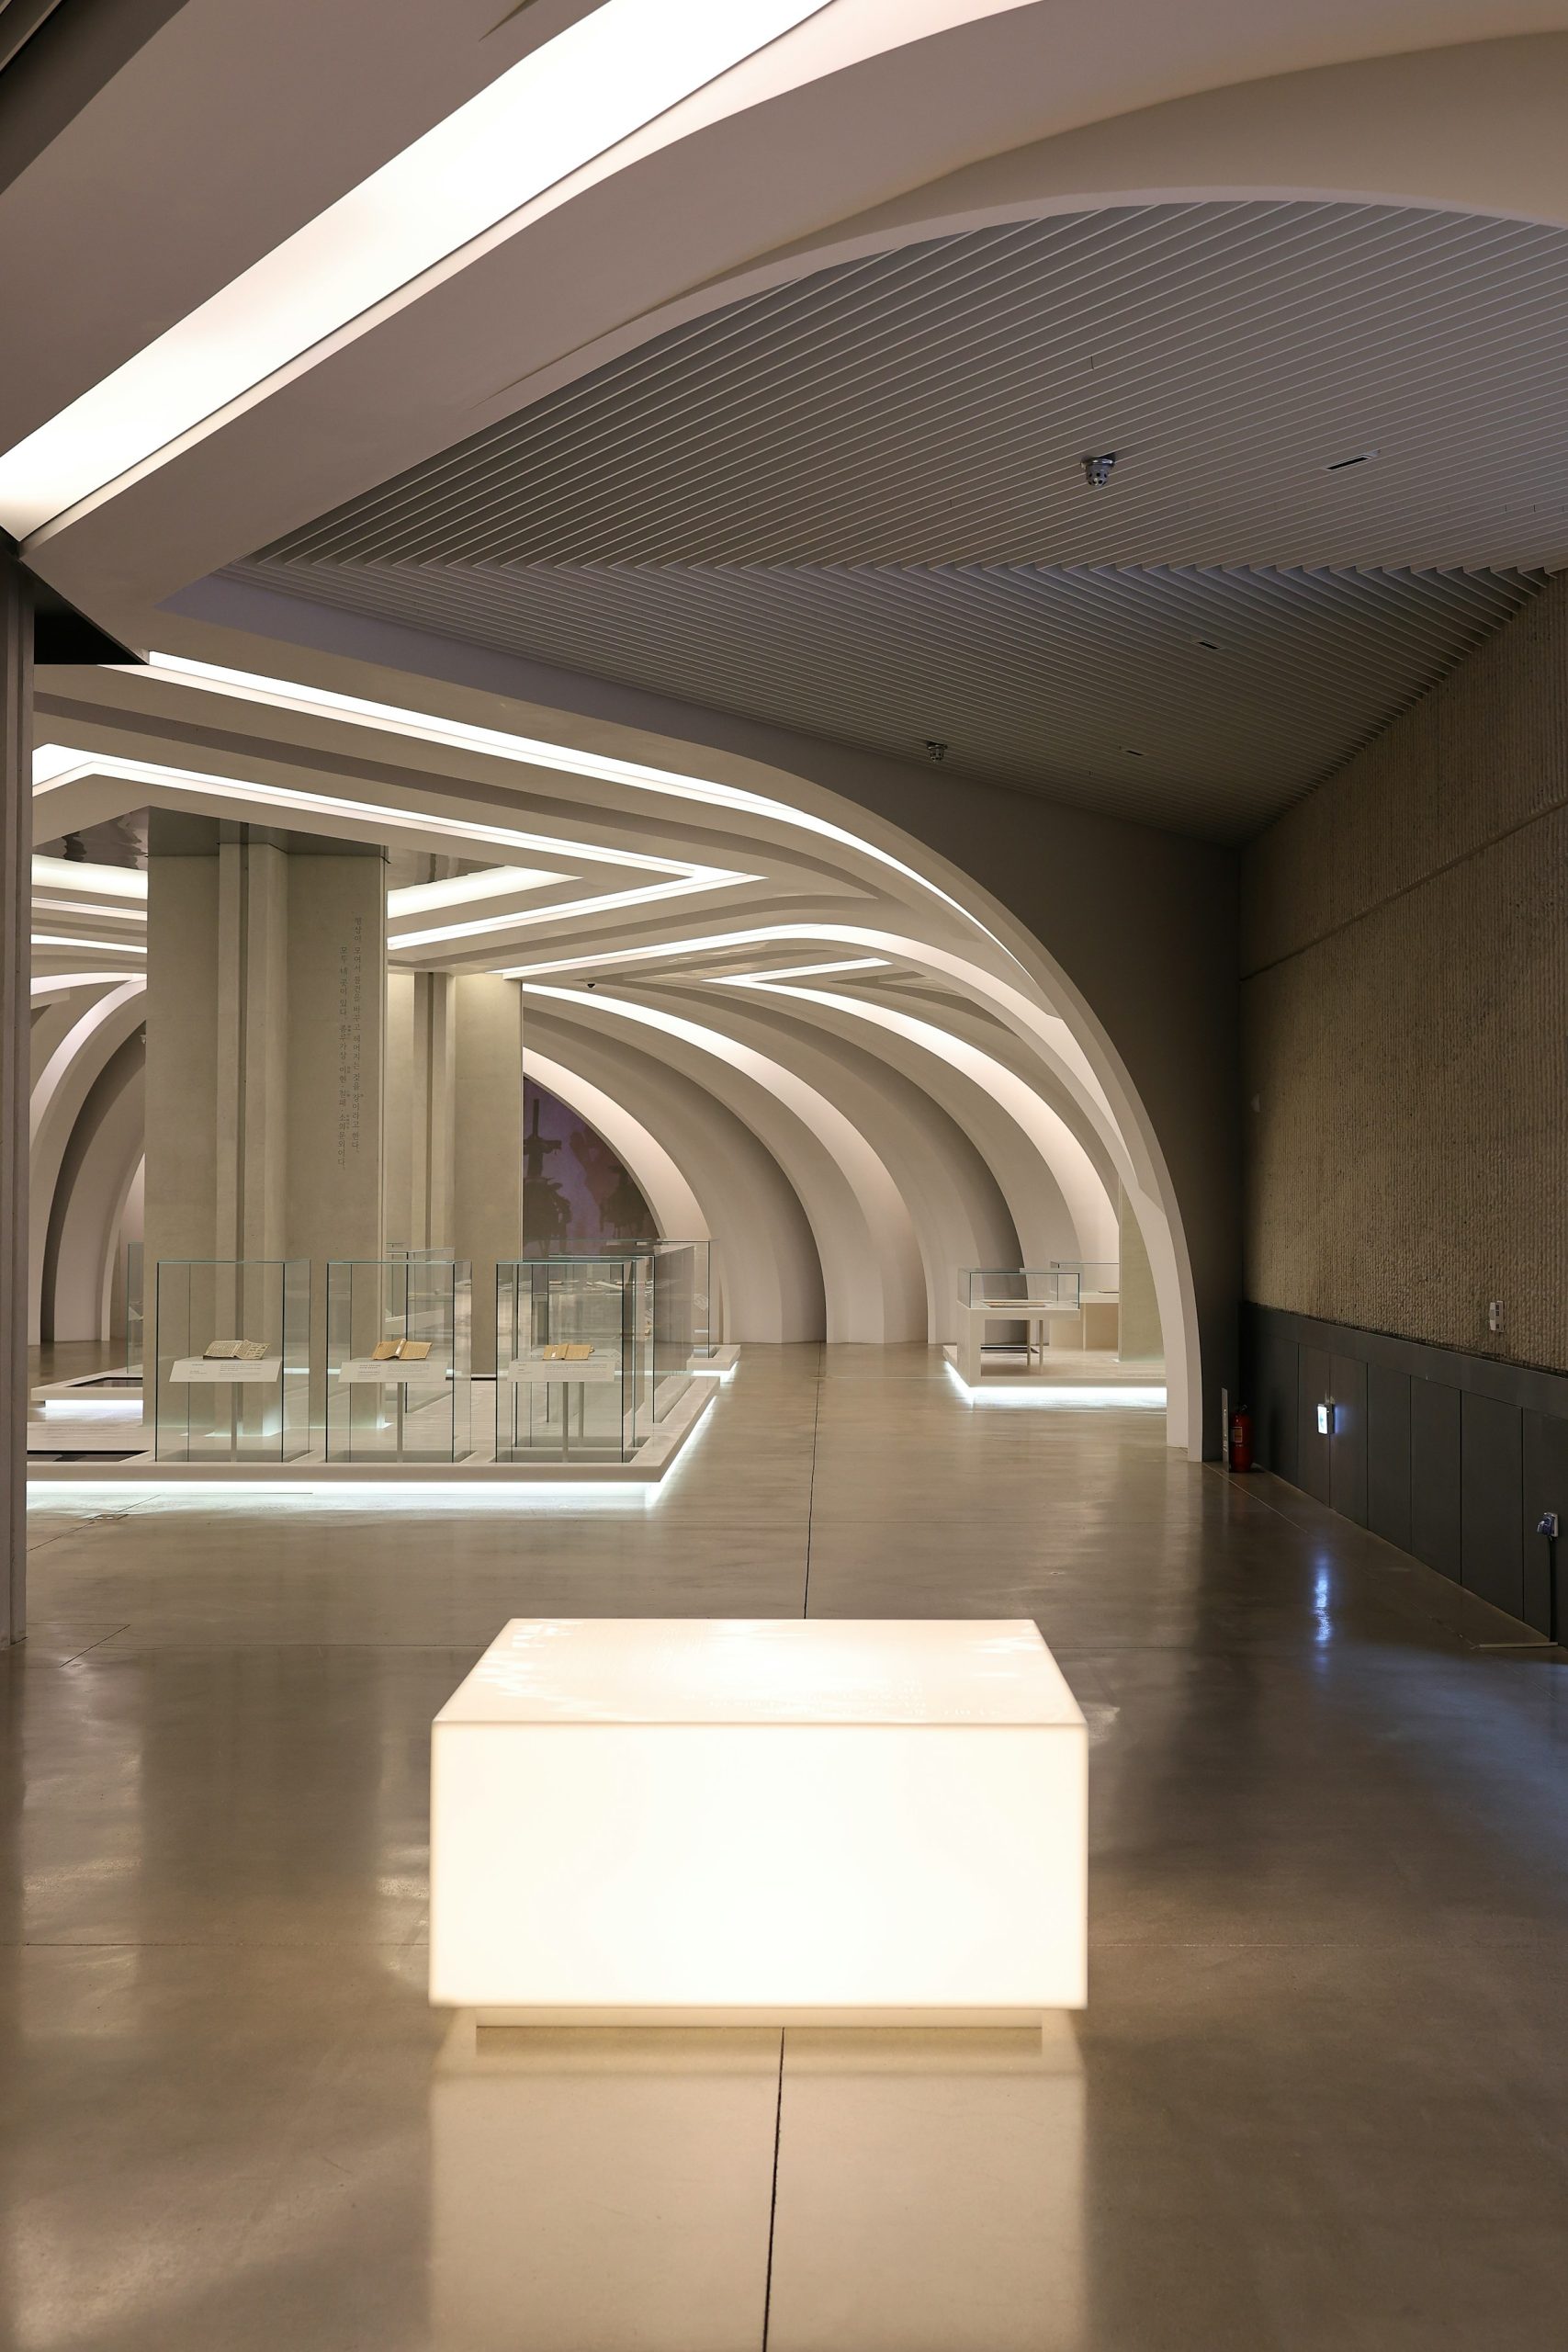
Windows are the usual problem. The room meters fine and the view outside is pure white. The fix is the same bracket-and-blend discipline as blue hour: expose one frame for the interior, one for the windows, and blend the two so the view stays part of the story. Keep the camera locked between frames, because even a small shift makes the blend miserable.
Mixed color temperature is the quieter problem. Daylight from windows, tungsten practicals and overhead fluorescents all render differently, and no single white balance satisfies all three. Pick the dominant source, balance for it, and let accent lights go warm if they look natural. When you add flash, confirm it is permitted, and bounce it off a ceiling or wall to soften it, remembering that the surface tints the light, so a colored wall or ceiling will pass its color onto the room. Feather it down until the room looks like itself on a good day.
Whatever the light, level the camera. Converging verticals make an interior look accidental, and while software can straighten them later, every correction crops the frame and costs you the edges you composed. Get it right on the tripod and the edit is a grade, not a rescue.
Weather is a lighting tool
After rain, wet pavement can mirror lit facades and night scenes gain a second set of reflections. Wait for the storm to pass fully before heading out: lightning can strike well away from rainfall, and if you can hear thunder you should be indoors. Watch footing on wet surfaces too, especially around tripods and curbs.
Overcast days act like a giant softbox, giving even light with few harsh highlights, which suits documentation and real estate work. Flat light also flattens form, so on gray days lean on color, geometry and leading lines instead of shadow. Fog strips away background clutter and simplifies skylines into layers, and shooting from a distant position with a longer focal length can stack those layers together.
Shoot the same building twice
 Save
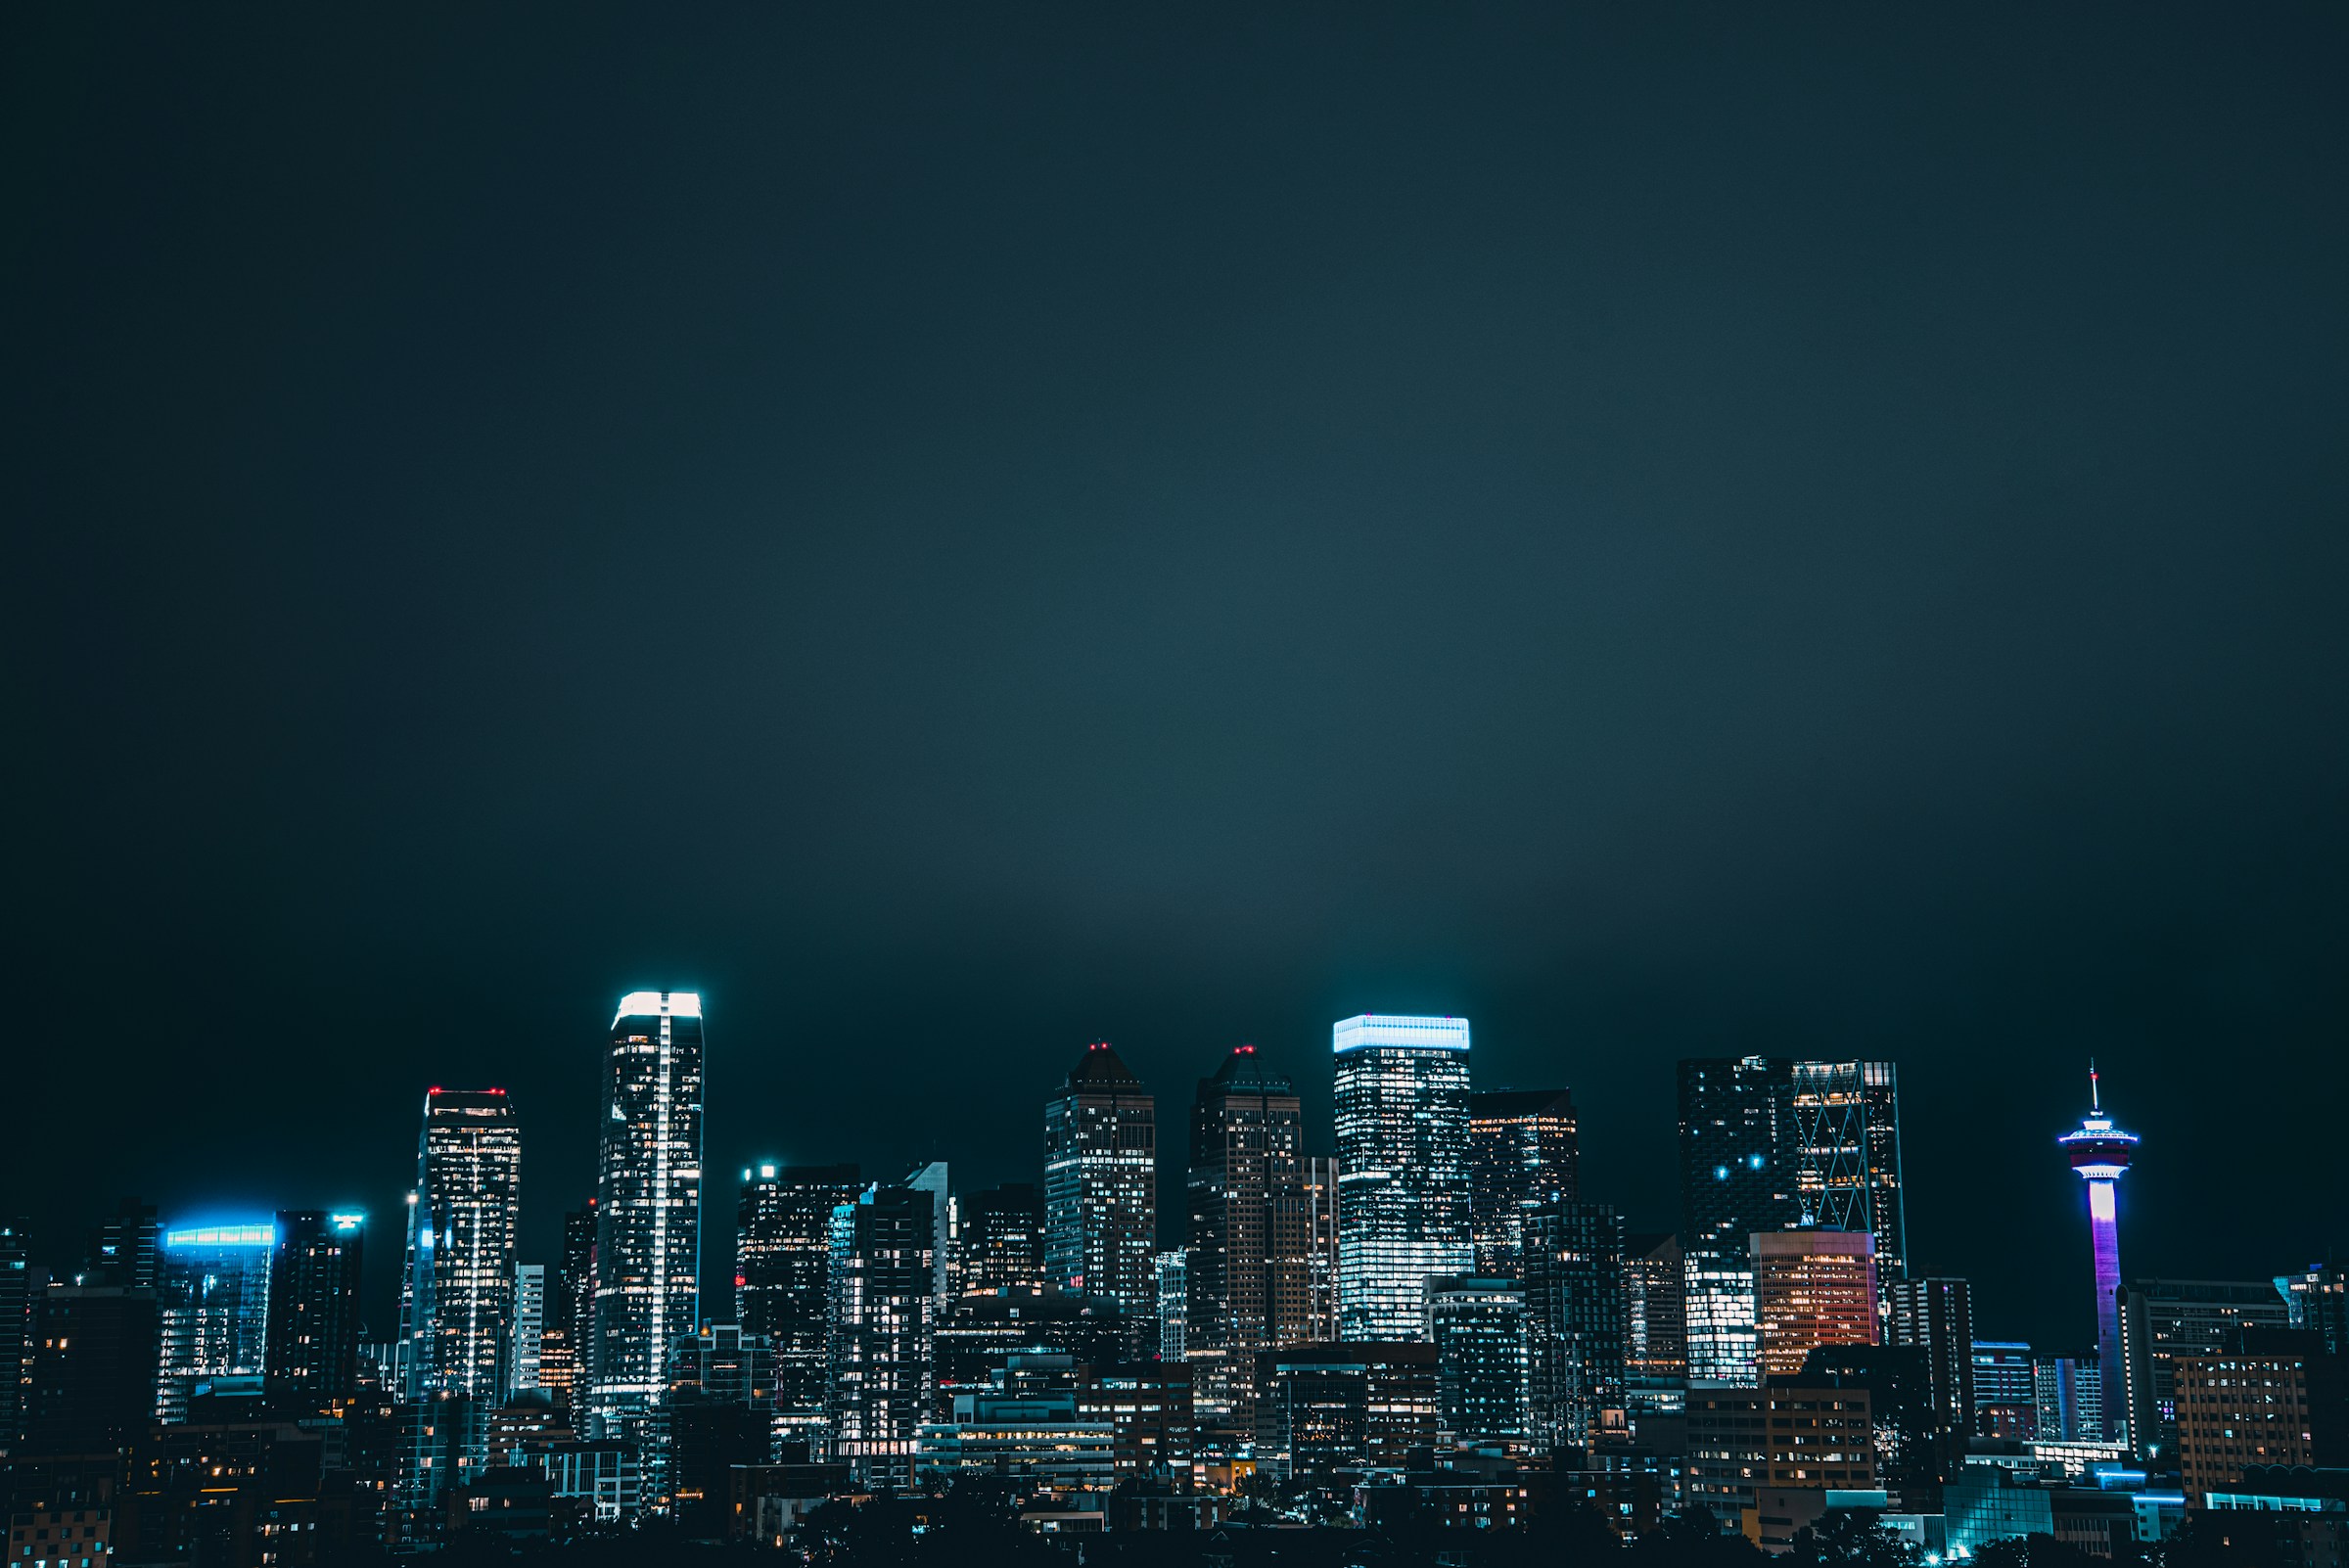
Advanced architectural work is often about return visits. A facade that bores you at 2 PM can be extraordinary at dawn or after rain. Keep a list of buildings near you and revisit them in different light and weather. When you get home, aperture choice shapes how the light renders too, so our aperture guide is a useful refresher, and the HDR techniques guide covers blending brackets for high-contrast scenes.
The sun’s path shifts through the year, so the light on a given facade changes with the season. Keep notes on which elevation worked and when, and over a season or two you will have a personal map of your city’s light that no app can hand you. Planning tools are useful for the first visit. The notebook is better for the fifth.
Review each session the same evening, while the light is still in your head. Note what time the balance peaked, which elevation worked, and what you would frame differently, then put the next visit on the calendar with a specific condition attached: after rain, first cold morning, winter sun. Vague intentions do not produce return visits. Specific ones do.
Make the most of every lighting condition. Our Landscape, Cityscape and Drone Lightroom Presets pack includes 75 looks covering sunsets, sunrises, skylines and city lights, so a blue hour frame starts its edit from a tuned base instead of zero.
Want to go further? The ShutYourAperture Academy’s Architectural & Interior Photography course (8 modules, 32+ lessons, per the current course page) covers composition and lighting for buildings and interiors in depth.
A simple lighting workflow that holds up
Everything above compresses into a repeatable loop. Pick the building and use a sun-planning tool to see where the sun will be relative to it on your date, and a satellite map to plan positions. Decide which light you want and arrive early enough to scout on foot, because maps do not show scaffolding, construction fences or the truck parked in your frame. Set the composition while the light is still ordinary, then work a series as it turns good. Bracket whenever the range exceeds one frame, keep white balance fixed, and stay past the moment the crowd leaves. Review the session that evening and schedule the return visit before the memory fades.
Do this for a handful of buildings and light stops being weather that happens to you. It becomes a schedule you keep, and the work starts showing it.
Lighting mistakes that cost the shot
A lot of missed architectural frames come down to planning and habits rather than settings. These five common mistakes are all free to fix. If a session comes home disappointing, check this list before you blame the building or the weather.
- Chasing golden hour without scouting orientation first, then arriving to find the facade you wanted in another building’s shadow.
- Leaving white balance on auto at blue hour, which can neutralize the color you came for.
- Blending brackets until the sky glows brighter than the street, with halos around every roofline.
- Clipping the windows in an interior frame and expecting to recover them later. Blown light is gone; bracket instead.
- Leaving when the sun sets, when the blue-hour window may still be ahead of you.
Frequently asked questions
What is the best time of day for architectural photography?
Golden hour and blue hour do the most work. Low sun at sunrise and sunset gives facades texture and depth, and the window after sunset, varying with latitude, season and weather, balances a blue sky against glowing interior lights. Midday is workable if you move to shaded elevations or head inside.
How do you expose for blue hour city shots?
Use a tripod and bracket several frames so the sky keeps color while windows stay controlled; very high contrast scenes may need more frames to cover the range. Shoot the same composition at intervals as the light falls, because the balance point between sky and interior light is hard to predict and obvious when you see it.
Can you shoot architecture at midday?
Yes. Work shaded elevations, use the shadows between buildings as graphic elements, or move inside, since midday is when interior shooting often makes the most sense. A circular polarizer can cut reflections off glass at the right angle, but the effect varies with your angle to the sun and can darken skies unevenly on wide lenses.
How do you handle mixed lighting in interiors?
With the venue’s permission, turn off overhead lights when daylight dominates, because mixed color temperatures are harder to fix than low light; never touch exit signs or safety lighting. Bracket exposures for windows and blend so the view stays visible, white balance for the main surface material, and add one bounced off-camera flash only when the room truly needs it, where flash is permitted, and where the bounce surface is neutral in color.
Do you need a tripod for architectural photography?
For blue hour, interiors and bracketed sequences, strongly recommended, since the frames must align and shutter speeds get long. In good daylight you can shoot handheld, but wind, passing traffic and long exposures can still soften frames, and a tripod slows you down enough to level verticals and refine composition.
What weather works best for architectural photography?
After rain, wet pavement can mirror lit facades and night scenes gain reflections. Overcast works like a giant softbox with few harsh highlights. Fog simplifies skylines into layers. Never shoot in an active thunderstorm: if you can hear thunder, head indoors, and check the forecast before an outdoor session.
Gear for a fixed blue-hour composition
Affiliate disclosure: We may earn a commission from qualifying purchases through these gear links at no extra cost to you.
A fixed camera position helps you compare the same building as the sky and window light change. The Peak Design Aluminum Travel Tripod is one option to compare for that setup. Check kit weight, plate fit and working height before buying. Use firm ground in a permitted spot away from foot traffic, and review each bracket. Support cannot recover window detail that every source frame clipped. Compare the current retailer specifications; no hands-on test, price or stock promise is being made here.