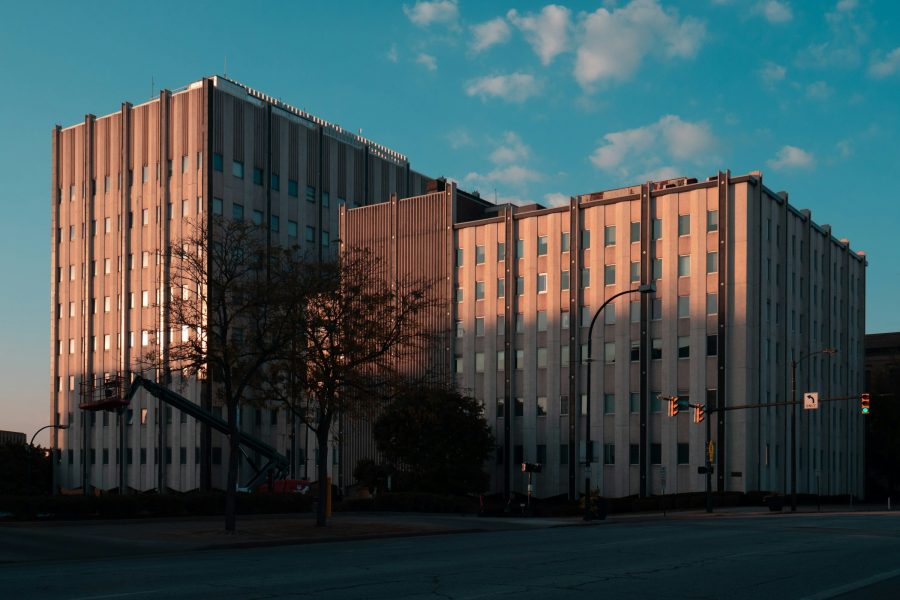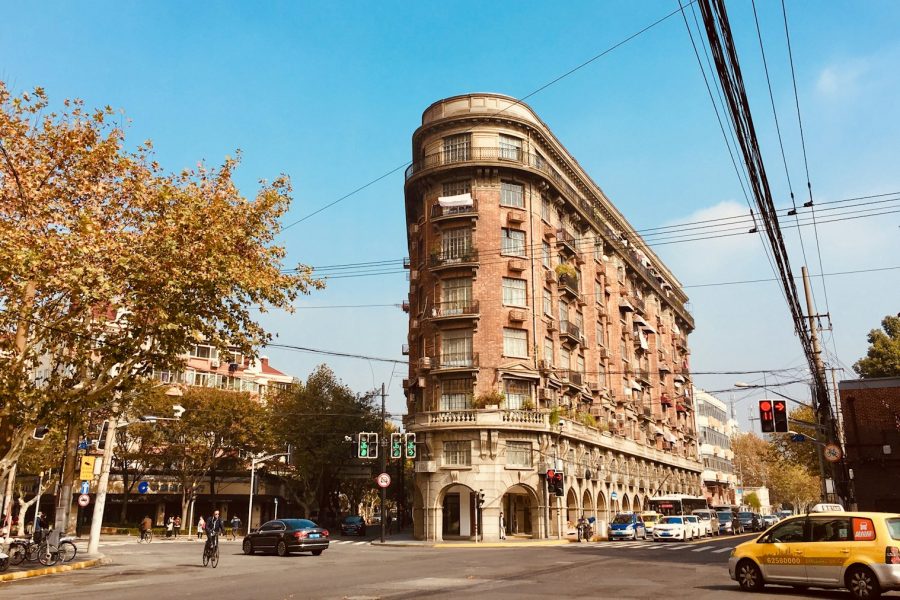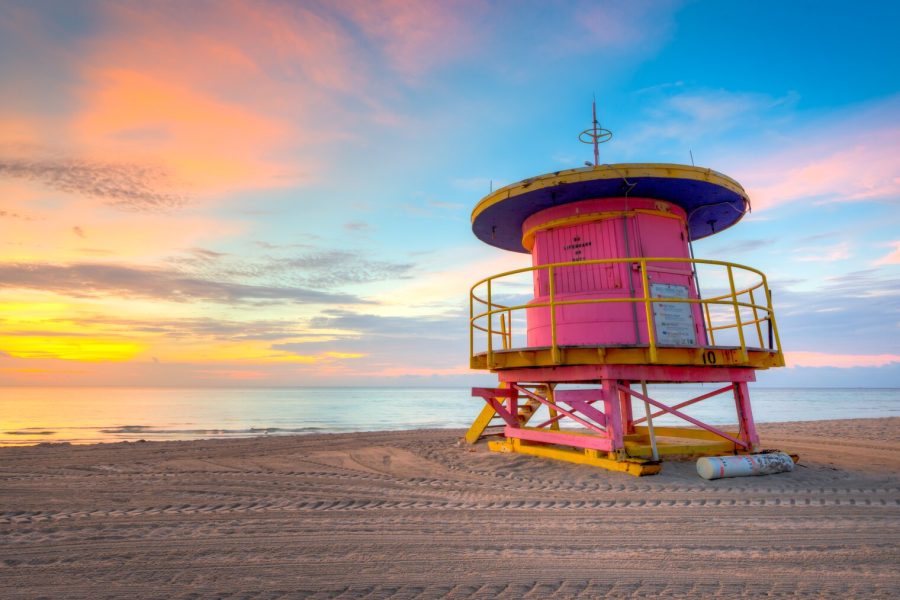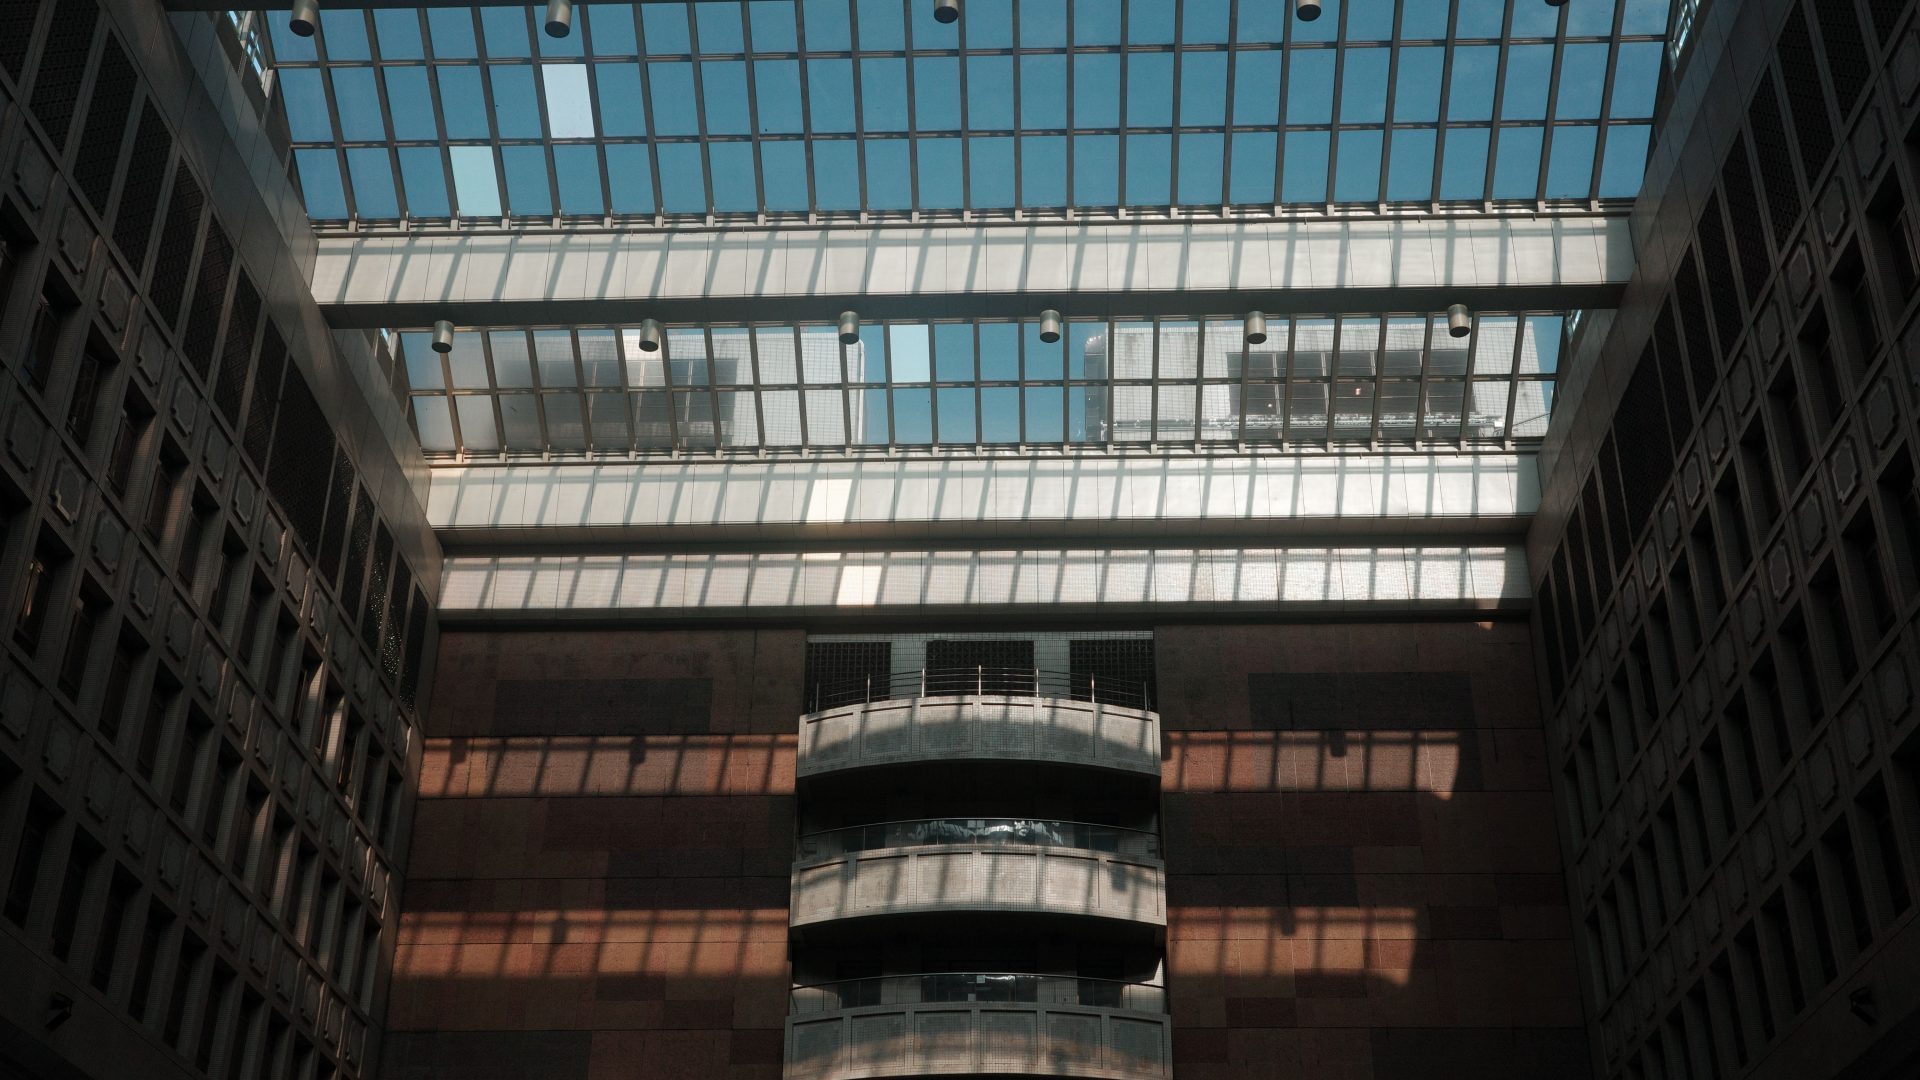
Featured photograph: Photo by Bel Chua via Pexels (source; Pexels license). (Stock photo, illustrative.)
Original date January 14, 2024. Updated November 2026.
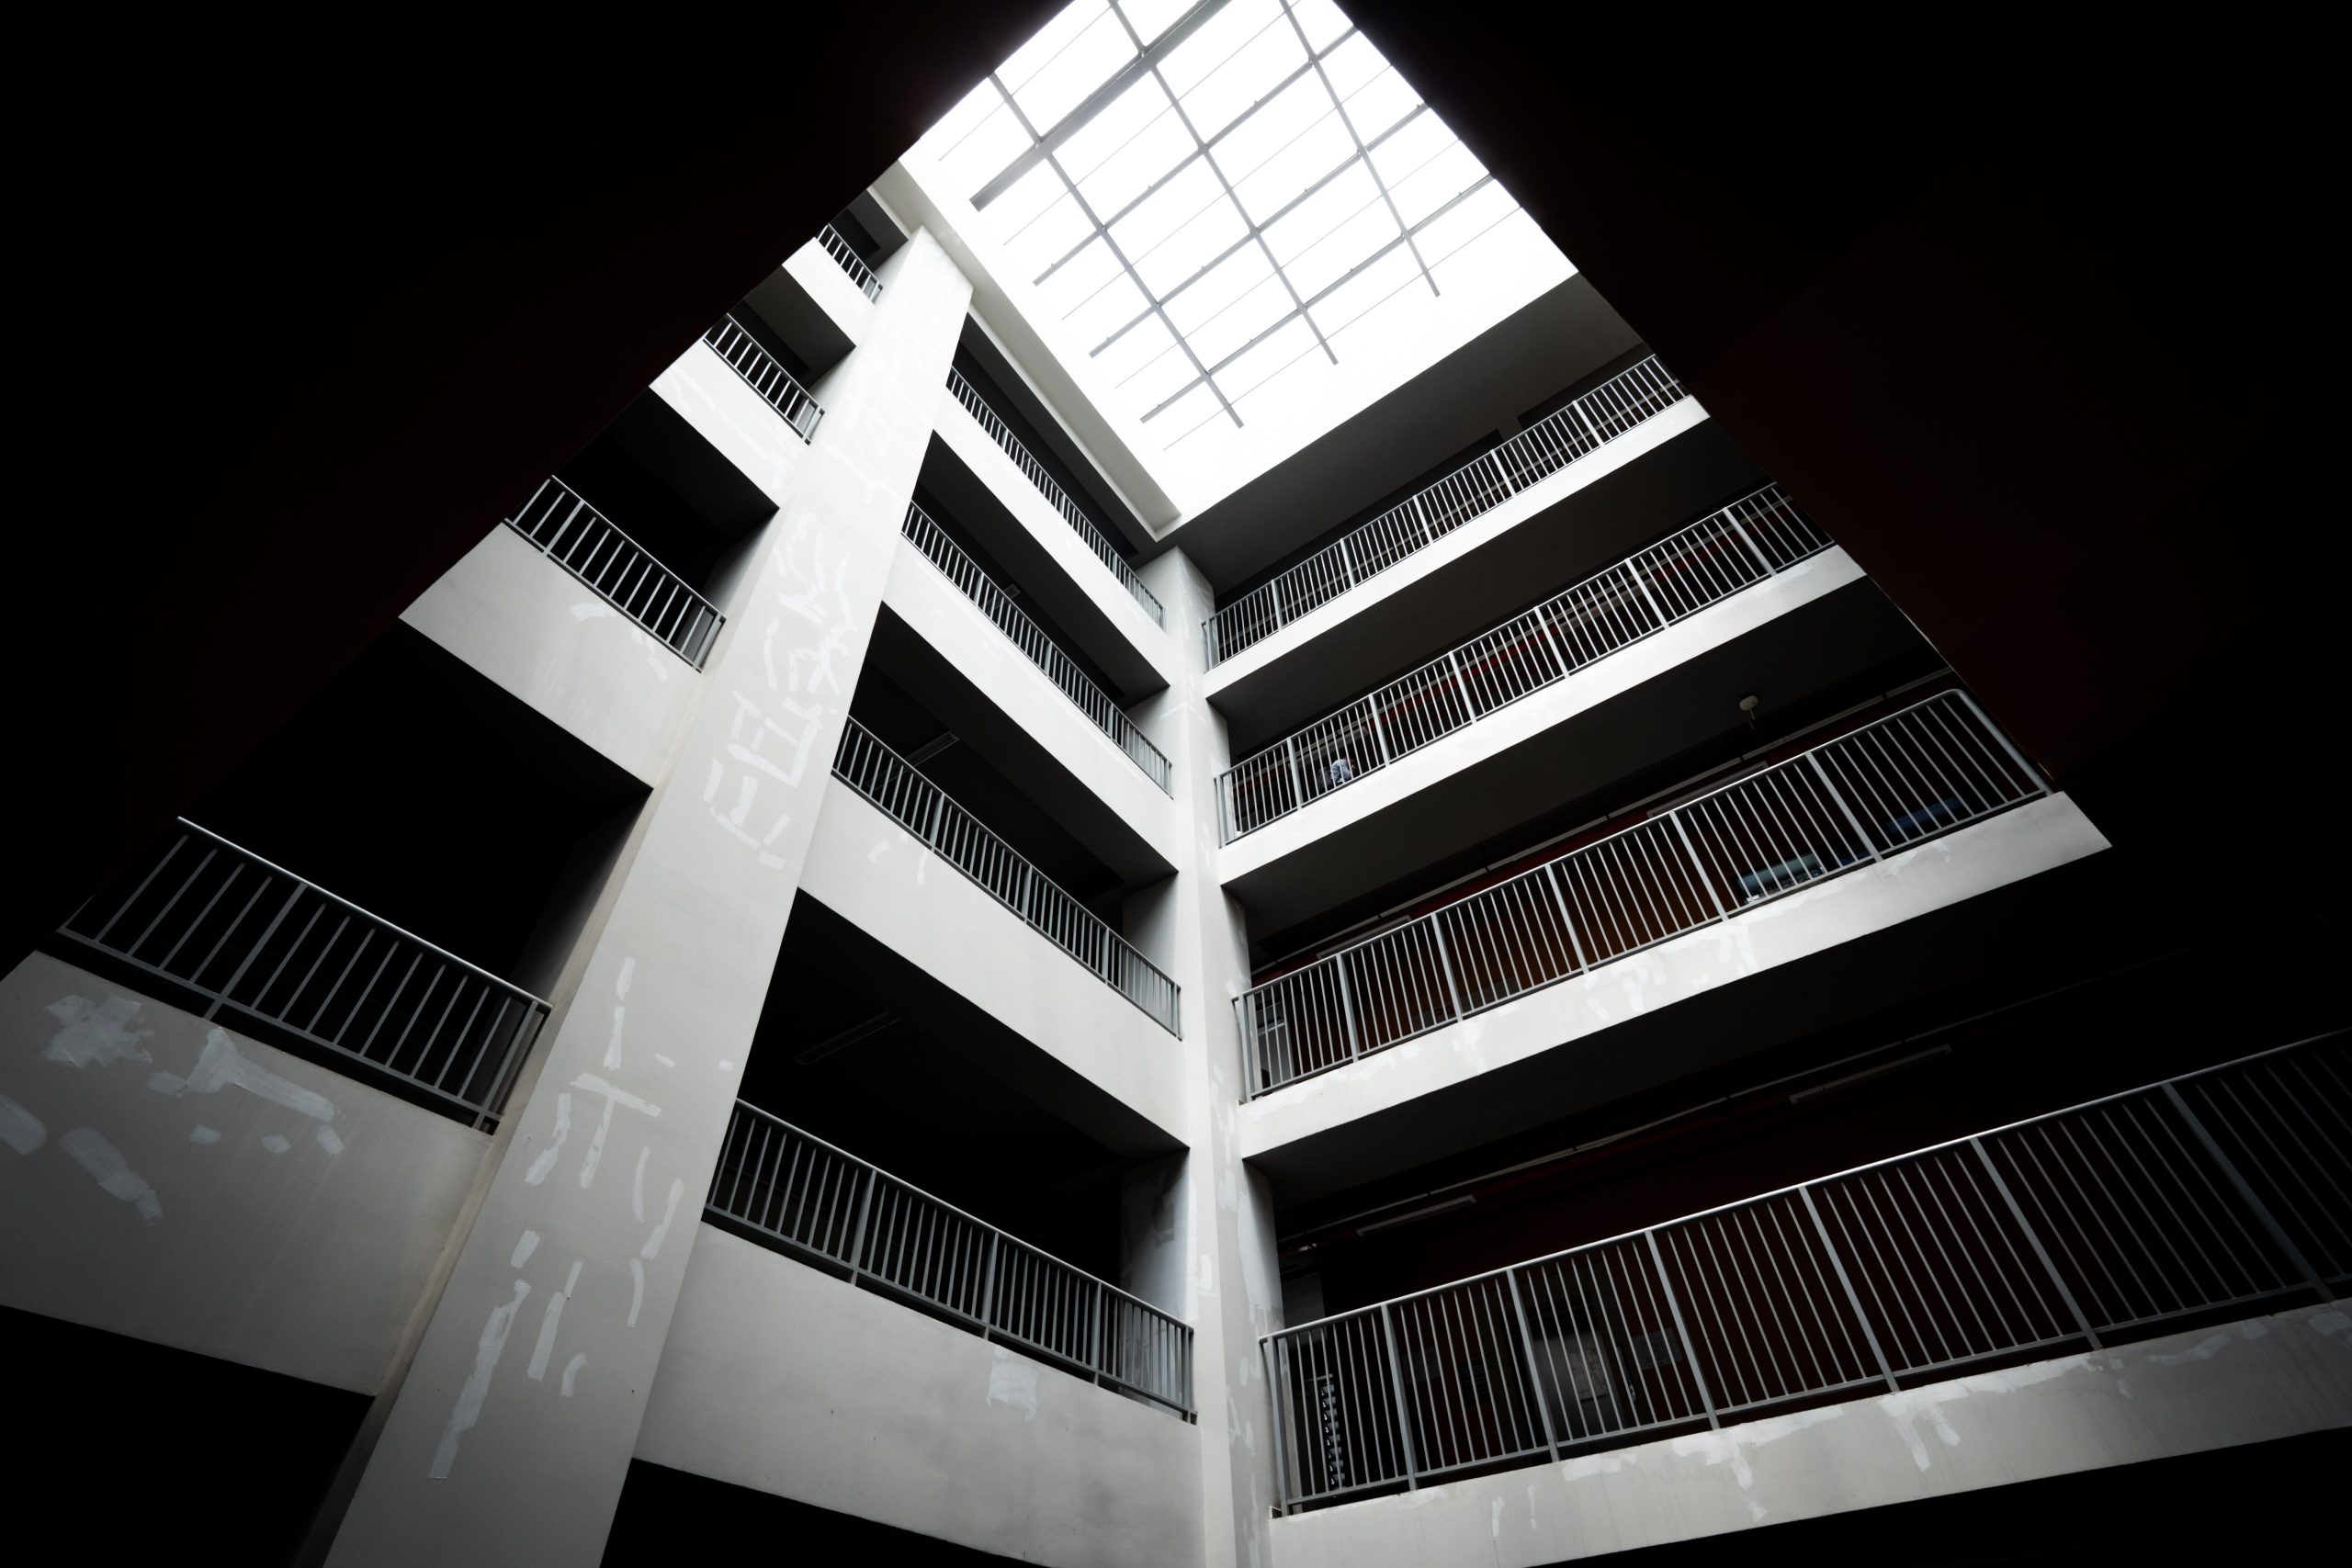
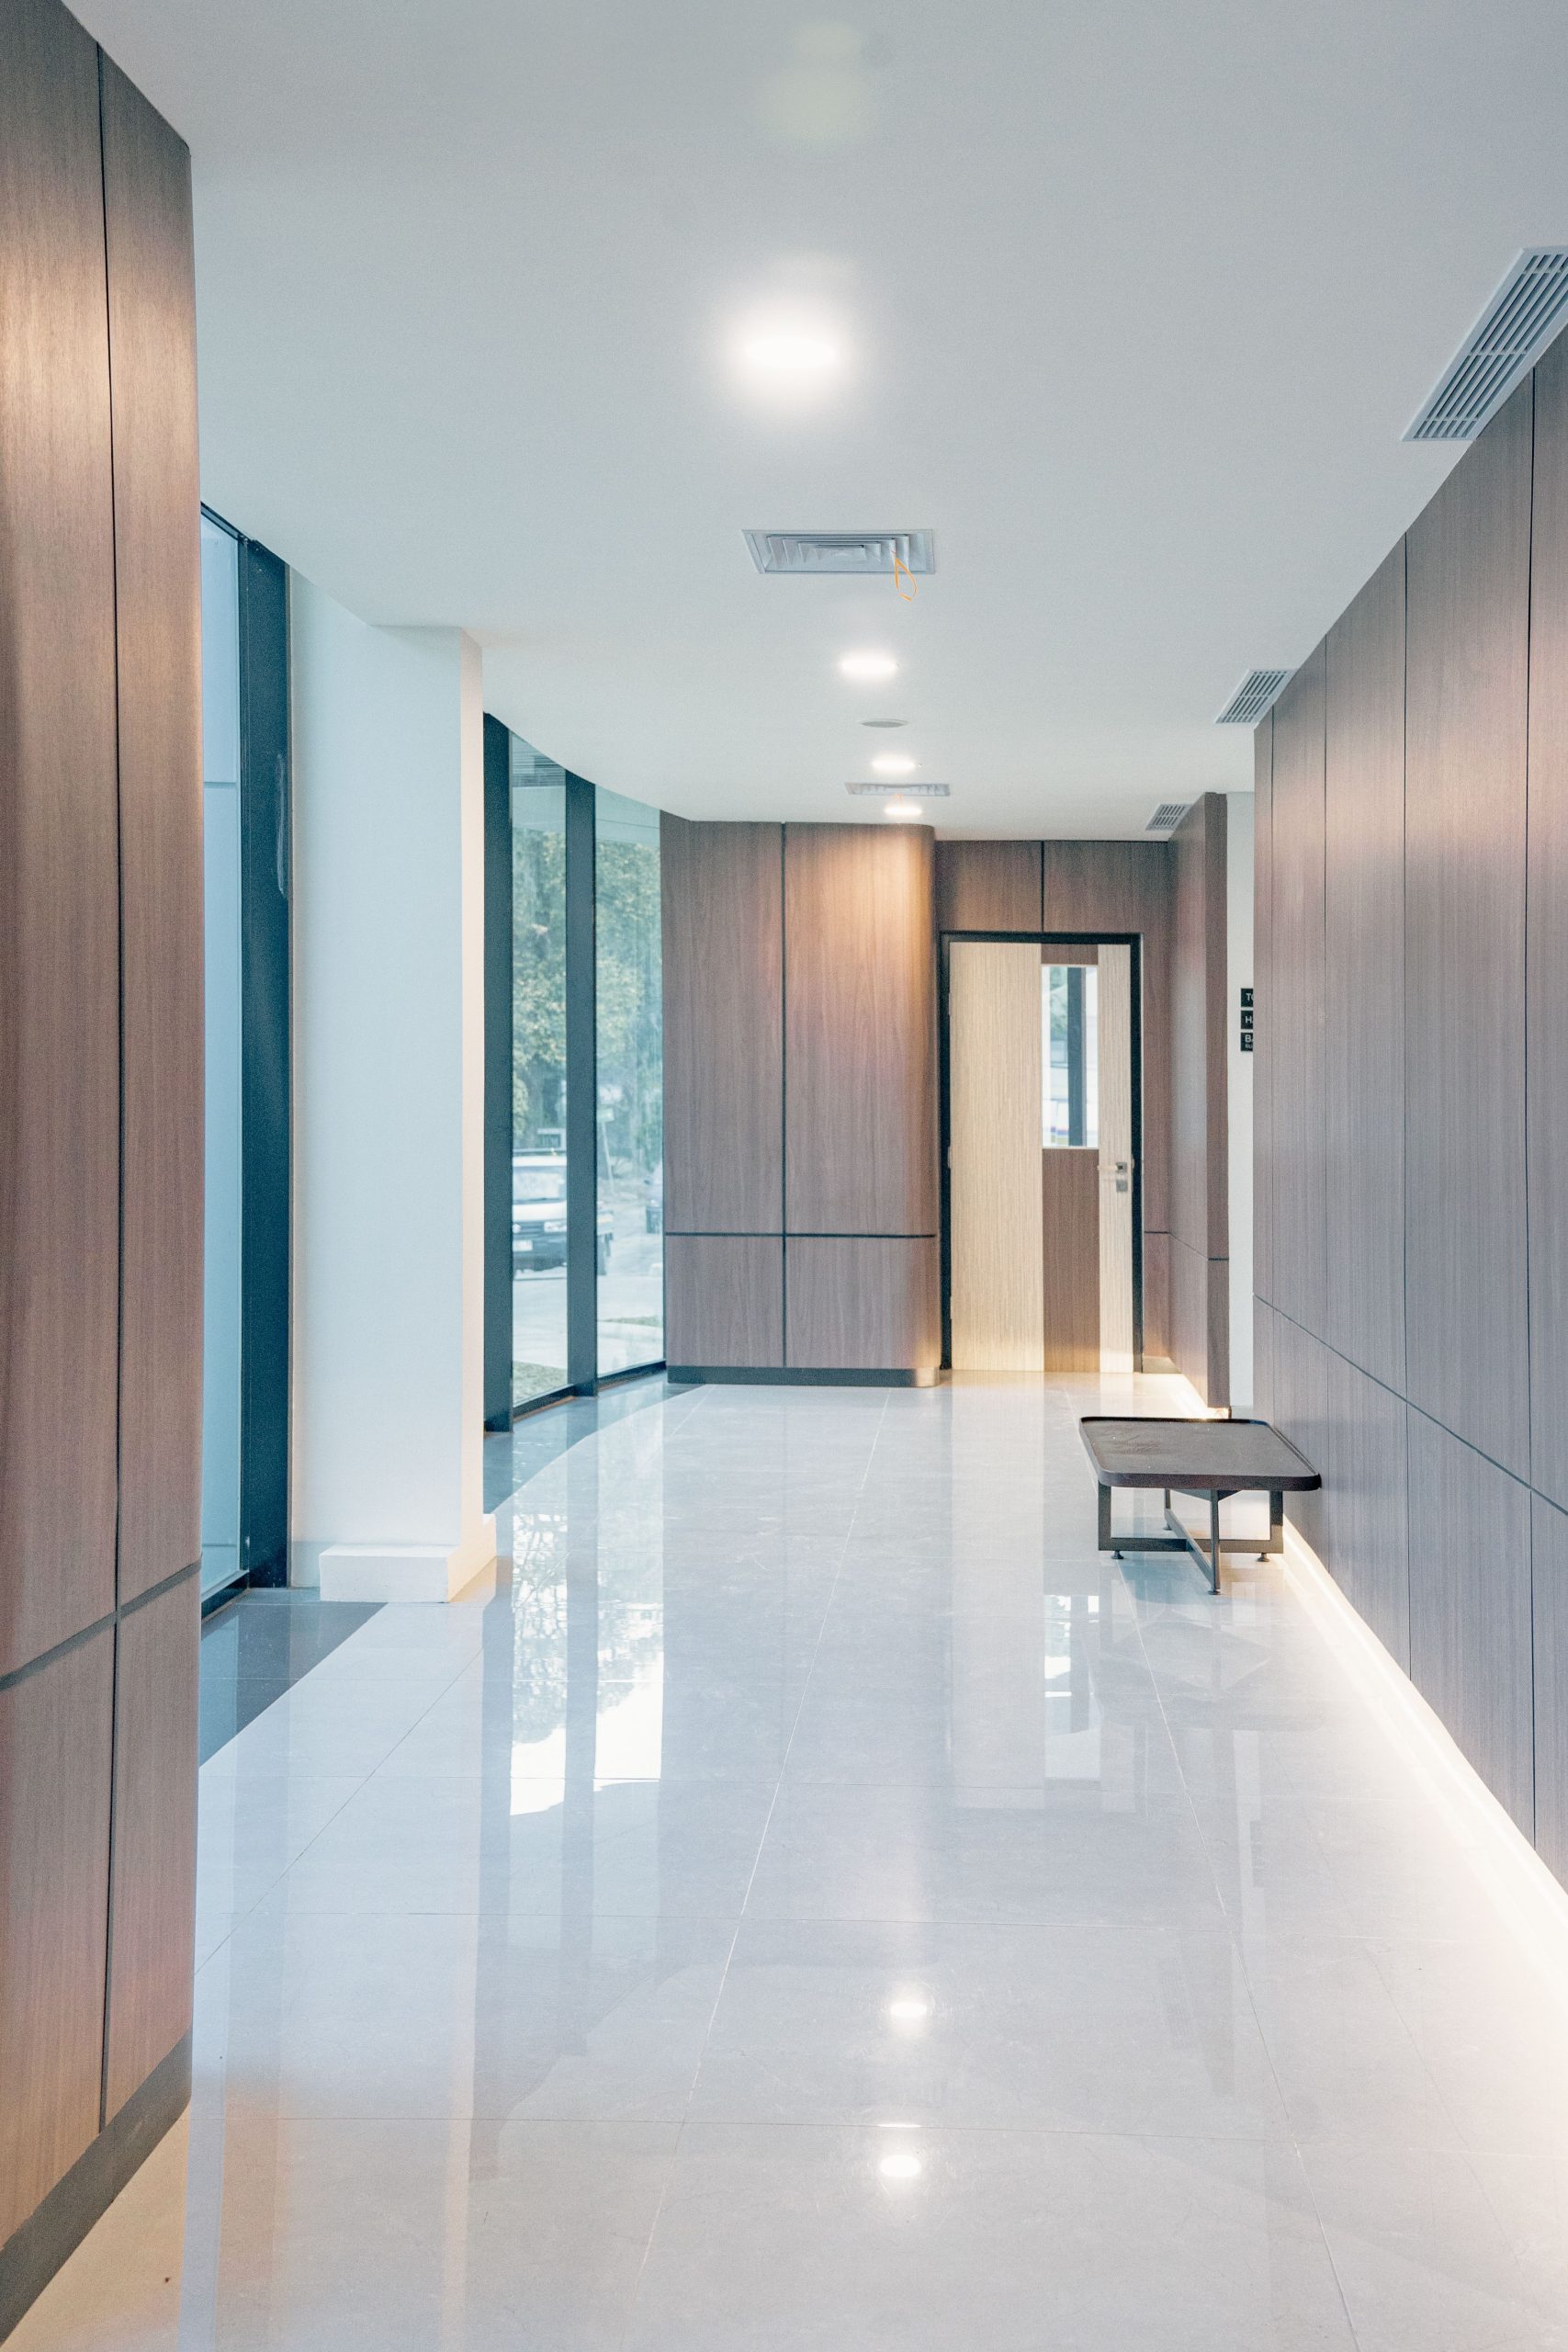
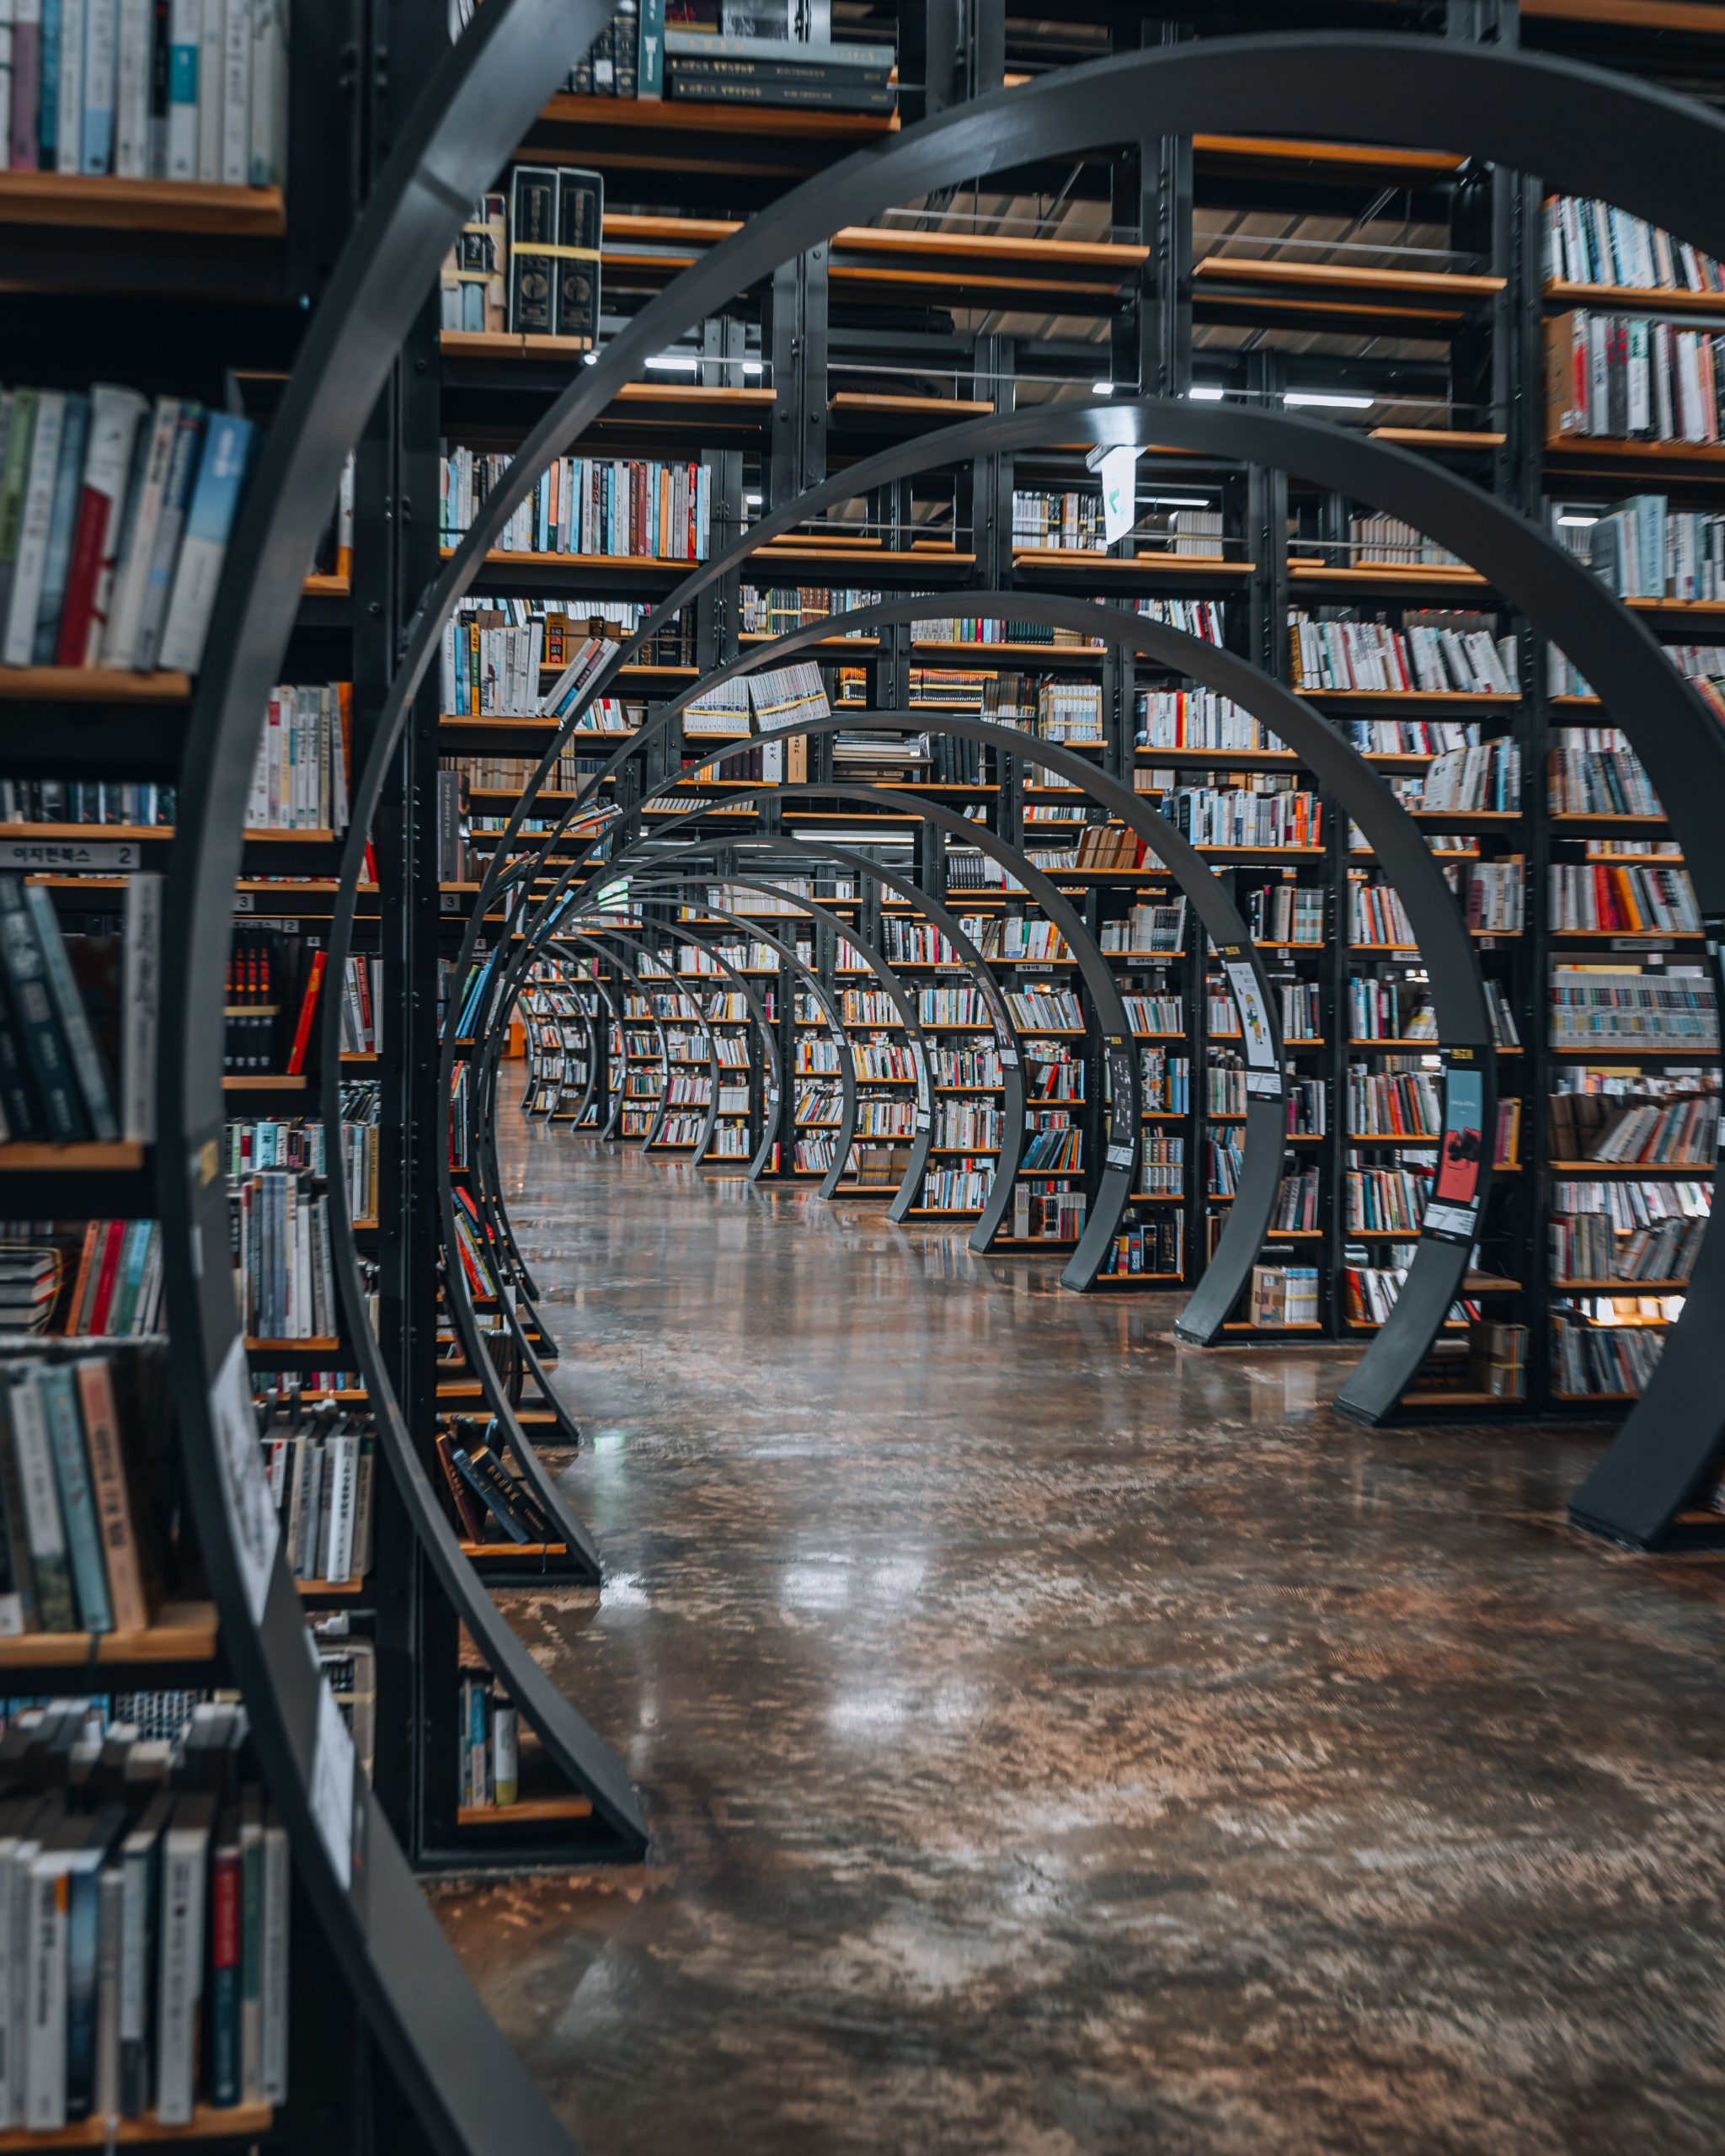
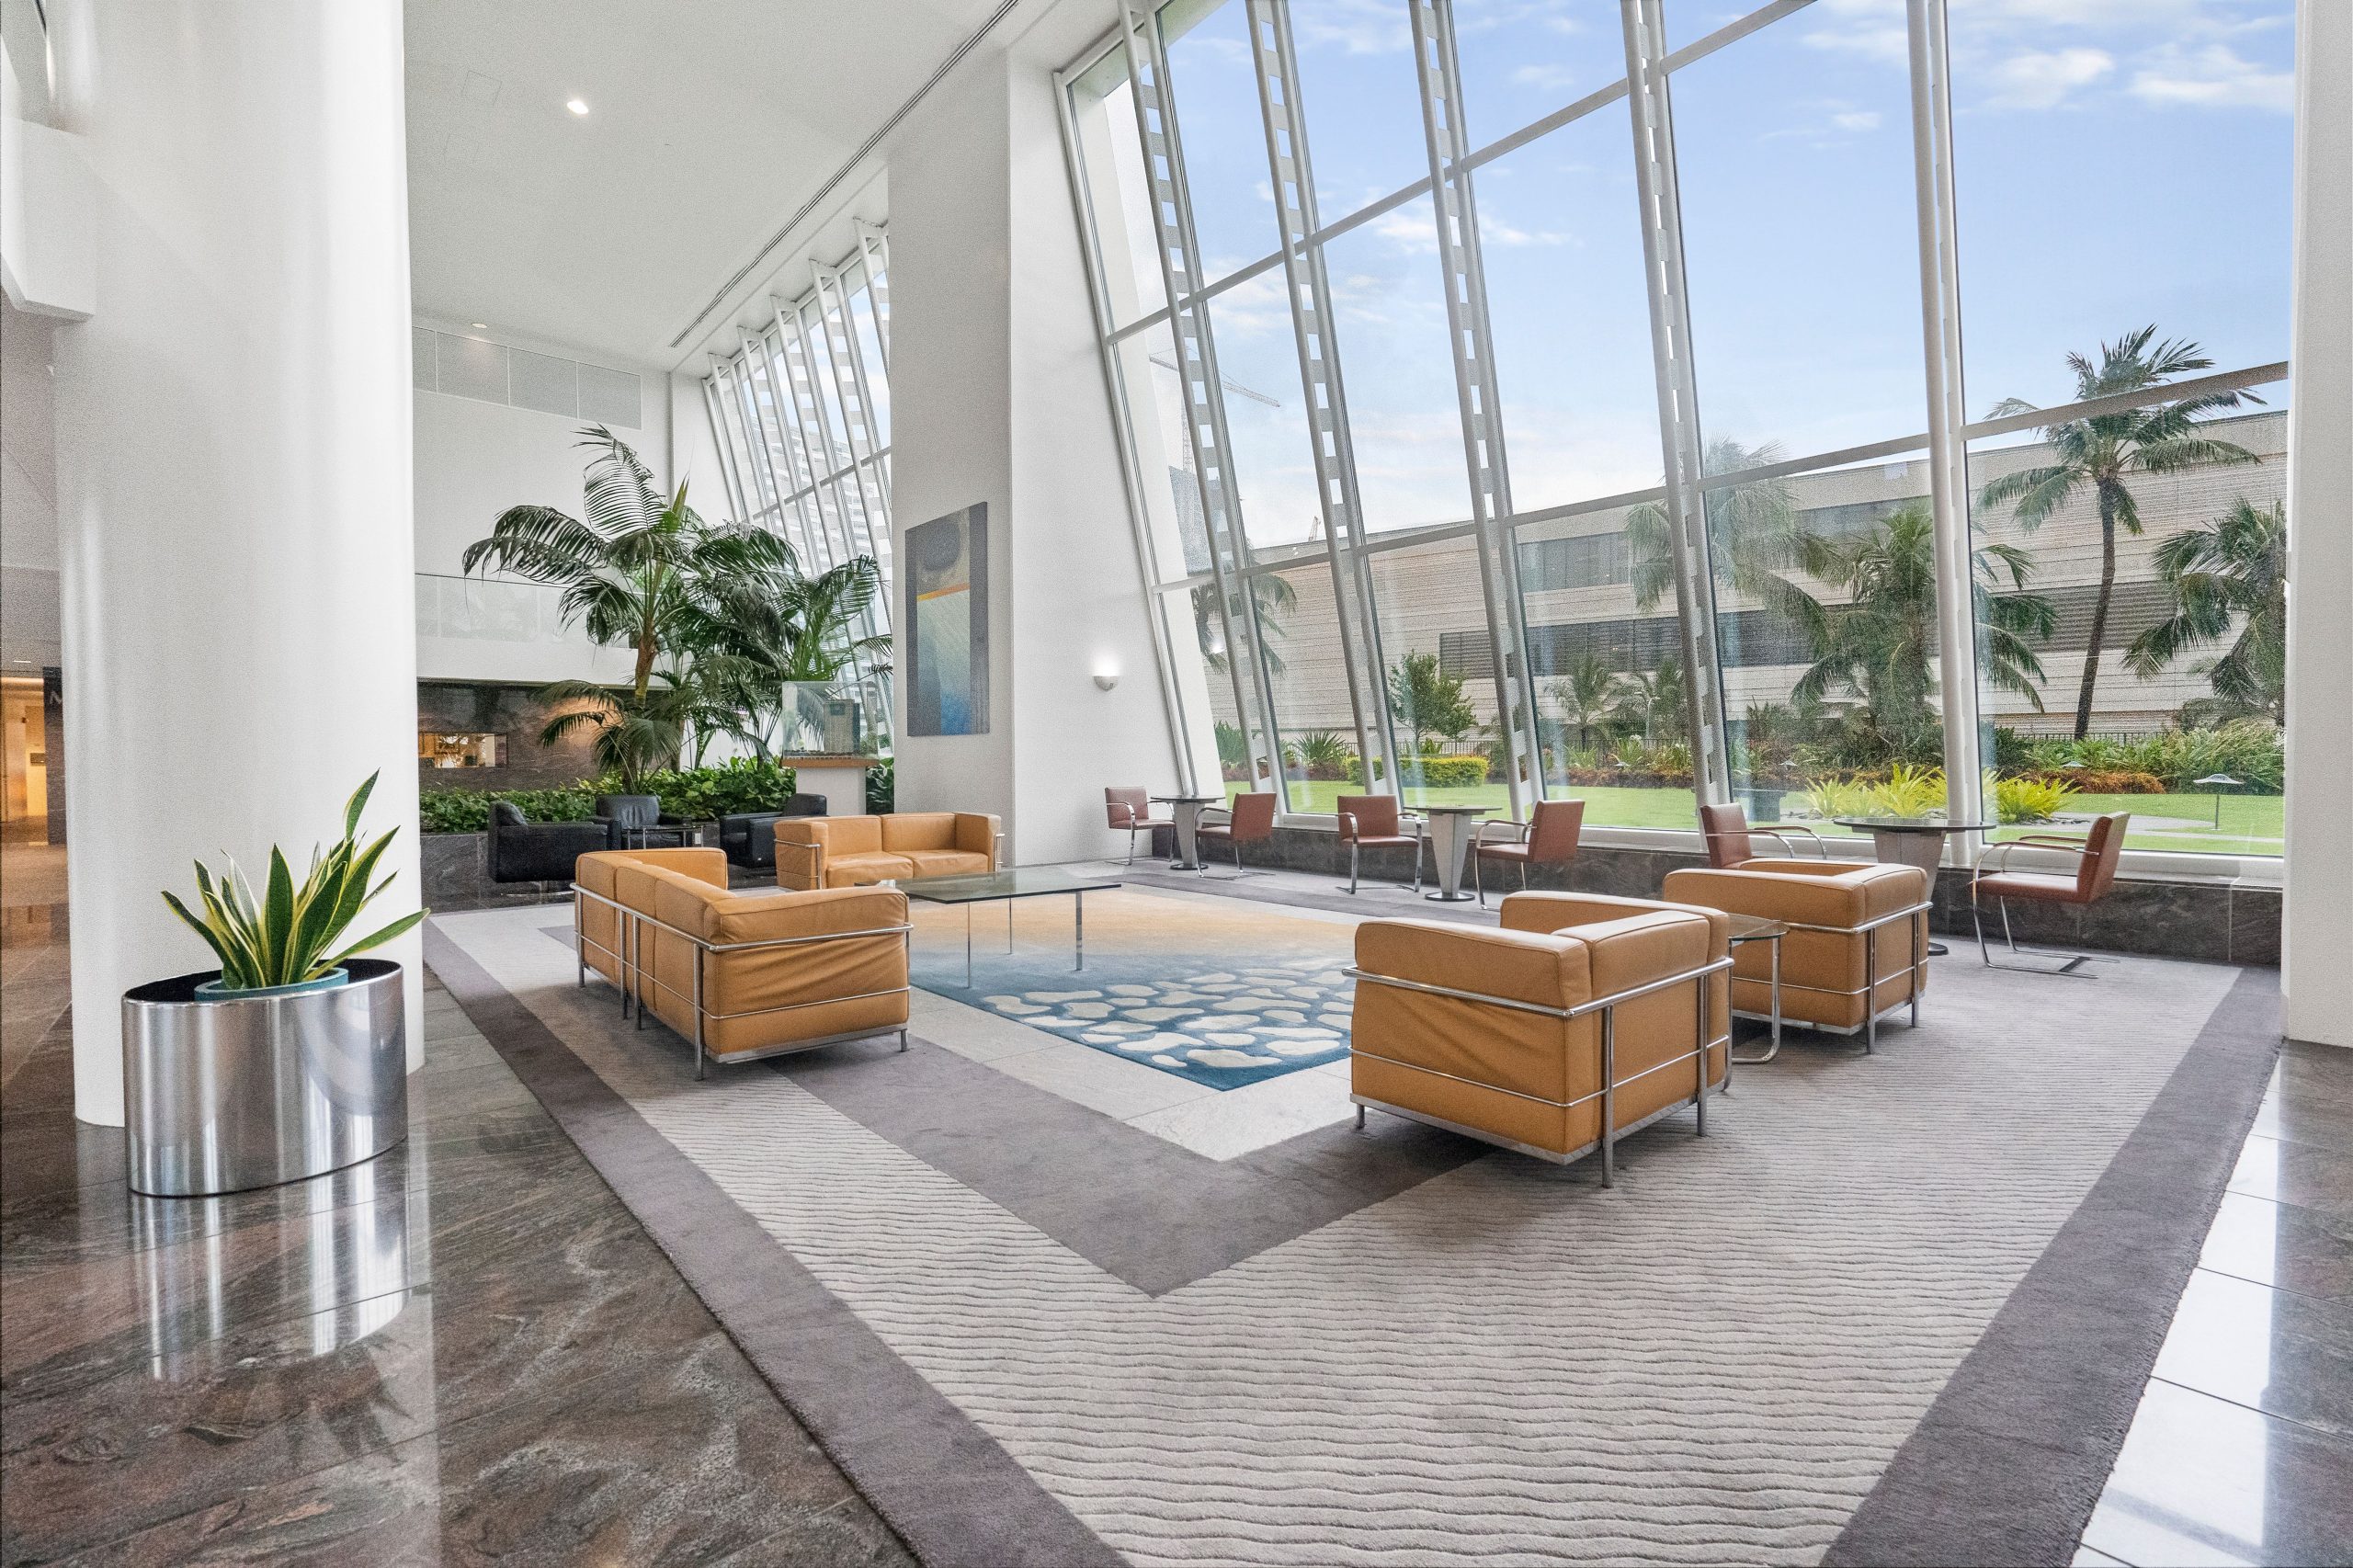
A useful interior photograph explains a designed space clearly. Start with the brief, choose a camera position with purpose, and inspect light, geometry and detail before leaving. The stock photographs below illustrate interior subjects and framing; they are not a record of the equipment or capture settings used for this guide.
Plan the room before choosing the lens
 Save
Interior architecture photography starts with a question: what does this room need to explain? An architect may want the relationship between a stair and a skylight. A hotel may need a clear view of seating, circulation and windows. A property listing may need a useful account of room size and connections. These are different briefs. Decide who will use the pictures and what they need to see before moving furniture or setting up lights.
Ask for a short shot list, intended image sizes and any required views. Walk through the space with the person responsible for it. Identify details that matter to the design, features that should stay visible and items that must not be moved. Ask about access, occupied areas and restrictions. Do not assume that permission to enter a building includes permission to photograph every room or person in it.
Make a small working plan for each view: subject, camera position, likely lighting problem and delivery purpose. For example, a reception photograph might explain the desk and entrance together, while a second frame shows the material of the counter. That plan helps avoid coming home with many wide pictures that all say the same thing. Leave room for discoveries, but make sure the required views get covered first.
Check the space rather than relying on an old photograph or floor plan. Temporary signs, cleaning equipment, curtains and furniture can change what is possible. Ask before removing personal objects, artwork or branding. Keep a reference photograph of an arrangement you change so it can be restored. A tidy frame is useful, but changing the room without permission is not a photography technique.
Choose a position that explains the architecture
 Save
Walk the room without the camera at your eye. Look at the edges where walls, floors and ceilings meet. Notice which position separates important shapes and which one hides them behind furniture. Try a straight-on view and a diagonal view before deciding. A corner position can describe several surfaces, but it can also make nearby furniture dominate. There is no requirement to show every wall in one photograph.
Begin with a moderate field of view and widen only when the brief needs it. An extremely wide view can stretch objects near the edges and make distances difficult to judge. Move the camera when you can rather than treating the zoom ring as the only composition control. Check the closest chair, table or column first: a distorted foreground object often distracts more than a slightly cropped background.
Use the camera level as a starting point when upright walls should look upright. If you tilt the camera upward, inspect the resulting convergence rather than assuming software will fix everything later. Perspective correction can crop the frame and stretch parts of it. Leave space around important edges if correction is likely. A deliberate upward atrium view can keep convergence when that treatment suits the design and the intended use.
Camera height is a composition choice, not a fixed rule. Raise or lower it to separate furniture, show a counter surface or avoid cutting a window awkwardly. Check door frames and table edges at the borders. Before moving to the next view, look for small tangencies where two shapes almost touch. A modest position change may make a clearer picture than a large editing adjustment.
Build a stable exposure and focus check
 Save
Use a tripod when it helps keep framing consistent and the location allows it. Set the legs so nobody has to step across them, and check the head after tightening it. A remote release or timer can reduce the need to touch the camera during an exposure. Support does not freeze moving people, curtains or leaves outside a window. Those parts still need a suitable shutter speed or a separate plan.
For an ordinary room, an aperture around f/8 can be a useful starting test, not a universal answer. The result depends on focal length, focus distance, sensor format and the detail the client needs. Inspect a near object and a distant edge at a useful magnification. Adjust focus or aperture when those checks show a problem. Do not stop down automatically without comparing the actual files.
Use the lowest practical ISO for the exposure and movement involved, rather than forcing one number on every view. Review highlights and important shadow detail. A histogram can help identify a problem, but the picture still needs inspection. A bright window does not always need a detailed outdoor view. Decide whether that view is part of the brief before spending time trying to preserve every highlight.
If the interior and the view outside need different exposures, make a bracketed sequence with the camera position fixed. Keep aperture, ISO, focus and white balance consistent while changing shutter speed. Check for a light flicker problem if exposure or color varies unexpectedly between frames. Review the darkest and lightest frames before leaving. Check for subject movement between frames. A sequence with gaps in useful detail may not merge cleanly simply because it contains several photographs.
Work with mixed light and reflections
 Save
Look at the room with its lights on and off before deciding how to photograph it. A warm fixture may be part of the design, while another light may create an unwanted patch of color. Ask which fixtures need to appear lit. Take a reference frame before changing anything. When practical, compare a daylight-led version with a version that includes the room lights, then choose the treatment that best describes the space.
A single white-balance adjustment will not necessarily make every surface neutral when several kinds of light fall on it. Choose a useful reference, then inspect other areas separately. Neutralizing a warm lamp completely may remove part of the room atmosphere. On the other hand, a strong color cast on a white wall may distract from the design. Make that decision deliberately and compare the edited version with your reference.
Consider supplemental light when it solves a specific problem, such as a dark seating area that needs readable texture. Start with a small change and check where the light goes. Bounce surfaces can affect color, and an added light can create new reflections. Make a test frame, inspect it and adjust. Adding more equipment is not automatically better than waiting for different daylight or choosing another view.
Mirrors, polished stone and glass need their own inspection. Check for the camera, tripod, lights, crew and bright objects behind you. Move the camera or light before relying on retouching. A polarizing filter may reduce some reflections, but the effect depends on the surface and angle; it is not a cure for every reflection or for a mirror. Test the effect across the whole frame before keeping it.
Make the photographs work as a set
Build a sequence rather than a collection of unrelated attractive views. Start with an establishing frame, then show a connection between spaces and a closer design detail. A material study, a staircase junction or a repeated shelf pattern can add useful information after the wider picture. Keep those detail frames connected to the brief. An interesting object alone does not necessarily explain the architecture around it.
Look for consistent relationships between color, geometry and light across the set. You do not need identical framing, but a sudden change in white balance or contrast can make one room feel disconnected from the rest. Compare neighboring images while editing. If the lighting genuinely differs, preserve that difference without making it look like an accidental mismatch. Keep the design understandable before pursuing a strong visual effect.
For working interiors, decide how people will be handled before the shoot. A person can show scale or use, but their presence should be intentional and permitted. An empty-room brief may need a quieter access window. Avoid promising to remove every person later, especially in reflective spaces or complicated backgrounds. A clean capture often gives more choices than an uncertain repair.
Before packing up, compare the shot list with the files you actually captured. Check that each required view has at least one technically usable version. Look at focus, cropped edges, reflections, window detail and temporary distractions. If two frames are almost identical, ask whether a missing connection or detail would be more valuable. This is the last convenient moment to correct a camera position or make another exposure.
Edit with a record of what changed
Keep the original files and work on a separate edited version. Choose the main frame for each view before making detailed adjustments. Begin with exposure and white balance. Apply the appropriate lens profile before perspective correction, then inspect geometry and local problems. If the frame needs a large perspective change, check the crop before spending time on small retouching. A technically corrected picture is not useful when the correction cuts off the feature the client wanted.
When blending exposures, inspect window edges, furniture outlines, moving objects and fine patterns. Look for halos, doubled edges and abrupt changes in brightness. Keep the result believable for the intended use rather than forcing every part of the picture to the same brightness. A room can retain shadows and still be readable. Compare the blend with a single reference exposure when the edit starts to feel disconnected from the space.
Keep a short note of changes that alter content rather than tone. Removing a temporary cable differs from rebuilding a permanent fixture. Ask the client about changes that could misrepresent the architecture or the condition of a property. Keep an unaltered reference available. The appropriate boundary depends on the assignment, so settle it in the brief instead of guessing during the final export.
For a longer editing checklist, use our architectural photo editing guide. Apply the parts that fit the job rather than repeating every adjustment on every frame. A useful final review separates geometry, color, content changes and output requirements. Looking at each category in turn can make a missed problem easier to notice than one general look at the picture.
Deliver a clear, usable set
Confirm file type, dimensions, color space and naming with the recipient before export. Website images and files for a print layout may need different versions. Do not assume the largest possible file is the easiest one for the client to use. Keep the full-resolution edited master so another export can be made without restarting the edit. Label alternate crops clearly instead of leaving nearly identical filenames.
Open exported files and inspect them, rather than checking only the editing application. Review at a normal viewing size and at a larger magnification where it helps reveal defects. Check the first and last images, portrait and landscape frames, and any file with a different crop. Make sure a batch setting has not clipped an edge or changed the intended appearance of one image.
Finish with a concise delivery note that identifies the set, the intended uses discussed and any remaining decision. If a client needs to select between two versions, name the difference plainly. Keep approval and delivery records with the job. The aim is a set of photographs the recipient can understand and use, not a folder of unexplained alternatives that creates another round of work.
What settings should I start with for an interior?
Try a supported camera, a moderate aperture such as f/8 and a practical low ISO, then inspect near and far detail. Adjust for the lens, movement and intended output. These are test settings, not a guarantee of sharpness.
Do I need a tilt-shift lens?
No. Camera position, level framing and careful cropping can solve many views. A shift lens can offer more framing control, but check compatibility and whether its movement range suits the actual room before renting or buying.
How should I handle bright windows?
First decide whether the outdoor view needs detail. If it does, compare exposures and consider a bracketed sequence with consistent framing. Inspect the blend for movement, halos and unnatural edges.
Can I fix all mixed lighting with white balance?
Not always. One adjustment may not suit surfaces lit by different sources. Compare fixtures on and off, choose a reference and use careful local corrections where needed. Preserve intentional warmth when it helps describe the space.
What belongs in a useful interior photo set?
Cover the required establishing views, connections between spaces and selected details. Review the brief before leaving, then deliver clearly named files in the agreed formats. More near-duplicate photographs do not necessarily make a better set.
Equipment to compare for interior photography
A stable support and a head that lets you level the camera carefully are useful before adding more lenses. Compare tripod leveling bases at B&H. Check the mounting threads, load rating, working height and compatibility with your tripod and head before buying. These are equipment options, not a claim about the gear used for the stock photographs.
Retailer listings can change. This is an affiliate link: if you buy through it, we may earn a commission at no extra cost to you.