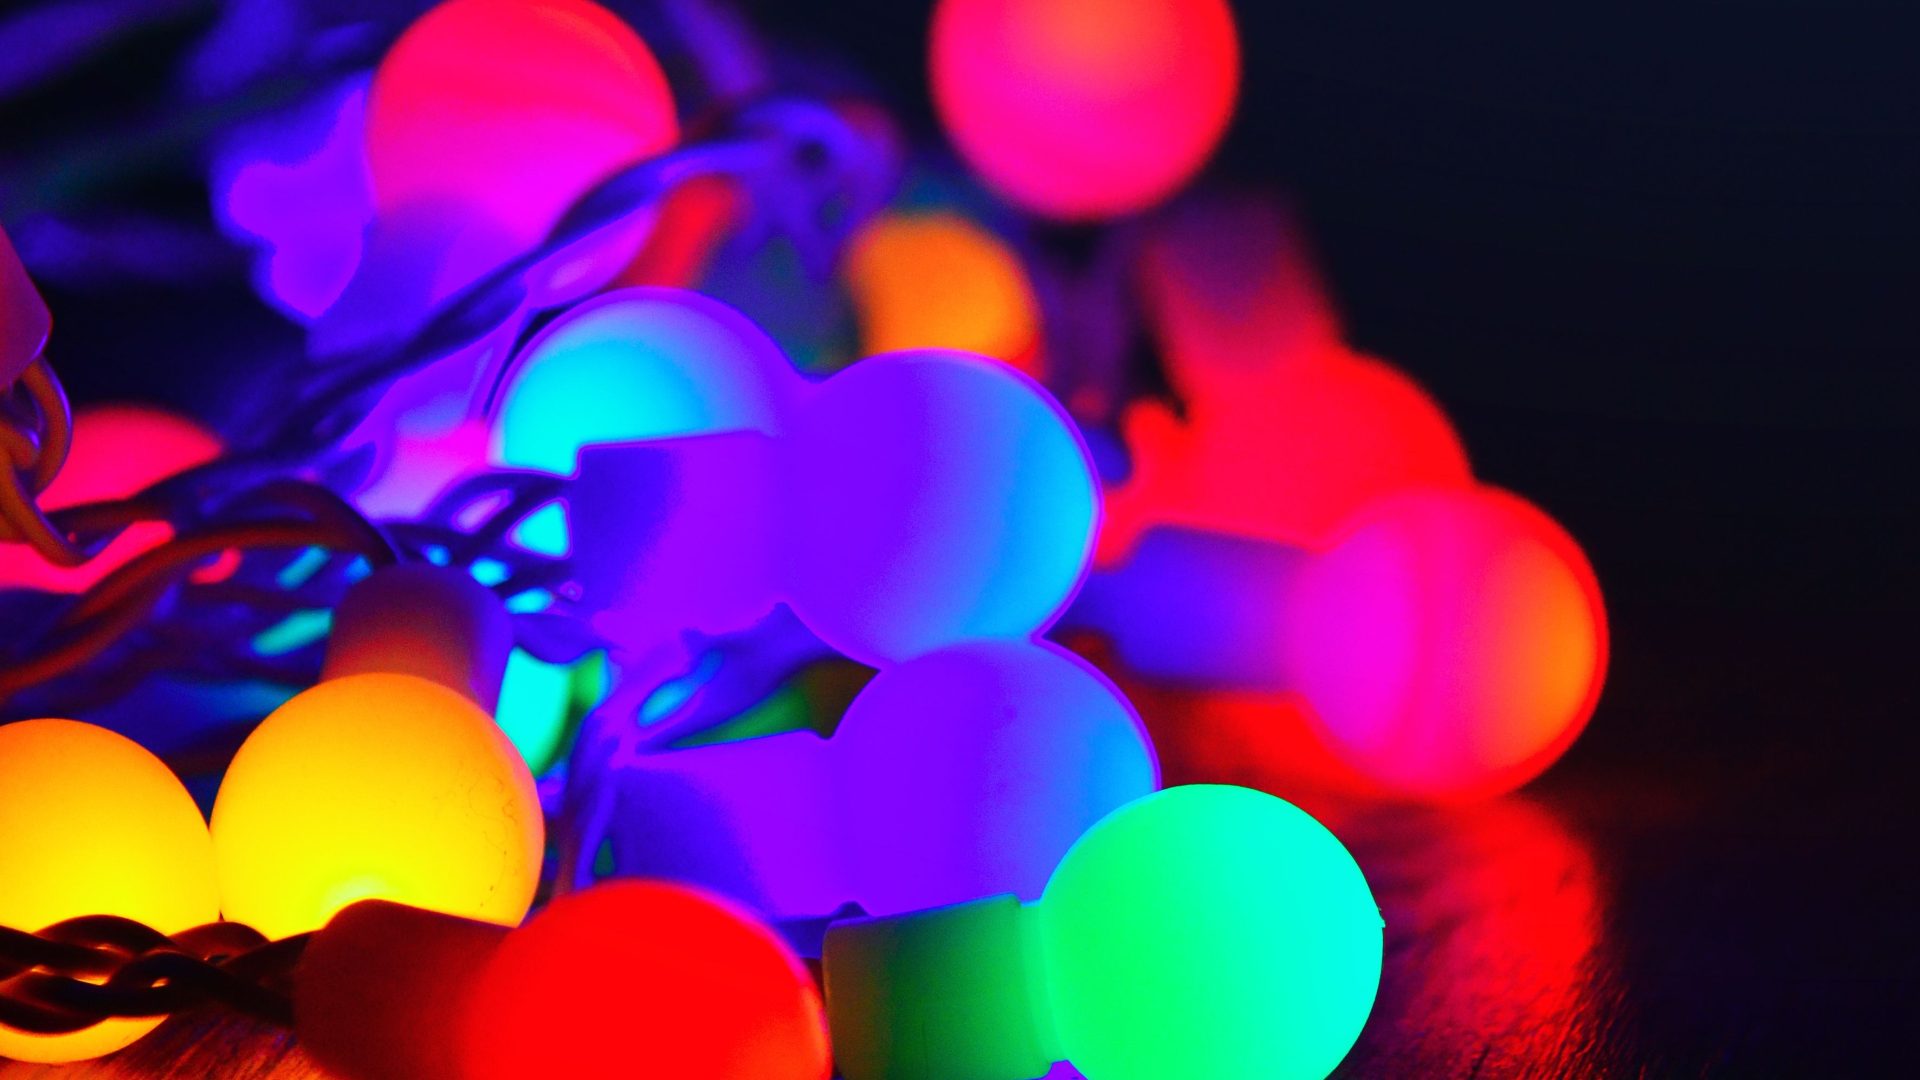
Featured photograph: Photo by Adonyi Gábor via Pexels (source; Pexels license). (Stock photo, illustrative.)
Keep the party in the photograph
A room full of glowing bulbs can look incredible to your eyes and terrible in a photograph. The room has atmosphere, but the faces disappear. Fire a flash straight at everyone and you can get the opposite problem: bright faces, a black background, and none of the party you came to photograph. Portable lighting for event photography is about getting those two things to work together. Light the people. Keep the place. Start with one light you can control before bringing a bag full of gear.
Original date March 2, 2024. Updated October 2026.
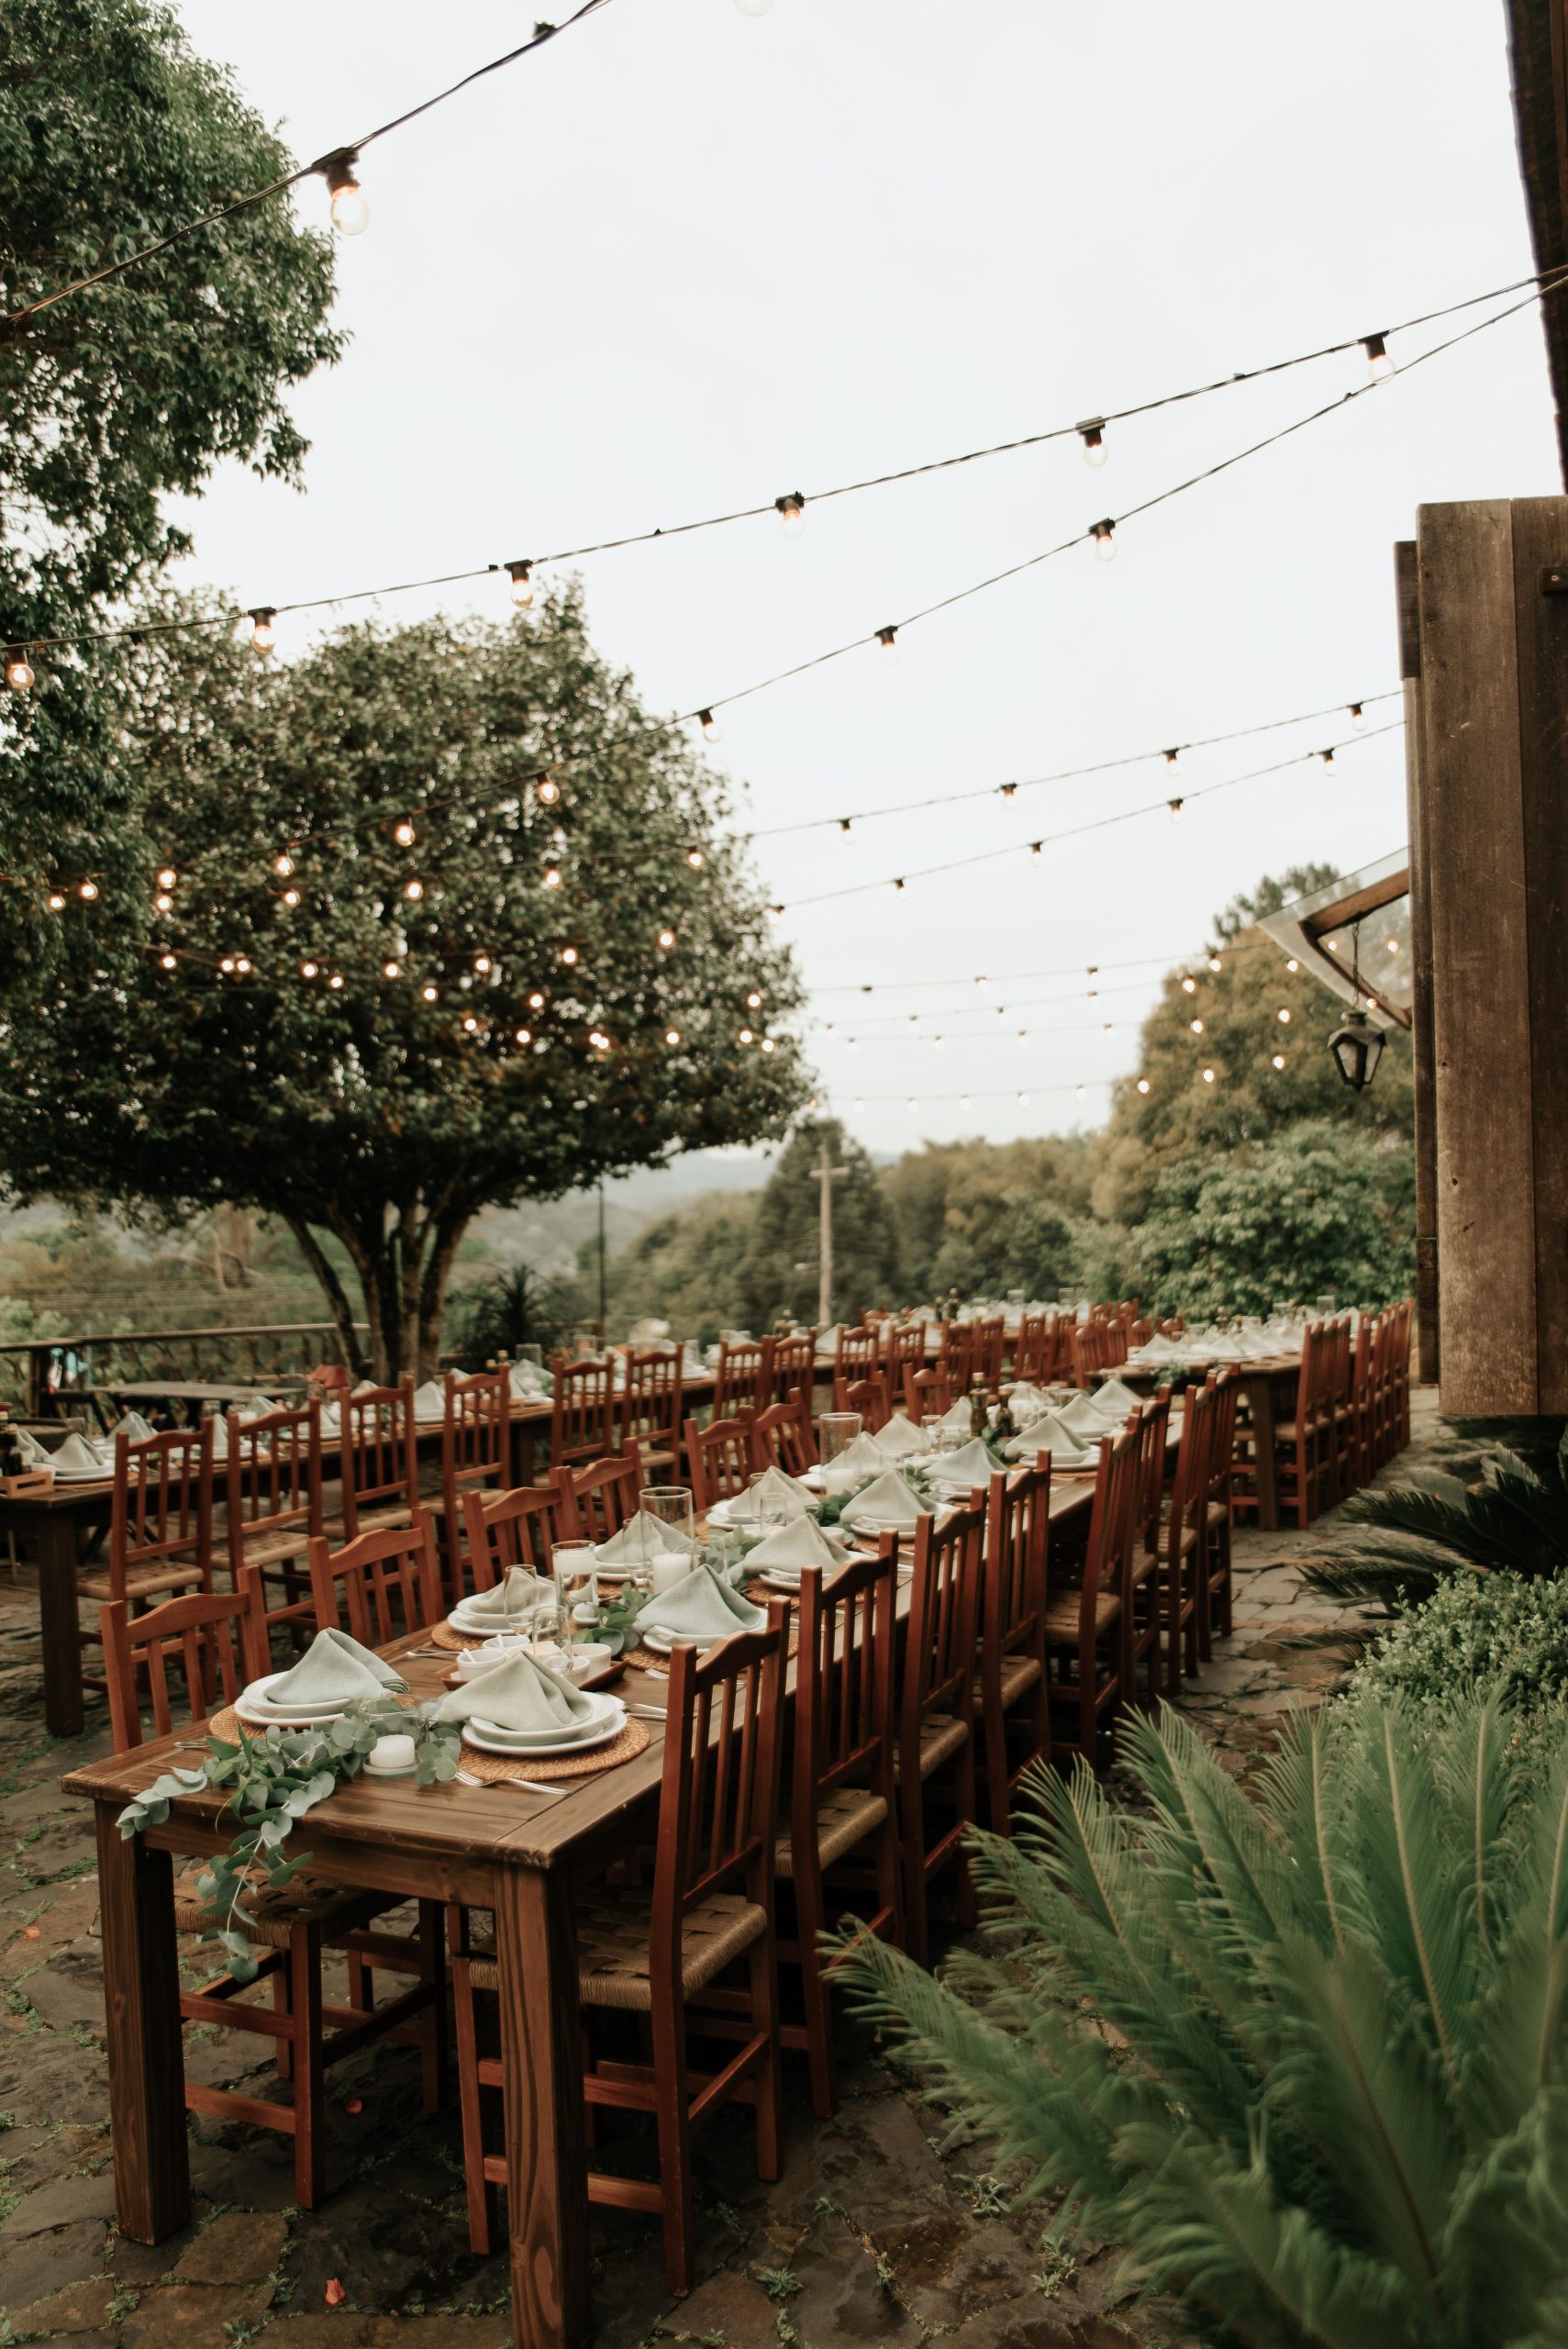
Look at the decorative lights in the featured event photograph. That is the kind of atmosphere worth keeping in your frame. The photograph does not tell us whether flash was used, so do not reverse-engineer a lighting recipe from it. Your room, subject distance, and available bounce surfaces will decide what works.
Survey the room before choosing a light
Arrive with time to see the venue under the lighting that will actually be used. A room during daylight setup can be very different after dinner lights dim. Walk the likely shooting positions and note ceiling height, wall color, power outlets, exits, and where guests will move. Ask the venue and event lead about flash rules, stands, cable routing, and any quiet segments. Do not assume a technique is allowed because you used it at another event.
Identify the brightest and darkest moments in the schedule. A speech near a window may need less added light than a reception after sunset. A dance floor with rapidly changing colored light calls for different tests than a fixed portrait corner. Decide which situations can be handled by a camera-mounted flash and which genuinely benefit from a separate, secured light. If the placement would obstruct a guest’s view or a safety route, redesign it before unpacking stands.
Understand ambient and flash separately
Ambient light is what the room provides. Flash is the light you introduce for an instant. First make a test exposure for the background mood, then add flash for the person. If the room becomes a black void, the ambient part of the exposure may be too low, even if the face is bright. If the background is washed out, your ambient exposure may be too high for the intended effect. Profoto’s ambient-and-flash walkthrough demonstrates this separation in practice.
Shutter speed often controls how much ambient light appears, within the usable flash-sync range. Flash power and distance strongly affect the added light on the subject; aperture and ISO affect both the flash-lit and ambient parts. The precise balance depends on your camera, flash mode, movement, and room. Change one variable at a time and inspect the actual result. For a deeper exposure refresher, use the site’s shutter speed, aperture, and ISO lessons.
Use on-camera flash with intent
A compact speedlight is portable and follows you through unpredictable moments. If a nearby neutral ceiling or wall is suitable, bouncing can create a larger apparent source and gentler light than firing straight at a face. Test the bounce path. A very high ceiling may absorb too much; a green or red wall can tint skin; a dark ceiling may give little useful return. In a ballroom with no suitable surface, a small modifier or carefully balanced direct flash may be more dependable than pretending a bounce exists.
Watch the direction of the light. Bounce from directly above can put deep shadows in eye sockets; a nearby side wall may give a more useful shape. Turn and test as you move, because the best surface behind the photographer may change with every position. Know your flash’s recycle time and battery behavior before the key moment. Canon’s flash basics and Nikon’s flash guide offer manufacturer explanations, though controls vary by model.
 Save
Choose a battery strobe only when it earns its footprint
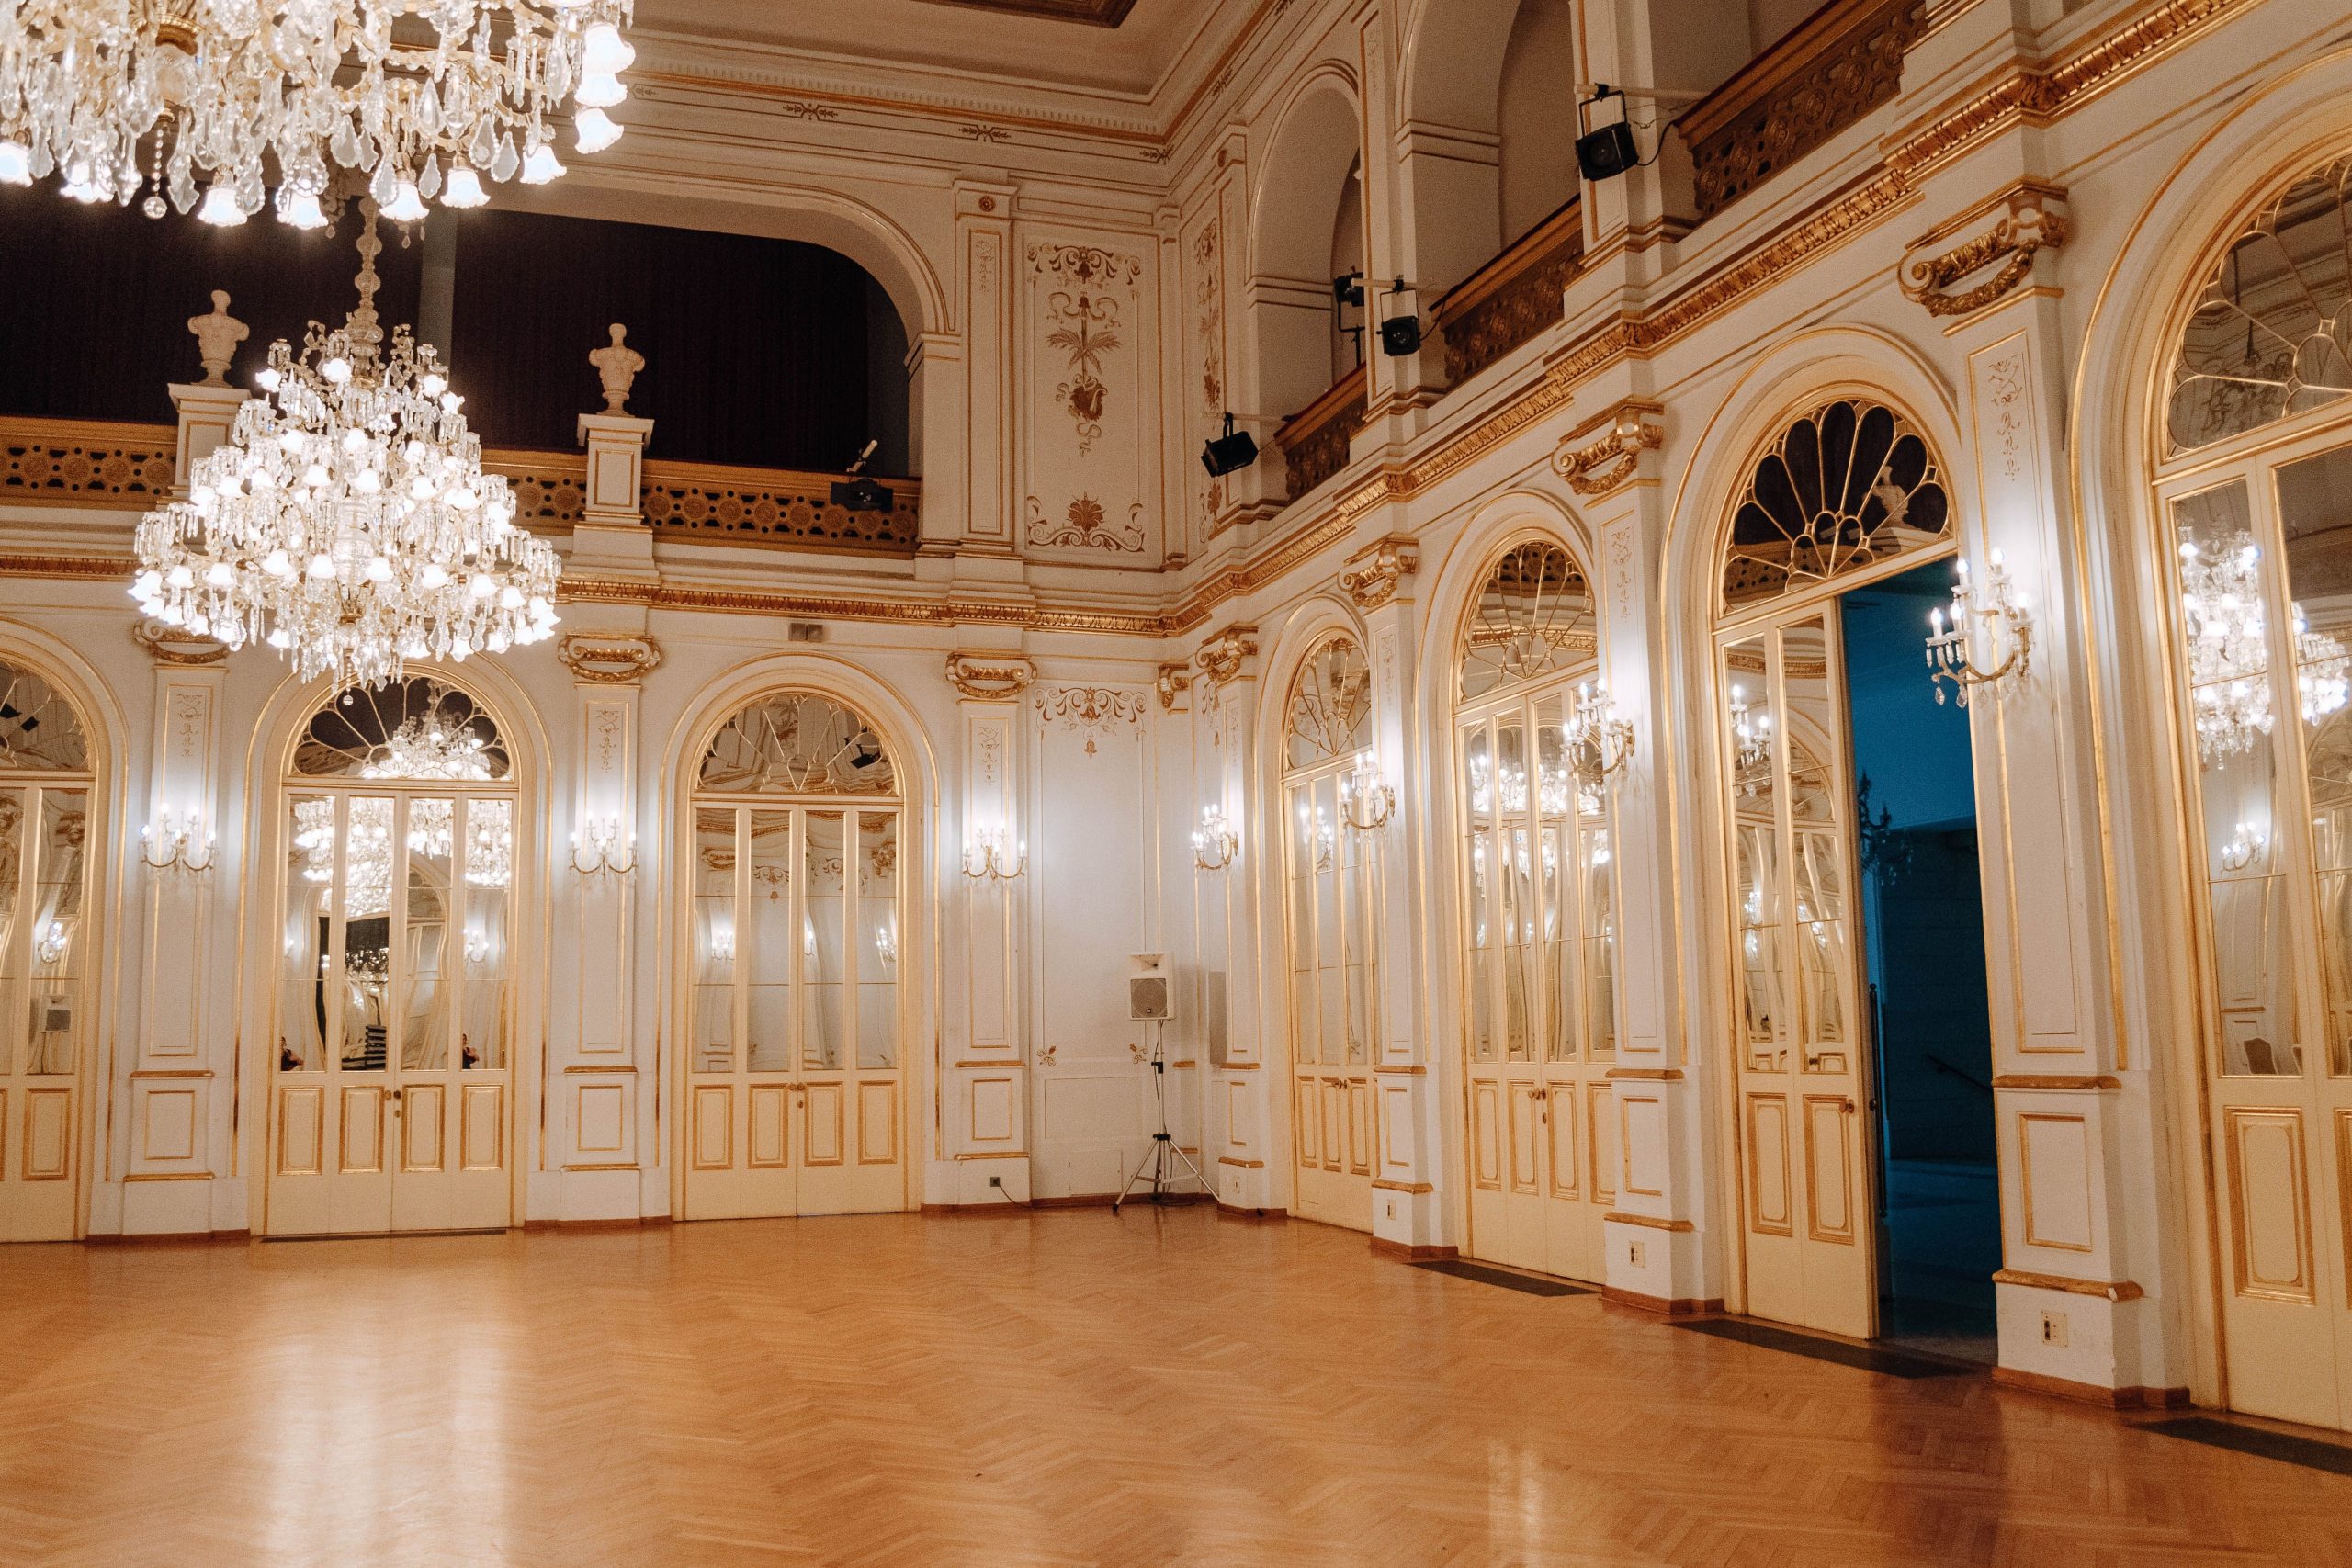
An off-camera battery strobe with a modifier can help when you have a planned portrait area or a repeatable dance-floor position. You can shape the light and move it away from the lens axis. The trade is more equipment, setup time, and a stand that guests might bump. Start with the photograph you want, not the most powerful unit in the catalog. A stronger light cannot improve a stand placed where it blocks the ceremony or a modifier that falls into the frame.
 Save
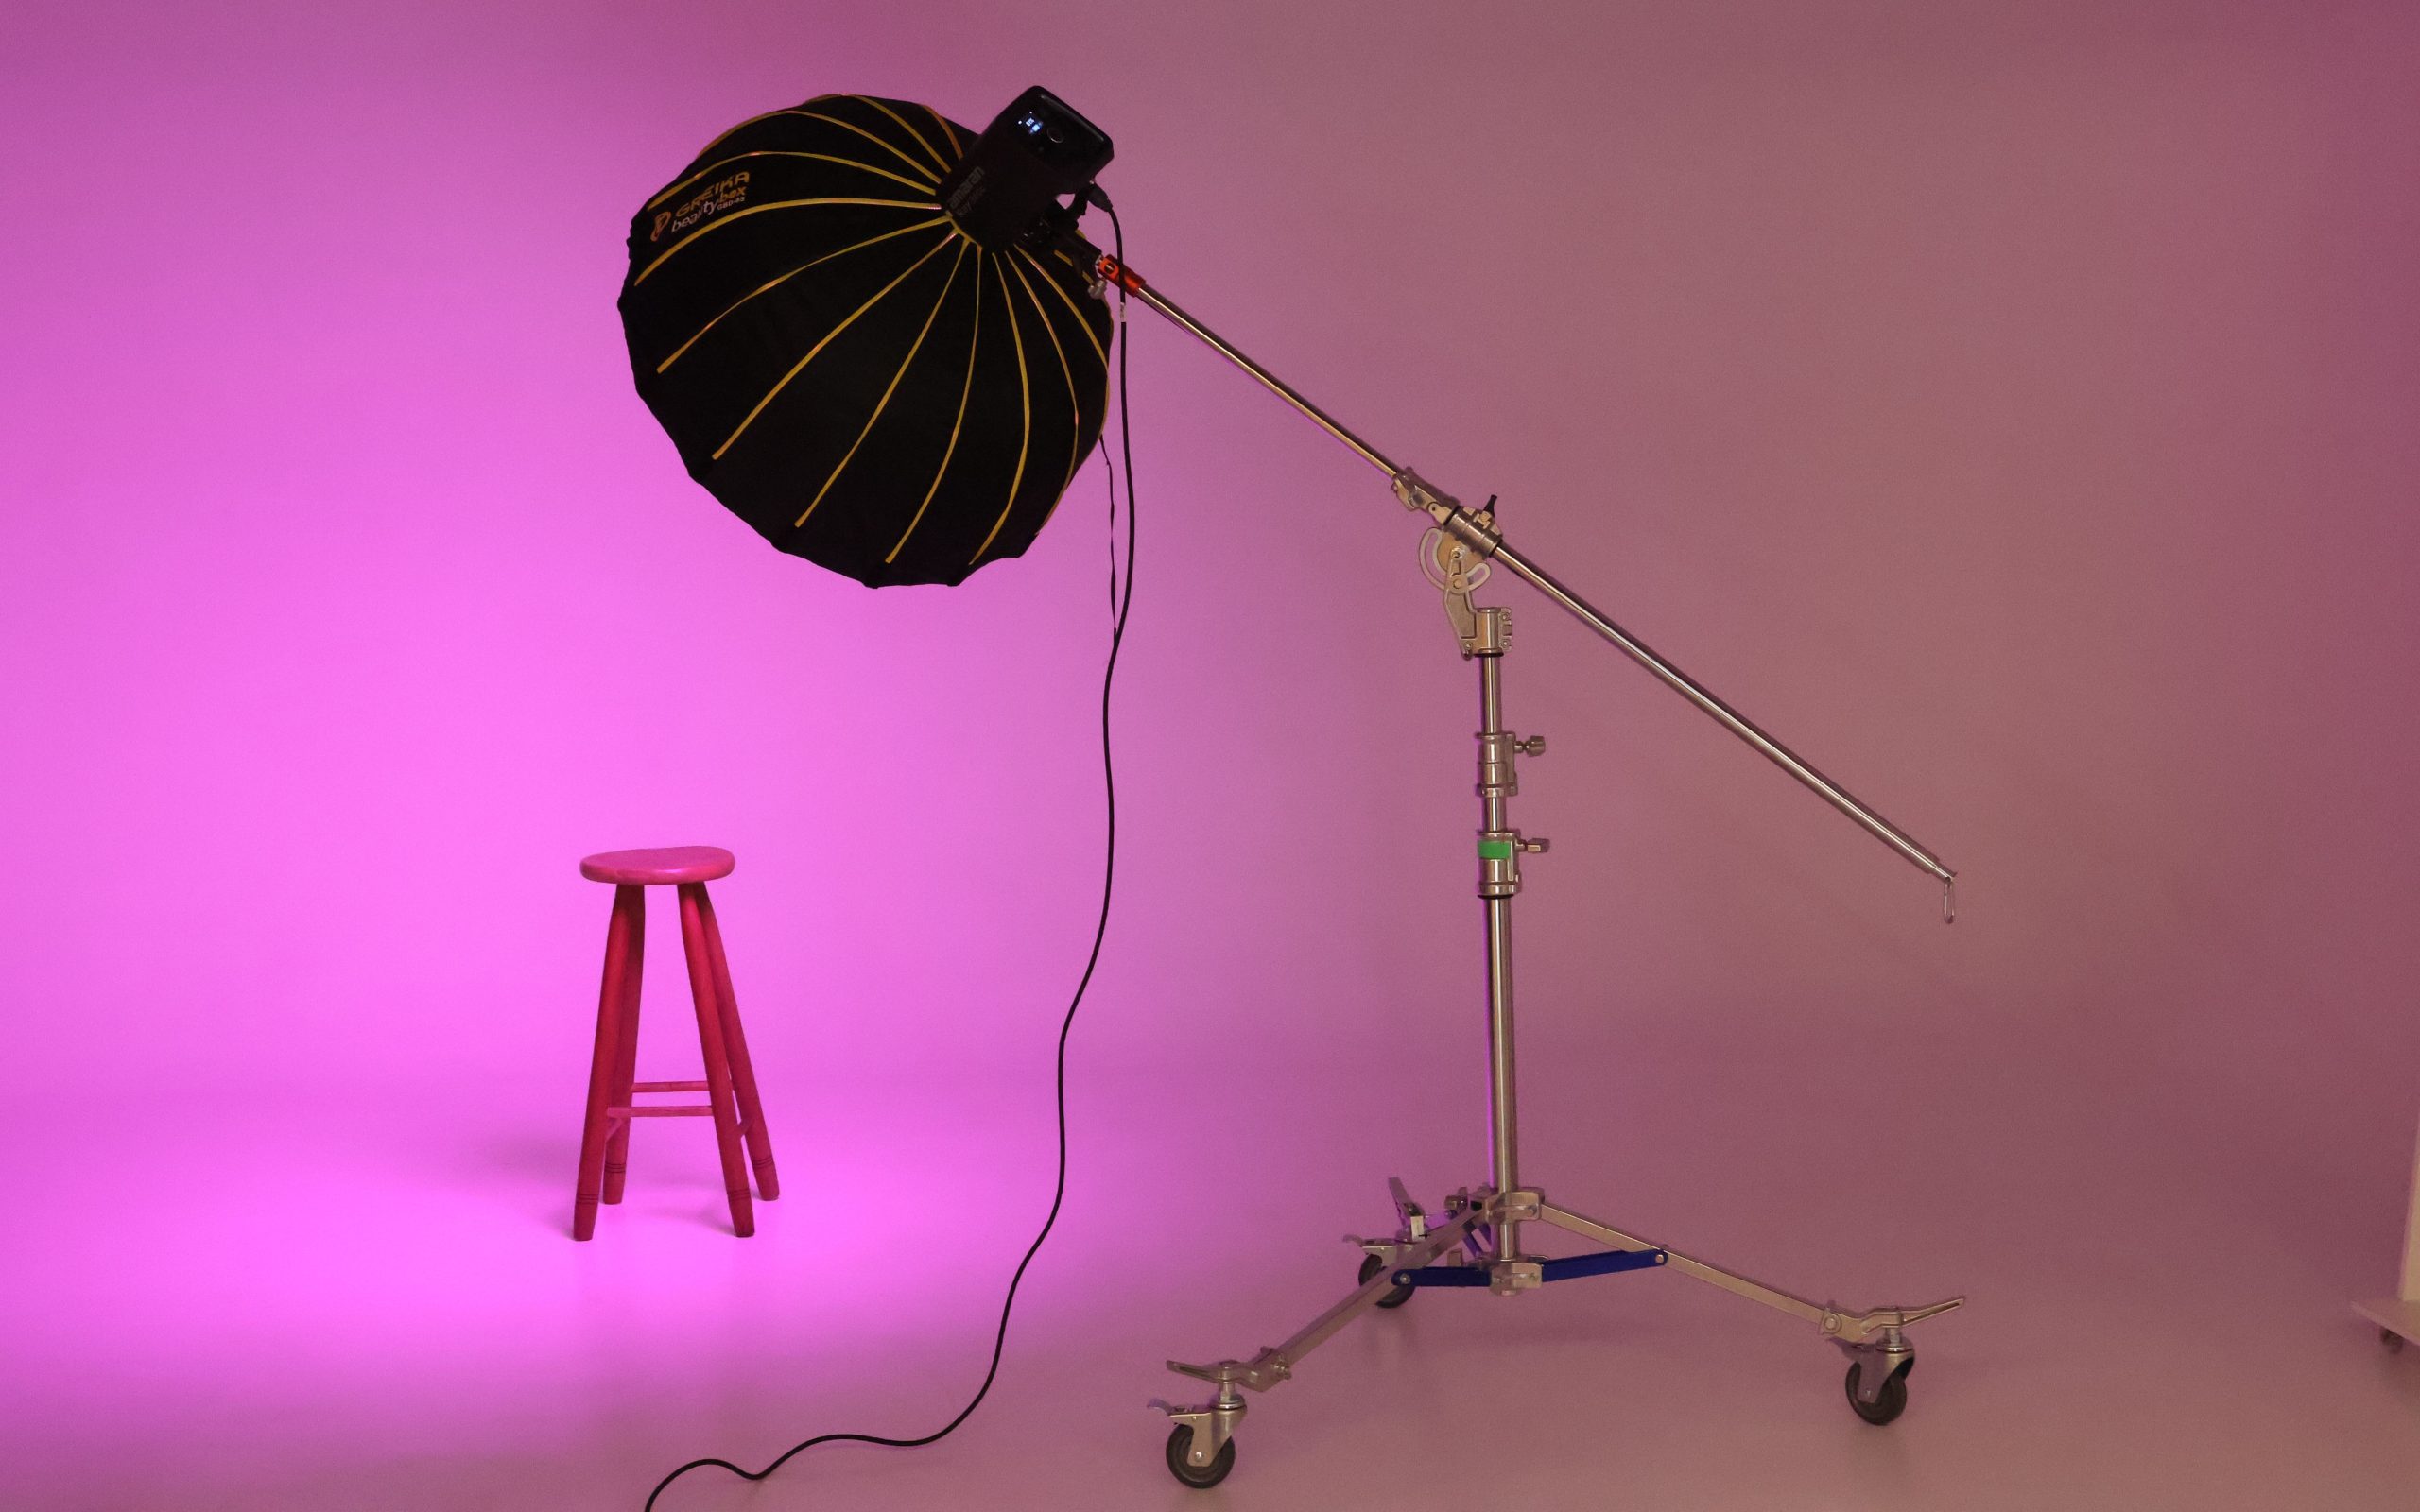
Use the smallest safe setup that meets the job. Test from the actual subject position and at the subject’s distance. Check whether the modifier casts unwanted shadows on the backdrop or onto other people in a group. If the scene moves across the room, a fixed strobe may cover only a small zone. A camera-mounted light or available light may serve the candid work better. Secure every permitted stand appropriately and know who will monitor it during the event.
 Save
The studio photograph shows an umbrella softbox, reflector panels, stands, and a camera arranged for a product setup. It is an equipment reference, not a photograph of an installed event-lighting setup. At a party, the footprint matters as much as the light: there must be room for people to move without bumping any of this.
When a portable LED is useful
Continuous LEDs let you see the effect before taking the picture and can be useful when the assignment includes video. They can add a catchlight or lift a face in a controlled portrait corner. But a continuously shining light may distract guests and performers, and it may not be bright enough to freeze rapid movement at the exposure you need. Test flicker, color, battery life, and subject comfort under actual conditions. Do not point a bright panel at a stage or guest’s eyes without permission.
A hybrid team might choose LED where video continuity matters and flash for isolated still portraits. Coordinate so one person’s light does not ruin another person’s exposure or distract from a quiet moment. If the LED is on a stand, it carries the same placement and trip risks as a strobe. Wireless control can be convenient, but it adds batteries and pairing; it is not a substitute for someone responsible for the gear’s safety.
Use TTL when the distance keeps changing
If you are moving between tables, your distance from each person changes constantly. A compatible TTL flash system meters through the lens and adjusts flash output automatically. That makes it a useful place to start for candid coverage. It still needs your judgment. A white shirt, dark jacket, mirror, or different composition can change the result. Take a frame, look at the face, and decide whether the flash needs to be brighter or darker. Automatic does not mean stop looking.
Flash exposure compensation adjusts the flash contribution on a compatible setup. It is not the same decision as brightening the room. If the face is too bright but the background looks right, reduce the flash contribution and test again. If the face looks right but the room disappears, look at the ambient exposure instead. Nikon’s flash guide shows compensation examples and explains how controls work in its system. Check your own camera and flash manual for the correct control and any settings that override it.
Manual flash becomes useful when the light and subject stay in the same positions, such as a portrait corner. Set an output, make a test, and keep it consistent while those distances remain fixed. Move the light or move the person and you have changed the setup. Test again. Neither TTL nor manual is a badge of skill. Use the one that lets you get the photograph while paying attention to the people in front of you.
Check sync before blaming the flash
A flash firing does not guarantee an evenly lit file. Camera shutter mode and flash synchronization matter. Read the flash section of your camera manual and test the shutter mode you plan to use. Do not copy a sync-speed number from a different body. Canon’s EOS R3 flash instructions, for example, list different maximum sync speeds for mechanical, electronic first-curtain, and electronic shutters on that one camera. Those numbers are not settings for every Canon, let alone every camera.
High-speed synchronization on a compatible system can allow flash above the normal sync speed, but you must confirm support across the body, flash, trigger, and chosen mode. Check a real file for even illumination before the event starts. If you see an unexpected dark band, return to a known supported shutter and flash combination and make another test. Troubleshoot the chain one part at a time rather than turning the power up and hoping the problem goes away.
Read the test frame as a diagnosis
Look at three things separately: the face, the room, and the edges. A bright face with a dark room calls for a different change from a dark face with a bright room. A reflection in a mirror may need a new camera or light angle, not a new exposure. A face with deep eye shadows may need a different bounce direction. Tell yourself what is wrong before touching a dial. Then change one thing and compare the next frame. That is how you learn what your light is actually doing.
Keep color from fighting the room
Warm tungsten fixtures, daylight, candles, colored LEDs, and flash can all touch one face. A camera’s automatic white balance may shift from frame to frame, making a set inconsistent. Choose a reference light and decide which room color you want to preserve. A suitable gel on a flash can sometimes bring its color closer to the ambient source, but colored stage lighting can change faster than any fixed gel. Shoot a reference frame and examine skin across several lighting cues rather than trusting one preview.
Do not neutralize every atmospheric color. A dance floor can look lifeless if you remove all warmth or saturated accents. The goal is that important faces remain believable and the room still feels like itself. When a colored wall contaminates bounce light, seek another surface or change approach. Editing can refine a small cast; it should not be relied on to reconstruct natural skin from a completely unsuitable light source.
Make the portrait corner efficient
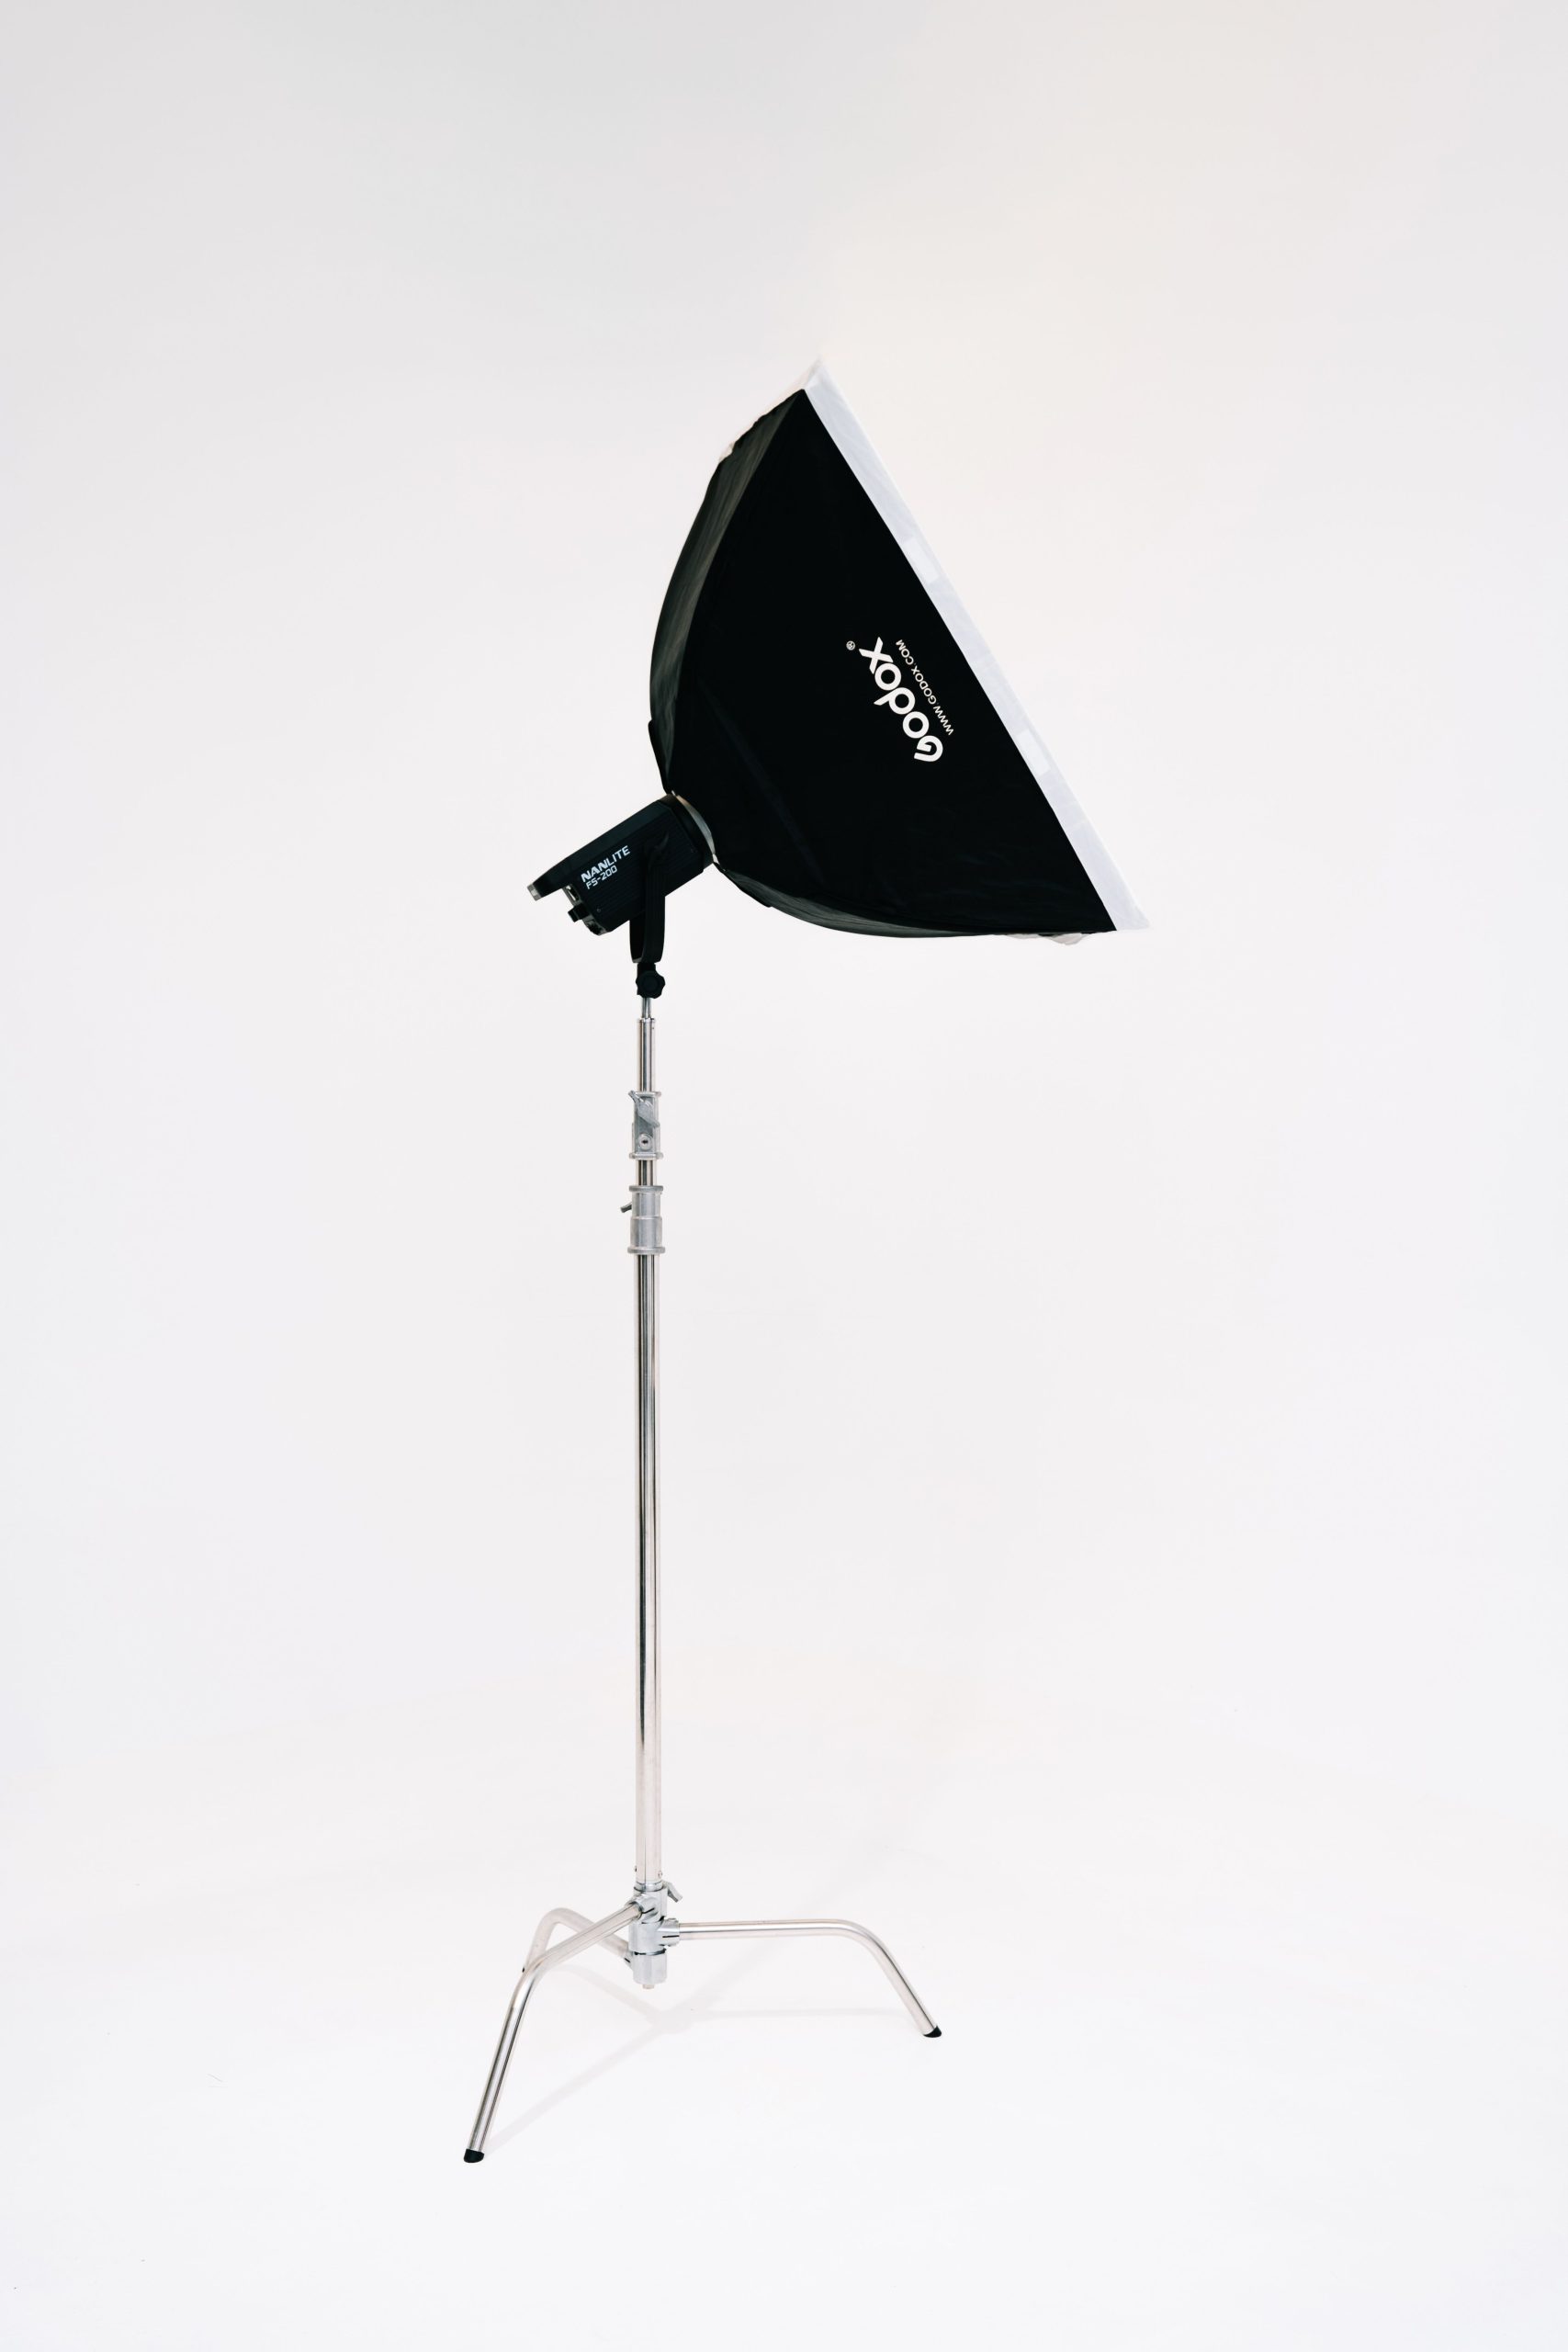
If an event includes planned guest portraits, agree on a location before guests arrive. Look for enough floor space, a simple backdrop, and a route that does not interrupt the event. Set the light so one person and a small group can both fit with minor adjustments. Mark safe standing positions for the people, not only for the equipment. Test on an actual person wearing light and dark clothing; an empty wall cannot show whether the face, hair, and jacket will separate.
Give clear, quick directions. Bring the group close enough that everyone can be lit and focused; check for a face hidden behind another shoulder. If the exposure must change for a white dress or dark suit, make a deliberate adjustment. A second light may help separate people from the background, but it is optional, and every extra stand adds space and safety obligations. Get the one-light portrait right first. Guests should not have to stand there while you wrestle with a complicated setup.
 Save
Plan for motion on the dance floor
Dance-floor photographs need gesture, expression, and enough shutter speed or deliberate motion effect. Flash can help freeze a moment, but the exposure may also record ambient motion blur. This can be energetic when the face stays readable and the streaks support the action. It can also be an accident when every key frame is soft. Make a test sequence at the actual distance, inspect eyes, then adjust shutter and flash balance. Do not set one recipe for every room or every dance.
Watch reflective walls, mirrors, sequins, and glass. A flash aimed straight ahead can produce distracting hotspots or reflections in the background. Shift position or bounce direction before raising power. Keep lights away from performers’ sight lines and follow venue rules. If moving lights create a brief moment of natural illumination, anticipate it instead of fighting it. The best event photograph often comes from timing and placement, with light added only where needed.
Power, cables, heat, and fall protection
Charge and label batteries before leaving. Pack the correct spare type for each light and trigger. Check the product manual for recycle and thermal limits; rapid firing can slow a flash or cause it to pause. Test the equipment in a rehearsal rather than learning its limits during a first dance. If using mains power, coordinate cable routes with the venue and protect them appropriately. Never leave a cable stretched across an aisle or an exit.
Use suitable stands and weights in positions approved by the venue. A weighted stand can still be dangerous if a crowd can bump it; relocate it rather than relying on a warning sign. Keep batteries and packs away from spills and guest traffic. Do not clamp to walls, rails, or overhead structures without approval. A safety tether may be warranted for an approved elevated mount, but it does not make an unsafe or unauthorized mount acceptable. Assign someone to monitor any light that cannot be safely left alone.
Rehearse an entire lighting sequence
Test a wide room view, a candid at the table, a planned portrait, and a moving subject if those are on the shot list. Look at full-resolution files, not just an LCD thumbnail. Are the faces sharp? Is the skin color consistent? Did the decorative lighting survive? Are there dark backgrounds that need a little more ambient exposure? Record the settings and physical positions that worked, but stay ready to change them when the room lights dim or guests move.
Have a smaller fallback. If the off-camera trigger fails, can you use a camera-mounted flash? If flash becomes forbidden, do you know which lens, position, and ISO will get a usable frame? If the room’s ceiling is too dark to bounce from, do you have another permitted method? A backup is not a second copy of an untested system. Keep the fallback simple enough to use while the event continues. You do not get to pause a first dance while you rebuild your lighting.
Where to shop for this kit
Compare current options and prices: speedlights at B&H, battery strobes at B&H, LED panels at B&H, and light stands at B&H. The same categories are easy to browse on Amazon (speedlights) and Amazon (LED panels).
Disclosure: the retail links above are affiliate links. If you buy through them, Shut Your Aperture may earn a small commission at no extra cost to you.
Questions about portable event lighting
Should I always bring off-camera strobes?
No. They are helpful for a planned area with safe placement and venue approval. Fast-moving candid work may be better served by a compact flash or available light.
How do I keep the event atmosphere with flash?
Set a useful ambient exposure for the room, then add enough flash for the subject. Check the resulting file and adjust instead of making every background black.
Can you bounce flash off any wall?
No. A colored wall may tint skin, a distant or dark wall may return too little light, and an unsuitable angle may cast poor shadows. Test the actual surface and change method if needed.
Does an LED panel freeze a dancer?
Not by itself. Continuous light contributes to exposure, while shutter speed still determines how movement records. A short flash burst can help freeze a moment, depending on the camera and ambient-light balance.
Do I need a full studio rig to light an event?
No. A speedlight, one battery strobe with a small modifier, spare batteries, and a secured stand cover most receptions. Add pieces only when a specific gap shows up in your test frames.
How much battery power should I pack for a reception?
Plan for two full charge cycles per light: two sets of charged AAs for each speedlight and a spare pack or charger for a battery strobe. Receptions rarely offer convenient outlets, so rotate batteries at dinner and keep spares warm in a pocket.
Lighting kit in this guide
Check specs and compatibility for your camera brand before you buy. Not sure what to buy? See my camera buyer guide.
- Godox AD300Pro – the battery strobe behind the off-camera setups in this guide. Browse on Amazon | on B&H
- Godox TT685II – TTL speedlight for on-camera and quick off-camera work (Nikon version linked; Canon and Sony variants available). Browse on Amazon | on B&H
- Godox LEDP260C – slim bi-color LED panel for ambient fill and the portrait corner. Browse on Amazon | on B&H
Amazon and B&H links are affiliate links. I may earn a commission at no extra cost to you.
Quick checklist
- Ask the venue before mounting or adding light.
- Balance ambient and subject exposure in a test frame.
- Secure stands and keep charged backup power.