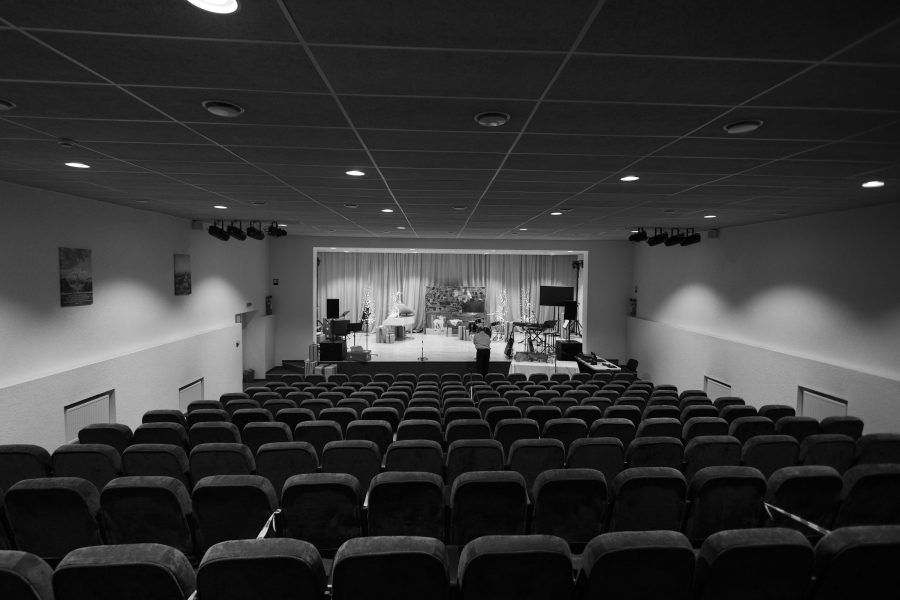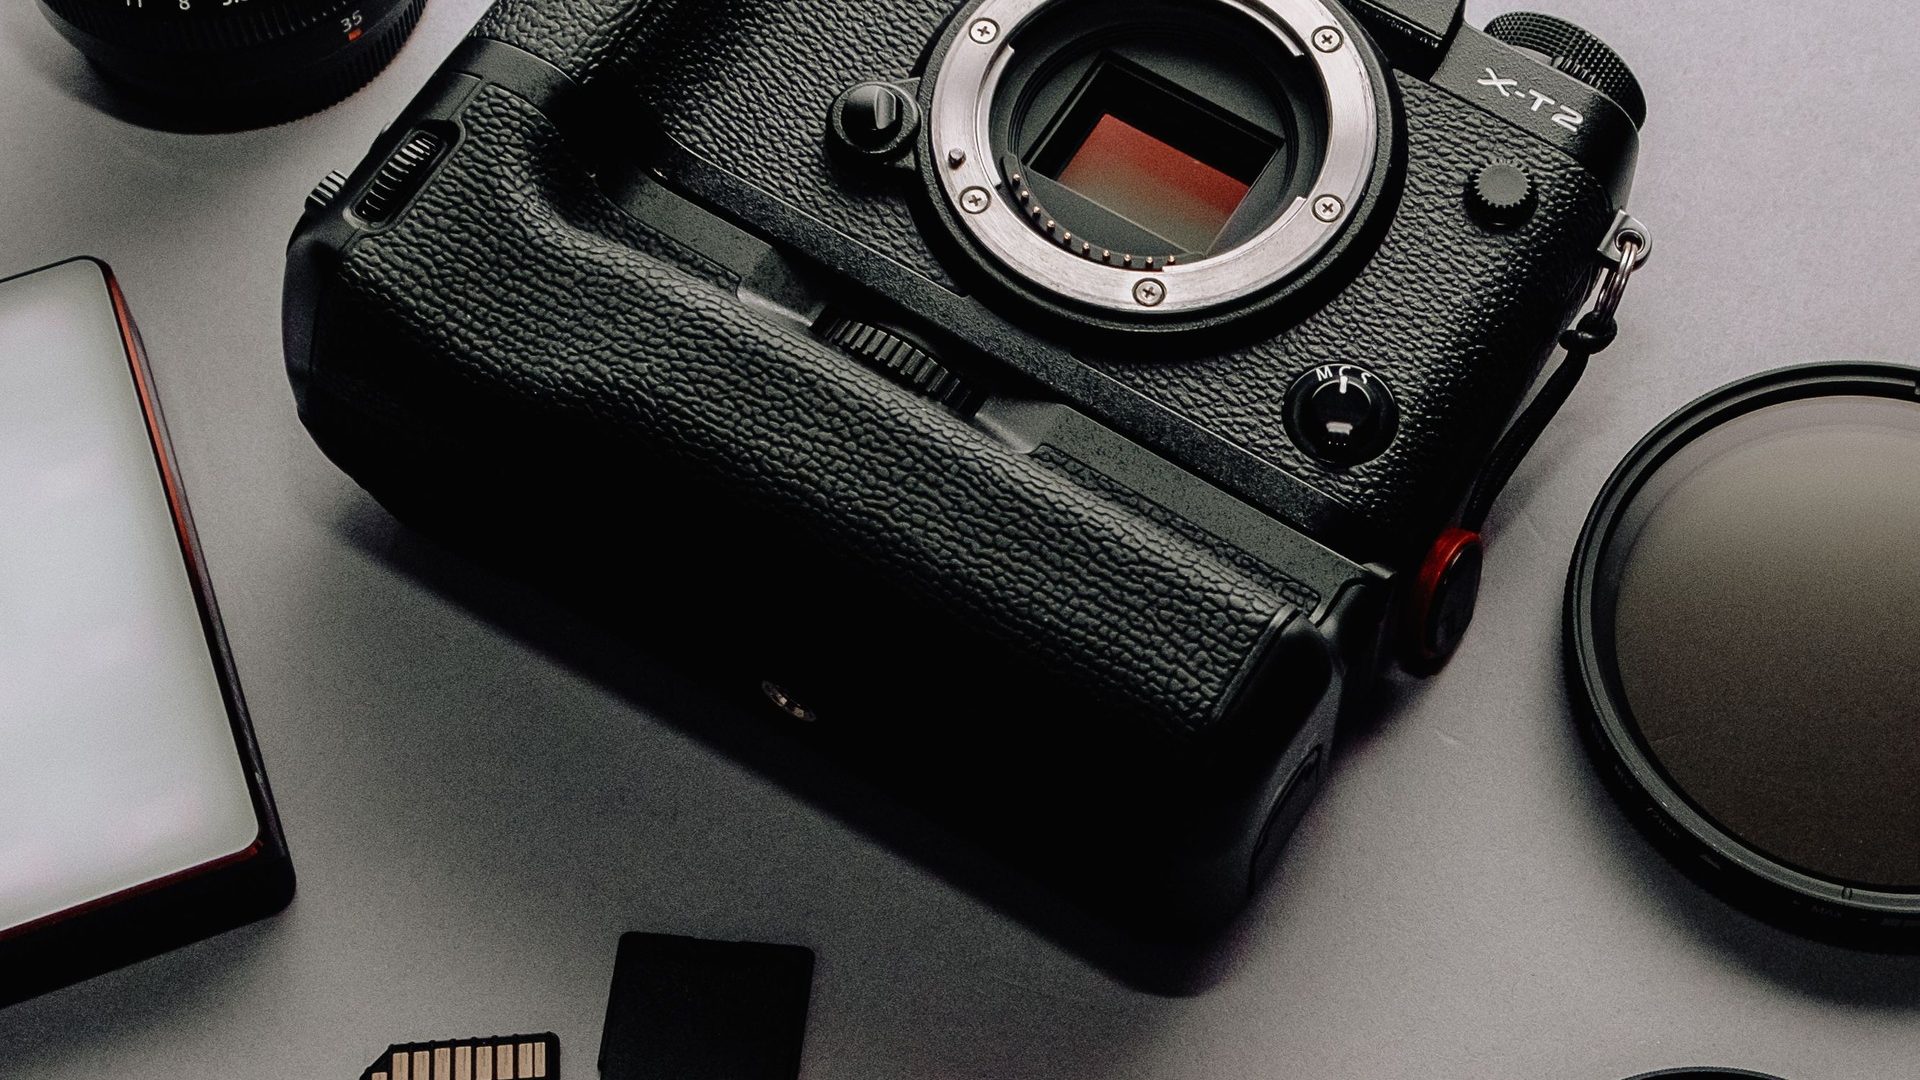
Featured photo: Camera equipment arranged on a desk. Photo by Thom Bradley via Pexels (source; Pexels license). (Stock photo, illustrative.)
Original date March 10, 2024. Updated October 2026.
A useful event photography workflow gives every file a clear next step. Before the event, you know what needs to be photographed. During it, you know which cards are in use. Afterward, you know where the originals, edits and delivered files live. Speed matters, but a fast process that loses a card or sends the wrong gallery is not a good process.
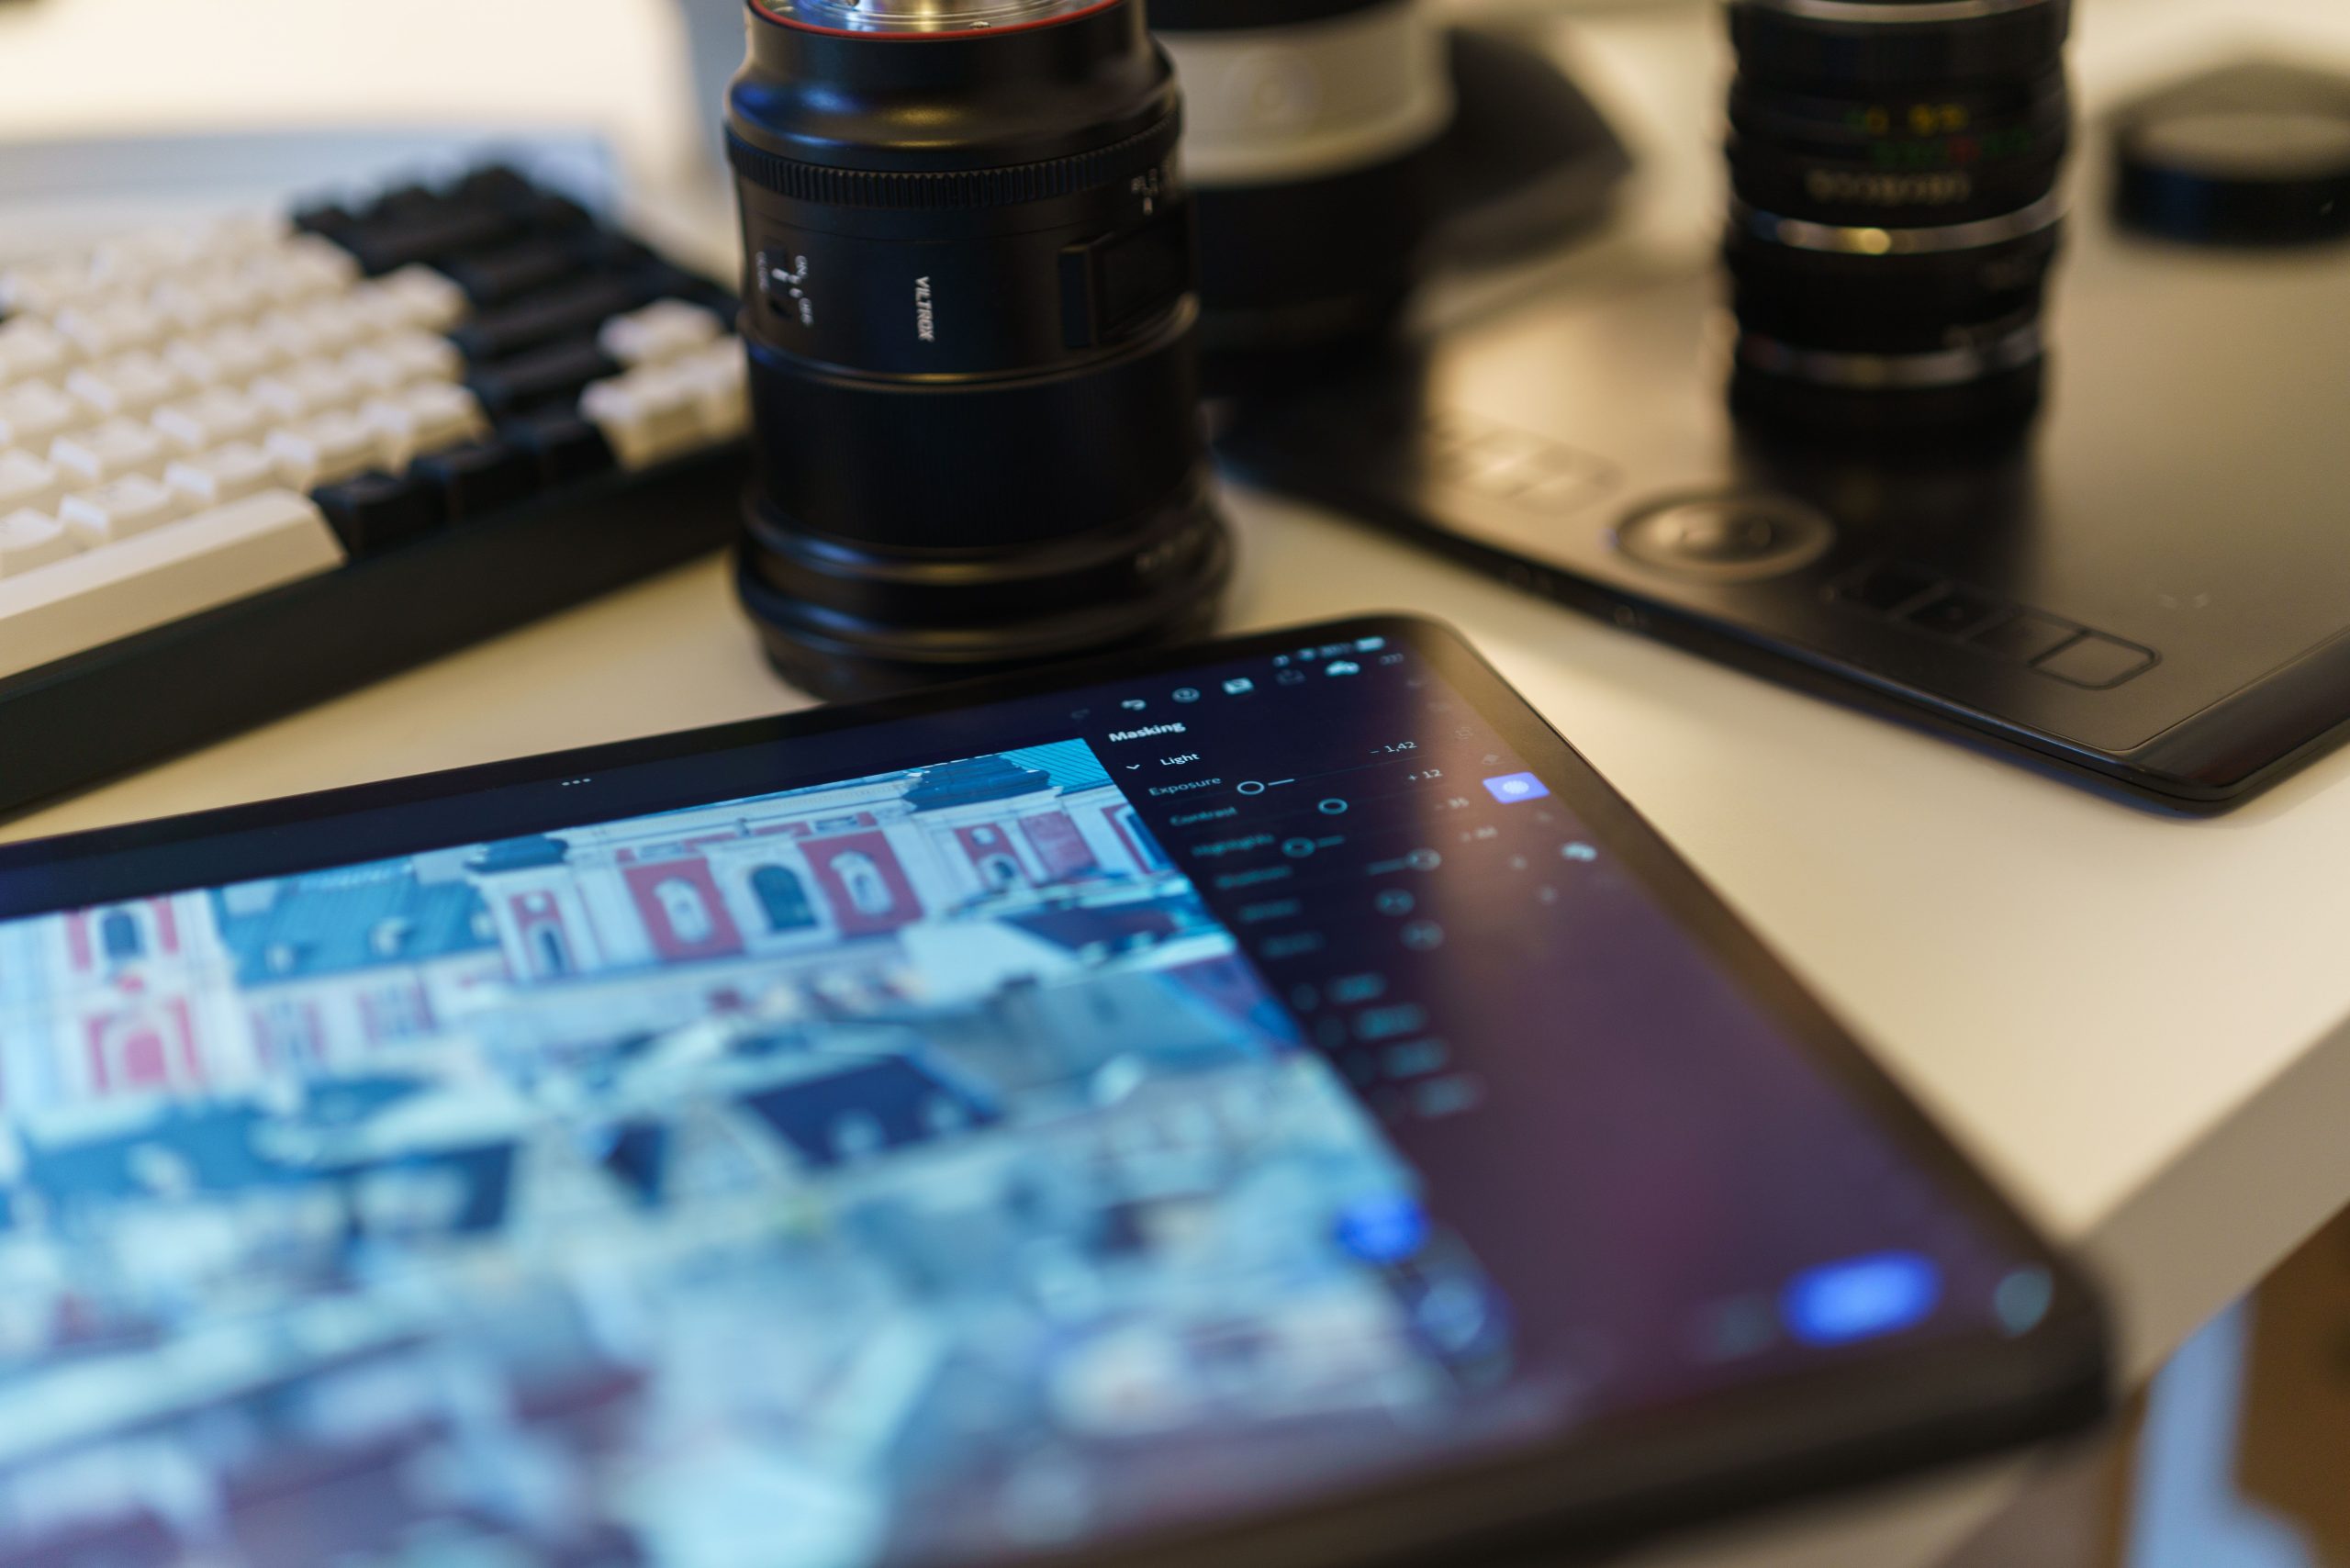
Build the workflow around a few checkpoints you can repeat when you are tired. Confirm the brief, protect the capture, verify the copies, edit with a purpose and check the delivery. This guide is about managing the work and the files, not a promise that one app or storage device can prevent every failure. The photographs are stock illustrations of equipment and editing work, not pictures from a documented client job or products tested for this article.
Start with the delivery, then plan the shoot
Ask what the photographs need to do. A conference recap, a set of speaker portraits and a same-day press selection are different deliverables. Confirm the intended audience, the requested subjects, the delivery format and the deadline. Write down who can approve changes. A clear brief is more useful than arriving with a large bag and guessing what matters.
Separate essential coverage from optional pictures. Record the people, moments and details that the client specifically needs, then check the schedule for conflicts. If a presentation and a reception overlap, raise that before the event. A shot list guides your attention; it cannot guarantee access, timing or cooperation from every person in the room.
Agree on file handling too. Ask which delivery service the client expects, who may access the gallery and whether any subjects or sessions have restrictions. Set realistic turnaround and retention terms in the agreement. Do not promise indefinite storage because a drive seems large today. The aim is a process both sides understand, including what happens after delivery.
Prepare cards and cameras without risking old files
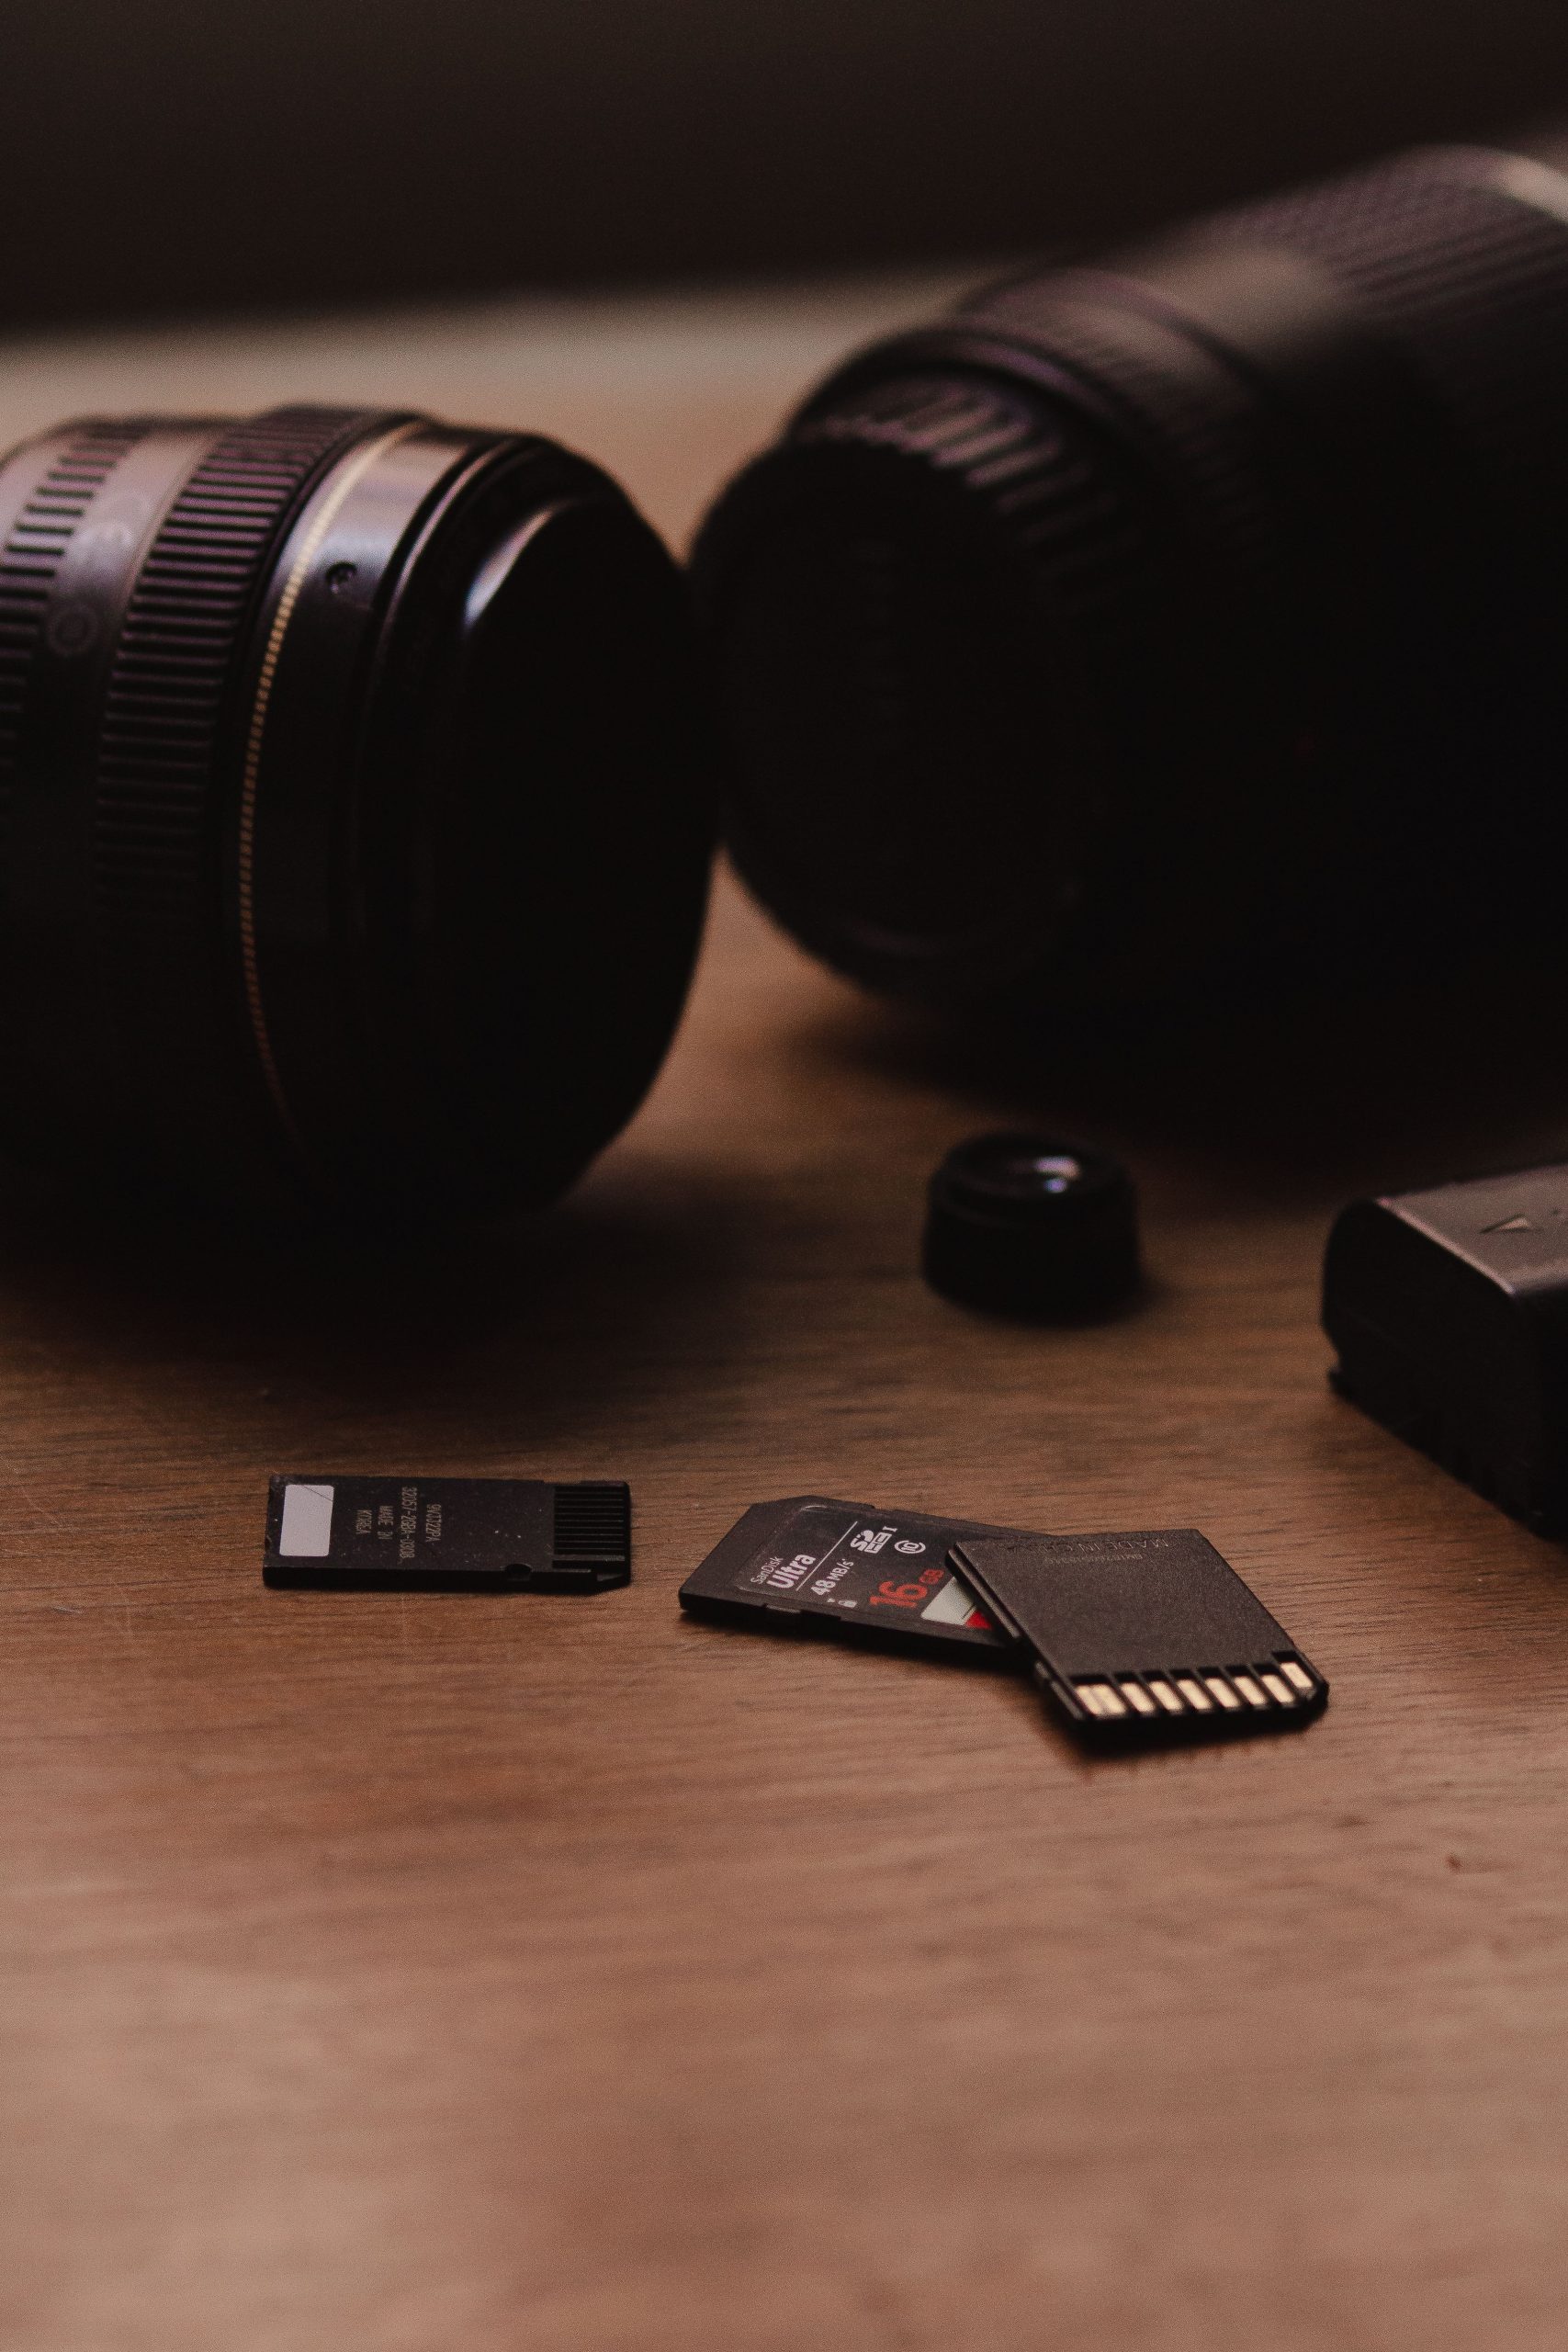
Pack from a written checklist. Include compatible cards, batteries, chargers, a reader, the needed cables and any equipment required by the brief. Check the camera manual for supported card formats and recording modes. A card that fits a slot is not necessarily the right card for every mode, and a faster label does not remove the need to check compatibility.
Before formatting a card, establish that the previous job exists in verified copies elsewhere. Formatting is a destructive step, not a routine to perform simply because a new event starts tomorrow. When the copies are checked and the card is ready for reuse, follow the camera maker’s instructions. Keep uncertain cards out of the working set until their contents have been accounted for.
If the camera supports simultaneous recording to two cards, decide whether that mode suits the job and confirm it is enabled. Recording RAW on one card and JPEG on the other is not the same as making two copies of the RAW files. Check what each slot actually records. Dual-card recording can help with a card failure, but it does not protect against losing the whole camera or every kind of file problem.
 Save
Keep card handling simple during the event
Give every card a consistent place. Keep ready cards separate from used cards, and use a clear label or wallet position to distinguish them. The exact system is less important than using it every time. Do not rely on remembering which loose card came from which camera after a long day. Keep the cards protected from damage and away from places where they can be left behind.
When you change a card, pause long enough to complete the handoff. Wait for the camera to finish writing, follow its instructions for removal, and put the used card into its assigned place before resuming. If a card reports an error, stop using it and separate it from the working set. Repeatedly writing new files to an uncertain card is not a recovery plan.
Plan capacity from your own camera settings and expected coverage rather than a universal wedding frame count. RAW file sizes, compression, burst use and video all change the storage needed. Check a representative test and leave room for an unexpectedly busy session. Bring enough compatible media that you do not have to erase an unverified card to keep working.
Copy the originals, then verify the copies
Create a job folder with an unambiguous name, such as the date and an agreed project label. Inside it, separate originals, working files and exports. When more than one camera or photographer is involved, preserve the source folders until you have checked for filename collisions. Two cameras can produce the same filename; silently replacing one with another would defeat the whole ingest process.
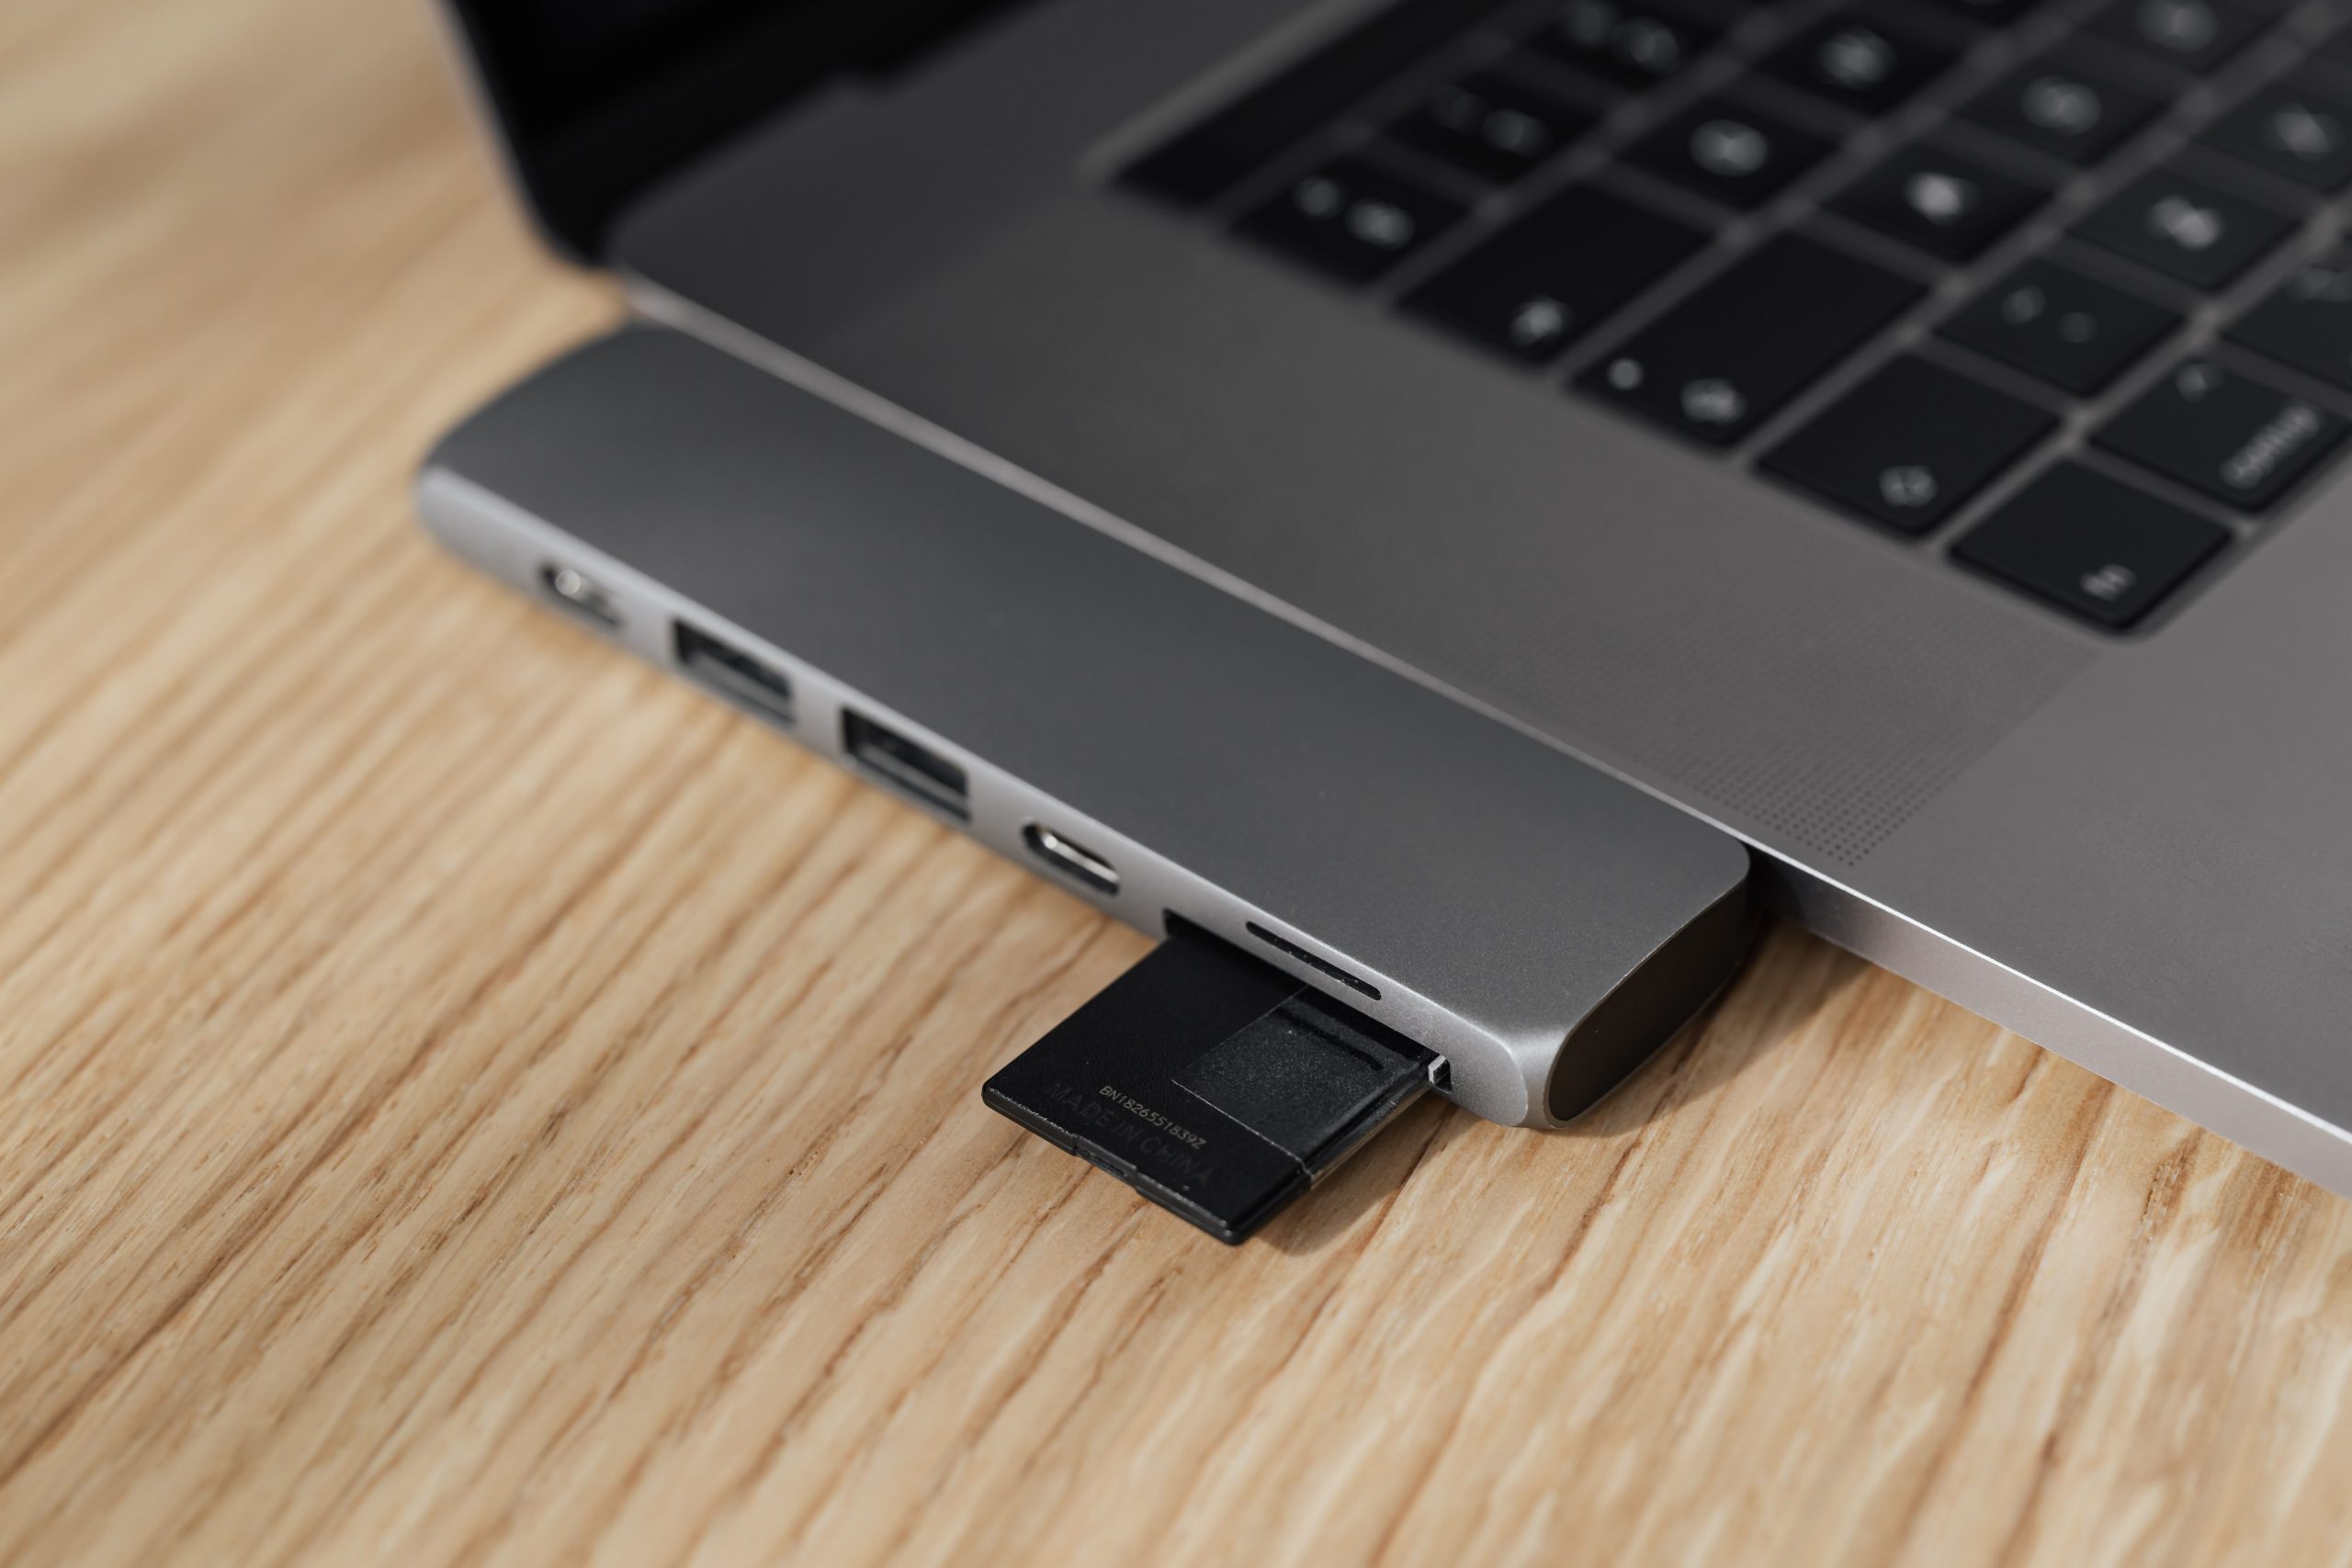
Copy the files from the cards to the working storage. Check that the transfer completed, investigate errors, compare the expected files with the destination and open samples from across the job. A folder appearing in the file browser is not enough evidence that every photograph arrived intact. A copy tool with verification can add a useful check, but you still need a plan for handling a failed transfer.
Make another verified copy on separate storage before considering the cards ready for reuse. Keep the cards as an additional temporary copy while you finish the checks. Do not put the only two copies in one bag and call the job protected against loss. The copies need to address different risks, including hardware failure, accidental deletion and physical loss.
 Save
Make backup and recovery separate checkpoints
CISA describes the 3-2-1 guideline as three copies of important files, on two different types of storage media, with one copy off-site. Use it as a planning framework rather than a label for any three folders. Think about which copy remains available if the computer fails, a drive is stolen or an accidental deletion reaches connected storage.
A synchronization service and a backup service are not automatically interchangeable. Check whether a deletion or unwanted edit is copied to every location, whether older versions can be recovered and how long recovery remains available. Protect account access and use the security controls appropriate to the files. Client photographs should not become public simply because an upload link is convenient.
Test recovery before an urgent job depends on it. Restore a sample to a separate location and open the files. Record where the backup lives and how to recover it. CISA recommends regular recovery tests and protections such as encryption and offline copies. A dashboard saying that a process ran is useful status, but the real question is whether you can recover usable files.
 Save
Back up the catalog as well as the photographs
Editing software may store decisions separately from the image files. Adobe states that a Lightroom Classic catalog backup does not include the photographs themselves. Backing up the catalog alone is therefore not a backup of the whole job. Protect the original photographs, the catalog and the other files your chosen workflow needs, including relevant sidecars and delivered exports.
Lightroom Classic can make a second copy of original files during import, but Adobe describes that as a one-time copy. It does not replace an ongoing backup plan for later edits and catalog changes. Confirm the destination rather than assuming that selecting an import option creates a permanently updated archive. A second copy on the same failing disk also leaves an obvious shared risk.
Cull for the brief, not an arbitrary ratio
Begin by looking for the required moments and the story of the event. Group related sequences so that expressions, gestures and coverage gaps are easier to compare. Mark useful candidates, then make a second pass for technical and editorial checks. There is no universal ten-to-one ratio that tells you whether you have edited well. The right selection depends on the assignment and the photographs you made.
Check focus and motion where they affect the picture, especially on important faces and requested details. Compare near-duplicates instead of sending every small variation. Keep enough context to represent the event honestly. Do not let a dramatic frame replace a quieter picture the client explicitly asked for, and do not assume automated selections understand the brief without your review.
 Save
Edit consistently and check the whole selection
Work through related lighting conditions together. Establish a sensible starting point for exposure and color, then check individual frames before applying settings across a group. A change that helps one photograph may damage another. Watch skin tones, bright signage and mixed lighting instead of treating a preset as a final decision.
Check the selection at a useful viewing size as well as close up. Look for repeated frames, missed rotations, inconsistent crops and obvious distractions. Keep the original files intact and make changes through a workflow you can revisit. For documentary coverage, agree on any limits to retouching and do not remove or add content in a way that misrepresents what happened.
 Save
Check exports and delivery before sending the link
Export to the agreed dimensions, file type and color settings for the intended use. If the client needs different versions for print and online use, label them clearly. Avoid a folder full of similar names that forces the recipient to guess. Review the actual exported files, not only the editing preview, for missing images, unwanted watermarks, odd crops or incorrect settings.
Check the gallery or delivery folder from the recipient’s side where possible. Confirm access, download permissions and the intended audience before sharing it. A private client job should not inherit a public setting from a previous project. Tell the client what is included and which version to use, using the communication process agreed for the assignment.
After delivery, record the date, the delivered version and any requested changes. Keep the job under its agreed retention policy, with a clear point for checking that the archive and recovery copies remain usable. Do not erase cards or working files because a link was sent. Close the job only when the promised delivery and the file-protection checkpoints have both been completed.
A repeatable handoff checklist
Before the event: confirm the brief, access and delivery terms, then check compatible media and equipment. During it: separate ready and used cards and account for every handoff. After it: copy, verify and protect the originals before reuse. During editing: save the decisions as well as the pictures. Before delivery: inspect the exports and access settings. Afterward: record the final version and follow the agreed archive policy. These checks are small enough to repeat, which is why they belong in the workflow.
Frequently asked questions
What is the 3-2-1 backup rule?
CISA describes three copies of important files, on two different types of storage media, with one copy off-site. Plan for separate risks and test that you can restore usable files.
When can I format an event photography memory card?
Only after the previous files have been accounted for in verified copies elsewhere and the card is ready for reuse. Follow the camera maker’s instructions. Do not erase an uncertain card just to make room during an event.
Does backing up a Lightroom Classic catalog protect my photos?
No. Adobe says catalog backups do not include the photographs themselves. Back up the image files independently, along with the catalog and any other files needed by your editing workflow.
Is the second copy made during import a complete backup plan?
No. Adobe describes it as a one-time copy of the originals. Later edits and catalog changes need their own ongoing backup process, and the location of each copy matters.
How many images should I deliver from an event?
Agree on the deliverable with the client. Choose photographs that meet the brief without unnecessary repetition. There is no universal selection ratio or file count that suits every event.
How long should I keep client photographs?
Set a clear retention policy in the agreement and follow it. Explain how long files remain available and what the client should download and protect. Do not imply indefinite storage unless that is a service you can actually provide.
Sources and further reading
CISA: Back Up Business Data; Adobe: Back up Lightroom Classic catalogs; Adobe: Import options and second copies. These references support the backup and catalog distinctions above. They do not certify a particular photographer’s storage setup.
Gear links below are affiliate links. If you buy through them, Shut Your Aperture may earn a commission at no extra cost to you.
Workflow gear to consider
These are product options, not equipment tested for this article or a guarantee against data loss. Check exact-model compatibility before buying. For a broader starting point, see the camera buyer guide.
- Samsung 2TB T7 Shield Portable SSD (Black) – A portable working-storage option. It is not a backup plan by itself; keep verified copies on separate storage. View options at B&H | Browse Amazon
- SanDisk 128GB Extreme PRO UHS-I SDXC Memory Card – A card-family option for a camera that supports its format and recording requirements. Check the exact model and your camera manual rather than buying by capacity alone. View options at B&H | Browse Amazon
- ProGrade Digital CFexpress Type B and UHS-II SDXC Dual-Slot Reader – A reader option for these two card formats. Match the reader, cable and computer connection to the cards you actually use. View options at B&H | Browse Amazon
Amazon and B&H links are affiliate links. Shut Your Aperture may earn a commission at no extra cost to you. Product names describe options to compare; prices and availability can change.