Original date March 26, 2024. Updated November 2026.
Some links below are affiliate links. If you buy through them, Shut Your Aperture may earn a commission at no extra cost to you.
Mixed lighting is often the hardest part of event photography. A face can catch blue uplighting on one side, warm ceiling light on the other and a burst of neutral flash from the camera. Moving the white balance slider cannot make those three sources become one. The useful decision is which light should describe the person and which light should remain part of the room.
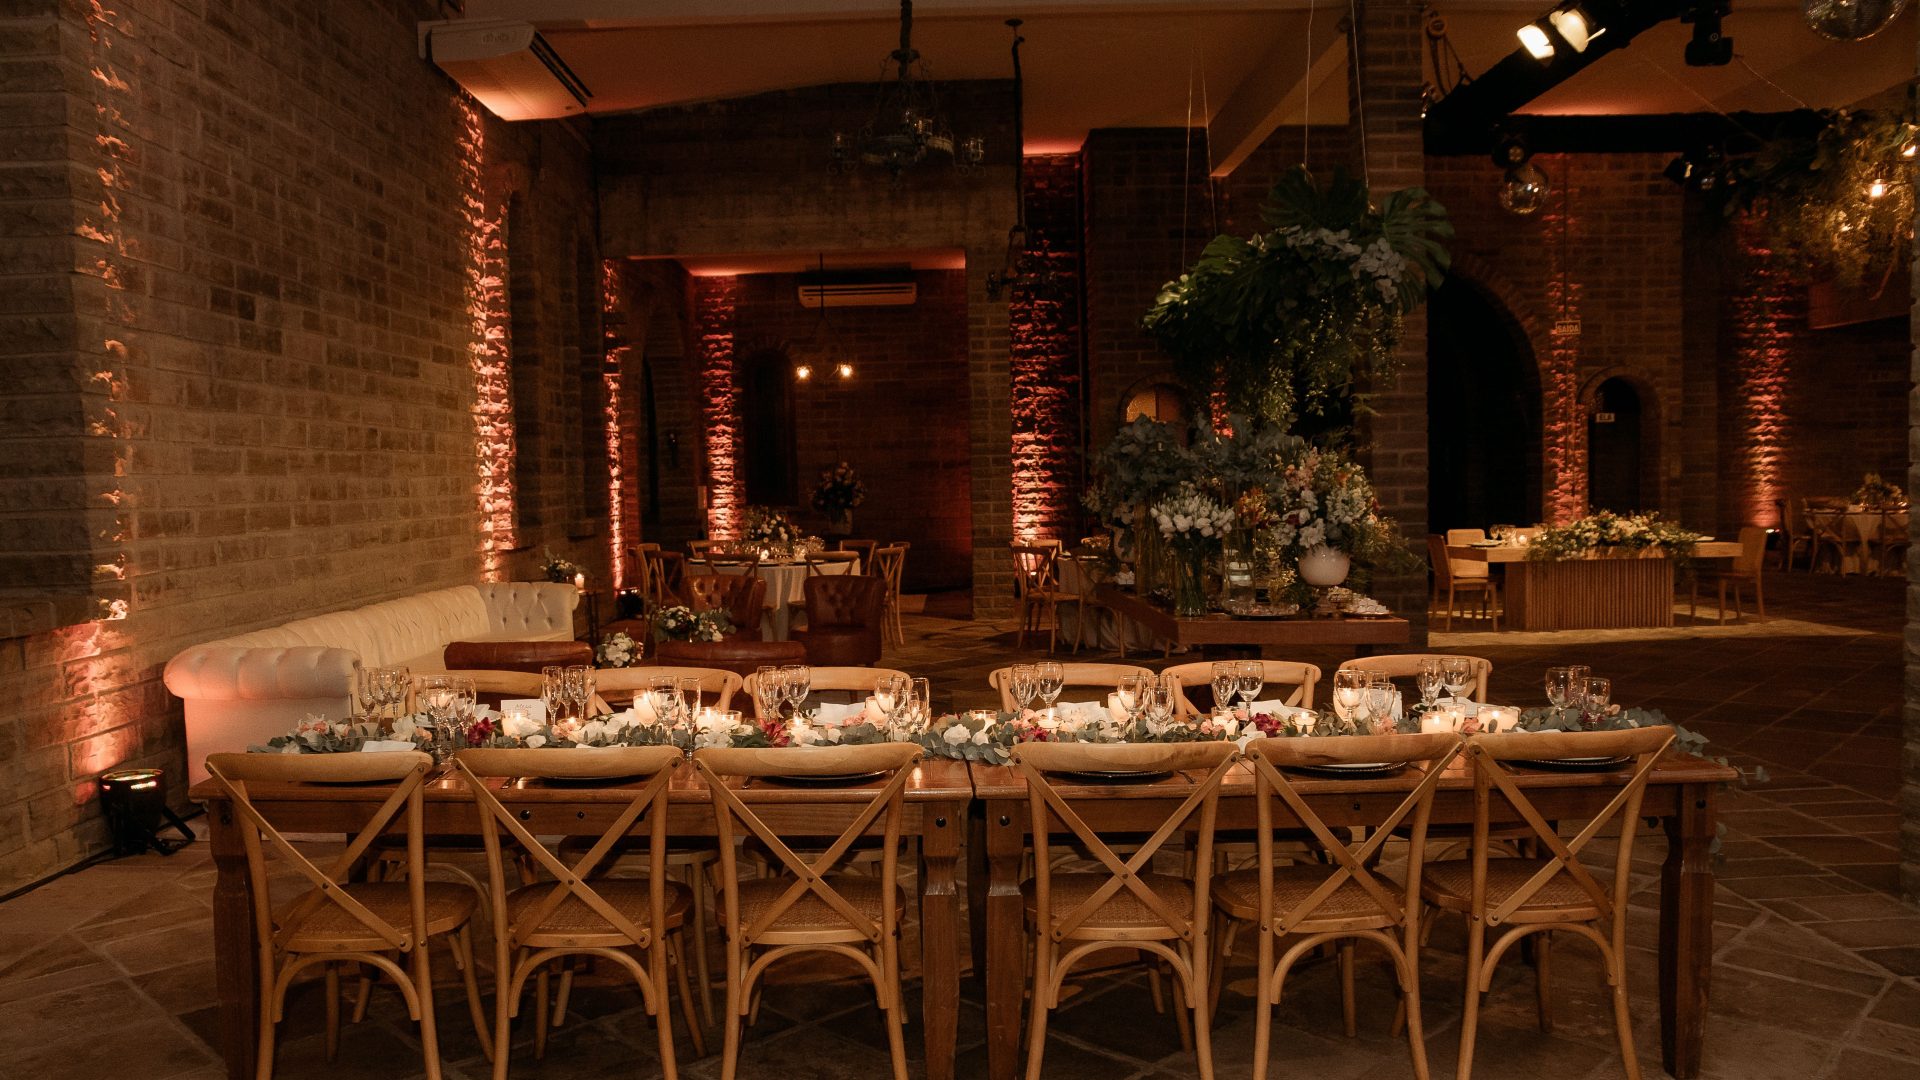
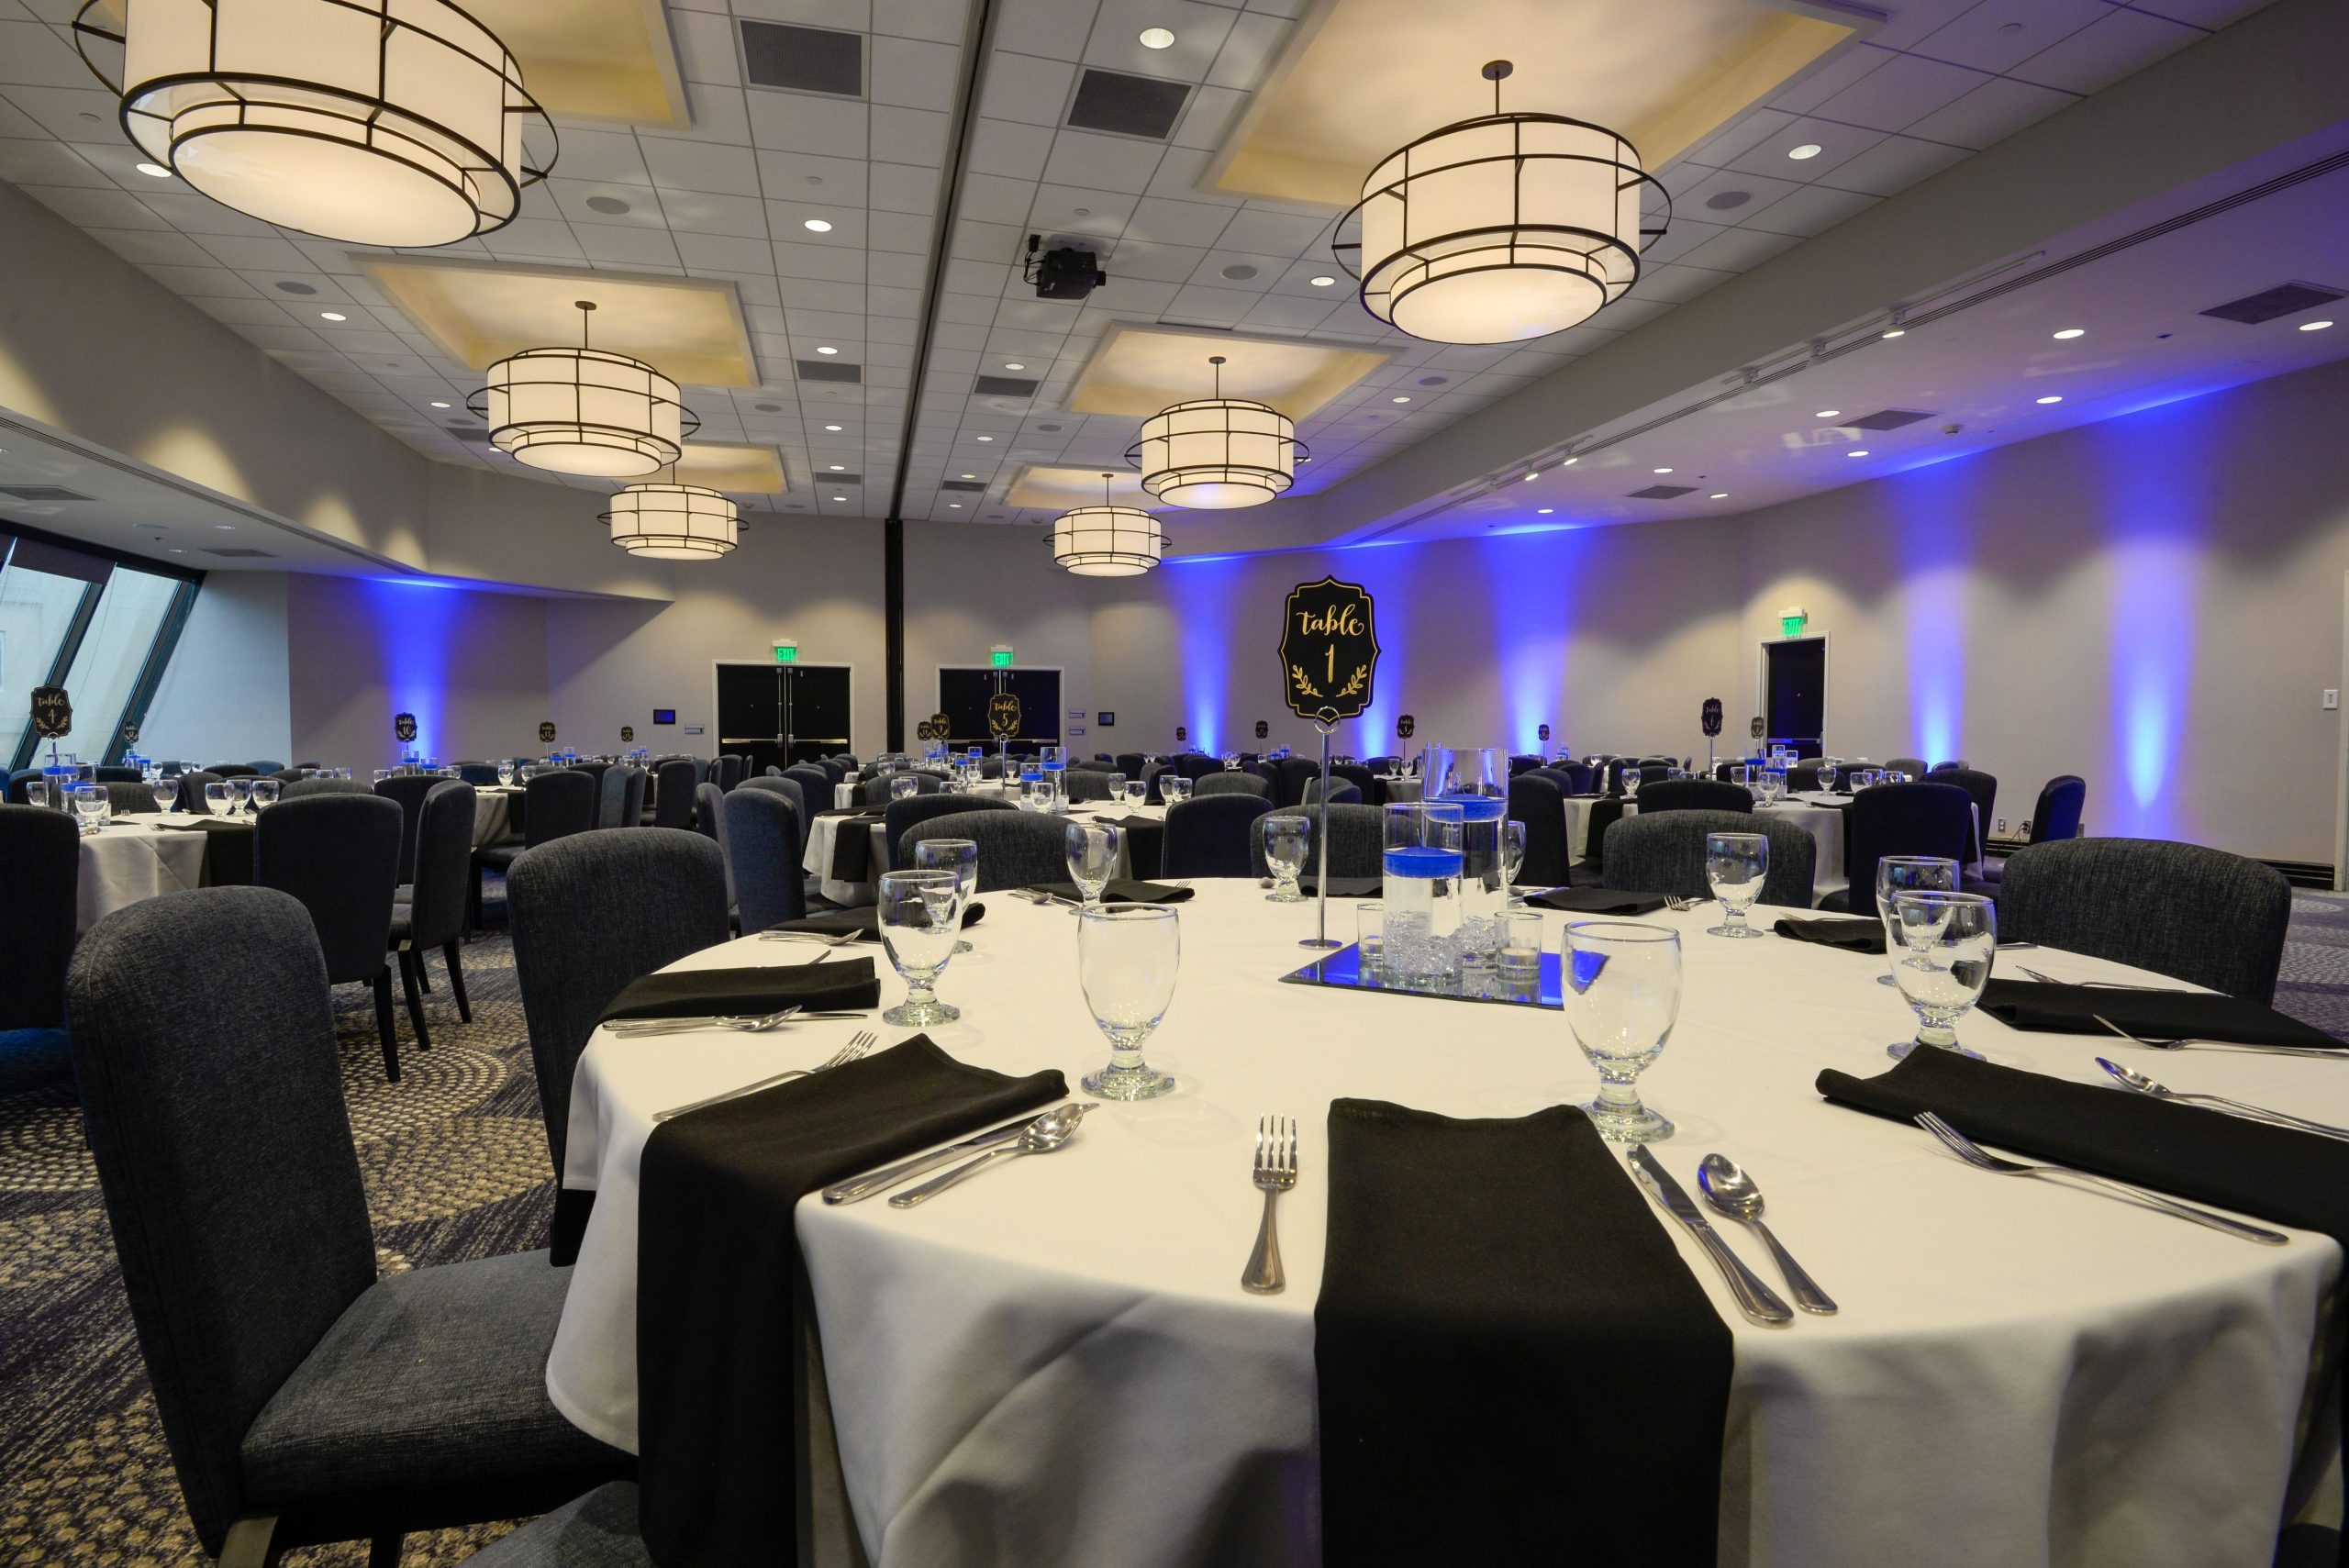
This guide is a practical way to diagnose color and exposure problems before they spread through a whole reception gallery. It covers mixed-light test frames, flash gels, bounce surfaces, motion and selective editing. For equipment choices and stand-based setups, start with our portable event lighting guide. The photos here are stock illustrations of rooms and equipment, not before-and-after demonstrations or evidence of a particular lighting setup.
Featured photograph: Photo by Jonathan Borba via Pexels (Pexels license, https://www.pexels.com/photo/19986458/). (Stock photo, illustrative.)
Separate the light on people from the light in the room
Before guests arrive, walk the spaces you will actually use: entrance, speaking position, tables, portrait area and dance floor. Look at the light falling on a face at each position, not only at how attractive the room looks from the doorway. A blue wall can stay blue. A blue patch crossing a face may need a change of position, direction or light balance.
Make an ambient-only test and then one with flash from the same position. Compare skin, white fabric, table linen and the background separately. If the problem appears only after adding flash, inspect its bounce path, filter and output. If it is already in the ambient frame, changing a flash setting alone will not remove it. Recheck whenever the DJ, stage lighting or room arrangement changes.
 Save
Choose a useful white balance, not a perfect number
White balance sets a color reference for the picture. It does not identify every lamp and correct each one separately. An automatic setting is a reasonable starting point, but a fixed setting can make a sequence easier to compare while the lighting stays stable. Make a fresh test when you move into a different room or a different pool of light.
Use a neutral reference under the light that will illuminate your subject. A gray card held somewhere else in the room measures a different mixture. In editing, avoid sampling a bright reflection on glass or a clipped white highlight: it may contain little useful color information. Adobe recommends a neutral area with visible detail for the White Balance tool. Temperature corrects a blue-yellow cast; Tint deals with the green-magenta direction.
Shoot RAW when your workflow allows it, so white balance can be adjusted from the captured data later. That flexibility is valuable, but it is not permission to ignore a strongly colored light on skin. Keep a reference frame from each setup and compare the sequence, rather than forcing every room to one Kelvin number.
Match the flash to the dominant ambient source
An unfiltered flash can look cool against a room lit mainly by warm bulbs. A compatible warming gel or incandescent filter changes the flash color so it can sit closer to that ambient light. Set white balance for the combined result, take a test and adjust. A weaker or stronger correction may suit the room better; there is no single gel strength for every reception.
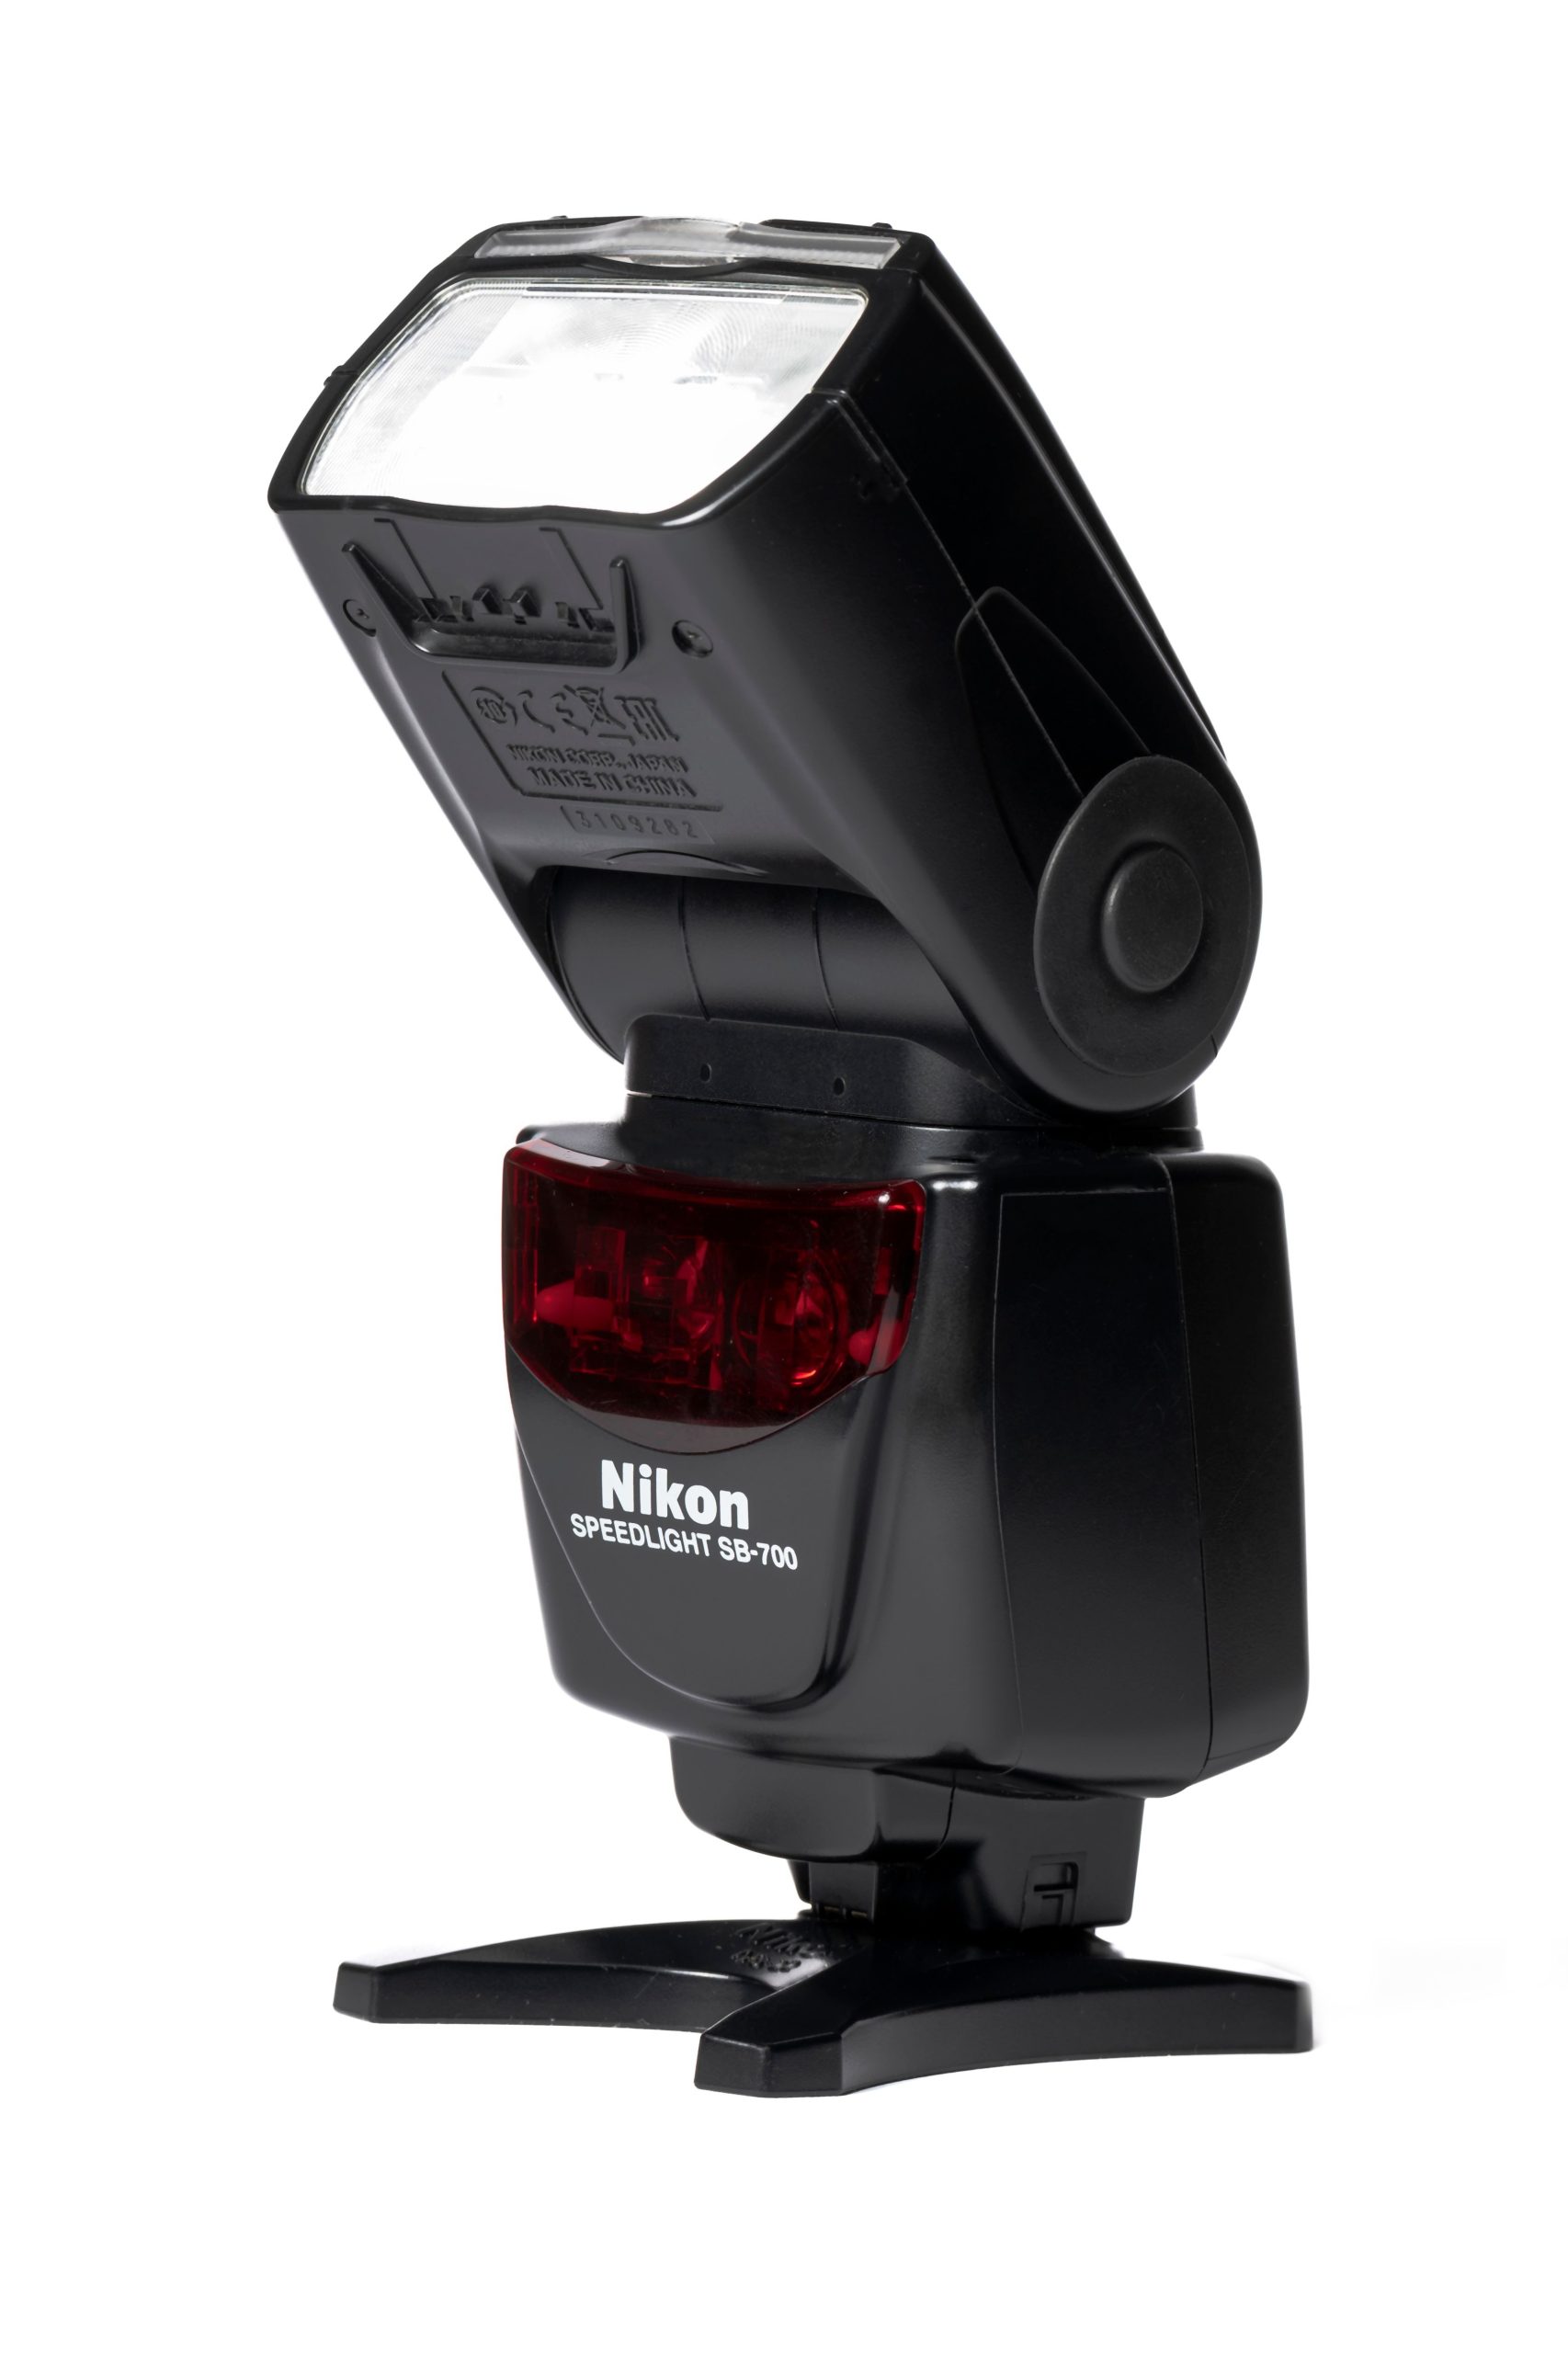
Do not confuse correction filters with creative color. A blue or red gel used for a background effect is making a color choice, not restoring neutral light. Nikon documents both color-compensation filters and creative gels. Use the holder and filter type your flash supports, keep ventilation clear and follow its heat limits. Do not tape random material over a hot flash tube.
 Save
Check the bounce surface before raising flash power
A ceiling or wall becomes part of your light source when you bounce flash from it. A close neutral surface can spread the light; wood, painted walls and colored decor can also color it. Nikon recommends white or highly reflective bounce surfaces and warns that other surfaces influence image color. Pointing the head upward is not enough if the usable surface is distant, dark or the wrong color.
If the test looks muddy or has a new cast, try a different bounce direction or move to a better position. Do not keep increasing output into an unsuitable ceiling. Where bounce is not practical, a permitted direct or off-camera flash position may be a cleaner compromise. Keep the solution simple enough to repeat while people move.
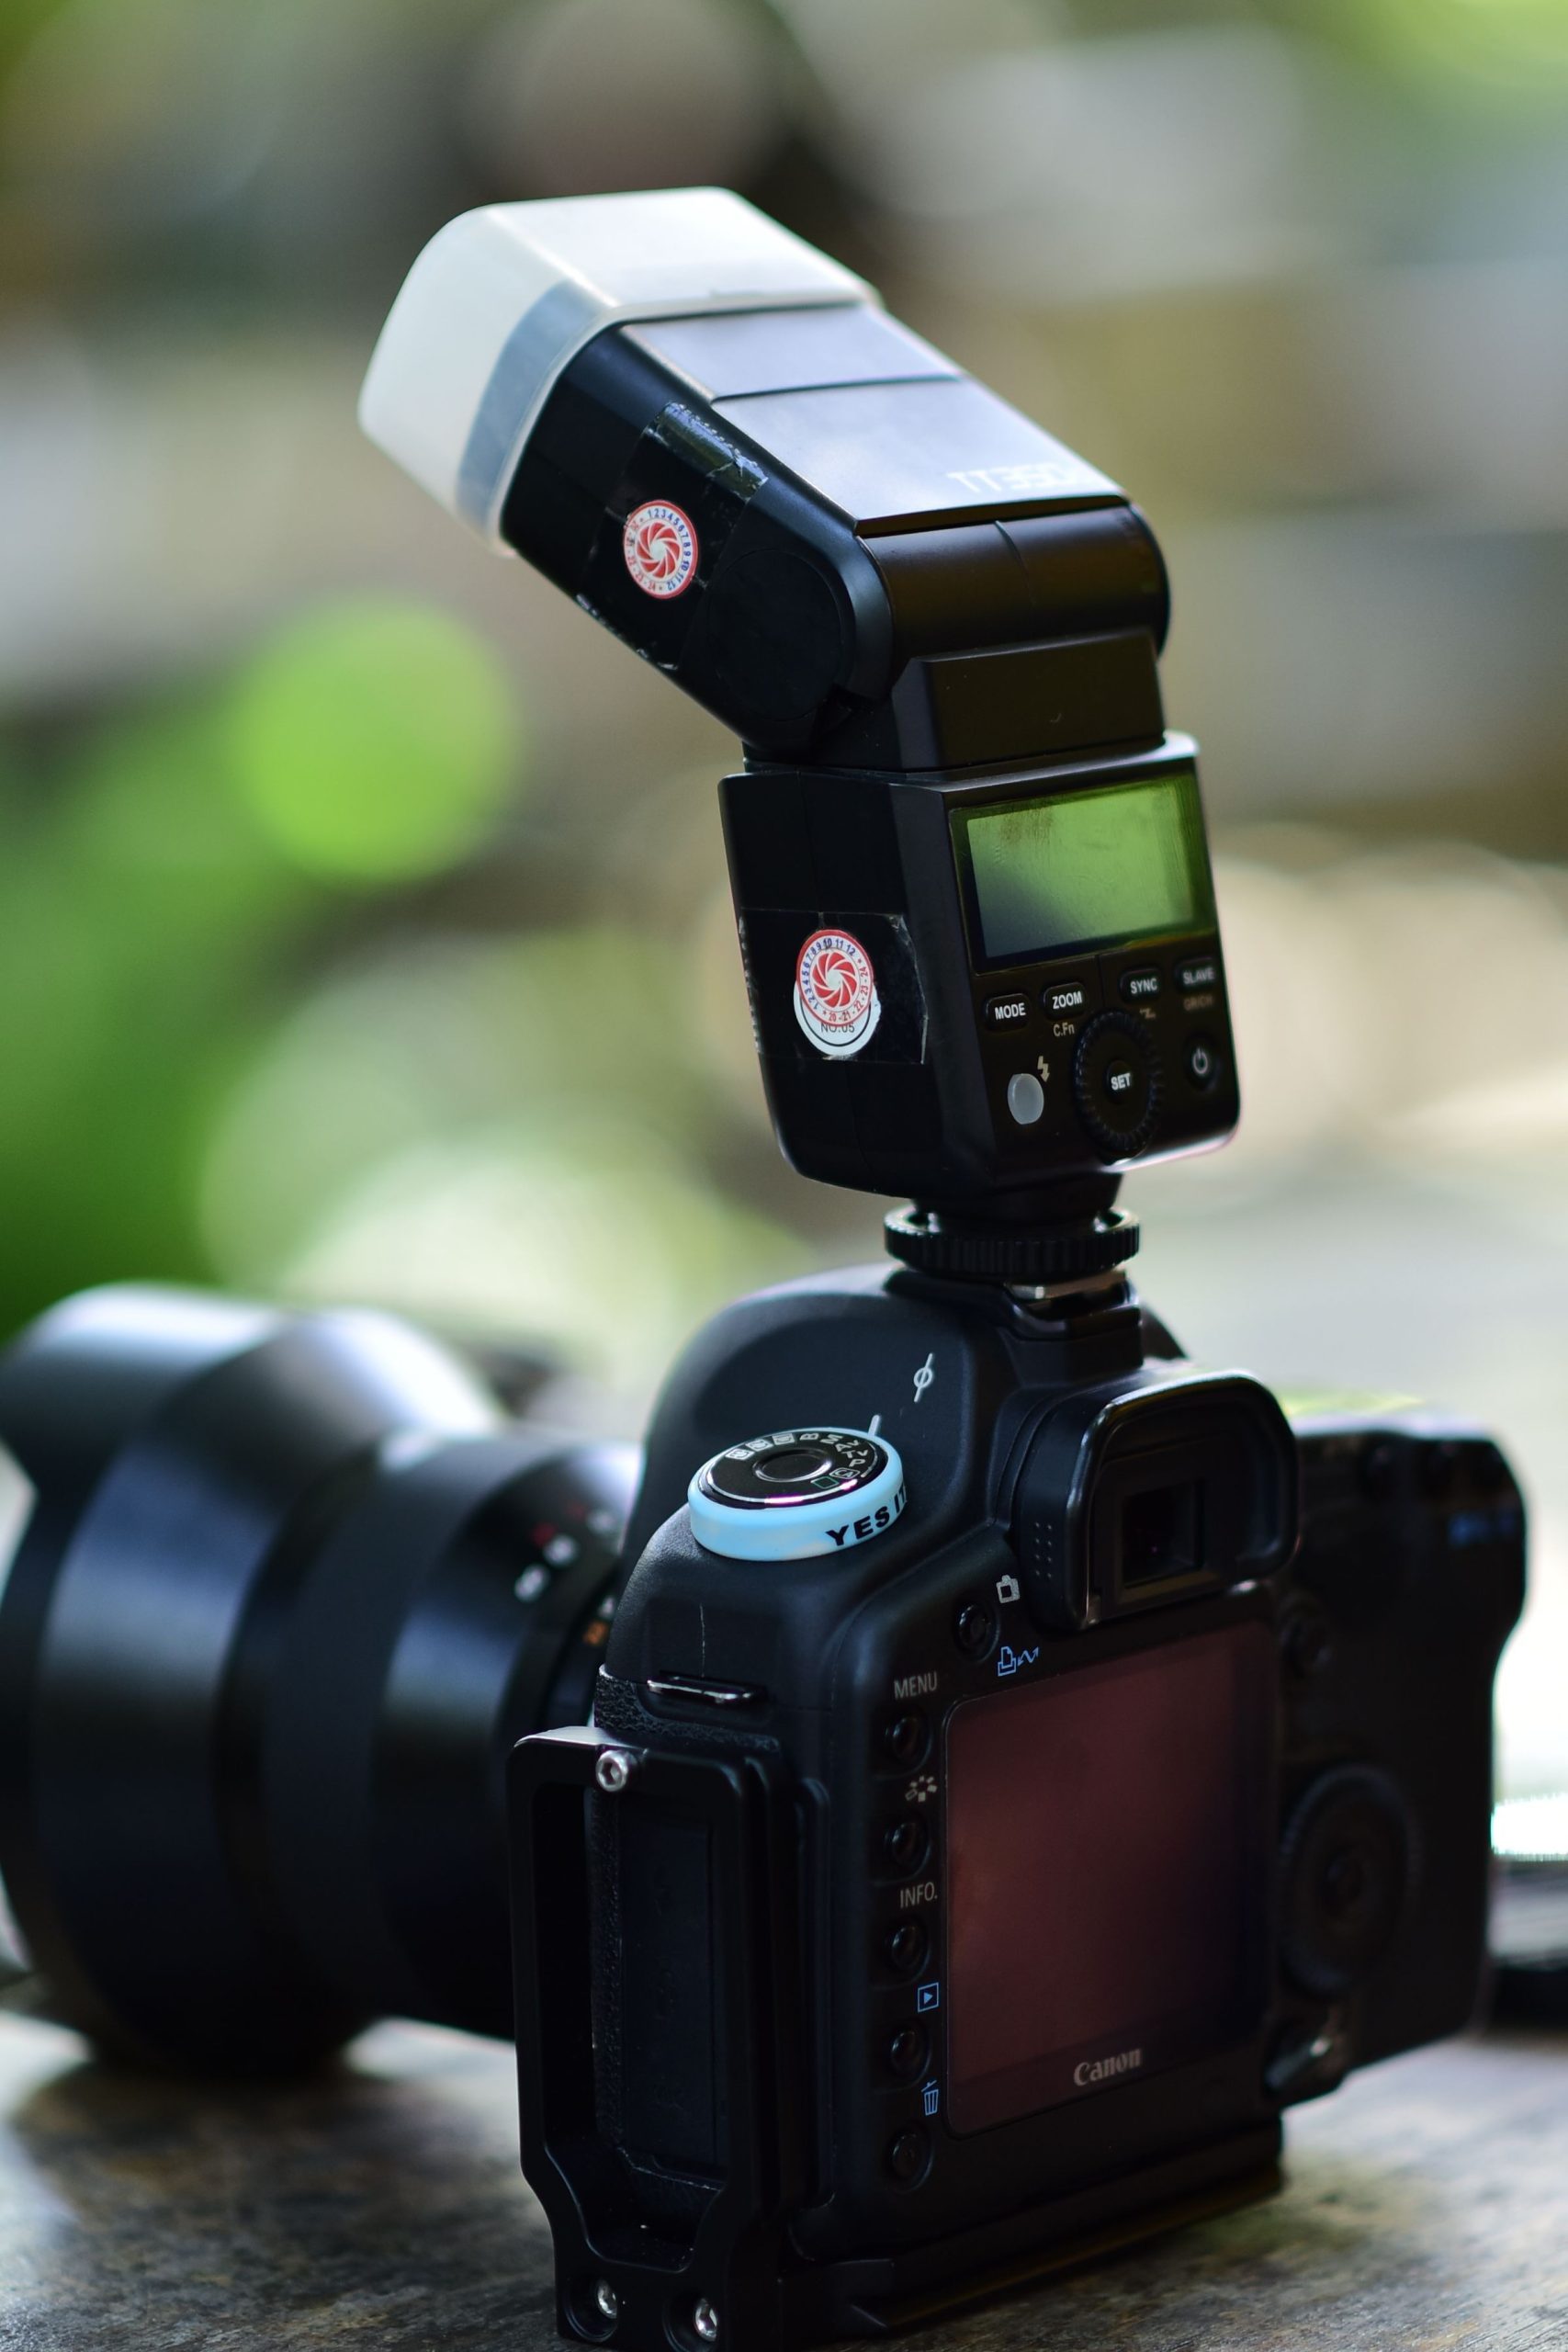
A small plastic diffusion cap is not a room-sized softbox. Outdoors, it cannot create a ceiling to bounce from. Judge what it does in your test rather than assuming that any diffuser automatically makes flattering light. For a stationary portrait area, choose a larger supported modifier if the venue, staffing and available space permit it.
Use flash and ambient exposure as separate controls
At ordinary flash-sync speeds, shutter time changes the continuous-light contribution without changing a fully captured manual flash burst in the same way. Aperture and ISO affect both contributions. Flash output and flash-to-subject distance provide further control. TTL may change its output as you change the scene or settings, so compare actual test frames rather than treating the controls as isolated switches.
If the face looks good but the room is too dark, a longer shutter time can bring the background up. Watch for subject movement and camera shake. If colored ambient light is overwhelming the face, reducing the ambient contribution and giving the flash a clearer role may help. Check the background at the same time so the event does not become a bright face floating in black.
As a controlled test, compare two shutter times one stop apart while keeping aperture, ISO, position and manual flash output unchanged. Use a still subject and stay within your equipment’s normal sync limit. The comparison teaches more than copying a fixed reception setting from someone else’s room.
 Save
Keep colored LEDs as atmosphere without letting them own skin
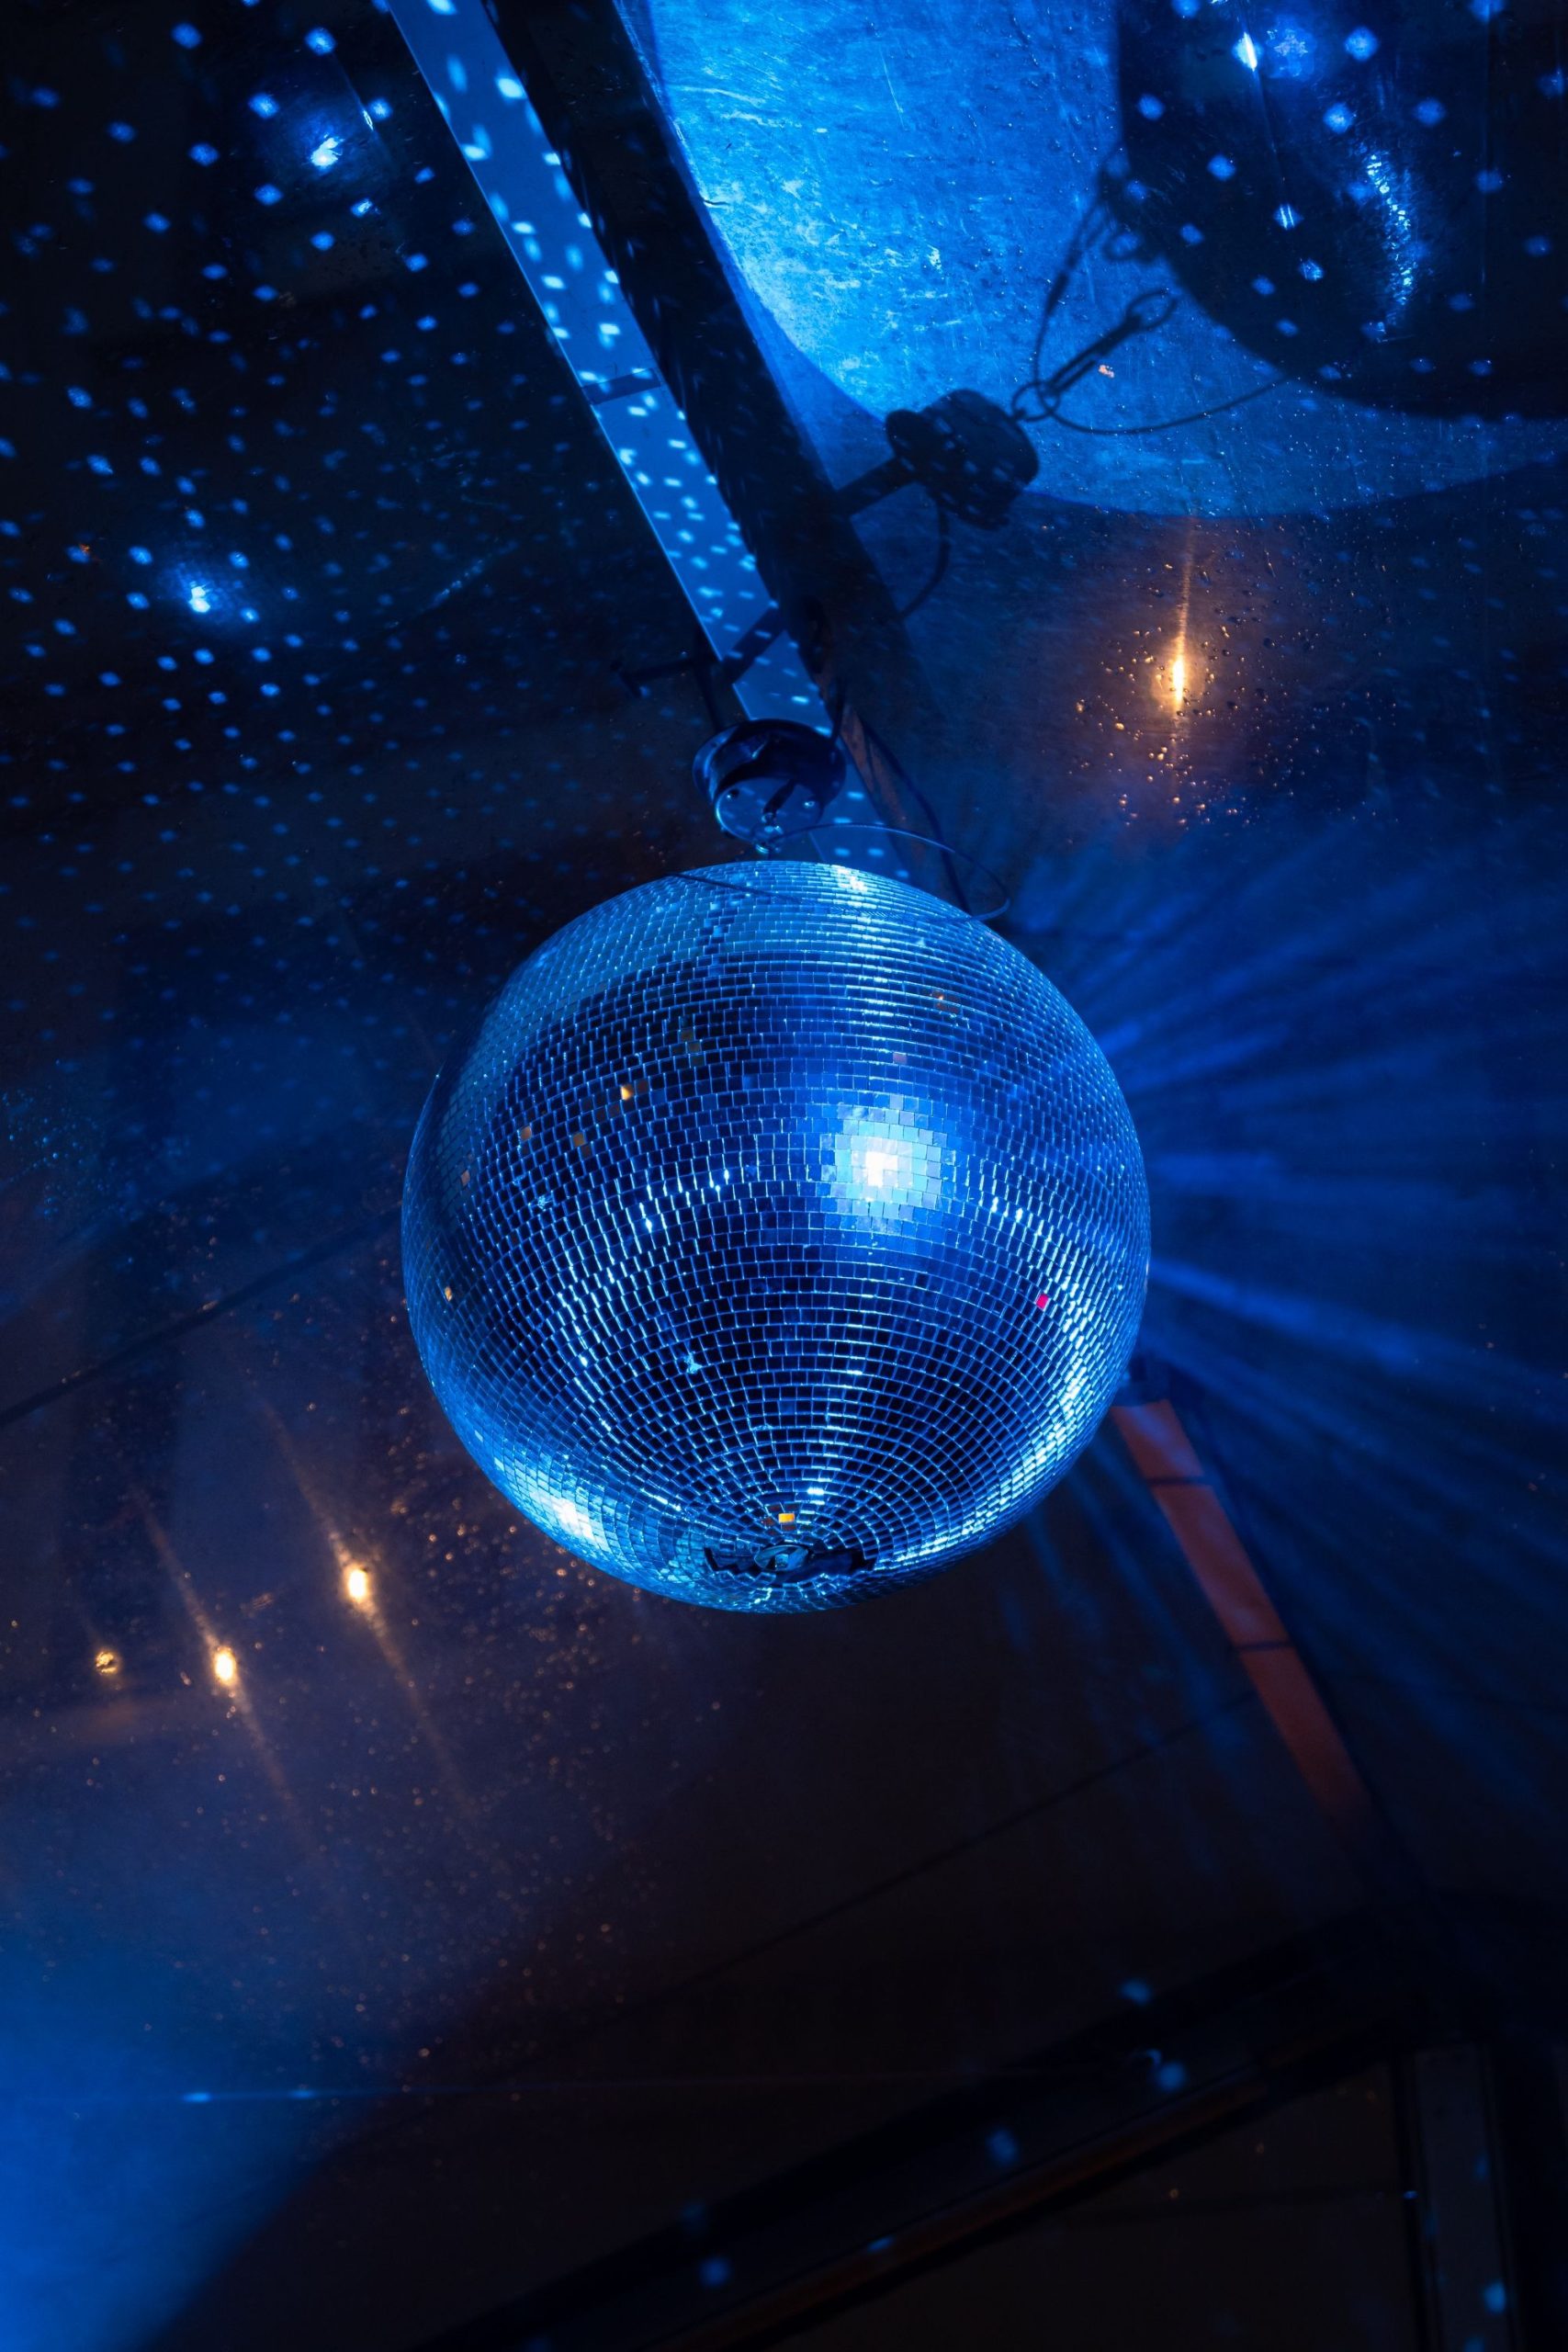
A saturated blue or magenta beam may be exactly what the organizer wants on a wall or dance floor. You do not need to neutralize the whole scene. Change your angle so the strongest colored beam stays behind the person, wait for a more useful lighting cue or add a permitted neutral key light. Sometimes moving a few steps is faster and cleaner than adding another flash.
Watch individual color channels and bright signs as well as the overall histogram. If a colored area has lost texture, reducing saturation afterward does not guarantee that detail will return. Make a test during the actual lighting sequence, because a pleasant room before guests arrive may look very different once the show begins.
Avoid promising that one white balance setting or gel will fix every LED installation. Different colored sources can fall on different parts of the same person. Control the light you can control, preserve intentional background color and make a deliberate compromise for the rest.
 Save
Diagnose blur and banding separately from color
A crisp flash-lit edge with a soft second outline usually points to movement recorded by ambient light. A shorter shutter time can reduce that contribution; rear-curtain sync changes when the flash fires, not whether the subject moves. Use intentional slow-sync trails for selected creative frames, not as the only coverage of a key moment.
Stay within the camera and flash system’s supported sync settings. High-speed sync is a separate compatible mode and reduces effective flash output as shutter speed rises. Electronic-shutter behavior is model-specific: some cameras support flash with it and others restrict it. Check the manual instead of assuming silent shooting and flash always work together.
If a sequence shows brightness or color bands, test the room lights without flash and check the camera’s flicker/shutter guidance. Do not mistake an artificial-light problem for a bad white balance reference. Take the test before speeches, not halfway through the only presentation you were hired to cover.
Correct a mixed-light gallery without flattening the mood
Group files by lighting condition, not merely by capture time. A table beside a window and the stage across the room may need different starting adjustments even if the photographs were seconds apart. Set a useful overall white balance first, then compare skin and neutrals across a few representative frames before syncing anything widely.
Use a local mask for a remaining area-specific cast when needed. Adobe Camera Raw offers local Temperature and Tint adjustments, plus tools to refine a mask. Inspect the edge around hair, clothing and nearby decor so the correction does not look painted on. Keep purposeful colored light in the background where it belongs.
Do not use heavy saturation changes or blanket skin smoothing to conceal unresolved lighting. If a file has little useful detail in an important area, choose a stronger adjacent frame when possible. Keep the original RAW files, review exports and use our event photography workflow guide for the backup and delivery side of the job.
Make the setup repeatable and safe
Agree on flash restrictions with the organizer and venue. Keep stands, cables and modifiers out of guest paths and exits, secure equipment appropriately and assign someone to watch a stand-based setup when it needs supervision. A lighting improvement is not worth a trip hazard or a blocked sightline during a speech.
Keep a short note for each lighting zone: usable bounce direction, white balance reference, filter, flash mode and a successful test frame. Follow recycle and thermal warnings. If the flash cannot keep up, change your shooting pace or lighting plan rather than firing through the warning. For radio compatibility, channels and groups, use our wireless trigger guide.
Buy only for the problem you have identified
A gel, a better bounce position or a rehearsal may solve more than a larger light. If you need a tilting speedlight, the Nikon SB-700 at B&H is one example shown in this guide, not a universal recommendation. Verify compatibility with your exact camera, flash-control system and required features before buying. Do not assume a unit for one camera brand provides TTL on another.
For wider photography practice, explore the Shut Your Aperture Academy. Practice the ambient-only and flash-added comparison in a quiet room first, then repeat it under the actual venue lights. Familiar controls leave more attention for the people and moments in front of you.
Mixed-light event photography questions
Can one white balance setting fix every light in a ballroom?
No. It sets one overall reference, while different sources can illuminate different areas. Choose the light that should describe the person, then control competing light or make selective corrections.
Should I always put an orange gel on my flash?
No. Use a warming correction when it helps match the dominant ambient source. A daylight room, colored stage or changing LED sequence may need a different choice. Test the combined result.
Why does bounced flash have a green or orange cast?
The reflecting surface can color the light. Inspect the wall or ceiling, try another direction or position, and make a new test before increasing power.
How can I brighten the background without increasing manual flash output?
Within normal sync limits, a longer shutter time increases continuous-light exposure while the fully captured manual flash burst is not changed in the same way. Watch motion blur; aperture, ISO and TTL introduce other changes.
Does rear-curtain sync remove motion blur?
No. It changes the timing of the flash within the exposure. Ambient light can still record movement, so choose the shutter time and ambient contribution for the result you want.
Can I fix mixed lighting later in a RAW file?
RAW allows flexible white balance and local editing, but it does not guarantee recovery of missing detail or a convincing correction to every colored patch. Get the strongest light and exposure you can at capture.
Sources and further reading
Technique references: Nikon SB-700 manual; Strobist on flash and ambient exposure; Nikon on white balance; Canon on high-speed and rear-curtain sync; Adobe Camera Raw color adjustments; Adobe Camera Raw local masks. Exact controls and limits depend on your equipment.