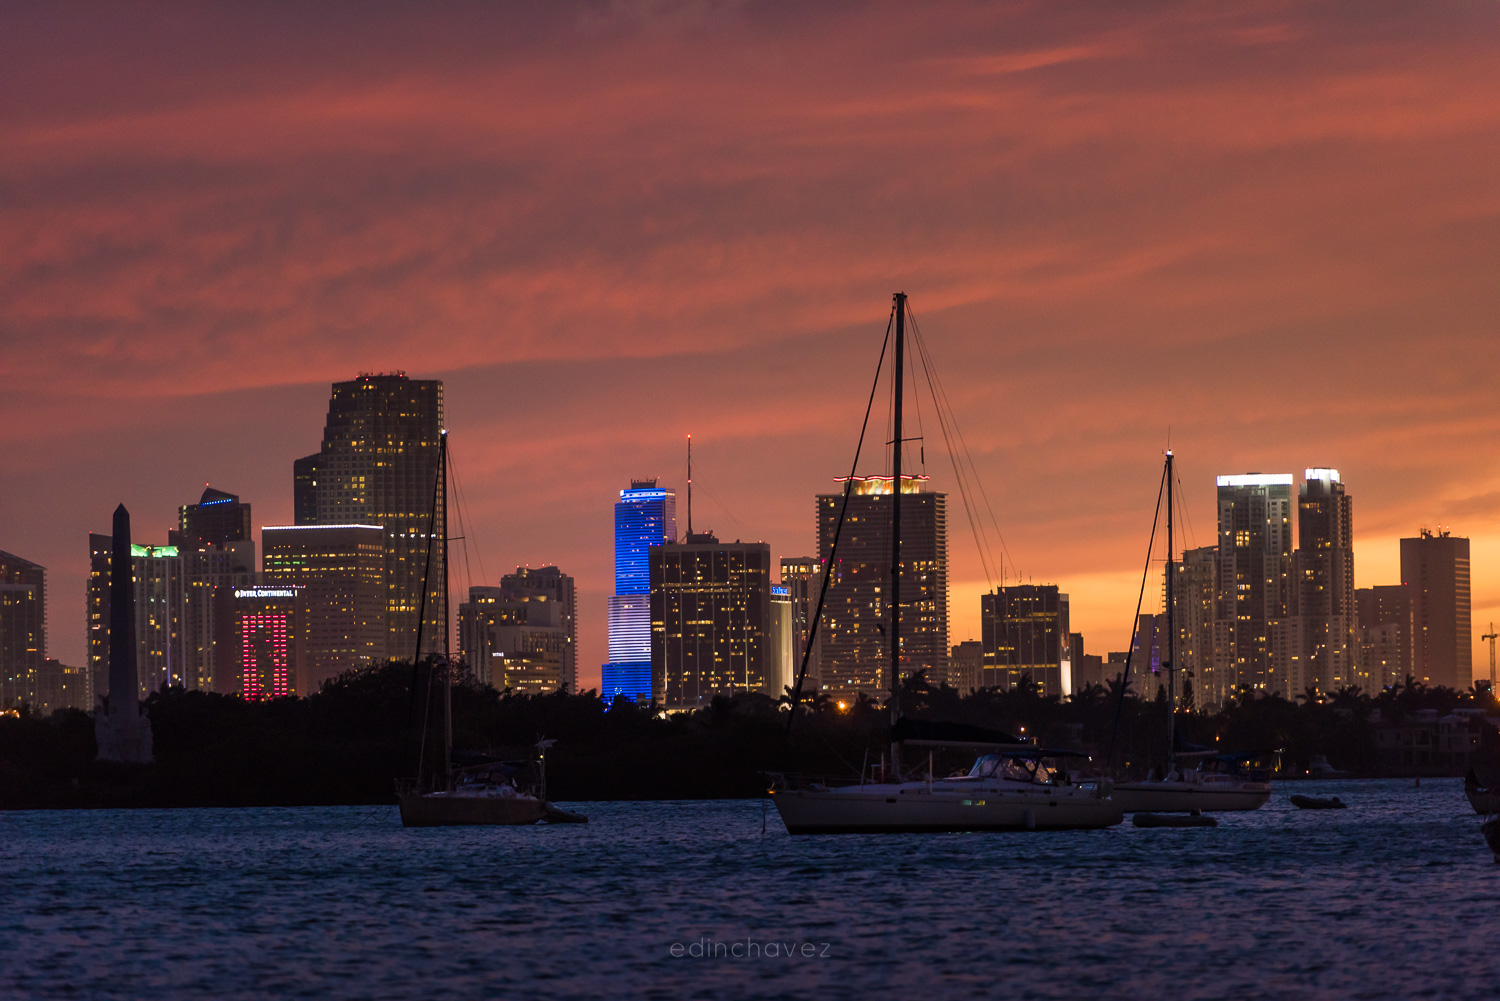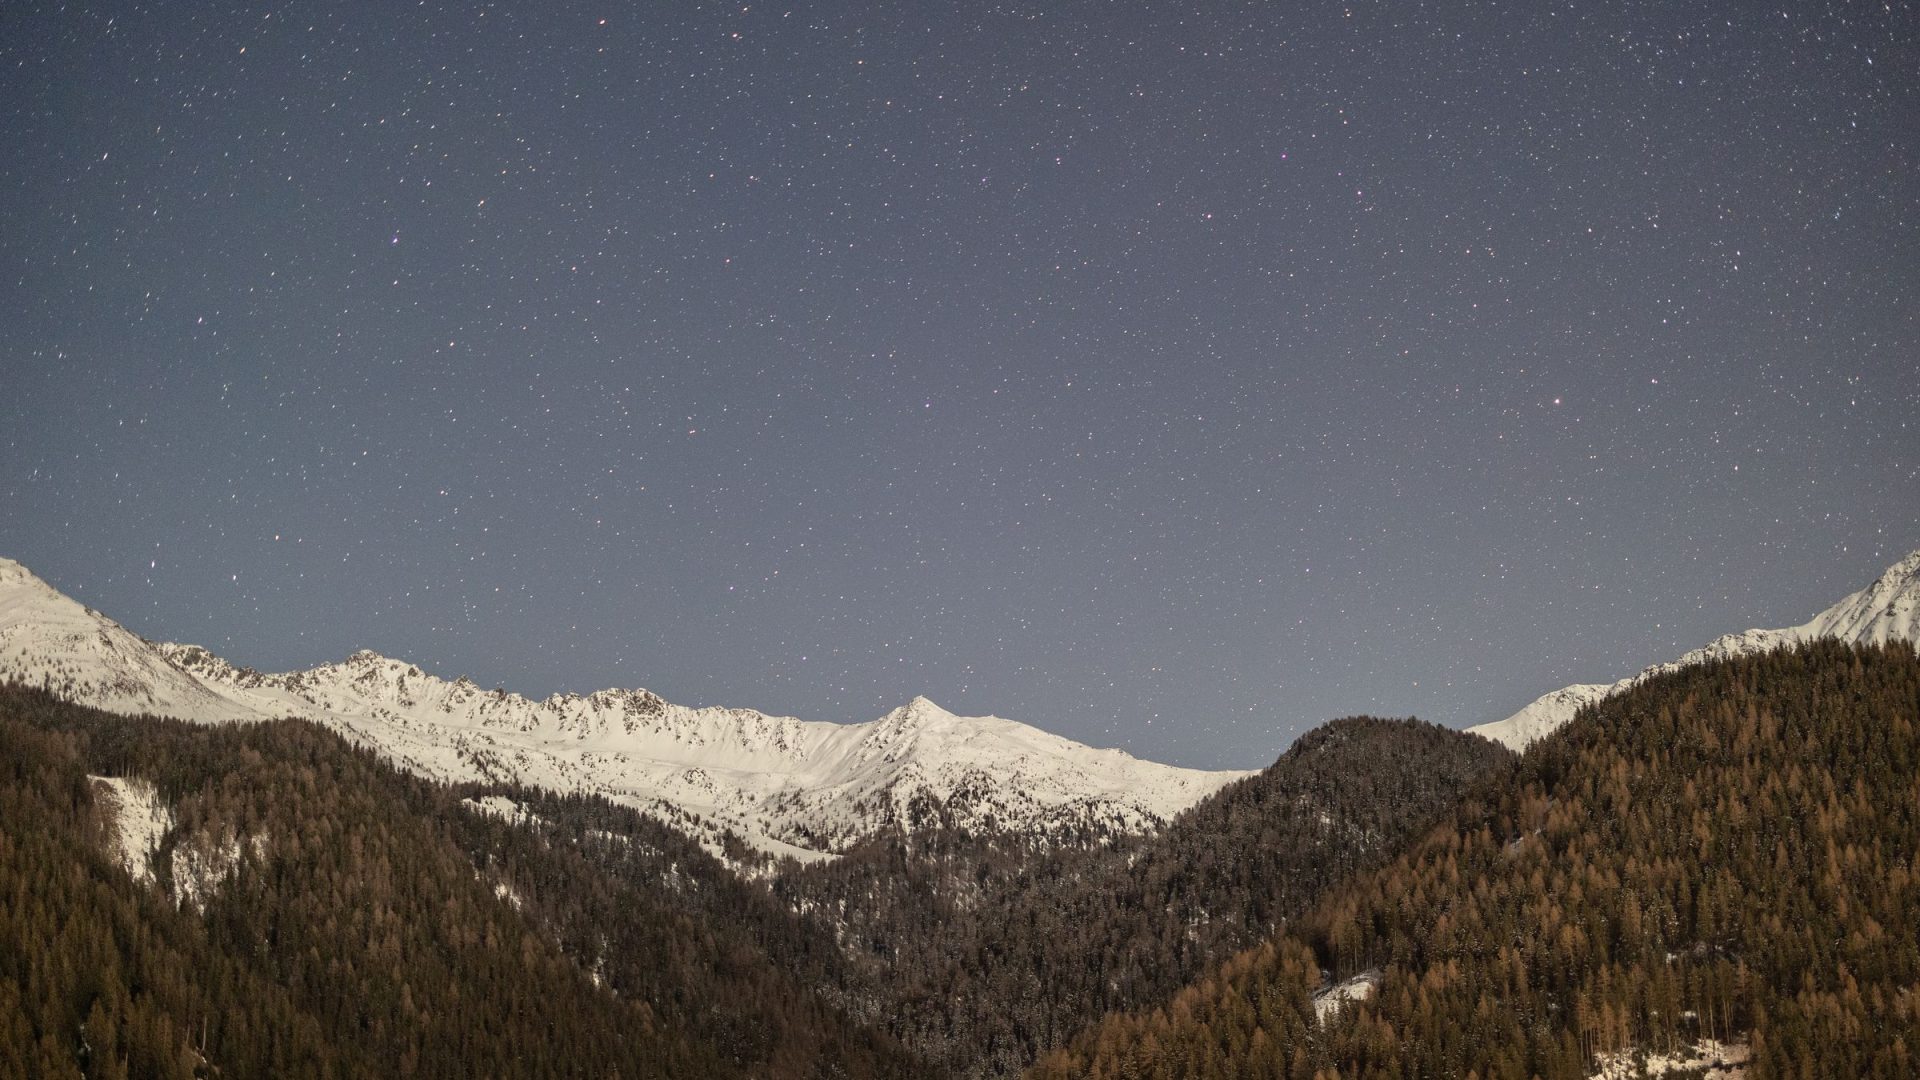
Featured photograph: Photo by Marek Piwnicki / Pexels / Pexels License. (Stock photo, illustrative.)
From the Shut Your Aperture archive (2014): this is a composite art film, not footage of a real London blackout. The creator’s invitations to collaborate and contact details came from the original period and are omitted.
Blackout City
View Blackout City on Vimeo, credited there to Nicholas Buer. The film imagines London under a darker night sky by combining city images processed to look like night with star footage shot in darker locations in southern England.
In his original statement, Buer said he began the project in August 2013 and aimed to show what urban light pollution hides. The stars and city were photographed separately, so the result should be read as a visualization, not documentation of an actual blackout. Vimeo metadata identifies the film and creator, but playback can vary.
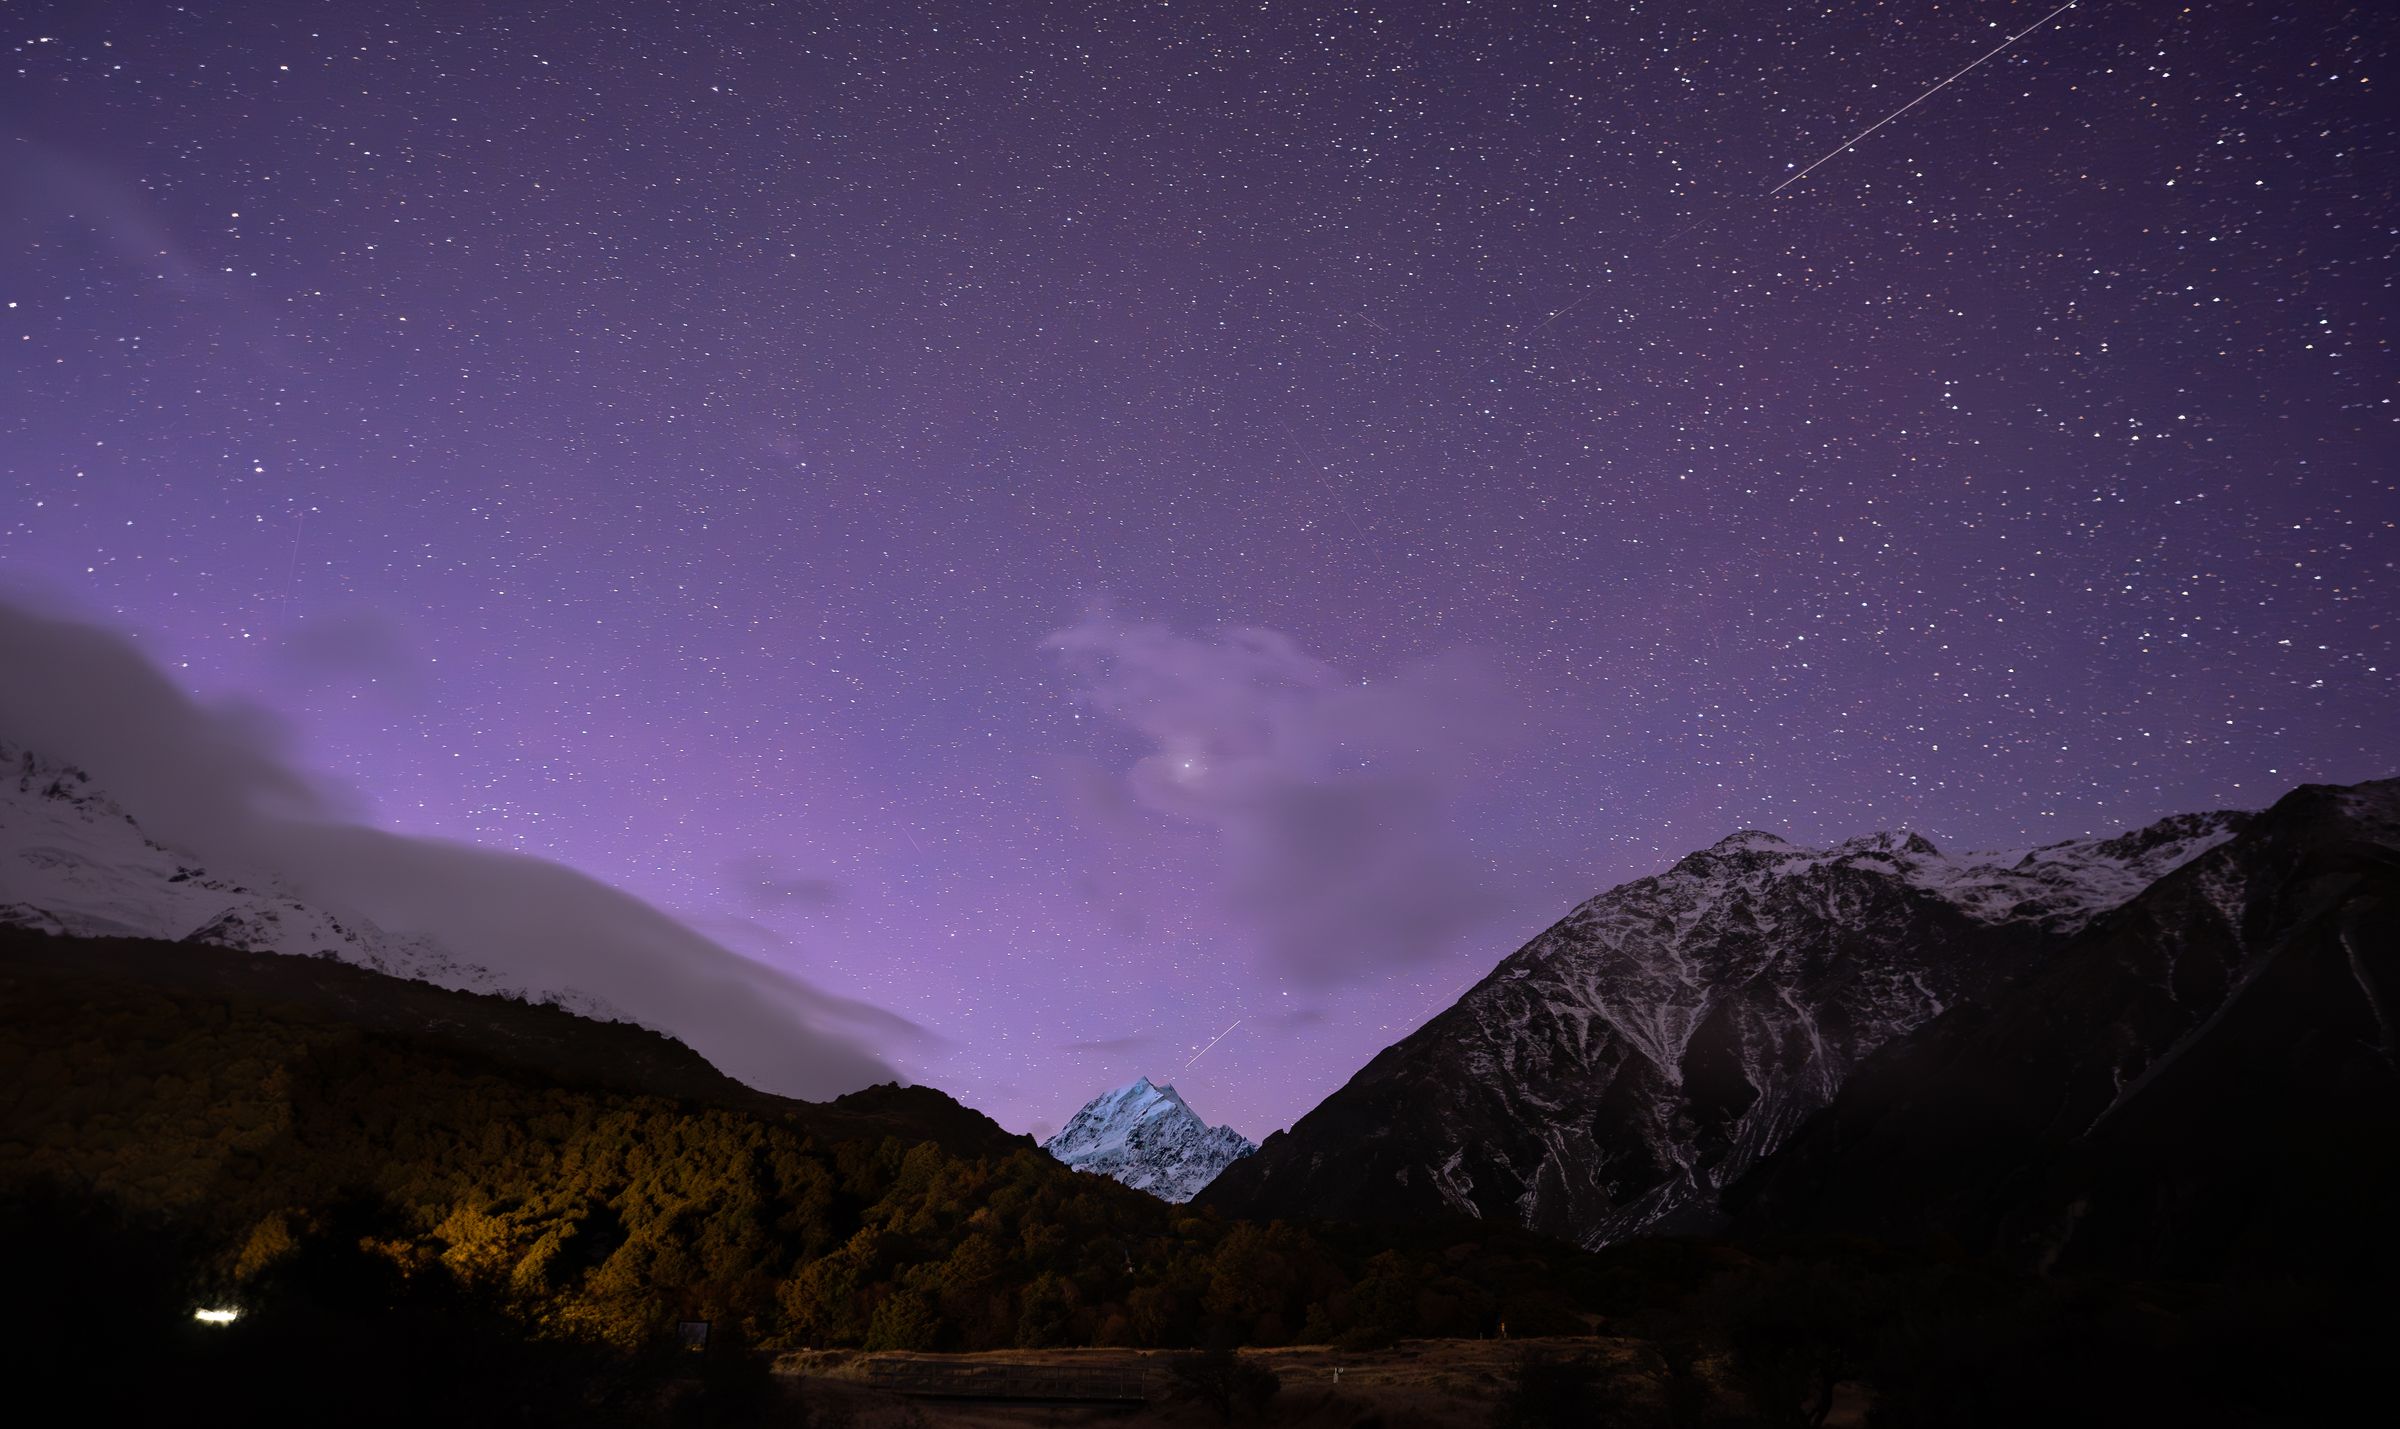
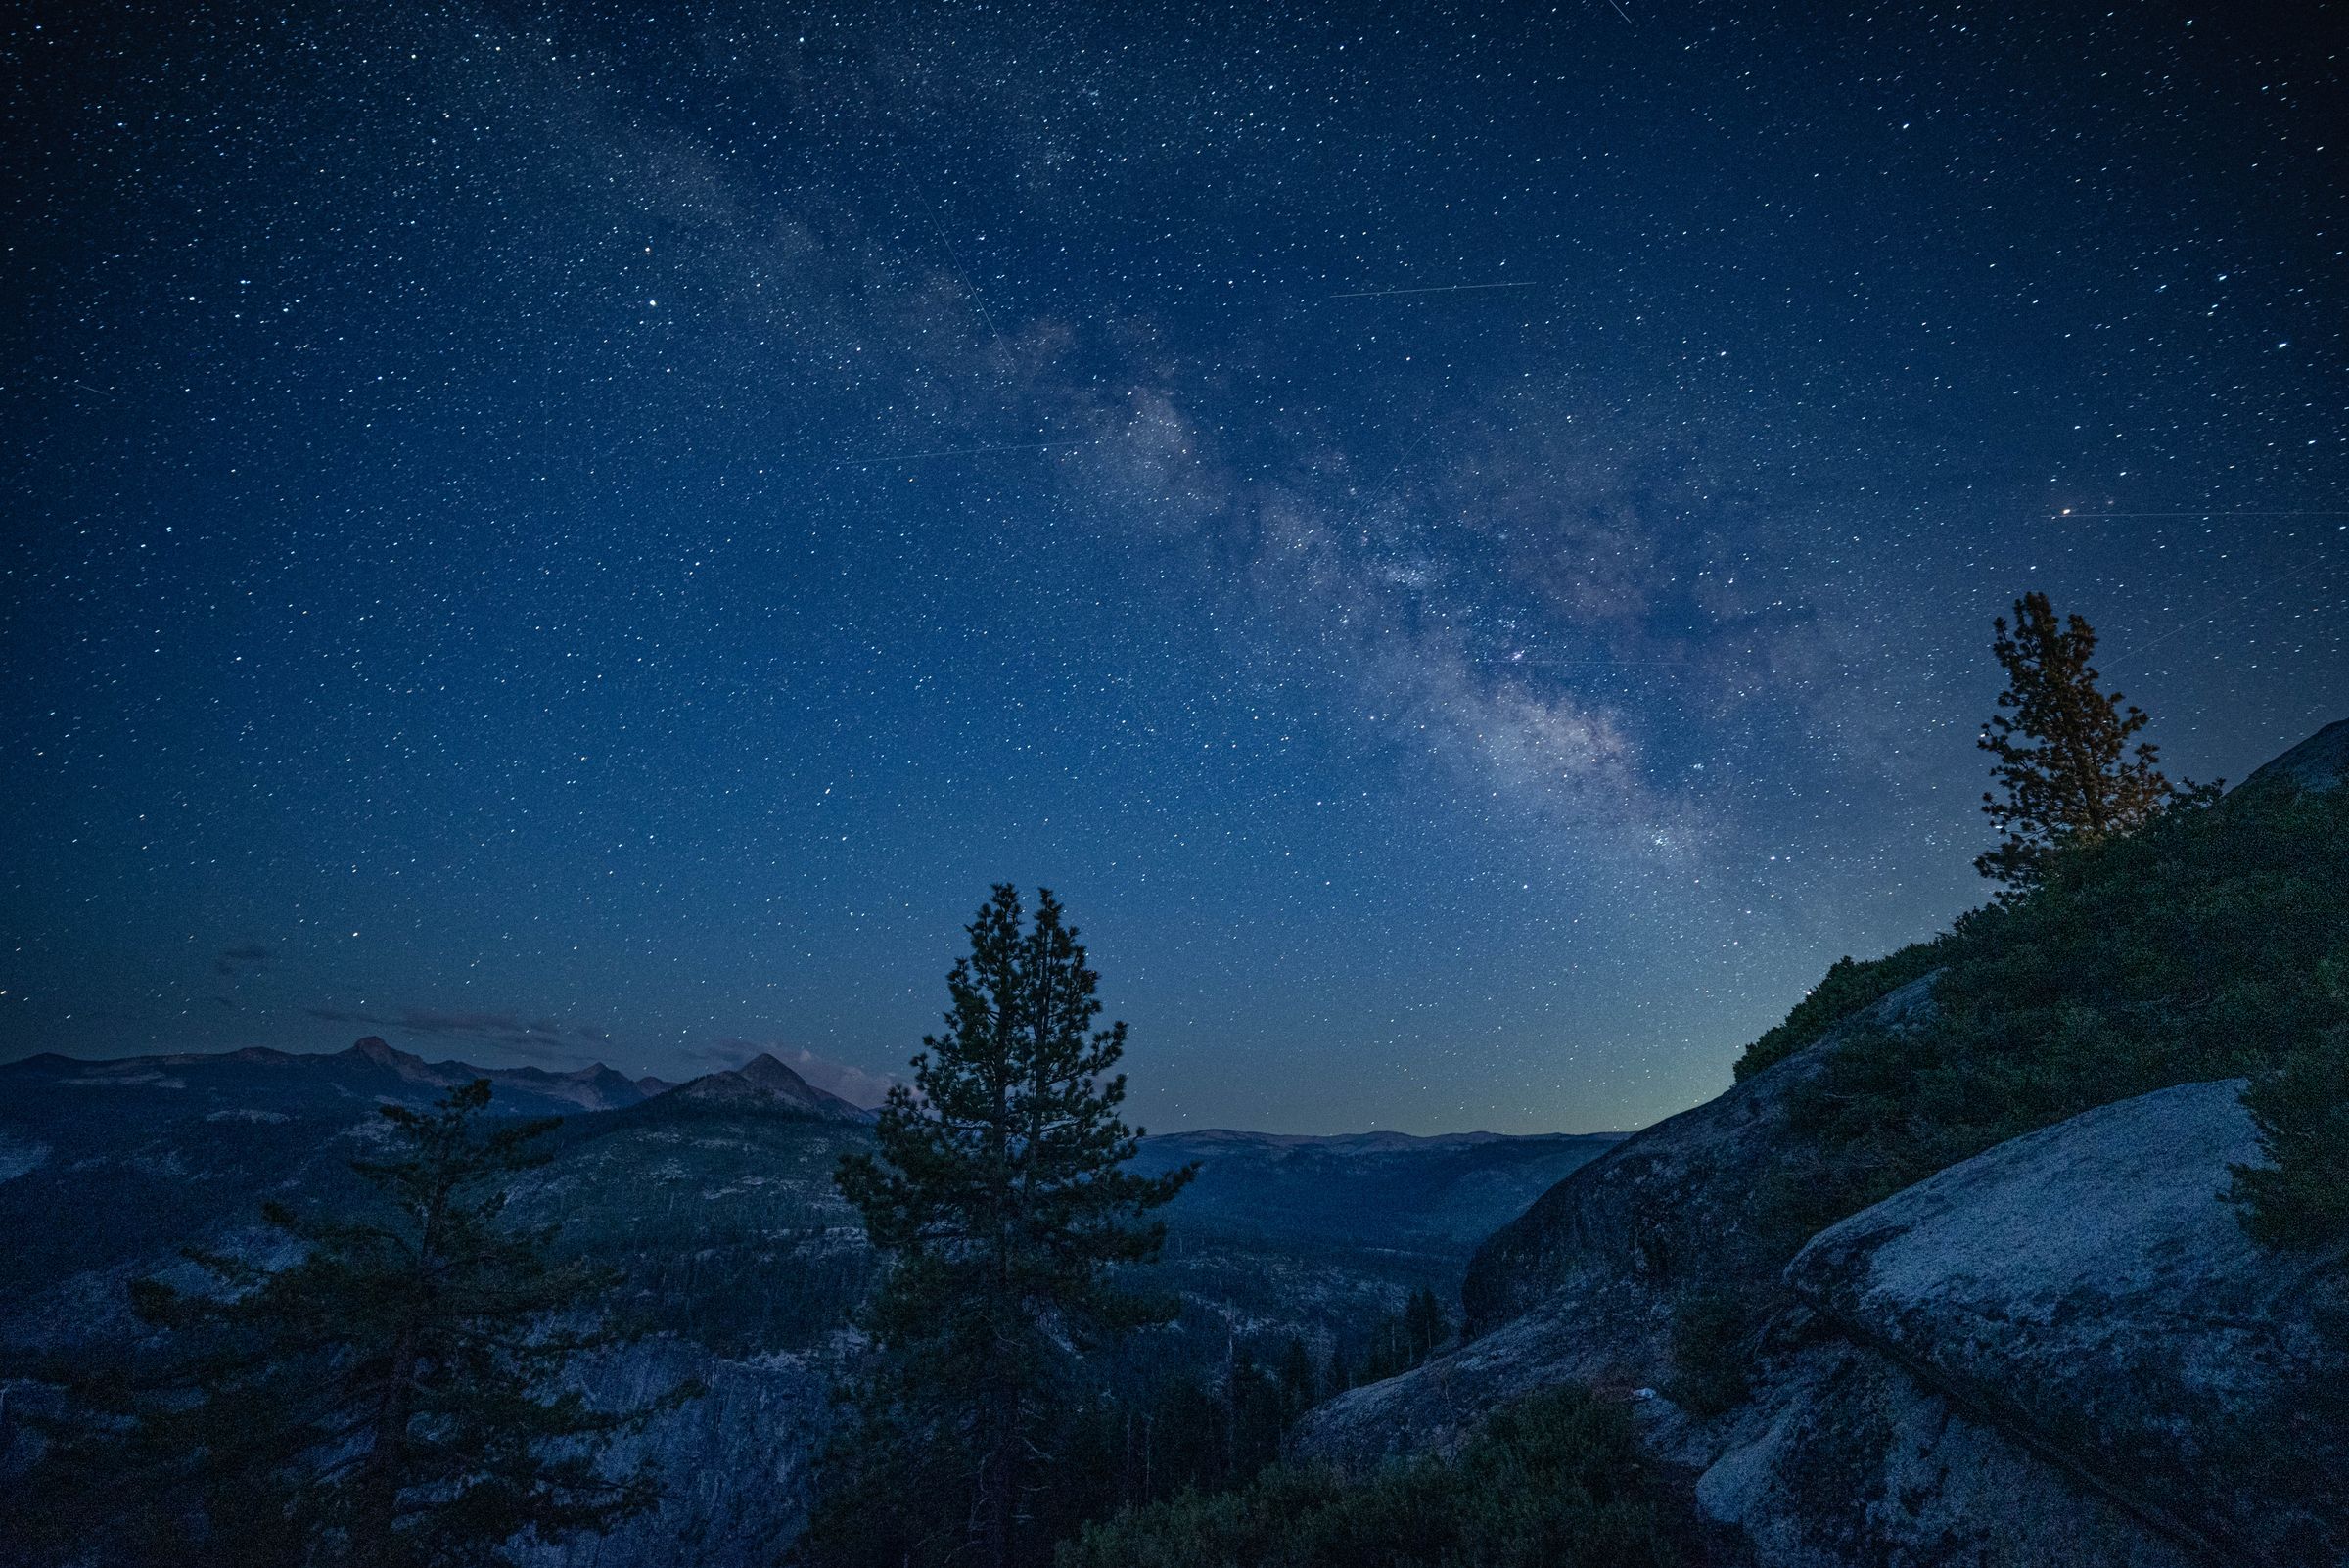
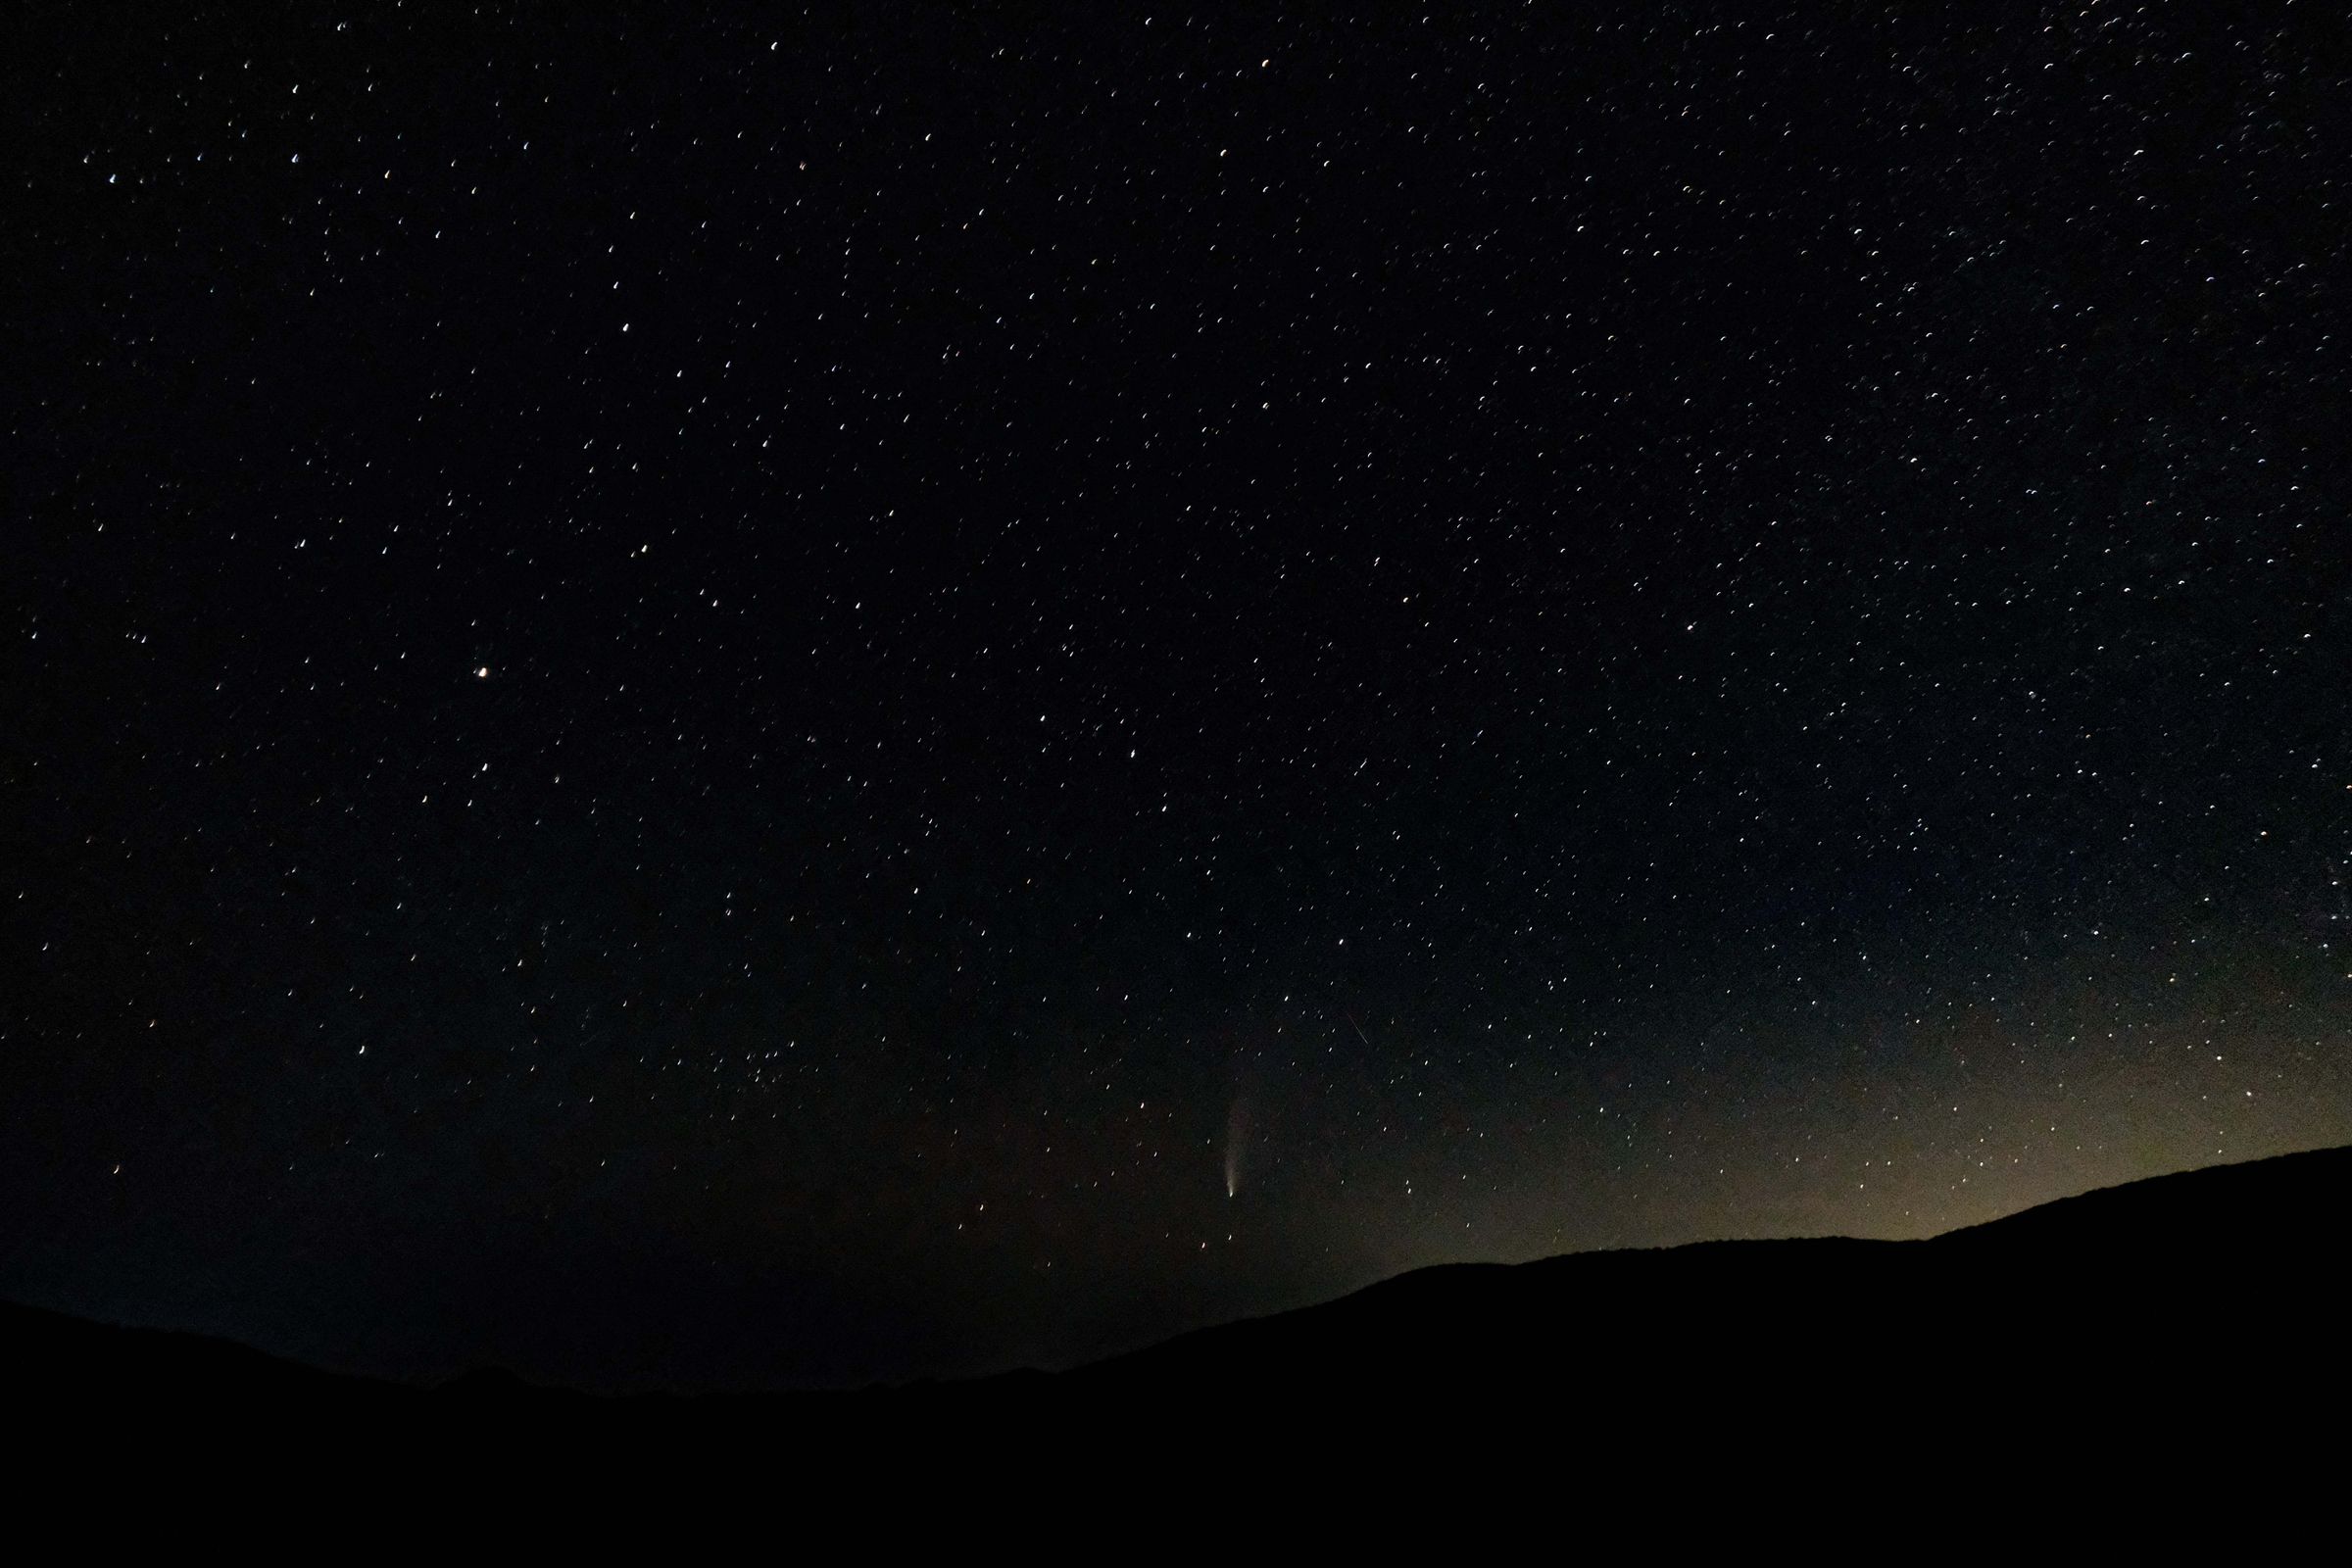
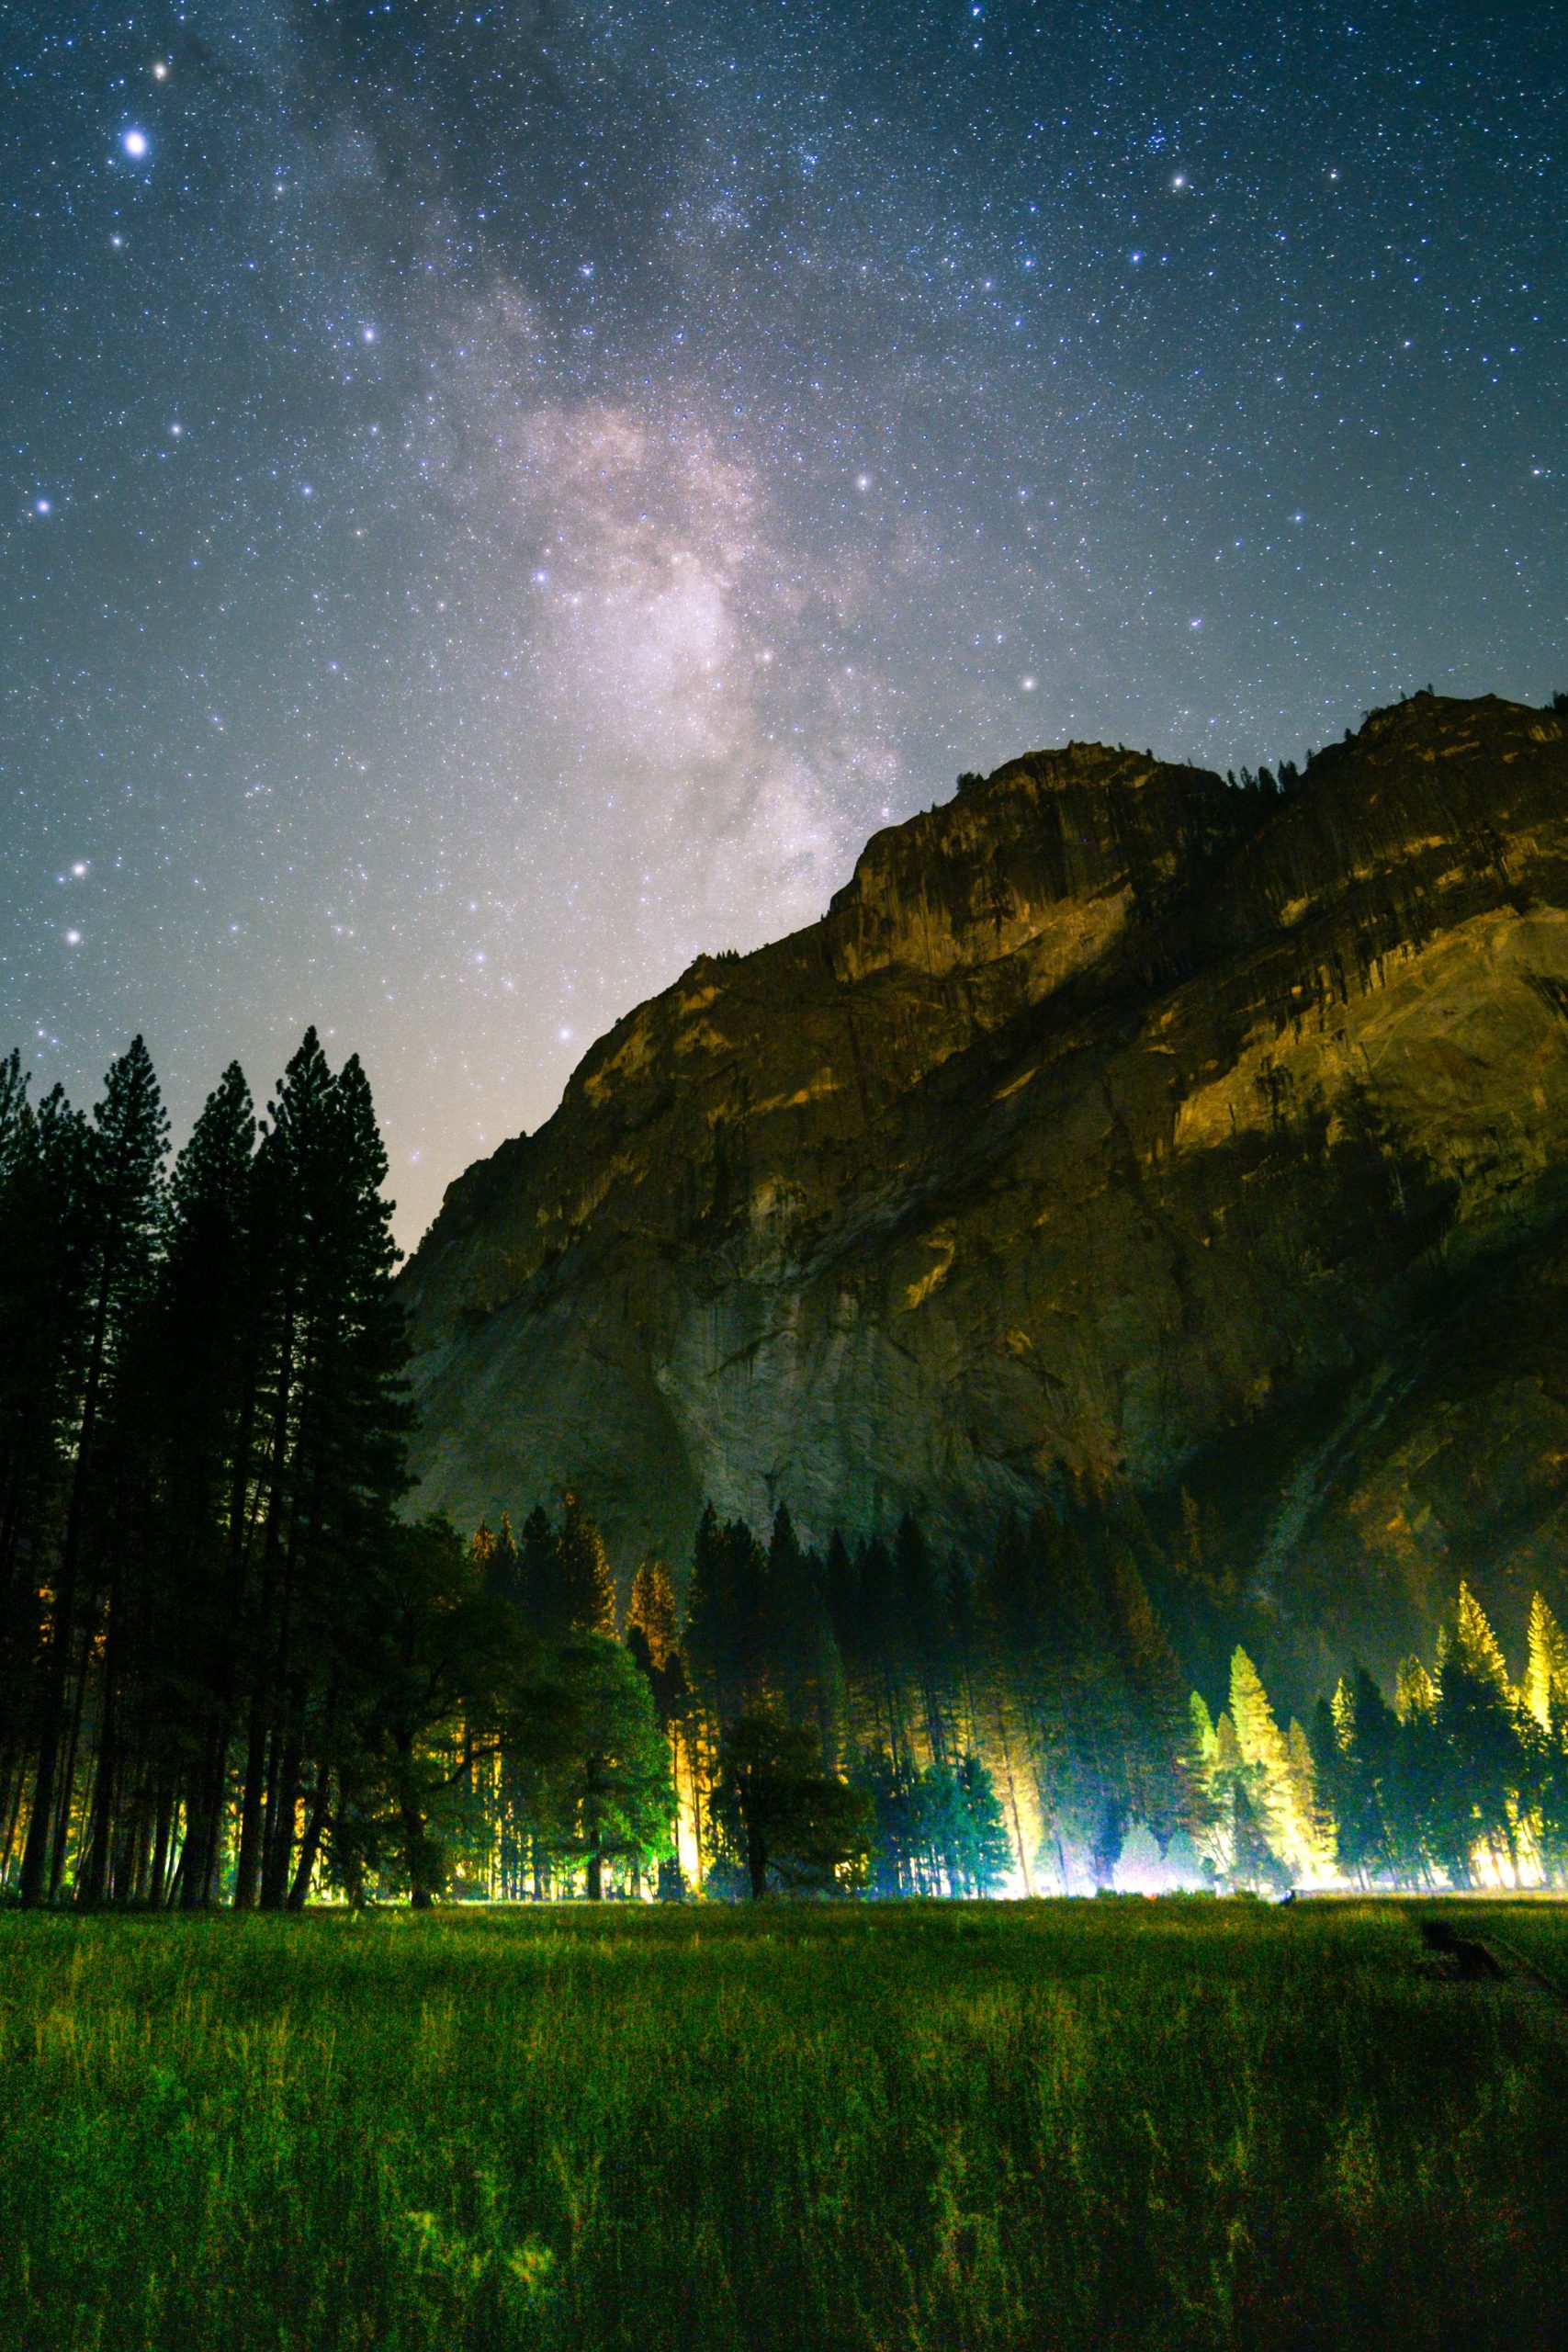
The five credited Pexels photographs are illustrative stock, not frames from Blackout City, not London blackout documentation and not Edin Chavez photographs. Their processing is not a guarantee of what a visitor would see unaided.
A city without its familiar glow
Blackout City asks the viewer to imagine a familiar place under an unfamiliar sky. The most useful way to approach it is as a photographic idea with an openly constructed method. A skyline gives the eye a point of recognition; the stars suggest something that ordinary urban experience can conceal. The tension between those two parts is the subject, rather than evidence that an extraordinary event actually happened in London.
That distinction matters before discussing equipment or editing. A composite can be thoughtful and expressive without being a documentary record of one place at one moment. Trouble begins when a caption quietly changes the promise. If separately photographed material becomes a claim about a real event, the viewer is being asked to believe something the image cannot establish. Keep the artistic premise and the factual description beside each other, rather than leaving the audience to guess.
For photographers, the film is a useful starting point for an edit study. You do not need to reproduce its scenes or claim the same process. Instead, choose a narrow question: how does a dark silhouette change the reading of a sky, what makes a horizon convincing, or when does a bright foreground overwhelm the intended mood? Treat the exercise as a way to understand your own choices, with your own photographs and a clear explanation of what you changed.
Watch the relationship, not only the stars
On a first viewing, resist stopping at every attractive frame. Notice how your attention moves between the land and the sky. A recognizable building or stretch of water can hold the composition while a change above it supplies the surprise. Ask whether the foreground helps you understand the idea or merely gives the stars a decorative border. The answer can change as a shot continues, especially when movement or brightness draws attention away from the main subject.
On a second viewing, choose one short passage and take notes about its structure. Record where your eye goes first, which edge or shape anchors the frame and what changes before the next cut. Separate observation from interpretation. A note that the sky appears brighter near a horizon is an observation; a claim that a particular technique caused it needs more evidence. This habit keeps an edit study useful even when the creator has not published a complete technical breakdown.
Do not turn a film into a set of still photographs by accident. A single frame may tolerate a rough transition that becomes distracting over time. Equally, a restrained frame can gain meaning when it follows a brighter or busier one. Look for relationships across a sequence, not only the frame you would choose for a thumbnail. Your own short test will benefit from this attention to rhythm before you add music, captions or elaborate transitions.
 Save
Decide what your own image will claim
Write a plain description before starting a composite. It might say that the foreground and sky were made separately, that the result is an imagined scene, or that several exposures from one session were blended for tonal range. The wording should describe the actual method, not the method you think the audience expects. If you cannot explain the construction in a sentence, pause and sort out which files belong to which part of the finished image.
There is a difference between combining exposures to manage a difficult brightness range and inventing a new relationship between locations or times. Neither description automatically determines artistic quality, but they ask different things of the viewer. Label the relevant difference. A caption does not need to list every small adjustment, yet it should not hide a change that would alter a reasonable person's understanding of the scene. Clarity is more useful than a vague promise that an image is real.
Keep the title consistent with the caption. An imaginative title can invite a question, while a subtitle explains the construction. Avoid a headline that announces an actual blackout if the work only imagines one. The same care belongs in the description, thumbnail and social text, where the image may circulate without the full article. A careful explanation at the bottom of a page cannot undo an opposite claim in the first words most people see.
Make a modest source set
Begin with a small number of photographs that you have the right to use. Choose a foreground with a legible outline and a sky with enough room to work, then keep the untouched originals separate from your working copies. A simple first exercise makes the decisions easier to understand. If you begin with a complicated tree line, reflective glass, moving traffic and several unrelated skies, it becomes difficult to tell which choice improved the result.
Record the source of every component while it is still easy to recover. For your own files, keep the capture notes that matter to the intended claim. For licensed material, keep the creator, source page, license and any required attribution. Permission to view a film is not permission to extract frames and publish them as your own illustrations. A study can refer to the original film while using separate, properly credited photographs for the supporting article.
Choose files for their relationship rather than their individual drama. A highly detailed sky may compete with a complicated foreground, while a quieter sky can make the shape below it easier to read. Compare the direction of the main lines, the balance of empty and occupied space, and the scale of the strongest features. Decide what the finished picture needs before spending time polishing a combination that never worked as a composition.
 Save
Build the join without losing the scene
Start with broad placement and proportion. Position the foreground and sky so the overall picture makes sense at a small viewing size. Do not spend an hour refining a rooftop edge while the horizon is obviously in the wrong place. A rough arrangement is enough to reveal whether the components support the idea. Keep an earlier version so you can compare later changes against the original composition rather than relying on memory.
Use a mask to control the visible relationship between layers, and keep the construction editable while you are learning. Work from the large shapes toward the difficult edges. A clean silhouette may need different treatment from fine branches or a soft cloud boundary. Inspect the transition against both dark and light areas, because an edge that disappears in one part of the picture can become conspicuous somewhere else. Resist fixing every problem with a stronger blur.
Review the result at the size it will be shared as well as at a closer inspection scale. An exaggerated edge can be obvious in a small image, while an unfinished fine detail may matter only in a large print. Spend effort in proportion to the output. The goal is a coherent photograph with an honest description, not an endless search for a technically invisible construction that no longer supports the original idea.
Match brightness before chasing colour
Look at the broad balance of light first. If the foreground appears to belong to a bright afternoon while the sky suggests deep night, changing the colour alone may not make the relationship convincing. Consider which surfaces would remain readable and which would fall into shadow. Work carefully enough to retain the shapes that explain the place, but do not keep every daytime detail merely because the source file contains it.
A dark result does not require featureless black shadows. Compare a few restrained versions and ask whether the eye can still find a route through the frame. Preserve the separation that matters to the composition, then remove distractions selectively. A bright window, pale road or reflective surface can become the strongest feature after surrounding tones are reduced. Decide whether that attention helps the picture before making the entire scene darker to hide one troublesome area.
Treat colour as a relationship across the image rather than a collection of independent effects. A foreground pushed strongly toward blue can look artificial beside a warmer sky, yet forcing everything into one colour can flatten the scene. Make small changes and compare them with a neutral version. Keep the version that communicates the intended atmosphere without asking the viewer to overlook a mismatch that has become the main subject.
 Save
Test movement with a short sequence
If you want to explore time-lapse rather than a single composite, make a very short test before committing to a long sequence. Watch for changes in brightness, position and the visible join between components. A frame that looks acceptable on its own may flicker or drift when played beside the next one. Find the pattern first. Otherwise, you can spend a great deal of time correcting individual frames while leaving the underlying inconsistency untouched.
Keep a simple record of the versions you compare. Name the source sequence, the edit version and the export so you can return to the exact combination that produced a result. Watch once without pausing, then review a troublesome passage more slowly. Those are different tests: ordinary playback tells you what a viewer may notice, while close inspection helps locate a cause. Neither replaces the other, and repeatedly stopping the film can make small issues seem more important than they are.
Do not let a soundtrack become a substitute for a clear visual sequence. Review your test silently before judging the final presentation. If the pacing feels aimless without music, consider the length and order of the shots rather than adding more effects. A small set of well-related images can explain an idea more clearly than a long sequence of impressive but disconnected views. End when the visual thought is complete instead of extending the sequence to fill an arbitrary duration.
Respect the real night when making your own work
A photographic idea is not a reason to interfere with the place you visit. Plan access, safe footing and the return route before setting up in darkness. Check the current rules for the actual location rather than borrowing an assumption from another photographer's visit. A familiar daytime path can feel different after dark, and a dramatic viewpoint is not worth using if it requires crossing a closure or entering a place where you have no permission to be.
Use the light needed to work and move safely without treating every dark foreground as an invitation to illuminate it. Consider other visitors, nearby homes and wildlife before introducing extra light. The quiet experience of the place belongs to more than the photograph you want to make. When a scene does not offer the conditions you hoped for, adjusting the plan or returning another time can be the more responsible decision.
Be clear about the difference between the experience and the finished image when sharing your work. Processing can produce a striking picture without predicting exactly what another visitor will see. Explain the significant construction choices and avoid promising a particular sky merely because it appears in your photograph. A useful caption gives people enough context to appreciate the work on its own terms, rather than encouraging disappointment or a false expectation of the location.
 Save
Finish the study with a readable record
Before publishing, review the image, caption, credits and surrounding text together. Confirm that every component is accounted for and that the description matches the final version, not an earlier experiment. Check the output on a small screen as well as your editing display. Make sure important dark shapes remain readable, the image is not awkwardly cropped and the credit does not become separated from the photograph in a way that suggests different authorship.
Keep the editable project, the source files and a short note about the finished export. Open a copied project to check that the layers and linked material are actually available rather than assuming a successful copy guarantees a usable archive. Maintain another checked copy separately. The point is not to build an elaborate system for one exercise; it is to avoid losing the evidence and decisions that would let you explain or revise the work later.
Return to the original question when deciding whether the study is finished. If the exercise taught you how a horizon, silhouette or sequence changes the reading of a sky, record that result. You do not need to imitate another artist's entire project to learn from it. Blackout City can remain a work to watch and discuss while your own photographs develop a different subject, a different method and a description that makes their construction clear.
Reading the film and the technique
Contemporary accounts in PetaPixel, Gizmodo and CCT-SeeCity describe the construction and reproduce Buer’s explanation. His stated astronomical intent is not independent validation that every frame predicts an actual blackout view.
For your own work, Adobe’s compositing lesson, the BBC Sky at Night blending tutorial and Astropix’s layer-mask example offer technical context. DarkSky’s principles call for transparent editing descriptions, responsible lighting and respect for locations. Continue learning through the Shut Your Aperture Academy.
Keep your own edit study files
For an edit study of your own, keep original files beside your notes and finished edits. A black Samsung T7 Shield portable SSD, 1TB model MU-PE1T0S/AM, is one storage option to compare. Check capacity and your computer connection before buying. Open the copied files and maintain another checked copy separately. A drive does not replace a complete backup plan. Compare the current retailer specifications; no hands-on test, price or stock promise is being made here.
Compare Samsung T7 Shield Portable SSD Black 1TB MU-PE1T0S/AM on Amazon | Check Samsung T7 Shield Portable SSD Black 1TB MU-PE1T0S/AM at B&H
Affiliate disclosure: We may earn a commission from qualifying purchases through these gear links at no extra cost to you. As an Amazon Associate, Shut Your Aperture earns from qualifying purchases.
Sources and further reading
- PetaPixel, Blackout Time-Lapse, December4,2014
- CCT-SeeCity, Blackout City, December6,2014
- Gizmodo, London Night Sky During a Blackout, December3,2014
- DarkSky International, Principles for Responsible Astrophotography, May1,2025
- Adobe Learn, Combine images in creative ways
- BBC Sky at Night Magazine, Blend night sky and foreground
- Astropix, Compositing Two Different Exposures with Layer Masks
Blackout City questions
Is Blackout City a record of an actual London blackout?
No. The archive film by Nicholas Buer is a composite visualization of an imagined darker London sky, not footage documenting an actual blackout.
Were the city and stars photographed together?
The contemporary creator statement describes city views photographed by day and processed to look like night, combined with separate night-sky footage from southern England.
Are these article photographs frames from the film?
No. The five credited Pexels photographs are illustrative stock, not film frames, London blackout evidence or photographs by Edin Chavez.
Does the film prove exactly what a visitor would see?
No. A constructed film is not an independently validated prediction of every view. Camera capture and processing can also differ from unaided human vision.
Can I publish frames from the film as my own?
No. Viewing access is not a reuse license. Get the required permission for any film frames, and credit the creator and source as required.
What should a composite caption explain?
Explain significant construction choices, including separately photographed skies or foregrounds and imagined relationships between locations or times. Keep the title and surrounding description consistent.
How should I approach my own night-photography study?
Use images you have the right to use, keep editable files and source notes, test a short sequence, follow current location rules and avoid disturbing wildlife or other visitors with unnecessary light.
Affiliate disclosure: Some links are affiliate links. If you buy through them, Shut Your Aperture may earn a commission at no extra cost to you. As an Amazon Associate, we earn from qualifying purchases. The five credited Pexels photographs are illustrative stock, not film frames or Edin Chavez photographs.