So, you finally worked up the courage to turn that dial to the big "M." Congratulations! You’ve officially entered the world of creative control. You’re no longer letting a tiny computer inside your camera make all the decisions for you. But let’s be real for a second: Manual mode can be a total nightmare when you’re starting out.
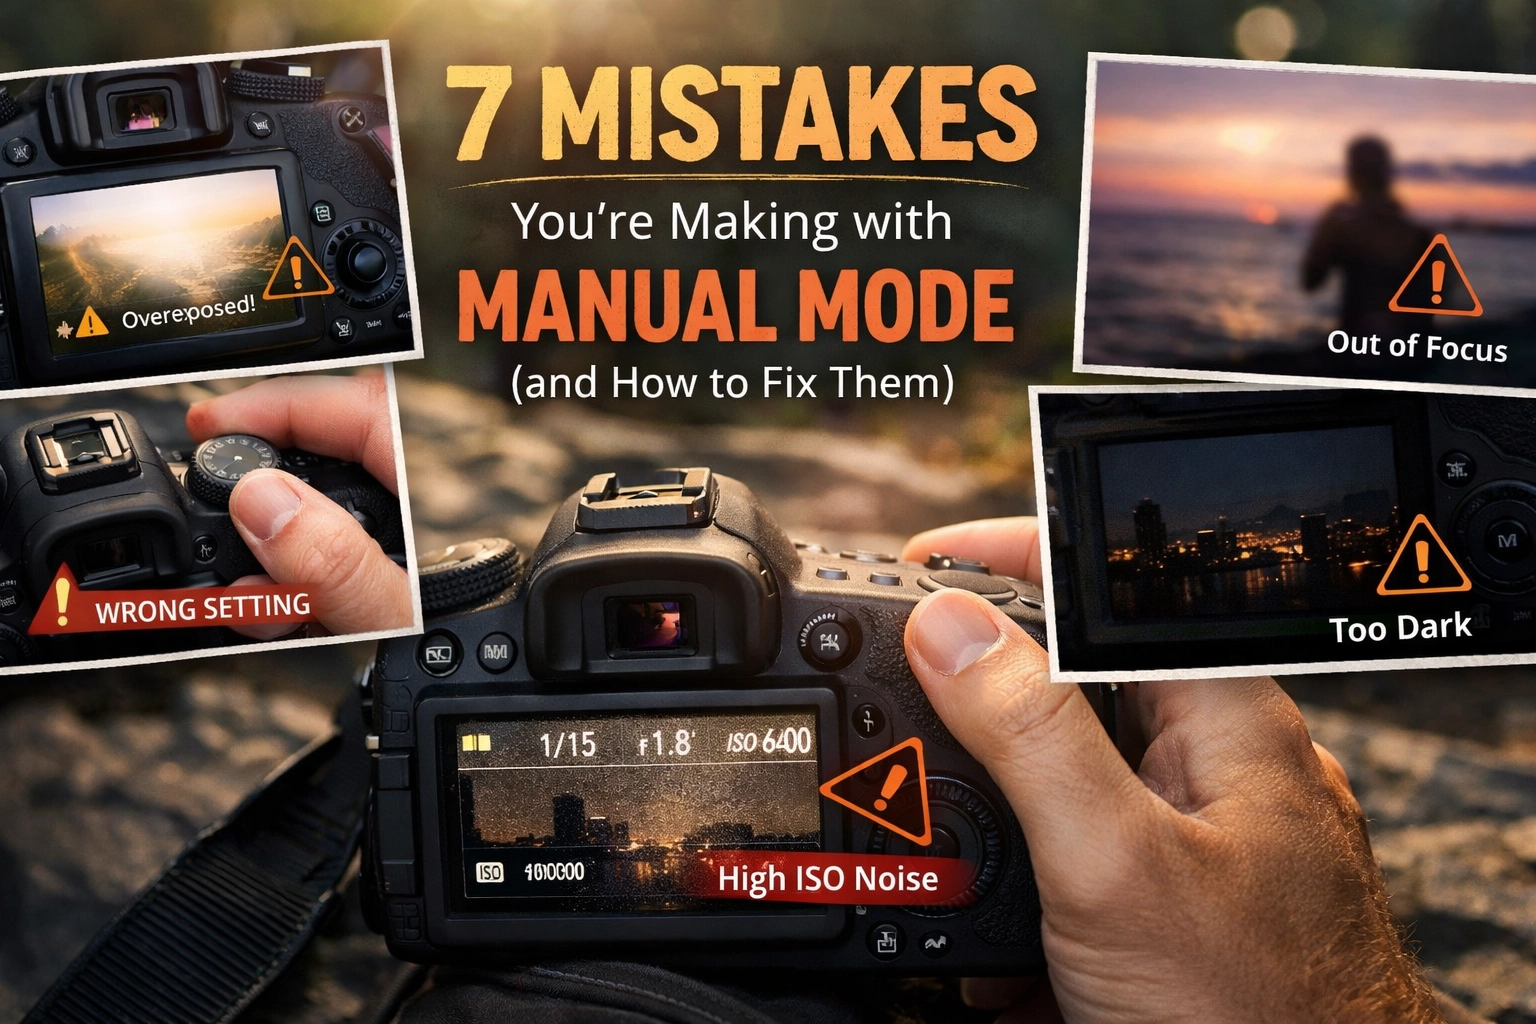
You take a shot, and it’s pitch black. You change a setting, and now it’s so bright it looks like a nuclear explosion. You try to fix it, and suddenly your perfectly still subject looks like a blurry ghost. It’s frustrating, and honestly, most of us have been there. We see the pros making it look easy and think, "What am I doing wrong?"
The truth is, manual mode isn’t about being "better" than the camera; it’s about knowing which rules to break and which pitfalls to avoid. If you’ve been struggling to get the results you want, you’re probably falling into one of these seven common traps. Let’s break them down and get you back to shooting like a pro.
1. The "Magic Settings" Myth
One of the biggest mistakes beginners make is searching the internet for "best settings for sunset" or "manual mode settings for portraits." They find a list of numbers: ISO 100, f/2.8, 1/200th: and they stick to them religiously.
Here’s the cold, hard truth: there are no universal "plug and play" settings. Light is a living thing. It changes by the minute. The light in Los Angeles at 4:00 PM is completely different from the light in New York at 4:00 PM. Even moving five feet to the left under a tree changes everything.
The Fix: You need to understand the relationship between the three pillars of exposure: Aperture, Shutter Speed, and ISO. Instead of memorizing numbers, learn how they interact. If you want a blurry background (wide aperture), you’re letting in more light, which means you’ll need a faster shutter speed or a lower ISO to compensate.
If you're still feeling a bit shaky on the basics, check out our Manual Mode 101: A Beginner’s Guide to Mastering Your Camera in 2026 for a deeper dive into how these settings actually work together.

2. ISO Phobia: Fear of the Grain
I see this all the time. Photographers are so terrified of "noise" or "grain" that they refuse to move their ISO above 400. They’ll shoot at a shutter speed that’s way too slow just to keep that ISO low, and they end up with a blurry, unusable mess.
Here’s a secret: a sharp photo with a little bit of noise is a great photo. A blurry photo with zero noise is trash. Modern sensors, especially the ones we discuss in our look at how to choose the best mirrorless cameras, can handle much higher ISOs than cameras from ten years ago.
Furthermore, underexposing a photo at a low ISO and then trying to "brighten" it in post-production actually introduces more noise than if you had just used a higher ISO in the first place.
The Fix: Don’t be afraid to bump that ISO. If you’re shooting indoors or in the evening, ISO 1600, 3200, or even 6400 is perfectly acceptable. If you do end up with a bit of grain, you can easily clean it up using Luminar. Their AI-powered denoise tools are incredible at saving high-ISO shots without losing detail. You can find more tips on professional post-processing at www.proshoot.io.
3. Ignoring the Reciprocal Rule (The Blurry Handheld Mistake)
In manual mode, you have total control over shutter speed. This is great until you set it to 1/30th of a second while shooting handheld with a 200mm lens. You look at the back of the screen, and it looks okay. You get home, open it on your monitor, and realize everything is slightly soft.
Camera shake is the silent killer of great photography. The longer your focal length, the more every tiny shake of your hand is magnified.
The Fix: Use the reciprocal rule. Your shutter speed should be at least 1 over your focal length.
- Shooting with a 50mm lens? Keep it at 1/50s or faster.
- Shooting with a 300mm lens? You need at least 1/300s.
If you’re using a high-resolution mirrorless camera, you might even want to double that rule because those extra megapixels are very unforgiving when it comes to movement. If you're wondering about the tech behind this, read our comparison on DSLR vs. Mirrorless for your creative career.

4. Letting the Light Meter Lie to You
Your camera is smart, but it’s also kind of a dummy. Most camera light meters are designed to look at a scene and try to make everything "neutral gray" (also known as 18% gray).
If you’re shooting a person in the snow, the camera sees all that white and thinks, "Whoa, way too bright!" It will suggest settings that turn that beautiful white snow into a muddy, underexposed gray. Conversely, if you’re shooting a black cat in a dark room, the camera will try to make the scene brighter, resulting in a washed-out image.
The Fix: Stop blindly following the little needle in your viewfinder. Use your eyes and your histogram. If you’re in a tricky lighting situation, use exposure compensation or simply adjust your manual settings to go "over" or "under" what the meter suggests to get the look you actually want. This is especially important in portrait photography techniques, where skin tones need to be perfect regardless of the background.
5. Forgetting to Control Your Focus Point
Many people switch to manual mode for exposure but leave their autofocus on "Auto Area" or "All Points." This is a recipe for disaster. Your camera doesn't know you want to focus on the person's eye; it just sees a high-contrast tree branch in the foreground and decides that is the most important thing.
In manual mode, the goal is total intentionality. That includes where the viewer's eye goes.
The Fix: Switch to Single Point AF or a small zone. Manually move that focus point to exactly where you want it. If you’re shooting portraits, it should always be the eye closest to the camera. If you're doing landscape work, you might want to learn about hyperfocal distance, which you can read more about on www.photoguides.com.

6. Leaving Image Stabilization ON While on a Tripod
This is one of those "pro secrets" that feels counterintuitive. You bought a lens with 5 stops of Image Stabilization (IS) or Vibration Reduction (VR), so you should use it, right? Not always.
When your camera is on a sturdy tripod, there is no movement for the stabilization system to correct. However, the system is designed to look for movement. If it doesn't find any, the internal elements can sometimes start moving on their own, creating a feedback loop. This actually introduces a tiny bit of blur into your perfectly still landscape shot.
The Fix: If the camera is on a tripod, turn off IS/VR. It’s a simple switch on the side of the lens or a setting in the menu. This ensures the lens elements stay perfectly still. For more gear-specific advice, keep up with today's camera gear news.
7. The "Manual Mode Elitism" Trap
There’s a weird myth in the photography world that if you aren't shooting in full Manual 100% of the time, you aren't a "real" professional. That is total nonsense.
Manual mode is a tool. It’s great for landscapes, studio work, and architectural photography where you have time to dial everything in. But if you’re shooting a fast-paced wedding or birds in flight, lighting conditions change faster than you can click a dial. If you insist on full manual in those moments, you’re going to miss the shot.
The Fix: Use the right tool for the job. Many pros use Aperture Priority (Av or A) or Shutter Priority (Tv or S) in dynamic situations. These modes let you control the most important creative element while letting the camera handle the math for the rest. Don't let pride get in the way of a great image. Check out blog.edinchavez.com for stories on how even the most experienced photographers use semi-auto modes to capture the moment.

Why Keeping Up with Trends Matters
The world of photography is changing fast. By 2026, the AI integration in our cameras is going to be even more advanced. Some might argue that manual mode will become obsolete, but I disagree. Understanding the fundamentals: and the mistakes we've discussed: is what separates a photographer from someone who just clicks a button.
Staying informed about why the latest photography news will change the way you shoot in 2026 is vital. As technology advances, we get more tools to fix our mistakes, like the advanced editing capabilities in Luminar, but the creative vision remains yours.
Putting It All Together
Manual mode isn't about being a math genius. It's about freedom. It’s about being able to look at a scene and say, "I want it to look exactly like this," and knowing how to make it happen.
If you've been making these mistakes, don't sweat it. Every great photographer has a hard drive full of blurry, noisy, and badly exposed "learning experiences." The key is to stop making the same mistakes and start making intentional choices.
Next time you head out with your camera:
- Observe the light before you even touch your settings.
- Don't be afraid to crank the ISO if the shot demands it.
- Watch your shutter speed relative to your focal length.
- Trust your histogram, not just the meter.
- Take control of your focus point.
- Switch off stabilization when you're locked down on a tripod.
- Don't be afraid to switch to a semi-auto mode if the action gets too fast.
Photography is a journey, and manual mode is just one of the paths you take. Keep shooting, keep experimenting, and for more inspiration, take a look at the stunning work over at www.edinfineart.com or www.edinstudios.com.
If you want to stay organized with your learning, you can always browse our category sitemap for more tutorials and gear reviews.
Categories: TUTORIALS, News
Tags: TUTORIALS, News, PHOTO SERIES, TRAVEL